


Making your own embroidered patches seemed impossible to me at first. Then I realized it’s actually quite simple once you know the basics.
I’ve been making patches for years and tested these methods countless times. No fancy equipment required, just basic supplies from any craft store.
In this guide, I’ll walk you through everything you need to create professional-looking patches right from home. You’ll learn about materials, step-by-step instructions, and helpful tips that actually work.
By the end, you’ll know exactly how to design, stitch, and finish your patches. You’ll save money and create custom designs that perfectly match what you want.
Let’s turn basic fabric into personalized patches you’ll be proud to show off.
How to Make Embroidered Patches?
A guide for beginners to create custom embroidered patches using basic craft supplies. Covers materials, design selection, stitching techniques, and finishing methods to make professional-looking patches at home.
What You’ll Need

Before we start stitching, let’s gather your supplies. Don’t worry, you probably have some of these items already.
Essential Supplies:
- Base fabric
- Embroidery floss in your chosen colors
- Sharp embroidery needle
- Fabric stabilizer or interfacing
- Small scissors for detailed cutting
- A pencil for sketching your design
Here’s something I learned the hard way: cheap needles bend easily. Invest in good ones.
Choose or Create Your Patch Design
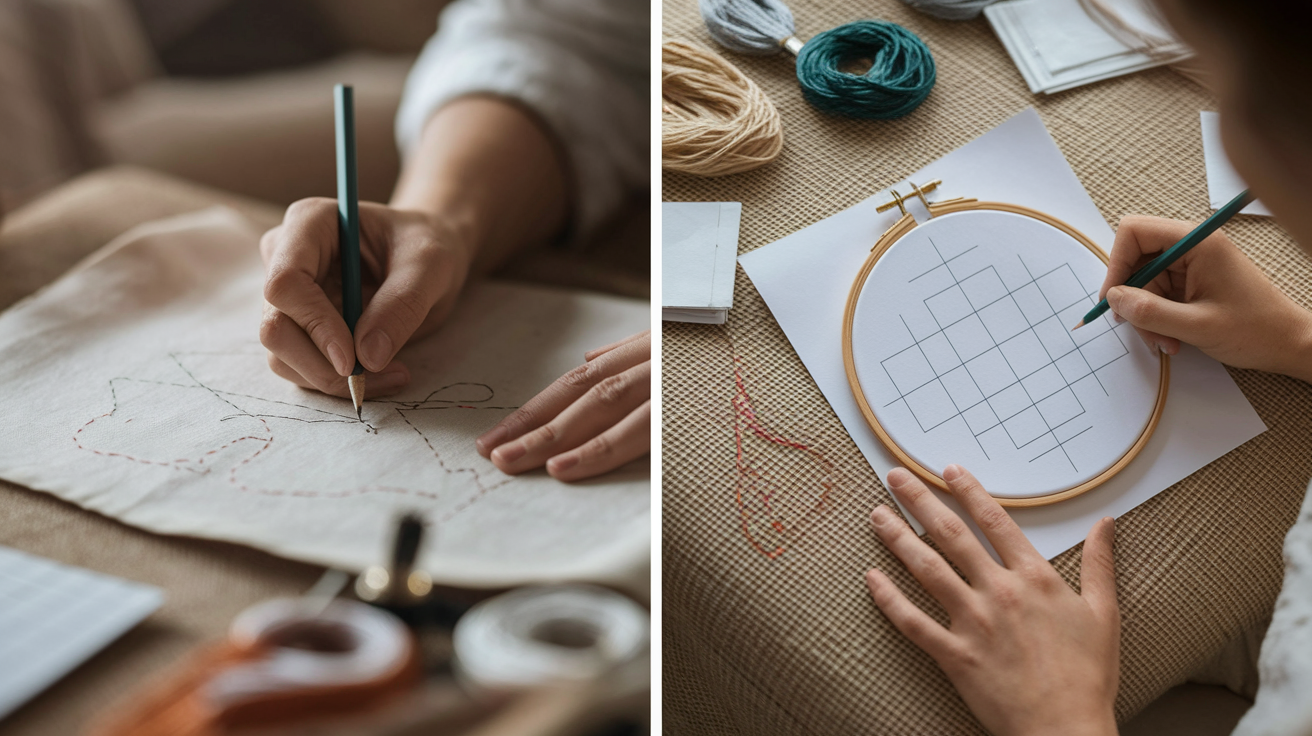
Your first patch should be simple. Trust me on this one.
Beginner-Friendly Designs:
Start with basic shapes like circles, hearts, or stars. These teach you fundamental stitches without getting complicated.
Letters work great too. Your initials make a perfect first project.
Simple symbols are another good choice:
- Lightning bolts
- Music notes
- Arrows
- Basic flowers
Avoid tiny details. They’re frustrating when you’re learning.
Freehand vs. Patterns:
I started by drawing directly on fabric with a pencil. It’s quick and lets you adjust as you go. But patterns give you structure. They’re especially helpful for symmetrical designs.
Here’s my advice that try both methods. Some people are natural sketchers. Others need guidelines.
Freehand feels more creative. Patterns feel more secure.
Prepare the Fabric and Design
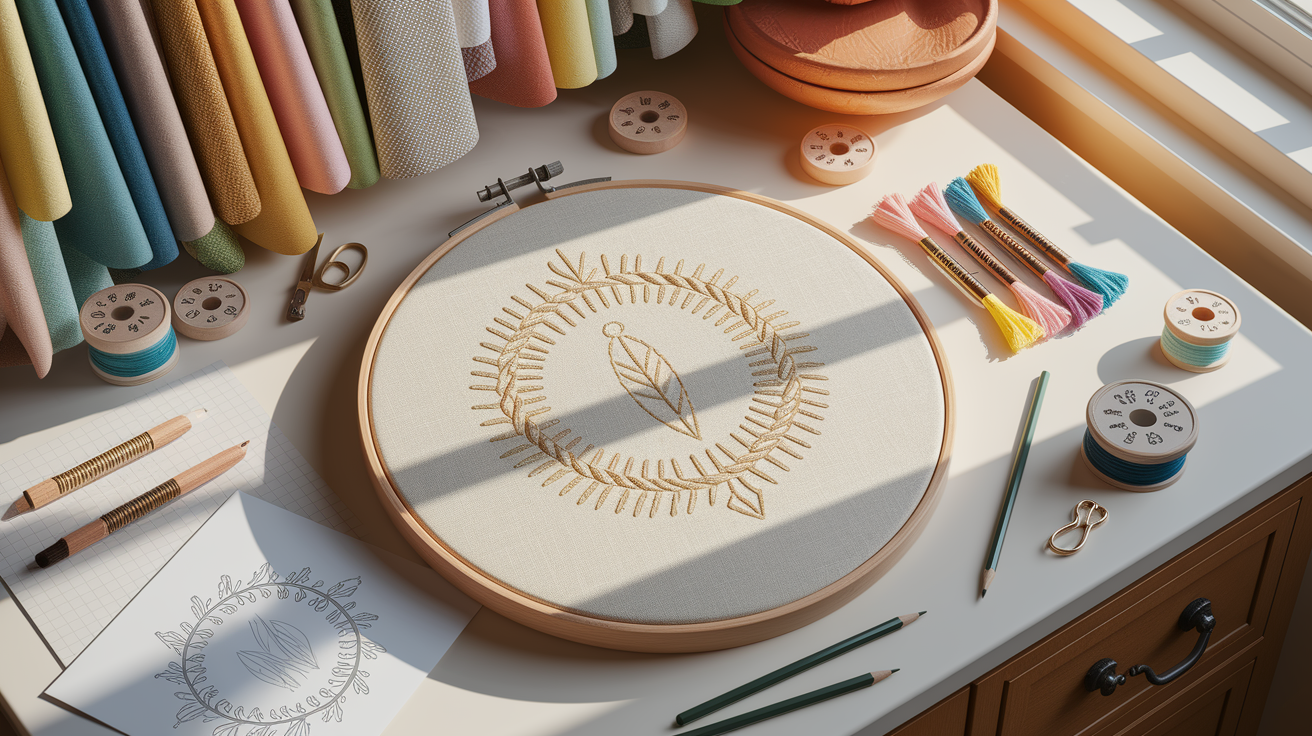
Now let’s get your design onto fabric.
Transfer Your Design:
Water-soluble pens work best. Draw your design, and it washes out later. Carbon paper is simple, too. Trace your pattern through it onto fabric.
Printable stabilizer is my favorite. Print directly onto it, then stick to fabric.
Stop Puckering:
Always use a stabilizer behind your fabric. It keeps everything flat. Cut it bigger than your design area.
Use an embroidery hoop if you have one.
Professional Backing:
Iron-on interfacing makes patches look store-bought. Apply before stitching.Felt backing adds thickness.
Skip this for your first patch. You can add it later. Start with smooth, stable fabric. Everything else is easier from there.
Start Stitching
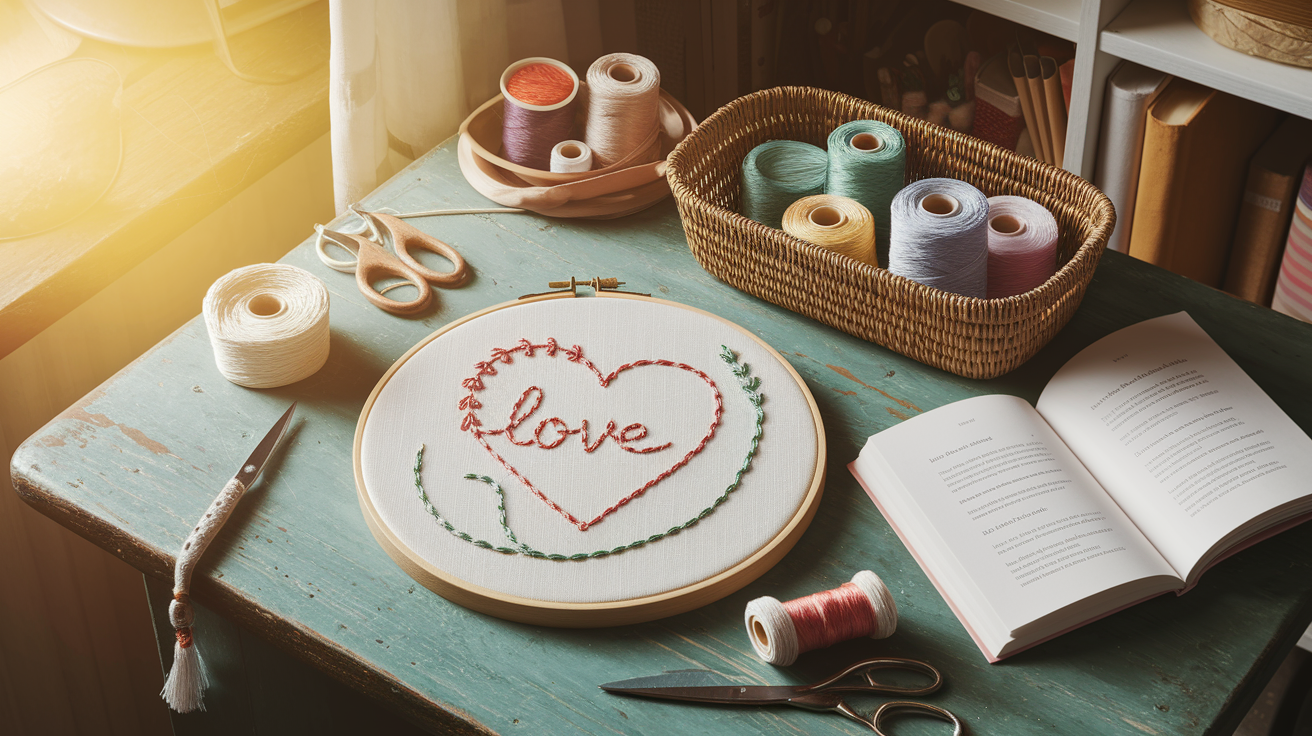
Time for the fun part. Let’s make your design come to life.
Essential Stitches:
Backstitch creates solid lines. Perfect for outlines and text. Stitch forward, then back to fill gaps. Satin stitch fills areas with color. Make parallel stitches close together. Keep them even.
Chain stitch works great for curves. Each stitch loops through the next one. Start with backstitch. It’s the easiest to master.
Stitching Tips:
Keep your thread about 18 inches long. Longer tangles easily.
Pull snug but don’t yank. Tight stitches pucker the fabric. Work from the center outward. This prevents bunching.
Turn your hoop as you stitch. It’s easier than twisting your hand.
Don’t Stress About Mistakes:
Wonky stitches give patches character. I promise. Uneven lines look handmade in the best way. If you hate a section, just stitch over it.
My first patch had crooked letters. I still have it. It makes me smile.
Focus on finishing, not perfection. You’ll improve with each patch.
Cut and Finish Your Patch
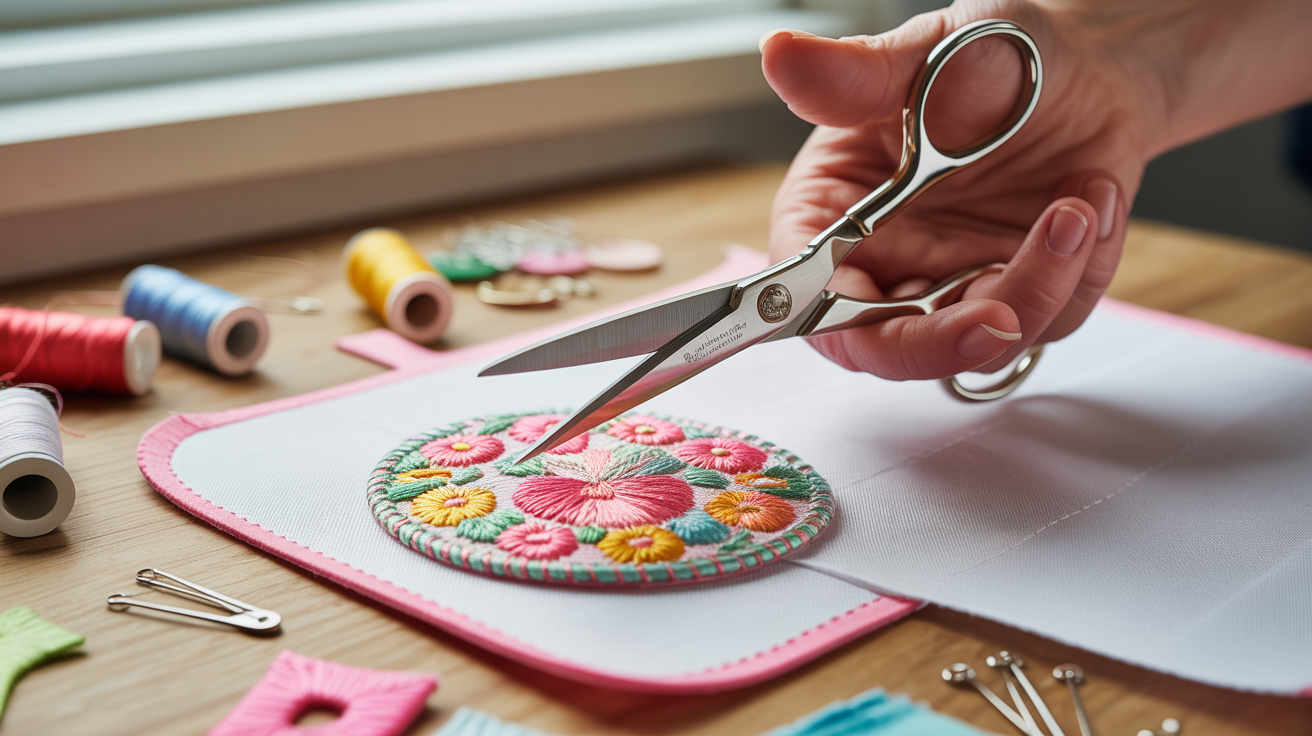
Your stitching is done. Now let’s turn it into a real patch.
Cutting Your Patch:
Use sharp fabric scissors. Dull ones create frayed edges. Cut about a quarter-inch outside your stitched design. This gives you a clean border.
Cut slowly around curves. Rush here and you’ll mess up your hard work.
Leave the stabilizer on while cutting. Remove it after.
Finishing Options:
Sew-on patches are the classic choice. Just stitch around the edges to attach them.
Iron-on patches need fusible webbing on the back. Buy it at any craft store. Iron it on before cutting your patch. Heat activates the adhesive. Press for 15 seconds with a hot iron.
Peel-and-stick patches use fabric adhesive sheets. Great for temporary use on jackets or bags.
These don’t last through washing. Perfect for trying placement first.
Common Mistakes to Avoid
Learn from my mistakes. These simple fixes will save you frustration.
- Skipping stabilizing your fabric will pucker without it. Always use a stabilizer.
- Using the Wrong Fabric Stretchy fabrics move while you stitch. Use cotton instead.
- Overcomplicating the Design, keep it simple for your first patch. Skip tiny details.
- Not Securing Threads. Loose threads make patches fall apart. Tie knots on the back.
These mistakes are easy to avoid once you know about them.
Conclusion
You did it. Your first homemade patch is complete. Hold it up and look at what you created. Those stitches came from your own hands. That design started in your head.
Sure, it might not look perfect. Mine didn’t either. But it’s yours.
Now you know the basics. You can make patches for jackets, bags, or gifts. Each one will be better than the last.
The best part? You’ll never look at store-bought patches the same way again. You know the work that goes into each stitch.
Start planning your next design. Maybe something a little more complex this time, Welcome to the world of patch making. Your sewing box just became a lot more interesting.
Frequently Asked Questions
How long does it take to make a patch?
Simple patches take 1-3 hours for beginners. Your first patch will be slower as you learn the stitches. Complex designs with lots of details can take a full day. Don’t rush it. The time flies when you get into a rhythm.
Can I wash patches after making them?
Yes, but treat them gently. Hand wash in cold water if possible. Machine wash on delicate cycle with cold water only. Always air dry to prevent shrinking. Hot water and high heat can make colors bleed or fabric pucker.
What if I don’t have an embroidery hoop?
You can still make great patches without one. Keep your fabric stretched tight with your hands as you work. Go slower and check for puckering often. A hoop keeps tension even, but many people prefer working without one. Try both ways and see what feels better.
How do I fix mistakes while stitching?
Small wobbles and uneven stitches look charming. For major errors, carefully cut the problem thread with small scissors. Don’t yank or pull hard. Restitch the area slowly. Sometimes, stitching over mistakes works better than removing them.
Can kids make patches too?
Kids 8 and older can make patches with some help. Give them blunt-tip needles and thick thread. Start with big, simple shapes like hearts or stars. Supervise the first few projects. They’ll love wearing something they made themselves.
