

Ever grabbed your favorite tape only to find it won’t stick? You’re not alone. Lost adhesive power frustrates millions of people daily. I’ll show you exactly how to fix this problem.
In this guide, you’ll learn:
- 9 proven methods to restore adhesive stickiness
- Natural, eco-friendly solutions that work
- Specific fixes for different types of items
- Products that actually deliver results
Here’s why you can trust this advice: I’ve tested these methods on everything from old tape rolls to stubborn stickers. Some techniques work instantly. Others take patience. But they all work.
Your goal is simple, make your adhesive sticky again without wasting money on replacements.
Let’s solve this problem together.
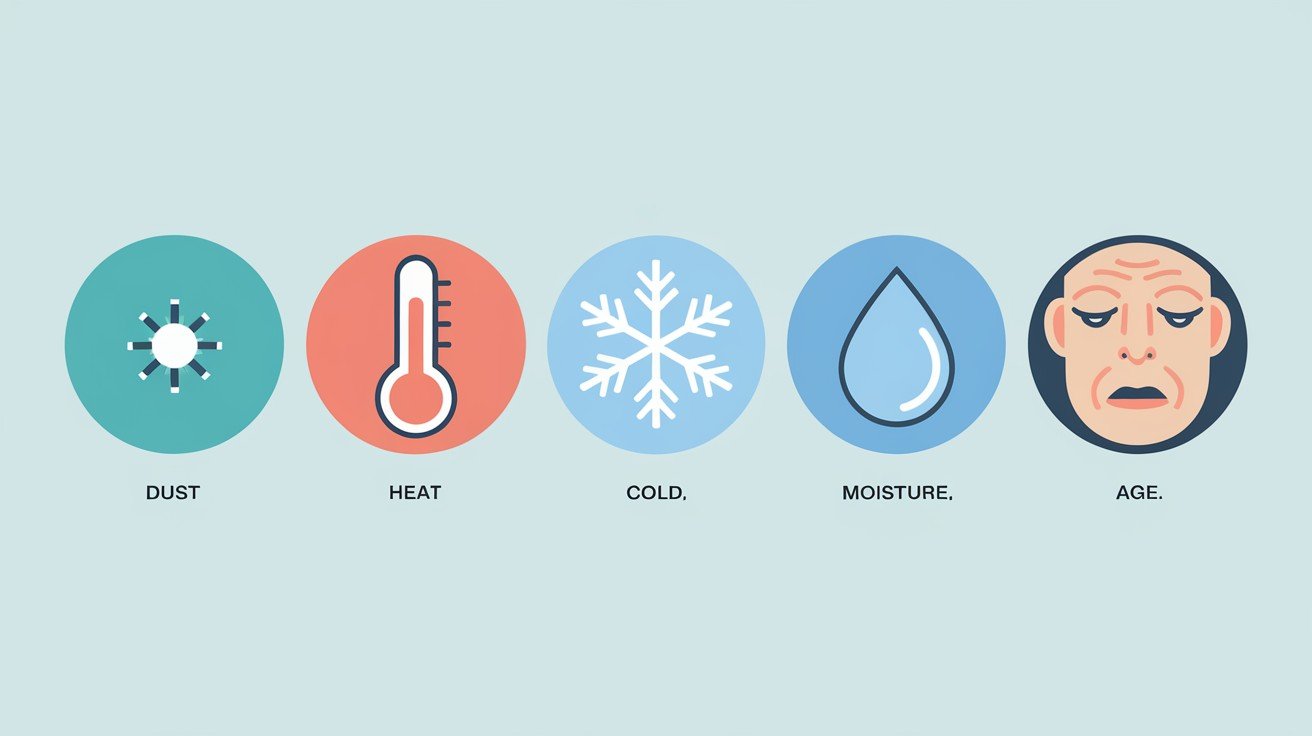
What Causes Adhesive to Lose Its Stickiness?
Understanding why adhesives fail helps you fix them better.
- Dust and dirt are the biggest culprits. They create a barrier between your adhesive and the surface.
- Age weakens the chemical bonds in adhesive formulas. Over time, the sticky compounds break down naturally.
- Heat exposure dries out adhesives faster than you’d expect. That roll of tape sitting in your hot garage? It’s probably struggling.
- Moisture works both ways. Too little makes adhesives brittle. Too much makes them gummy and weak.
- Cold temperatures make adhesives stiff and less flexible.
Quick Checklist: Can It Be Revived?
Before you start, check these things:
- Is the adhesive completely hardened? (If yes, replacement might be better)
- Can you see the original sticky surface? (Good sign)
- Does it feel slightly tacky when touched? (Very good sign)
- Is it just dusty or dirty? (Easy fix)
If you answered yes to the last three questions, your adhesive can likely be saved.
How to Make Adhesive Sticky Again
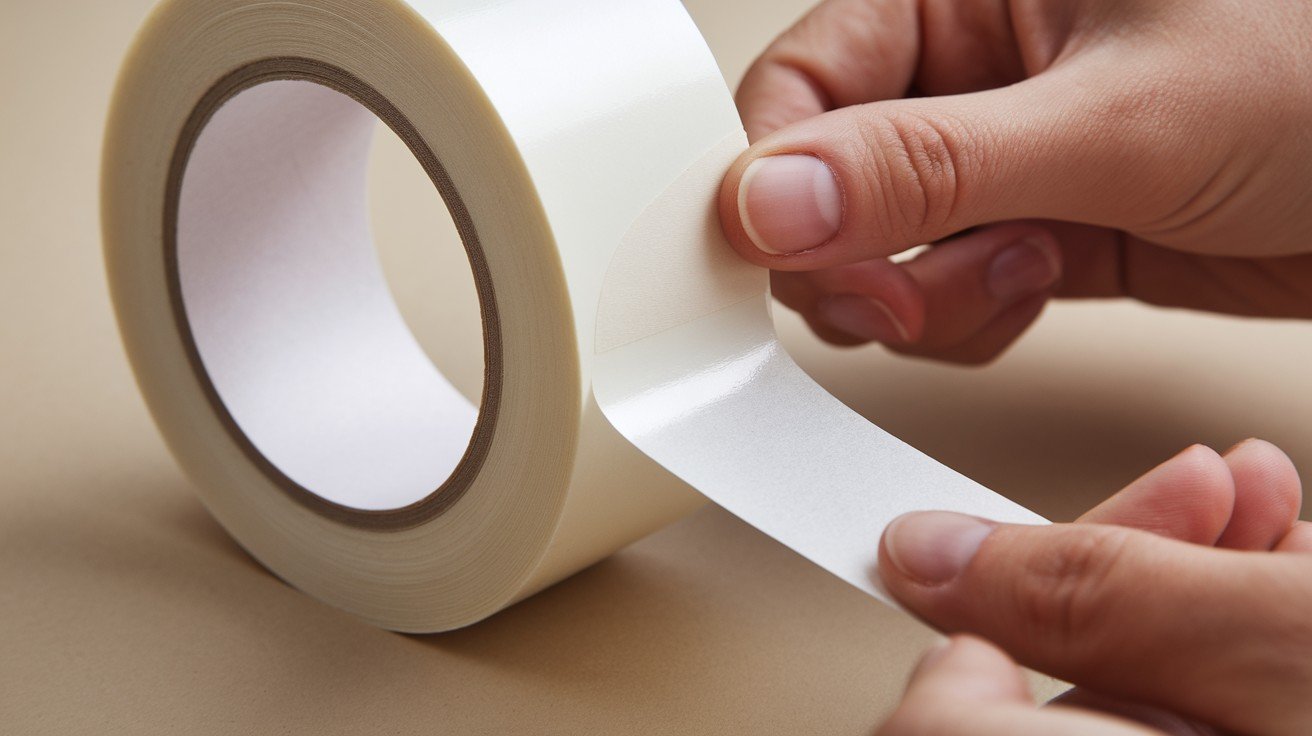
1. Clean the Surface
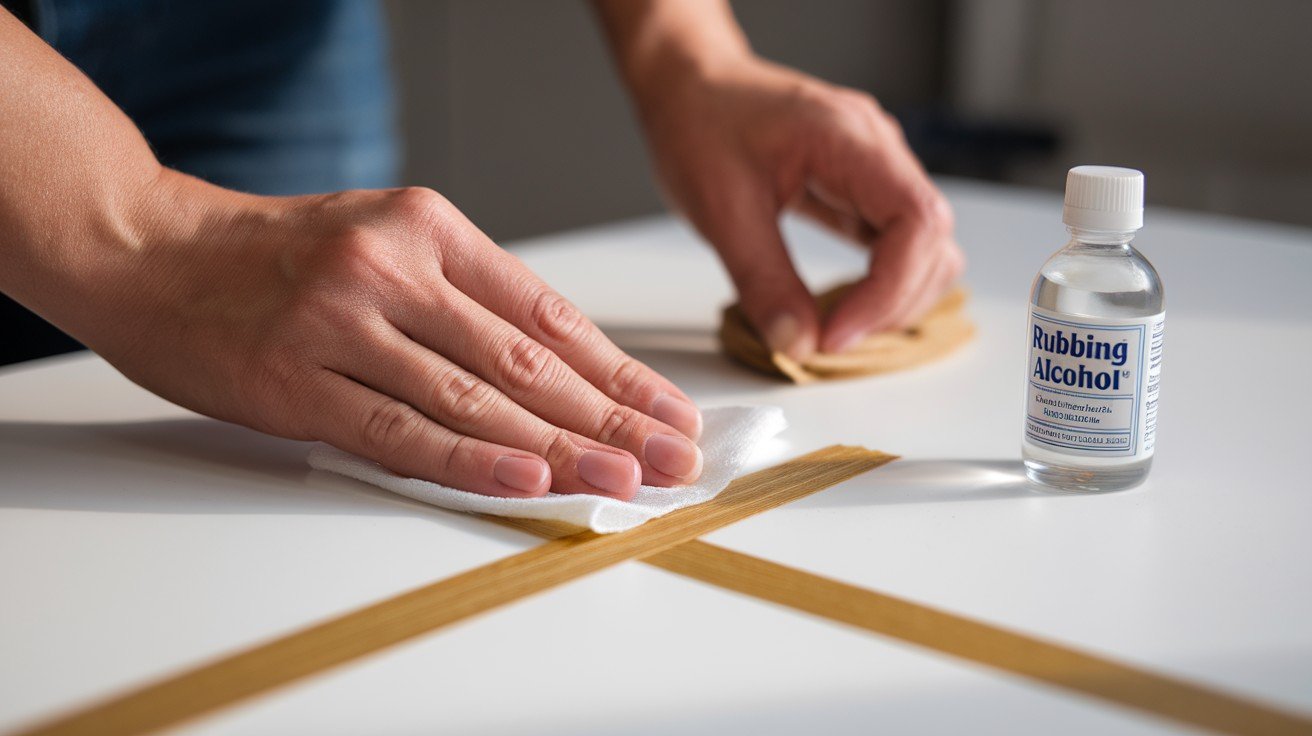
Cleaning is the most overlooked solution. Most people skip this step and jump to complex fixes.
Why cleaning works so well:
- Removes dust and oils blocking adhesion
- Restores original surface contact
- Takes only 2-3 minutes to complete
I learned this the hard way with a roll of duct tape I almost threw away. After cleaning with rubbing alcohol, it stuck perfectly again. Use a lint-free cloth with rubbing alcohol. Gently wipe away dirt and oils.
For stubborn grime, try warm soapy water. Let it dry completely before testing stickiness. Never use harsh chemicals – they’ll damage the adhesive permanently.
2. Use a Hair Dryer
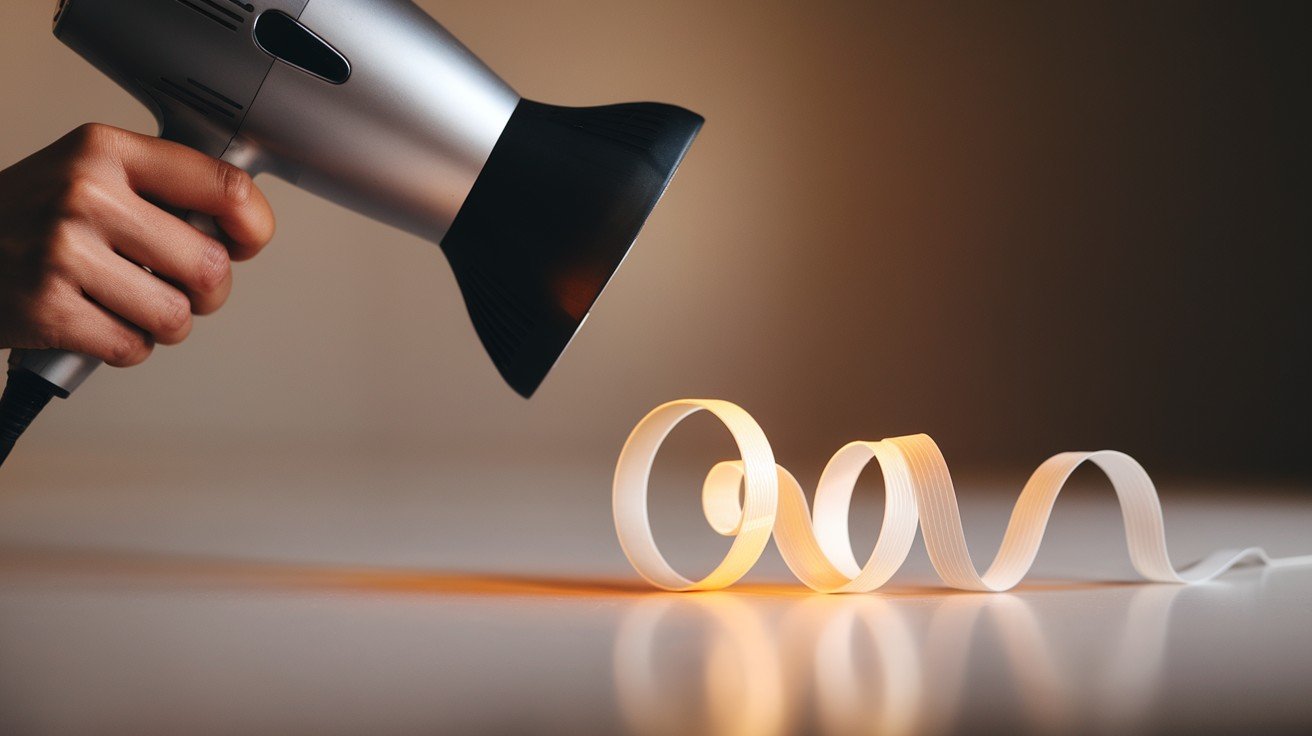
Heat works like magic on dried adhesives. The science is simple – warmth softens hardened compounds.
Key benefits of heat treatment:
- Reactivates dormant adhesive molecules
- Works on most adhesive types
- Uses equipment you already have
My daughter’s art project fell apart because the glue strips had hardened. Thirty seconds with a hair dryer brought them back to life. Hold your hair dryer 6 inches away from the adhesive. Use medium heat for 30-60 seconds.
The warmth softens hardened compounds and makes them sticky again.
Warning: Don’t overheat. Too much heat destroys adhesives completely.
3. Apply Spray Adhesive
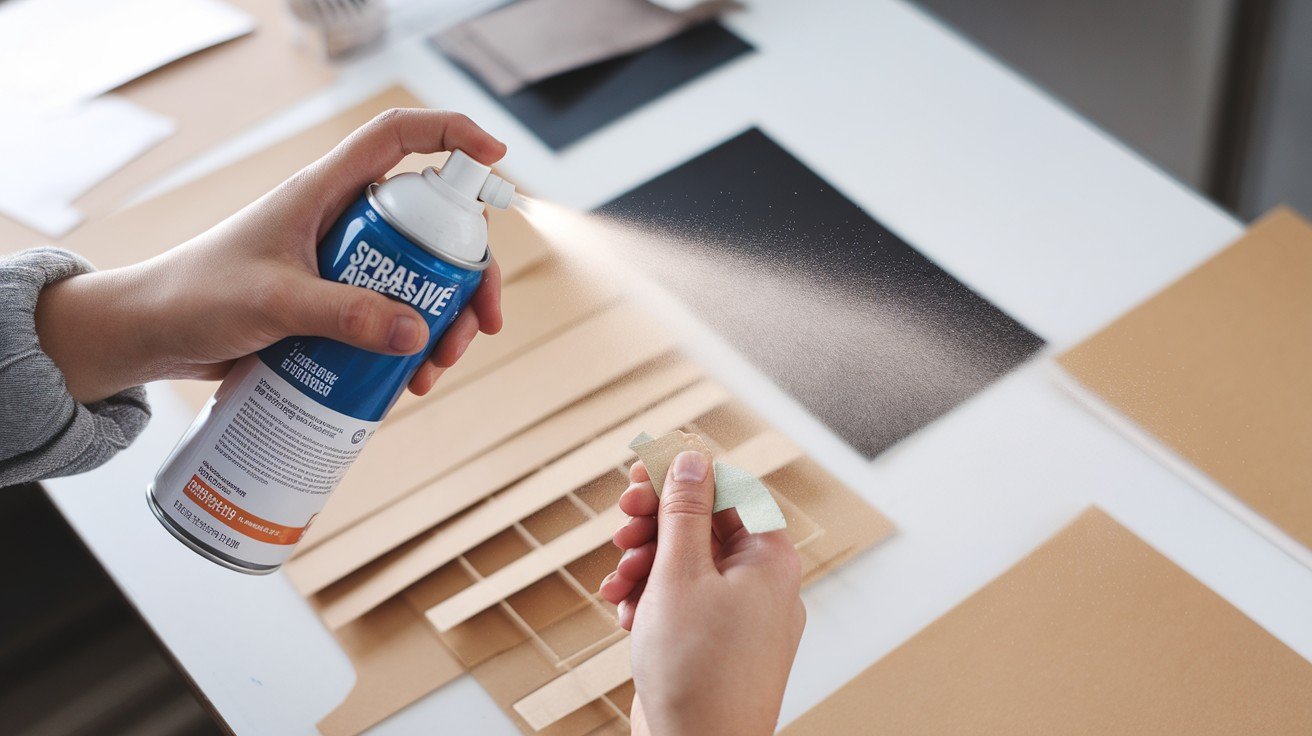
Spray adhesive is your backup plan when original adhesive shows signs of life but lacks strength.
Why spray adhesive works as reinforcement:
- Penetrates into existing adhesive layers
- Creates dual-bonding system
- Provides instant improvement
I saved a vintage poster this way. The original adhesive was weak but not dead. One light spray coat made it stick like new. Choose a spray that matches your original adhesive type. Apply thin, even coats.
Wait 2-3 minutes before sticking. This gives the spray time to get tacky.
4. Add Double-Sided Tape
Sometimes the simplest fix wins. Double-sided tape doesn’t compete with old adhesive – it replaces it.
Why this method succeeds:
- No chemical mixing or reactions
- Works immediately after application
- Removable without surface damage
My office wall decorations kept falling down. Instead of buying new ones, I added thin strips of quality double-sided tape. Problem solved in five minutes. Place thin strips of high-quality double-sided tape over your old adhesive.
This method works great for posters, decorations, and lightweight items.
5. Spot-Reinforce with Rubber Cement
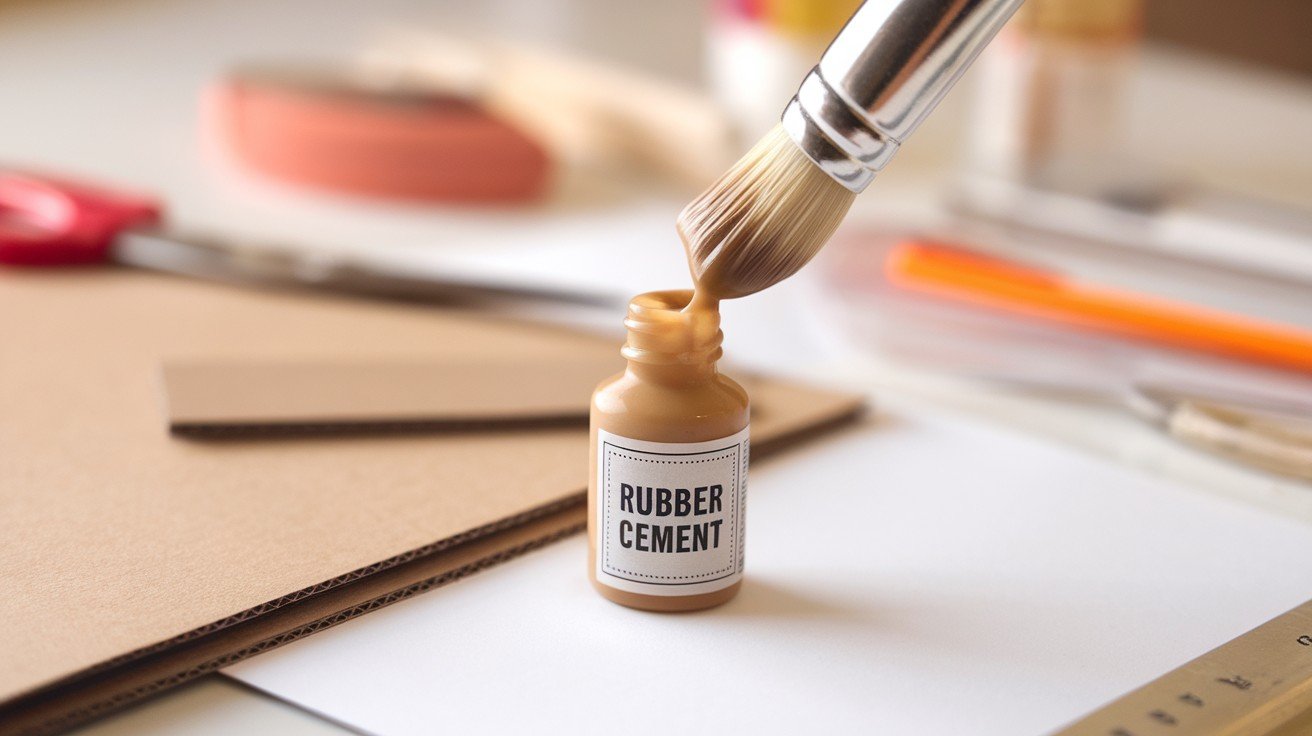
Rubber cement is the professional’s choice for paper repairs. It stays flexible and won’t crack over time.
What makes rubber cement special:
- Remains repositionable when wet
- Dries clear without yellowing
- Bonds well with existing adhesives
I repaired my son’s school project using this technique. The teacher couldn’t tell where the original adhesive ended and the rubber cement began.
Apply small dots of rubber cement to problem areas. Let it get slightly tacky before pressing.
Rubber cement stays flexible and won’t yellow over time.
6. Repositionable Glue Stick
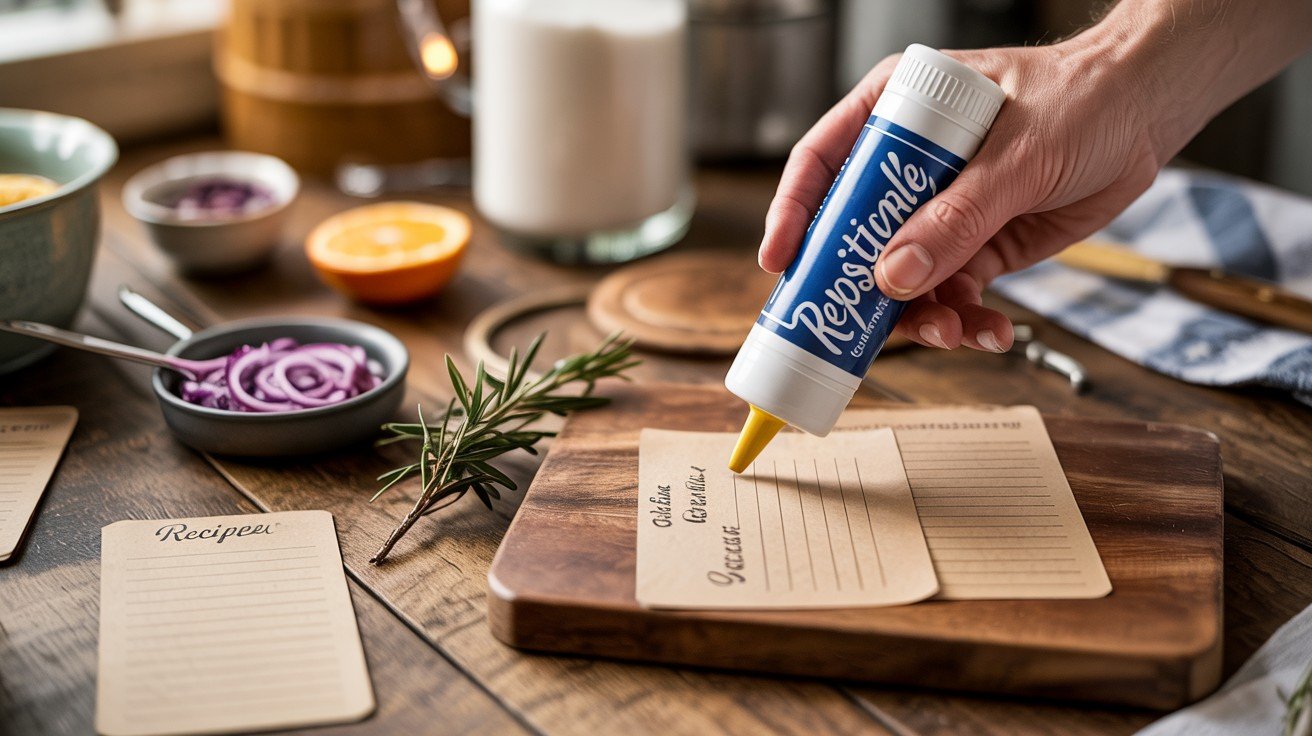
Modern glue sticks aren’t just for children’s crafts. Quality repositionable versions provide professional results.
Advantages of repositionable glue:
- Allows position adjustments before final bond
- Goes on smoothly without lumps
- Works on multiple surface types
I fixed my recipe cards with a repositionable glue stick after regular glue failed. The ability to adjust placement saved me from starting over. Repositionable glue sticks let you adjust placement while providing good hold.
Apply directly over old adhesive for instant improvement.
7. Rehydrate Old Glue
Water-based adhesives can often be brought back with controlled moisture. This gentle approach works when harsh methods fail.
How rehydration helps:
- Softens dried polymer chains
- Restores original flexibility
- Requires no special equipment
I saved a set of address labels this way. They’d been sitting in my desk drawer for months. Overnight humidity treatment made them usable again.
Place a damp cloth near (not on) your adhesive overnight. The humidity softens dried compounds. This works best with water-based adhesives like school glue.
8. Scrape and Restick
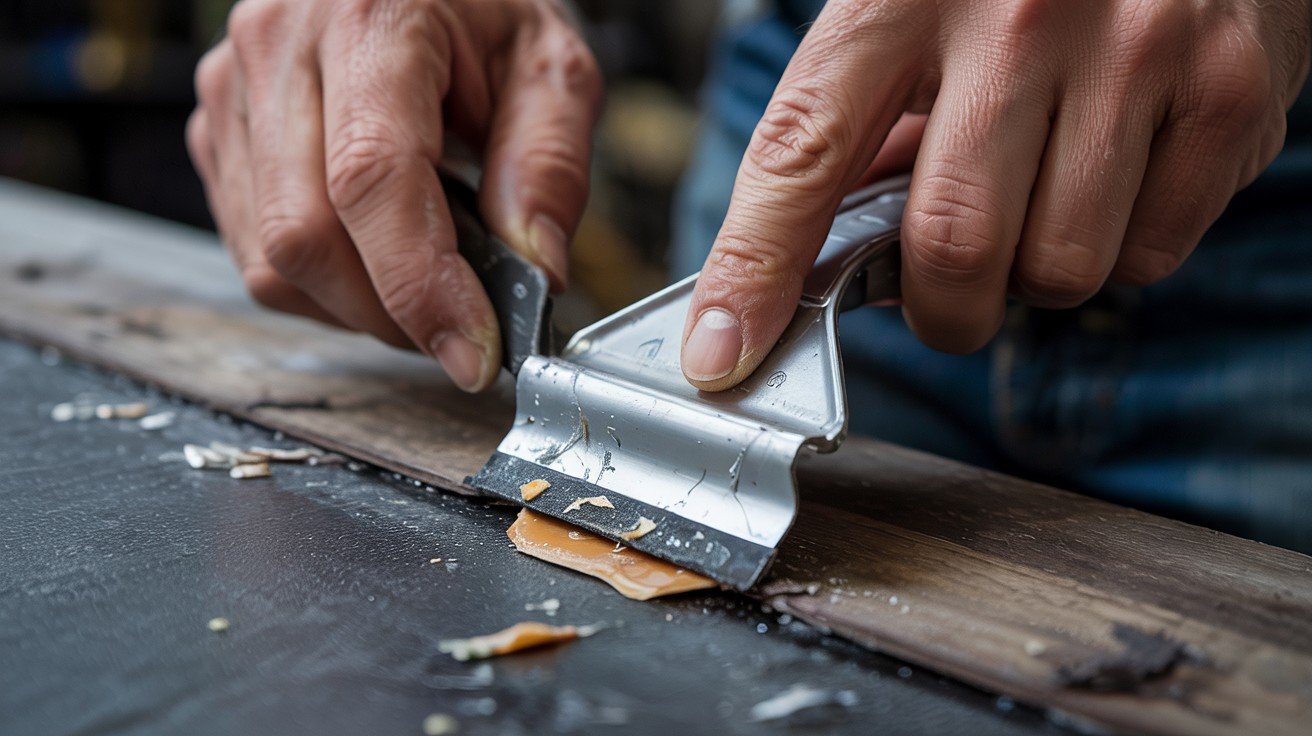
Sometimes you need a complete do-over. This method gives you a fresh start with proven materials.
When to choose complete removal:
- Old adhesive is contaminated beyond cleaning
- Multiple failed repair attempts
- Need maximum strength bond
I used this approach on weather stripping that had collected years of dust and oils. Starting fresh with new adhesive gave me a perfect seal.
Carefully scrape off the old adhesive with a plastic scraper. Clean the surface completely. Apply new adhesive of the same type.
9. Homemade DIY Glue
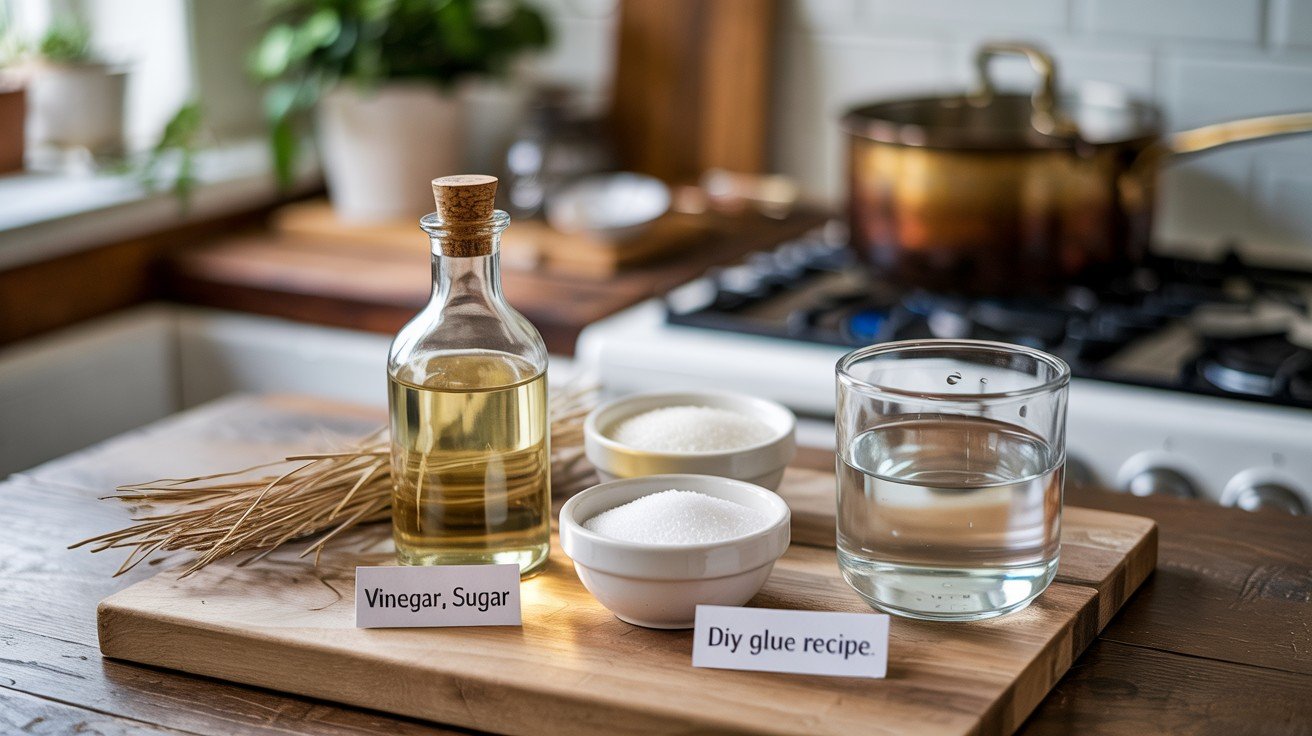
Making your own adhesive gives you complete control over ingredients and strength. This old-school method still works today.
Benefits of homemade glue:
- Uses common household ingredients
- Adjustable strength and consistency
- Safe for children and pets
I created this recipe when store-bought glue kept failing on my crafting projects. The homemade version lasted months and cost pennies to make.
Basic recipe:
- 2 tablespoons white vinegar
- 1 tablespoon sugar
- 1/4 cup water
Heat until sugar dissolves. Let cool. Apply with a brush.
How to Make Adhesive Sticky Again Naturally (Eco-Friendly Options)
Going green doesn’t mean going weak.
DIY Glue: Sugar + Water + Vinegar

This natural adhesive works surprisingly well. Mix equal parts sugar and water. Add a splash of vinegar. Heat until sugar dissolves completely.
Best for: Paper crafts, temporary fixes, kid-safe projects.
Using Honey or Corn Syrup for Paper Crafts

Nature’s original adhesives still work today. Thin honey with a few drops of water. Corn syrup works straight from the bottle.
Both dry clear and hold paper securely.
Reusable Beeswax-Based Adhesive
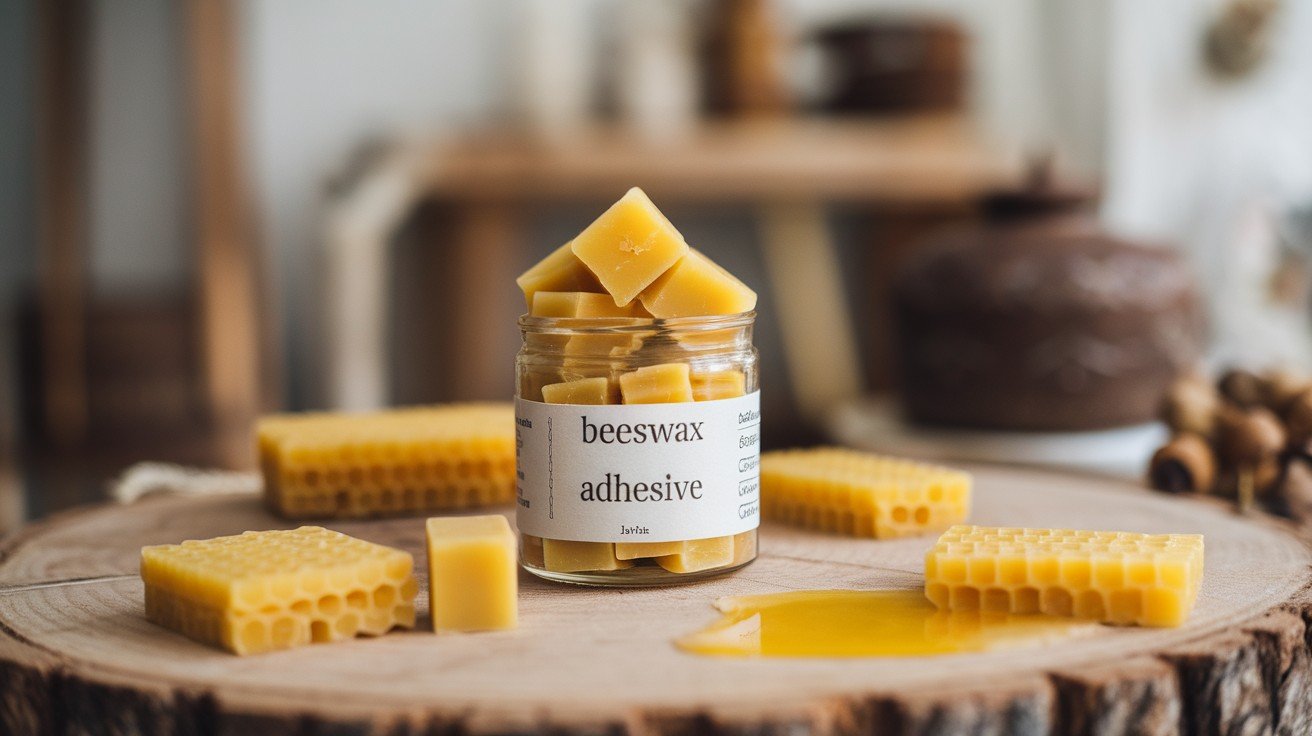
Beeswax creates removable, reusable adhesive. Melt beeswax with a small amount of tree resin. Pour into molds to create adhesive squares.
Perfect for: Temporary mounting, seasonal decorations.
Cleaning with Natural Ingredients Like Baking Soda
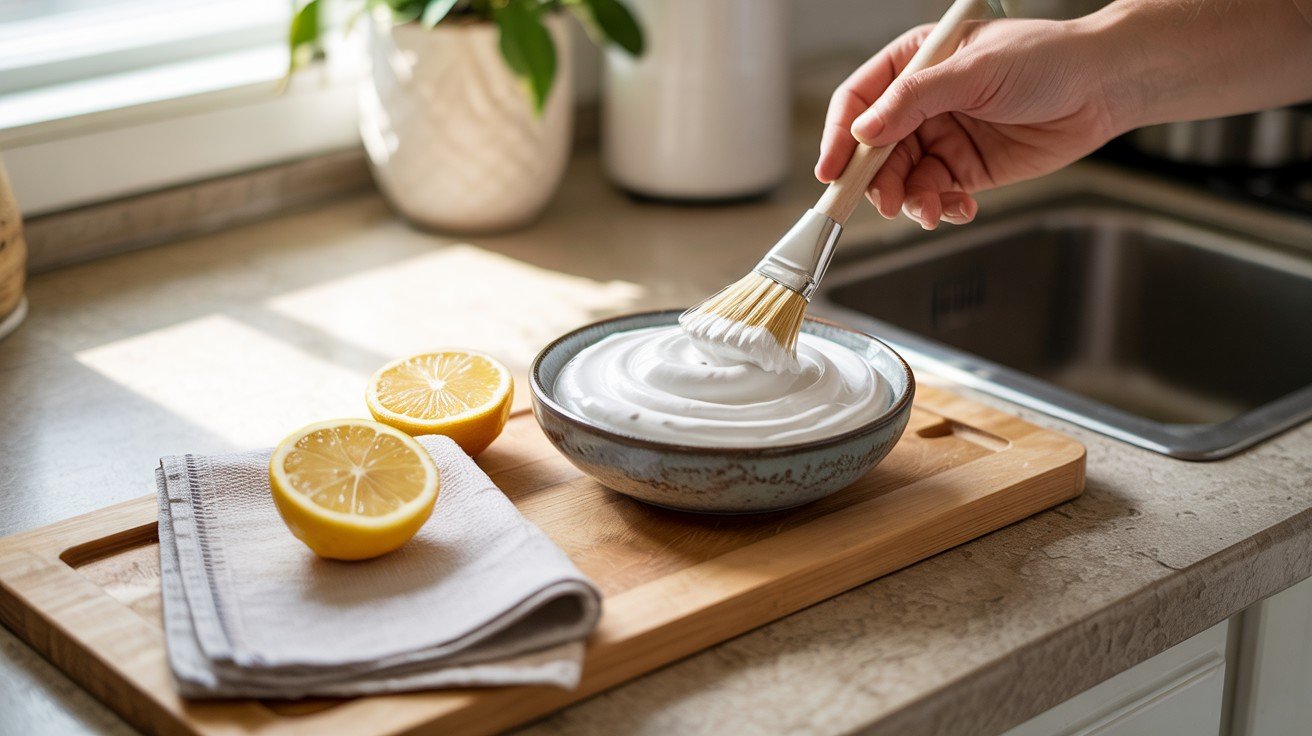
Baking soda removes grime without harsh chemicals. Make a paste with baking soda and water. Gently scrub the adhesive surface.
Rinse completely and let dry before testing stickiness.
Special Fixes for Specific Items
Different items need different approaches.
- Tape rolls: Store in airtight containers with silica gel packets.
- Stickers: Place between wax paper sheets in the refrigerator for 10 minutes.
- Labels: Use a warm iron (through parchment paper) to reactivate.
- Bandages: Never try to revive these – safety first.
- Wallpaper: Professional wallpaper paste works better than DIY fixes.
Best Products to Restore Adhesive Stickiness
Not all products are created equal.
Top-rated spray adhesives:
- 3M Super 77 Multipurpose Adhesive
- Gorilla Heavy Duty Spray Adhesive
- Elmer’s Multipurpose Spray Adhesive
Best double-sided tapes:
- Scotch Removable Double Sided Tape
- Duck Brand Double Stick Tape
- XFasten Double Sided Tape
Reliable glue sticks:
- UHU Glue Stick (repositionable)
- Elmer’s Re-Stick Glue Stick
- Scotch Restickable Glue Stick
Best Practices to Prevent Adhesive From Drying Out
Prevention beats repair every time.
- Store properly: Keep adhesives in cool, dry places. Seal containers tightly.
- Control temperature: Avoid extreme heat and cold. Room temperature is ideal.
- Limit air exposure: Replace caps immediately after use.
- Use release liners: Keep protective backing on until ready to use.
- Rotate stock: Use older adhesives first.
Common Mistakes to Avoid
These errors make problems worse.
Don’t use too much heat: you’ll melt the adhesive instead of reviving it.
Avoid petroleum-based cleaners: they dissolve many adhesive types.
Never force stuck items apart: gentle warming works better.
Don’t mix different adhesive types: they may not bond properly.
Skip the freezer trick: extreme cold makes most adhesives brittle.
Conclusion
You now have 9 proven methods to make adhesive sticky again. Start simple. Clean the surface first – this fixes 70% of problems instantly. Heat works next. A hair dryer can bring dried adhesives back to life in minutes.
Reinforce when needed. Spray adhesives and double-sided tape provide reliable backup solutions. Go natural for eco-friendly fixes using sugar, honey, or beeswax.
Here’s the truth: Not every adhesive can be saved. Some are too old or damaged. But most can be revived with the right approach.
Your next step is easy – pick the method that matches your situation and try it. Stop throwing away perfectly good items. Start fixing them instead. You’ve got this.
Frequently Asked Questions
Can I microwave tape to make it sticky again?
No, microwaving can melt or damage adhesives permanently. Use a hair dryer with medium heat instead – it’s safer and more effective.
How long do revived adhesives actually last?
Most restored adhesives work for 2-6 months, depending on storage conditions. Keep them in cool, dry places to maximize their lifespan.
Is it safe to reuse old medical adhesives like bandages?
Never reuse medical adhesives for health and safety reasons. Always buy new bandages and medical tapes when needed.
What’s the strongest method to revive weak adhesive?
Spray adhesive applied over a cleaned original surface gives the strongest hold. Clean first, then spray for best results.
How can I tell if an adhesive is beyond saving?
If it crumbles when touched or has completely separated from its backing, replacement is your only option. Don’t waste time on completely hardened adhesives.