

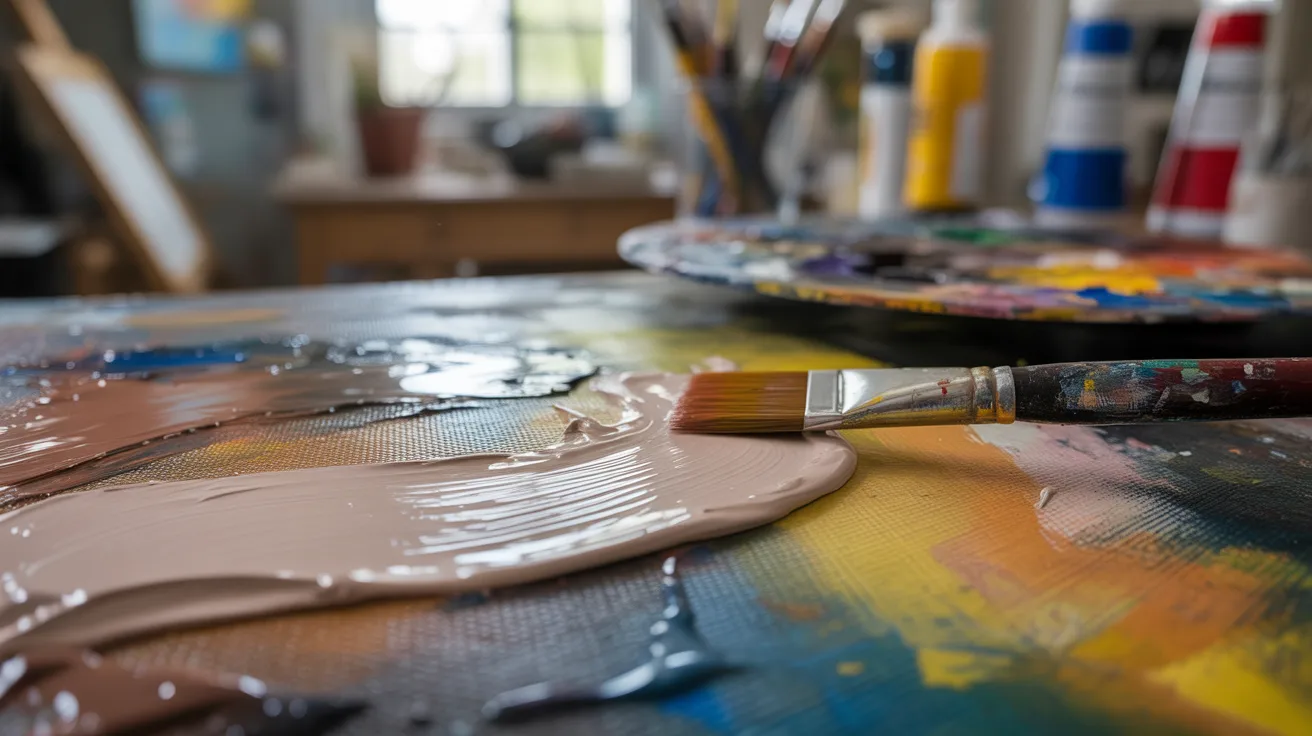
Wet paint sitting there, not drying, I know how that feels.I’ve spent hours waiting between layers, losing time and losing focus.
That’s why I put together this guide on how to make acrylic paint dry faster. In this article, I’ll cover 9 simple, tested tricks that actually work.
From thin layers to the right tools and room conditions, it’s all here.I’ve been painting with acrylics for years.
These methods come from real experience, not guesswork.
Let’s get into it.
General Tips to Understand Acrylic Paint Drying
Acrylic paint dries when water evaporates from the paint film. The more water in the paint, the longer it takes.
Thick layers, cold rooms, and high humidity all slow this down. Warm, dry air speeds it up. The surface you use also matters, absorbent surfaces pull moisture away faster.
Knowing these basics helps you make smarter choices before you even start painting. Small adjustments in your setup can cut drying time significantly.
9 Simple Tricks to Make Acrylic Paint Dry Faster
These nine methods are practical, easy to apply, and make a real difference in how fast your paint sets.
1. Apply Thin Layers
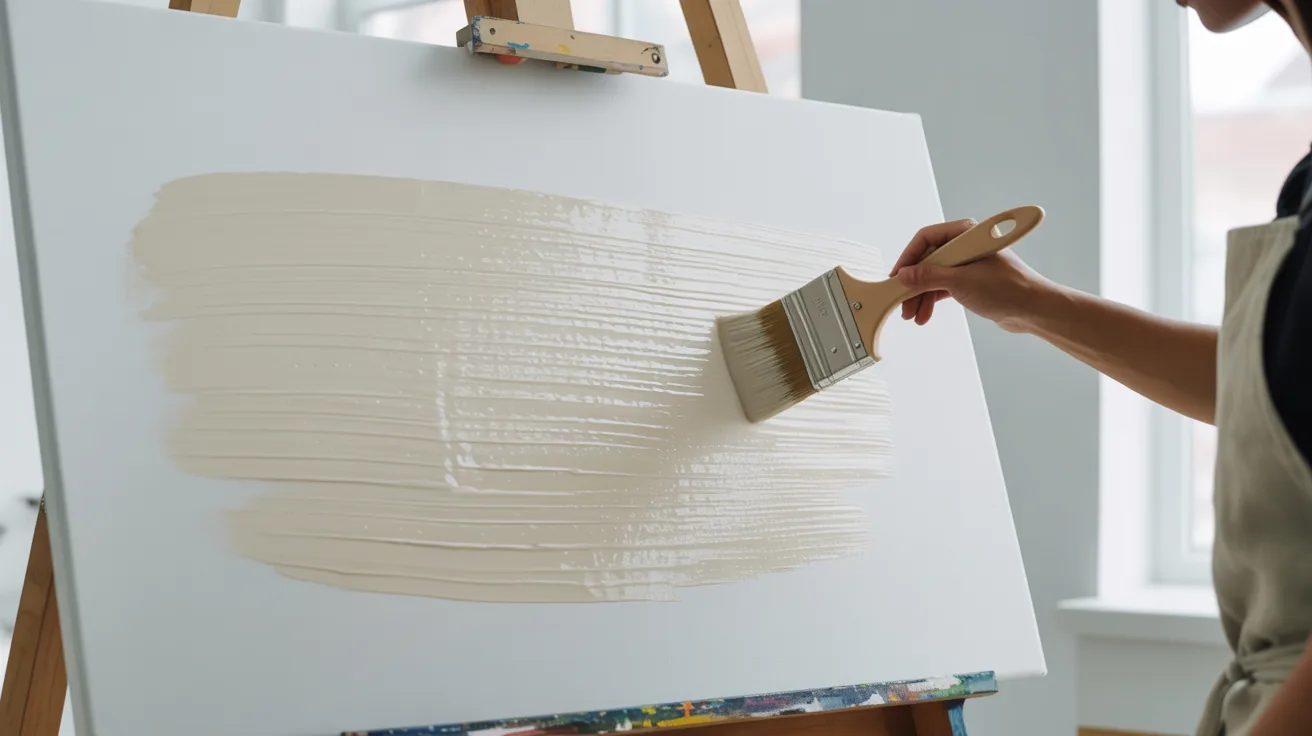
Thin layers hold less water, so they dry in minutes instead of hours. When I started applying lighter coats, I stopped wasting time waiting.
Use light brush strokes, load less paint on your brush, and work in small sections. Each coat sets faster, and you can build up color gradually without long delays between layers.
2. Avoid Adding Too Much Water
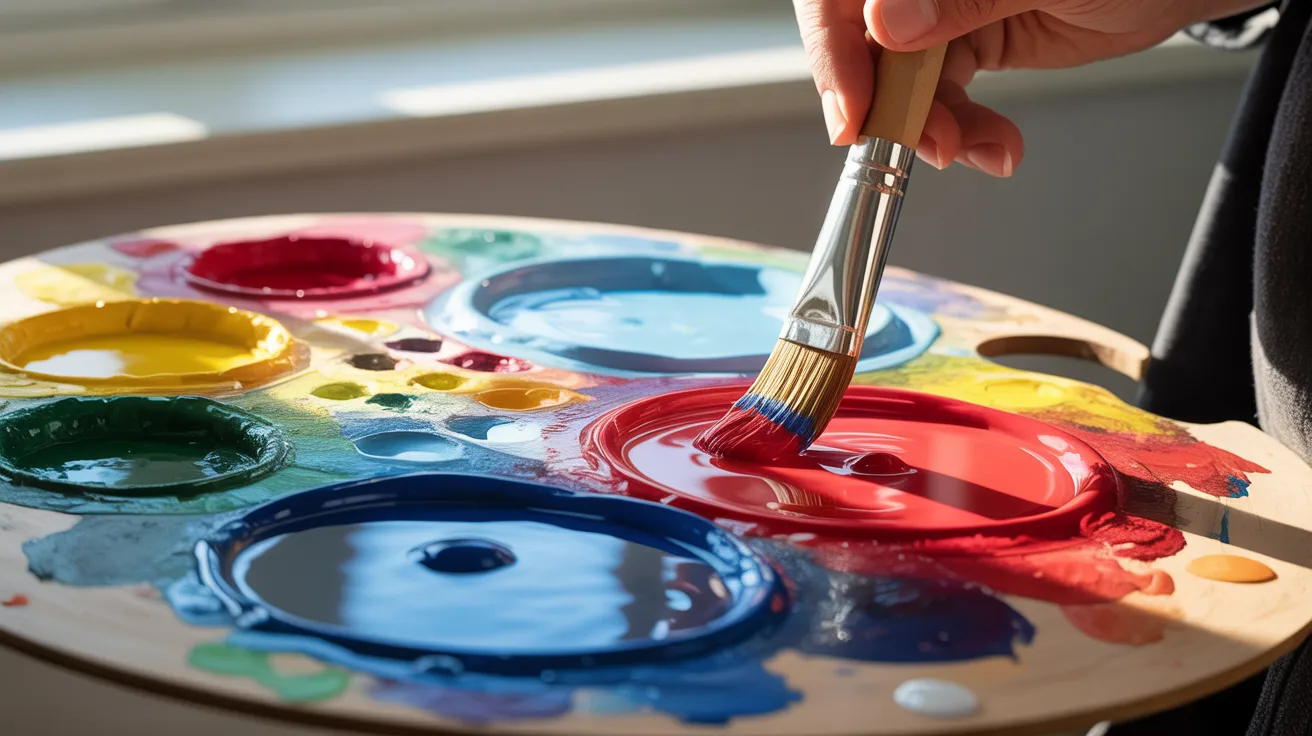
Too much water weakens your paint and adds extra moisture that takes longer to dry. It makes the paint runny, causes pooling, and can lead to cracking later on.
A small drop to loosen the paint is fine. But if it’s dripping off your brush, you’ve gone too far. Keep water use minimal for faster, stronger results.
3. Use a Hairdryer
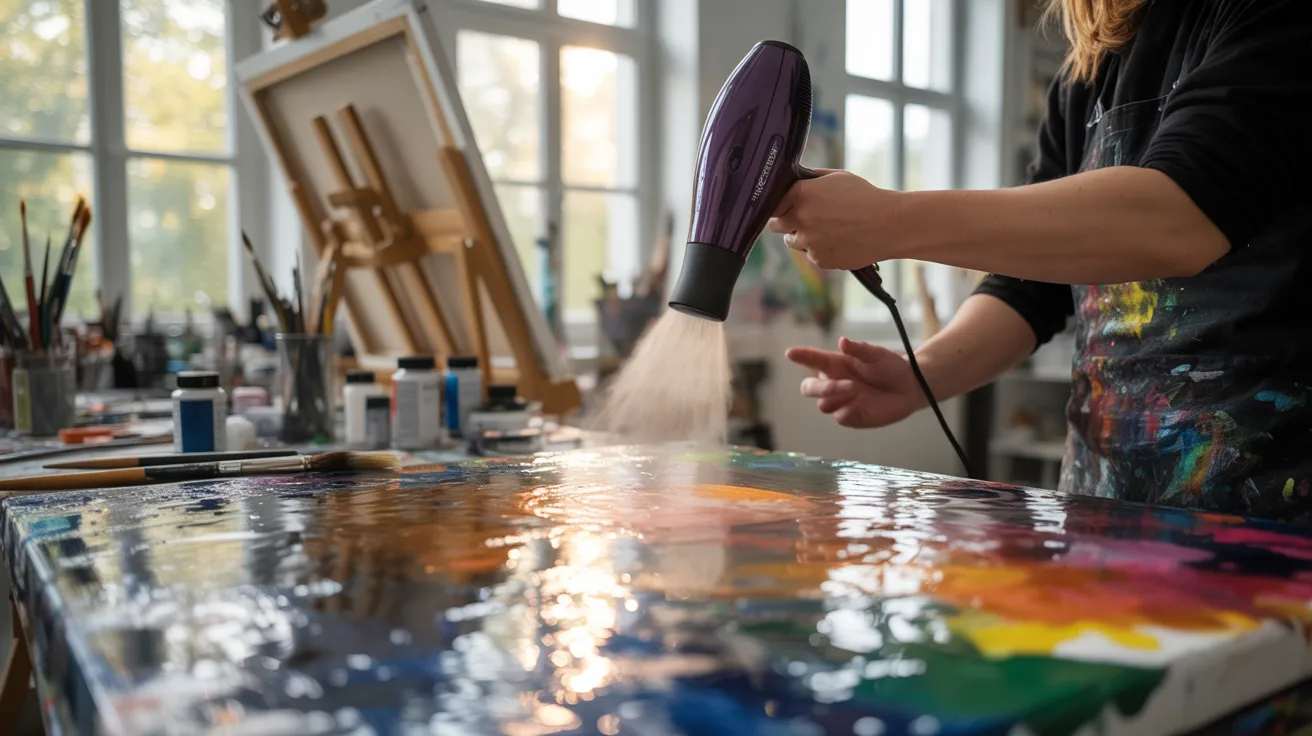
A hairdryer is the easiest tool to speed up drying at home. Set it to low or medium heat, hold it about 12 inches away, and keep it moving in slow passes.
Never stay on one spot too long. High heat can bubble or crack the paint. I use this trick between layers and it saves me a lot of waiting time.
4. Use a Heat Gun
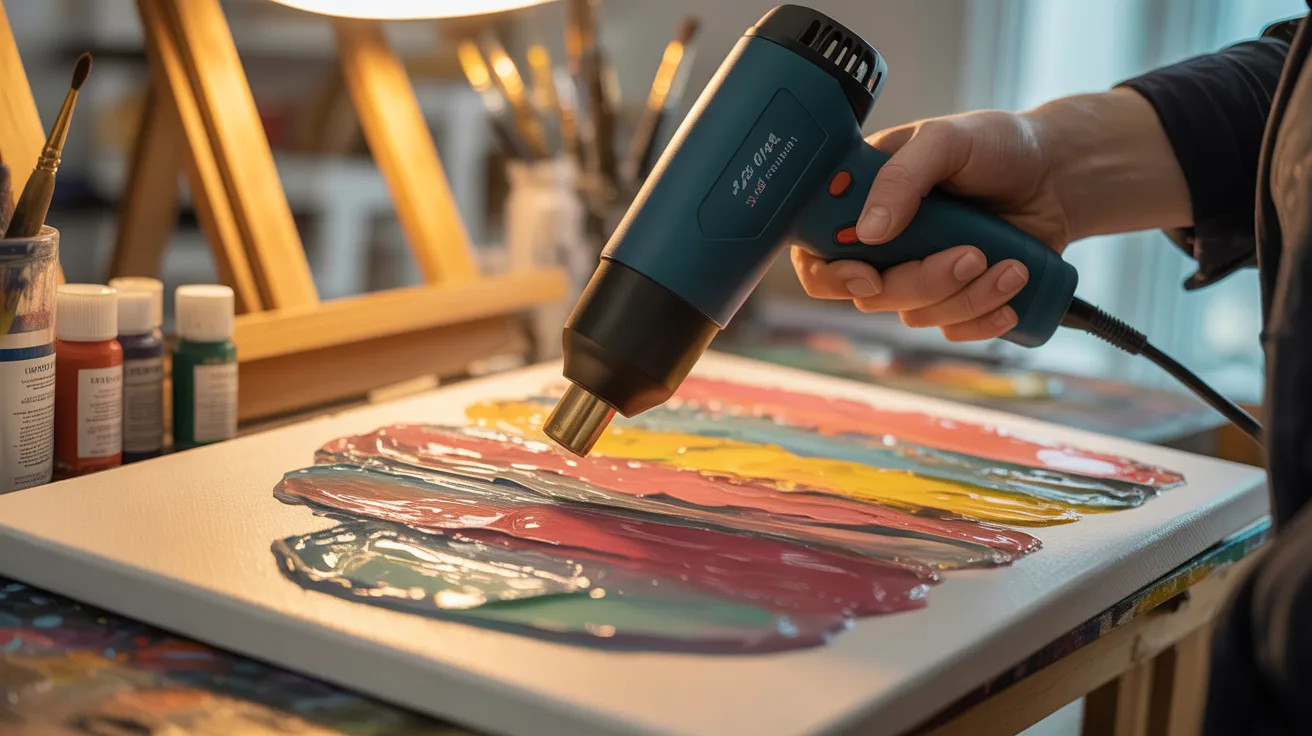
A heat gun pushes out stronger, more focused warm air than a hairdryer. It works fast and is great for thicker surfaces like wood or canvas boards.
Always keep it moving and never hold it over one spot. Too much heat in one place will scorch the paint.
Work in a well-ventilated space and keep it away from flammable materials around you.
5. Improve Air Circulation
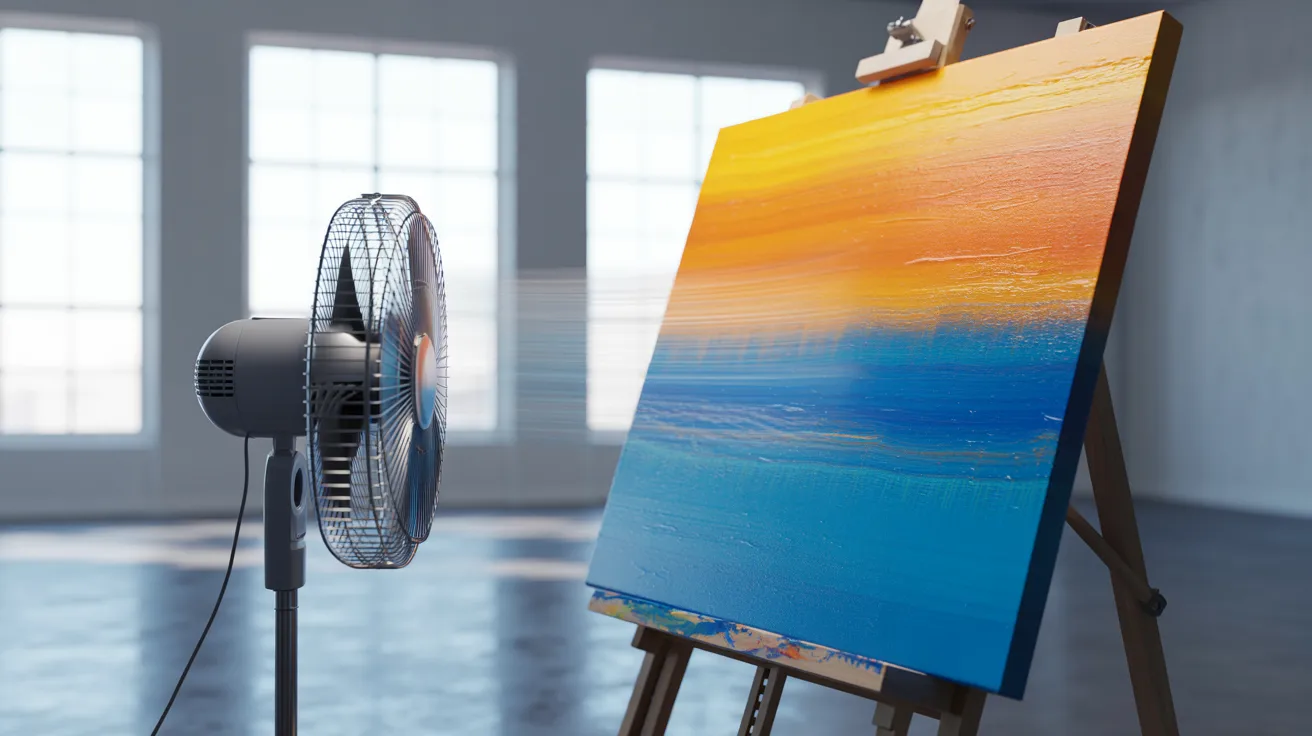
Moving air carries moisture away from wet paint much faster than still air does. Place a small fan near your workspace on a low setting and point it toward the painting.
Open a window if the outside air is dry and warm. Good airflow helps every layer dry more evenly and cuts down total drying time in your studio significantly.
6. Control Humidity and Temperature

Room conditions play a bigger role in drying time than most people realize. Aim for a temperature between 65°F and 75°F and keep humidity below 50 percent.
I always check these before a session because humid days can double my wait time. Use a dehumidifier or air conditioner to create the right conditions, especially during summer or in naturally damp spaces.
7. Choose Fast-Drying Acrylic Paint
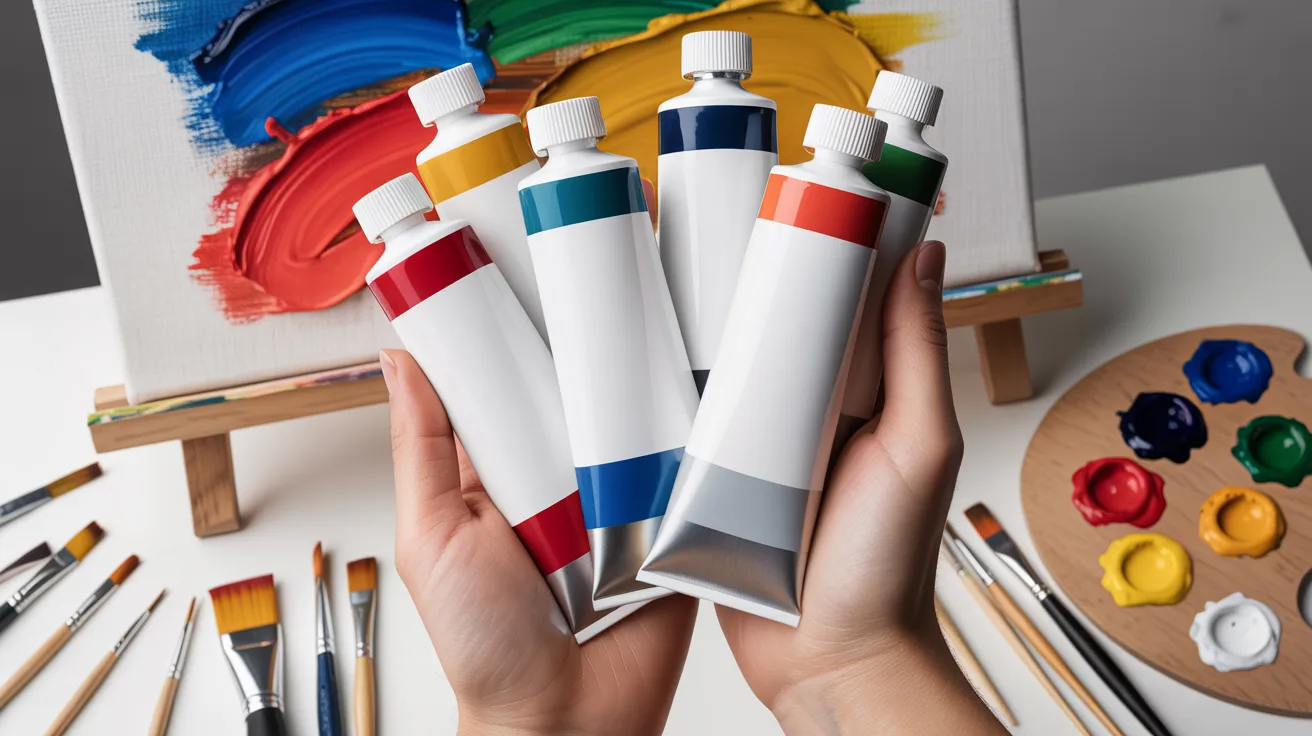
The type of paint you use affects drying time from the very start. Student-grade paints tend to dry faster because they contain more filler.
Professional-grade paints have richer pigment and may take longer. Check the label before buying and look for terms like “fast-drying” or “quick-set.”
Choosing the right paint upfront saves time and helps you plan your sessions more efficiently.
8. Paint on Absorbent Surfaces

Absorbent surfaces pull water from paint faster, which speeds up drying naturally. Canvas and wood work much better than glass or plastic for quick drying.
Before you start, apply a layer of gesso to prime the surface. Gesso creates a slightly rough, absorbent base that grips paint well and helps moisture move out of the paint layer more quickly.
9. Use Dry Brush Techniques

Dry brushing uses almost no paint on the brush, which means drying happens in seconds. Wipe most of the paint off on a paper towel first, then drag the brush lightly across the surface.
It creates a thin, textured stroke with very little moisture. I use this for final details and highlights when I want to finish a piece fast without waiting.
Common Mistakes to Avoid
- Applying paint too thick: Heavy layers trap water and take much longer to dry properly.
- Adding too much water: This weakens the paint and significantly increases drying time.
- Working in a humid room: High moisture in the air slows evaporation and keeps paint wet longer.
- Holding a heat gun in one spot: Staying in place scorches the paint and damages your surface.
- Skipping surface preparation: Painting on an unprimed, non-absorbent surface makes drying much slower.
Conclusion
I used to lose so much time just waiting for paint to dry. Once I started using these tricks, everything changed.
Thinner layers, a small fan, and the right room conditions made my sessions faster and more enjoyable.
Now it’s your turn. Pick one or two tricks from this list and try them on your next project. You’ll feel the difference right away.
Found this helpful? Drop a comment below or share it with a fellow painter who’s always waiting on wet paint.
Frequently Asked Questions
How long does acrylic paint take to dry normally?
Thin layers of acrylic paint typically dry in 10 to 30 minutes. Thick layers or humid conditions can extend that to several hours depending on the surface used.
Can I use a hairdryer on acrylic paint safely?
Yes, a hairdryer is safe when used on a low or medium heat setting. Keep it moving and hold it about 12 inches away to avoid bubbling or cracking the paint.
Does cold weather slow down acrylic paint drying?
Yes, cold air slows water evaporation, which makes paint stay wet longer. A room temperature between 65°F and 75°F gives the best and most consistent drying results.
What surfaces help acrylic paint dry faster?
Absorbent surfaces like primed canvas or gesso-coated wood dry faster. Smooth or non-absorbent surfaces like glass and plastic hold moisture in and slow the drying process down.
Does adding water to acrylic paint slow drying?
Yes, adding too much water increases moisture in the paint and slows drying. A very small amount is acceptable for brush flow, but keep it minimal for faster results.