

Making gift bows from scratch is easier than you think. Store-bought bows cost too much and never match your wrapping paper.
This article teaches you how to create perfect bows using wrapping paper and supplies you already own. You’ll learn three simple steps that work for any gift.
I’ve made hundreds of bows over the past five years. These methods always deliver great results.
By the end, you’ll make bows that look store-bought. Your gifts will look more polished and personal. You’ll also save money on every present you wrap.
These techniques are straightforward. Anyone can master them, even if you’ve never crafted before.
Let’s start with the basic supplies and first folding technique.
Before You Start: Choosing the Right Wrapping Paper
Not all wrapping paper works well for bows.
I learned this when my first bow fell apart in my hands. The paper was too thin and ripped at every fold.
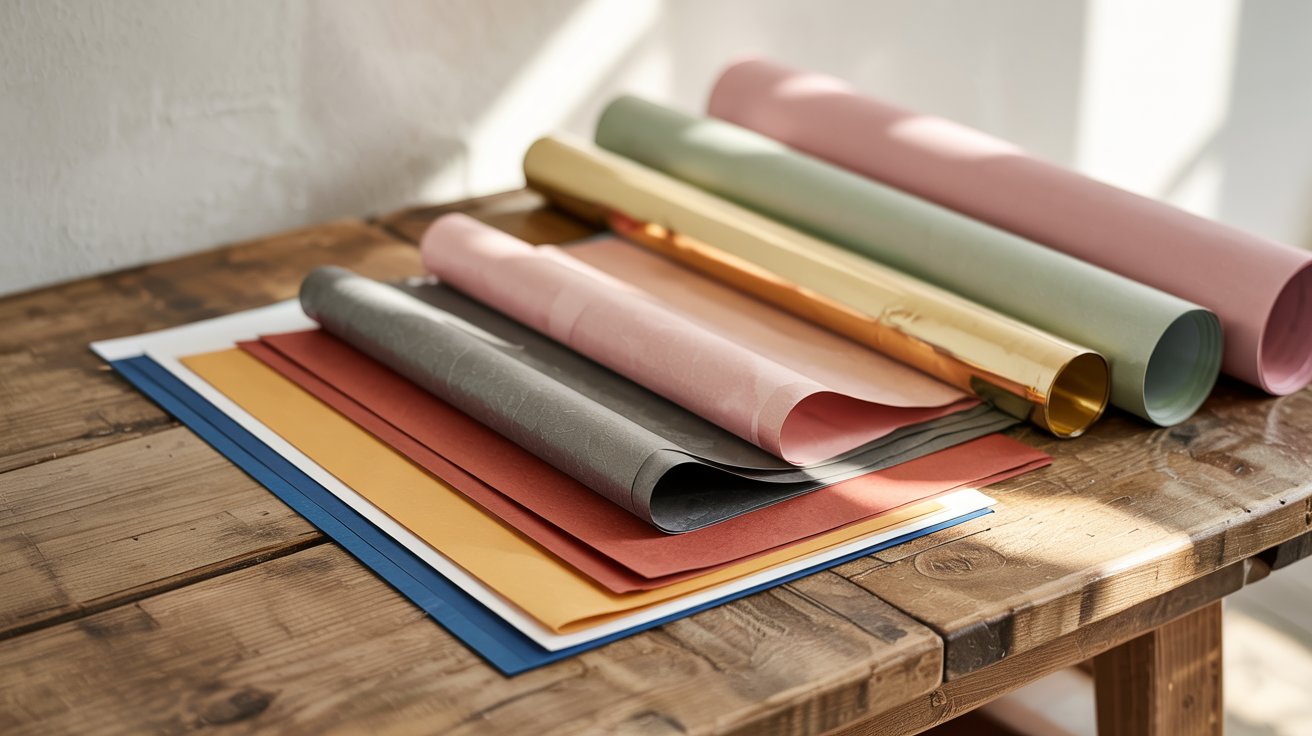
Thickness matters most. You need paper that can hold a crease without tearing. Standard gift wrap works fine, but avoids tissue-thin varieties.
Here’s what I look for: Paper with some weight to it, patterns that look good on both sides and non-glossy finishes.
Glossy paper slides around too much. It doesn’t hold folds well, and your bow might come undone. Matte or semi-matte paper gives you more control.
Test your paper first. Fold a small piece in half and crease it hard. Does it tear? Does it hold the fold? If yes to both, you’re ready.
Leftover wrapping paper from your gifts is perfect. You’ll get a matching bow without buying anything extra. I keep scraps in a drawer just for this.
Avoid foil paper when you’re starting out. It creases permanently and shows every mistake. Stick with regular paper until you feel confident.
The right paper makes everything easier.
Materials You’ll Need
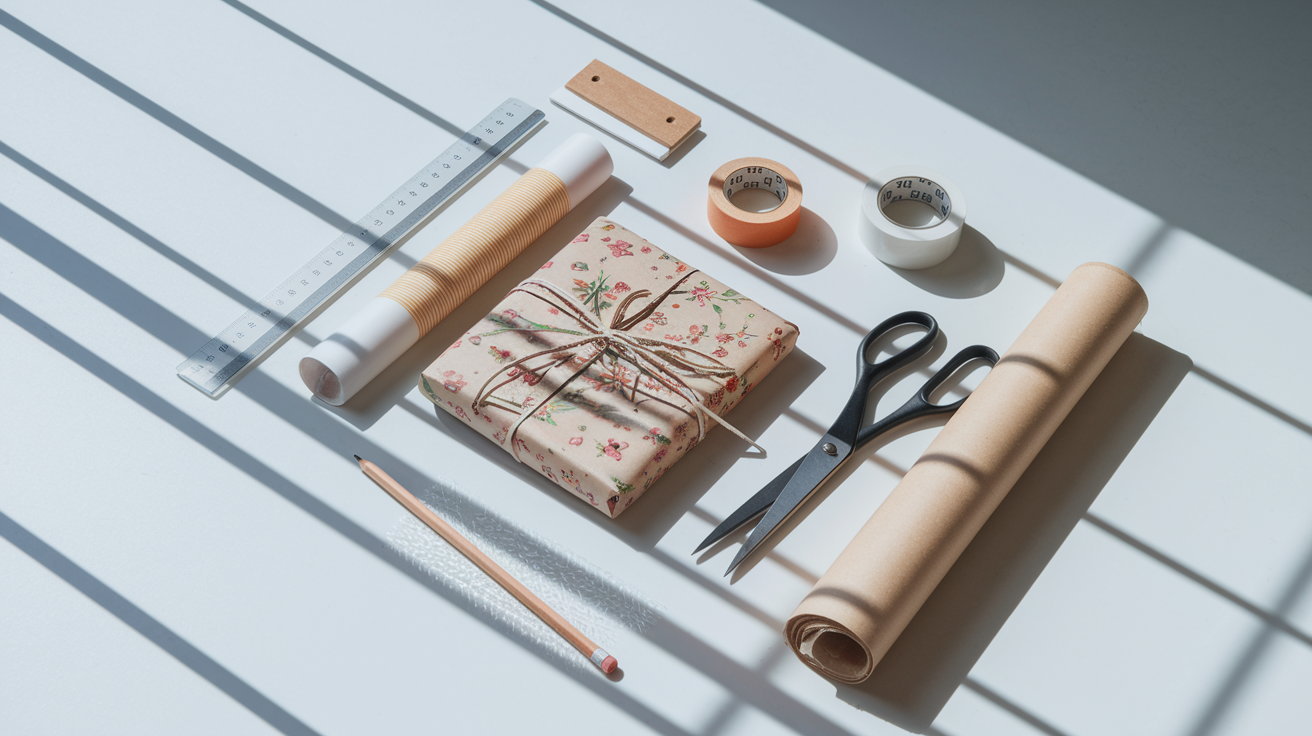
Using basic supplies like scissors and tape, you’ll create custom bows that match your gift wrap perfectly while saving money on store-bought ribbon bows.
- Wrapping paper
- Scissors
- Double-sided tape or glue
- Ruler (optional)
- Pencil (optional)
Choose wrapping paper that’s medium thickness, not too thin because it will tear easily, or too stiff since it won’t fold well. Standard gift wrap works perfectly for this project.
Step-by-Step Instructions
These steps are easy to follow and do not require any crafting skills. Take your time with each step and focus on neat folds and gentle shaping.
Even if it is your first try, you will still end up with a neat paper bow.
Step 1: Cut and Fold the Paper

Start by cutting a rectangle from your wrapping paper. I recommend making it about 8 inches long and 6 inches wide. This size works well for most gifts.
Now comes the fun part. You’ll fold the paper accordion-style, just like making a paper fan. Make each fold about 1 inch wide.
Here’s a trick that helps: Keep your folds tight and even by pressing down firmly after each one. If the folds are uneven, your bow will look lopsided.
Work slowly. Rush this step and you’ll end up starting over.
Step 2: Shape and Secure the Bow
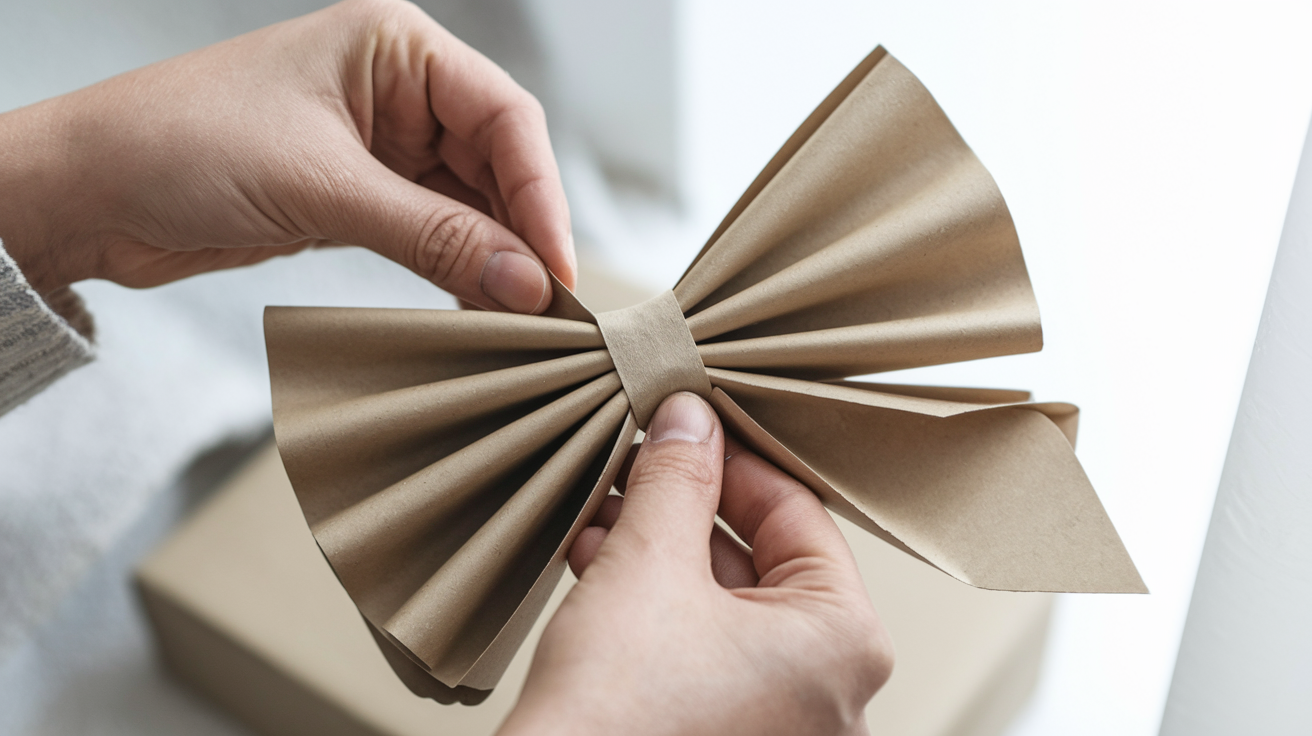
Grab your folded paper in the middle. Pinch it tight between your fingers. You should see the bow shape starting to form already.
Take a small strip of wrapping paper or tape and wrap it around the pinched center. This keeps everything in place.
Don’t make it too tight. You want the bow to breathe a little.
Now for the magic touch. Gently pull and fluff each loop outward. Some loops might stick together, separate them carefully. Keep adjusting until your bow looks full and balanced.
This step takes patience. But it’s what makes your bow look professional.
Step 3: Attach the Bow to Your Gift

Time to put your creation to work. Place a piece of double-sided tape on the back of your bow’s center.
Press it firmly onto your wrapped gift. Hold it down for a few seconds to make sure it sticks.
The best part? You can carefully remove this bow and use it again on another gift. Or change the colors to match different holidays and occasions.
Your homemade bow is now ready to impress.
If you prefer to watch the process, you can follow along with the video tutorial below to see each step in action: How To Make A Simple Paper Bow
Bonus Tips for Perfect Paper Bows
- Use patterned or metallic wrapping paper for extra visual impact
- Make several bows at once and store them for future use
- Try different sizes – small for tiny gifts, large for big boxes
- Experiment with oval shapes by adjusting paper dimensions
- Mix patterns – combine different designs for unique looks
Common Mistakes When Making Paper Bows
I’ve messed up more bows than I can count when I first started. Here’s what to avoid.
Cutting your paper strips too narrow: Thin strips make flat, sad-looking bows. Make your strips at least 1.5 inches wide for small bows and 2.5 inches for larger ones.
Using the wrong type of paper: Thick cardstock won’t fold nicely. Tissue paper tears too easily. Regular wrapping paper works best.
Not securing the center properly: I used to just tie the middle with ribbon. The loops would shift and look messy. Now I use a small piece of wire or twist tie under the ribbon.
Skipping the fluffing step: After you tie your bow, separate each loop and pull them outward gently. This creates fullness. Without this step, bows look squashed.
Making all your loops the same size: Mix it up. Some loops should be bigger, some smaller. This adds dimension.
Wrapping your gift before making the bow: Attach the bow separately after the box is wrapped. If the bow doesn’t turn out right, you haven’t wasted your wrapping.
Rushing through the process: Take your time with each fold. When I hurry, my measurements get sloppy and the bow ends up lopsided.
Conclusion
Making a bow from wrapping paper is a small step that makes a gift feel more thoughtful.
With the three steps shared in this guide, you can create a neat paper bow using items you already have at home.
The method works for birthdays, holidays, and quick last minute wrapping.
Practice a few times and your hands will get faster and steadier. Each bow will have its own charm, even if it is not perfect.
The next time you wrap a gift, try adding a paper bow instead of buying one. It is a simple habit that adds care to every present you give others.
Will you try making your own paper bow for your next gift?
Frequently Asked Questions
What if my wrapping paper keeps tearing when I fold it?
Your paper might be too thin or you’re folding too aggressively. Try using thicker wrapping paper and make gentler folds. If the paper is delicate, work more slowly and don’t press down as hard.
How do I make my bow look fuller and less flat?
The secret is in the fluffing. After securing the center, gently pull each loop outward and separate any that stick together. You can also cut more strips of paper to add extra loops for a fuller look.
Can I make bows with newspaper or magazine pages?
Yes! Both work well and create unique, vintage-style bows. Magazine pages are especially good because they’re usually the right thickness and have colorful designs.
How long do homemade paper bows last?
If stored carefully in a dry place, they can last for years. Avoid crushing them and keep them away from moisture. Many people reuse their paper bows for multiple occasions.
What size should I make my bow for different gift boxes?
For small gifts, use 4×3 inch paper. Medium gifts need 6×4 inch paper. Large boxes look best with 8×6 inch or bigger bows. The bow should be proportional to your gift size.