

There’s something special about opening a neatly wrapped gift. Before you even see what’s inside, the wrapping sets the mood.
I used to rush gift wrapping. Crooked folds. Too much tape. Wrinkled paper. It didn’t feel great handing that over to someone I cared about.
In this guide, I’ll show you how to gift wrap a box like a pro, using easy steps you can actually follow. I’ll walk you through it step by step, like I’m right there with you.
I’ve wrapped hundreds of gifts over the years for holidays, birthdays, and special occasions, and these methods work every single time.
Let’s make your next gift look as good as it feels to give.
What You Need to Gift Wrap a Box Like a Pro
Learn simple techniques to make your gifts look store-bought. This guide shows you exactly how to create clean lines, sharp corners, and smooth seams on any box.
Gather Your Supplies
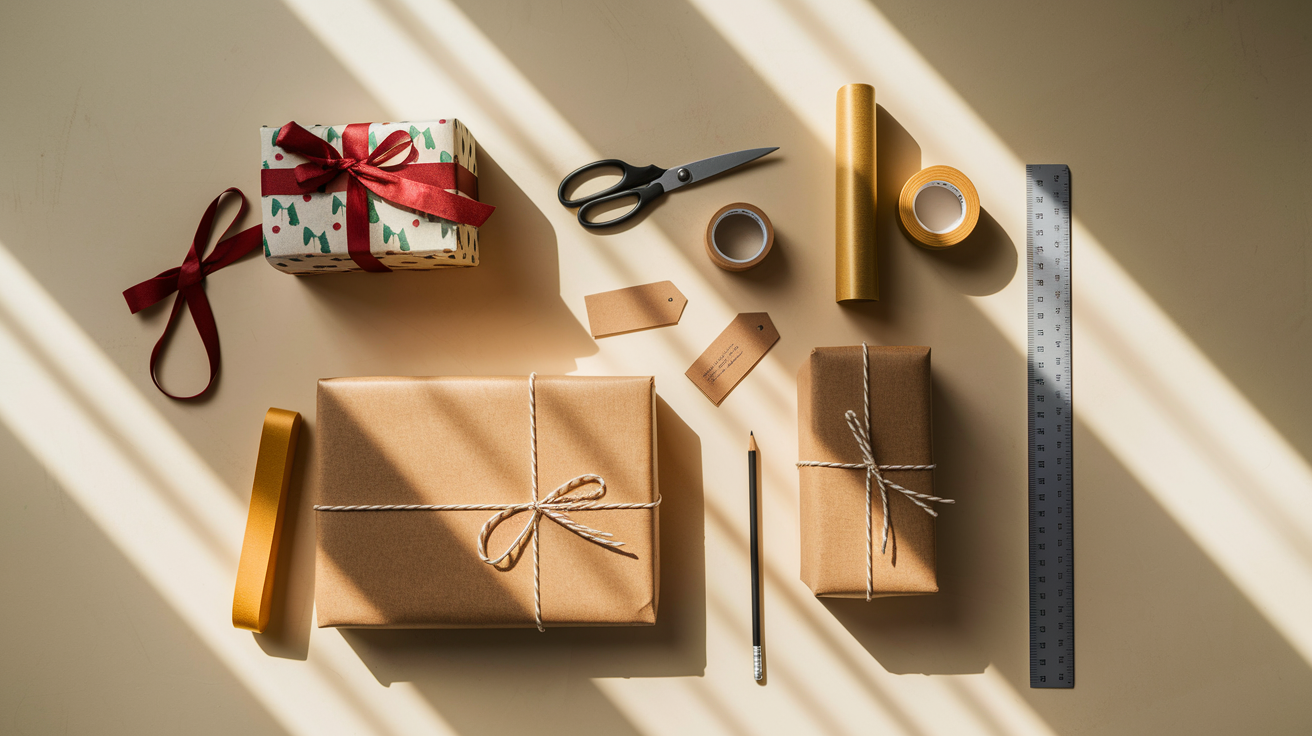
Before you start wrapping, collect everything you need. This saves time and prevents frustration later.
Here’s your complete supply checklist:
- Wrapping paper
- Sharp scissors
- Double-sided tape
- Ribbon or twine
- Gift tag
- Ruler or measuring tape
- Pencil
Quick Setup Tips
Lay everything out on a flat surface. Your dining table or clean floor works well.
Space matters: Make sure you have room to move around your box. Cramped spaces lead to crooked folds.
Keep your supplies within arm’s reach. You don’t want to hunt for scissors mid-wrap. Clear the area of distractions. Focus helps you get better results.
One last thing, good lighting makes a difference. You need to see what you’re doing clearly.
Prepare the Box
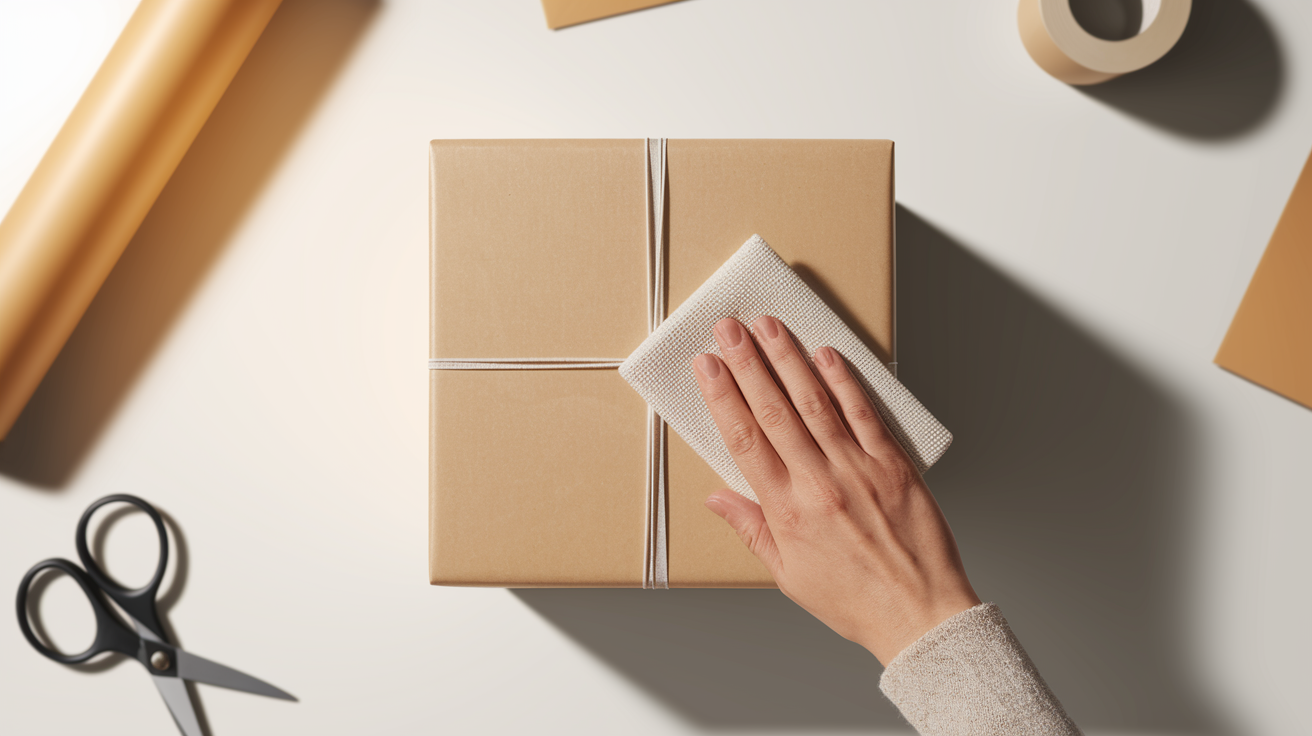
Choose a box with clean, straight edges for easiest wrapping. Square or rectangular boxes work much better than odd shapes for beginners.
If your gift has an irregular shape, place it inside a proper box first. This creates clean lines and makes wrapping much simpler.
Tape the box shut completely and check all seams. Remove any stickers, price tags, or shipping labels that might show through the paper.
Wipe down dusty surfaces so tape sticks properly. Make sure the box feels sturdy when lifted to prevent sagging and wrinkles.
Wrap the Box Step-by-Step
Once you’ve got your paper cut and your box centered, the actual wrapping takes less than two minutes.
Follow these steps for clean edges and corners that look professional every time.
Short Guide | Easy Gift Wrapping | DIY Gift Packing
1. Place the Box Upside-down in the Center of the Paper
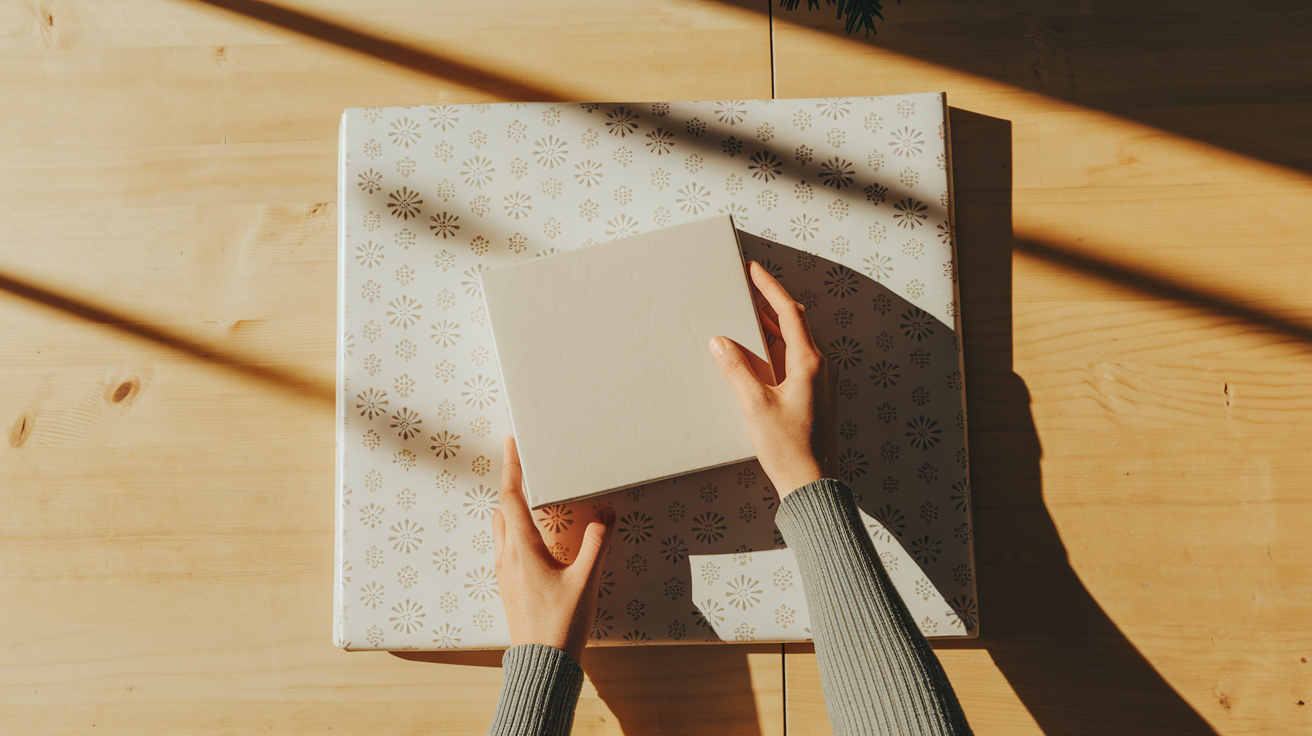
Turn your box so the bottom faces up. This gives you a smooth surface to work with. Position it right in the middle of your wrapping paper.
Here’s why this matters: you need equal amounts of paper on all sides.
Quick check: Can you pull each edge of the paper to meet the opposite side of the box? If yes, you’re good to go.
Leave about 2-3 inches of extra paper beyond each edge. Too little paper creates gaps. Too much creates bulk.
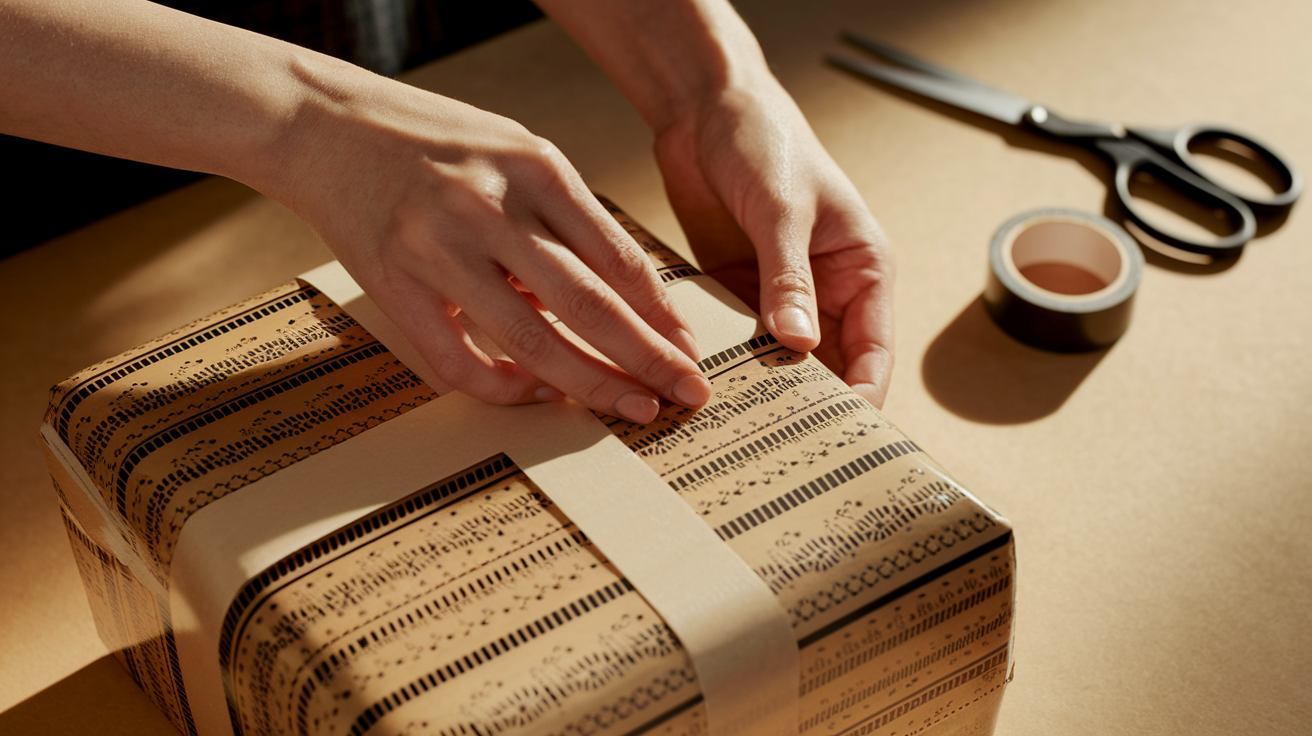
2. Fold One Side Over, and Tape it Down
Pick either the left or the right side. I always start with my dominant hand side.
Pull the paper up and over the box. Make sure it covers the top completely. Press the paper flat against the box surface. Smooth out any air bubbles with your hand.
Pro tip: Use just enough tape to hold it secure. You’ll add more later.
Place one piece of tape in the center. Then add tape at each end if needed.
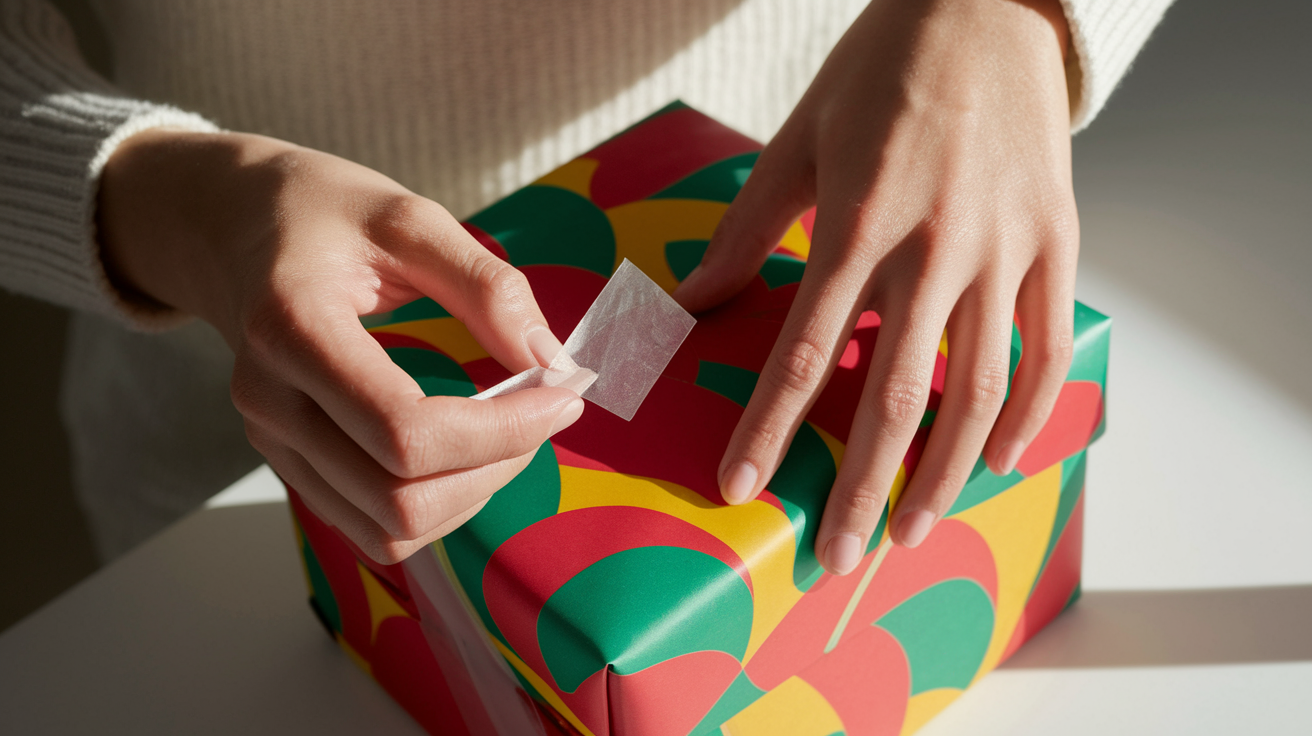
3. Fold the Other Side Over with a Clean Seam
Now for the tricky part. This side needs to overlap the first side by about half an inch. Fold the raw edge under itself before laying it down.
This creates a finished look instead of showing the paper’s cut edge.
Here’s the secret: Double-sided tape goes under this folded edge. It disappears completely when pressed down.
If you don’t have double-sided tape, regular tape works too. Just place it on the underside of the folded edge. Press firmly to create that clean seam line.
4. Tuck and Fold the Ends Neatly: Triangle Method or Envelope Fold
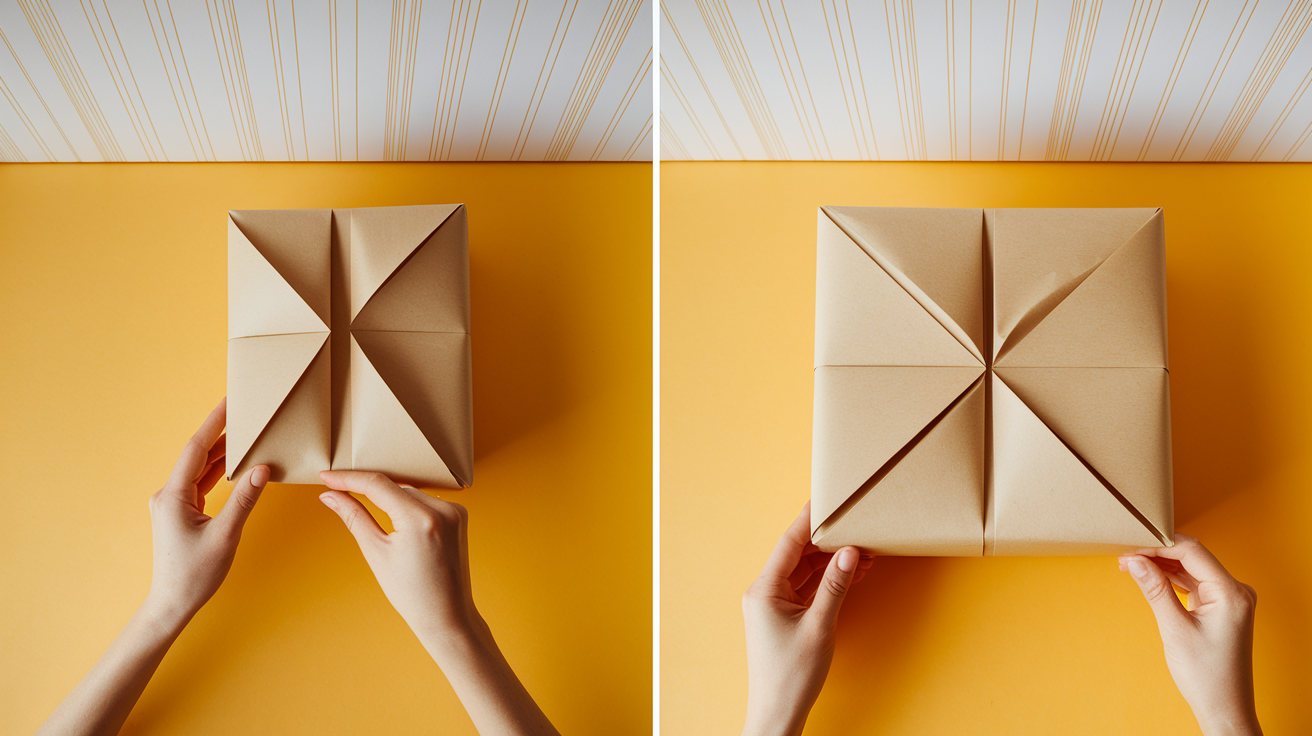
You have two options here. Both work well.
Triangle method:
- Push the sides in to create triangular flaps
- Fold the top triangle down first
- Fold the bottom triangle up and over
- Tape the bottom triangle to secure
Envelope fold:
- Fold each side corner toward the center
- This creates four neat triangular sections
- Fold the top section down
- Fold the bottom section up and tape
Final touch: Run your finger along all edges to make crisp lines. Check each corner. Adjust any loose areas before you flip the box right-side up.
Your wrapped box should look clean and professional. No wrinkles, no gaps, and sharp corners throughout.
Finishing Touches That Make Gift Wrapping Look Professional
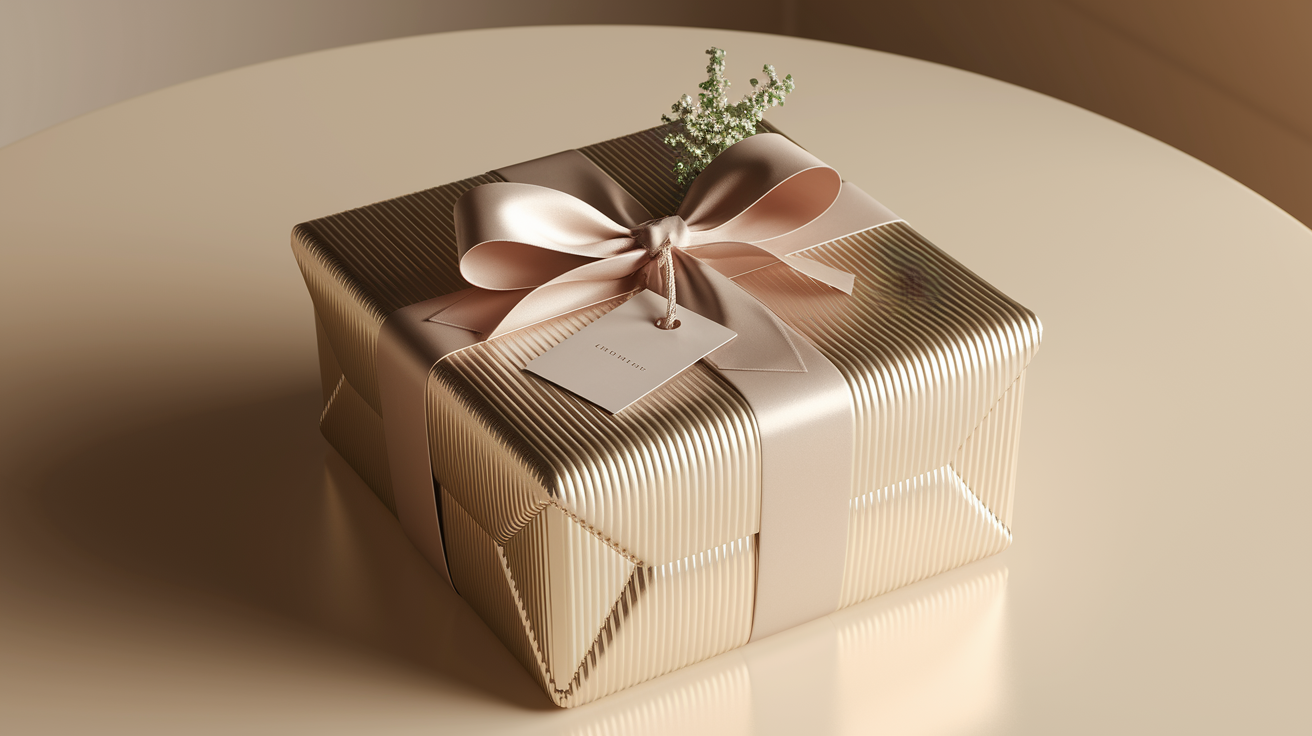
Complete your professional wrapping with these final steps:
- Tie ribbon around the box
- Attach the gift tag to ribbon or paper
- Add small decorative toppers if desired
For classic bows, center the ribbon and tie it normally on top. The criss-cross method wraps ribbon in both directions, creating an X.
Write your message on the tag before you attach it. This prevents smudging or awkward positioning while writing.
Keep any decorations small and simple. Large toppers can overwhelm your clean wrapping job and make the gift hard to stack or carry.
Common Gift Wrapping Mistakes That Ruin the Finish
- Using too much or too little paper
- Visible tape and messy folds
- Wrapping with wrinkled or torn paper
- Not measuring the paper before cutting
- Rushing through the folding process
- Forgetting to smooth out air bubbles
- Placing tape on the visible side of paper
- Not checking paper condition before starting
Conclusion
That’s honestly all there is to it. Once you wrap a few boxes using these steps, the process becomes second nature.
You’ll spend less time fighting with tape and more time enjoying how good your gifts look.
The measuring trick saves so much paper and frustration.
I still remember the first time someone asked me where I got my gift wrapped. It felt great knowing I did it myself with supplies I already had at home.
Grab a practice box this week and try it out. Then come back and tell me how it went.
What’s the trickiest part you’re still working on?
Frequently Asked Questions
What size paper do I need for my box?
Measure your box and add 2-3 inches on each side. This gives you enough paper to fold cleanly without excess bulk.
Can I use regular tape instead of double-sided tape?
Yes, regular clear tape works fine. Just place it on the underside of paper edges so it doesn’t show on the finished gift.
How do I wrap a box that’s too big for my paper?
Use two pieces of paper with a clean overlap in the middle. Or consider using a gift bag for oversized items instead.
What’s the best way to get sharp, clean corners?
Press firmly along each fold line with your finger. Take your time and smooth out the paper as you work around each corner.
How do I prevent wrinkles in my wrapping paper?
Store paper rolled up, not folded. If you have wrinkles, iron the paper on low heat before cutting it to size.