

I never thought stained glass art was something I could actually draw. It looked way too complex, way too structured, and honestly, way too pretty to figure out on my own.
But here's what changed my mind: it's not about being artistic. It's about understanding a system. Once I saw how the whole thing was just shapes, lines, and color blocks working together, I couldn't unsee it.
If you've ever looked at a stained glass window and thought "I could never draw that," this guide on how to draw stained glass might just prove you wrong.
Understanding Stained Glass Art and Its Core Structure

Stained glass art is built around three things: segments, outlines, and color blocks. Every design you see, no matter how complex, is just a collection of carefully divided shapes filled with color.
The dark lines separating each section are called lead lines. In real stained glass, those are actual strips of lead. In drawing, they're your bold outlines that hold the whole design together.
Here's the key difference: real stained glass is made from colored glass panels joined by lead. A drawn version mimics that same look using thick borders and flat color fills.
Before you pick up a pencil, understanding this structure is the most important thing you can do. It shapes every decision you'll make throughout the whole drawing process.
Key Tools and Materials for Beginners

You don't need a lot to get started. The right tools make the process feel simple instead of frustrating, so it's worth knowing what works best before you begin.
- HB and 2B pencils for rough sketching and layout work
- Black fine-tip markers or pens for bold lead line outlines
- Ruler and compass for clean geometric shapes
- Tracing paper for experimenting without ruining your main sketch
- Colored pencils or markers for filling in color blocks
- Procreate, Krita, or Adobe Illustrator if you prefer going digital
- Canva for simple beginner-friendly digital stained glass practice
Traditional tools are more than enough to learn how to draw stained glass from scratch. Digital tools are a great next step once you're comfortable with the basics, but they're completely optional at this stage.
Step-by-Step Guide to How to Draw Stained Glass Patterns
Here's where it all comes together. I've kept this process simple and clear so you can follow along without needing any prior art experience. Work through each step at your own pace.
Step 1: Choose a Simple Concept or Theme

Pick something with clear, recognizable shapes. Flowers, leaves, simple animals, or geometric patterns all work really well for beginners.
Avoid complex or highly detailed subjects at first. The simpler your theme, the easier it is to divide it into clean sections.
Nature themes are a great starting point. A single flower or a sun design gives you enough structure to work with without getting overwhelming.
Step 2: Gather Visual Inspiration

Look at reference images before you draw anything. Church windows, decorative glass panels, and online art platforms are all great places to study real stained glass designs.
Pay attention to how light interacts with color in those images. Notice where contrast is strong and where the eye naturally moves across the design.
You're not copying anything here. You're just training your eye to recognize what makes stained glass look the way it does.
Step 3: Sketch Basic Shapes and Layout

Start with a very light, rough sketch of your overall composition. Don't press hard on the pencil since this is just a layout guide.
Think about balance. The shapes on the left side of your drawing should feel roughly equal in weight to the shapes on the right.
Leave enough space between sections. Crowded layouts are harder to fill cleanly and lose that open, glass-like quality.
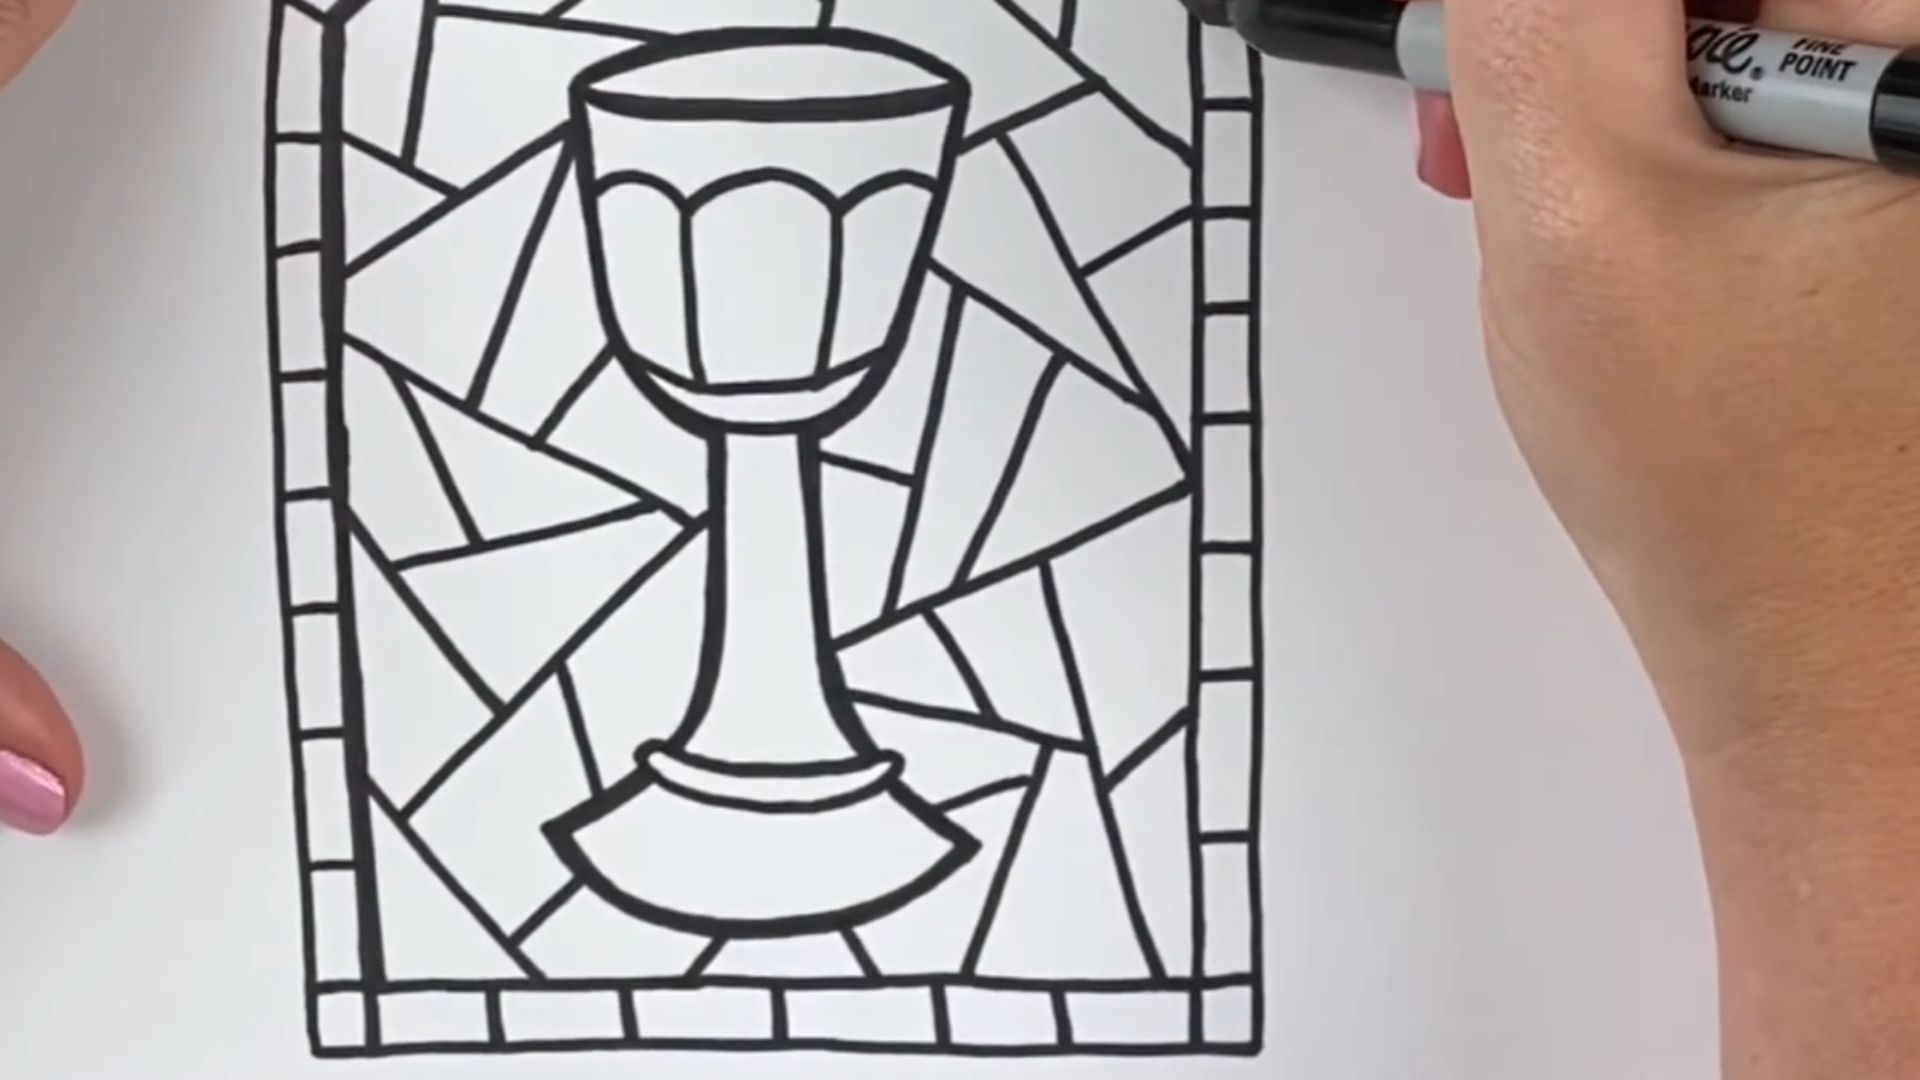
Step 4: Add Lead Line Structure

This step is what gives stained glass its signature look. Go over your sketch and draw firm, connected outlines that divide the design into separate sections.
Every section should be fully enclosed. Open or broken lines break the illusion of individual glass pieces, so check for gaps as you go.
Keep the lines bold and consistent. Thin, shaky outlines won't give you that strong stained glass effect you're going for.
Step 5: Refine Symmetry and Flow
Step back and look at your drawing as a whole. Does it feel balanced? Are any sections too large or too cramped compared to the rest?
Make small adjustments now before you move to color. It's much easier to fix the layout at this stage than after you've added color fills.
Your goal is visual harmony. No single section should pull all the attention away from the rest of the design.
Step 6: Assign Color Blocks or Fill Ideas

Plan your colors before you start filling anything in. Lay out a rough color scheme first and hold it next to your sketch to see how the combinations look together.
Use contrast. Dark colors next to light ones create that glowing, backlit effect that makes stained glass so visually striking.
Complementary colors like blue and orange or red and green always work well together. Stick to a limited palette of three to five colors if you're just starting out.
Step 7: Finalize the Drawing

If you're working by hand, go over your lead lines one final time with a black marker for a clean, sharp finish. Erase any pencil marks showing through.
For digital work, use your software's fill tool to drop color into each section cleanly. Adjust the stroke weight on your outlines to make sure everything reads clearly.
Hold your finished drawing at arm's length. That's how you spot anything that still needs a small fix before you call it done.
Tips to Improve Your Stained Glass Drawing Skills
Getting better at this comes down to building good habits early. These tips helped me improve faster than just randomly practicing without any direction.
- Redraw the same simple design multiple times to build consistency
- Study real stained glass windows, in person or through photos, as often as you can
- Practice drawing symmetrical shapes separately before putting them into a full design
- Work with a limited color palette so you focus on structure rather than color decisions
- Move from simple compositions to more complex ones gradually, never skip ahead
The biggest thing I'd tell any beginner is this: don't rush the structure phase. How to draw stained glass well is mostly about getting your outlines and layout right before color even enters the picture. Nail that first and the rest gets much easier.
Practice Ideas for Beginners
Sometimes the hardest part of practicing is not knowing what to draw. Here are a few simple starting points that work really well for beginners.
- Simple flower design: Pick a single bloom like a daisy or tulip and divide it into petals and a center section
- Geometric mandala pattern: Use a compass and ruler to create a symmetrical, repeating design with clean sections
- Sun and sky composition: A bold sun shape surrounded by cloud or ray sections is easy to divide and fill
- Minimal abstract window panel: Create a purely geometric layout with rectangles, triangles, and curves arranged inside a bordered frame
Rotate through these ideas regularly. Each one trains a different skill, whether that's symmetry, curved lines, or working with contrast. Mixing them up keeps practice from feeling repetitive.
Conclusion
Here's something I wish someone had told me earlier: the hardest part isn't the drawing. It's just deciding to start.
Stained glass art looks complex from the outside. But once you're inside the process, it's actually one of the most satisfying things to create from scratch.
So don't wait for the "right moment." Pull out a pencil, pick a simple shape, and see what happens.
Then come back and share your experience in the comments. What did you try first? What surprised you? I read every single one and I'd love to hear from you.
Frequently Asked Questions
Is Stained Glass Drawing Difficult for Beginners?
It becomes much more manageable once you practice basic shapes and understand how lead line structure works. Breaking the design into simple sections makes the whole process feel less overwhelming.
What Is the Easiest Way to Start Drawing Stained Glass Patterns?
Begin with geometric shapes and simple outlines before moving on to anything more complex. A basic flower or sun design gives you a clear structure to practice with right away.
Do I Need Digital Tools to Learn Stained Glass Drawing?
No, traditional pencil and marker sketching is completely enough to get started. Digital tools like Procreate or Krita can be useful later but are not necessary for beginners.
How Do I Choose Colors for Stained Glass Designs?
Use contrast and complementary color pairings to keep your design visually clear and striking. Starting with a simple palette of three to five colors makes the decision much easier.
How Long Does It Take to Get Good at Stained Glass Drawing?
It depends on how consistently you practice, but regular weekly sessions tend to show clear progress within a short period of time. Even quick sketching sessions add up faster than you'd expect.