

I used to think drawing roses was only for people who were "naturally gifted."
Spoiler: it's not. The day I stopped trying to draw the whole flower at once and started breaking it into tiny shapes, everything changed. The results genuinely surprised me.
And here's what most beginner guides won't tell you: roses are actually one of the more forgiving flowers to draw once you know the right starting point.
If you've ever picked up a pencil and had no idea where to begin, learning how to draw roses step by step might be easier than you think.
Tools You Need for Rose Drawing
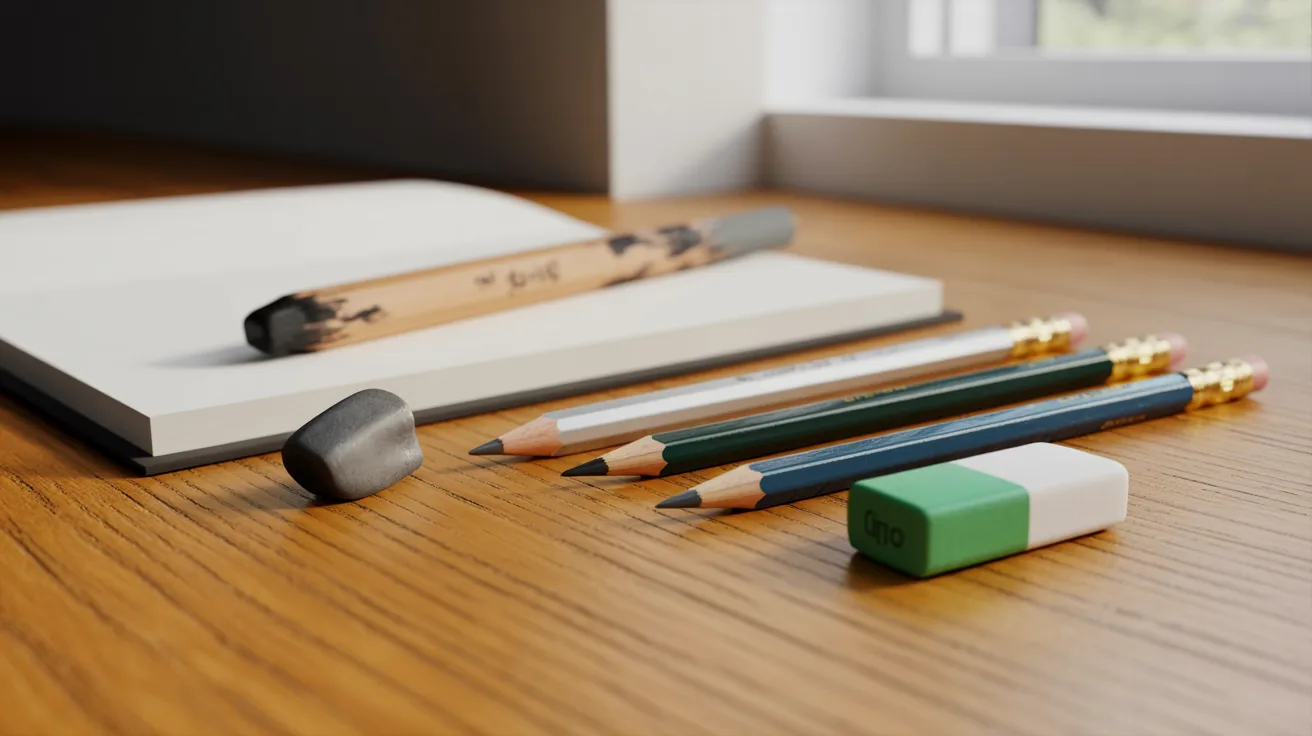
Before you draw a single line, it helps to have the right tools ready. You don't need a full art kit for this. A few simple supplies are all it takes to get started without any stress.
- HB pencil for light sketching and rough guidelines
- 2B and 4B pencils for shading and darker final lines
- A good eraser (kneaded or vinyl both work well)
- Blending stump for smooth, soft shading
- Standard sketchbook or drawing paper (heavier paper handles erasing better)
- Optional: drawing tablet or apps like Procreate for digital practice
That's genuinely all you need. The simpler your setup, the more attention you put toward actually drawing instead of overthinking your materials.
Step-by-Step Guide to Drawing Roses (7 Easy Stages)
This is where the real work begins. I've broken the whole process into 7 clear stages so you always know exactly what comes next. Take it one step at a time and don't rush ahead.
Step 1: Draw the Basic Center Spiral
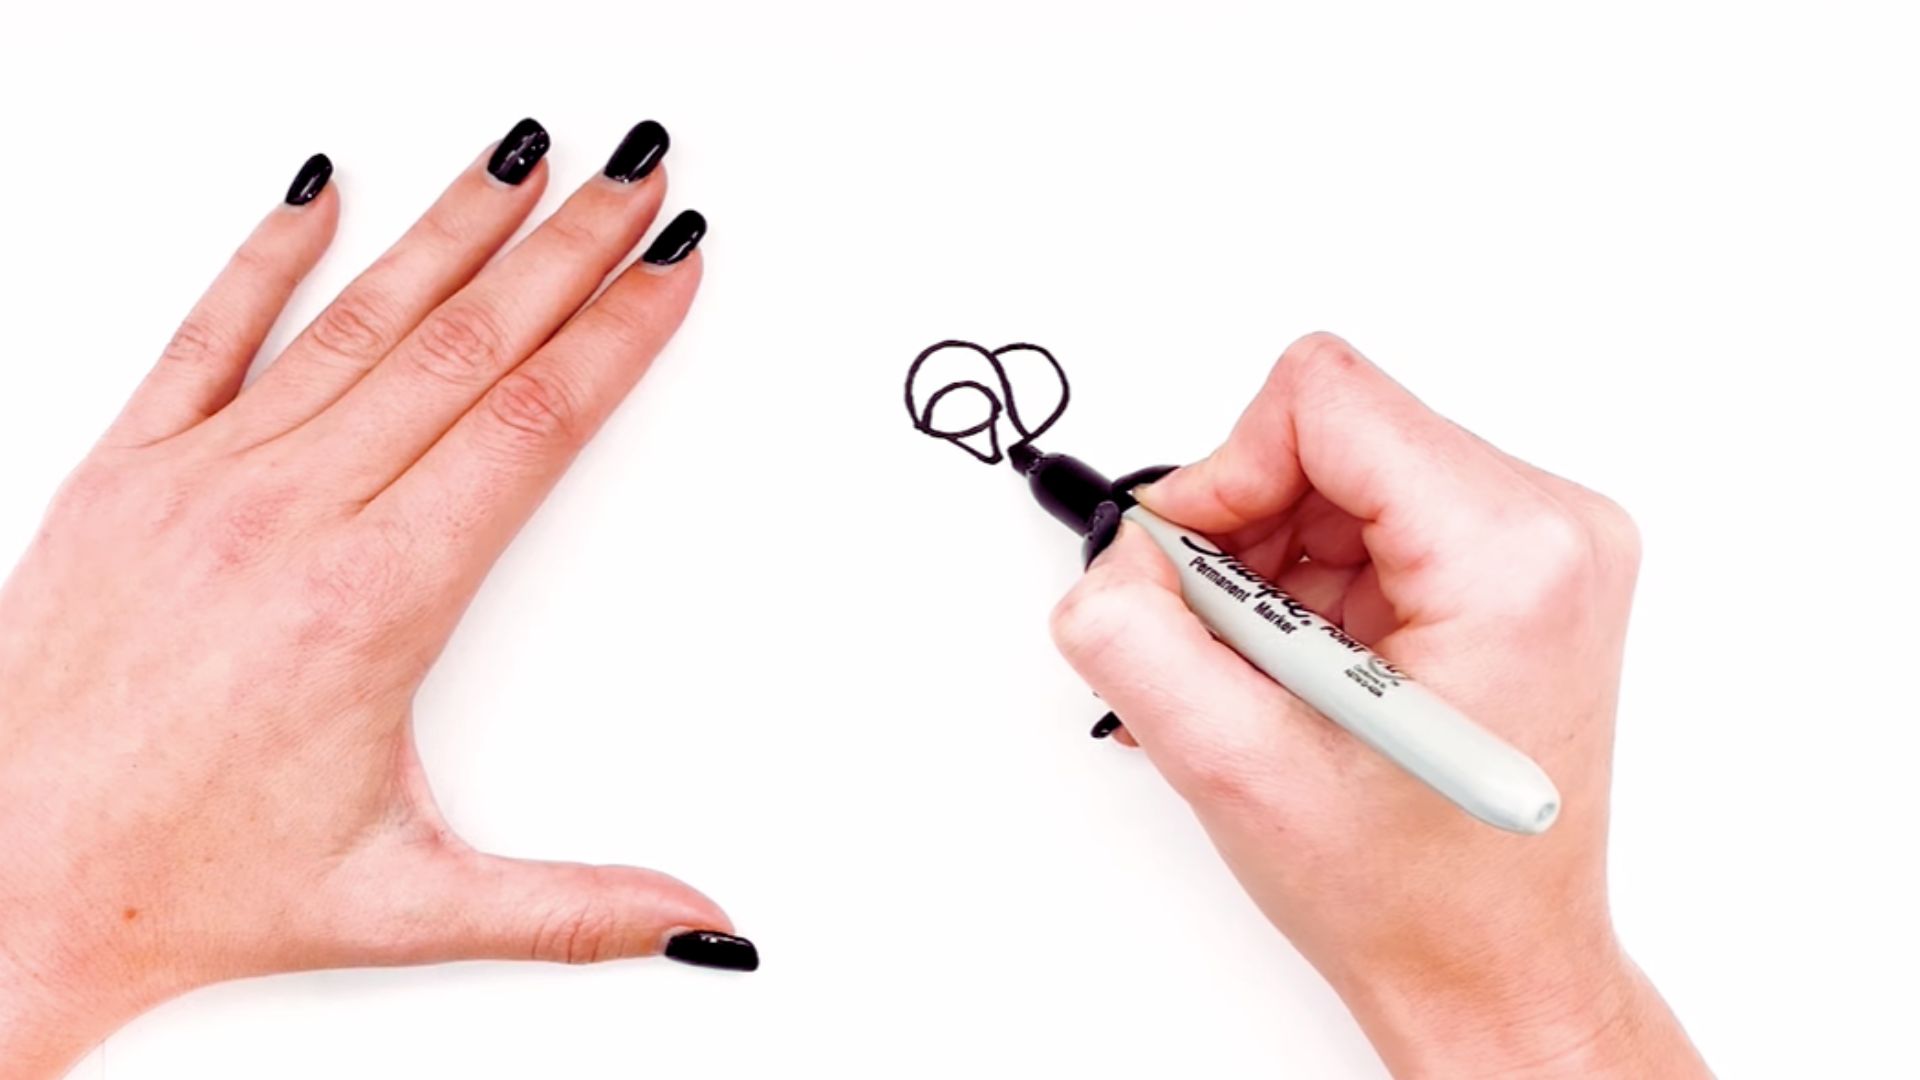
Start with a small, loose spiral right in the middle of your page. Think of it like a tiny snail shell shape. Keep your lines light since this is just a rough guide for now.
This center spiral is what gives your rose its structure. Every petal you build later grows around it. Getting this part even roughly right makes the rest of the drawing much easier to manage.
Don't worry about making it perfect. A loose oval or relaxed swirl is more than enough at this early stage.
Step 2: Add the Inner Petals
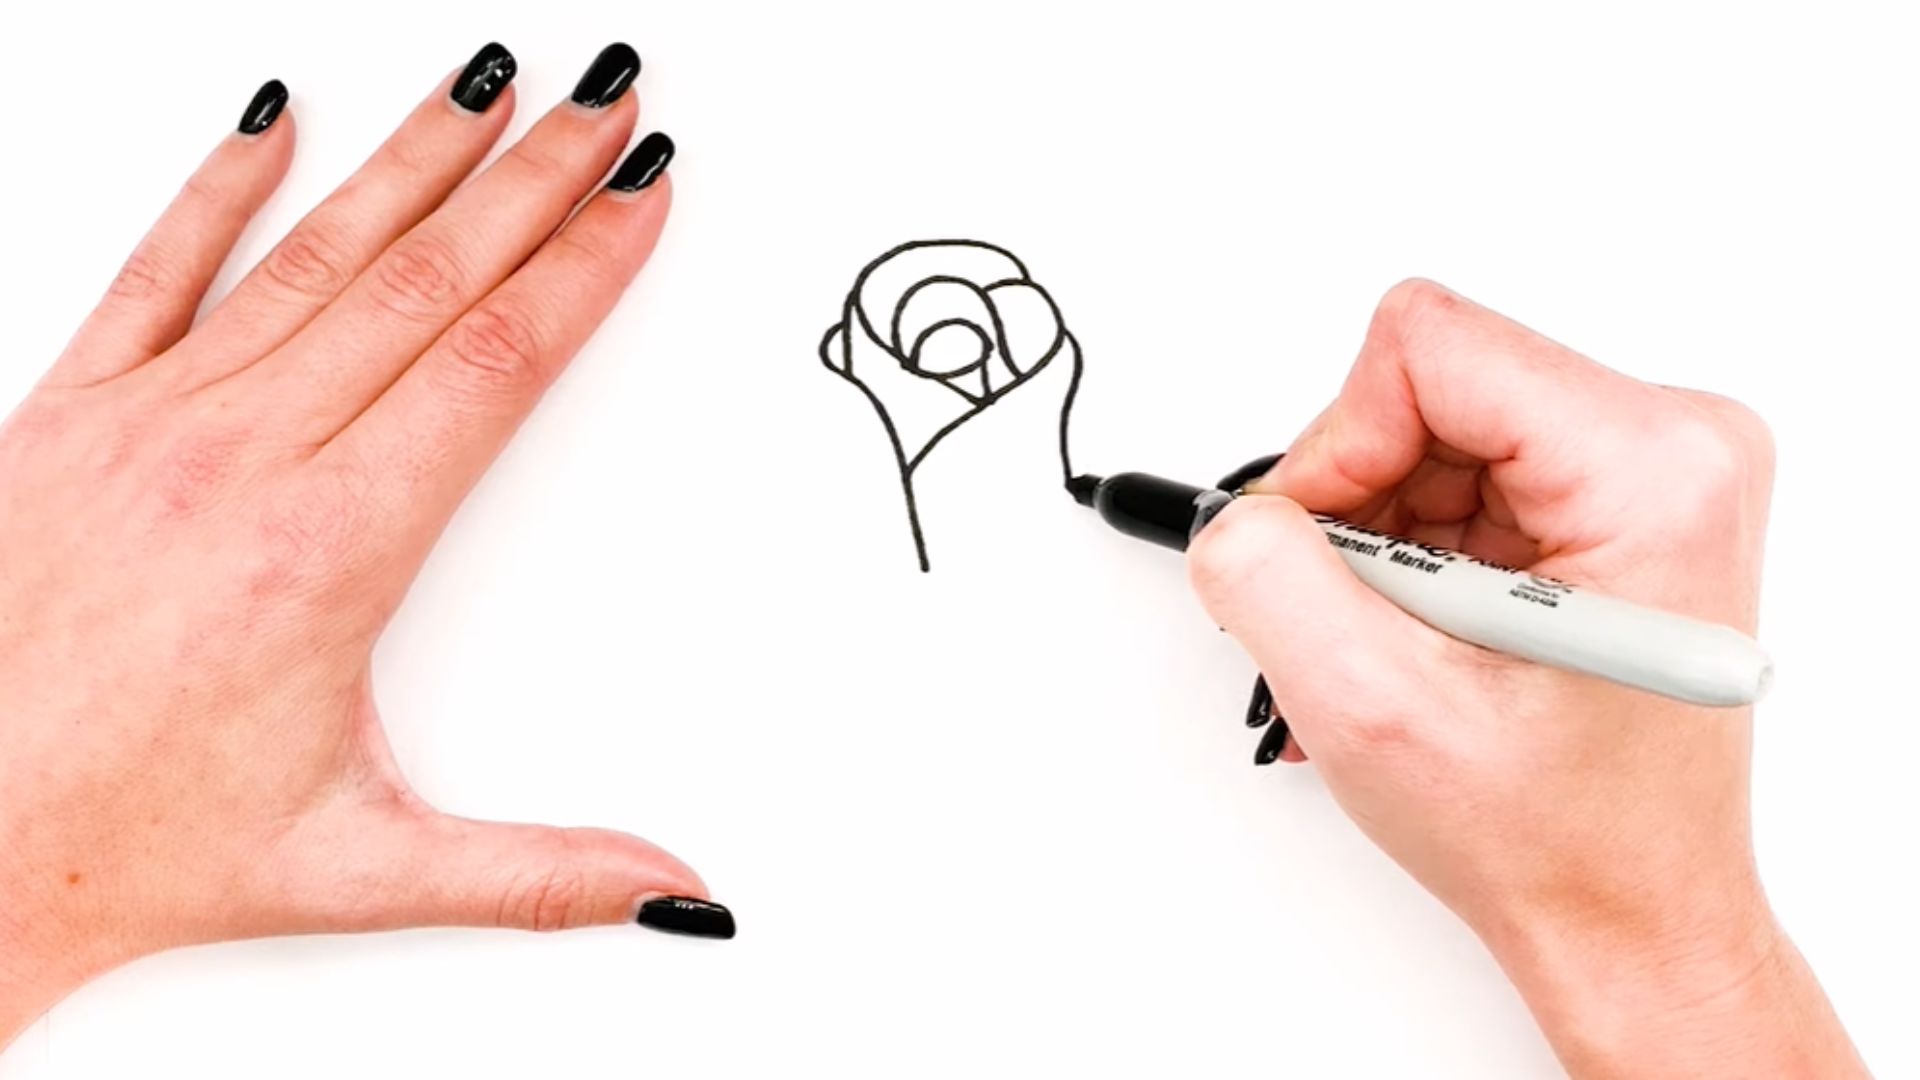
Draw small curved "C" shapes around your spiral. These are your innermost petals and they should feel soft and slightly cupped, not stiff or sharp at the tips.
Aim for a loose, easy symmetry here. They don't all need to look identical. Real petals never match perfectly anyway.
Keep everything light. You'll clean up and refine all of this later, so stay in rough-sketch mode for now.
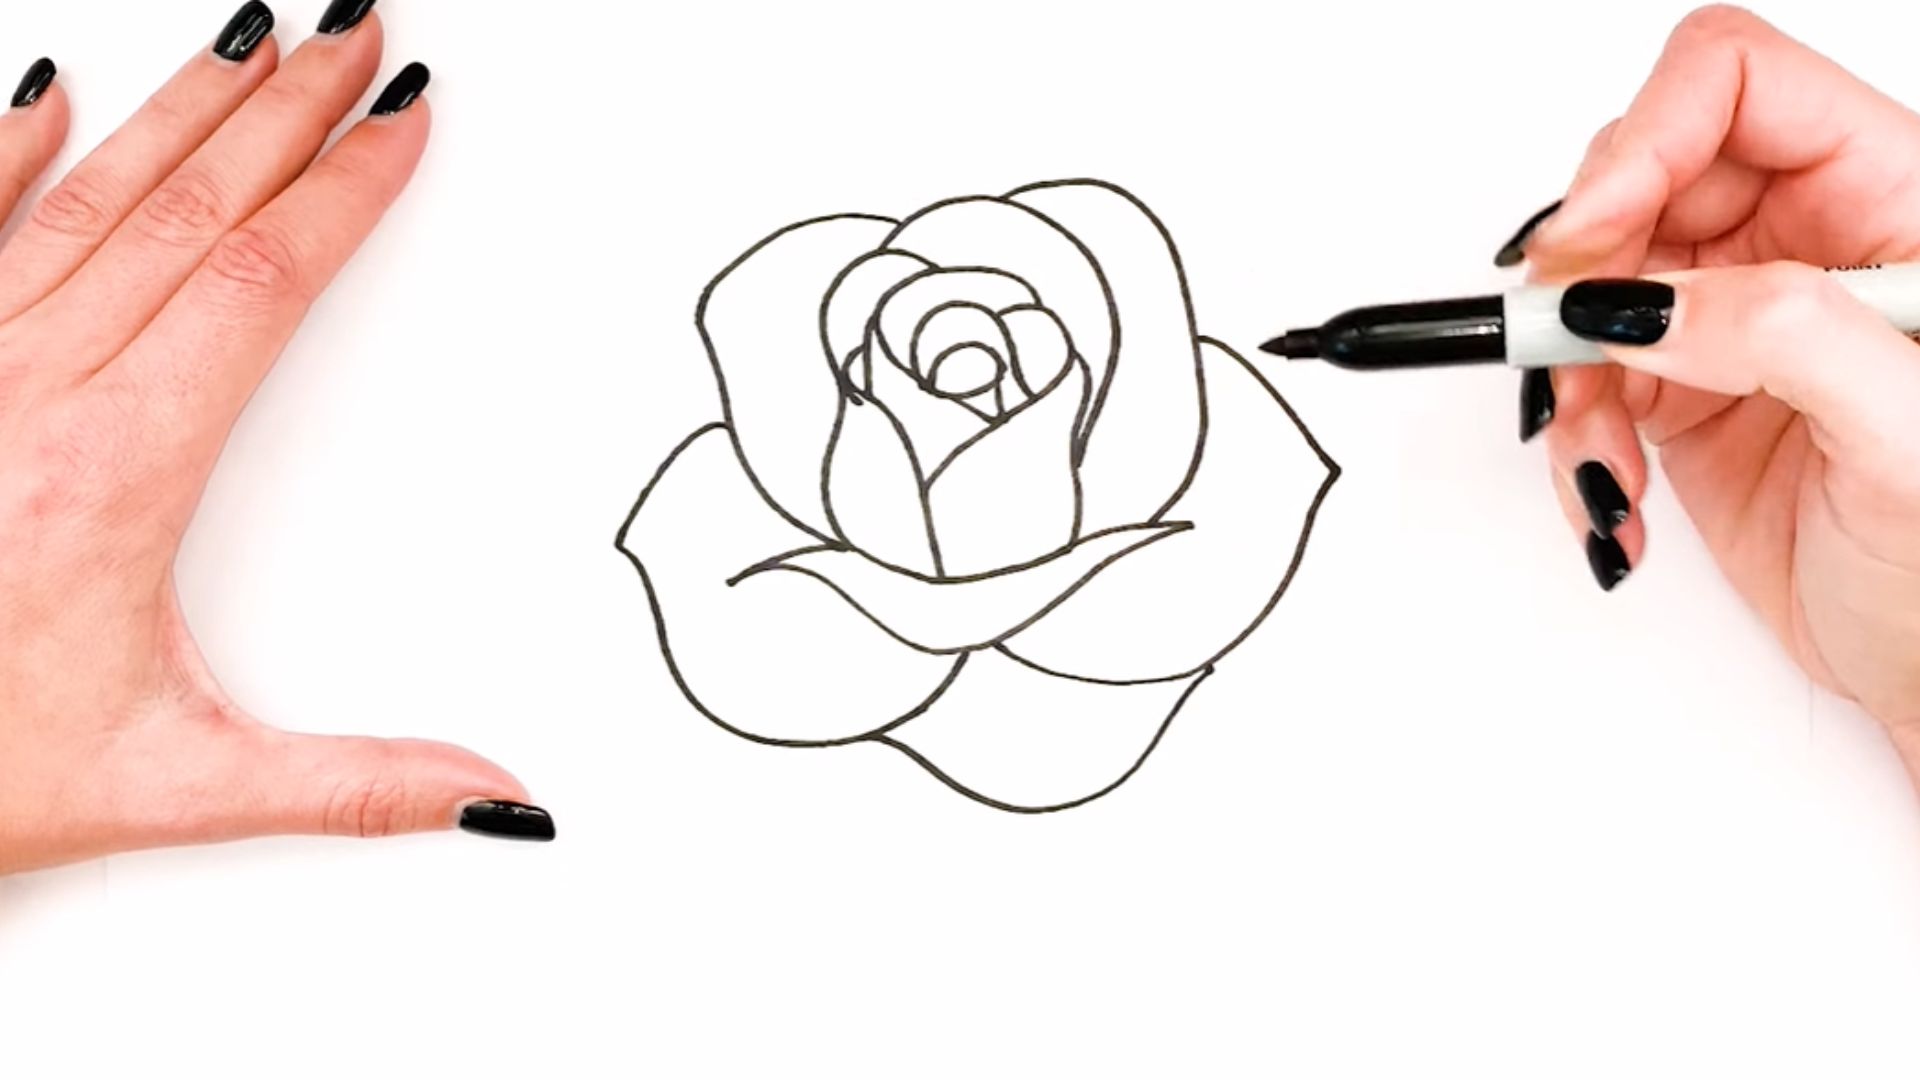
Step 3: Build the Outer Petal Layer

Move outward and draw larger curved petals around the inner ones. These should overlap slightly, the same way petals do on an actual rose.
That overlapping detail is what makes the flower look full and natural. Don't skip over it thinking it's too small a thing.
Let the edges stay slightly uneven. A rose with perfectly even petals looks mechanical, not real.
Step 4: Shape the Full Rose Bloom
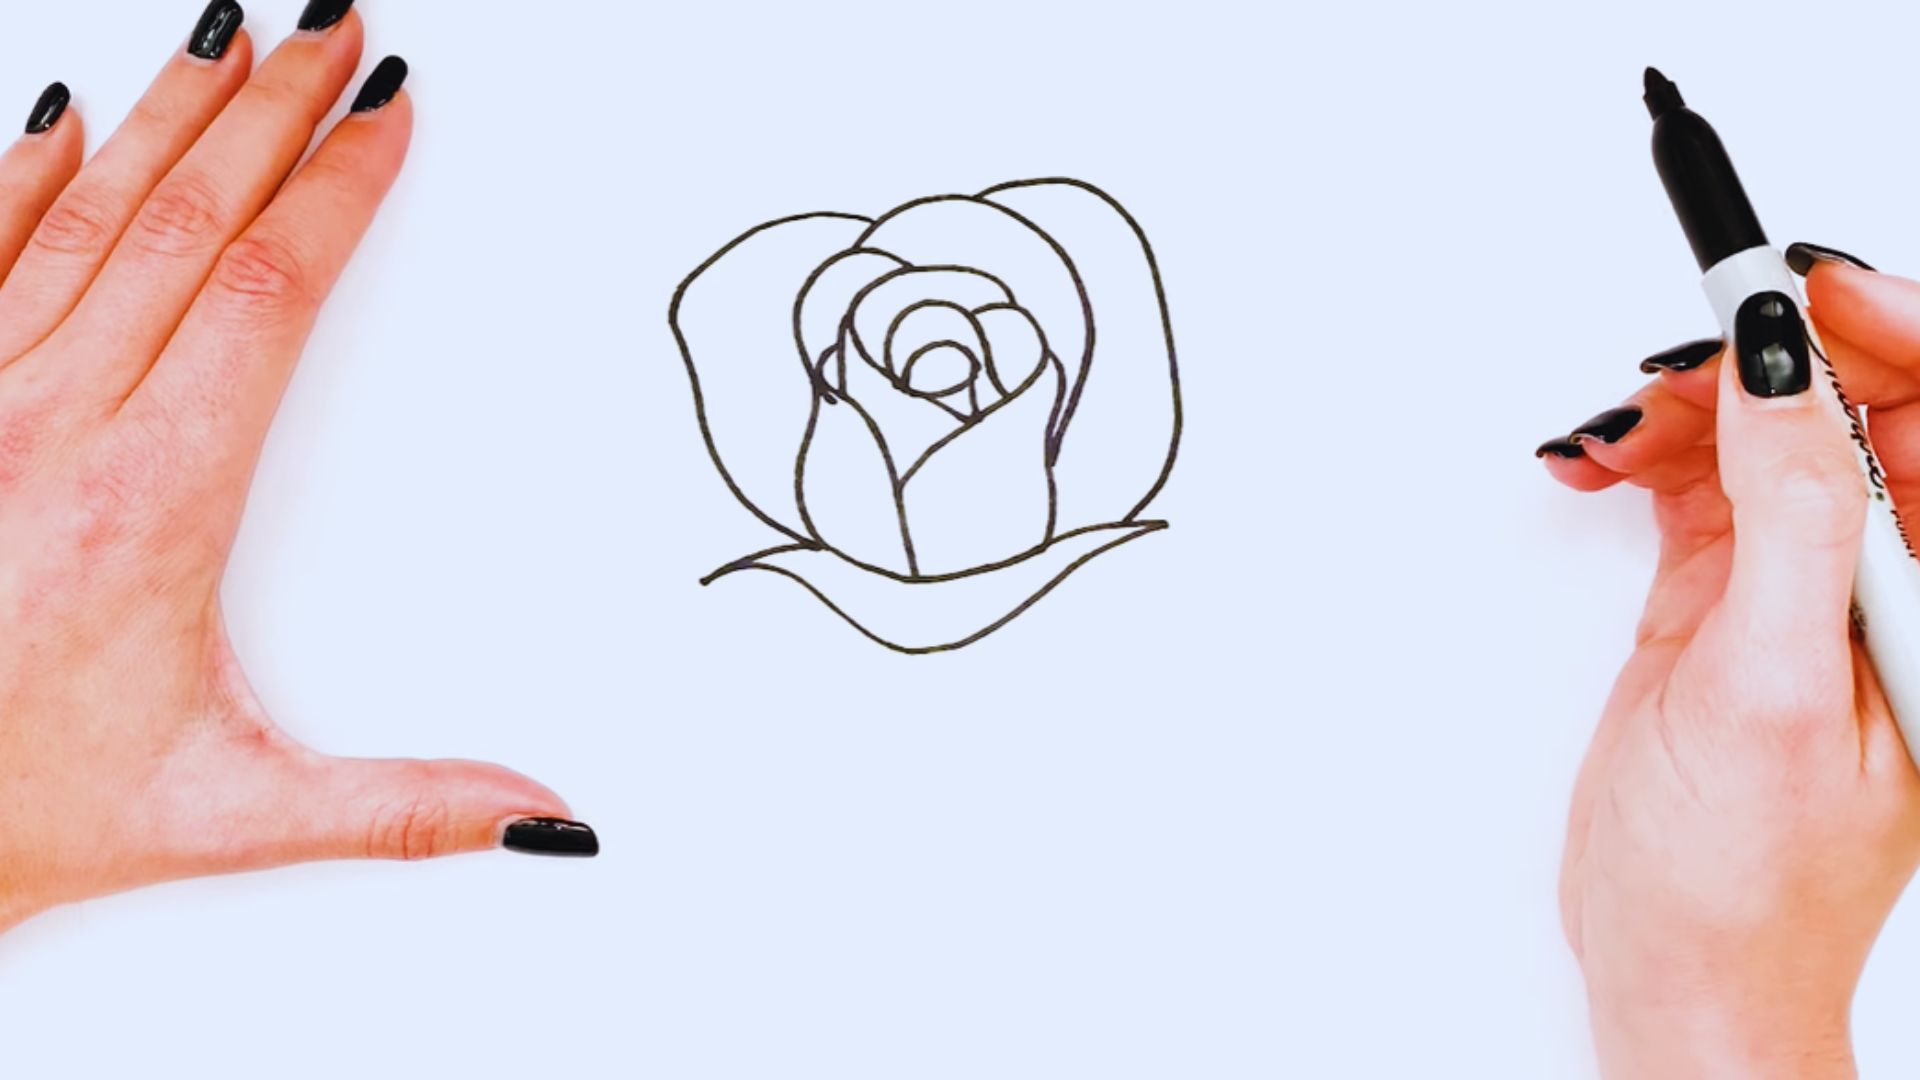
Look at your overall shape now. The full bloom should read as a loose, rounded circle. If one side looks heavier or fuller than the other, adjust a petal or two to bring it back into balance.
Spread the petals out evenly but not rigidly. A slight natural imbalance actually makes it look more like a real flower.
This is also a good time to check your proportions before you move to the next stage.
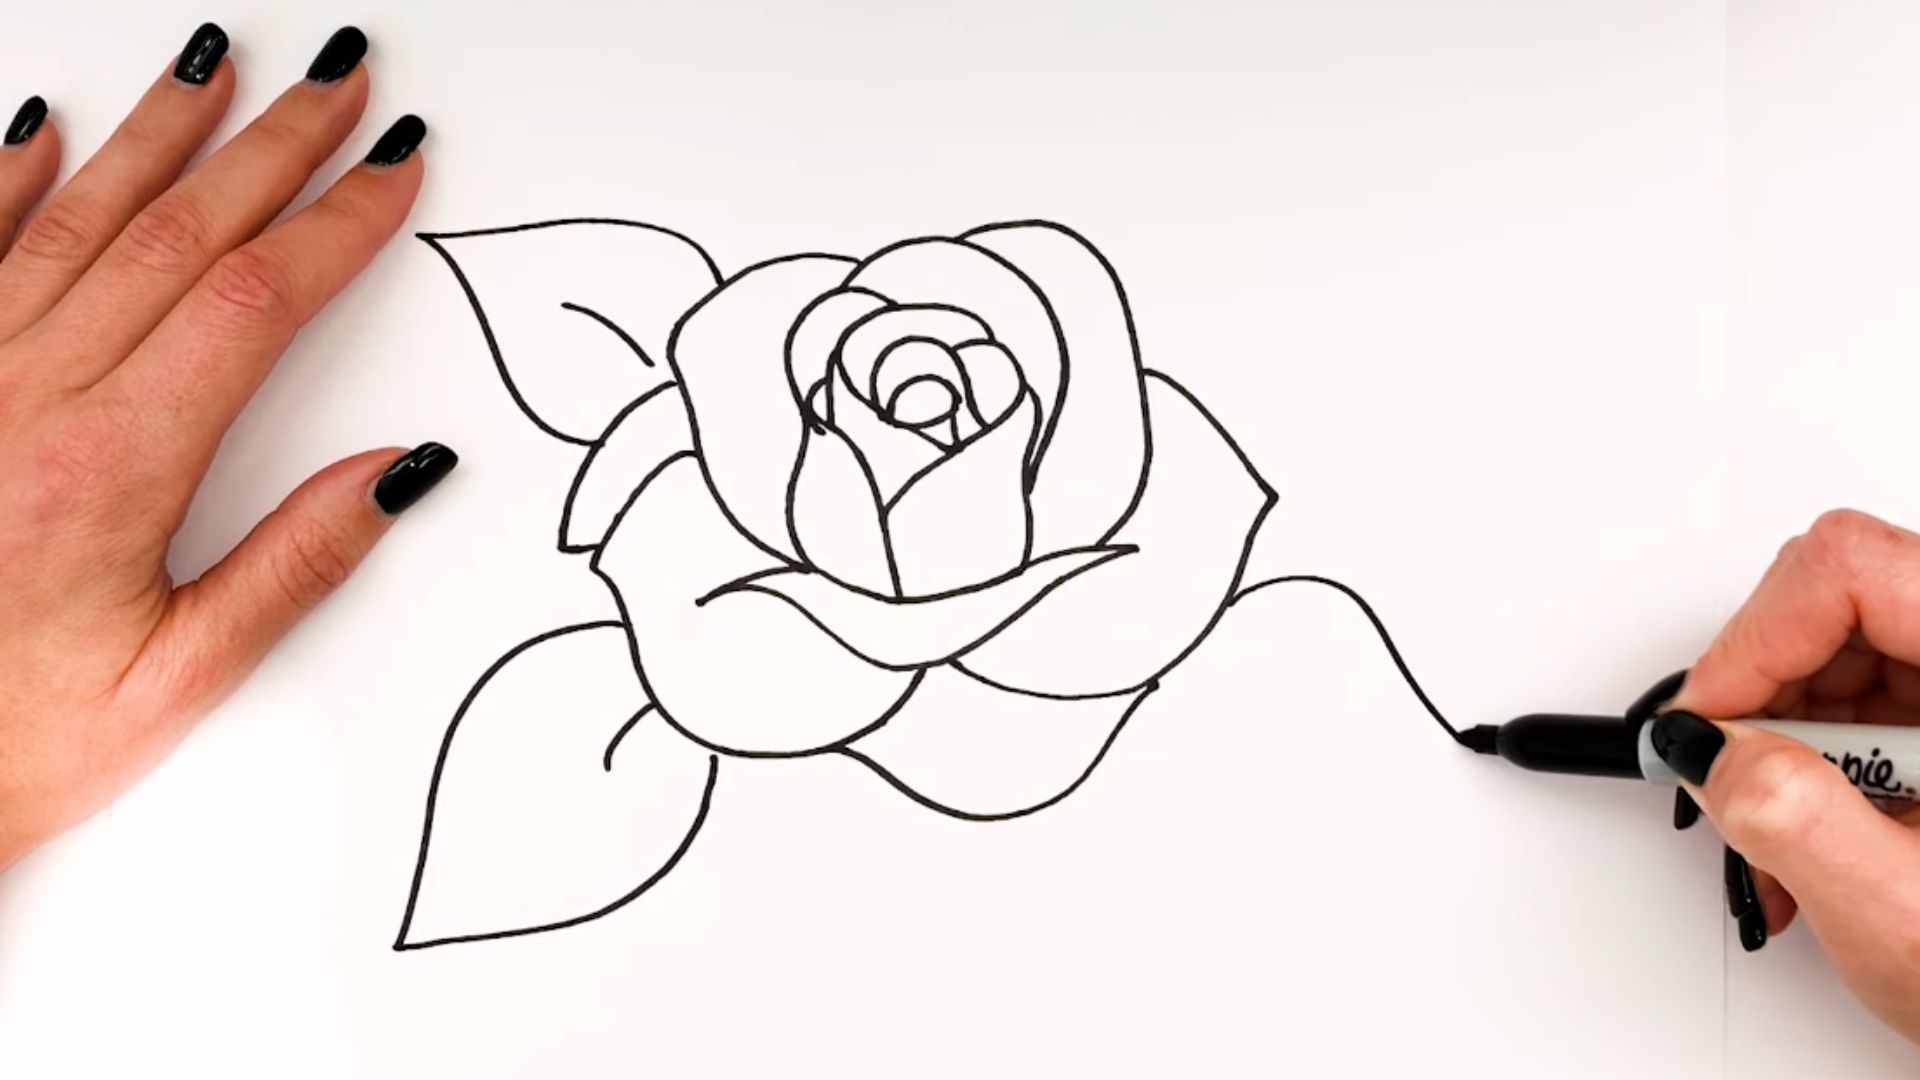
Step 5: Add Leaf and Stem Structure
Draw a gently curved stem coming down from the base of the bloom. A perfectly straight stem looks rigid, so give it a soft, natural bend.
Add two or three leaves along the stem. Rose leaves have serrated, jagged edges, so sketch those in lightly as you go.
Position the leaves at natural angles. They should look like they belong there, not stuck on as an afterthought.
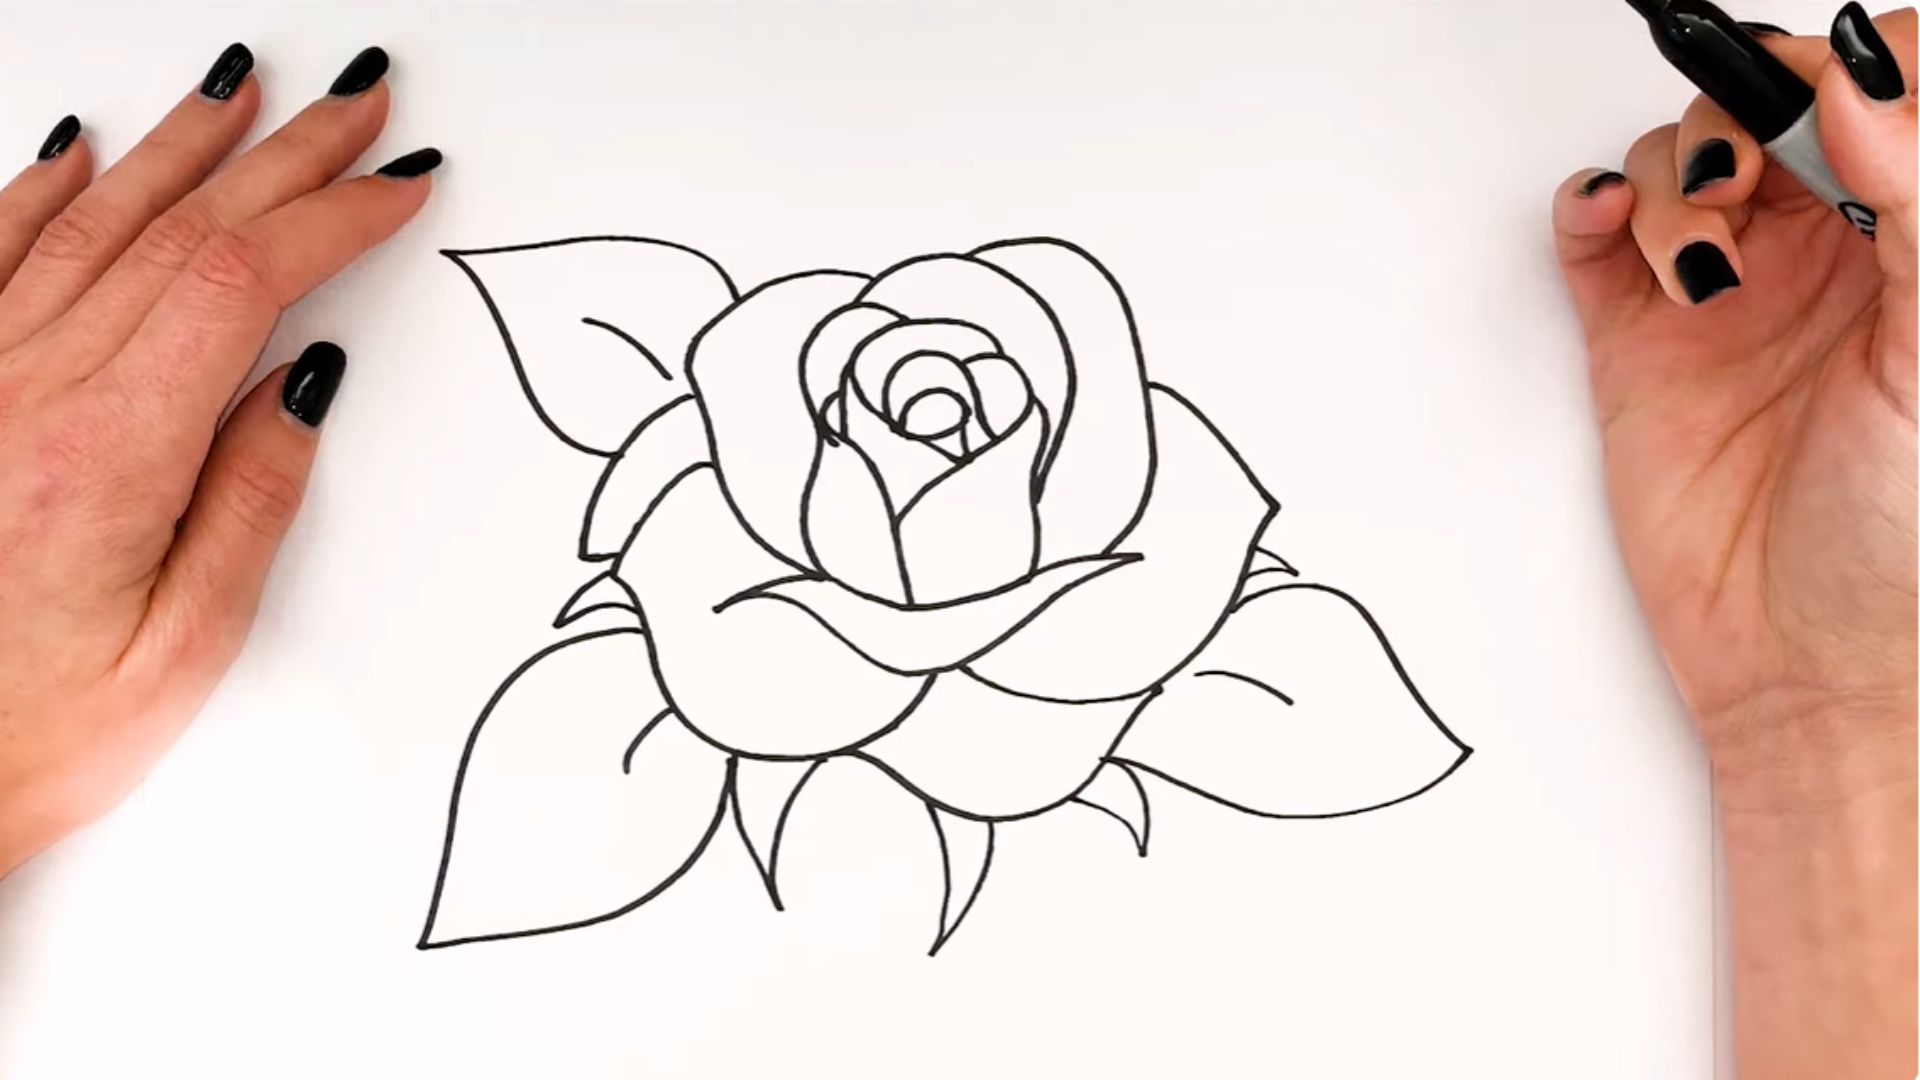
Step 6: Refine Lines and Clean the Sketch
Go over your sketch now with slightly darker, more confident lines. Follow the shapes you already roughed in and tighten them up without redrawing from scratch.
Once your final outlines are in, erase the rough guide marks underneath. The sketch should start looking clean and readable at this point.
Pay close attention to the petal curves and overlaps here. Small fixes during this step make a noticeable difference in the final result.
Step 7: Add Shading and Depth
Shade the inner petals and center area darker. This pulls the eye in and creates a real sense of depth inside the bloom.
Work outward with lighter shading as you move toward the outer petals. The contrast between the dark center and lighter edges is what gives the rose its 3D look.
Use your blending stump to smooth out the transitions between tones. Soft gradients always look better than hard edges when shading flower petals.
Pro Tips to Improve Your Rose Drawing Skills Fast
Small habits make a big difference when you're learning something new. These are the tips that helped me move forward faster without making things more complicated than they needed to be.
- Practice drawing single petals on their own before putting a full rose together
- Study real rose photos before you start so you can see how petals sit and how light falls on them
- Always use light strokes in the early sketching stages
- Focus on building layers rather than getting the outline right on the very first pass
- Draw a rose every day for two weeks, even quick ones, and watch how fast your hand gets comfortable
The goal here isn't a perfect drawing every time. It's showing up consistently. The more often you practice how to draw roses step by step, the more natural and automatic the whole process starts to feel.
Give it a little time and you'll surprise yourself.
Conclusion
Here's the truth: your first rose won't be perfect. Neither was mine. But that's exactly the point of starting.
Every sketch you do gets you one step closer to drawing a rose you're actually proud of. The process works. You just have to show up for it.
So grab a pencil right now and give it a shot. Then come back and drop your experience in the comments.
Did it click? Did something feel tricky? I read every comment and I'd love to hear how it went for you.
Frequently Asked Questions
Is It Hard to Learn How to Draw Roses Step by Step?
No, it gets much easier once you understand basic shapes and how petal layering works. Most beginners see real progress after just a few focused practice sessions.
What Is the Easiest Way for Beginners to Start Drawing Roses?
Start with a small spiral in the center and build your petals outward from there gradually. This gives you a clear structure to work from right from the beginning.
Can I Draw Roses Without Any Art Experience?
Yes, this guide is made specifically for people with zero drawing background. All you need is a pencil, some paper, and a little patience.
What Pencil Should I Use for Rose Drawing?
A basic HB pencil is enough to get started with sketching and guidelines. Adding 2B and 4B pencils gives you more range when you move into shading.
How Long Does It Take to Get Good at Drawing Roses?
With regular practice, most beginners start noticing clear improvement within a few weeks. Even 10 to 15 minutes of daily drawing speeds the process up significantly.