

I've spent time learning how to draw chains, and I know how frustrating it can feel when your links look uneven or flat.
In this article, I'll walk you through chain drawing techniques that actually work for beginners.
You'll learn the right tools to use, how to build links step by step, and how to add shading for a realistic look. I'll keep everything simple and clear.
By the end, you'll feel confident enough to draw a chain on your own. Trust me, it gets easier with practice.
Overview of Chain Drawing Techniques
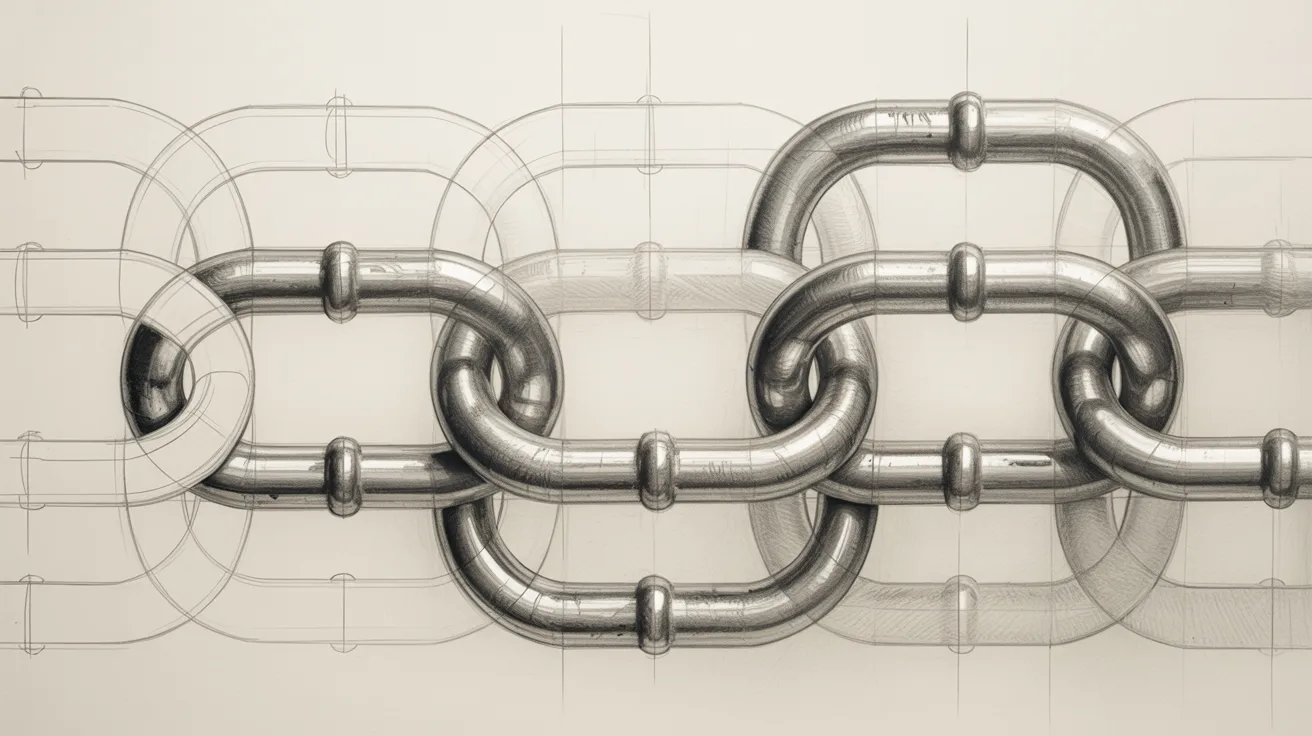
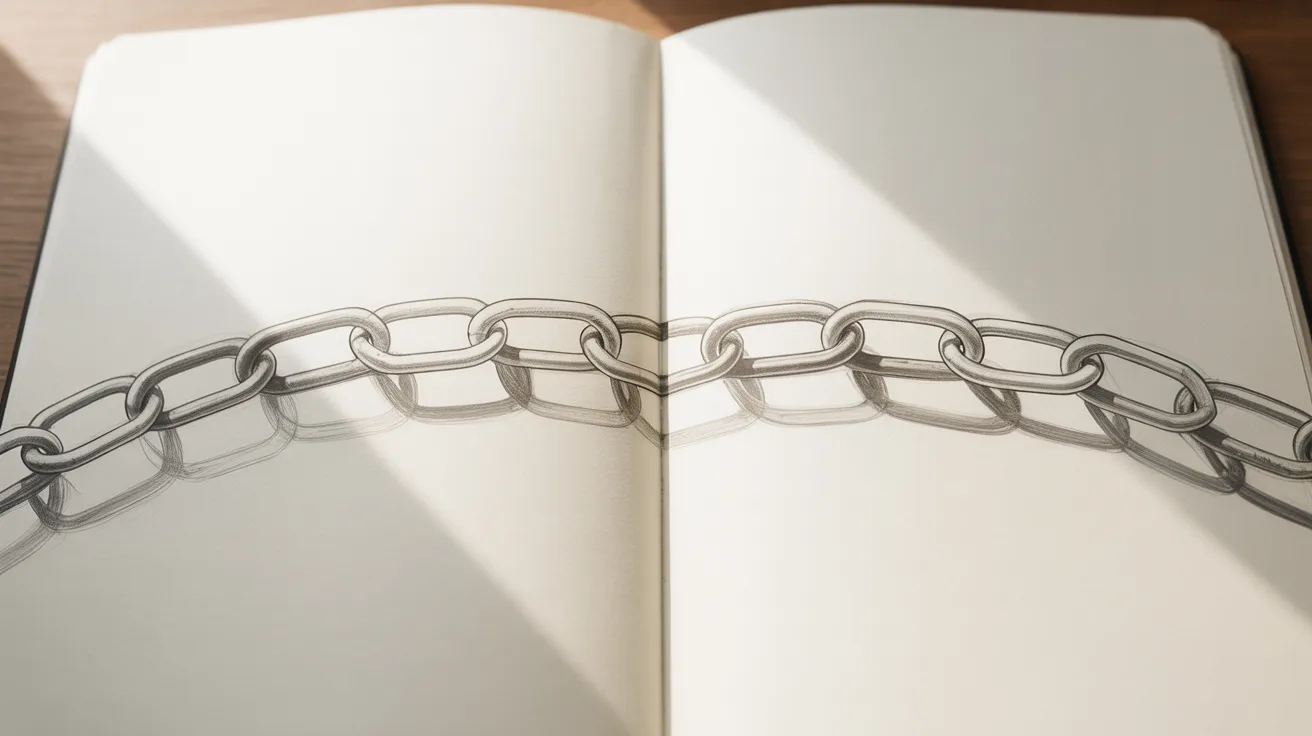
A chain is just a series of connected loops, each one holding the next. When you draw a chain, you repeat one simple shape over and over an oval.
Keep your ovals the same size and angle, and your chain will look balanced and real. Start by drawing one oval. Then draw a second one passing through it.
The second oval appears to go behind and in front of the first. That overlap is what gives the chain a three-dimensional look.
Once you understand this basic idea, the rest is just repetition. It really is that simple.
Art Supplies for Chain Drawing
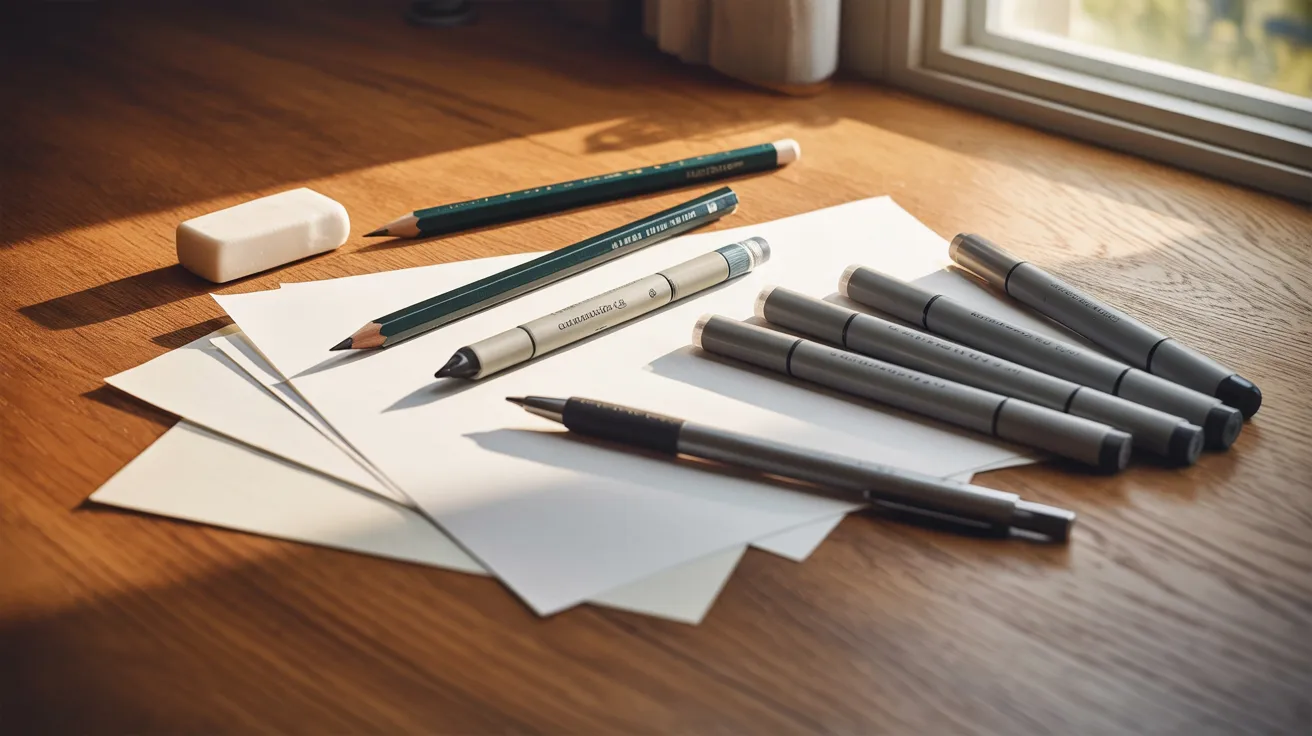
You don't need fancy tools. A few basic supplies are all it takes to get started.
Basic Tools Like Pencil, Eraser, and Paper
Start with a pencil. It lets you make light marks and fix mistakes easily. A good eraser helps you clean up overlapping lines. Any plain white paper works fine. You do not need anything special at this stage.
Pens and Markers for Outlining
Once your pencil sketch looks right, go over it with a pen or fine-tip marker. This makes the lines crisp and bold. Let the ink dry fully before you erase the pencil marks underneath.
Markers for Coloring and Shading
Use gray or silver markers for a metallic look. Darker shades go on the inner curves. Lighter shades go on the outer edges. This contrast creates depth and makes the chain look solid.
Step-by-Step Method to Draw a Chain Easily
Follow these steps one at a time and you will have a complete chain before you know it.
Step 1: Drawing the First Oval Link
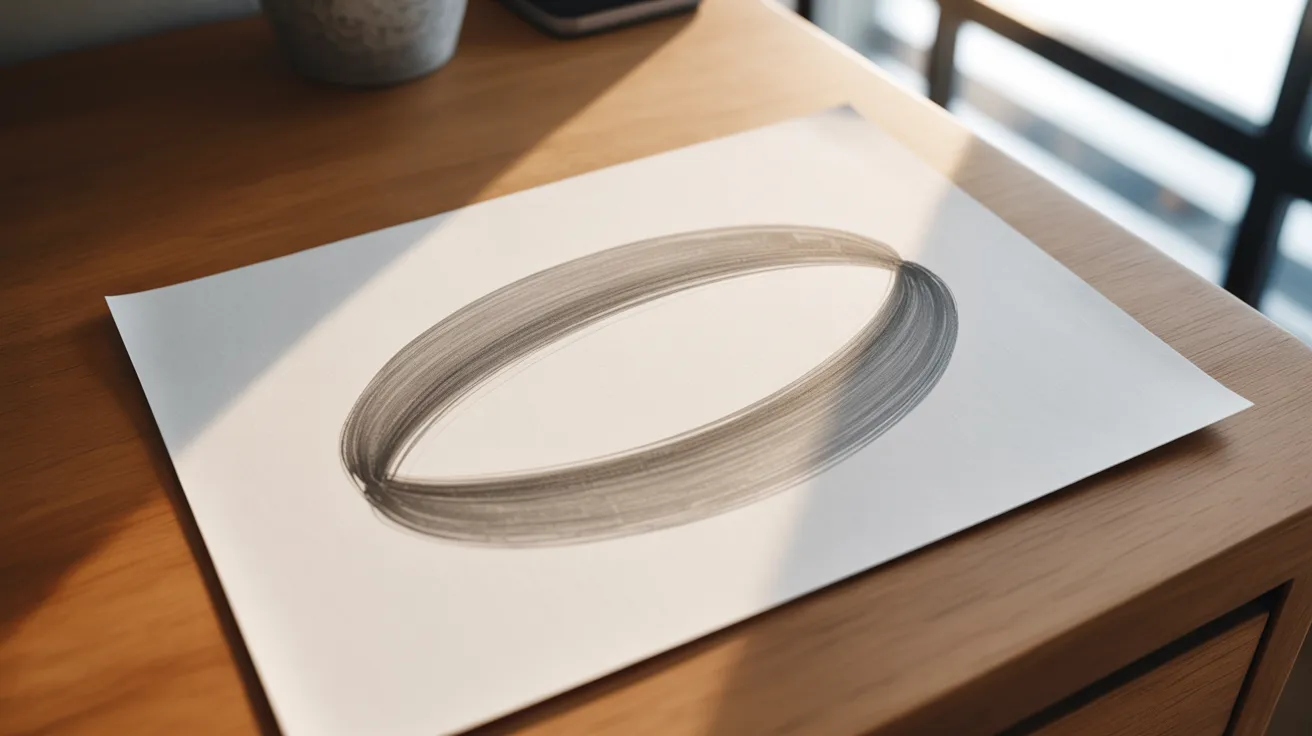
Draw a simple oval in the center of your paper. Keep it light with your pencil. This is your starting link. Make sure it is smooth and even on both sides.
Step 2: Adding Overlapping Links
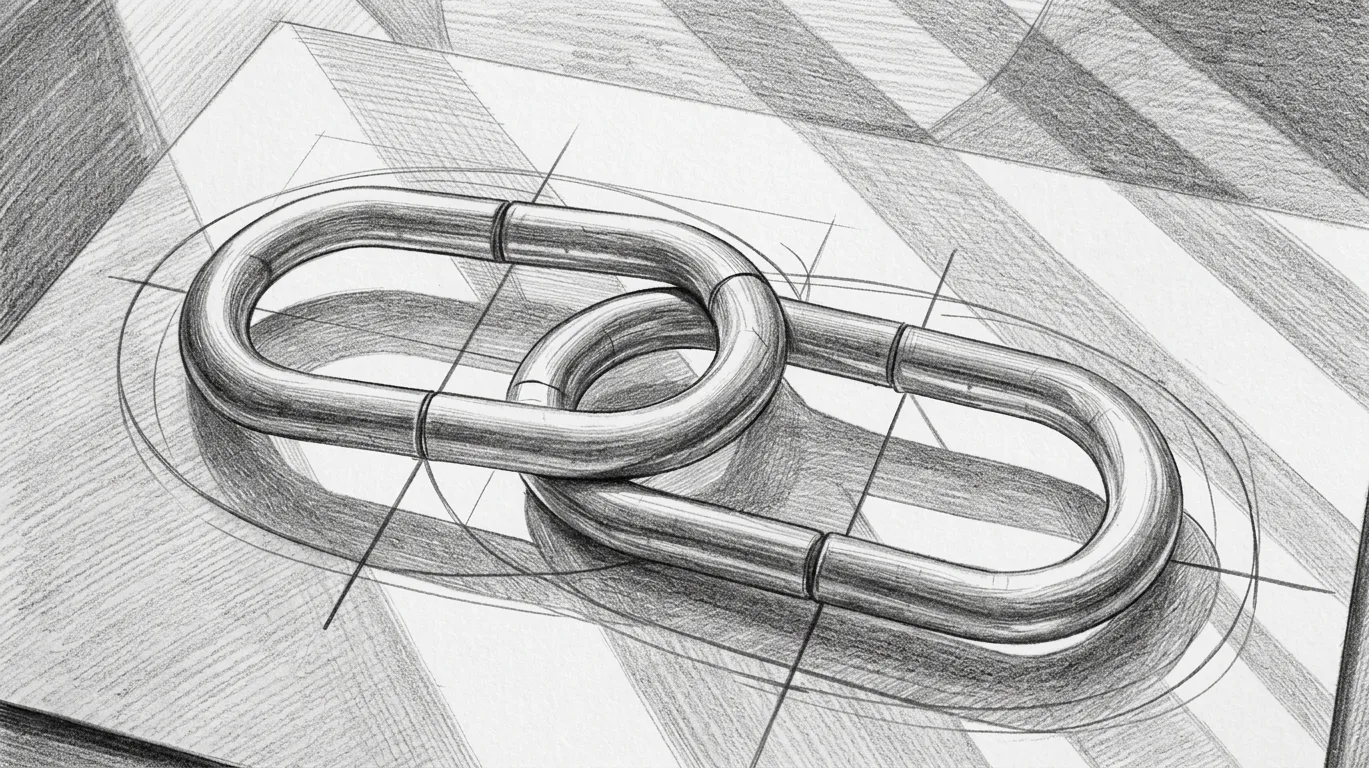
Draw a second oval that crosses through the first one at a slight angle. It should look like it goes behind the first link on one side and in front on the other. This is the key move in chain drawing.
Step 3: Connecting Links to Form a Chain
Keep adding ovals in the same pattern. Each new oval passes through the last one. Try to keep the size and spacing the same. A ruler or light guide lines can help you stay consistent.
Step 4: Cleaning Intersecting Lines for Realism
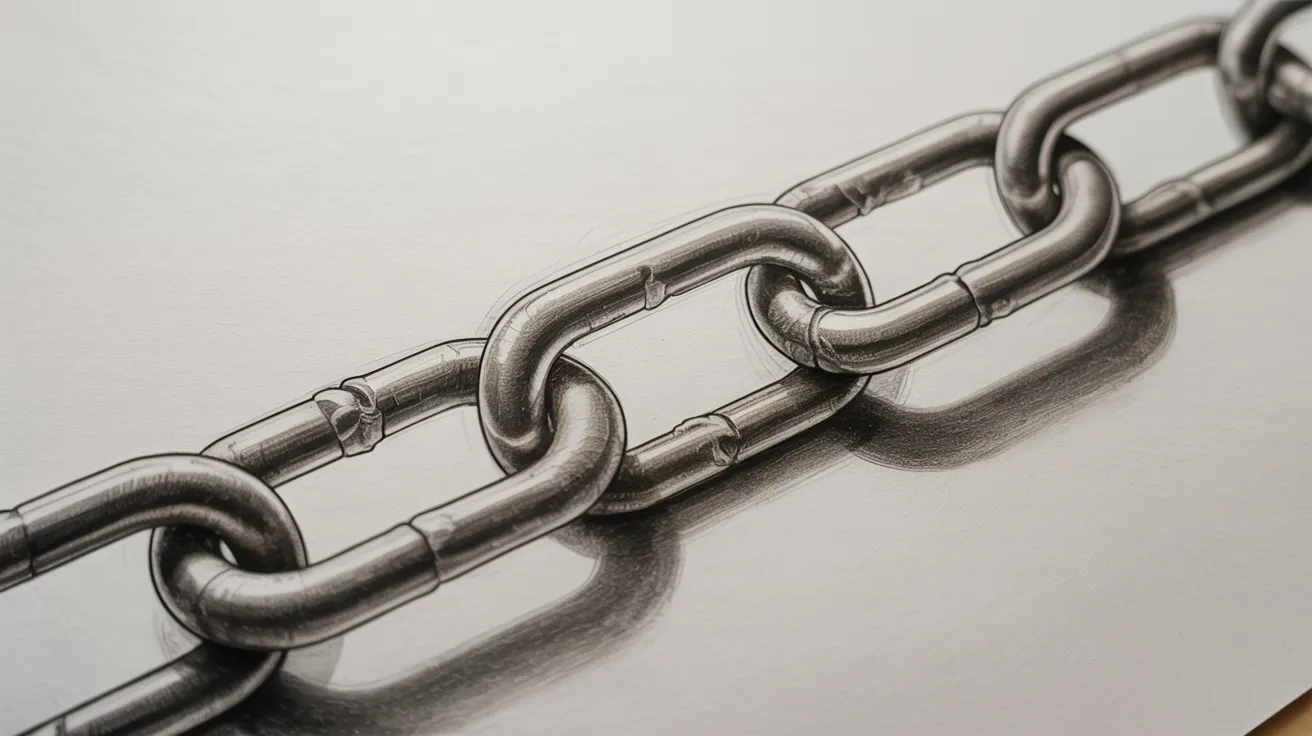
Now look at where the ovals cross. Erase the lines that should be hidden behind another link. This step makes the chain look real instead of flat. Take your time here. It makes a big difference.
Drawing Chains in Different Styles and Directions
Chains don't have to go in a straight line. Here's how to draw them in different directions.
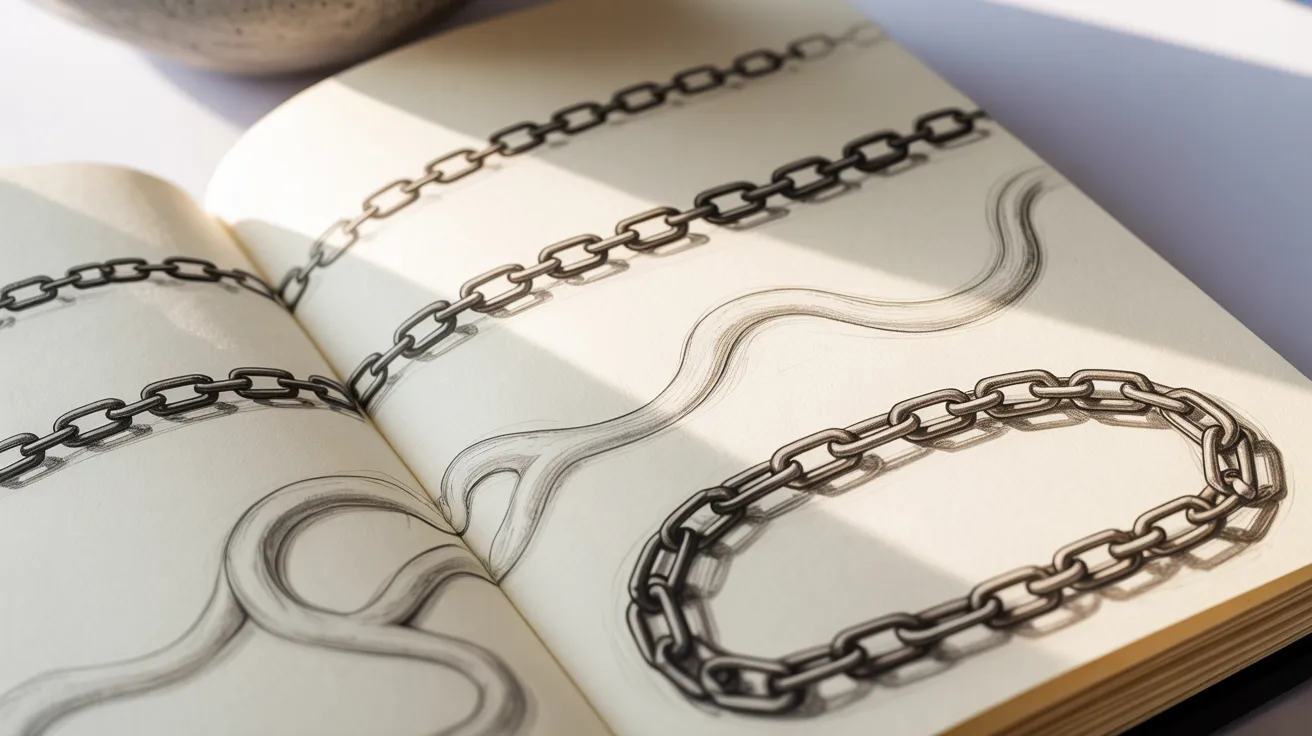
Straight Chain Structure
A straight chain is the easiest to start with. All your ovals line up in one direction. The angles stay the same from link to link. This is great practice for building control and consistency.
Curved and Circular Chain Designs
For a curved chain, you tilt each oval a little more than the last. The chain bends naturally as you go. For a circular chain, the links curve all the way around to form a ring or loop shape.
Planning Chain Flow Before Sketching
Before you draw, sketch a light line showing where the chain will go. This guide line helps you keep the chain smooth and on track. Think of it as a path your links will follow.
Outlining and Coloring Your Chain Drawing
Good coloring and outlining can make a simple chain look polished and real.
Creating Clean Outlines With a Pen or Marker
Trace over your pencil lines with a fine-tip pen. Use smooth, steady strokes. Do not rush. Clean outlines make the whole drawing look more finished and sharp.
Adding Shading for Depth
Use a darker pencil or marker on the inside curves of each link. The parts that overlap should also be darker. This contrast tells the eye which parts are closer and which are farther away.
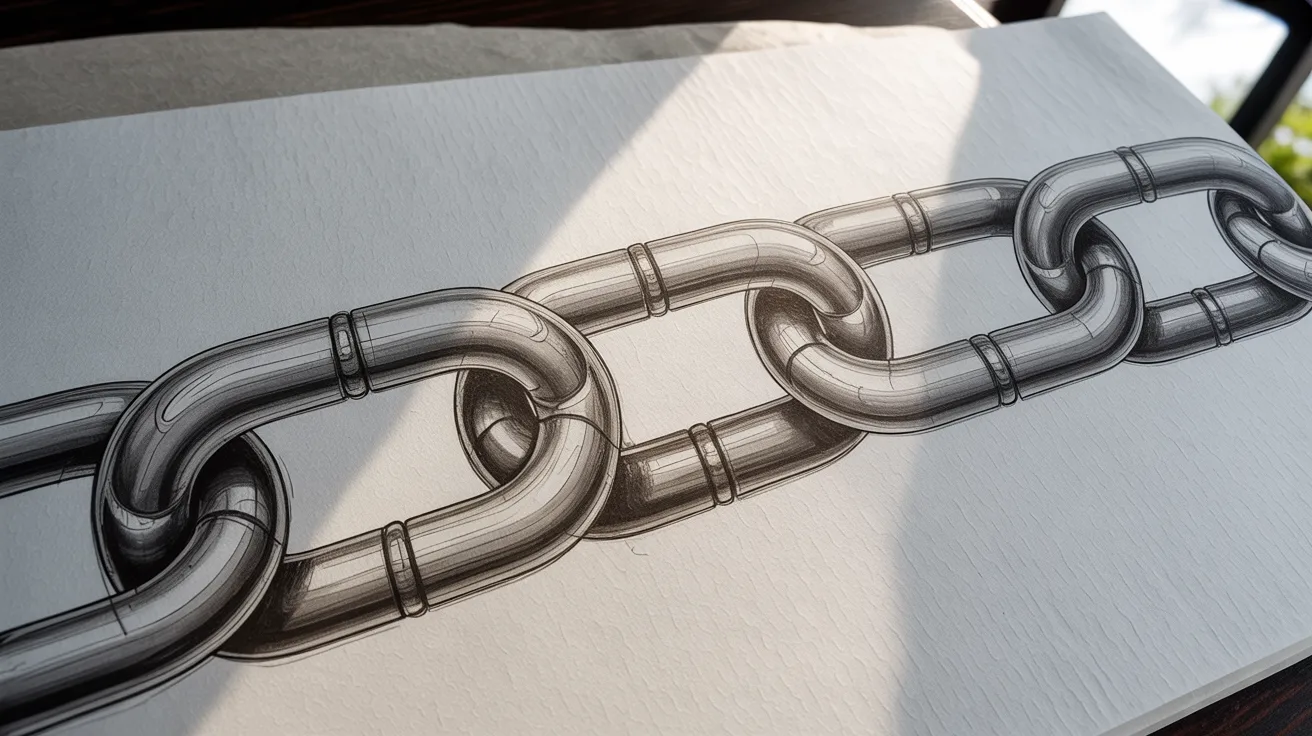
Using Markers for Smooth Blending
Blend your shading from dark to light using a gray marker. Work in small strokes. Go over the area a few times to build up a smooth gradient. Avoid hard lines between your shades.
Adding Highlights for a Realistic Finish
Use a white gel pen or leave a small area uncolored at the brightest point on each link. This spot of light gives the chain a shiny, metallic look. Even a small highlight makes a big visual difference.
Tips for Better Chain Drawing
Small habits can speed up your progress more than you might expect.
- Start with light pencil strokes so mistakes are easy to fix and erase later.
- Never press too hard at the start. Heavy lines make corrections much harder.
- Keep each oval the same size to make your chain look neat and even.
- Check the spacing between links as you go. Uneven gaps are the most common beginner mistake.
- Draw a few chain links every day to build hand control and muscle memory.
- With regular practice, your lines will get smoother and your spacing will improve on its own.
Conclusion
Learning chain drawing techniques takes a little patience, but it is worth it. I remember my first attempts looking wobbly and off, and that is completely normal.
The key is to stay consistent and not give up after one try. Practice a few links each day and you will see real progress.
Try different styles and have fun with it. If this helped you, drop a comment below and let me know how your drawing went. I would love to see your progress!
Frequently Asked Questions
What is the easiest way to start drawing a chain?
Start with a single oval and practice drawing a second one passing through it. Repeat this until the overlap feels natural before building a full chain.
Do I need special paper to draw chains?
No. Regular white drawing paper works well for beginners. Smoother paper works better if you plan to use markers for shading and coloring.
How do I make my chain look three-dimensional?
Add shading to the inner curves and overlapping areas of each link. Leave a small bright spot on the outer edge to create the look of reflected light.
How long does it take to learn chain drawing?
Most beginners start feeling comfortable after a week of daily practice. Consistency matters more than the amount of time spent in one sitting.
Can I draw chains in different shapes, not just straight lines?
Yes. Once you are comfortable with straight chains, try curving them or forming circular loops by tilting each oval slightly as you go.