
")
After sketching hundreds of trees, I can tell you that pine trees are the one shape most beginners get right on their very first try.
That tall, triangular form is simple once you follow the right steps in order. If you have tried before and it never looked right, this guide will fix that.
I will walk you through how to draw pine trees step by step, from the trunk to the needles. You will get a clear, simple breakdown that actually works.
I know exactly where beginners get stuck, and I will help you skip those mistakes from the start.
Why Pine Trees Are Great for Beginner Artists
Pine trees are one of the best subjects to start with when learning to draw.
The shape is simple: a straight trunk, layered branches, and a triangular outline. There are no complicated curves or tricky proportions to worry about.
You only need a few basic lines to get a result that actually looks like a tree. I started with pine trees myself, and it built my confidence fast.
Once you get comfortable with this shape, drawing other trees becomes much easier too.
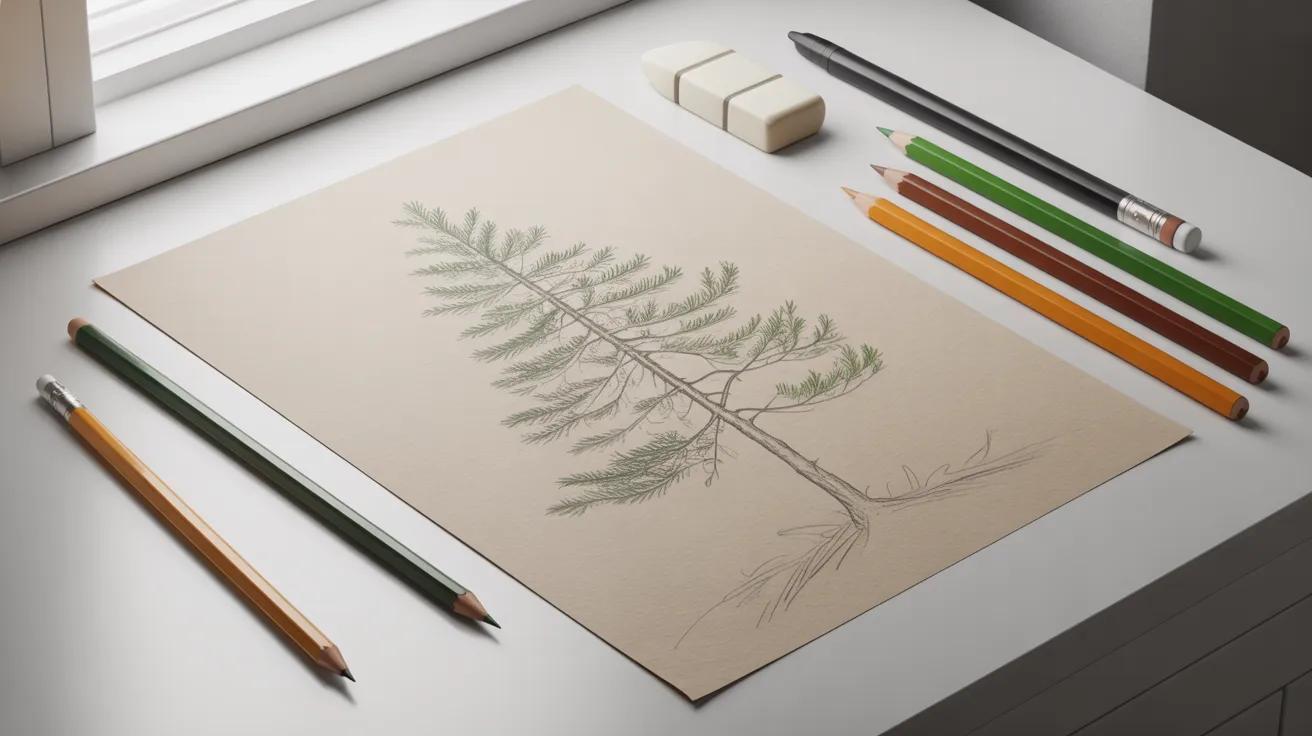
Materials Needed to Draw Pine Trees
Grab these before you start so nothing slows you down mid-drawing.
Pencil: A standard HB pencil works best for light guide lines.
Dark Pen or Marker: For outlining the final tree shape cleanly.
Shading Pencil or 2B Pencil: Useful for adding depth to the trunk and branches.
Plain White Paper: Any regular drawing or printer paper will do.
Green and Brown Colored Pencils: For coloring the needles and trunk at the end.
Pick up your pencil, follow each step, and you will have a pine tree on paper before you know it.
How to Draw Pine Trees: Step by Step
Six clear steps that take you from a blank page to a finished pine tree.
Step 1: Draw the Trunk

Start with a straight vertical line in the center of your paper. This is the spine of the whole drawing.
Keep the line light so you can adjust it if needed. Do not press too hard at this stage.
The trunk guides where everything else goes, so getting this line straight and centered matters from the start.
Step 2: Draw the First Branches
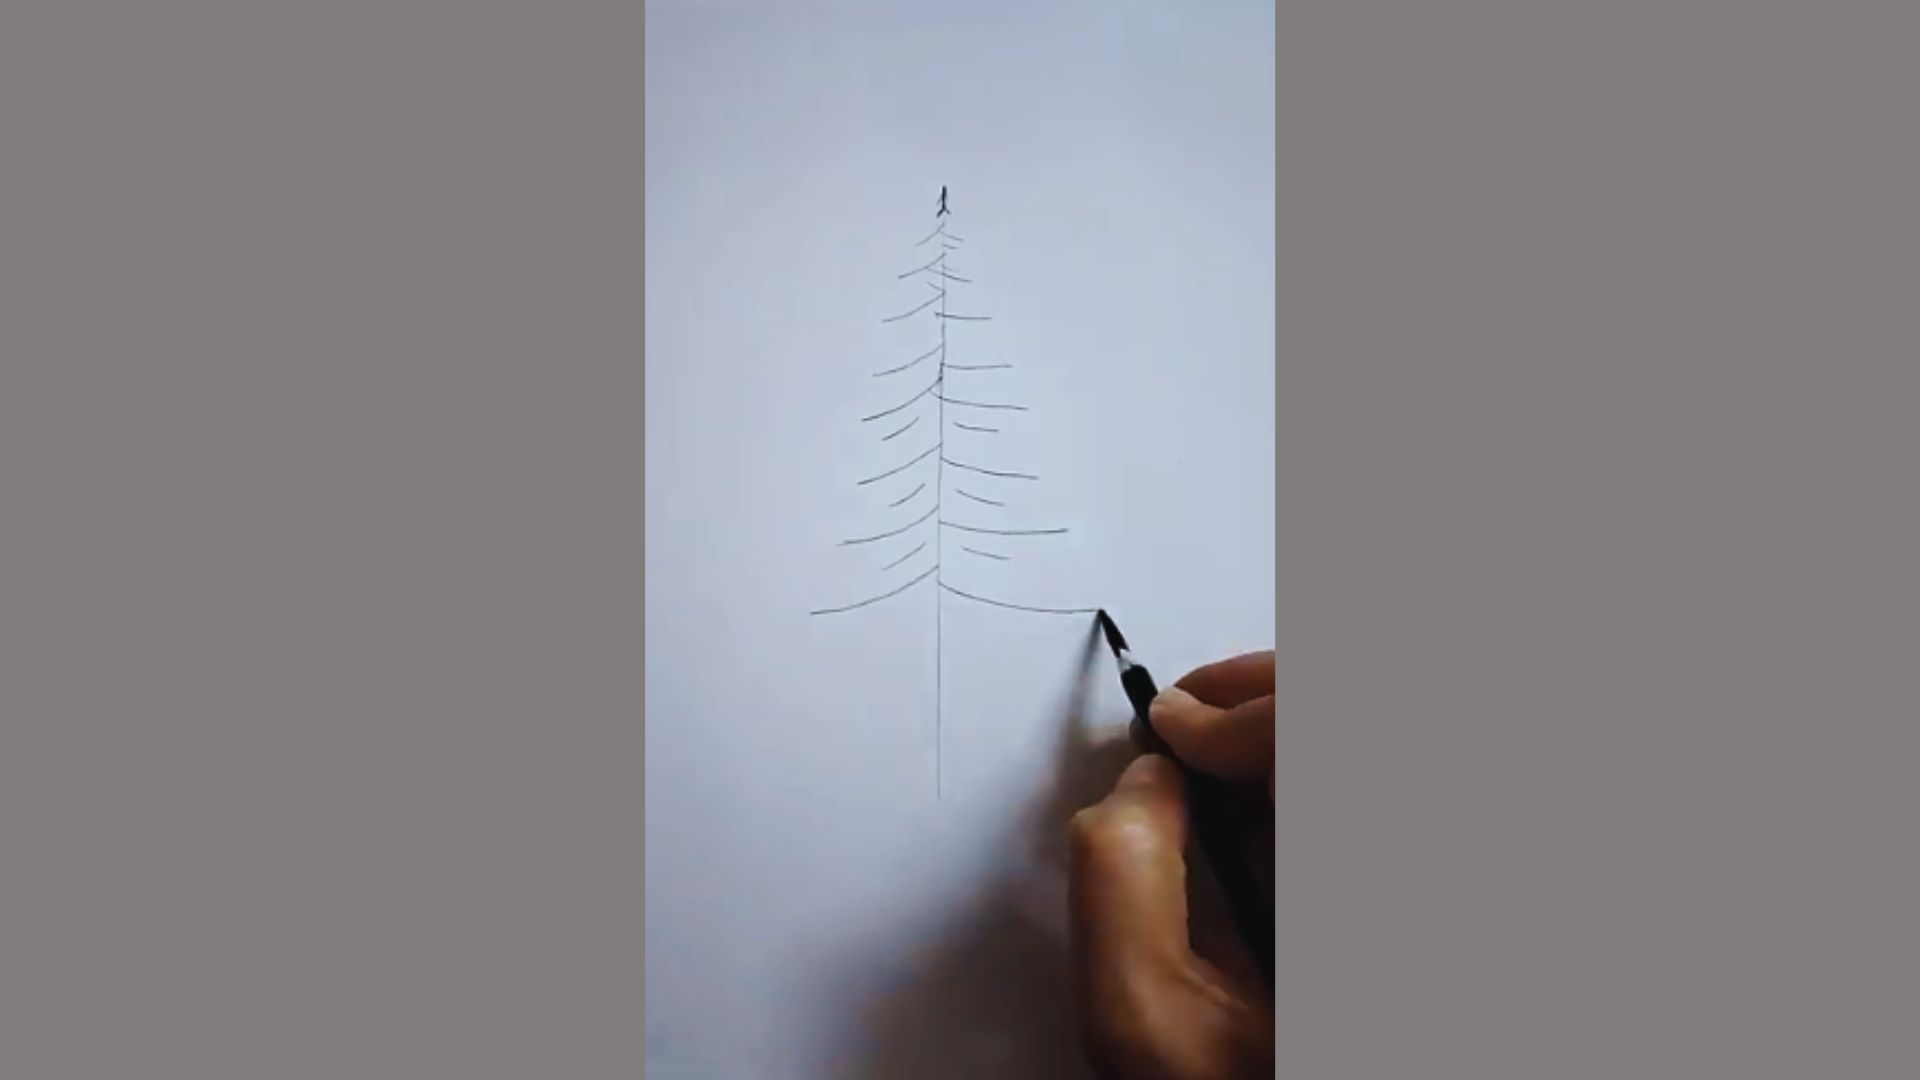
From the top of the trunk, draw small slanted lines on both sides. These form the first layer of branches at the top of the tree.
Keep them short and close together. This top section is the narrowest part of the pine tree.
It starts showing that classic triangular shape right away. Keep your lines light for now.
Step 3: Extend the Branches

As you move down the trunk, continue adding branches on both sides. Make each layer slightly longer than the one above it.
This is what creates the natural triangle shape of a pine tree. Slightly curve the lines as you draw them.
Perfectly straight branches look stiff, so a gentle curve gives the tree a more natural and relaxed look.
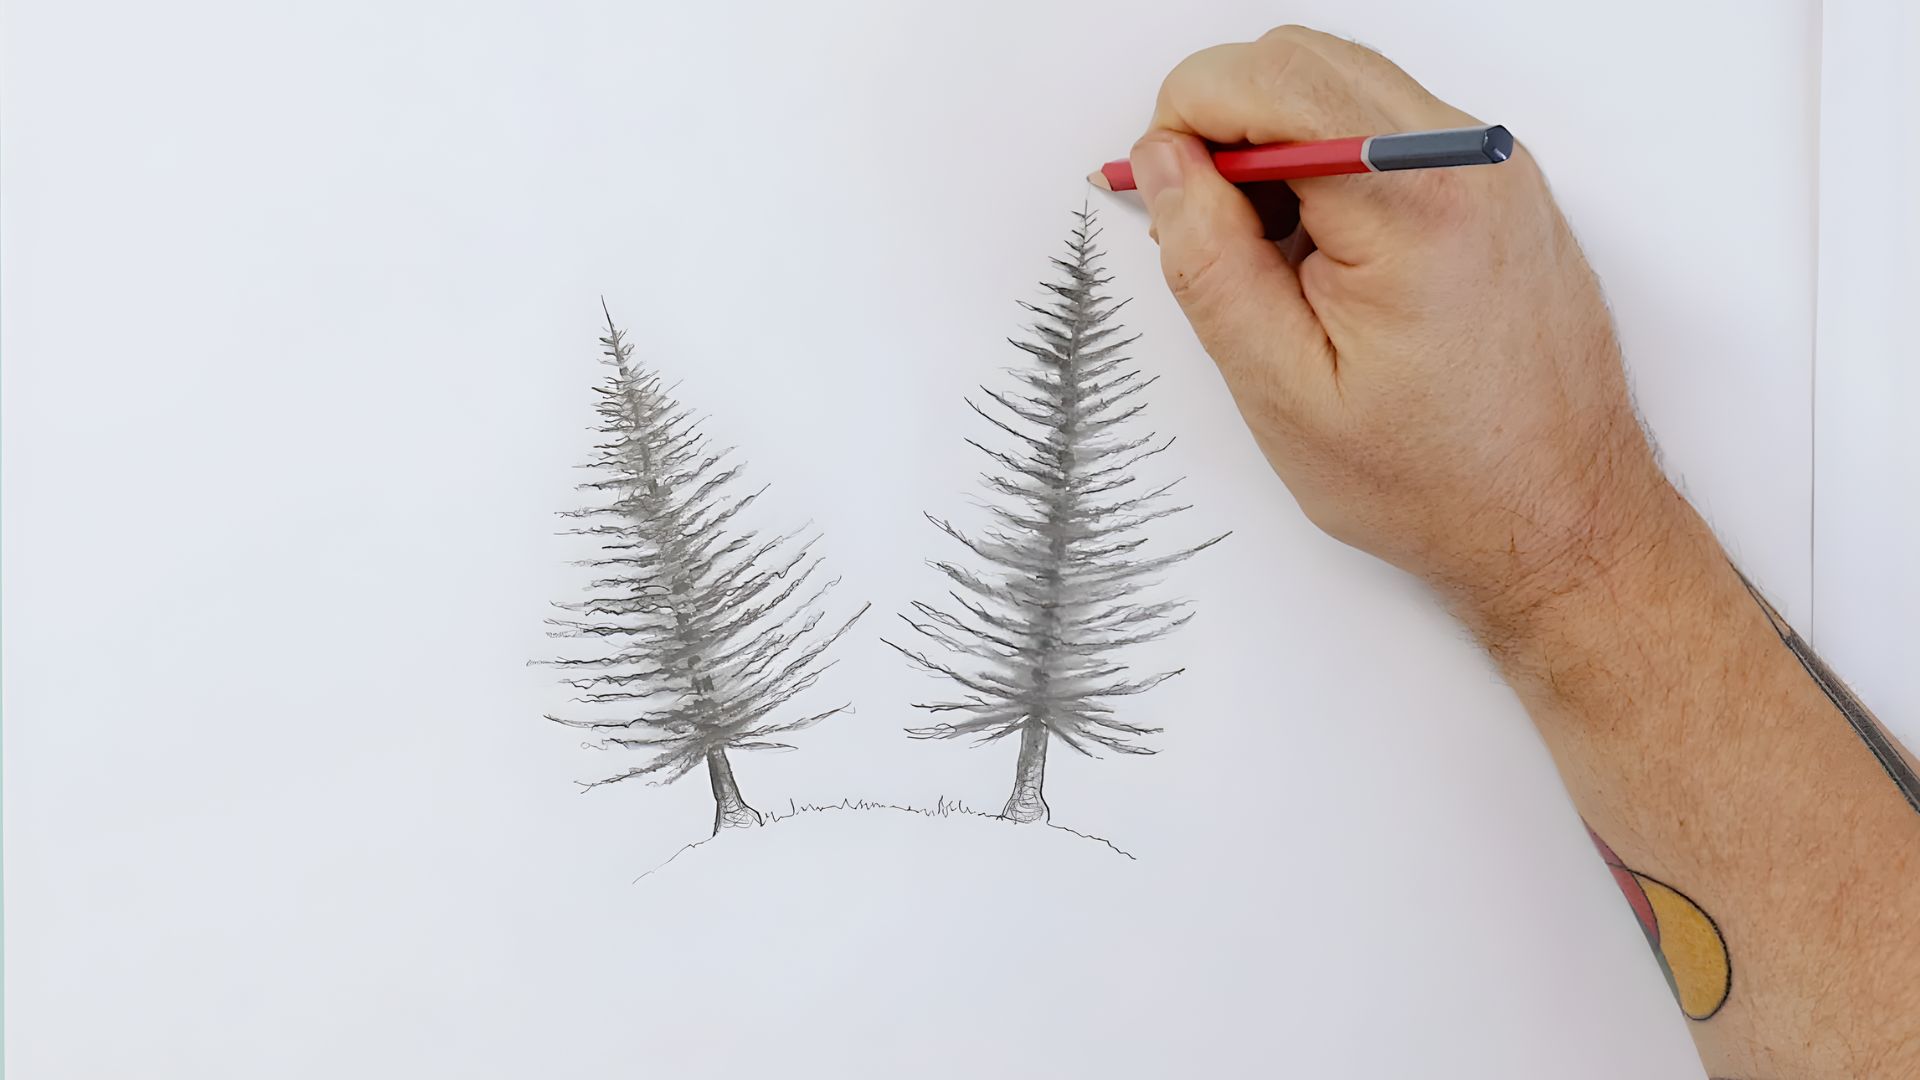
Step 4: Add Pine Needles and Texture
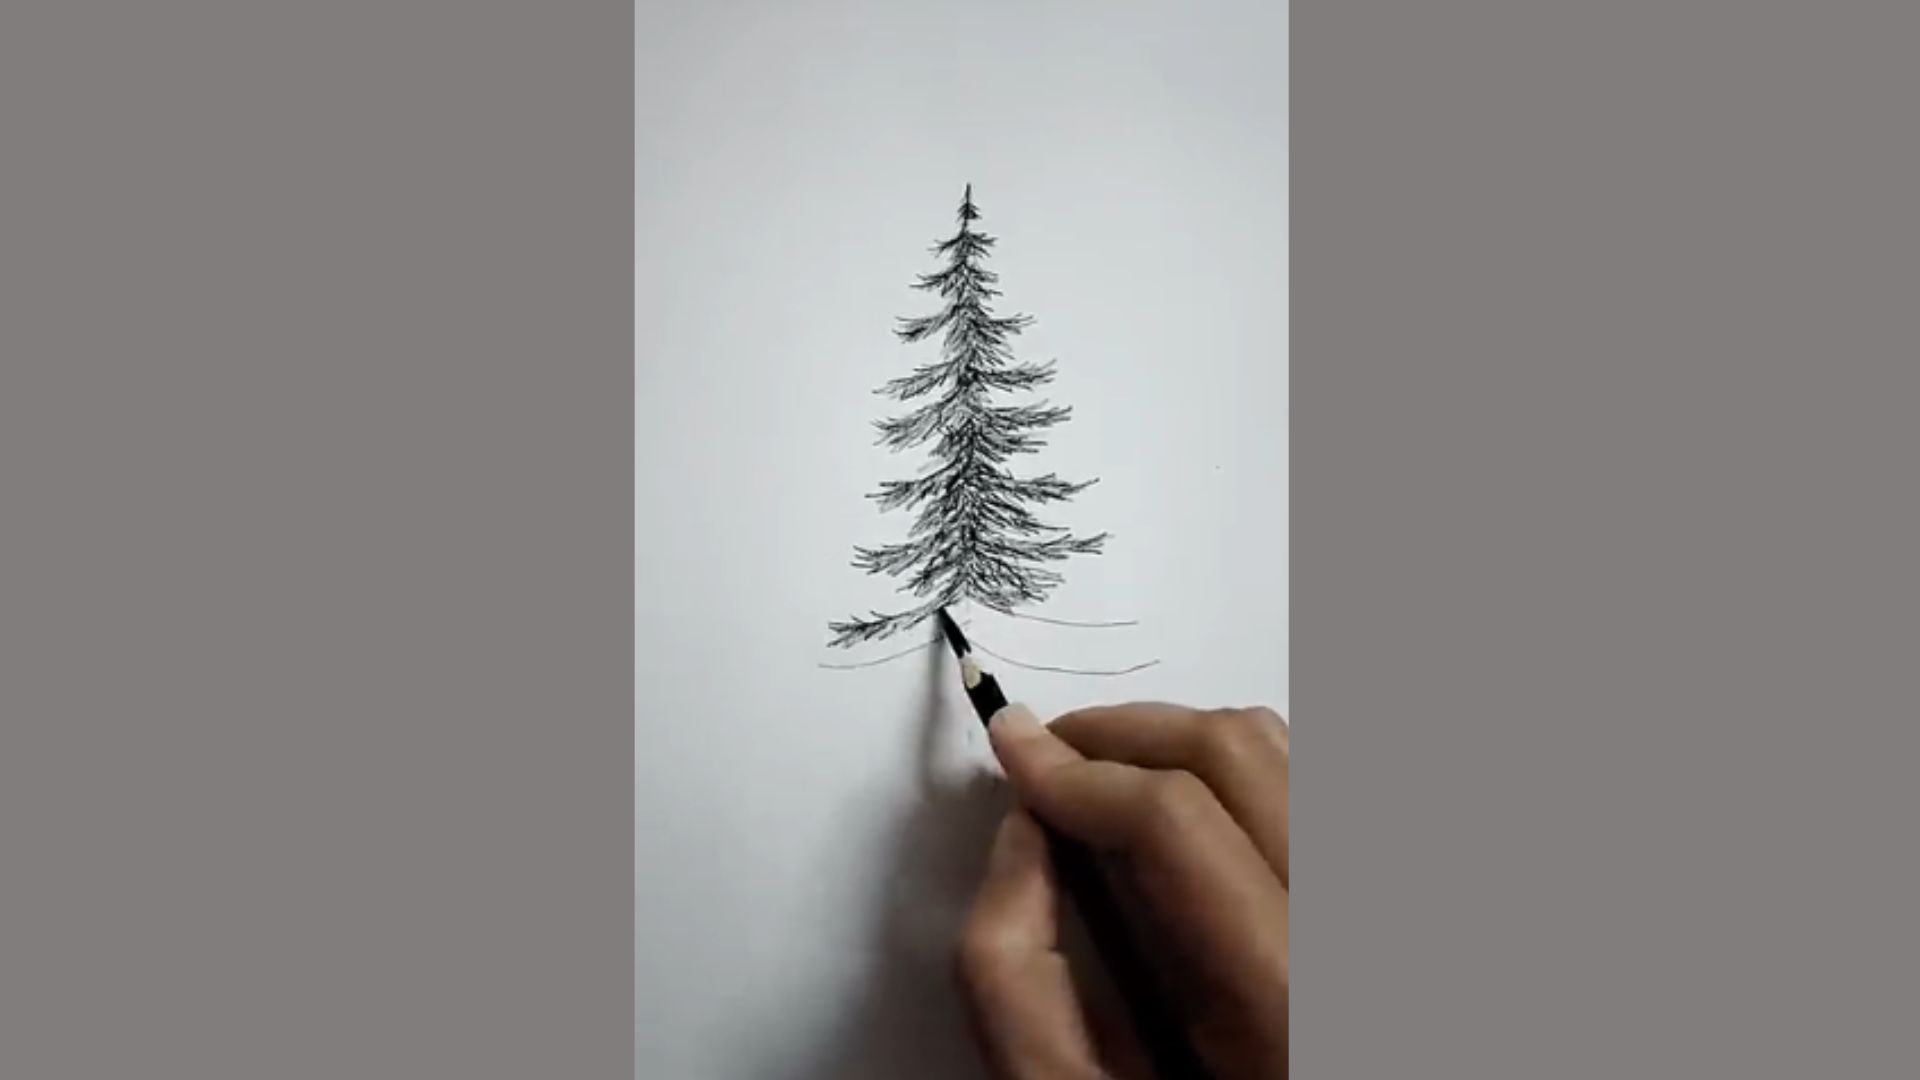
Now add short, rough strokes along each branch to show pine needles. These do not need to be neat.
Small, uneven lines work better here because real pine needles are not perfect. Start from the upper branches and work your way down.
The goal is to make each branch look full and bushy. Take your time with this step, it changes the whole look of the tree.
Step 5: Draw the Trunk and Finish the Tree
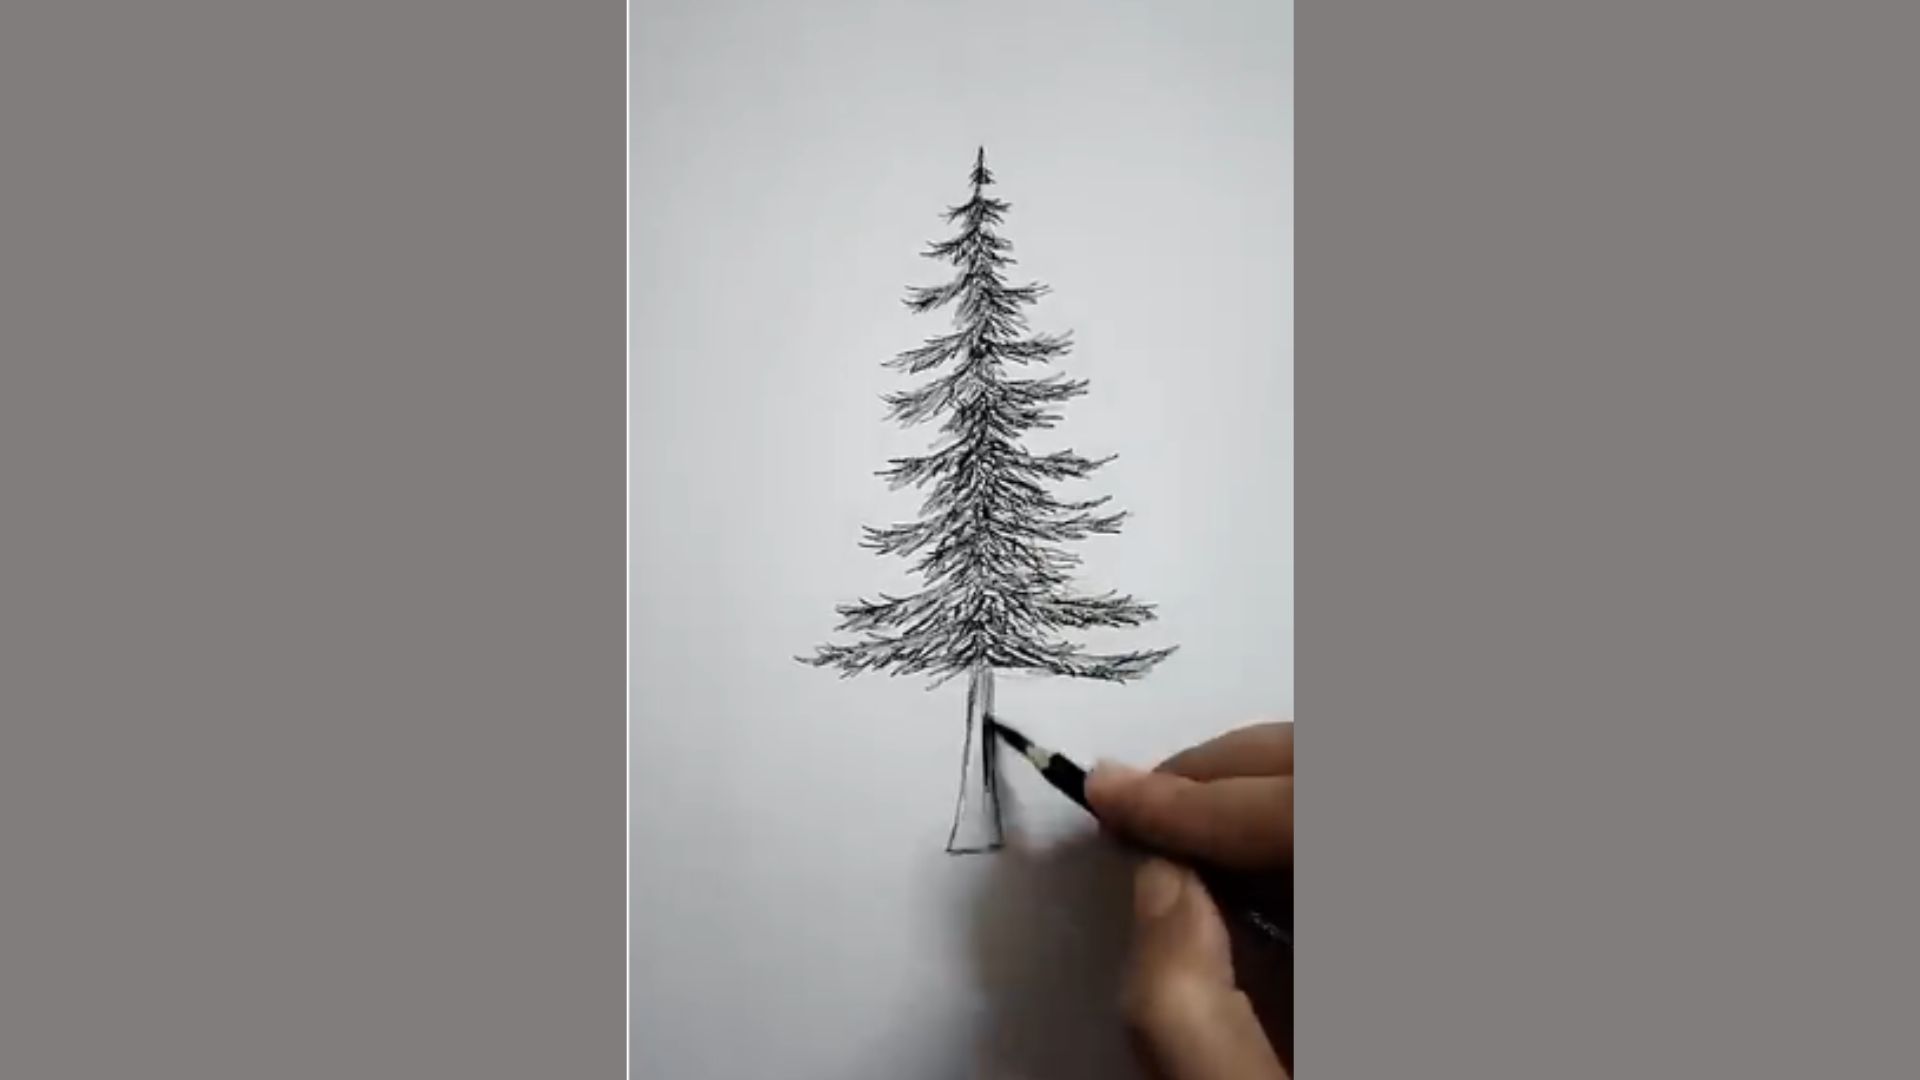
Go back to the lower trunk and draw two slightly slanted lines to define its edges clearly.
Darken the trunk and a few branches using a heavier pencil stroke or your dark pen.
Add light shading on one side of the trunk to give it some depth. This makes the tree feel more solid and three-dimensional instead of flat on the page.
Step 6: Draw the Tree Trunk and Ground Base
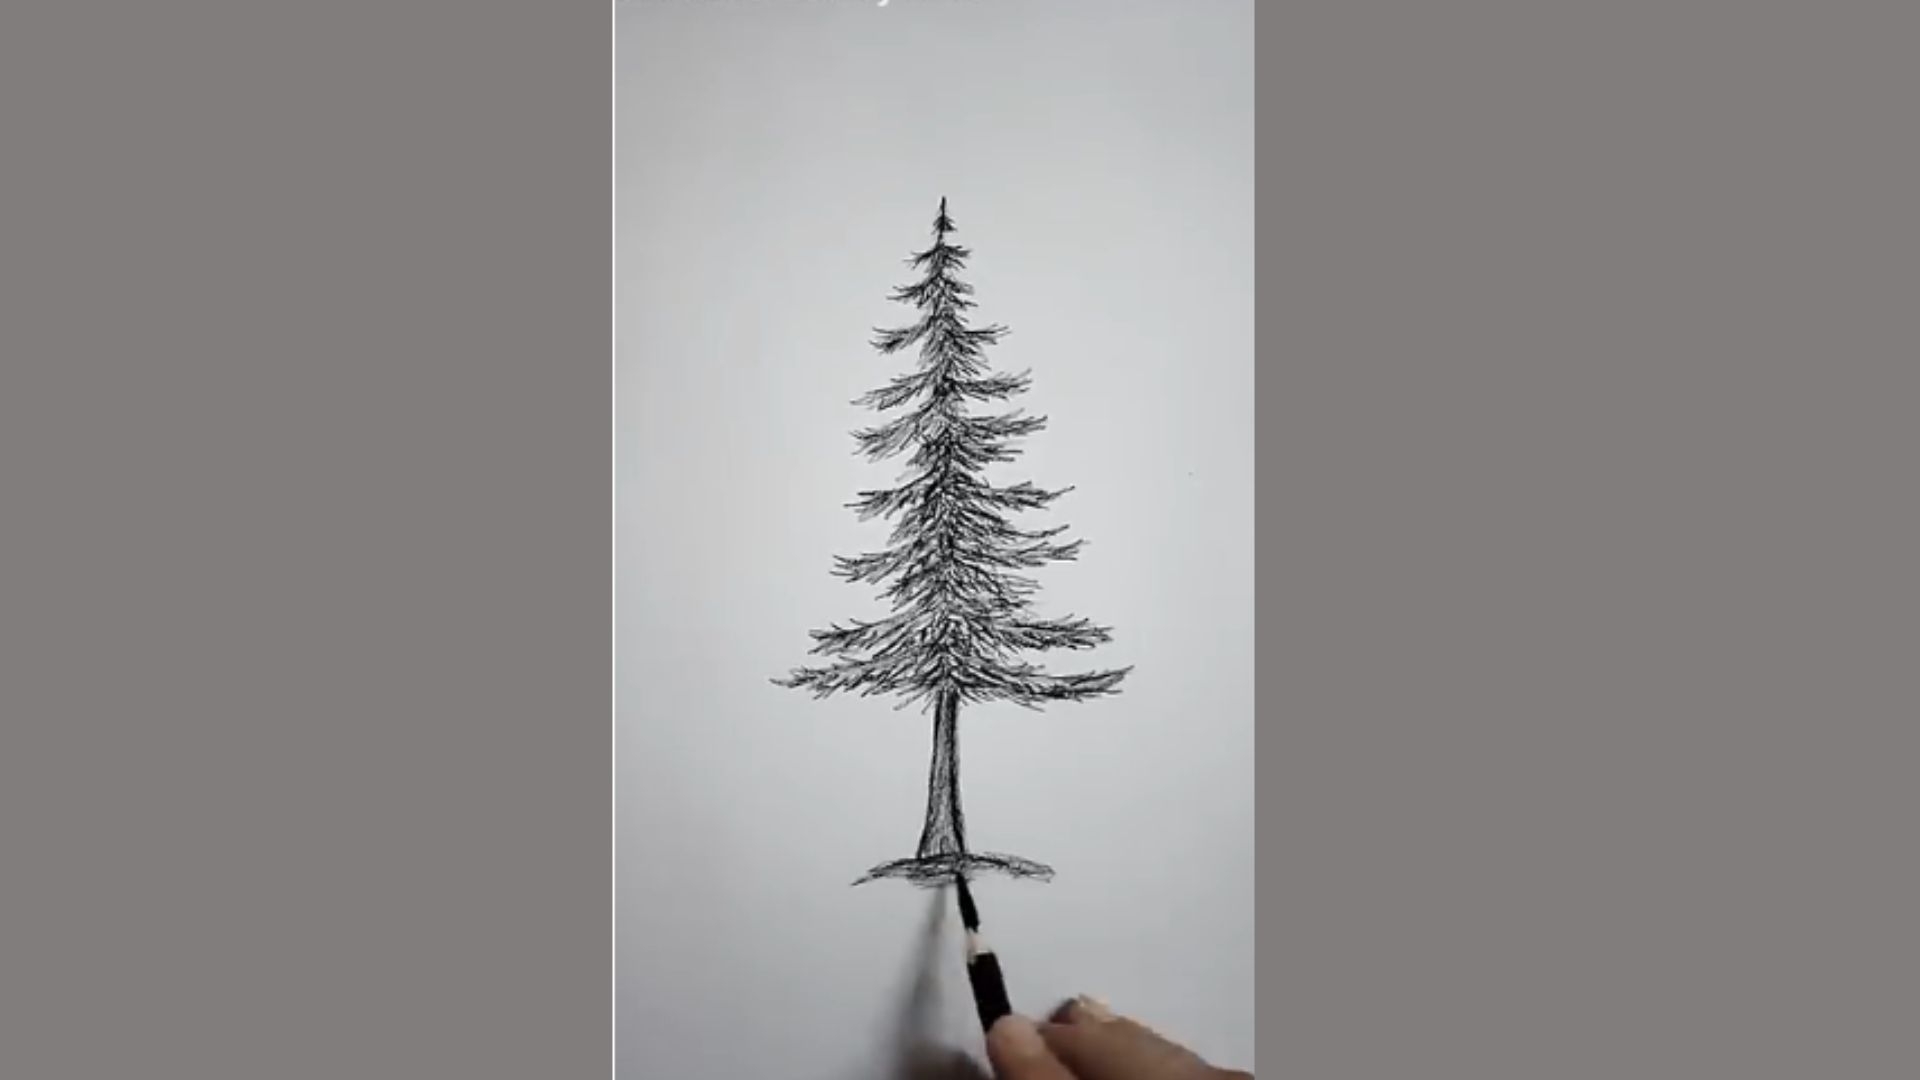
Sketch the full trunk from the center of the tree down using light, straight pencil strokes.
Add slight shading along one side of the trunk for depth. Then draw a small uneven line at the base to show the ground.
This small detail makes the tree look naturally rooted rather than floating on the paper.
Common Mistakes When Drawing Pine Trees
Most beginners make the same few mistakes. Knowing them ahead of time saves you a lot of frustration.
- Making all branches the same length ruins the natural triangular shape pine trees are known for.
- Drawing branches too straight makes the tree look stiff and flat instead of natural.
- Skipping the texture step leaves the branches looking bare and the tree looking unfinished.
- Pressing too hard early on makes mistakes harder to erase and fix later.
- Forgetting the ground base makes the tree look like it is floating on the page.
Avoid these and your drawing will look much more polished from the start.
Conclusion
The first pine tree I drew looked more like a messy triangle than an actual tree.
But once I slowed down and followed each step, it started to come together. That is all it takes. Give how to draw pine trees a try today, even if you think you are not good at art.
Start with the trunk, build the branches layer by layer, and add the needle texture last.
You will surprise yourself. If your drawing turns out great, drop a comment below. I would love to see how it came out.
Frequently Asked Questions
What is the easiest way to start drawing a pine tree?
Start with a straight vertical line for the trunk, then add short branches at the top and work your way down.
Do I need special pencils to draw a pine tree?
No, a regular HB pencil is all you need to get started.
How do I make my pine tree look more realistic?
Add short, uneven strokes along the branches and curve your lines slightly instead of drawing them straight.
How long does it take to draw a pine tree step by step?
Most beginners can finish a basic pine tree in 15 to 20 minutes.
Can kids follow these pine tree drawing steps?
Yes, the steps are simple enough for kids aged 7 and up with no special skill needed.