

Learning how to draw folds in clothing changed the way my art looked completely.
I used to stare at my drawings thinking, why does this fabric look so flat? If that sounds familiar, you’re in the right place.
In this guide, I’ll cover how fabric works, the main fold types, and a simple step-by-step method you can follow today. I’ve practiced these techniques myself and they genuinely work.
By the end, you’ll know exactly where folds go, why they form, and how to draw them with confidence.
Let’s get into it.
Understanding How Fabric Works
Clothing moves and folds based on the body underneath. Where the body pushes out, fabric stretches. Where it hangs freely, it drops with gravity.
Think of it like a relationship between the cloth and the figure. The more you understand that connection, the more natural your folds will look.
Heavy fabric folds differently than thin fabric. A loose shirt behaves nothing like a tight one. Once you see fabric as reactive, not just decorative, everything starts to click.
Three Key Factors That Control Clothing Folds
These three things shape every fold you’ll ever draw.
The Structure Under the Fabric
The body is the foundation. Joints like knees, elbows, and shoulders push against the fabric and create tension points.
The fabric then folds or stretches based on where those body parts are positioned. Always sketch the body before the clothing.
The Type of Fabric
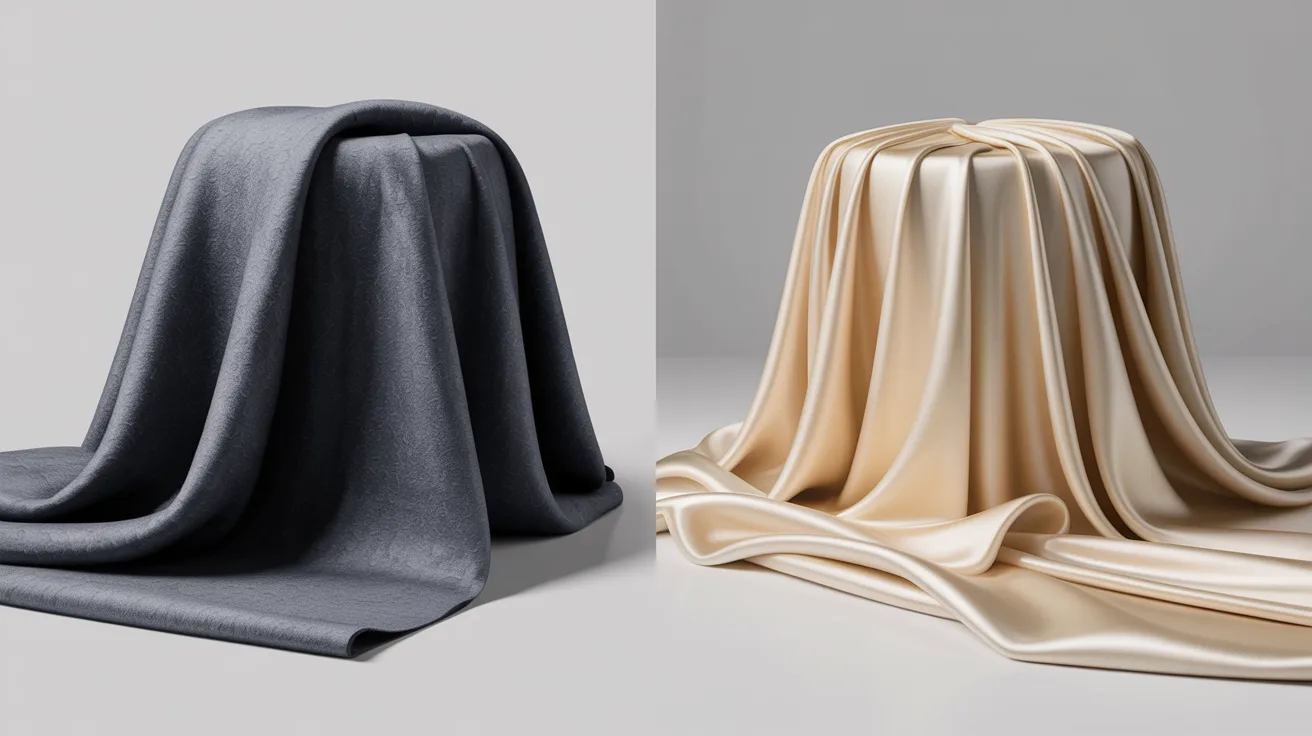
A thick wool coat folds in wide, heavy curves. A thin silk blouse creates tight, small wrinkles. Knowing your fabric type helps you decide how sharp or soft your fold lines should be.
Heavier fabrics = fewer, bigger folds. Lighter fabrics = more, smaller ones.
Forces Acting on the Clothing (Gravity and Movement)
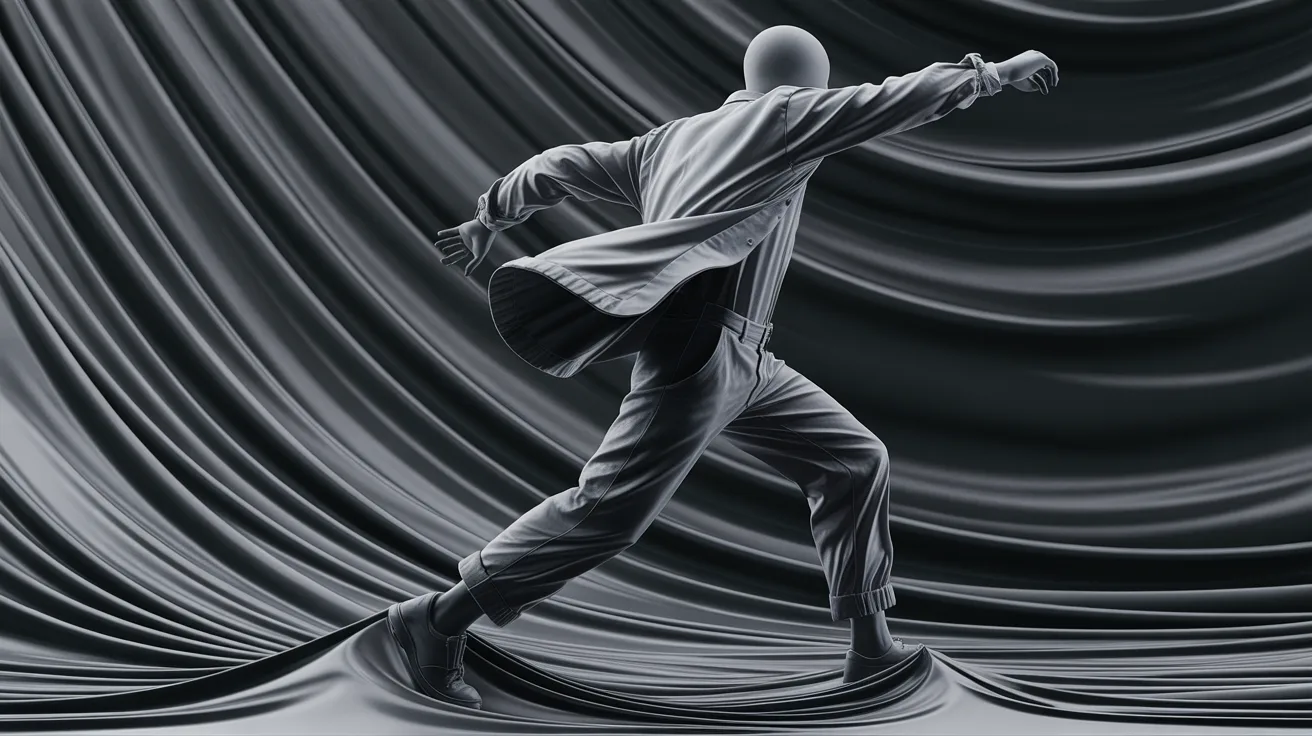
Gravity pulls fabric down. Movement pulls it in different directions. When a figure is running, fabric flows backward.
When standing still, it hangs straight down. Always ask yourself: what force is acting on this cloth right now?
Tension and Compression in Fabric
Every fold is either being pulled or being pushed, knowing which is key.
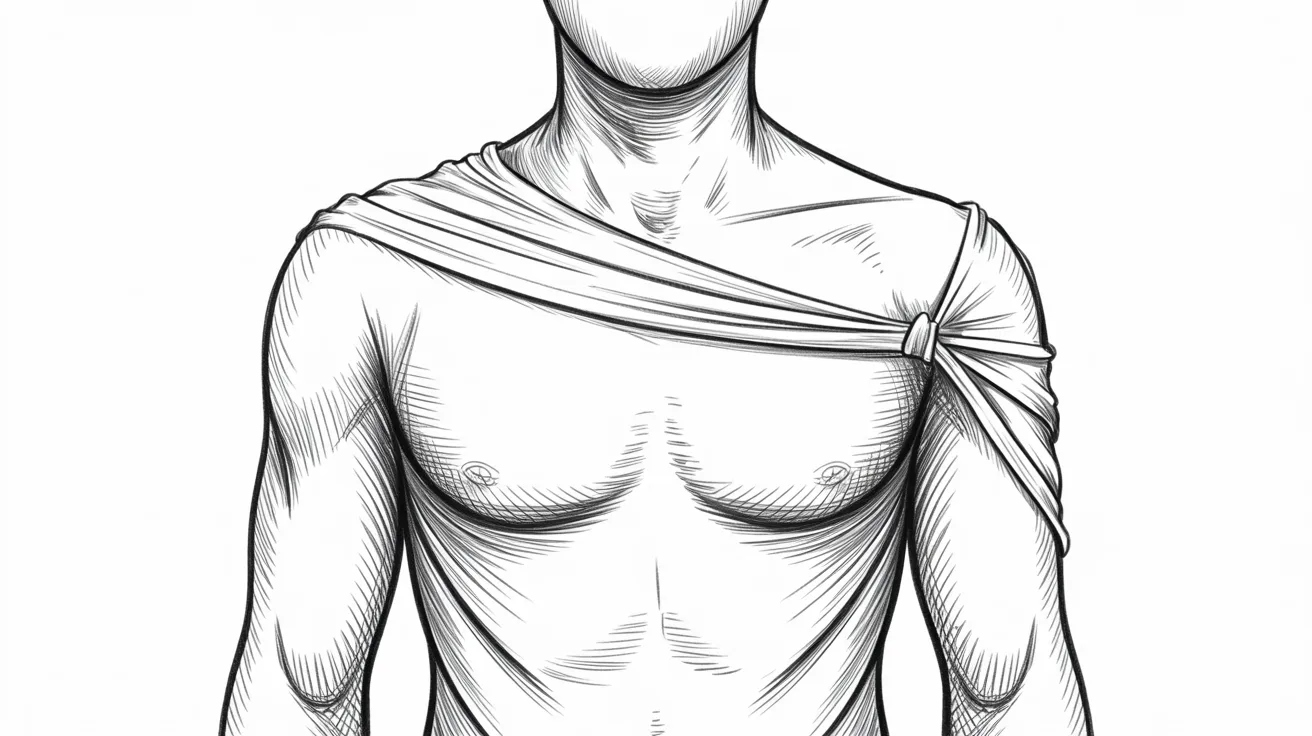
Points of Tension
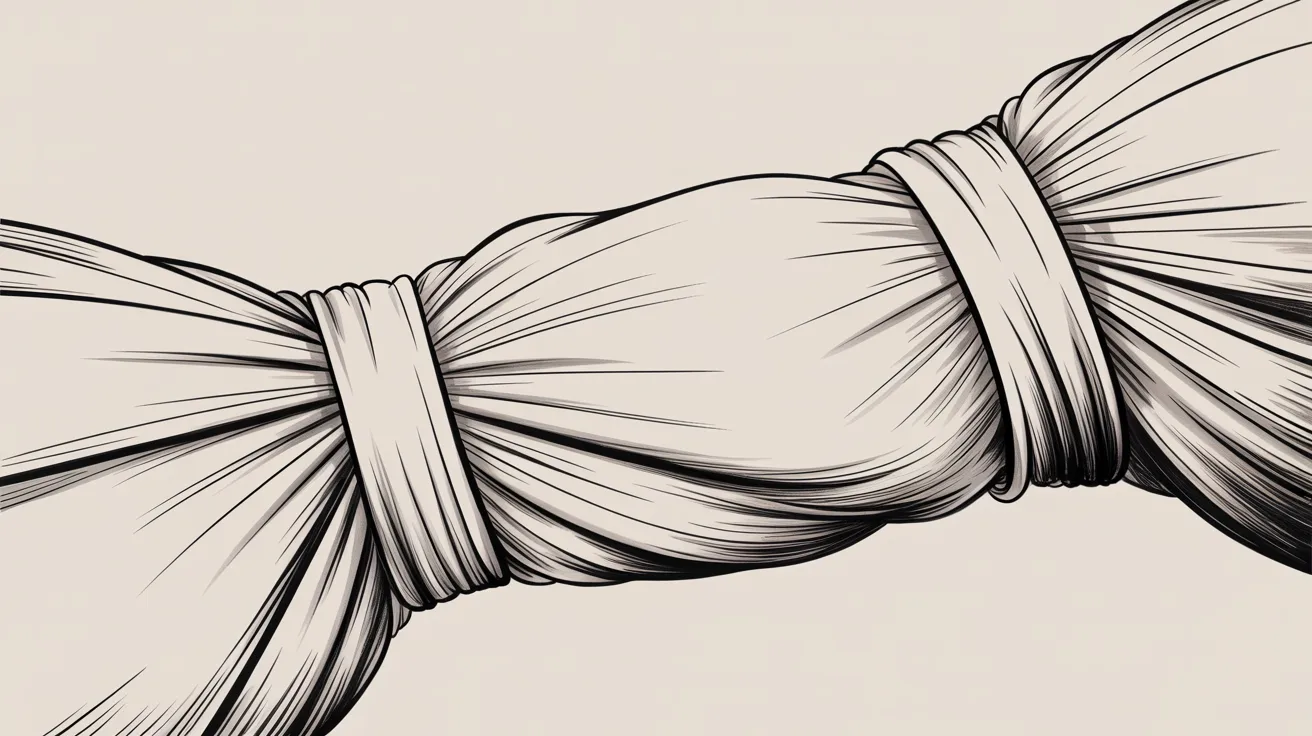
Tension happens where fabric is being pulled tight. This usually occurs at joints, shoulders, knees, hips, elbows.
At these spots, folds radiate outward from a central point, like spokes on a wheel. Draw lines that fan away from the tension source.
Points of Compression
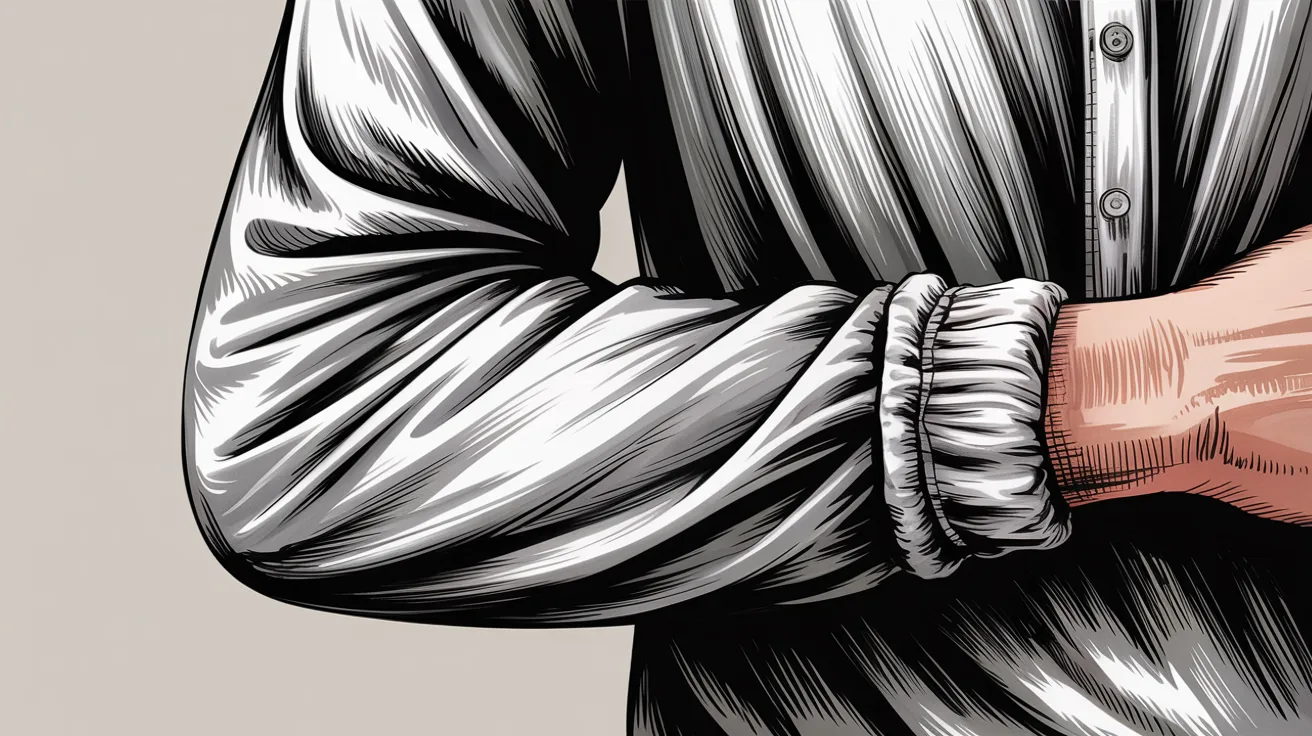
Compression happens where fabric bunches up or collapses inward. The inside of a bent elbow or the waist of a gathered shirt are good examples.
Here, folds overlap and stack. Use short, curved lines that press together to show this effect clearly.
Basic Types of Folds in Clothing
Get these five fold types down and you’ll handle almost any fabric situation.
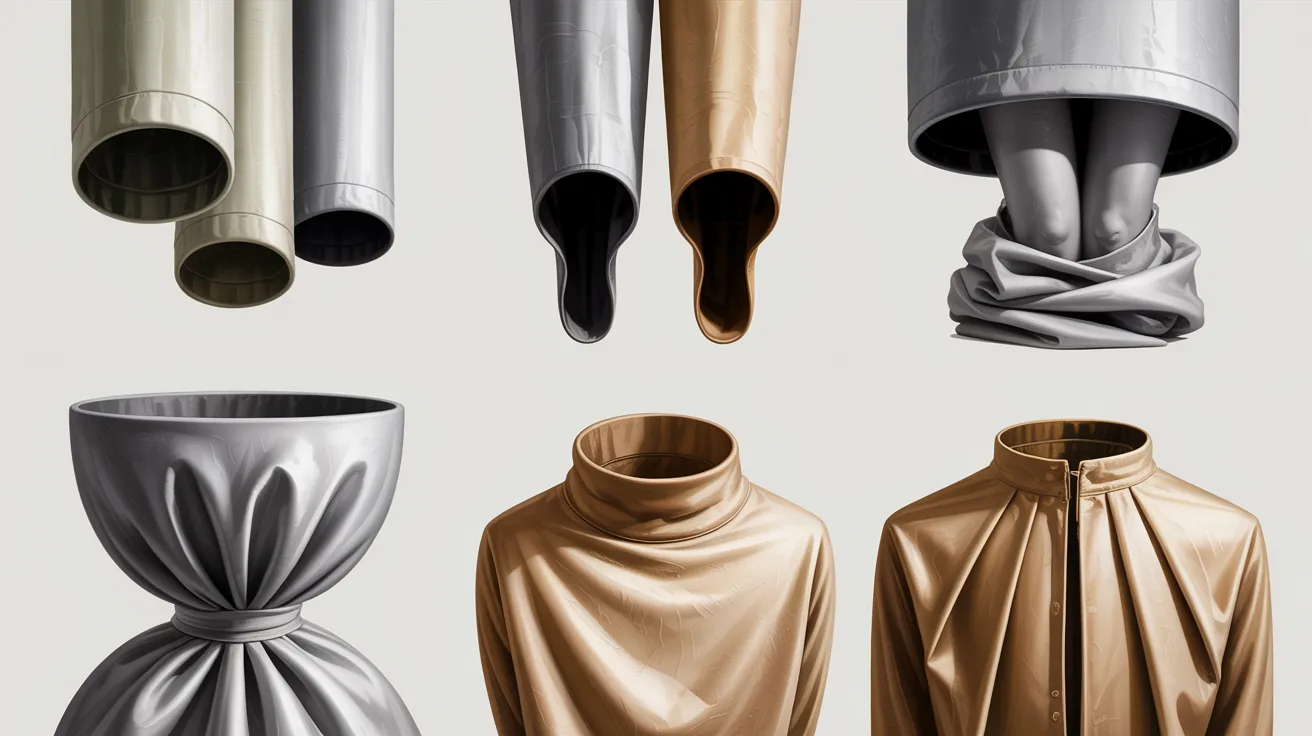
Pipe or Cylindrical Folds: Long, tube-shaped folds that form on hanging fabric like curtains or skirts. The fabric hangs in smooth, rounded columns dropping from a fixed point.
U-Shaped Hanging Folds: Form when fabric hangs between two support points. The cloth dips in a U-curve between the anchors. The deeper the hang, the more pronounced the curve.
Zigzag Compression Folds: Show up where fabric is pressed or bunched, like the inside of a bent knee or elbow. They look like back-and-forth angles stacked together.
Oval or Pocket Folds: Form when fabric wraps around a protruding shape like a knee or belly. The folds curve in oval patterns, adding depth and volume to your figure.
Triangular Folds: Happen when fabric is pulled from one point and bunches outward. Common at the hips or waist. Folds spread outward from the tension point at the tip.
Step-by-Step: How to Draw Folds in Clothing
Follow these four steps and the process becomes a lot less confusing.
Step 1: Sketch the Base Figure

Lightly draw the basic body shape first. Outline where the clothes will sit on the figure. This helps you understand how fabric wraps around the form.
Get the proportions right before adding any folds or fabric details.
Step 2: Draw the Flow of the Fabric
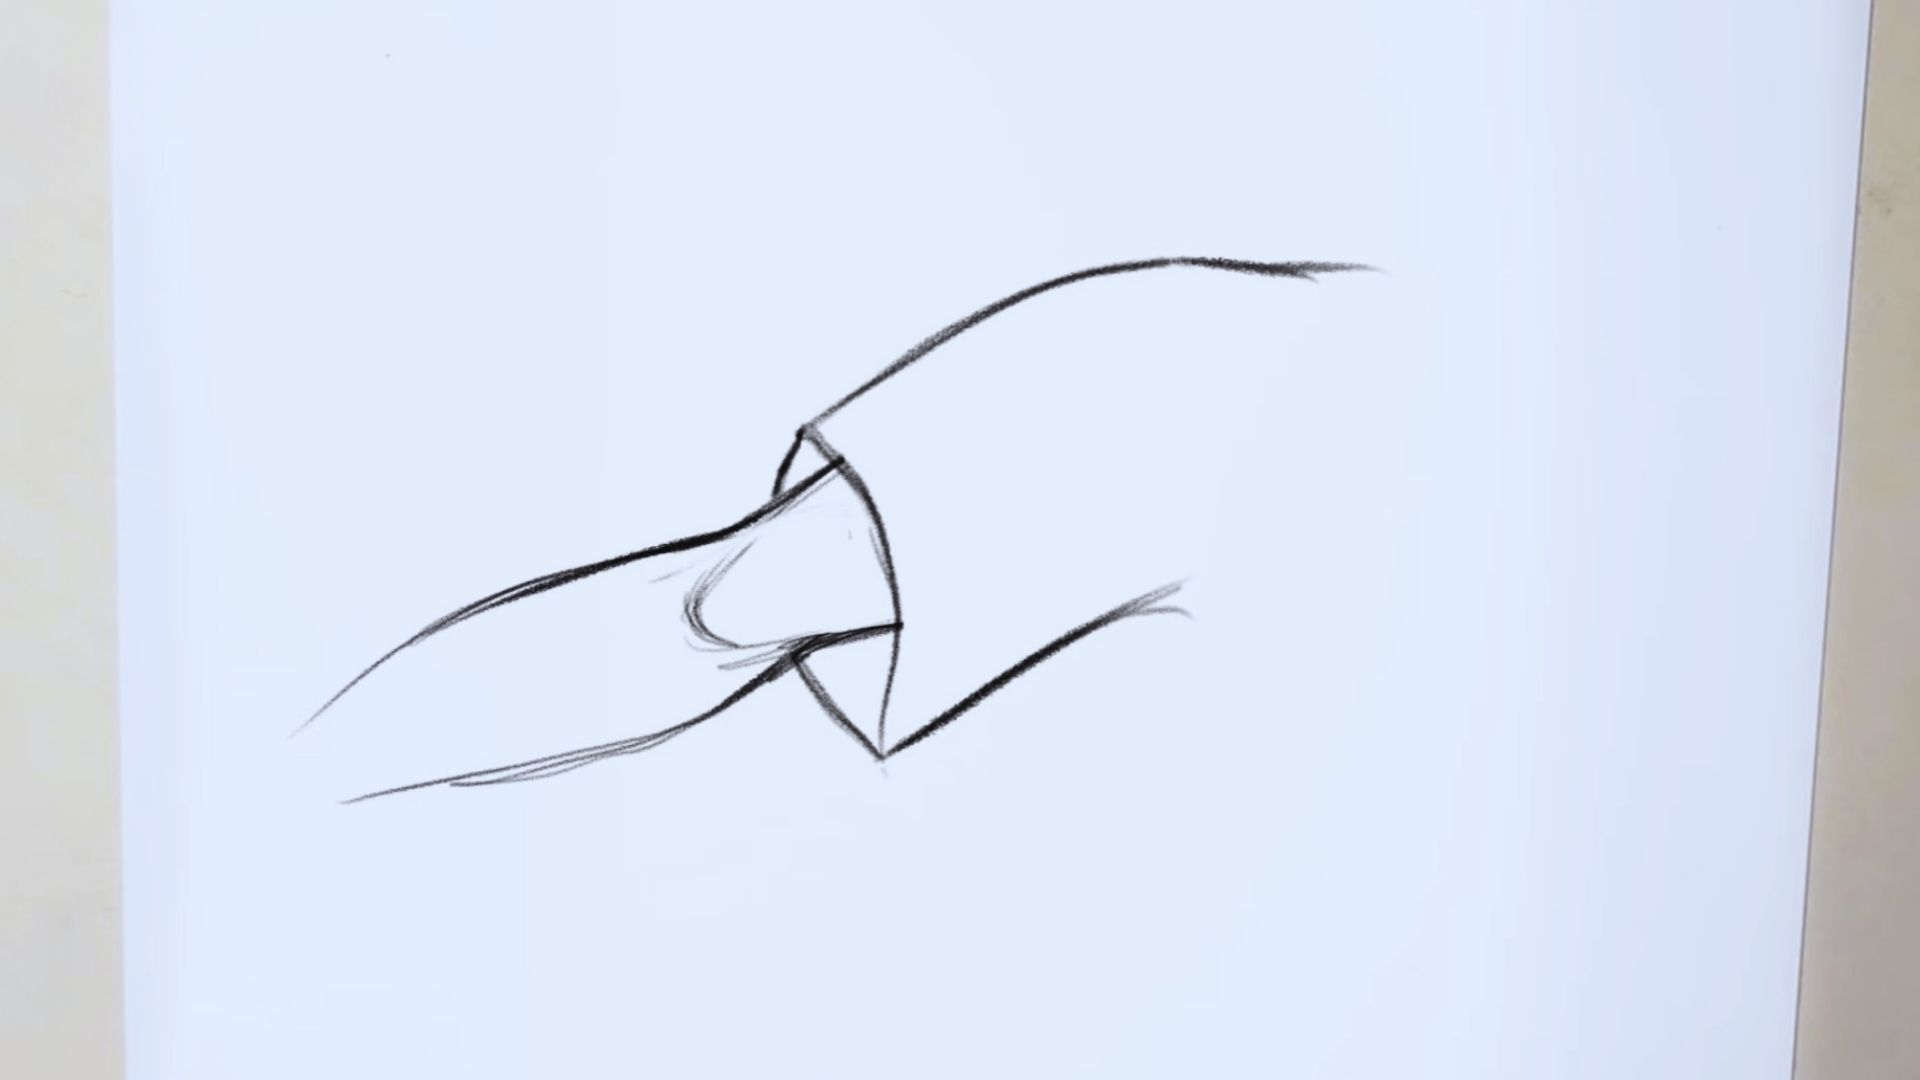
Use long, smooth lines to show how cloth naturally falls. Follow gravity and body movement to guide fold direction.
Think about where the fabric hangs freely and where it clings. This flow sets the foundation for everything that comes next.
Step 3: Add Tension Folds

Focus on areas where fabric pulls tight, shoulders, elbows, hips, and knees. Draw fold lines that spread outward from these tension points.
The more a joint bends, the more folds it creates. Keep the lines angled and natural, not stiff or perfectly straight.
Step 4: Refine and Detail the Wrinkles

Add smaller wrinkles once the main folds are in place. Adjust line thickness to create depth, thicker lines for deep folds, thinner for soft ones.
Keep lines slightly curved and varied so the fabric looks realistic and full of movement.
Tips for Drawing Realistic Clothing Folds
Small adjustments make a big difference in how your fabric looks.
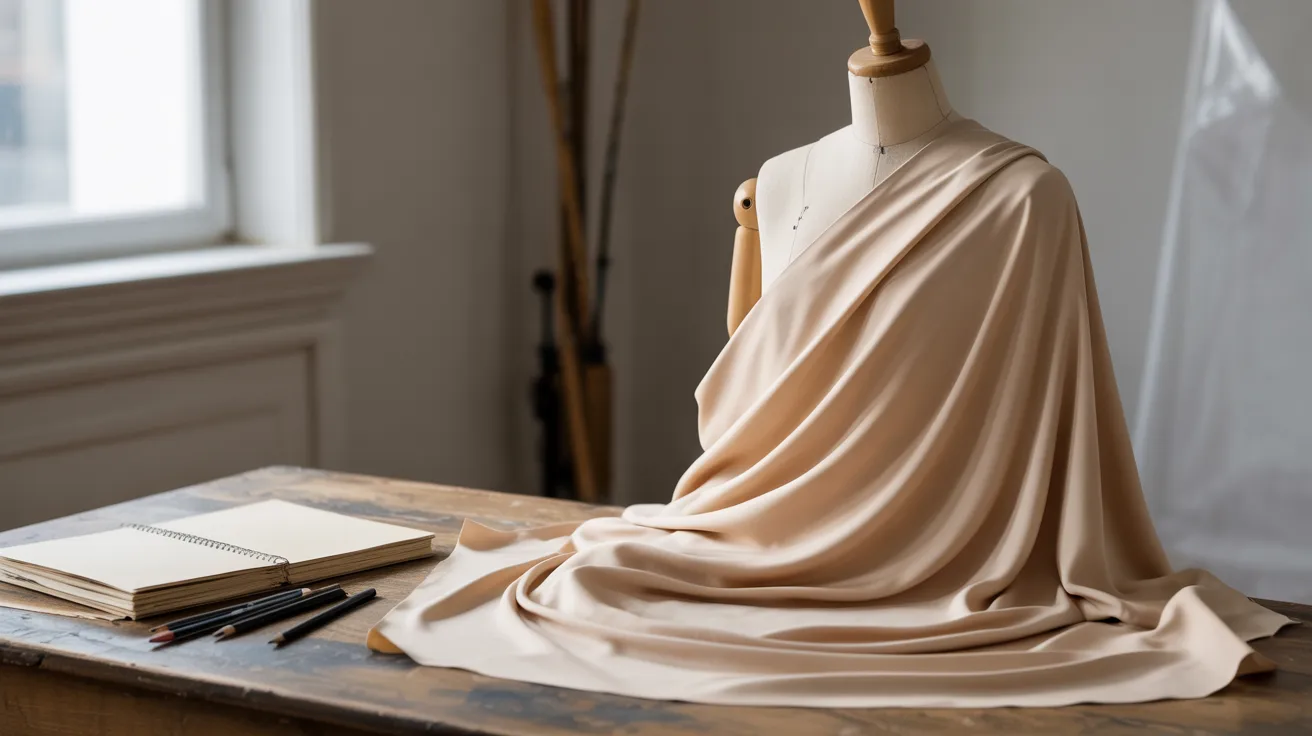
- Study real clothing: Drape a shirt over a chair and draw what you see. Real fabric is your best teacher. Notice where it bunches, where it stretches, and how shadows fall.
- Use reference photos: Look up photos of draped fabric or clothed figures before you draw. Even a quick look helps your brain register how folds actually behave.
- Vary your line weight: Thicker lines show deep folds. Thinner lines show soft wrinkles. Mixing both adds a natural, three-dimensional feel to your drawing.
- Don’t overdraw wrinkles: More isn’t always better. Too many folds make clothing look messy. Focus on the major folds first, then add a few small details where needed.
- Think in 3D: Fabric wraps around a form. Always remind yourself that the body underneath is a solid shape. Draw folds that follow the curves of that form, not just flat lines across the page.
Conclusion
Learning how to draw folds in clothing takes practice, but it’s so worth it. I still remember the first time a shirt I drew actually looked like fabric, it was a small win, but it felt huge.
Start slow. Focus on one fold type at a time. Get comfortable with the basics before adding detail.
The more you practice, the more your eye will train itself to see how fabric really behaves.
Give it a try today.
Drop a comment and tell me which fold type you found the most helpful, I’d love to hear how it goes!
Frequently Asked Questions
How do I start learning to draw clothing folds as a beginner?
Start with simple fabric studies. Drape a cloth over an object and draw what you see. Focus on one fold type at a time before moving to a full figure.
Why do my clothing folds look stiff and unnatural?
It usually happens when lines are too straight or uniform. Curve your lines slightly and vary the thickness. Real fabric is soft, so your lines should feel that way too.
How many fold types should I know before drawing full figures?
Five to six basic types is enough. Pipe folds, U-folds, zigzag, and triangular folds cover most situations you’ll run into.
Does fabric type really change how I should draw folds?
Yes. Heavy fabrics like denim create wide, simple folds. Light fabrics like silk form tighter, smaller wrinkles. Adjust your lines based on fabric weight.
How do I know where to place fold lines on a figure?
Start at tension points, shoulders, elbows, hips, and knees. Folds radiate from these spots naturally. Map those out first and the rest becomes much easier.