


Drawing a thumbs-up can look tricky at first, especially when getting the hand shape and thumb position right.
This guide on how to draw a thumbs up will help you create a simple and clear drawing with easy steps.
In this article, you’ll learn the materials needed, step-by-step drawing instructions, emoji-style ideas, common mistakes, and tips to improve your sketch.
You’ll have a simple method to follow, even if you are a beginner.
I’ve created this guide with a focus on easy techniques that make drawing less confusing and more enjoyable.
Let’s start creating your thumbs-up drawing with confidence.
How to Draw a Thumbs Up Easily
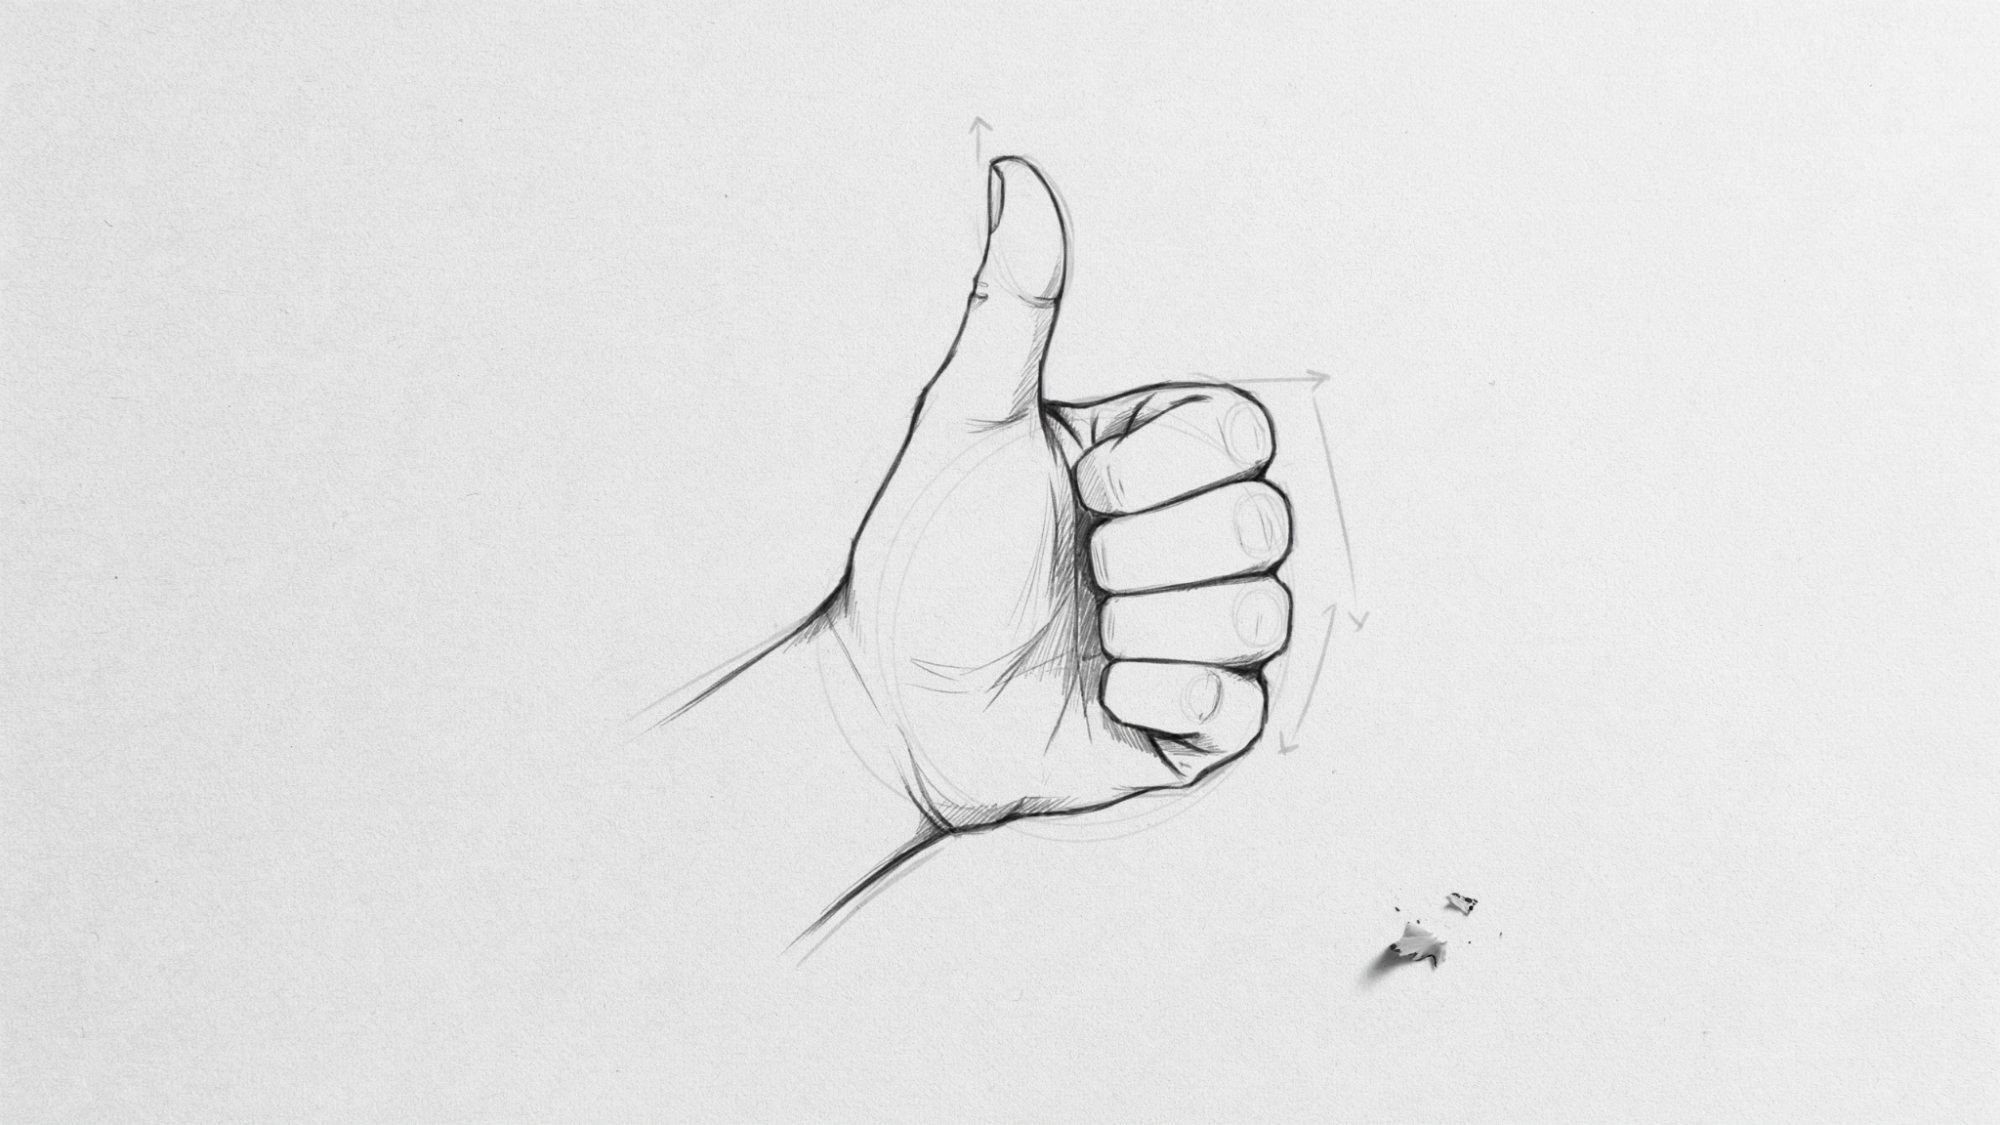
Drawing a thumbs-up does not have to be difficult. The easiest way is to break the hand into simple shapes instead of trying to draw every detail at once.
Focus on the overall shape and position before adding small details like fingers, nails, and hand lines.
Using simple steps helps you understand the structure and makes the drawing process more comfortable.
With a little practice, you can create a clean and confident thumbs-up drawing even as a beginner.
Materials Needed for an Easy Horse Sketch

Before starting your horse sketch, gather a few simple drawing materials to make the process smoother.
- Pencil types for sketching
- Eraser and sharpener
- Drawing paper or sketchbook
- Optional tools for shading and detailing
How to Draw a Thumbs Up Step by Step
Follow these simple steps to create a thumbs-up drawing from basic shapes. This method helps beginners understand hand structure and slowly build details for a cleaner final sketch.
Step 1: Draw the Basic Shape of the Hand
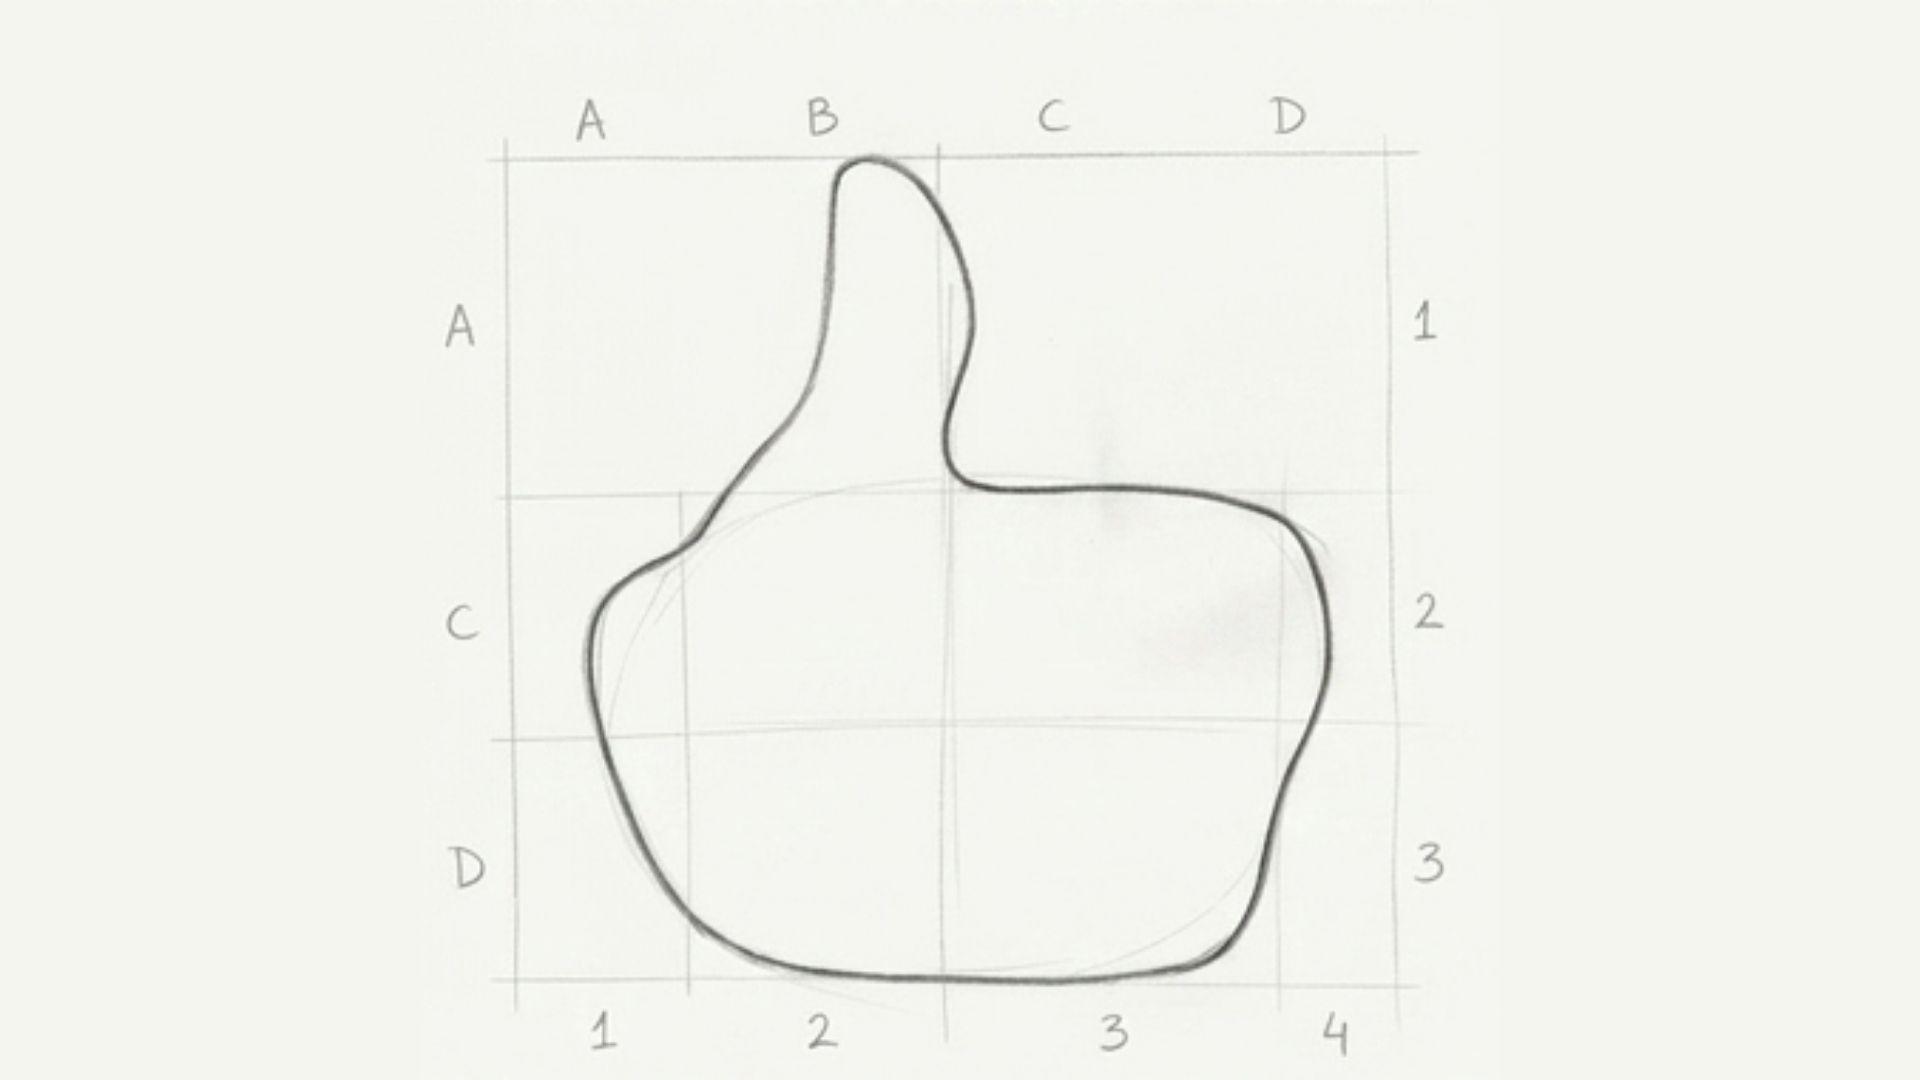
Start by drawing a simple outline of the palm using light pencil strokes. Do not worry about making it perfect at first.
Keep the shape loose and easy to change. A basic hand shape will act as a guide and make it easier to add the thumb and fingers later.
Step 2: Sketch the Thumb Shape

Now draw the raised thumb using smooth, curved lines. Focus on making the thumb look natural by keeping the size and shape balanced with the palm.
Avoid making sharp corners. A simple curved outline will help your thumbs-up drawing look more realistic and easier to recognize.
Step 3: Add Fingers and Hand Details
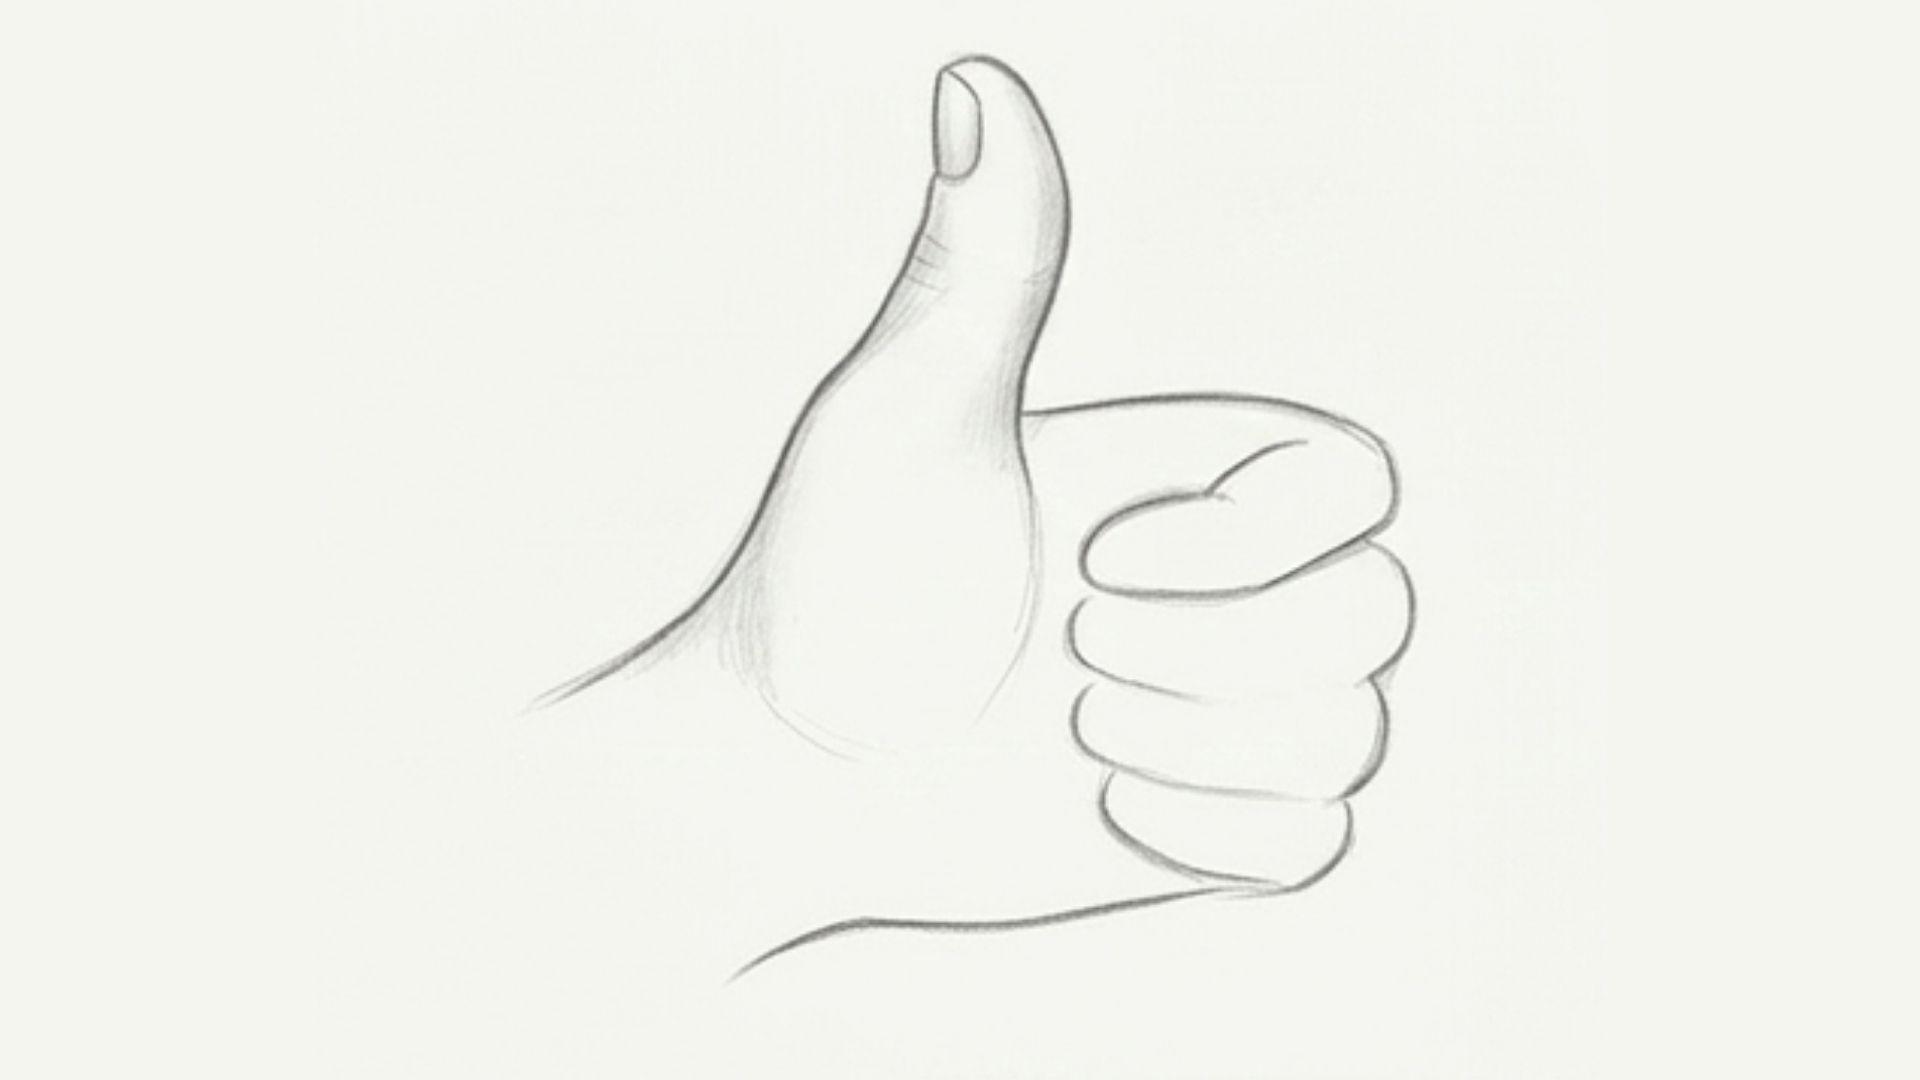
Draw the folded fingers behind the thumb to complete the hand shape. Add small lines to show finger joints and natural hand details.
Keep these details simple, especially if you are a beginner. Small changes can make your drawing look more complete without making the sketch too complicated.
Step 4: Refine the Outline

Once your basic drawing is ready, clean up the sketch by erasing extra guidelines. Make the hand outline smoother and adjust any areas that look uneven.
Take your time to improve the shape. A clean outline will make your thumbs-up drawing look sharper and more polished.
Step 5: Add Shading and Color

Add light shading around the fingers, thumb, and palm to create depth in your drawing. You can also use colors to make the thumbs-up look more creative and fun.
Try different styles, such as cartoon or emoji designs, to give your artwork a unique touch.
How to Draw a Thumbs Up Emoji Style

Creating a thumbs-up emoji style drawing is a fun way to make your sketch look simple and expressive.
Start with the basic hand shape, then add a cartoon touch by making the outline thicker and smoother. Use bold lines to give the drawing a clean emoji look.
Add bright colors like yellow, blue, or other playful shades to make it stand out. You can also add small details like a happy face, sparkles, or extra expressions to make it more fun.
Keep the shapes rounded and avoid too many details. A simple style often makes your thumbs-up emoji look more friendly and eye-catching.
Common Mistakes When Drawing a Thumbs Up
Avoiding small mistakes can make your thumbs-up drawing look more natural and balanced. Keep these common points in mind while practicing:
- Making the thumb too short or too large can make the hand shape look uneven.
- Forgetting finger placement may make the drawing look confusing.
- Adding too many details too early can make the sketch harder to manage.
- Not using simple shapes as a guide can make the proportions less accurate.
Tips to Improve Your Thumbs Up Drawing
Use these simple tips to make your drawing skills better and create cleaner thumbs-up sketches.
- Practice basic hand shapes to understand structure and proportions.
- Use reference images to study different hand positions.
- Draw lightly before finalizing your lines.
- Try different styles like realistic, cartoon, or emoji drawings.
Watch a Video Tutorial: How to Draw a Thumbs Up
Watching a video tutorial can help you understand the drawing process visually. Follow along with each step, pause when needed, and practice the shapes shown in the tutorial.
You can watch this YouTube tutorial for a visual guide:https://www.youtube.com/results?search_query=how+to+draw+a+thumbs+up+step+by+step
Conclusion
Learning how to draw a thumbs up is a simple way to build your drawing confidence and enjoy the creative process.
I believe every sketch improves with practice, and even small steps can make a big difference. Try using these tips in your next drawing and see how your style grows.
I hope this guide helps you create a thumbs-up sketch you feel proud of.
Share your drawing experience in the comments, share this guide with others, or try more easy drawing tutorials.
Frequently Asked Questions
How long does it take to learn how to draw a thumbs up?
It depends on your practice, but beginners can create a simple thumbs-up drawing in a short time. Regular practice helps improve your skills.
Is drawing a thumbs up difficult for beginners?
No, it is beginner-friendly when you use simple shapes and follow step-by-step instructions. Start with basic outlines before adding details.
What tools do I need to draw a thumbs up?
You only need a pencil, paper, and an eraser to start. You can add colors or markers later for more creativity.
Can I draw a thumbs up in different styles?
Yes, you can try realistic, cartoon, or emoji styles. Experimenting with different looks helps you find your favorite style.
How can I make my thumbs-up drawing look better?
Practice hand shapes, use reference images, and add details slowly. Small improvements with each sketch can make your drawings cleaner.
