

I once spent three hours on a river drawing only to have my friend ask me why I drew a highway.
That was the moment I knew I needed to figure this out properly.
After years of practice, I finally did, and the difference came down to a few simple techniques I had been skipping all along.
This guide on how to draw a river walks you through every step, covering materials, shading, reflections, and painting techniques.
The first step alone will change the way you see water on paper.
Why Drawing a River Is a Great Skill to Build

Learning how to draw a river teaches you more than just one technique. You pick up perspective, shading, and how to show light on water, all at once.
Rivers have curves, depth, and reflections, which means every skill you practice here carries over to other landscape drawings too.
The good news is you don’t need years of experience. Simple, steady steps are enough to get a result that actually looks like flowing water.
This guide covers everything from your first pencil line to your final brushstroke.
Materials and Tools You’ll Need
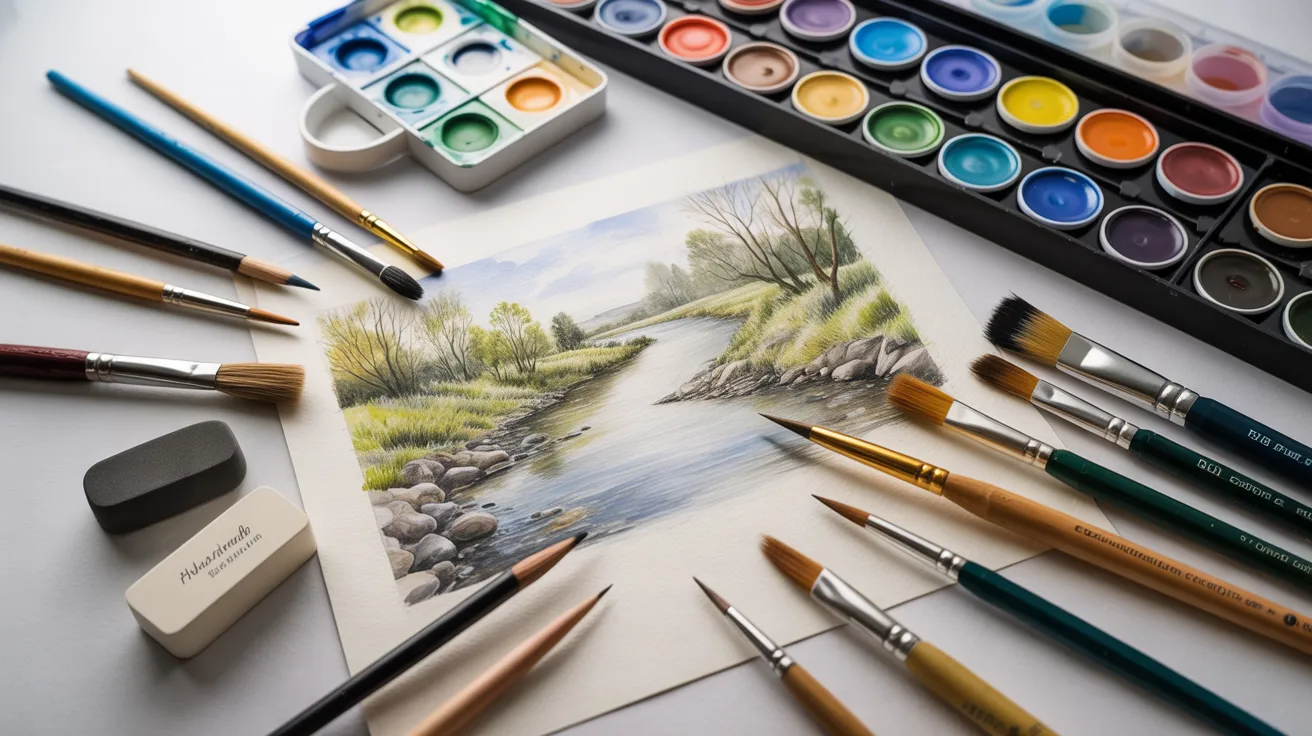
Having the right tools from the start makes the whole process smoother.
- Pencils: HB for light sketching, 2B for shading
- Erasers: soft eraser for general use, kneaded eraser for finer corrections
- Brushes: round brushes for detail work, flat brushes for washes
- Paper: watercolor paper at 140 lb or 300 gsm weight
- Paint: a basic watercolor set with a range of blues and greens
Step-by-Step Instructions to Draw a River
Follow these steps in order and your river will come together naturally, even if you’ve never drawn one before.
Step 1: Sketch the River Outline
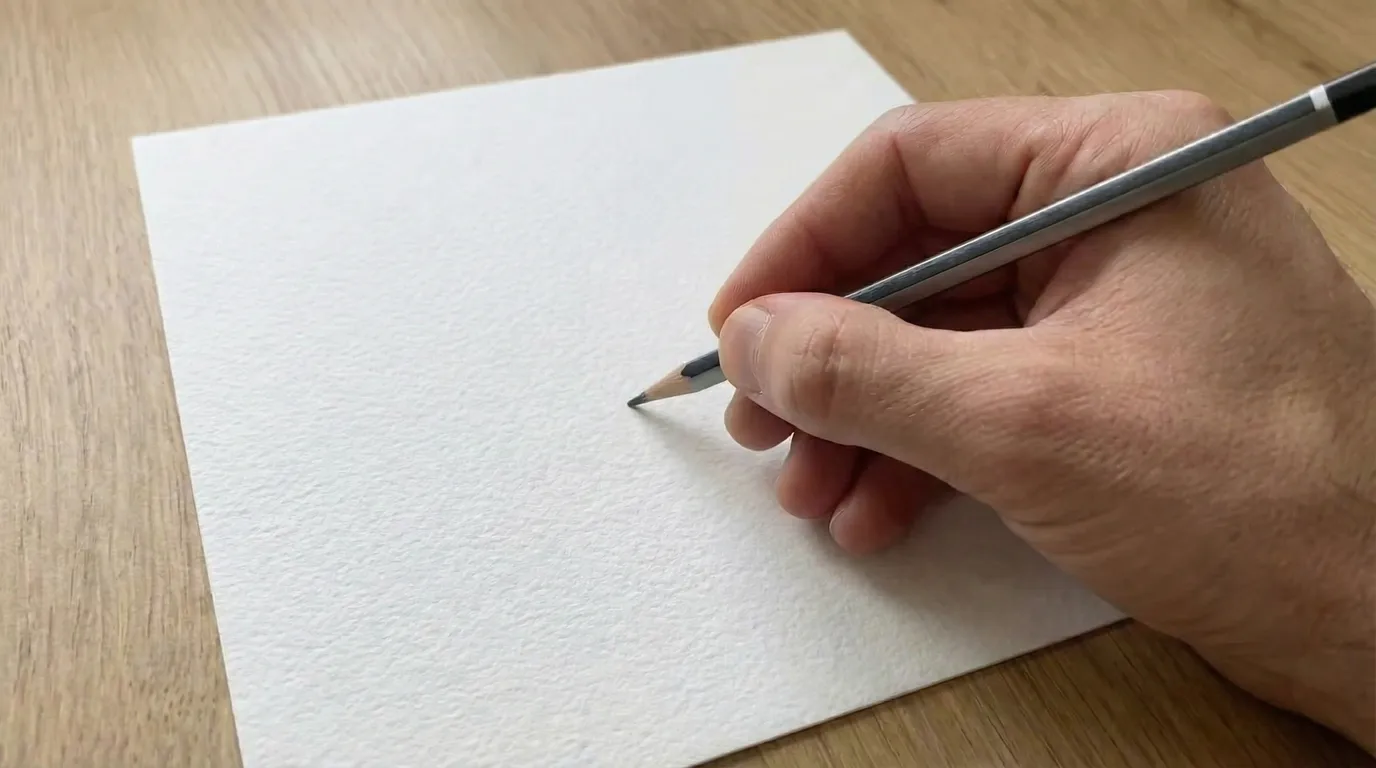
Lightly sketch the river shape using an HB pencil. Draw two gently curving lines that narrow slightly as they move toward the horizon.
Add a basic horizon line and rough in where the trees and mountains will sit. Keep the lines light so they are easy to adjust before you commit to anything.
Step 2: Prepare Your Paper

Place your watercolor paper on a flat surface and secure all four edges with masking tape. Press the tape down firmly so it sticks well.then spray water across the surface.
This keeps the paper flat and prevents it from warping when water is applied.
Step 3: Paint the Mountains and Sky

With a damp brush, apply blue watercolor across the upper third of the paper to form soft mountain shapes.
Allow the paint to spread naturally for a smooth, blended look. Keep the top slightly darker and fade the color downward to suggest distance and atmosphere.
Step 4: Deepen the Mountains Shapes

While the paint is still slightly damp, use a brush with darker blue to define the mountain edges.
Strengthen the outer peaks and add a softer, lighter shape in the center to create layered distance. Let the colors blend gently for a misty effect.
Step 5: Add Greenery

Using green watercolor, dab in grass and low bushes along the bottom edge of the painting. Keep the strokes loose and textured to suggest natural plants.
Make the greenery darker and fuller in the foreground, allowing it to fade slightly as it moves back into the distance.
Step 6: Paint the Tree

Using a small brush and darker paint, add thin tree trunks rising from the grassy area. Create branches with short upward strokes, forming simple pine shapes.
Vary the height slightly and keep the trees darker than the background to help them stand out clearly.
Step 7: Paint the River Base

Apply a light blue wash across the bottom section to form the river. Add a slightly darker blue near the edges and under the trees to suggest depth.
Blend the color smoothly from side to side, keeping the center area lighter for a natural water effect.
Step 8: Add Reflections to the River

With a darker blue, gently pull color downward from the trees into the water to create reflections.
Use soft vertical strokes and slightly blur the edges so they are not sharp. Keep the reflections lighter and less detailed than the trees above.
Step 9: Deepen the Water Tones

Add a richer blue along the top edge of the river, just below the trees, to strengthen the contrast. Blend the color downward into the lighter area.
Keep the lower section softer so the water still looks reflective and slightly transparent.
Step 10: Strengthen the Reflections
While the paint is still slightly damp, add deeper vertical strokes beneath the trees to make the reflections clearer.
Let the lines soften as they move downward. Blend gently side to side so the water looks smooth, but keep the upper reflection area darker for contrast.
Step 11: Add Highlights and Texture

While the water is still slightly damp, gently lift a few thin horizontal lines across the river using a clean, damp brush. Keep the strokes soft and uneven to suggest light reflecting on the surface.
Add a few subtle ripple lines near the foreground to give the water movement and a natural finish.
Beginner-Friendly River Drawing Tips
Getting started is the hardest part, but these five tips make it a lot easier.
- Always start with a light pencil sketch to keep mistakes fixable.
- Use a reference photo to get the curves and light right.
- Practice reflections on scrap paper before your final drawing.
- Wait 30 seconds before adding paint in the wet-on-wet step.
- Paint the background first, then work your way forward.
These small habits add up fast. Stick with them and your results will improve with every sketch you do.
Conclusion
When I drew my first decent river, it wasn’t about getting every detail right. It was about trusting the process and staying patient.
Now it’s your turn. You’ve got the steps, the tips, and the tools, so grab a pencil and give it a go. Don’t wait for the perfect moment.
Even a quick sketch on a spare piece of paper counts as progress. If you try to draw a river using this guide, I’d love to hear how it goes.
Drop a comment below or share this post with a friend who loves to sketch.
Frequently Asked Questions
What pencils work best for drawing a river?
HB for outlines, 2B for shading.
Do I need watercolors?
No, pencil and shading work fine. Watercolor is optional.
How do I make water look realistic?
Use broken vertical lines and keep the water area light.
Can a complete beginner follow these steps?
Yes, every step is beginner friendly.
How long does it take?
A pencil sketch takes 30 to 45 minutes. With watercolor, one to two hours.