

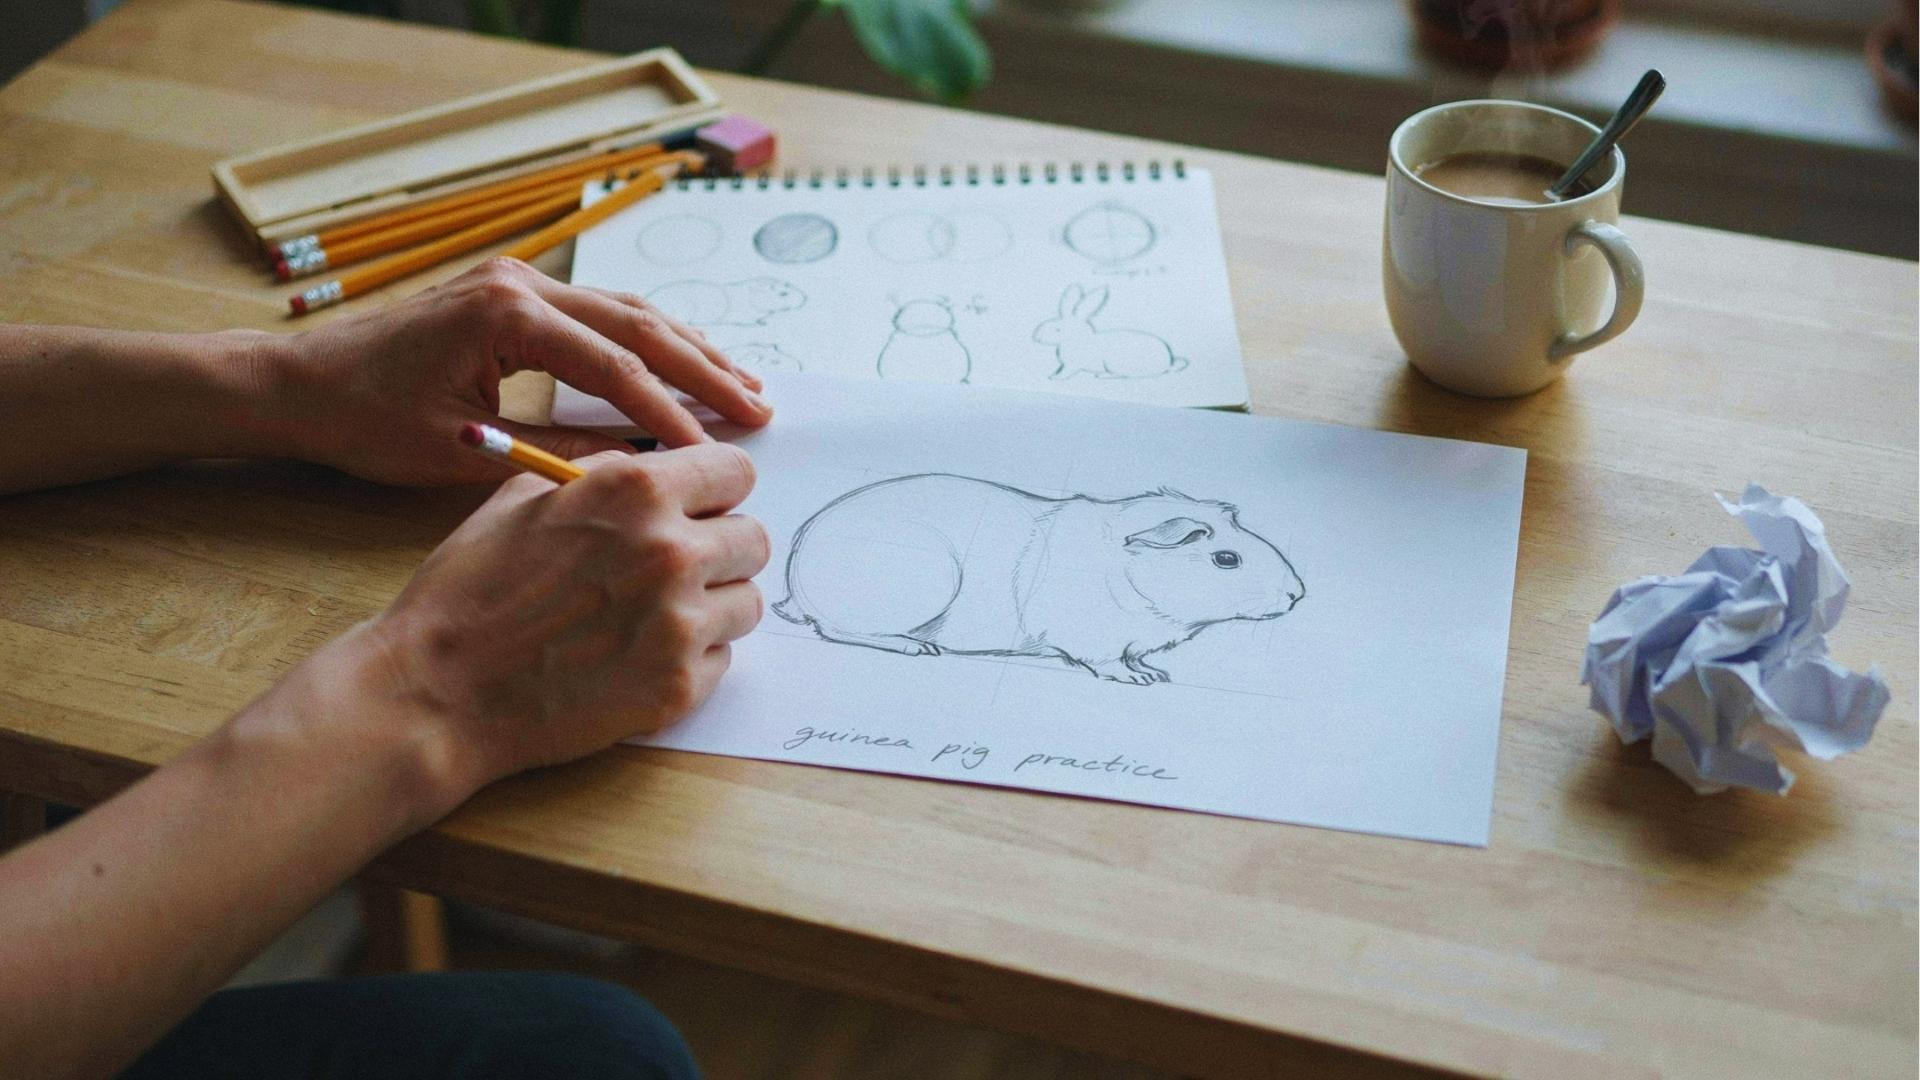
Learning how to draw a guinea pig can feel tricky at first but it doesn't have to be.
I've helped many beginners break down animal drawing into simple, clear steps, and this guide does exactly that.
You'll find basic shapes to build the body, step-by-step face and fur details, and shading tips for a realistic look. Short sentences. Simple steps. No confusion.
I've been drawing animals for years, and the biggest lesson I learned was to start with shapes, not details. This guide follows that same rule.
By the end, you'll have a complete guinea pig drawing you're proud of no experience needed, just a pencil and some patience.
Understanding the Basic Shape of a Guinea Pig
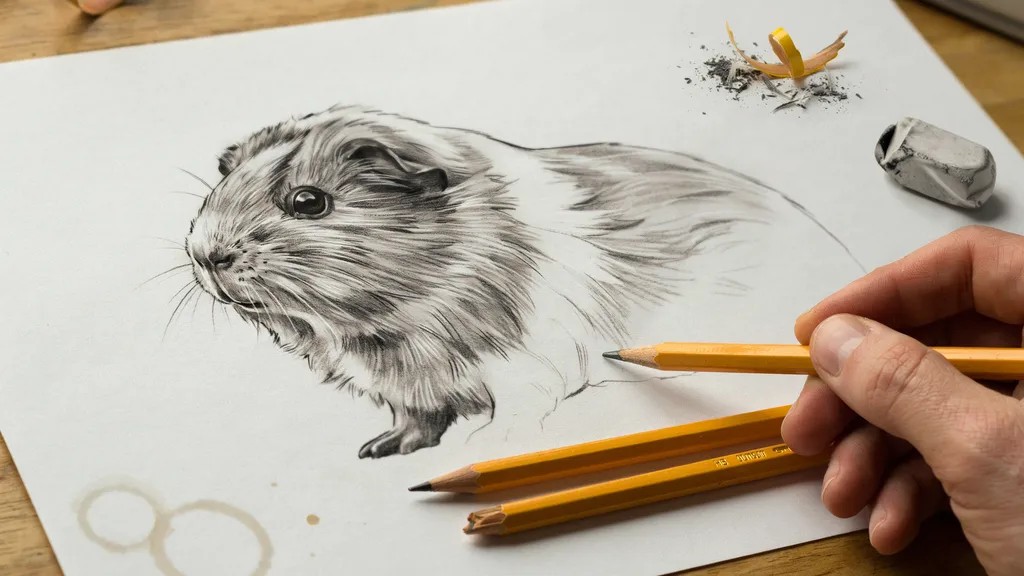
Start simple, two ovals are all you need to get the body right. Before adding any details, you need a solid base.
Guinea pigs have a round, compact body, so breaking it into simple shapes makes the whole process easier.
Use two overlapping oval shapes one larger for the body, one smaller for the head. The head oval sits slightly forward and overlaps the body oval.
This removes the guesswork completely. You're building it piece by piece, not all at once.
Guidelines are light pencil lines that keep the face symmetrical, place the eyes at the right height, and position the nose correctly.
Skip them and your drawing will look off. Use them they erase easily later.
Step-by-Step Guide How to Draw a Guinea Pig
Follow these six steps and you'll go from a blank page to a finished drawing.
Step 1: Sketch the Body and Head
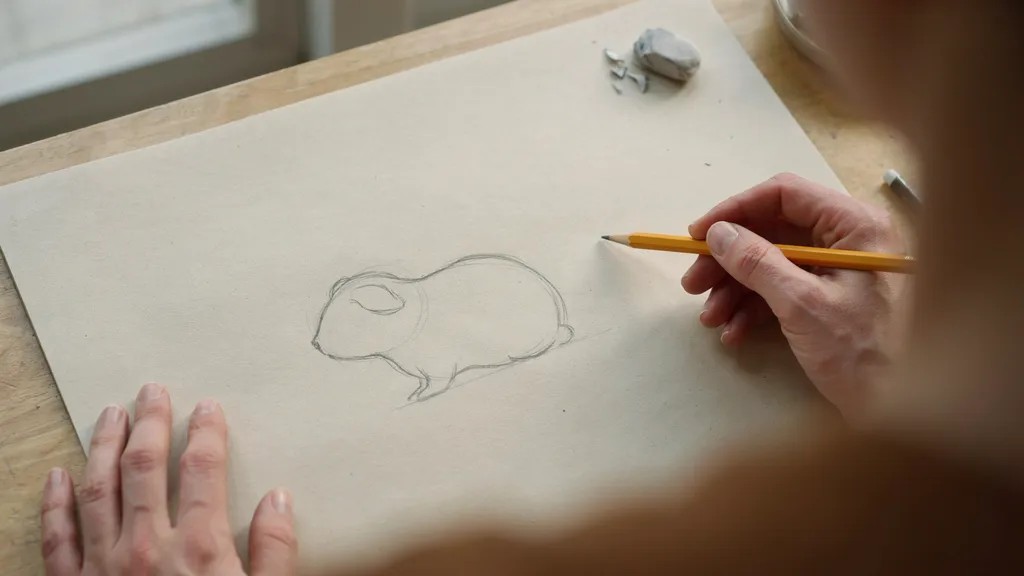
Lightly draw two oval shapes on your page to start the base of your guinea pig drawing. The body oval should be wider and larger because it holds most of the guinea pig's form.
The head oval is smaller and sits at the front of the body slightly overlapping it. Press your pencil softly on the paper because you will erase parts of this later.
Step 2: Add Face Guidelines

Draw a light cross shape directly on the head oval to help you place the facial features. The horizontal line across the oval shows you exactly where the eyes should go.
The vertical line going down the center helps you keep the face balanced and even. Add a small dot at the bottom of the vertical line where the nose will be placed.
Step 3: Draw Eyes, Ears, and Paws
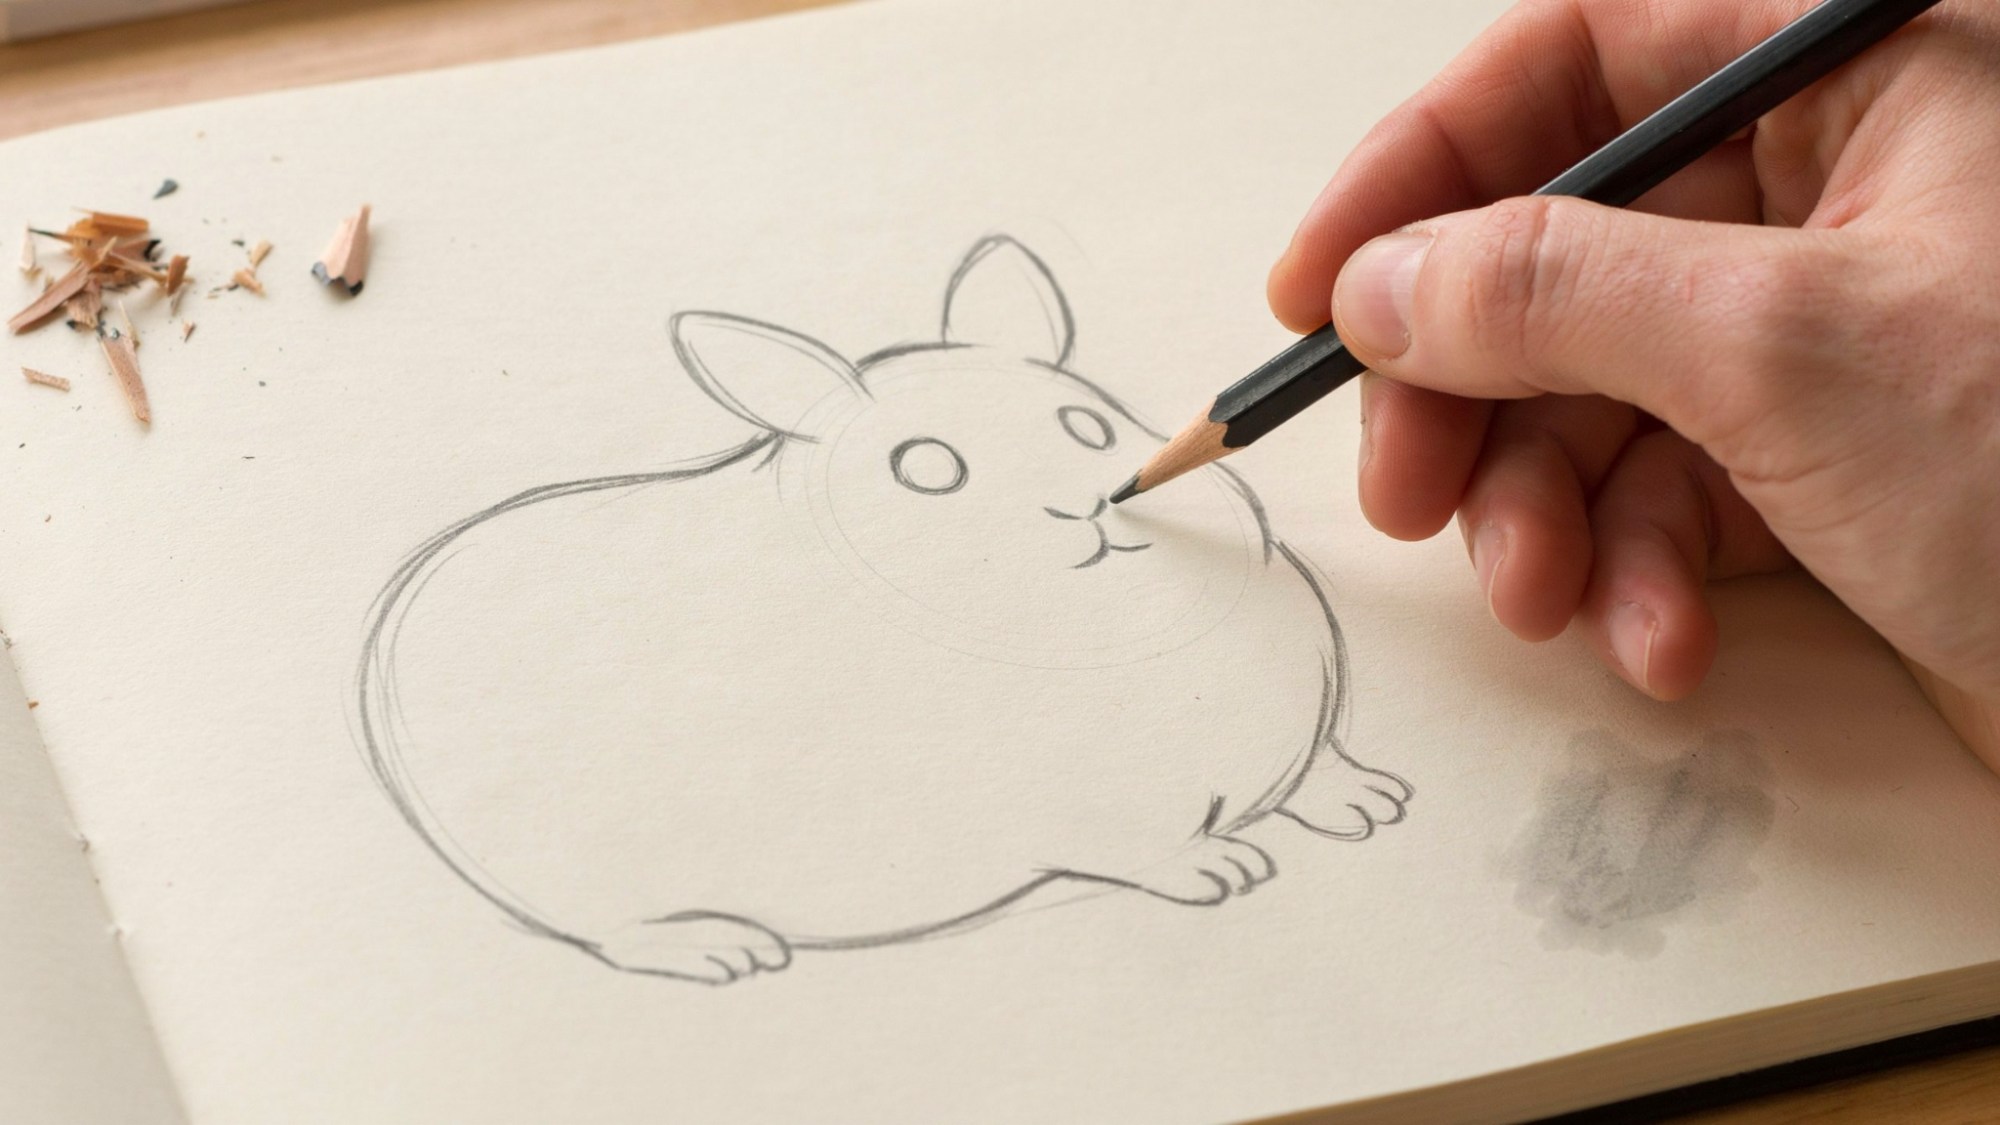
Place the eyes on both sides of the vertical line right along the horizontal guideline. Guinea pig eyes are round and wide so make sure you keep them that way as you draw.
Add two small rounded ears sitting on top of the head on either side of the center. Sketch small stubby paws at the bottom of the body oval to complete the basic shape.
Step 4: Add Facial Details and Toes
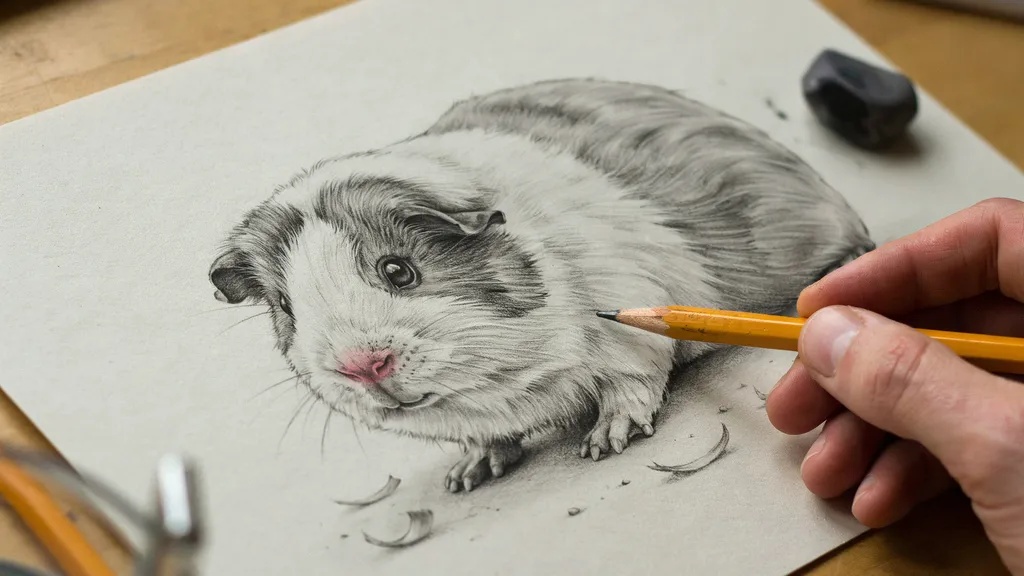
Refine the nose by making it small, soft, and slightly rounded at the tip. Add gentle cheek lines curving out on both sides of the nose to give the face shape.
Draw three small short lines on each paw to show where the individual toes are. Keep all of these details light and loose because you will refine them more later.
Step 5: Create Fur Texture
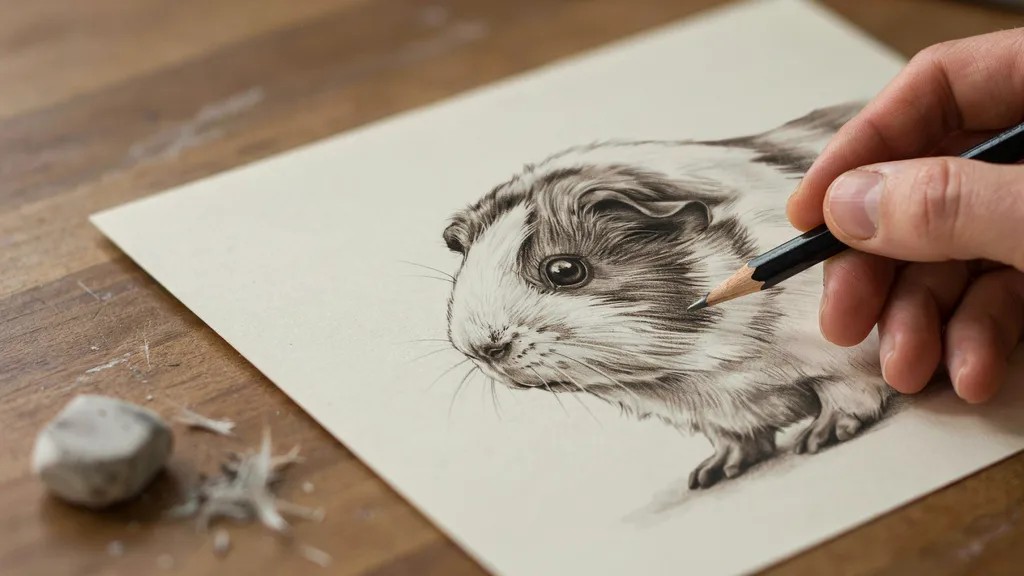
Use short pencil strokes across the body that follow the natural direction fur would grow. On the head area the strokes should go outward and away from the center of the face.
On the body the strokes flow downward and angle slightly to the left and right sides. Short strokes layered on top of each other always look far more natural than long flat lines.
Step 6: Final Shading and Cleanup
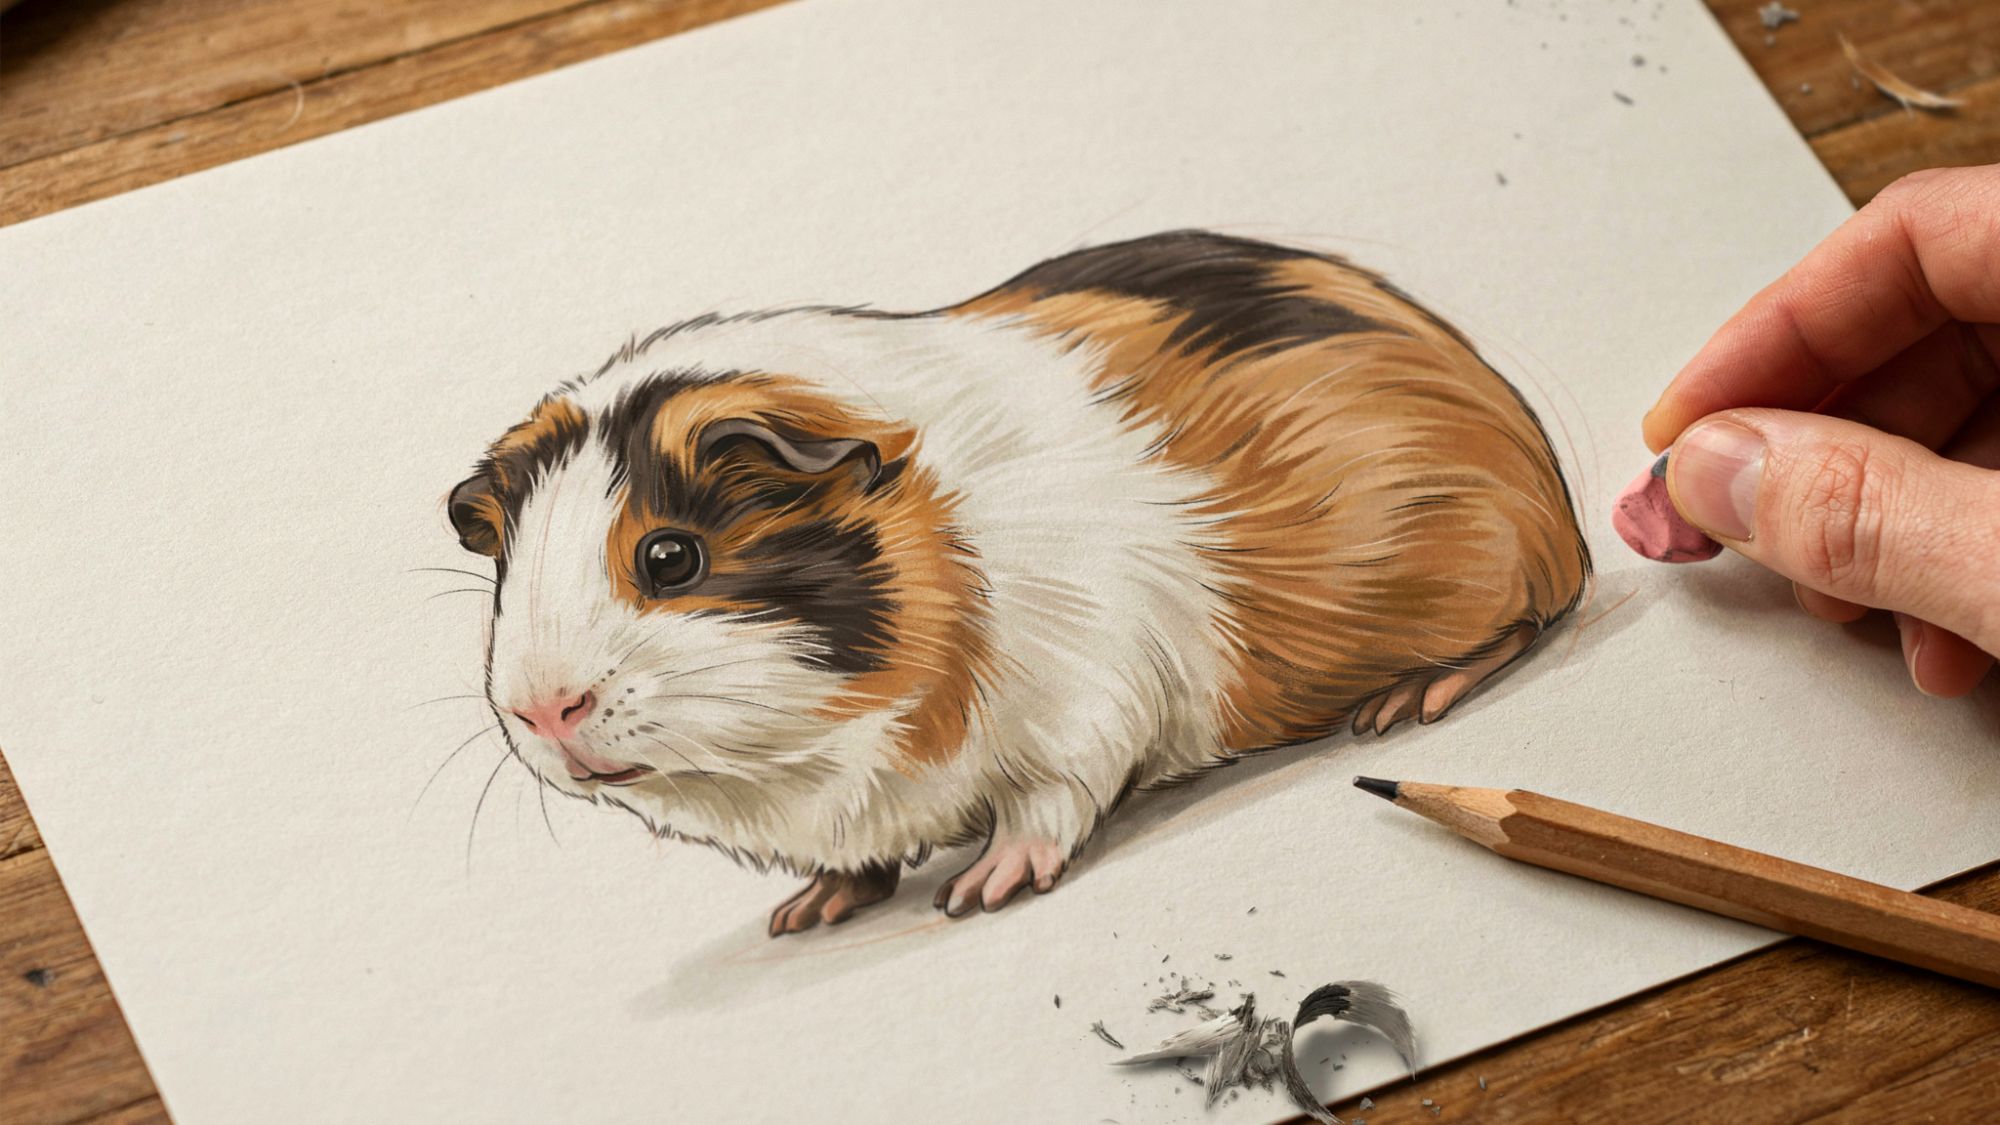
Erase all of your oval guidelines carefully and cleanly so only the final drawing remains. Add soft shading under the chin, around the ears, and along the bottom of the body.
Use the side of your pencil tip rather than the point to get smooth and even shading. These shadow areas give your guinea pig drawing a sense of dimension and real depth.
How to Draw Realistic Guinea Pig Fur Easily

Two simple techniques make fur look lifelike without much effort.
Use Short, Layered Pencil Strokes
Each stroke should be short about the length of a grain of rice. Layer them in the same direction as real fur grows. On the back, strokes go downward. Around the face, they fan outward.
Don't press hard. Light strokes layered over each other build up texture naturally.
Build Texture Gradually
Start with light strokes across the whole body. Then go back and add a second layer in darker areas under the belly, behind the ears, along the sides. This creates a sense of depth.
Avoid rushing into dark shading early. It's hard to fix once it's on the page.
Simple Practice Ideas to Improve Your Drawing
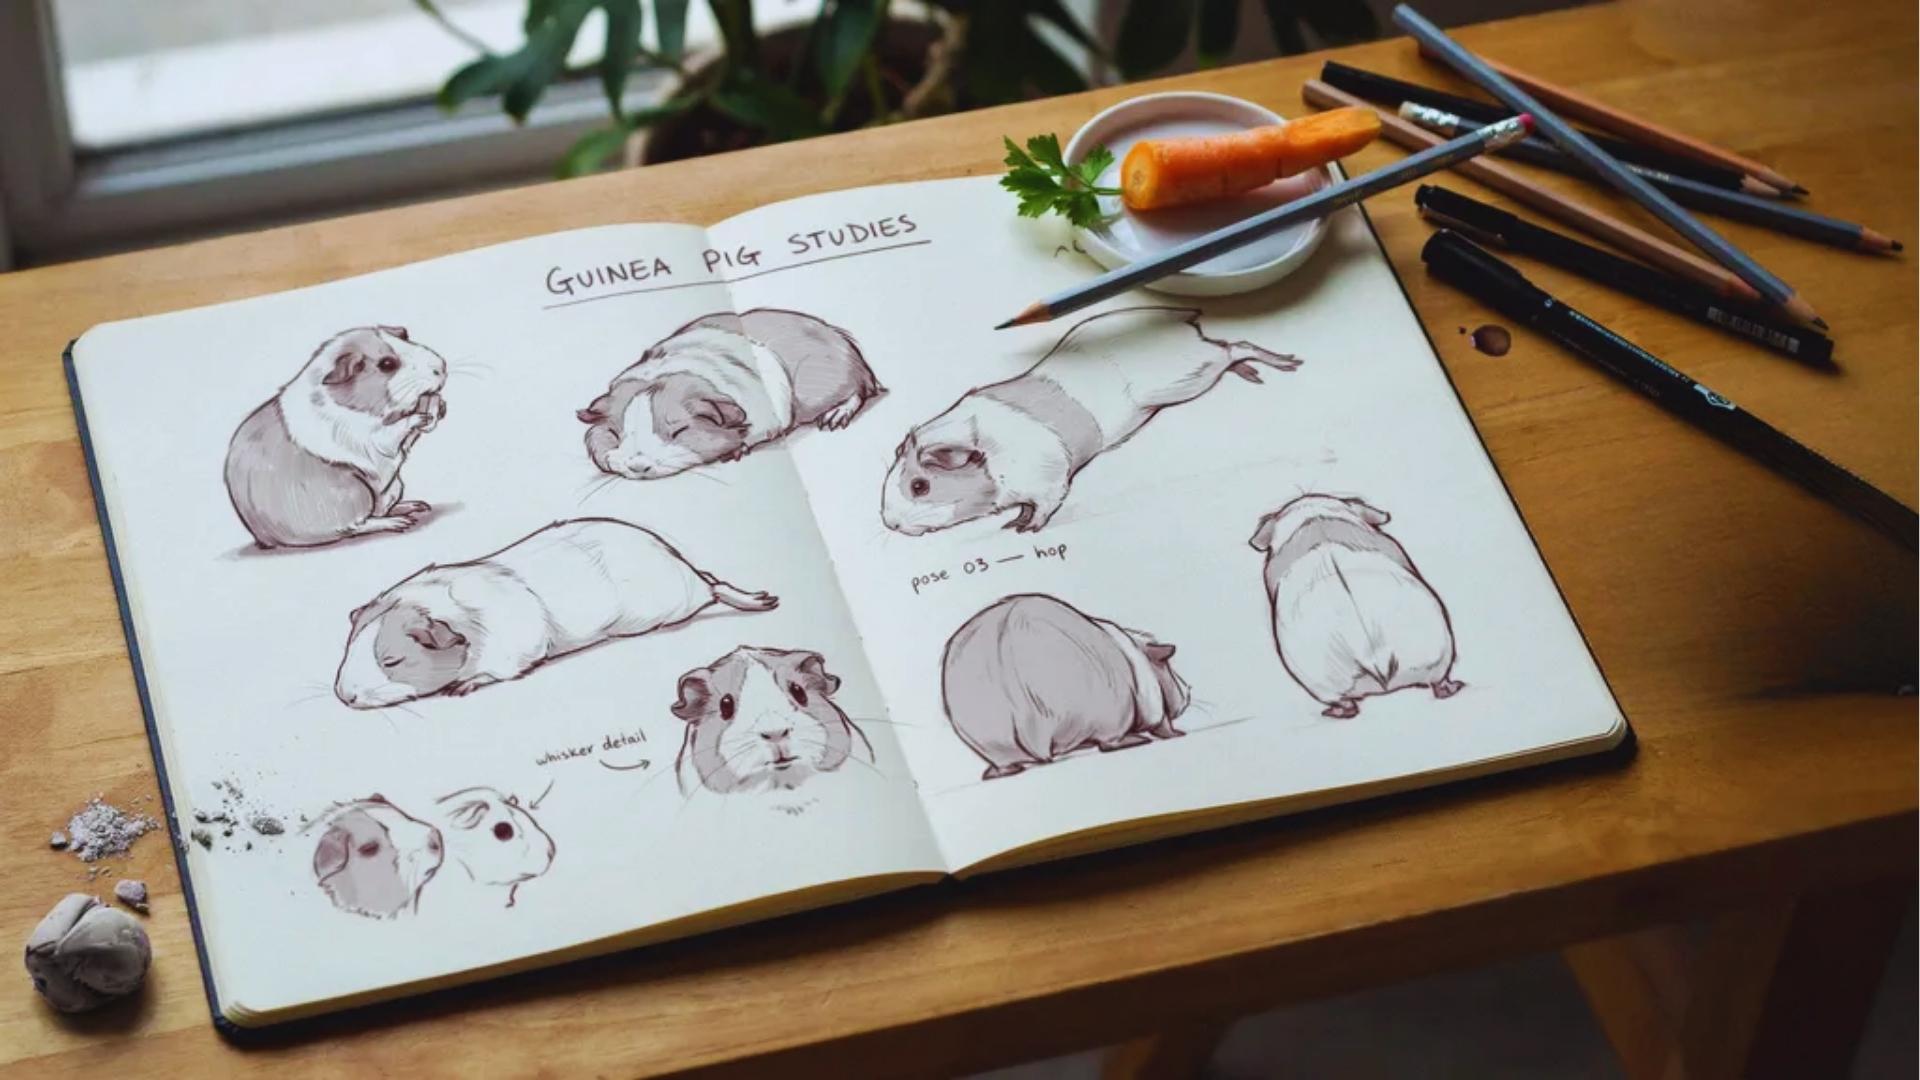
Small, focused practice sessions beat long, unfocused ones every time.
Try Different Guinea Pig Poses
Once you're comfortable with the basic pose, try others:
- Side view: shows the full body shape
- Sitting upright: great for practicing the face
- Curled up: good for practicing rounded fur lines
Each pose teaches you something new.
Practice Shading Separately
Before shading your guinea pig, try shading exercises on a blank page. Draw small circles or ovals and shade them to look round.
This builds confidence before you touch your actual drawing.
Common Mistakes Beginners Should Avoid
Knowing what not to do saves you a lot of frustration early on.
Ignoring Basic Structure
Jumping straight to details without sketching the oval shapes first leads to uneven proportions. The body may look too long, the head too big, or the legs placed oddly. Always start with the base shapes.
Drawing Fur Incorrectly
Long, flat lines don't look like fur. They look like hair on a human head. Keep strokes short, varied in length, and layered. That's what gives fur its texture.
Placing Eyes Wrong
Eyes placed too high or too low change the entire look of the face. Always use the horizontal guideline to position both eyes at the same level.
This is one of the most common mistakes and one of the easiest to avoid.
Beginner Tips for Better Results
These small habits make a big difference in how your drawing turns out.
- Press lightly when sketching because heavy lines are hard to erase and can ruin the look of your fur strokes later.
- Always get your shapes and proportions right before adding any detail because bad proportions are harder to fix than missing details.
- A well-proportioned rough sketch is always better than a highly detailed drawing that has uneven or wrong proportions throughout.
- Fur takes time so work in small sections, take breaks when needed, and never try to rush through the texture process.
- Patience with fur drawing always pays off because the result looks much more realistic and natural when you slow down and work carefully.
Conclusion
Drawing a guinea pig gets easier every time you try. I remember my first attempt the proportions were off and the fur looked like scribbles. But I kept going, and so should you.
How to draw a guinea pig doesn't need to be perfect on the first try. It just needs to be started. Practice a little each day.
Try other animals next, rabbits or hamsters are great follow-ups. Drop a comment below and share your drawing. I'd love to see your progress!
Frequently Asked Questions
What shapes do I use to start drawing a guinea pig?
Start with two overlapping ovals one for the body and one for the head. These basic shapes give you a solid foundation before adding any details.
How do I make guinea pig fur look realistic?
Use short pencil strokes layered in the direction the fur grows. Build up texture gradually instead of pressing hard right away.
Where should I place the eyes on a guinea pig drawing?
Use a horizontal guideline across the head oval. Place both eyes on this line, on either side of the center vertical line, to keep them level and symmetrical.
Can a complete beginner follow this guide?
Yes. This guide is built for beginners with no drawing experience. Each step is simple and builds on the one before it.
How long does it take to learn to draw a guinea pig?
Most beginners get a decent result within a few practice sessions. The more you practice the shapes and fur technique, the faster you'll improve.
