

Row counting trips up almost every new knitter. You lose your place, recount three times, and still feel unsure. I’ve been there too.
This guide breaks it all down simply. You’ll learn what counts as a row, how to read your knitting, and how to stay on track from start to finish.
We cover what a row actually is, whether the cast-on counts, how to count in stockinette and garter stitch, and common mistakes and how to fix them.
With years of knitting experience, this guide gives you clear, tested answers you can trust.
What Is a Row in Knitting?
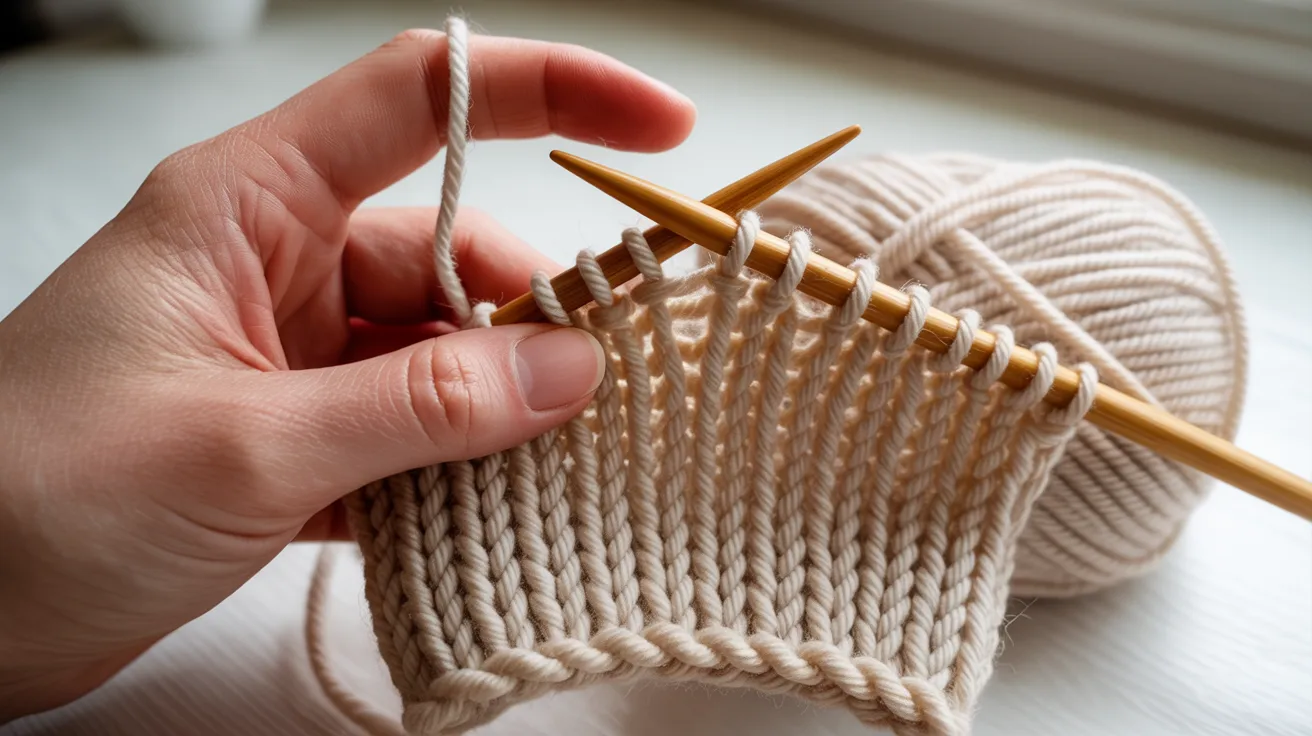
A row is one pass of your needle across all your stitches.
A row happens when you move your needle from one end to the other. You start with all stitches on your left needle. You knit or purl each one. When all stitches are on your right needle, that’s one row done. One pass. One row.
Stitches go across. Rows go up. Think of it like a grid. Stitches are the columns. Rows are the lines going upward. Mixing these two up is one of the most common beginner mistakes. Keep them separate from day one.
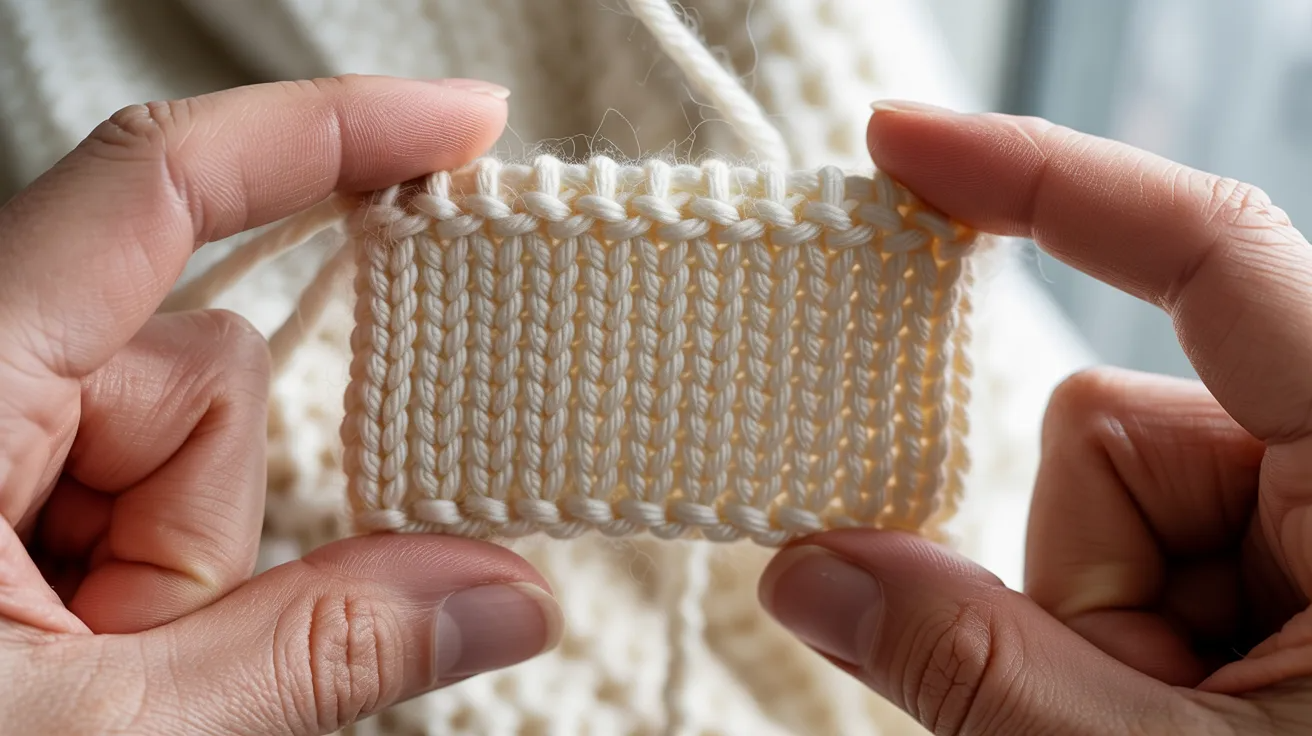
Does the Cast-On Count as a Row?
The cast-on is a starting point, not a worked row.
The cast-on puts stitches on your needle. It does not work them the same way a row does. Most knitting patterns do not count the cast-on as Row 1. Your first real row begins when you knit or purl across those stitches for the first time.
Many beginners count the cast-on as Row 1. This pushes every row count off by one. If your pattern says to work 20 rows, you will end up knitting only 19. That small mistake can change the final length of your piece.
Always start your row count after the cast-on.
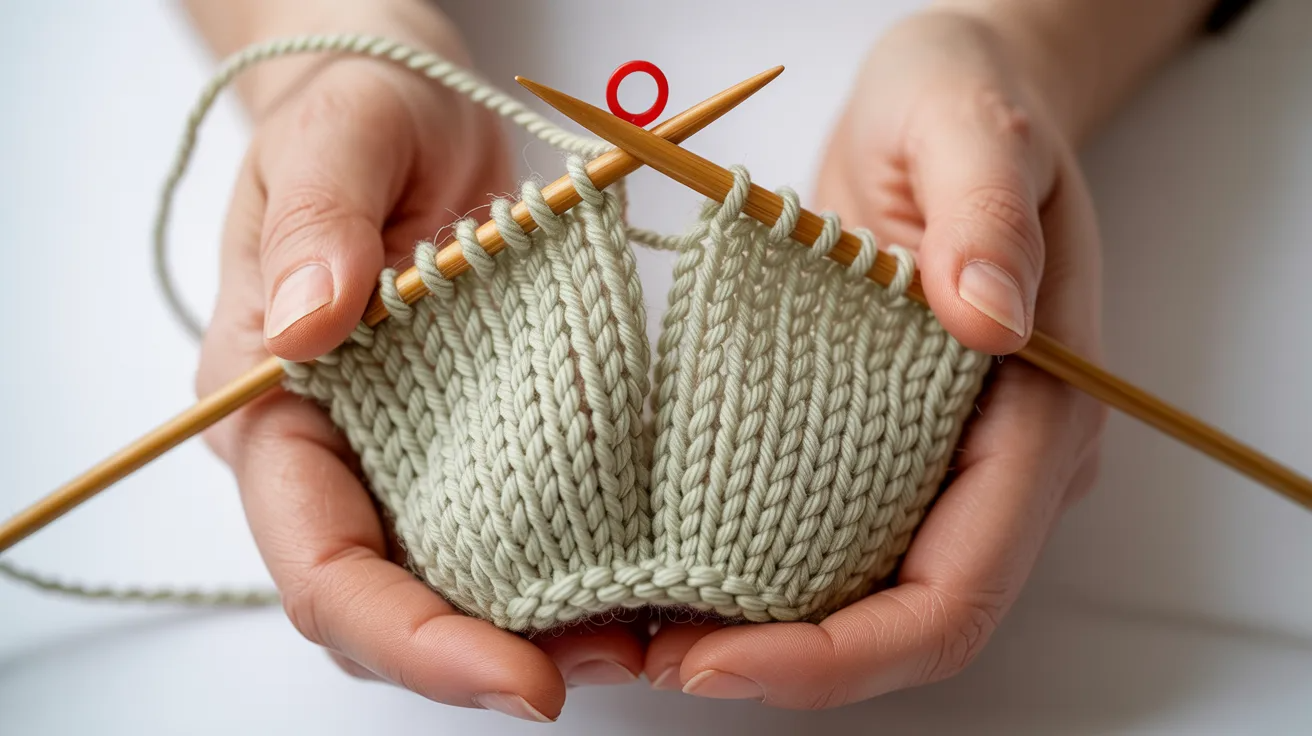
Do You Count the Row on the Needle?
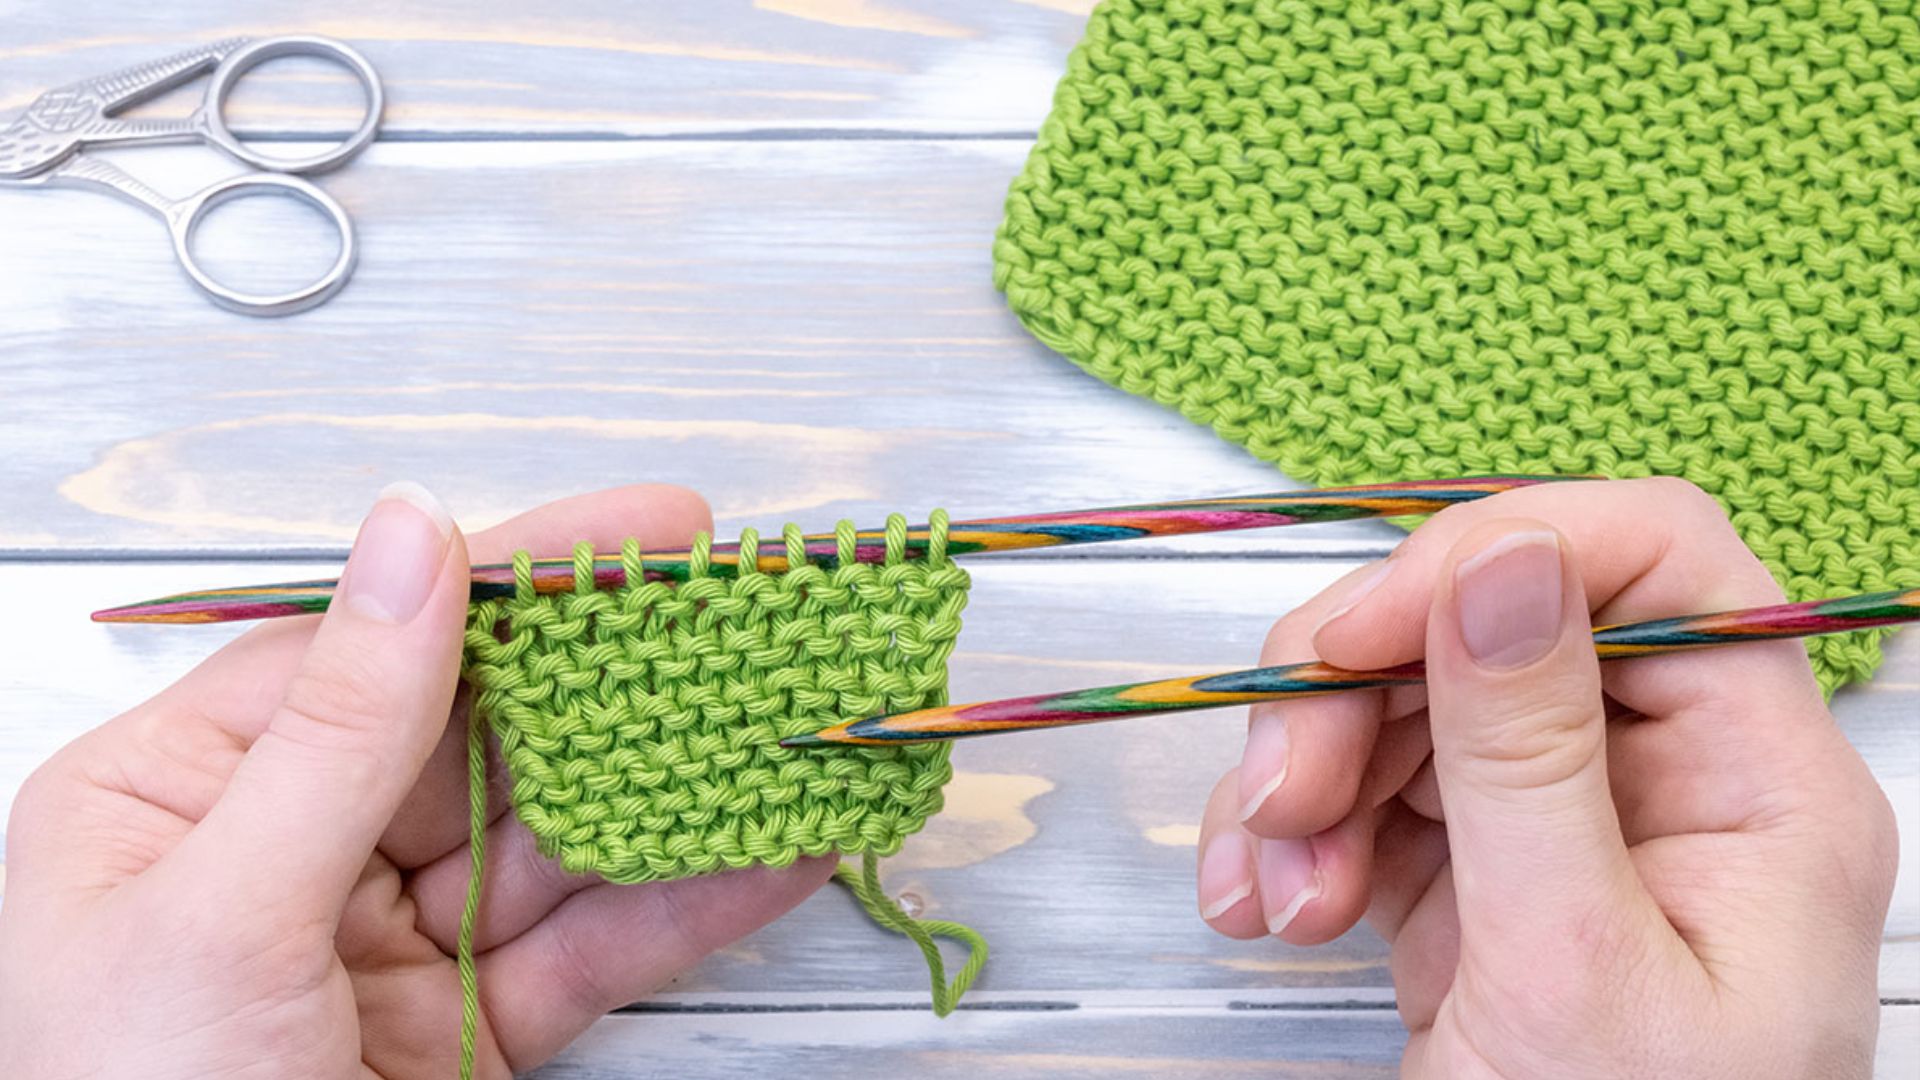
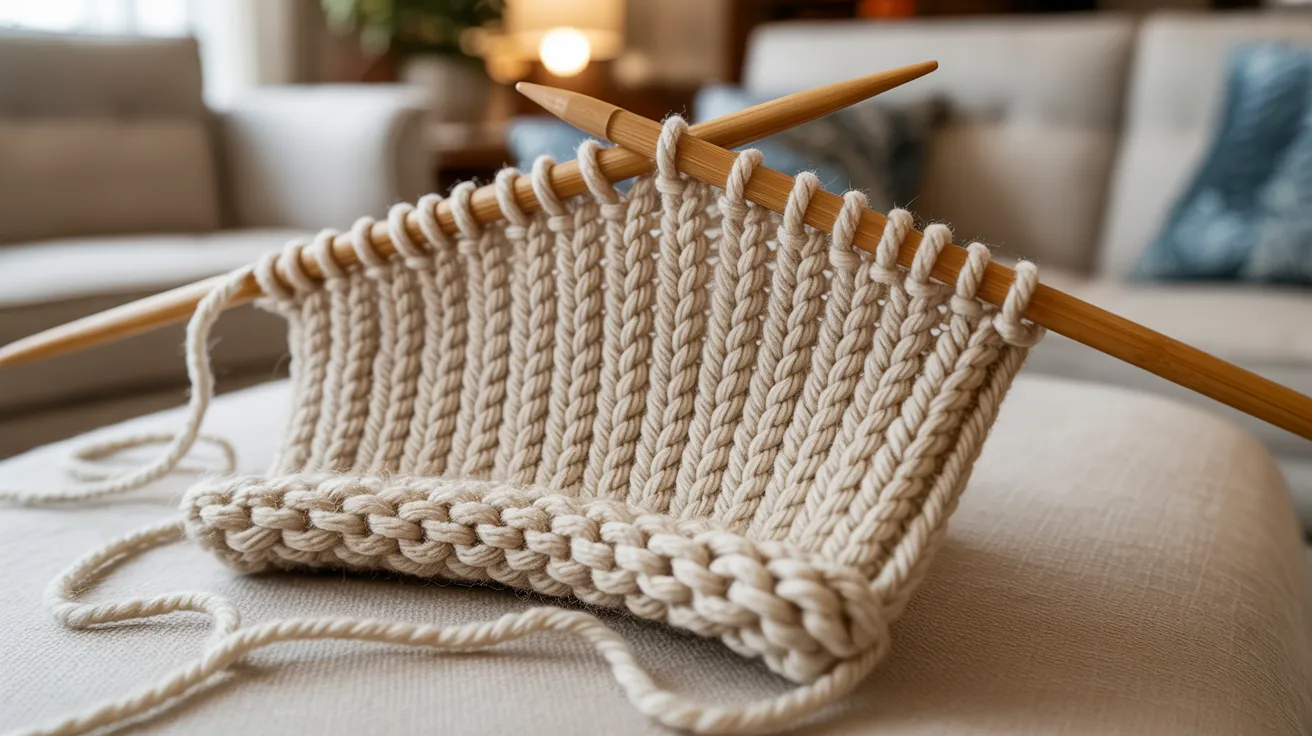
Yes, the stitches sitting on your needle right now are part of your row count.
The row currently on your needle counts. It has already been worked. The stitches are just waiting for the next pass.
Once you work across a row and the stitches sit on your right needle, that row is done. It exists in your fabric. Some beginners skip it thinking it isn’t finished yet, but it is.
This matters most when checking your count mid-project. If you’ve worked 5 rows and the 5th sits on your needle, you have 5 rows, not 4. Count carefully before you stop for the day.
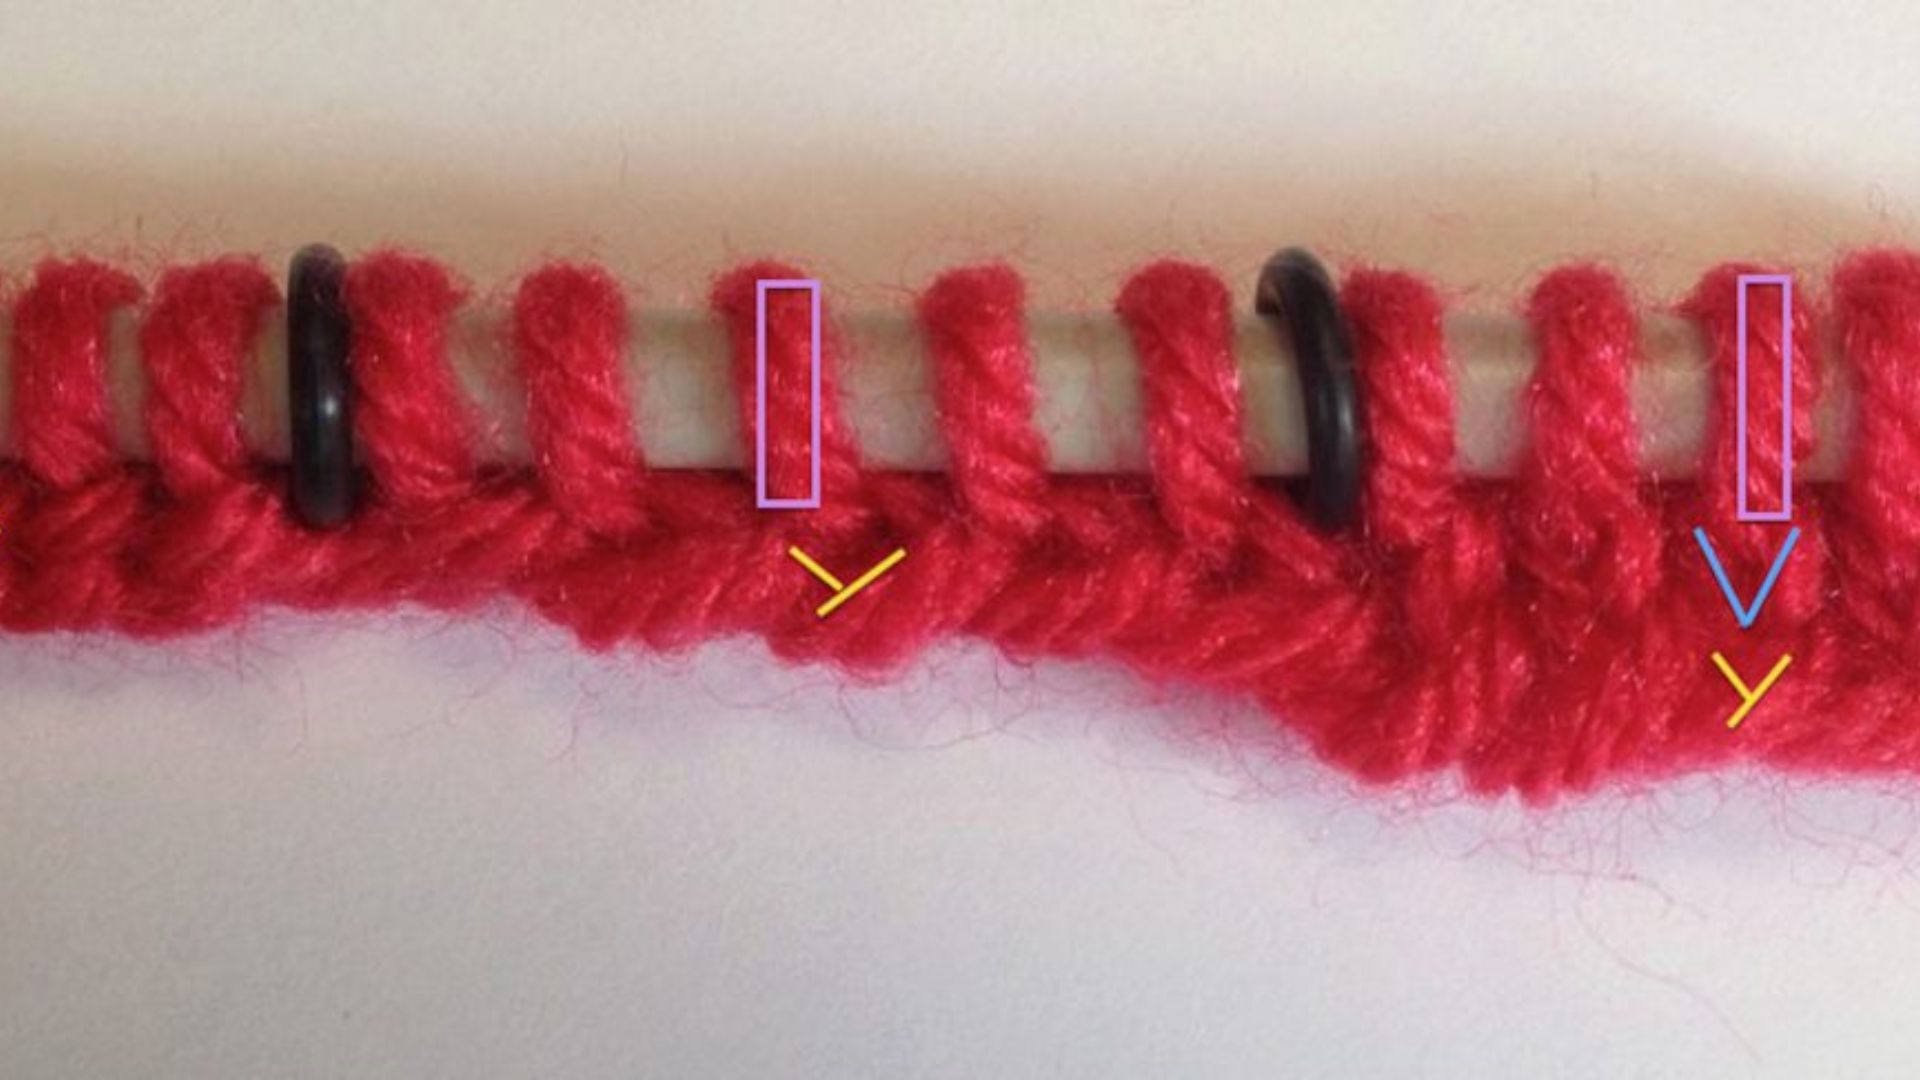
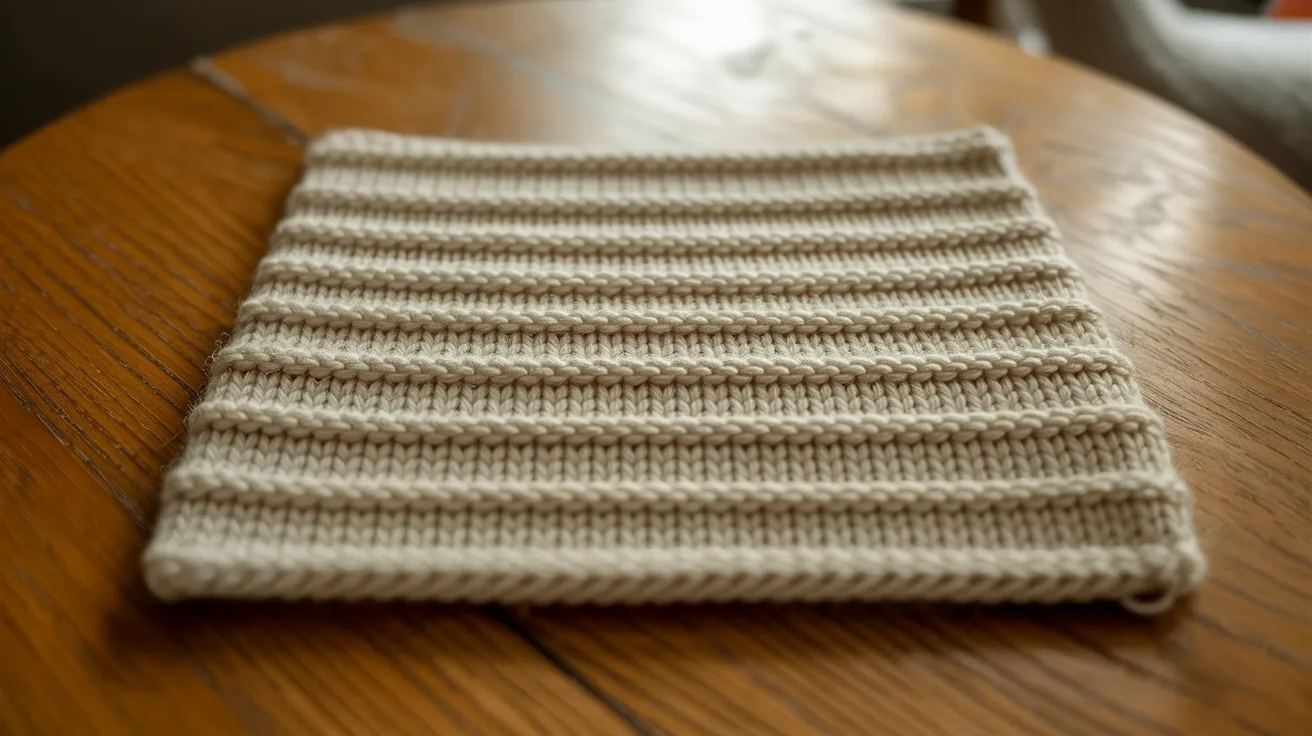
How to Count Rows in Stockinette Stitch
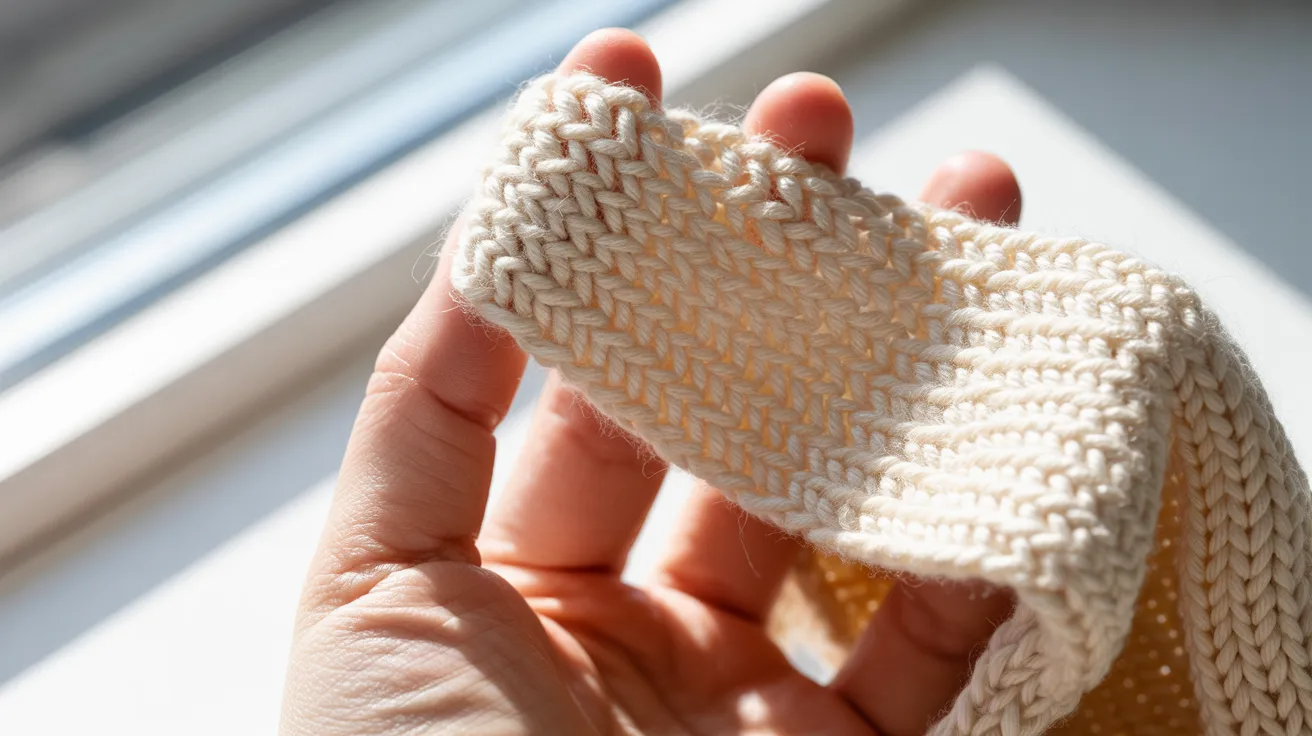
Count the “V” shapes on the smooth knit side to find your row total.
Identify the Knit Side First
Stockinette stitch has two sides. The knit side looks smooth with little “V” shapes. The purl side looks bumpy.
Always count from the knit side. It’s much easier to see individual rows there.
Count the “V” Shapes Step-by-Step

Pick one column of stitches. Stay in that single column the whole time.
Count each “V” going up from the bottom. Each “V” is one row.
Do not jump between columns. It gets confusing fast. One column, one count, all the way up.
Odd vs Even Row Trick (Quick Check)
Here’s a quick trick. If your working yarn is on the right side, you’re about to work an odd-numbered row. If it’s on the left, you’re about to work an even-numbered row.
This works for basic stockinette and can help you stay on track without counting every time.
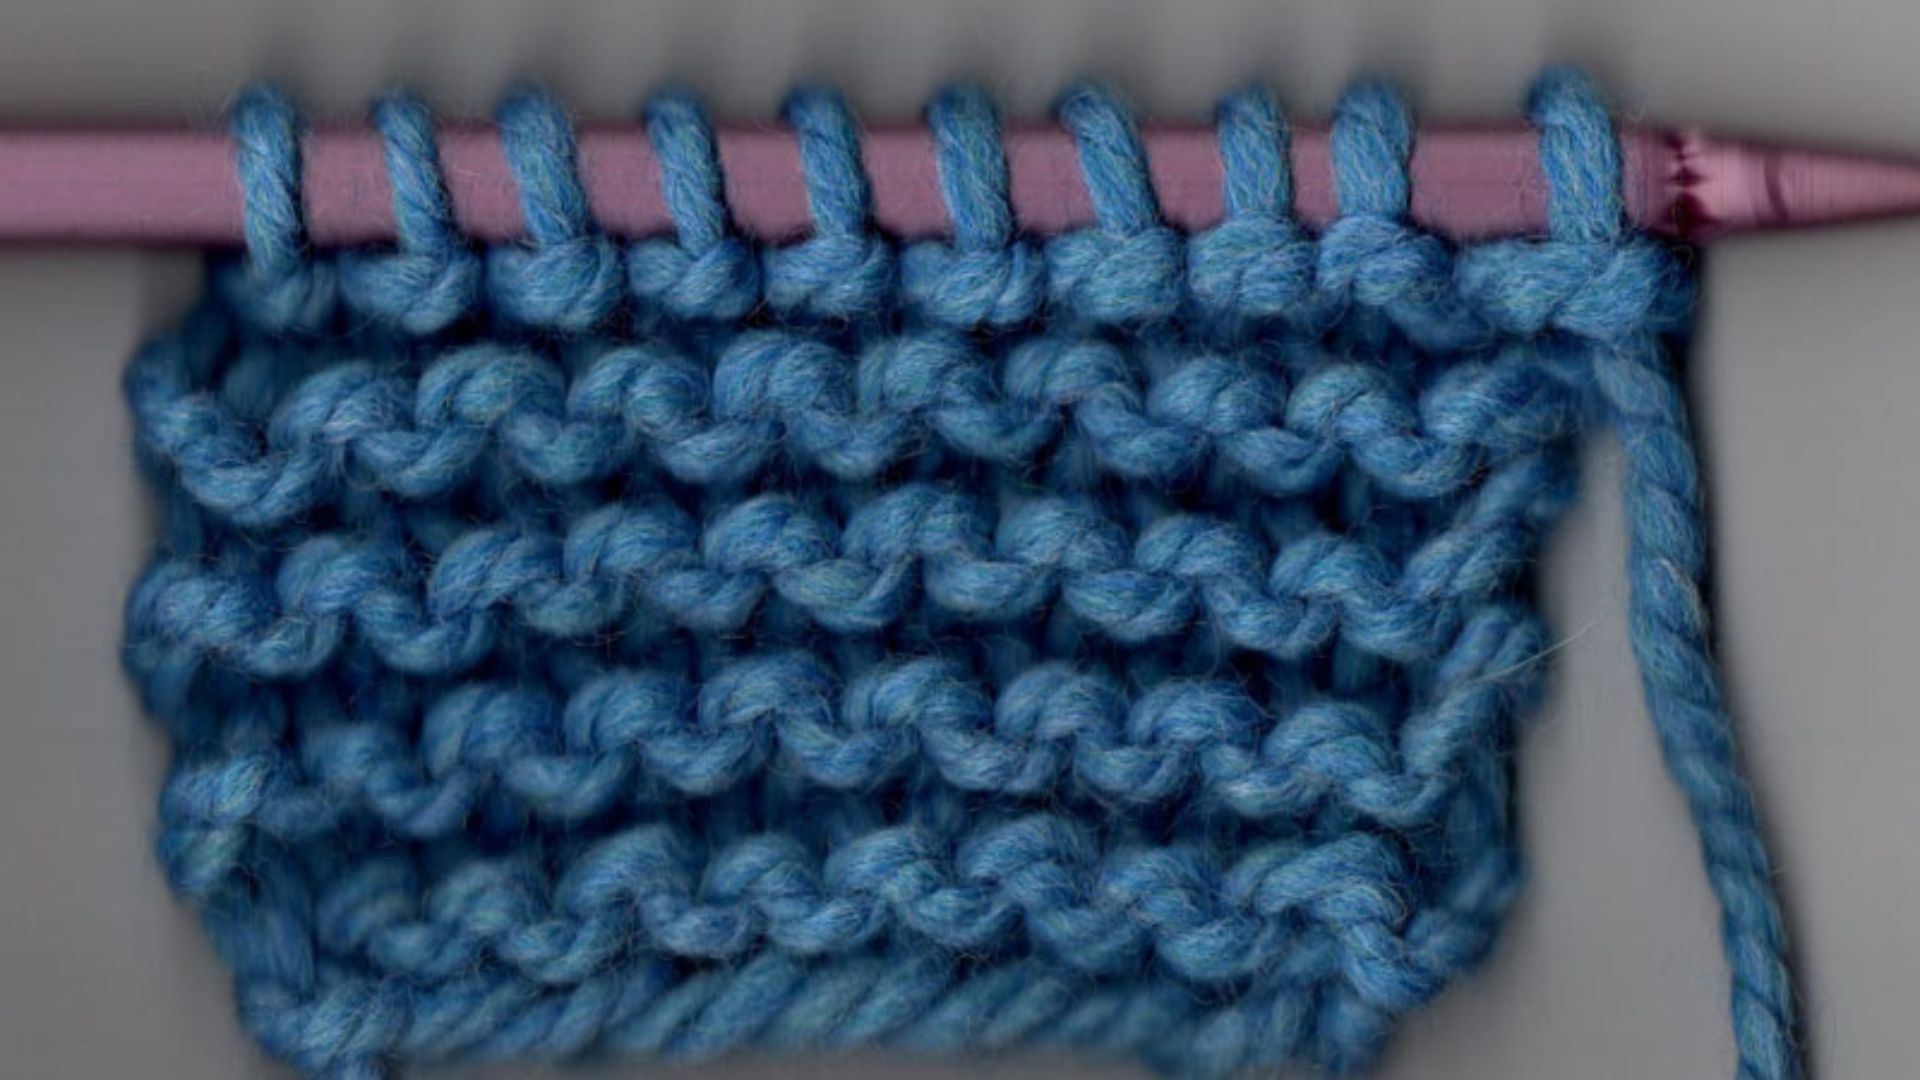
How to Count Rows in Garter Stitch
In garter stitch, every visible ridge equals two rows of knitting.
Each Ridge Equals 2 Rows
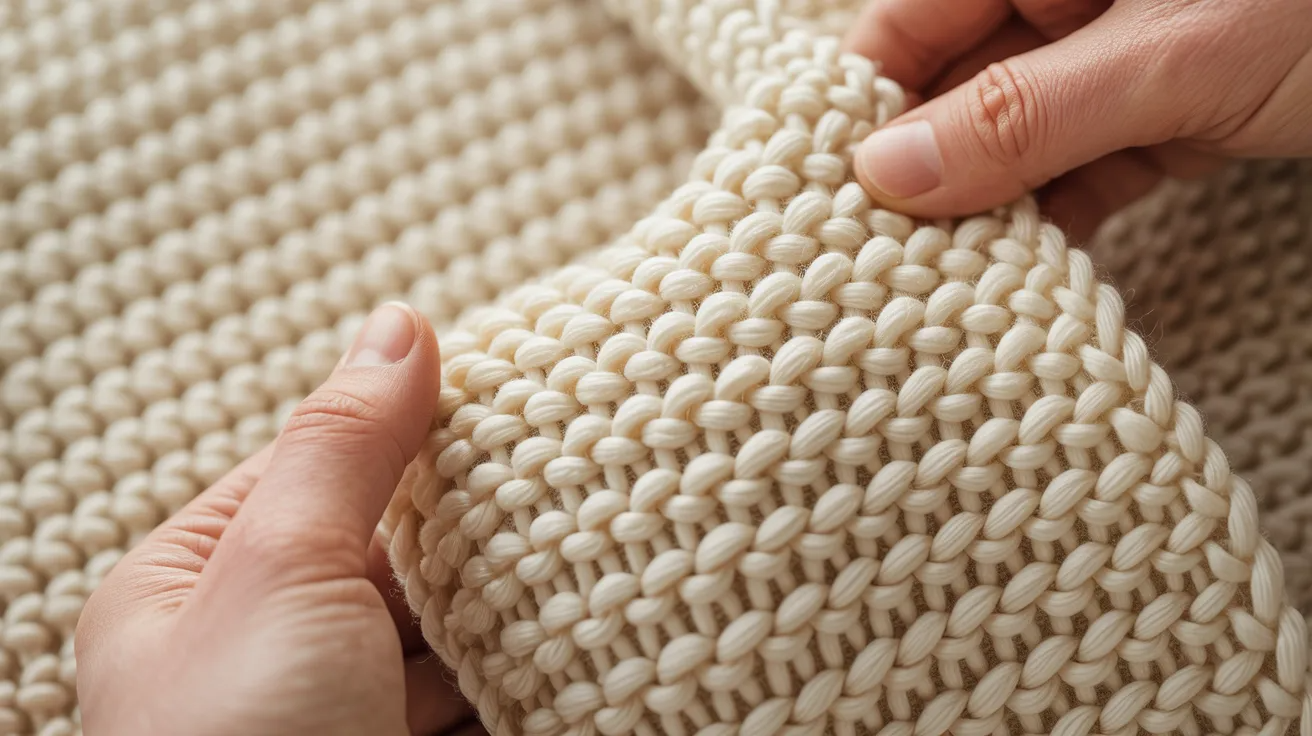
Garter stitch looks like rows of bumps or ridges. Each ridge you see on the surface is actually two rows of knitting.
So if you count 6 ridges, you’ve worked 12 rows. Always multiply your ridge count by two.
How to Spot Hidden Rows
Sometimes the first and last ridges are harder to see, especially near the cast-on or bind-off edge. Look closely. They’re there.
Hold your knitting up to good light. Press the fabric gently flat. The ridges will be easier to spot.
Odd vs Even Rows Using Ridges
If you have full ridges and your yarn is on the right side, you have an even number of rows done. If the yarn is on the left and you’re mid-ridge, you’re on an odd row.
This quick check saves a lot of recounting.
How to Count Rows in Mixed Stitch Patterns
Switching between stitch types makes counting harder, but a simple system keeps you on track.
Switching Between Garter and Stockinette
Some patterns mix garter and stockinette sections. The tricky part is that ridges and “V” shapes mean different things.
In garter sections, count ridges and multiply by two. In stockinette sections, count “V” shapes directly. Don’t use the same method for both.
Best Way to Stay Accurate
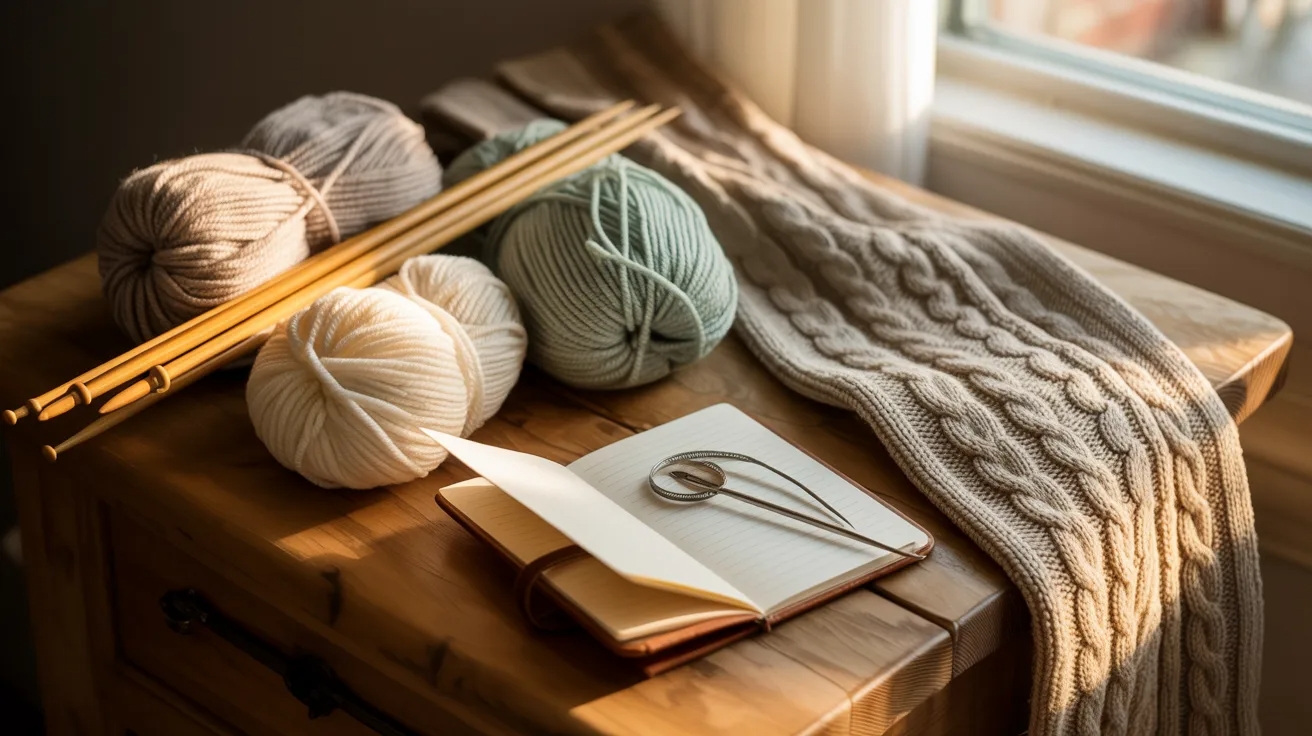
Write it down. Seriously.
Keep a small notebook or use a row counter app. Every time you finish a row, mark it. Don’t rely on memory, especially in longer projects.
You can also place a stitch marker at every 10th row. This gives you clear checkpoints so you never have to count from the very beginning again.
How to Count Rounds in Knitting
Rounds are the circular version of rows, and counting them works a little differently.
Rows go back and forth. Rounds go in circles. When you knit in the round, you never turn your work. You just keep going around. Each time you complete a full circle and return to where you started, that’s one round.
A round is only complete when you return to your starting point. If you’re in the middle of a round, it does not count yet. Place a stitch marker at the start of each round. When you pass the marker, mark one round as done.
Common Row Counting Mistakes to Avoid
Small counting errors early on can cause big problems later in your project.
Counting the Cast-On by Accident
This is the most common error. The cast-on is not a row. Start counting after your first actual pass across the needles.
If you’re unsure, look at your fabric. Real rows create fabric. The cast-on alone doesn’t build any height.
Ignoring Pattern Changes
When your pattern switches stitch types, your counting method should switch too. Many knitters keep using the same method and get confused when things don’t line up.
Pay attention to what stitch you’re in before you count.
Losing Track Mid-Project
Life gets busy. You put your knitting down and forget where you were.
Use a row counter. Write your row number on a sticky note. Use a phone app. It doesn’t matter how you track it, just do it every single time you stop.
Best Tips to Count Rows Accurately
Simple habits make row counting much easier and more reliable over time.
- Pick one stitch column and count only that column from bottom to top.
- Use a row counter and click it after every single row without fail.
- Place stitch markers at every 10th row to break your count into chunks.
- Use your stitch pattern as a check. A 4-row repeat should always end on a multiple of 4.
- Keep tally marks on paper and update them every time you sit down to knit.
Conclusion
Counting rows in knitting felt overwhelming to me at first. I kept losing my place and second-guessing myself. But once I learned to count “V” shapes, use a row counter, and stop counting the cast-on, everything got easier.
You can do this. Start with the tips in this guide, practice on a small swatch, and build the habit one row at a time.
Did this help? Leave a comment below and share what row counting trick worked best for you!
Frequently Asked Questions
Does the slip knot count as a row in knitting?
No, the slip knot is part of setting up your needle. It does not count as a row. Start counting from your first full knit or purl pass.
How do I count rows without a row counter?
Use tally marks on paper. Mark one line for every row you finish. Group them in sets of five to keep the count easy to read.
Can I count rows from the purl side of stockinette?
You can, but it is harder. The bumpy purl side makes it difficult to separate each row clearly. The smooth knit side with “V” shapes is much easier to count accurately.
Why does my row count not match my pattern?
You may have counted the cast-on as a row by mistake. Start your count over from your first actual worked row. Also check if you skipped a row when you put your knitting down.
How many rows equal one inch in knitting?
It depends on your yarn, needle size, and tension. This is called your row gauge. Knit a test swatch, count the rows in one inch, and use that number to plan your project accurately.