

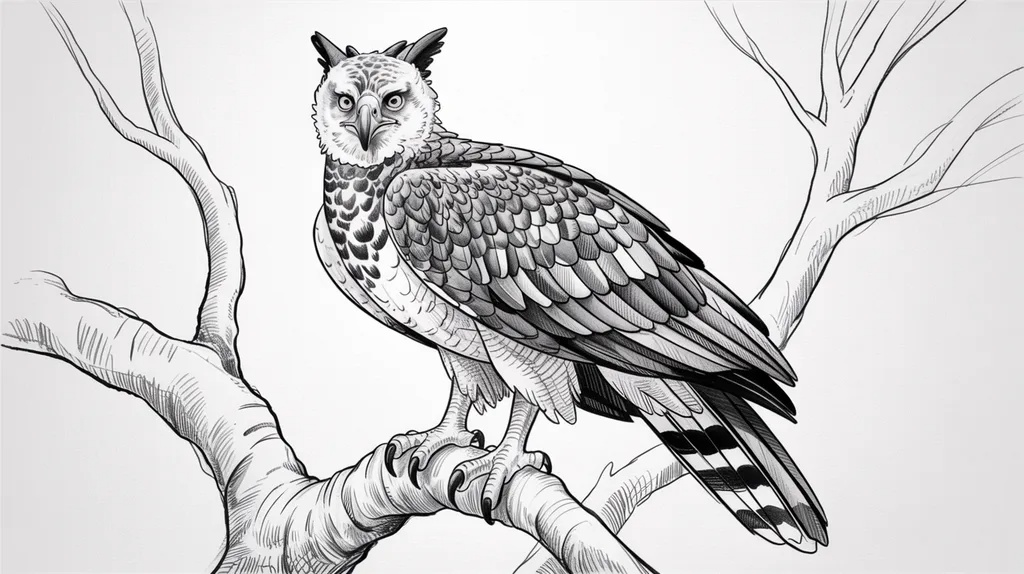
Want to draw a harpy eagle but don't know where to start? This guide breaks it down into simple steps anyone can follow.
You will learn how to sketch the body, shade the feathers, and add small details that make your art look real. We will also share tips for kids, beginners, and anyone who loves bold colors.
This is not just another art post. It comes from real practice and patience with bird sketches. We know how frustrating a blank page can feel, so we kept every step short and clear.
By the end, you will have a drawing you are proud to share. Grab your pencil and let's get going.
What Makes a Harpy Eagle Perfect?
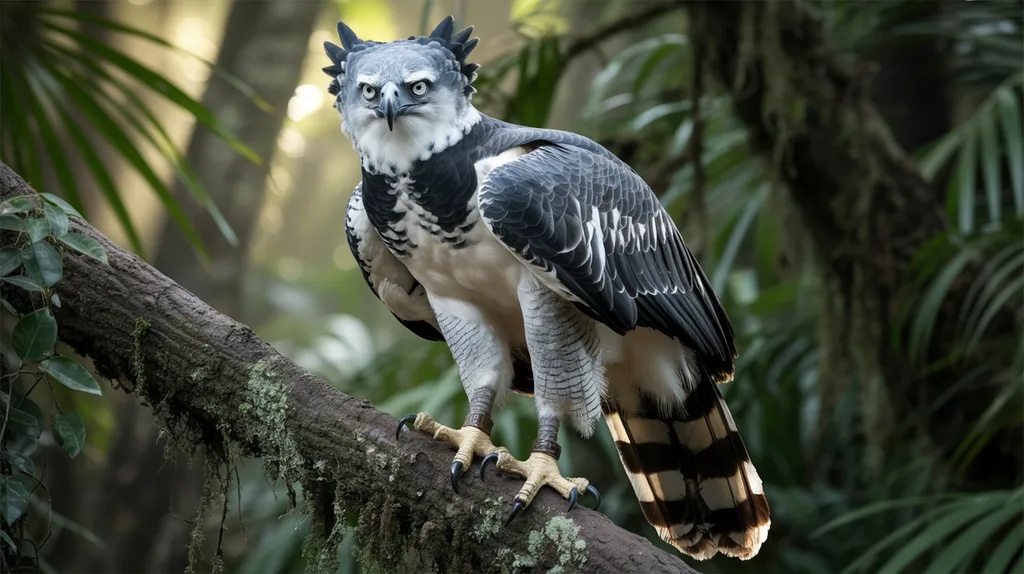
The harpy eagle stands out for its size, sharp talons, and bold feather crown.
This bird is one of the largest eagles in the world. Its wide wings and strong legs help it hunt in thick forests.
The feathers on its head can stand up like a crown when it feels alert. Its eyes are sharp and always watching. Knowing these traits helps you draw a bird that looks alive and not flat.
Many artists skip this step and their drawings end up looking like a generic hawk. Take a moment to study photos before you begin.
Notice how the body looks heavy but balanced. The legs are thick and built for power. Once you understand these basic traits, your sketch will carry more personality.
This is the foundation for every step that comes after.
Key Features to Observe Before Drawing

Study the talons, crest, and chest pattern before you sketch the first line.
Before you draw, take time to look closely at a harpy eagle's body. The talons are thick and curved, almost like hooks. The chest has light feathers with dark streaks running down.
The wings are broad and rounded at the tips. The tail is long and barred with dark bands. Pay attention to how the head sits close to the shoulders.
This bird does not have a long neck like other eagles. Its build is compact and strong. If you skip these details, your drawing may end up looking like a random bird instead of a harpy eagle.
Spend five minutes just looking at reference photos. This small step saves a lot of time later when you start sketching the shapes.
Understanding the Harpy Eagle's Head, Crest, and Talons

These three features carry most of the bird's personality and power on paper.
The head of a harpy eagle is round and wide, almost owl-like in shape. The crest feathers sit on top of the head and can rise up or lay flat.
When drawing, decide if your bird is alert or calm, since that changes the crest position. The beak is short, curved, and hooked at the tip.
The eyes are large and dark, giving the bird an intense look. The talons are the most powerful part of this bird. They are thick, sharp, and built to grip prey firmly.
Drawing the talons with the right size shows how strong this eagle truly is. Many beginners draw talons too thin, which makes the bird look weak.
Keep them bold and chunky for a more accurate look.
Materials Needed for a Harpy Eagle Drawing

A few basic tools are enough to get started on this drawing project.
You do not need expensive supplies to draw a harpy eagle. A simple pencil set with a few grades like 2H, HB, and 2B works well.
A good eraser helps fix mistakes without smudging the paper. Use plain sketch paper or a sketchbook with a bit of texture, since it holds pencil marks better.
If you want to add color later, colored pencils or markers in brown, white, gray, and black will cover most of the bird's natural tones.
A blending stencil or tissue can help smooth out shading. For kids or quick sketches, even a regular notebook and pencil will do the job.
Keep your tools simple so you can focus on practice instead of perfection.
Harpy Eagle Drawing Easy Step by Step
Follow these seven steps in order for a clean and accurate full drawing.
Step 1: Sketch the Basic Head and Body Shapes
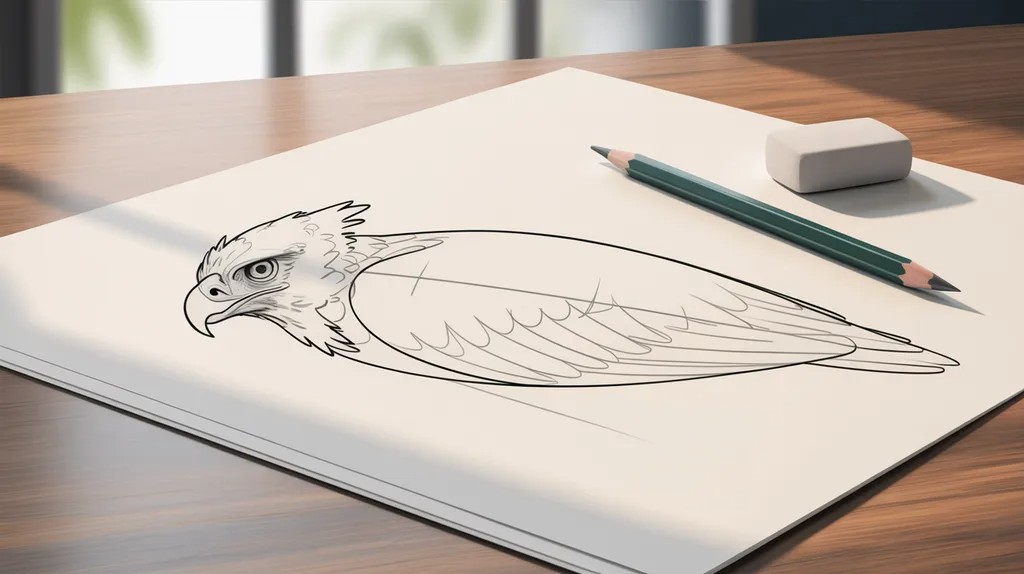
Start with a circle for the head and an oval for the body. Connect them with a short curved line, since the harpy eagle has a compact neck. Keep your lines light at this stage.
Step 2: Draw the Beak and Facial Features
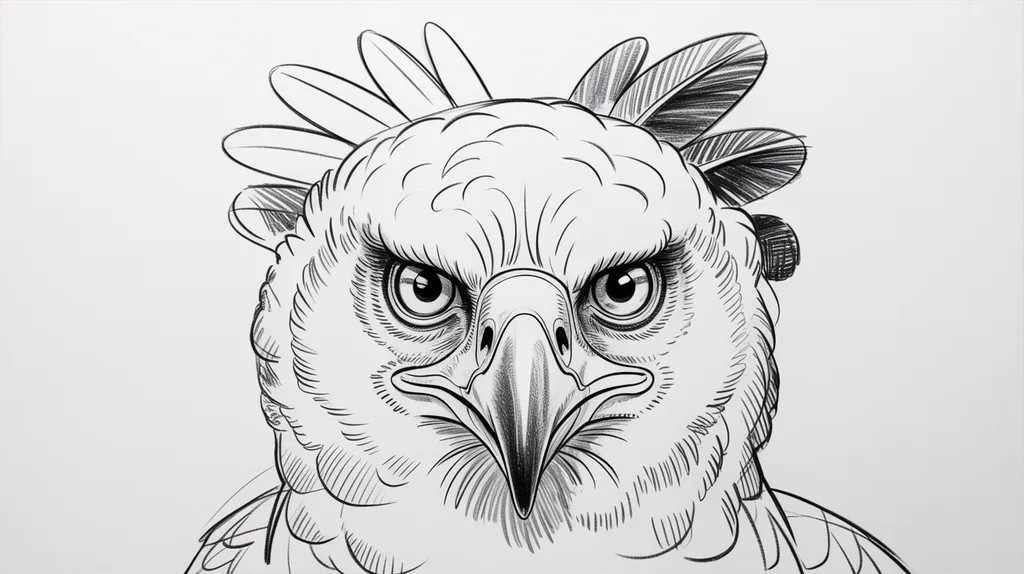
Add a small hooked beak at the front of the head circle. Place two round eyes near the top, close to where the beak begins. Sketch a faint line for the brow ridge above the eyes.
Step 3: Add the Crest Feathers and Eyes

Draw short, spiky lines on top of the head for the crest. Darken the eyes slightly and add a small highlight dot to make them look alive. Keep the crest feathers uneven for a natural look.
Step 4: Outline the Wings and Tail

Extend two wide shapes from the sides of the body for the wings. Add a long rectangular shape behind the body for the tail. Curve the wing tips slightly downward for a resting pose.
Step 5: Draw the Powerful Legs and Talons

Sketch two thick legs below the body, slightly bent. Add curved, sharp talons at the end of each leg. Make sure the talons look strong and capable of gripping a branch.
Step 6: Add Feather Details and Texture

Draw small curved lines across the wings and chest to show feather texture. Add streaks on the chest area for the natural pattern. Keep your strokes light and in the same direction as feather growth.
Step 7: Finish Your Harpy Eagle Drawing with Shading or Color
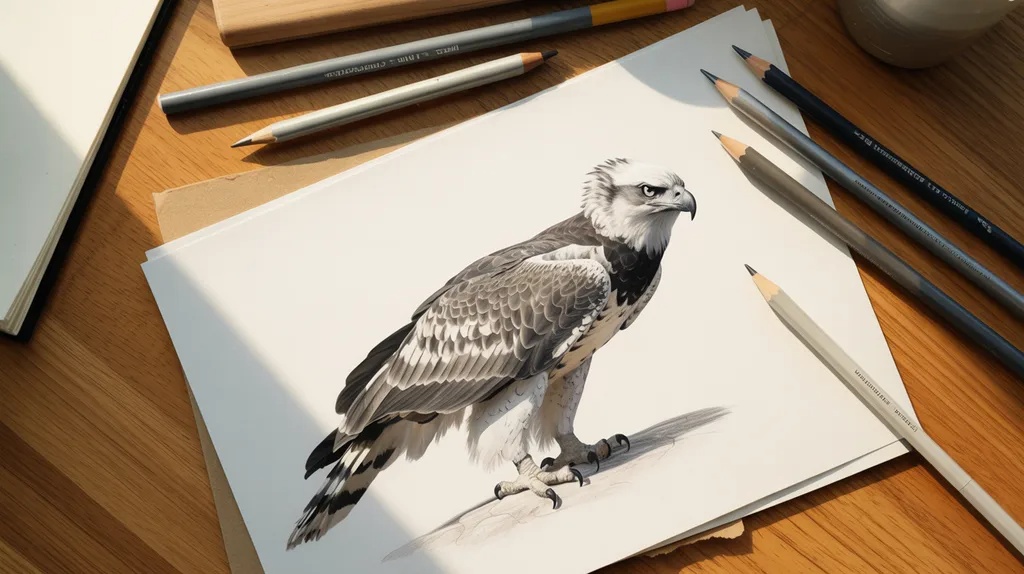
Use a darker pencil to shade the wings, tail, and crest. Add light shading under the body for depth. If coloring, use gray and white for the body and dark gray or black for the wings and crest.
Harpy Eagle Drawing Color Guide
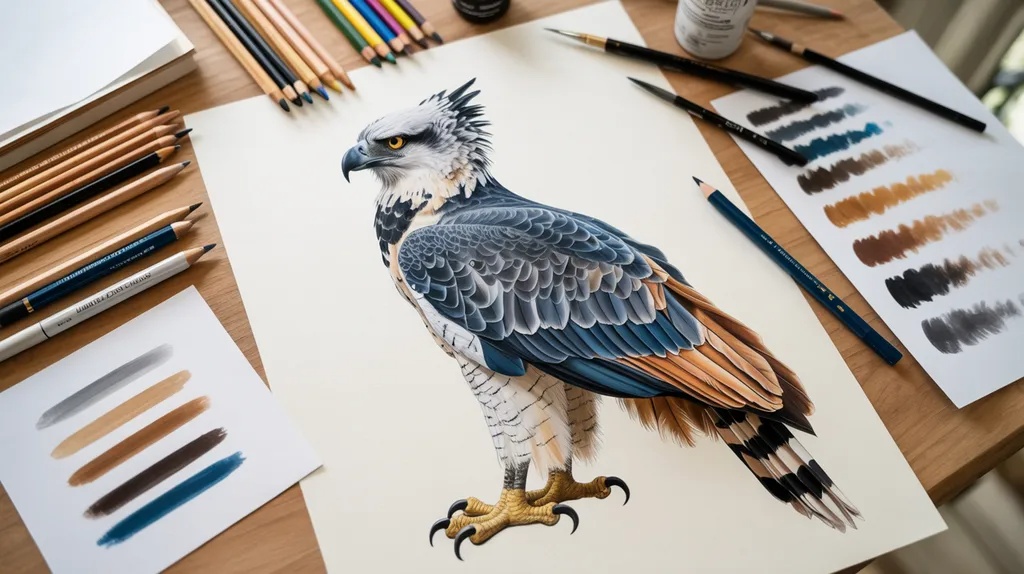
Natural tones like gray, white, and black bring authenticity to your finished art.
Natural Colors of a Harpy Eagle
The body is mostly gray and white, with a dark gray to black back and wings. The chest has a band of dark feathers. The legs are yellow, and the talons are black.
Coloring Feathers for a Realistic Look
Layer your colors gradually instead of applying one flat tone. Start light and build darker shades in the wing and tail areas. This creates a more natural, three-dimensional feather appearance.
Using Colored Pencils or Markers Effectively
Colored pencils allow better blending for soft transitions. Markers work well for bold, flat color but need careful layering to avoid harsh lines. Test colors on scrap paper first.
Common Mistakes to Avoid in a Harpy Eagle Drawing
Small errors in proportion can make the bird look unrealistic or awkward.
Making the Head Too Small
A small head makes the body look oversized and off balance. Keep the head proportionate, roughly matching the width of the chest area for a more natural look.
Ignoring Feather Direction
Feathers that point in random directions look messy and flat. Always draw feather strokes following the natural flow of the body, from head to tail.
Drawing Unrealistic Wing Proportions
Wings that are too short or too long throw off the entire pose. Study reference images to keep wing length balanced with the body size.
Overlooking the Size of the Talons
Talons that are too thin make the bird look weak. Keep them thick and strong, since this is one of the harpy eagle's most powerful features.
Tips to Improve Your Harpy Eagle Drawing
Consistent practice and good references lead to steady improvement over time.
- Spend time sketching simple bird shapes before attempting a full harpy eagle. Understanding basic anatomy makes the detailed drawing much easier to handle.
- Keep a few clear reference photos nearby while drawing. Comparing your sketch to a photo helps you catch mistakes early before they become harder to fix.
- Begin with faint guideline shapes before adding firm lines. This makes it easy to correct errors without ruining the whole drawing.
- Draw the same harpy eagle more than once. Repeating the same subject helps you spot what went wrong the first time and improve with each attempt.
- Focus on one part of the bird at a time instead of trying to finish everything at once. Breaking the drawing into sections keeps the process manageable and less overwhelming.
Creative Harpy Eagle Drawing Ideas
Try new settings and styles to make your harpy eagle drawing stand apart.
Draw a Harpy Eagle Perched on a Tree Branch
Add a thick branch under the bird's talons for a natural perch. This setting shows off the talons and gives the drawing a sense of place.
Create a Rainforest Background
Add large leaves, vines, and soft greenery behind the bird. A simple background can make the drawing feel complete without taking attention away from the eagle itself.
Sketch a Baby Harpy Eagle
Draw a rounder body and fluffier feathers for a young eagle look. Baby birds have larger heads compared to their bodies, which gives them a softer appearance.
Design a Fantasy-Influenced Harpy Eagle
Add glowing eyes, longer feathers, or unusual colors for a fantasy version. This is a fun way to combine realistic anatomy with imaginative design choices.
Conclusion
You made it through this harpy eagle drawing guide, and that says a lot about your patience. Drawing a bird this detailed takes practice, and every sketch teaches you something new.
I remember my first few attempts looked nothing like a harpy eagle, but small daily practice made a real difference over time. Try one version from this guide today, whether it's the simple shapes or the full step by step method.
Share your drawing in the comments or pass this guide along to a friend who loves art too. Keep that pencil moving.
Frequently Asked Questions
How long does it take to draw a harpy eagle?
It depends on your skill level and detail choice. A simple sketch can take 20 to 30 minutes, while a detailed version may take a few hours.
What pencil grade is best for shading feathers?
A range from HB to 4B works well for most feather shading. HB handles light tones, while 2B and 4B build darker areas.
Can kids draw a harpy eagle easily?
Yes, kids can draw a simplified version using basic shapes like circles and ovals. Skipping fine details makes the process much easier for young artists.
What is the hardest part of drawing a harpy eagle?
Most beginners find the talons and feather texture tricky. Getting the proportions right takes a bit of practice and patience.
Do I need colored pencils to finish this drawing?
No, a pencil sketch with good shading looks great on its own. Color is optional and mainly adds a different visual style.
