

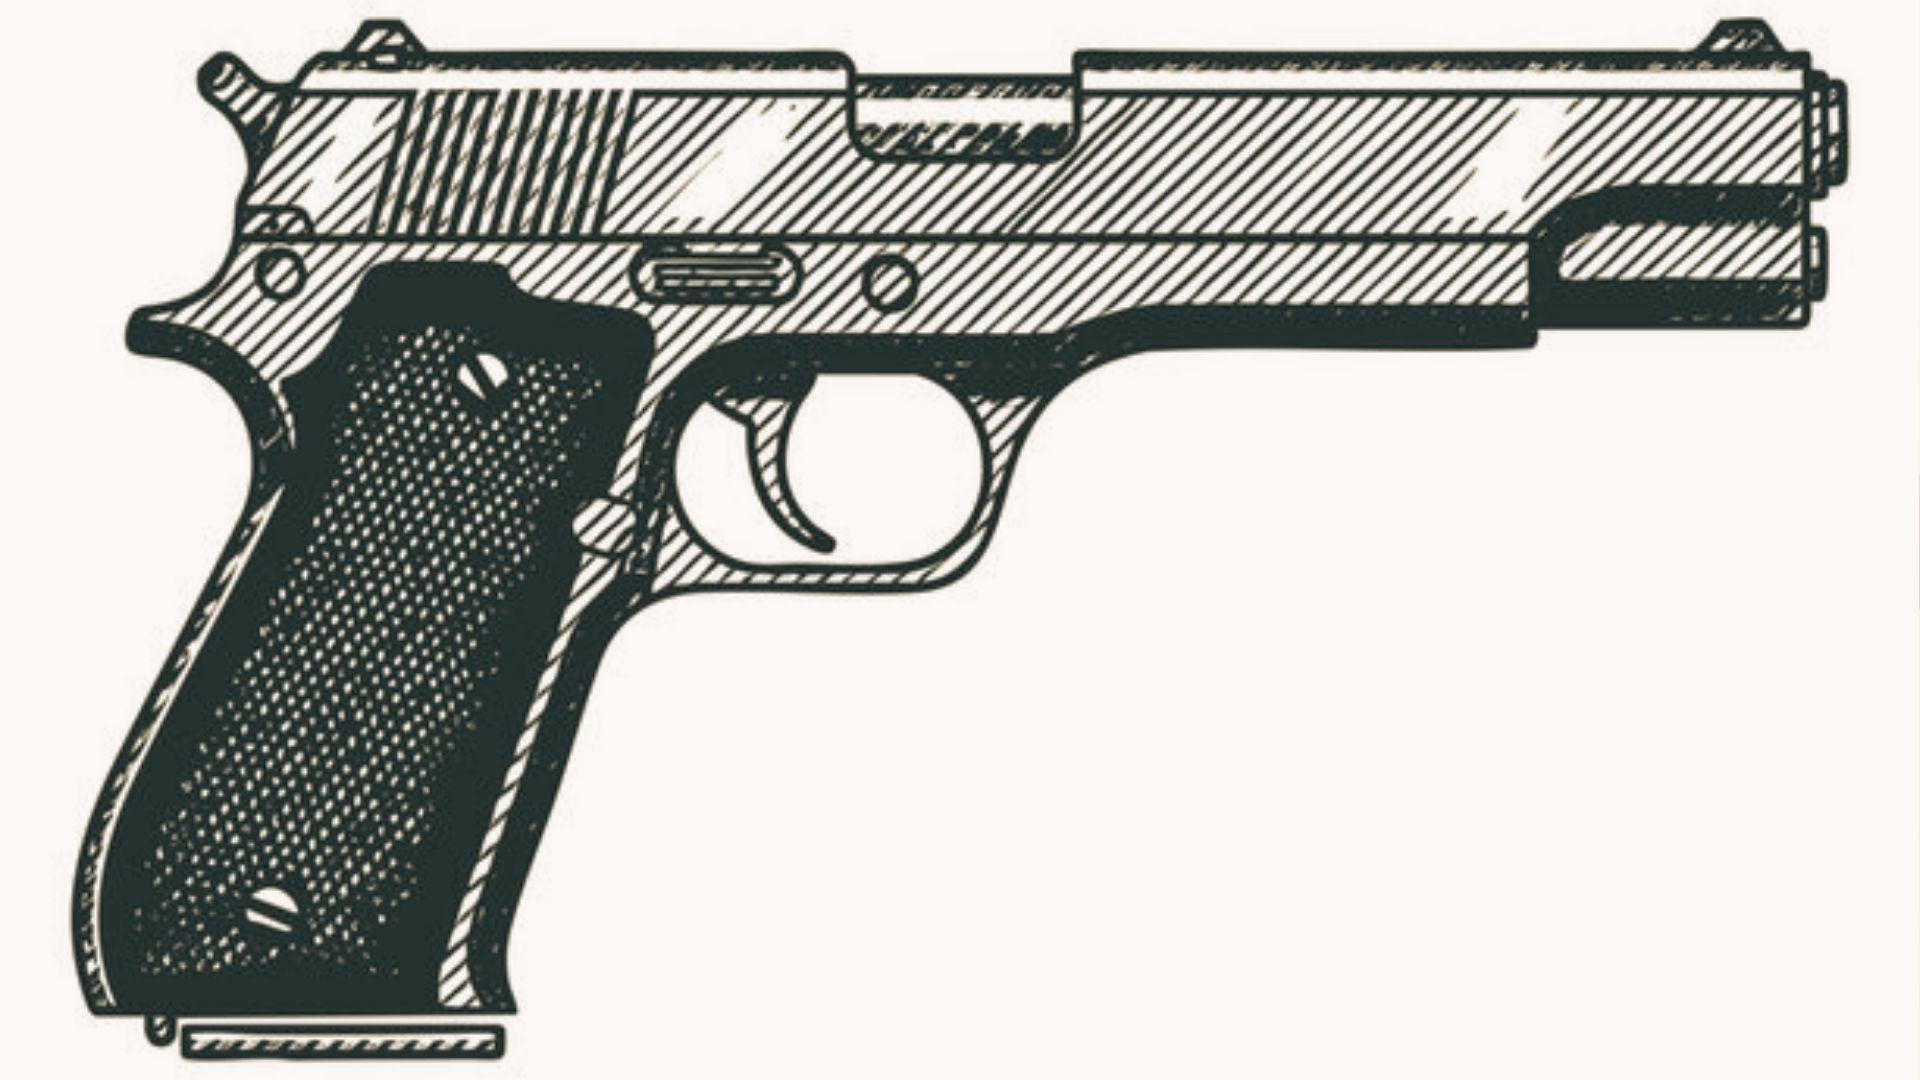
Learning to draw a gun can feel tricky at first. But it does not have to be.
This guide breaks it all down into simple, clear steps anyone can follow. No art degree needed. No fancy tools required.
I have helped many beginners get started with drawing, and the biggest thing I learned is this: start simple, stay consistent.
Here is what you will find in this blog: the right tools to use, a full step-by-step tutorial, common mistakes to skip, and easy practice tips.
By the end, you will know exactly how to do gun drawing easy style.
Why This Gun Drawing Easy Guide Is Perfect for Beginners
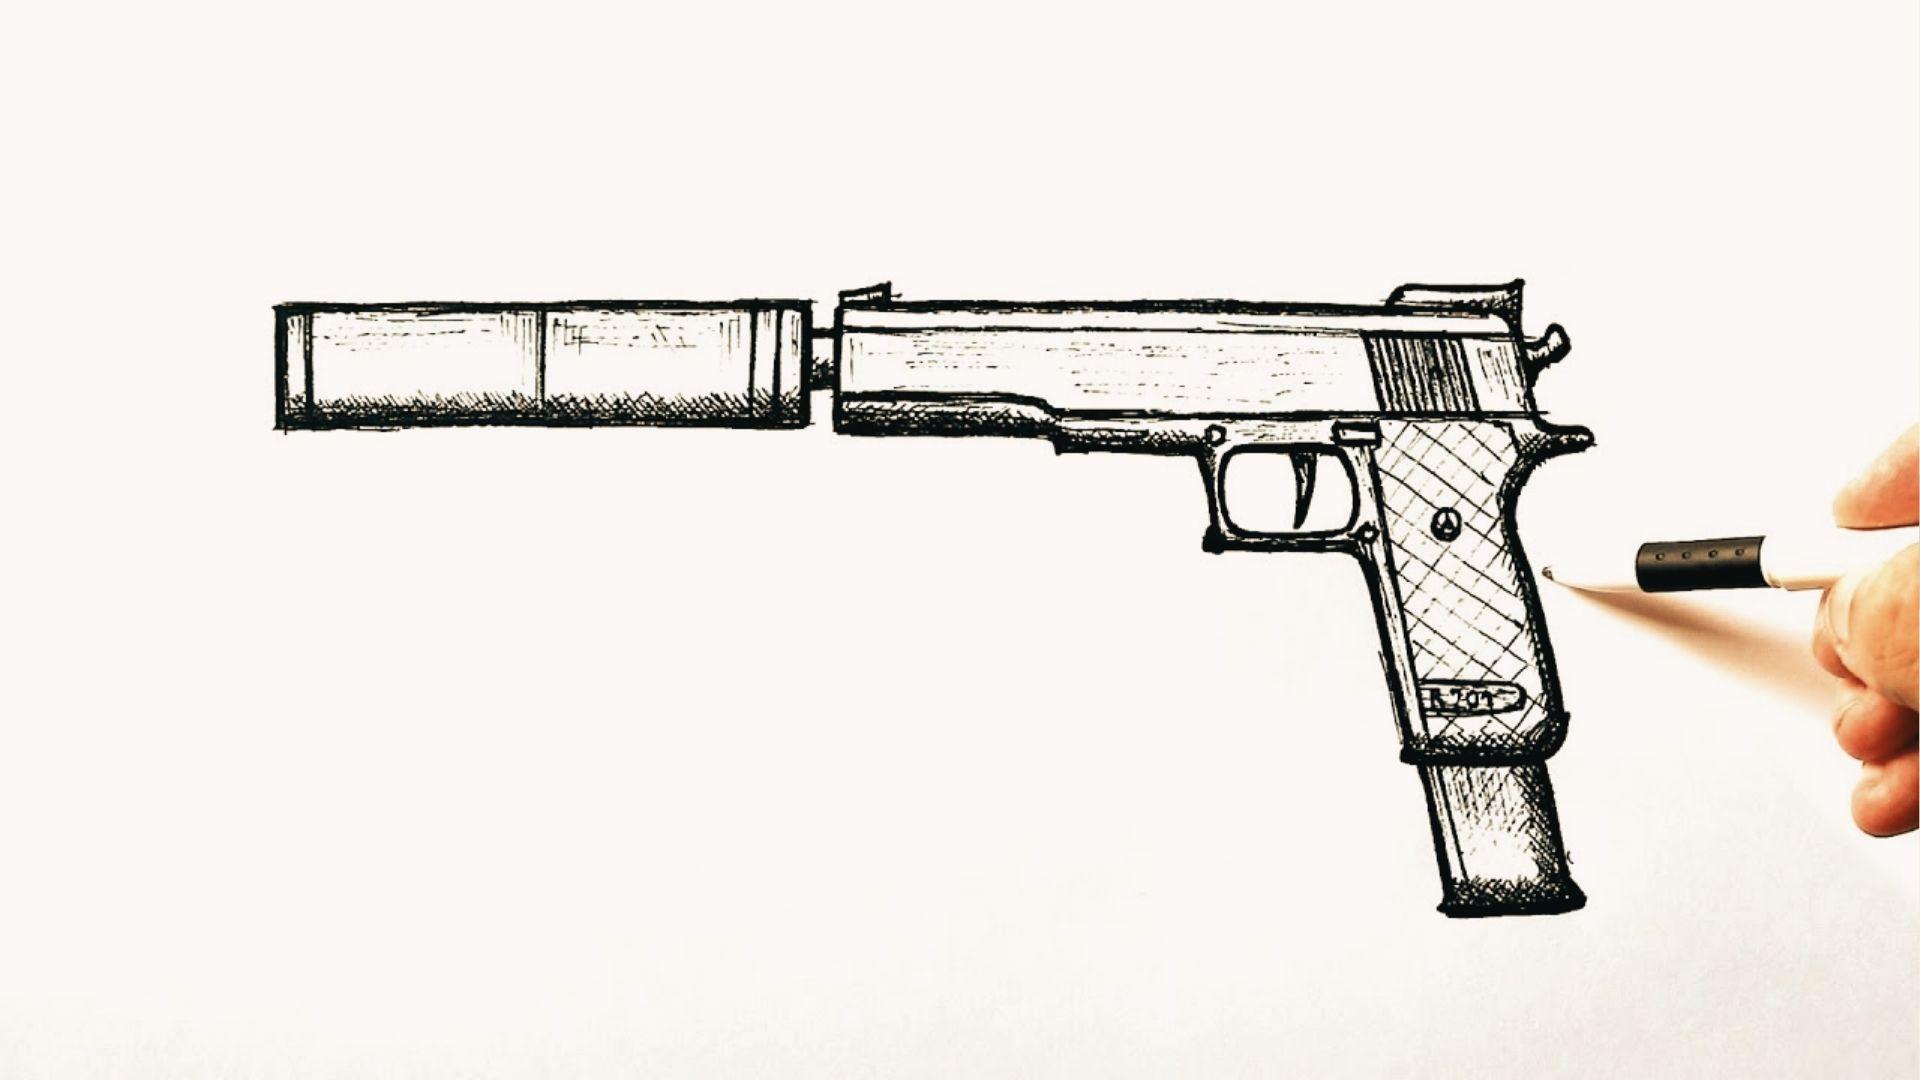
This guide keeps things simple, clear, and stress-free for anyone just starting out.
Most people think drawing a gun is hard. It is not. Once you see it as basic shapes, everything gets easier. A rectangle here. A box there. A curve at the bottom. That is all it takes.
You do not need shading skills, perspective knowledge, or any art background. Just a pencil and paper.
If you can draw a rectangle, you can follow this guide.
Tools You Need for Gun Drawing Easy
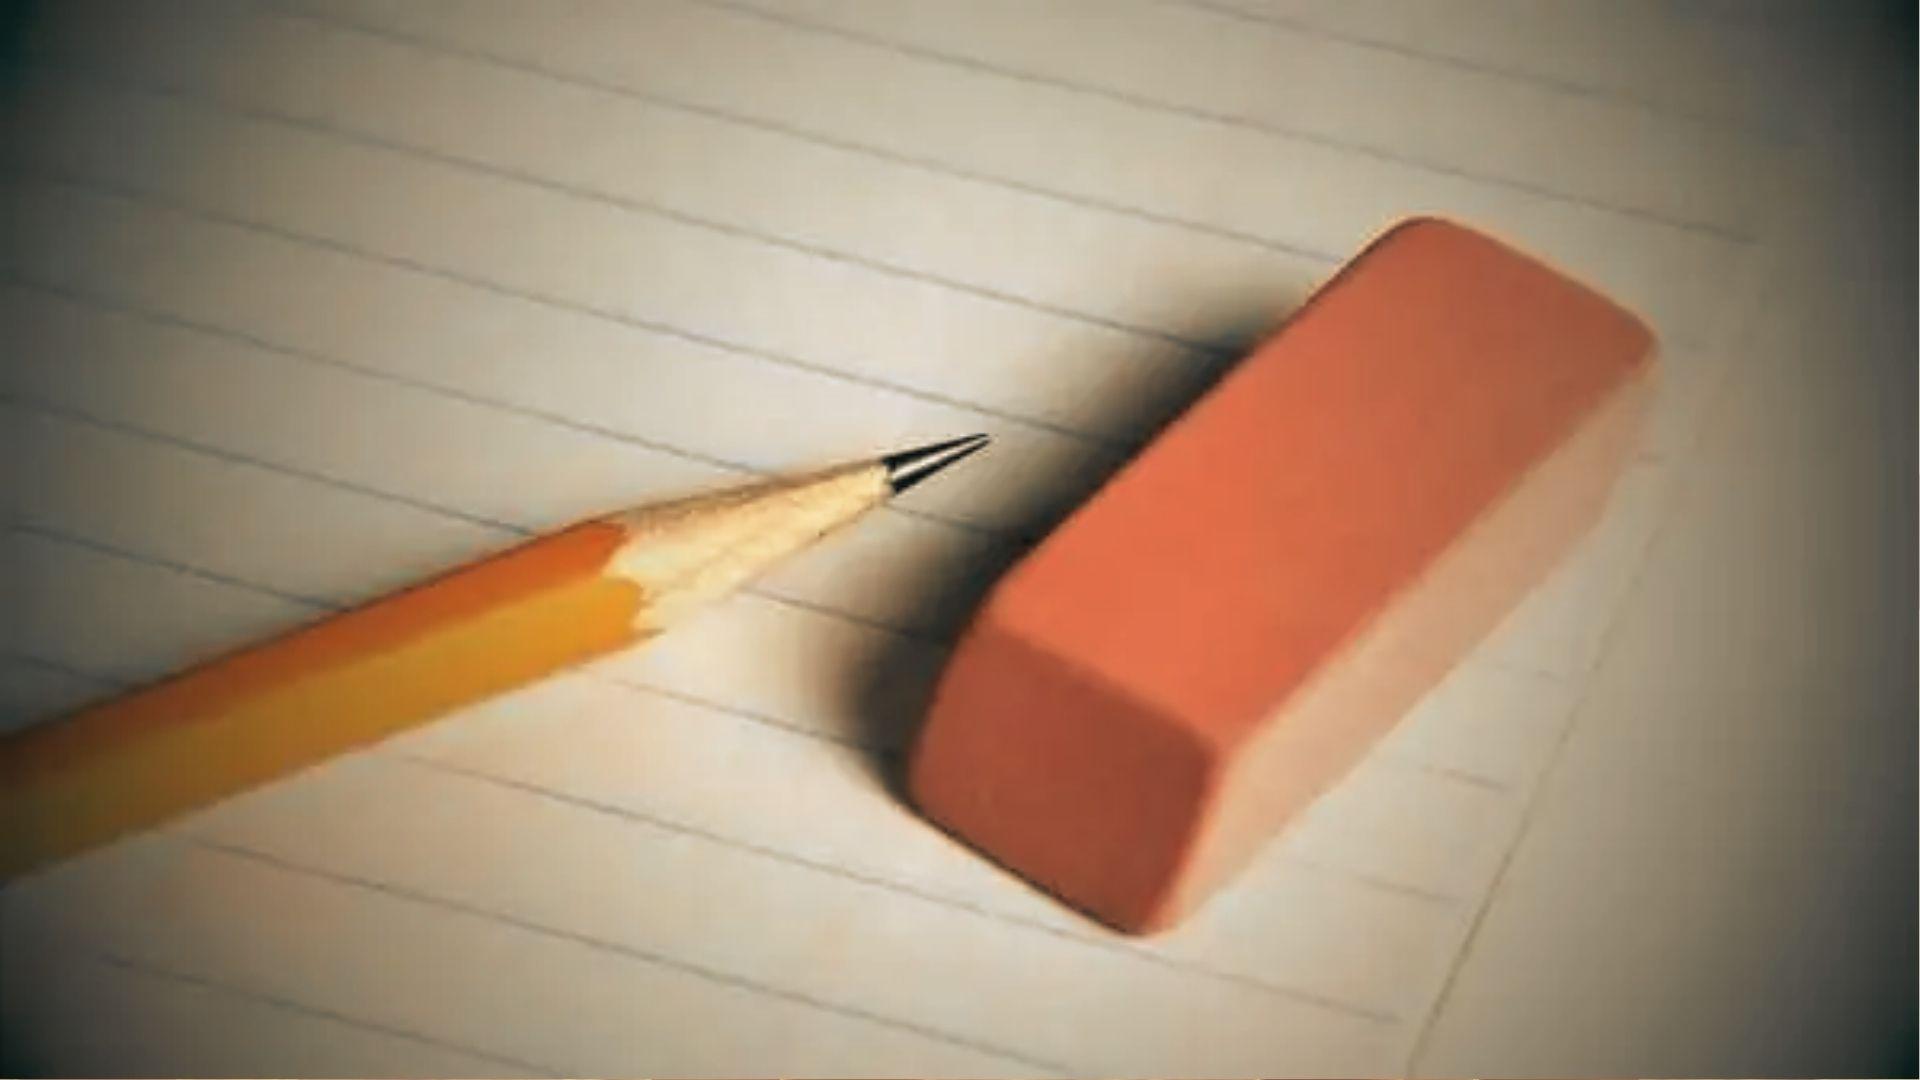
You do not need much to get started. Here is a quick look at what helps.
Basic Materials (Pencil, Paper, Eraser)
These three things are all you truly need:
- Pencil (an HB or 2B works great)
- Plain white paper (any size)
- Eraser (a soft one is best)
Keep your pencil sharp. Light, soft lines are easier to fix than dark, heavy ones.
Do not stress about having the best supplies. A basic pencil and a sheet of notebook paper will do the job.
Optional Tools for Better Results
Once you get comfortable, these tools can help:
- Fine-tip black pen for clean outlines
- Ruler for straight lines on the barrel
- Blending stump for smooth shading
- Sketch pad for better paper texture
None of these are must-haves. But they do make the drawing look cleaner and more polished over time.
Gun Drawing Easy: Step-by-Step Tutorial
Follow each step slowly. Do not rush. Light lines first, always.
Step 1: Draw a Simple Rectangle for the Barrel
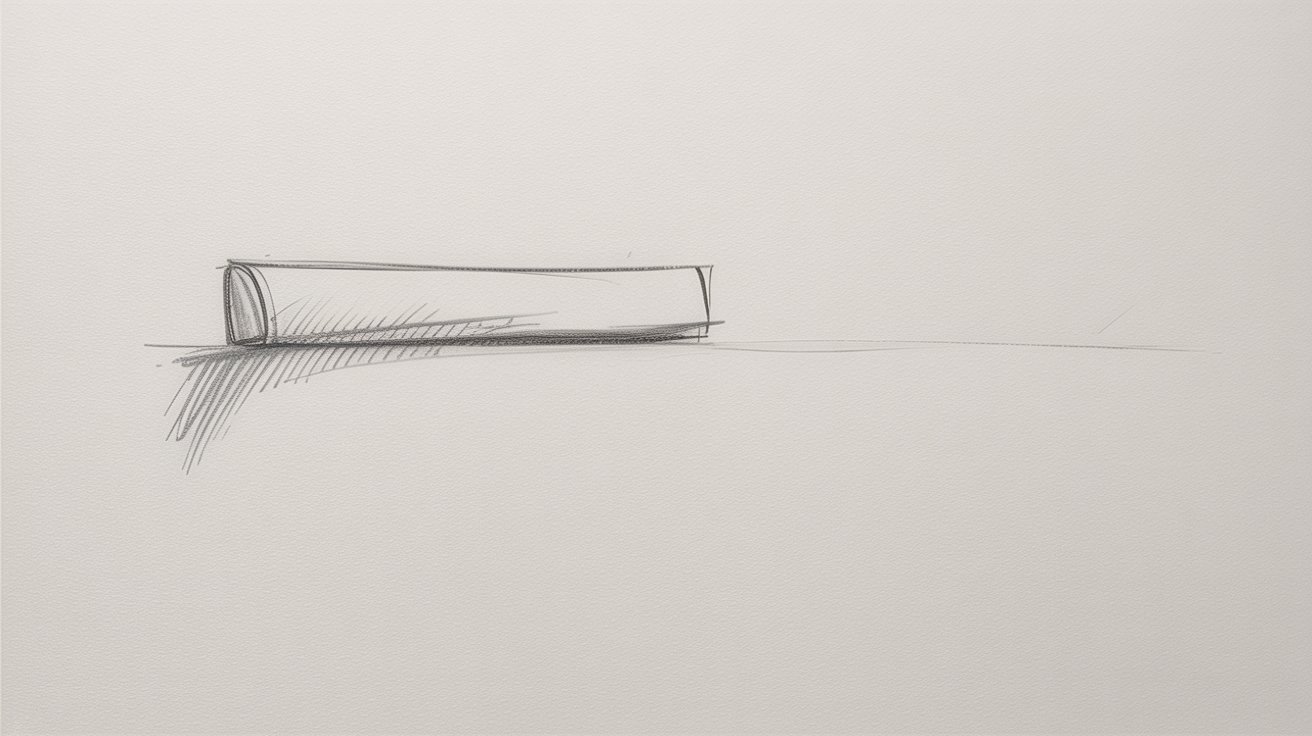
Start with a flat, wide rectangle near the top of your page.
This is the barrel of the gun. Keep it long and thin. Do not press too hard with your pencil yet.
Use a ruler if straight lines are hard for you. This rectangle sets the foundation for the whole drawing.
Step 2: Add the Grip Shape
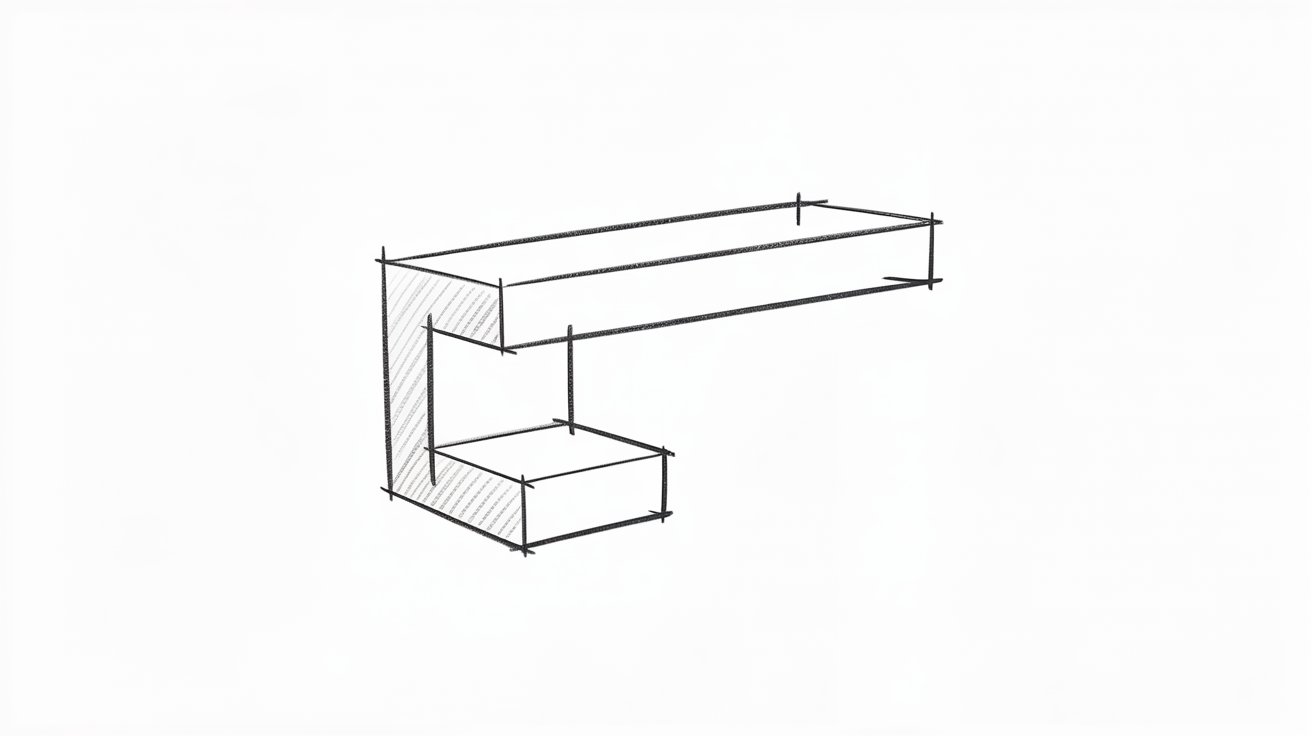
Below the rectangle, draw a smaller box that angles slightly back.
This is the grip, where the hand holds the gun. It should sit at a slight diagonal. Not perfectly straight down.
Think of it like an "L" shape overall when you look at both parts together.
Step 3: Sketch the Trigger and Guard
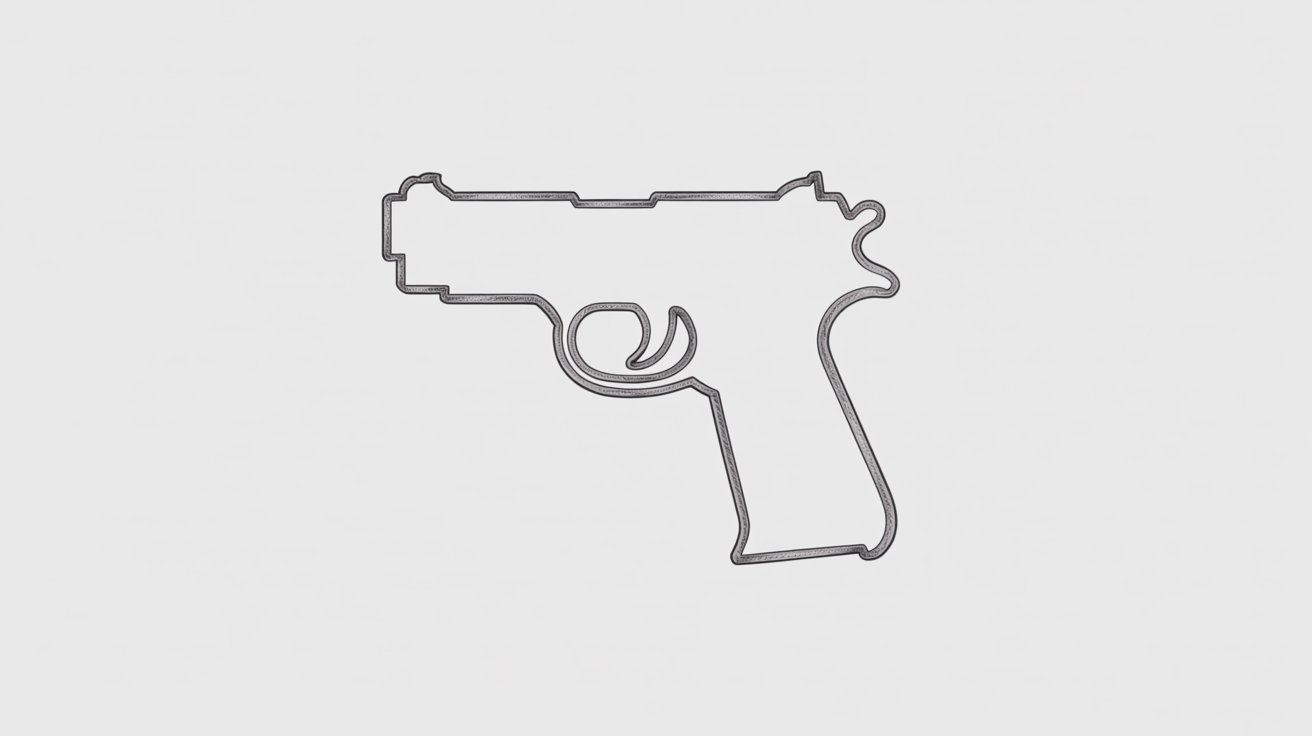
Now draw a small curved loop under where the barrel meets the grip.
This is the trigger guard. Inside it, add a tiny vertical line. That is the trigger.
Keep these parts small. They do not need to be perfect right now. Just place them in the right spot.
Step 4: Add Basic Details (Hammer and Sights)
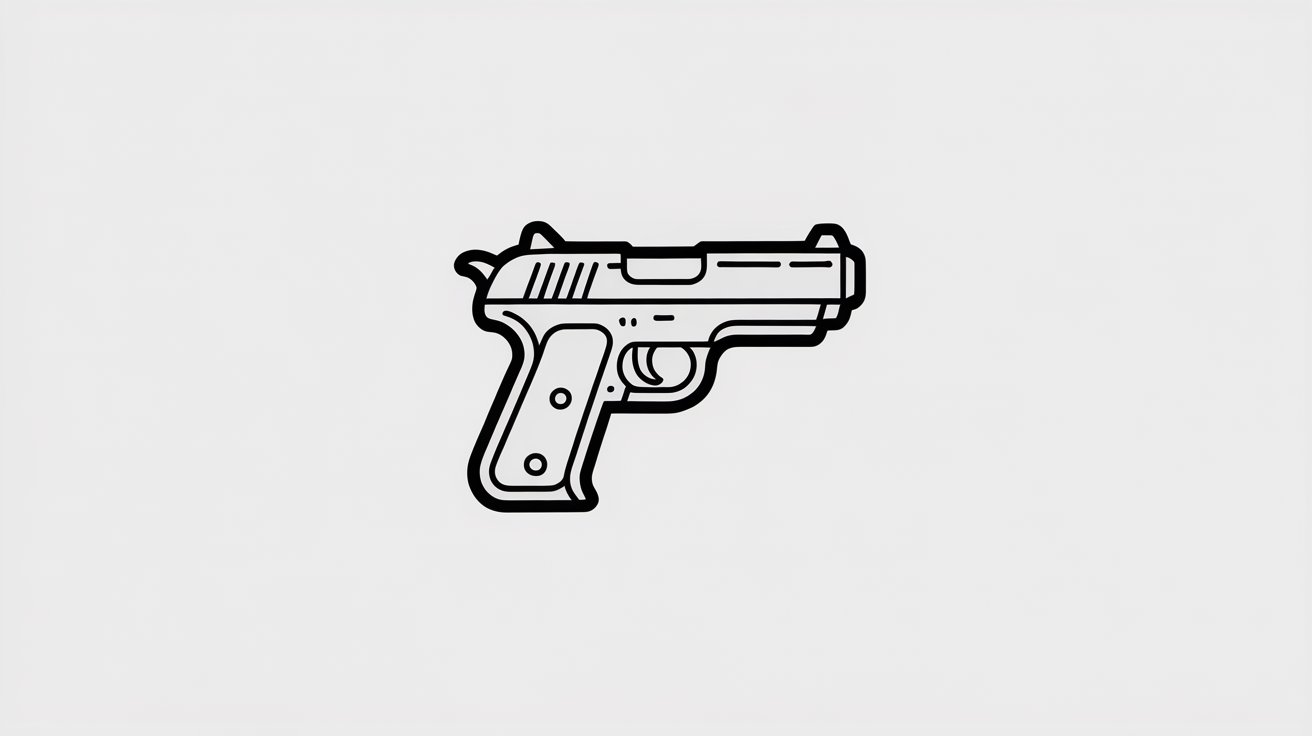
At the back top of the barrel, add a small notch or bump. That is the hammer.
At the front top of the barrel, add a tiny raised line. That is the front sight.
These small details make the drawing look more like a real gun without much effort.
Step 5: Clean Up and Refine the Outline
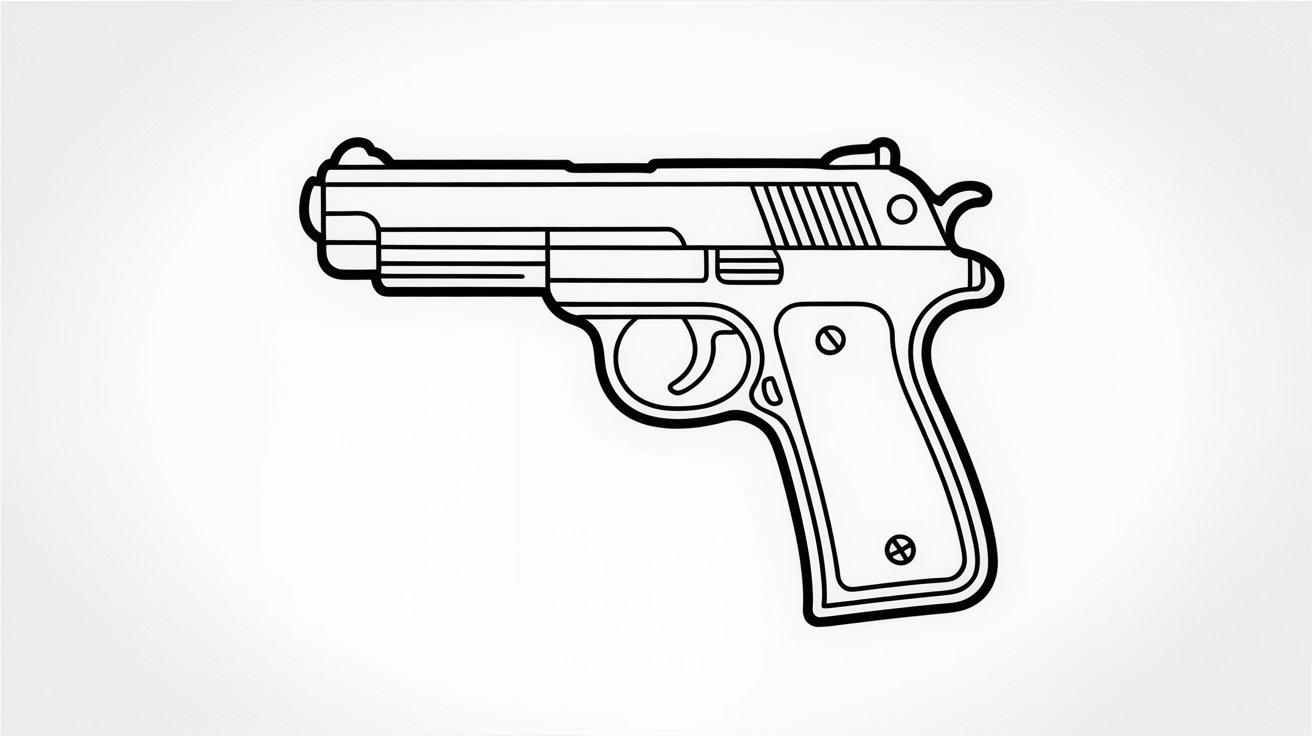
Now go over your drawing with a slightly darker line.
Trace the outside edges cleanly. Fix any wobbly lines. Erase the extra sketch marks you do not need.
This step is where the drawing starts to look finished. Take your time here.
Step 6: Add Light Shading for Depth
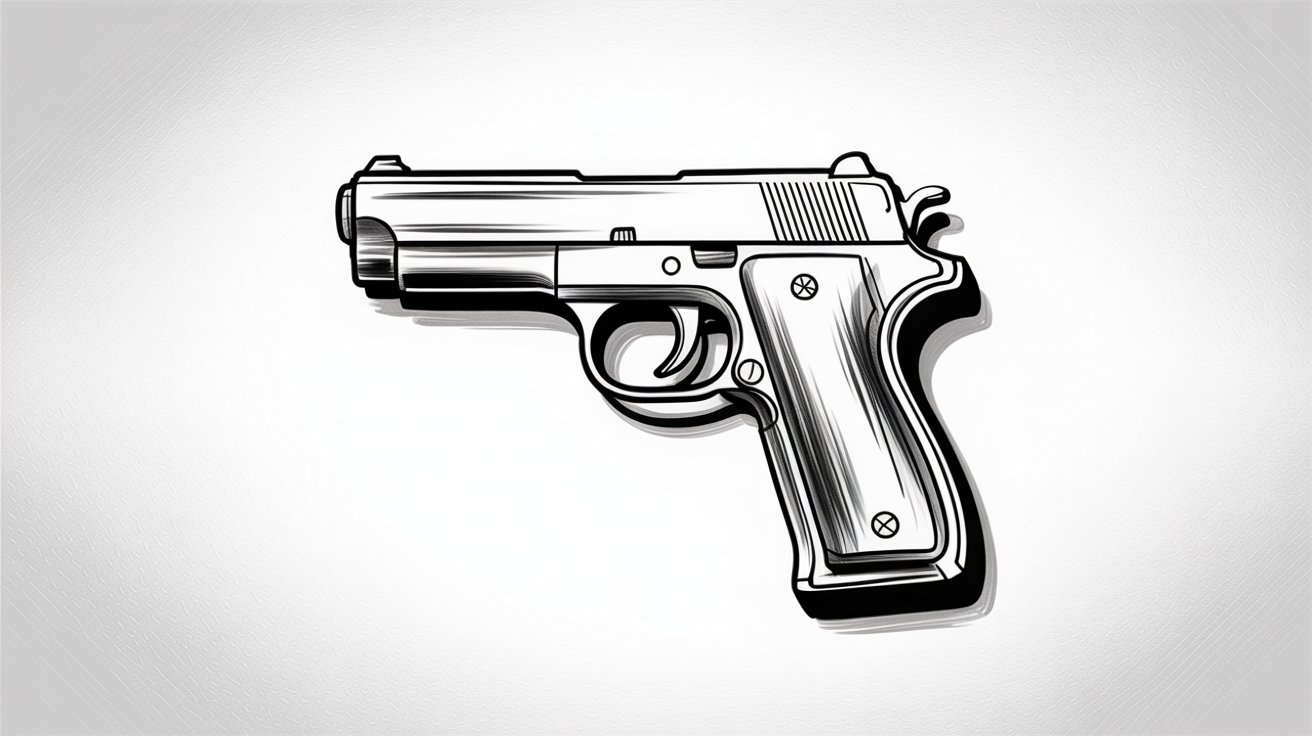
Pick one direction for your light source. Let us say light comes from the upper left.
Add light shading on the right side and bottom of the barrel and grip. Use the side of your pencil tip for soft, even shading.
Do not go too dark. A little shading goes a long way in making the gun look solid and real.
Common Mistakes to Avoid in Gun Drawing Easy
These are the three biggest mistakes beginners make. Knowing them ahead of time will save you a lot of frustration.
Overcomplicating the Drawing
Many beginners try to add too many details too soon.
They add screws, text, patterns, and small parts before the basic shape is even done. This makes the drawing look messy.
Always finish the basic shape first. Details come last, not first.
Drawing Dark Lines Too Early
If you press hard with your pencil at the start, fixing mistakes becomes very hard.
Dark lines are hard to erase cleanly. They leave marks on the paper that show through.
Start every drawing with light, loose lines. Darken only when you are sure about the shape.
Ignoring Proportions
The grip should not be bigger than the barrel. The trigger guard should not take up half the drawing.
Proportions matter even in a simple drawing. Step back and look at your drawing from a distance every few minutes. This helps you spot anything that looks off.
How to Add Realism Without Making It Hard
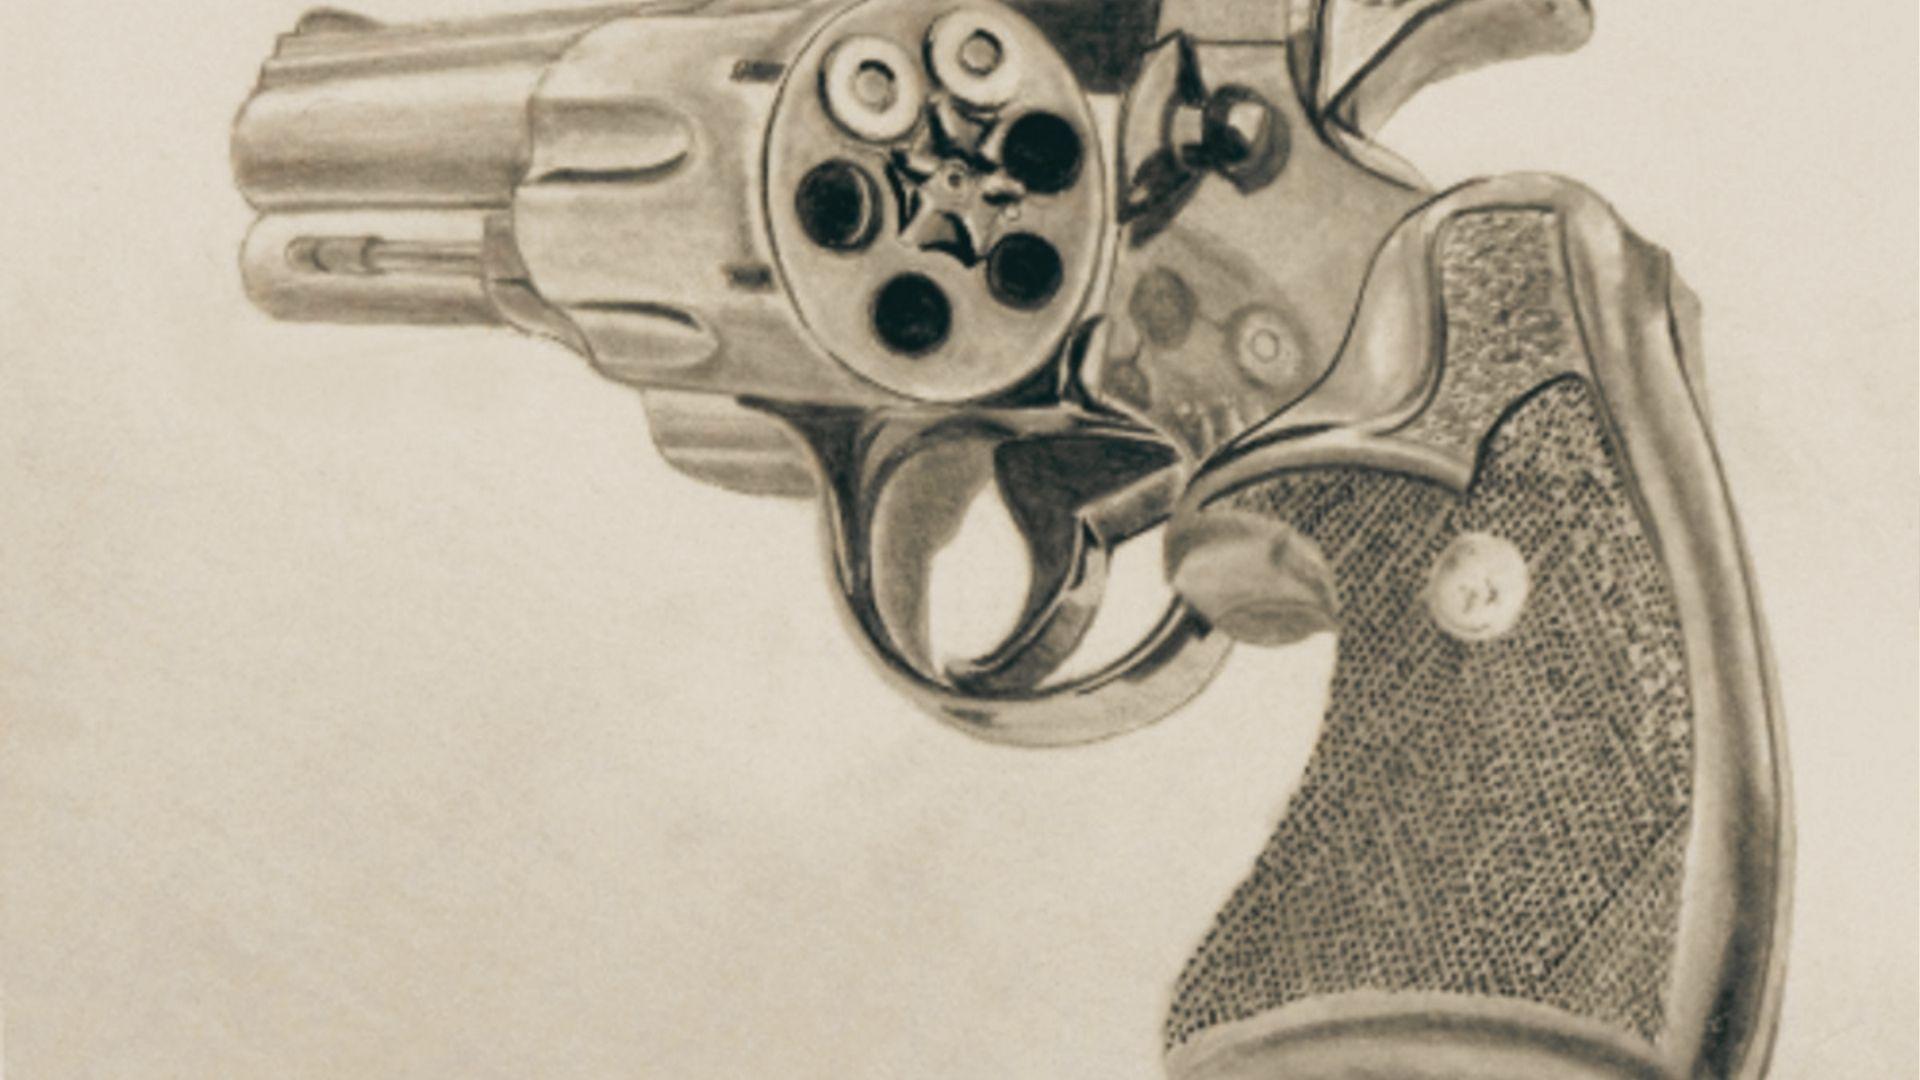
Making your gun drawing look real does not mean making it complicated.
You do not need to be a pro to shade well. Try hatching, cross-hatching, or soft smudging with your fingertip. Pick one method and stick with it. Mixing too many styles can look messy.
After shading, add one small detail at a time. A line along the barrel. A slight curve on the grip. A shadow under the trigger guard. Each small addition builds realism without making the drawing harder.
Easy Practice Ideas for Beginners
Practice does not have to take hours. Short, focused sessions work better for beginners.
Try Drawing from Different Angles
Once you can draw the basic side view, try the front view or a slight top angle.
Different angles train your eye and hand to think in 3D. It also makes your drawings more interesting over time.
You do not need to be perfect. Just try.
Practice Quick 5-Minute Sketches
Set a timer for five minutes and draw as much as you can.
Do not worry about it looking good. The goal is to get your hand moving and your eye observing.
Five-minute sketches are one of the best ways to build speed and confidence fast.
Create Simple Cartoon Versions
Try drawing a cartoon-style version with exaggerated shapes and thick outlines.
This is a fun way to practice without pressure. Cartoon versions also help you understand the basic form better because they strip everything down to the simplest shapes.
Quick Tips to Make Gun Drawing Easy
These small habits will make your drawing sessions smoother and your results much better.
- Start with basic shapes first. Always block out a rectangle for the barrel, a box for the grip, and a loop for the guard before adding anything else.
- Keep your lines light and loose. Light pencil strokes are easy to erase and fix. Heavy lines are hard to undo and can ruin your work early on.
- Focus on proportions before details. A well-proportioned drawing with no details looks far better than a detailed drawing with wrong sizes and positions.
- Build the drawing in layers. Start rough, then refine. Each pass over the drawing should add a little more detail and a little more confidence to your lines.
- Take short breaks and look from a distance. Stepping back every few minutes helps you spot proportion mistakes and lines that feel off before they become bigger problems.
Conclusion
I remember when I first tried drawing a gun, I kept getting the grip wrong. It felt frustrating. But once I slowed down and broke it into shapes, everything clicked.
Gun drawing easy is not just a phrase. It really can be easy with the right steps.
You have everything you need now. Give it a try today.
If this helped you, leave a comment below and share what you drew. I would love to hear about it. Share this post with a friend who loves sketching too!
Frequently Asked Questions
What is the easiest way to start gun drawing for beginners?
Start with a simple rectangle for the barrel and a box for the grip. Build from basic shapes and add details only after the main form looks right.
Do I need special tools for easy gun drawing?
No, you only need a pencil, paper, and an eraser. A ruler can help with straight lines, but it is not required to get started.
How do I fix wobbly lines in my drawing?
Use very light pencil strokes at first. Once you are happy with the shape, go over it with a cleaner, slightly darker line to finalize the outline.
How long does it take to learn gun drawing easy?
Most beginners can draw a simple gun in one or two practice sessions. With regular five-minute sketches each day, you will improve quickly within a week.
Can kids follow this gun drawing guide?
Yes, this guide is written in simple steps that work for all ages. As long as an adult is present to guide younger kids, the steps are easy to follow and fun to practice.
