

I tried finger weaving for the first time on a rainy afternoon with leftover yarn sitting on my desk. I had no idea it would turn into one of my favorite crafts.
It’s simple, requires no tools, and the results look really good.
In this guide, I’ll walk you through how finger weaving works, a step-by-step tutorial, fun project ideas, and tips that actually help.
I’ve been crafting for years and tested these methods myself. So if you want to make something cool with just your hands, you’re in the right place.
Let’s get started.
How Finger Weaving Works
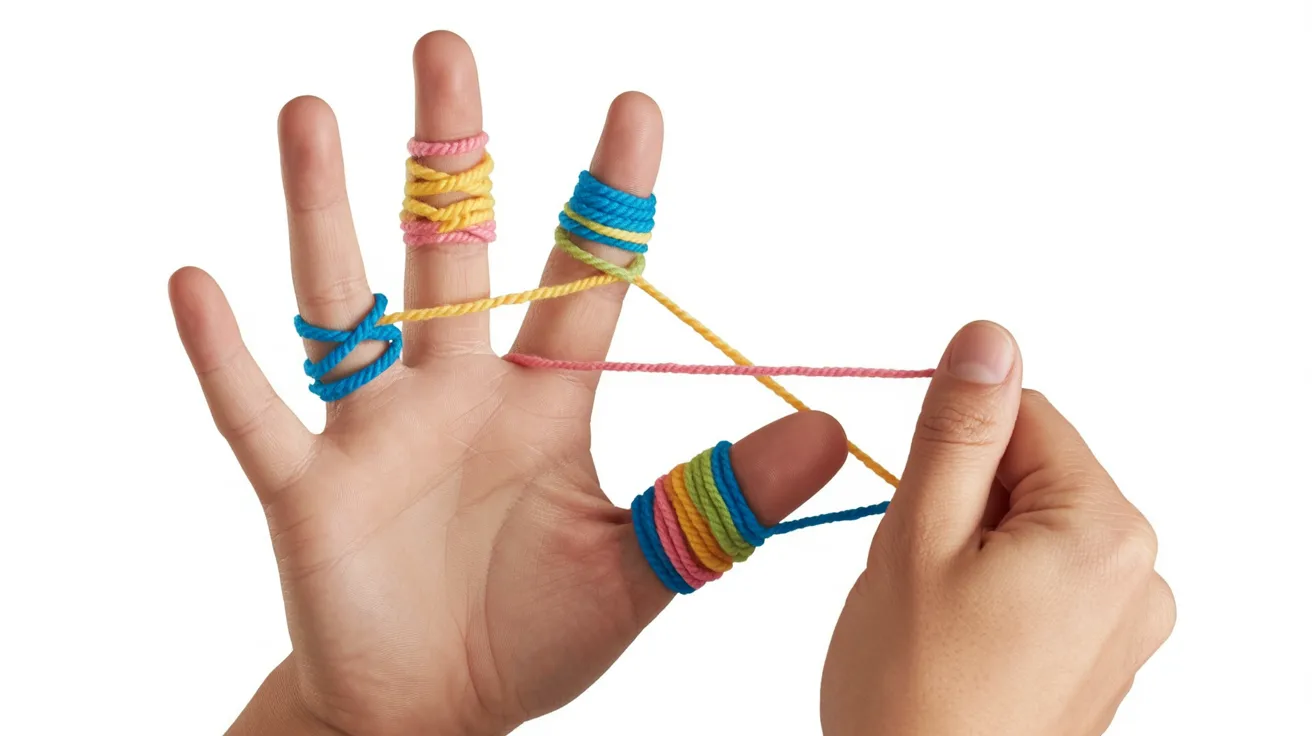
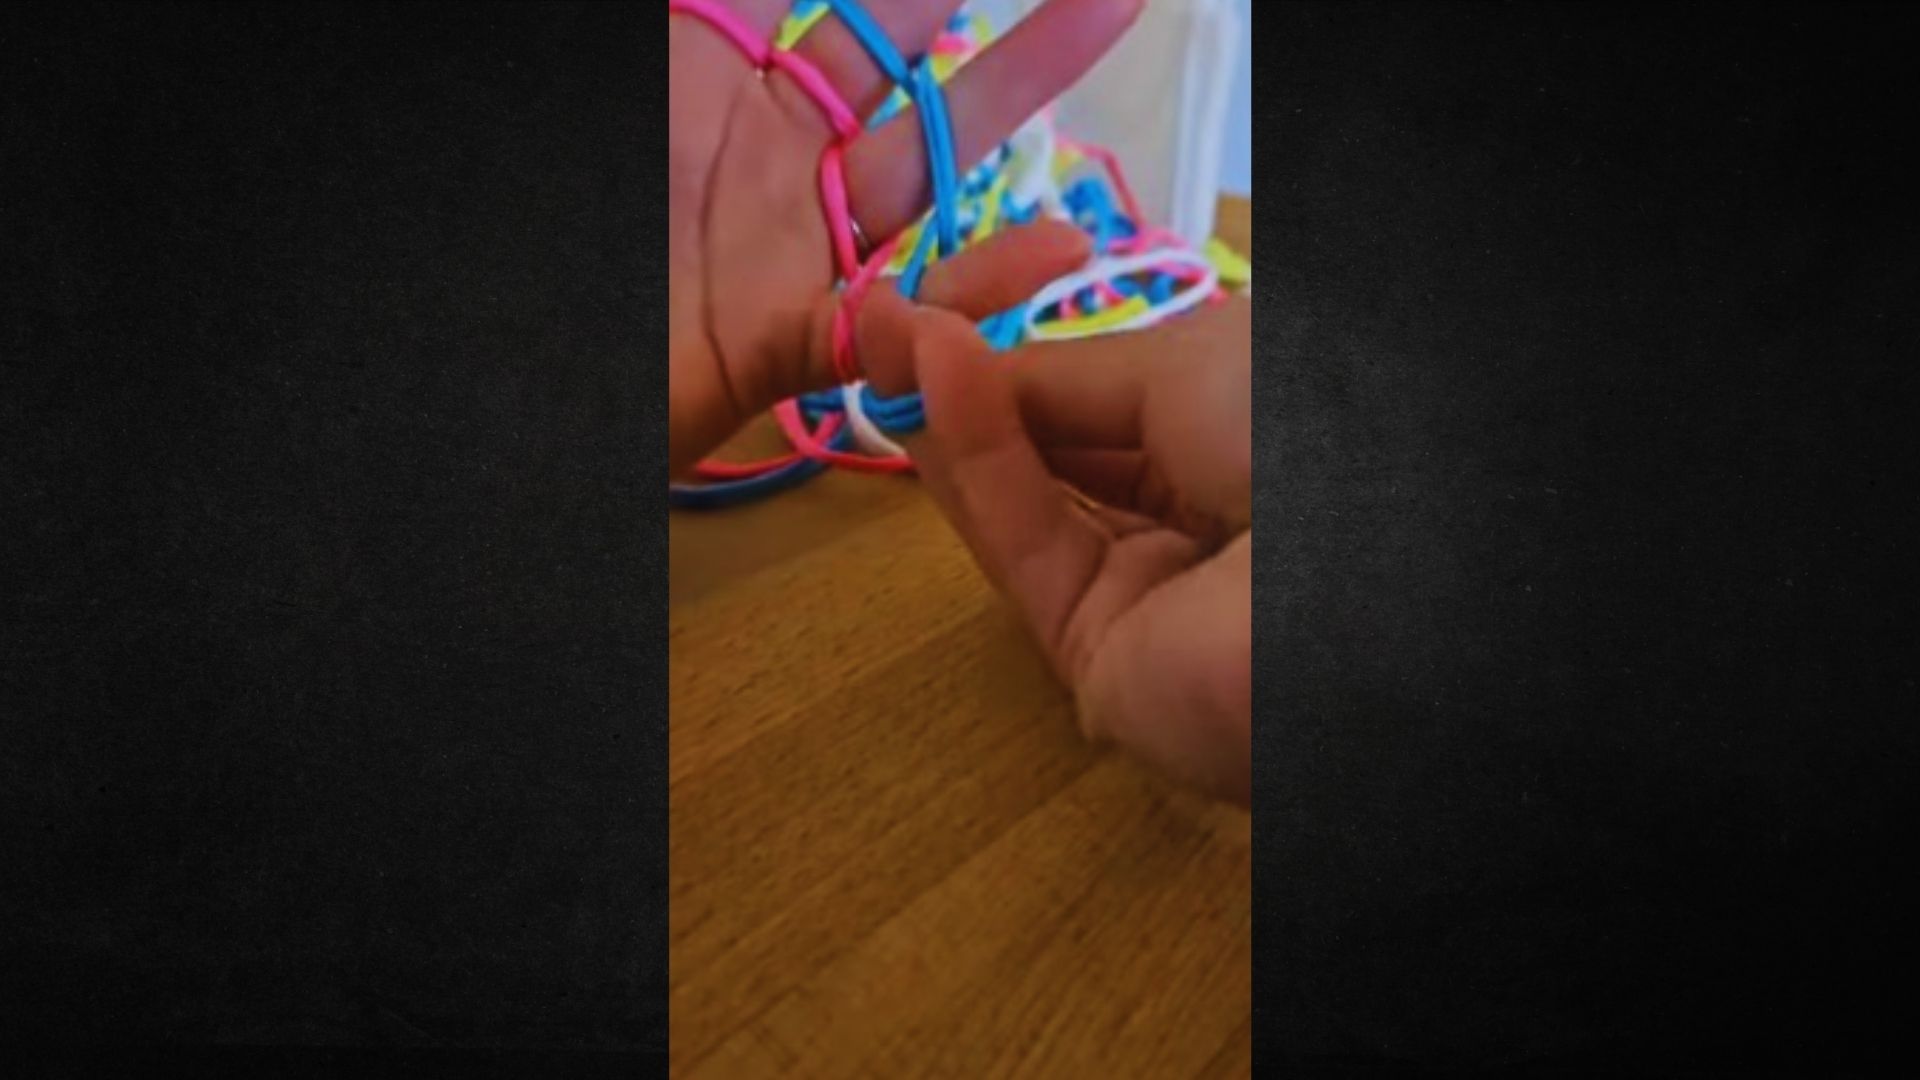
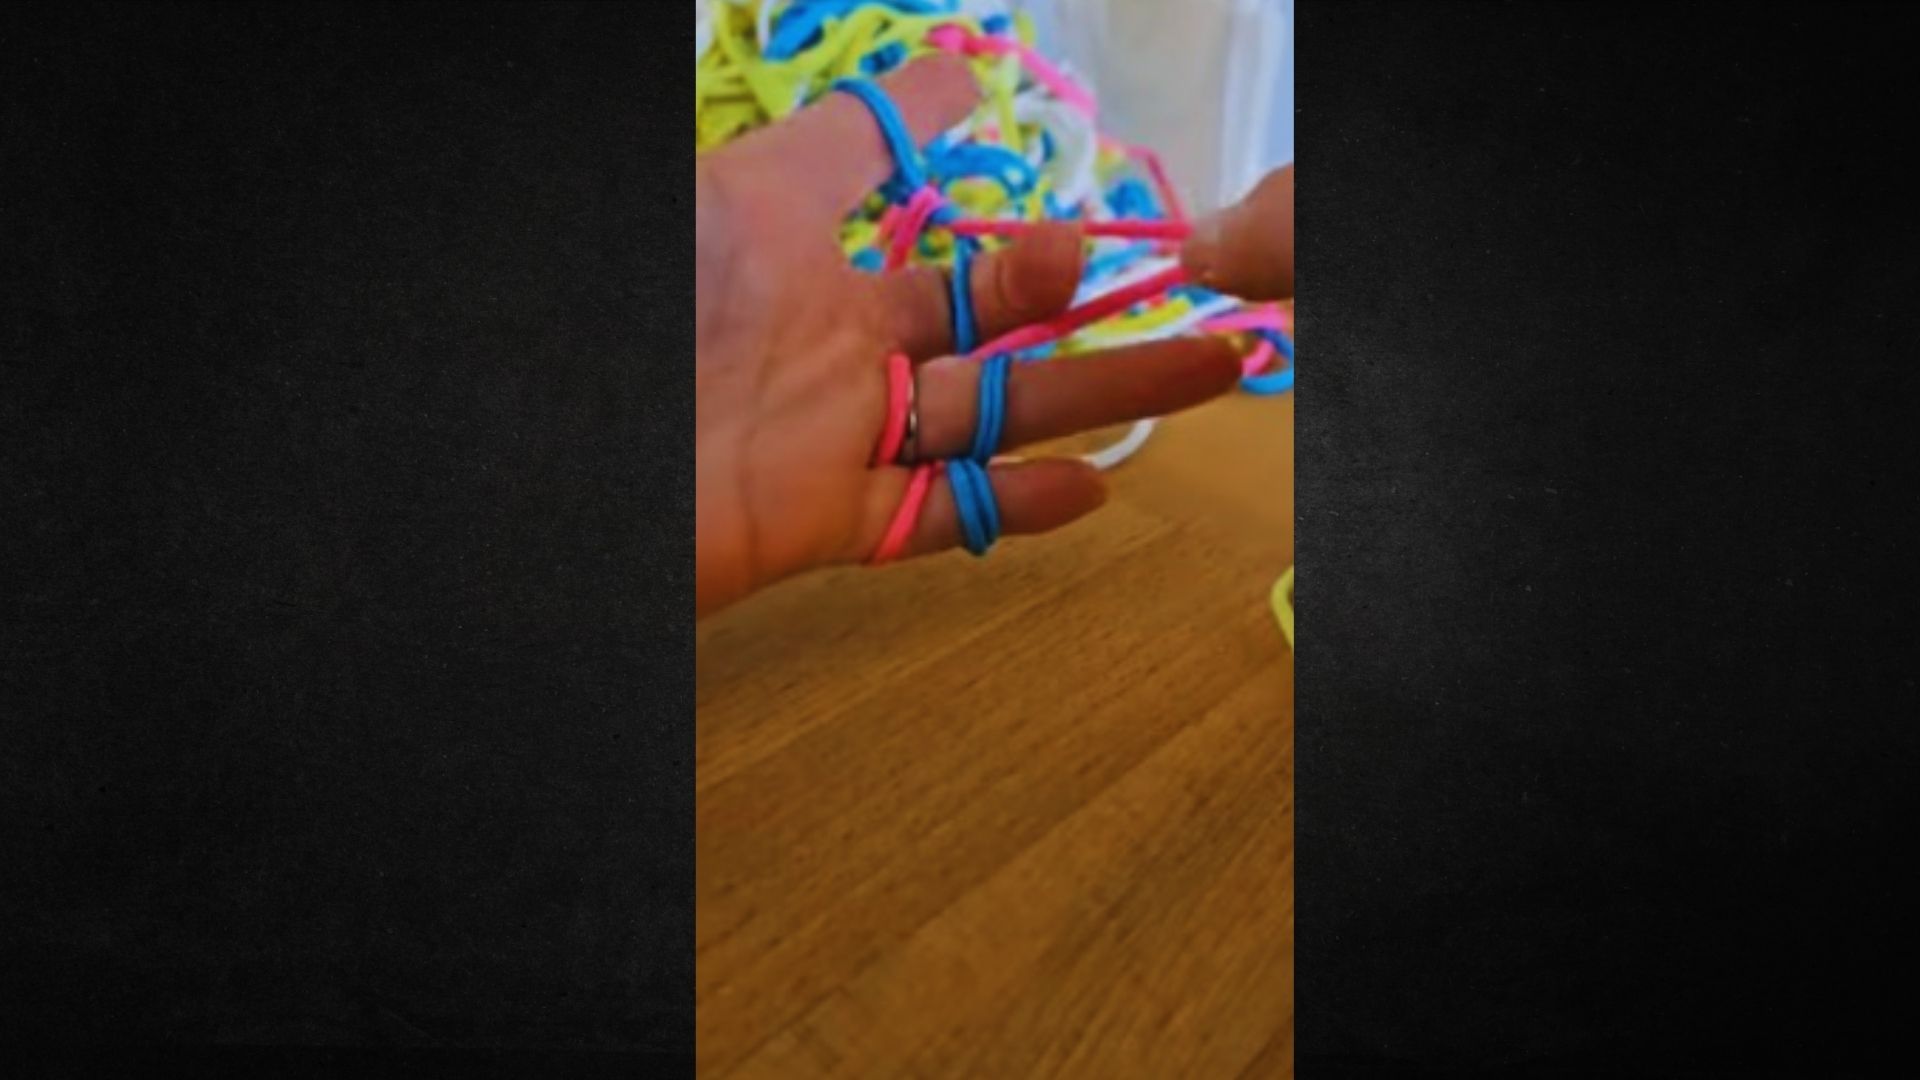
Finger weaving is a no-loom technique where you use your fingers as the frame. You loop yarn over and under your fingers in a simple pattern, pulling one loop over another to build rows.
Each row locks into the last, forming a flat, woven strip. It’s the same basic idea as a loom, but your hand does all the work.
Once you get the rhythm going, it moves fast and feels almost automatic.
Materials You Need
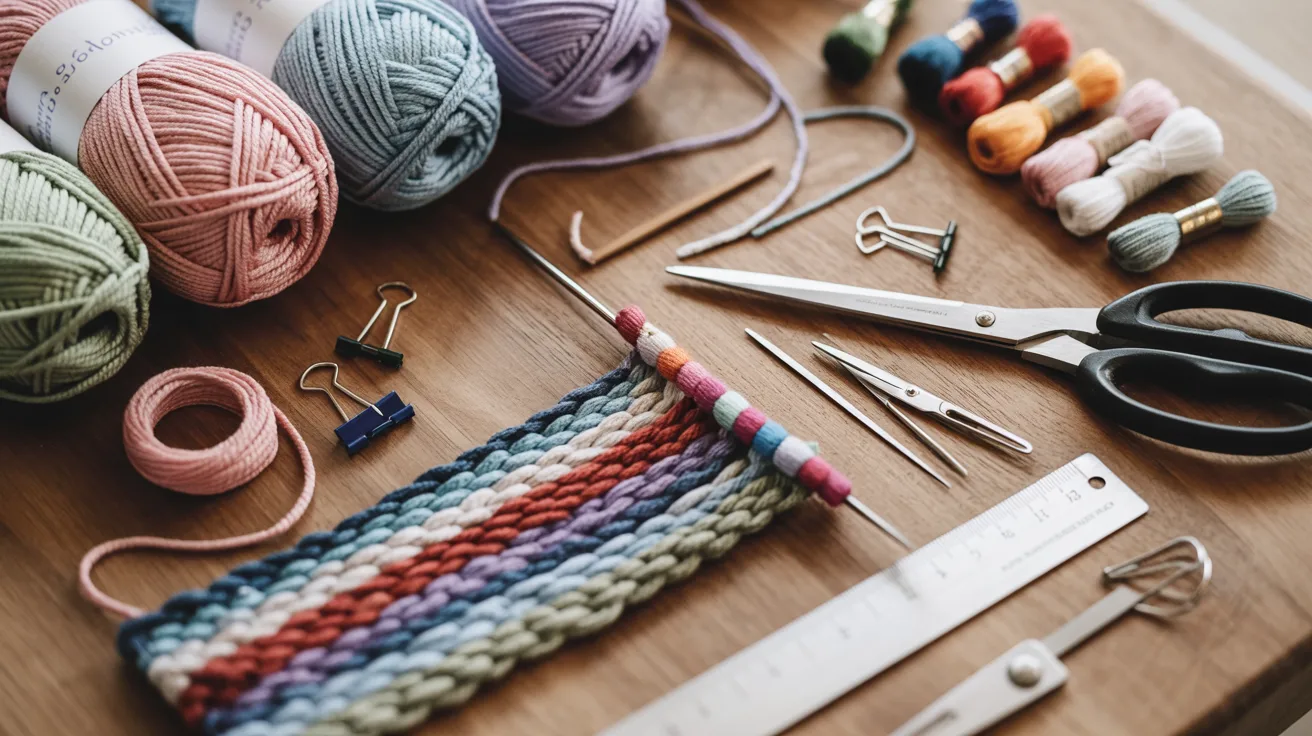
Here’s what you’ll need to get started. Nothing fancy, just the basics.
- Yarn or embroidery thread: any thickness works, but medium weight is easiest for beginners
- Scissors: to cut yarn to the right length
- A blunt tapestry needle: optional, useful for finishing knots neatly
- Ruler or measuring tape: to measure yarn before you cut
- Small clips or binder clips: helpful for holding your work in place while you go
- Two or more yarn colors: if you want to add patterns or a color block effect
Step-by-Step Finger Weaving Tutorial (Easy Band / Bracelet)
Follow these steps and you’ll have your first woven band in under 30 minutes.
Step 1: Create the First Loop
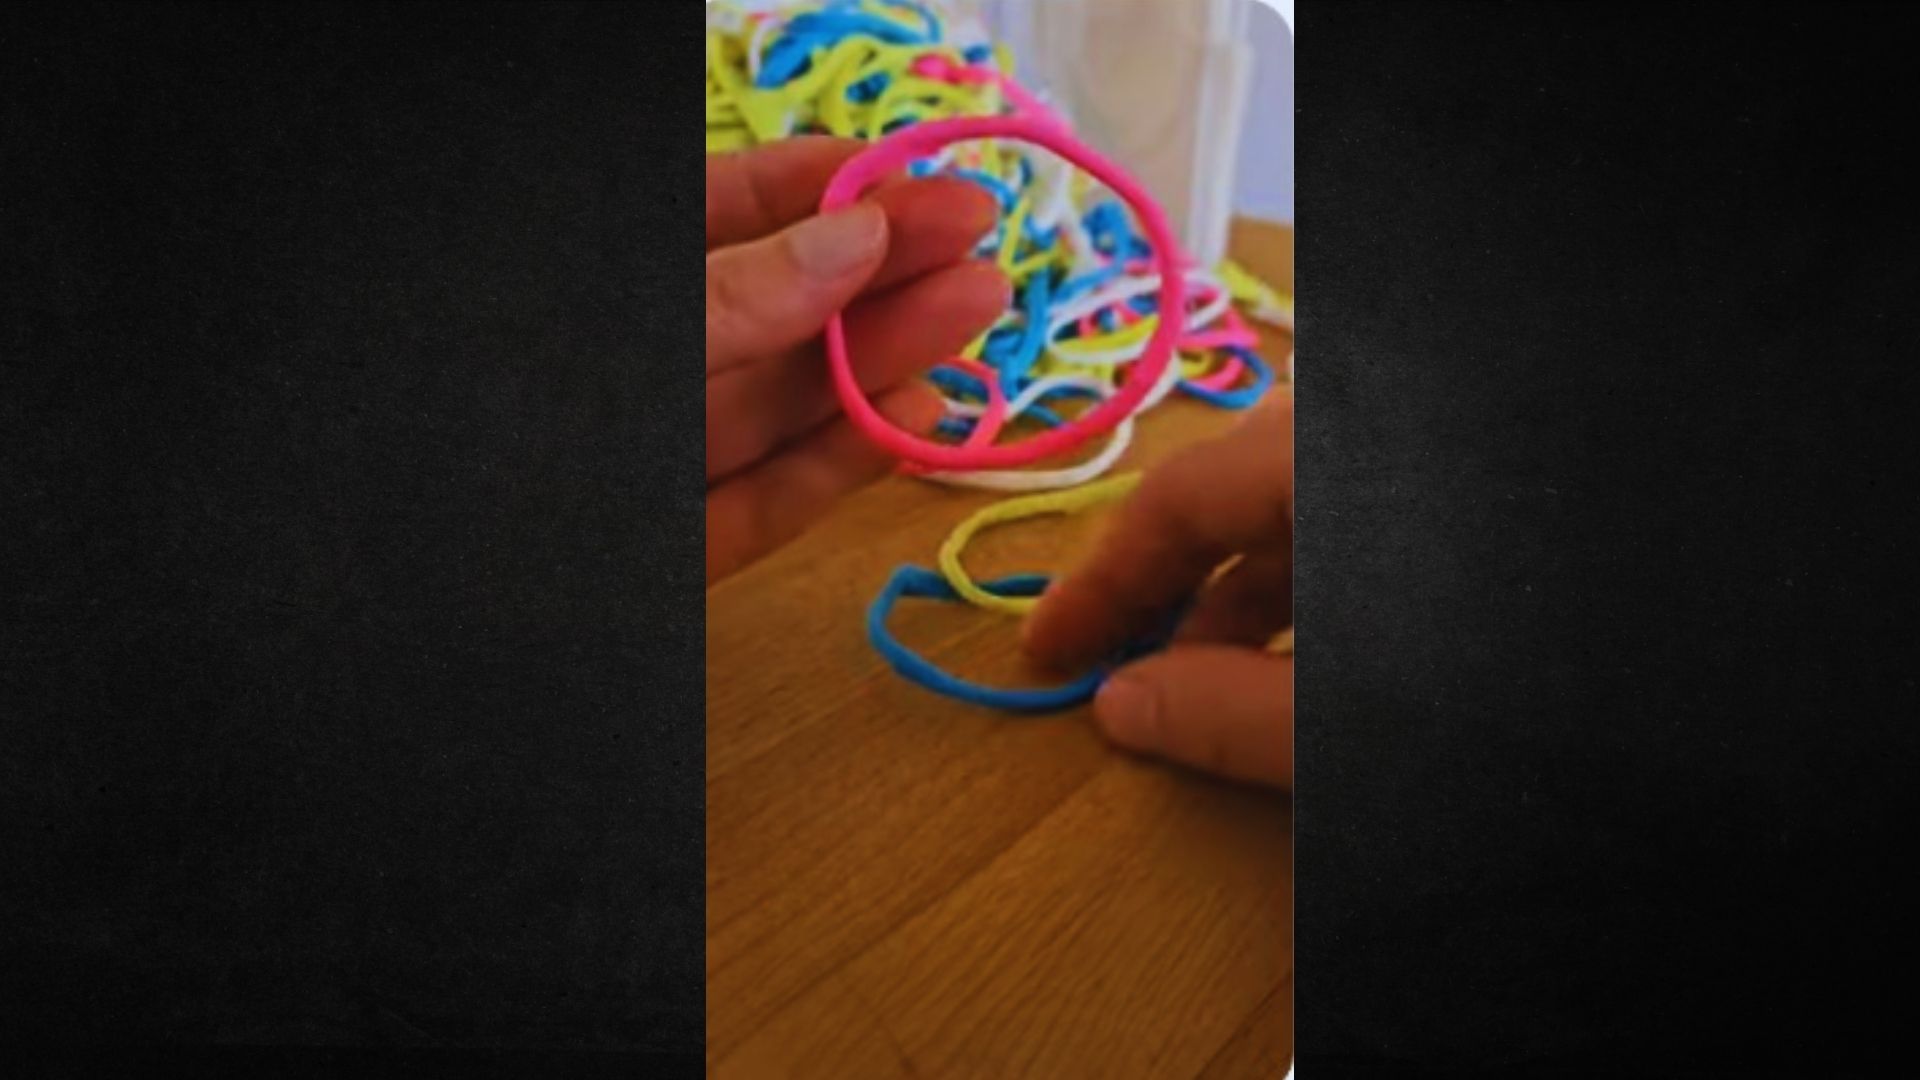
Cut a length of yarn about twice the length of what you want to make. Make a loop and place it around your index finger.
This is your starting anchor. Keep it snug but not tight, your fingers need to move freely. Getting this first loop right sets up everything that follows, so take your time with it.
Step 2: Add Another Loop
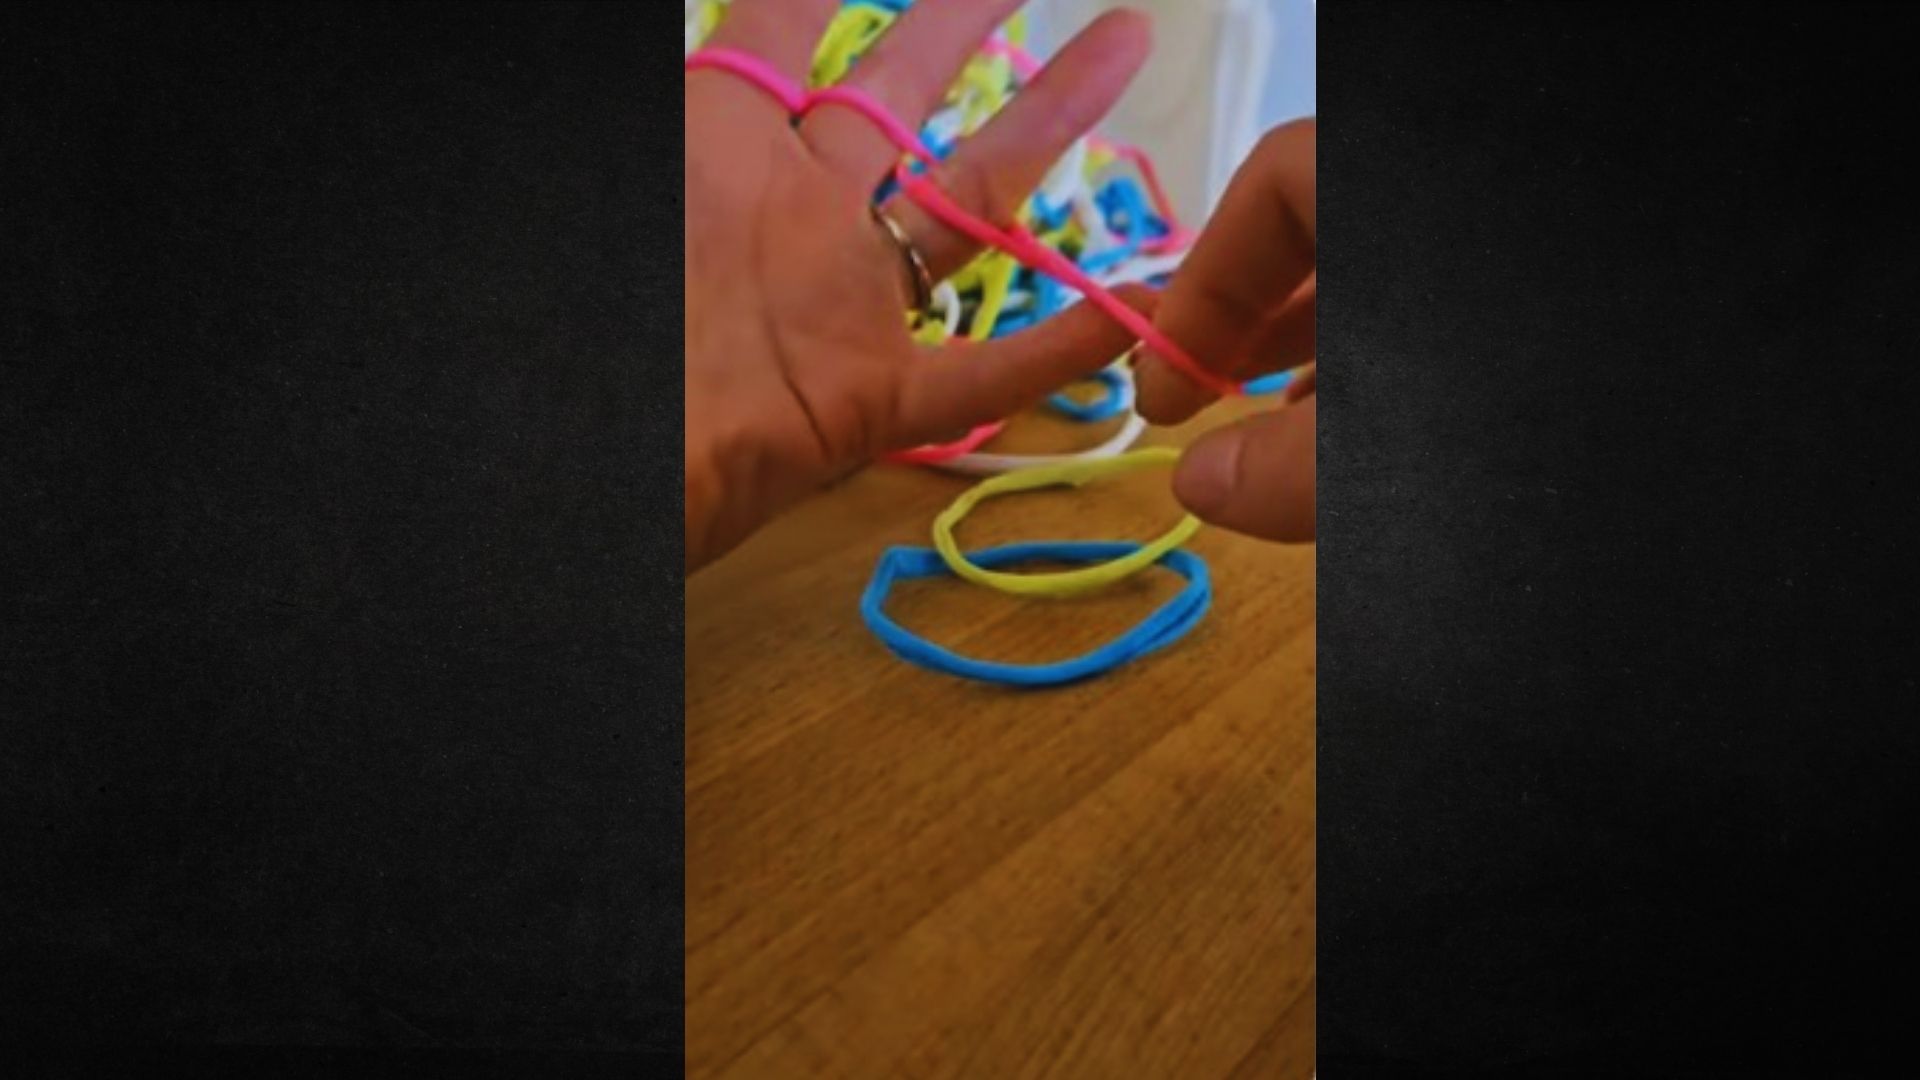
Take a second piece of yarn and place it across all four fingers so it sits just above the first loop. Make sure it lays flat and even.
This second layer is what you’ll weave with. Don’t let the loops twist on your fingers, twisted loops lead to a messy band later.
Step 3: Start Weaving
One finger at a time, pull the bottom loop up and over the top loop. Let it fall off the back of your finger.
Work from pinky to index finger or the other way, just stay consistent. This is the core move of finger weaving, and once you nail it, the rest clicks into place quickly.
Step 4: Repeat the Pattern
Add a new loop across your fingers and pull the lower loop over again. Keep going. After a few rows, you’ll see the woven band start to form below your hand.
Check that your tension stays even, too loose and it gaps, too tight and it bunches.
Step 5: Finish & Secure
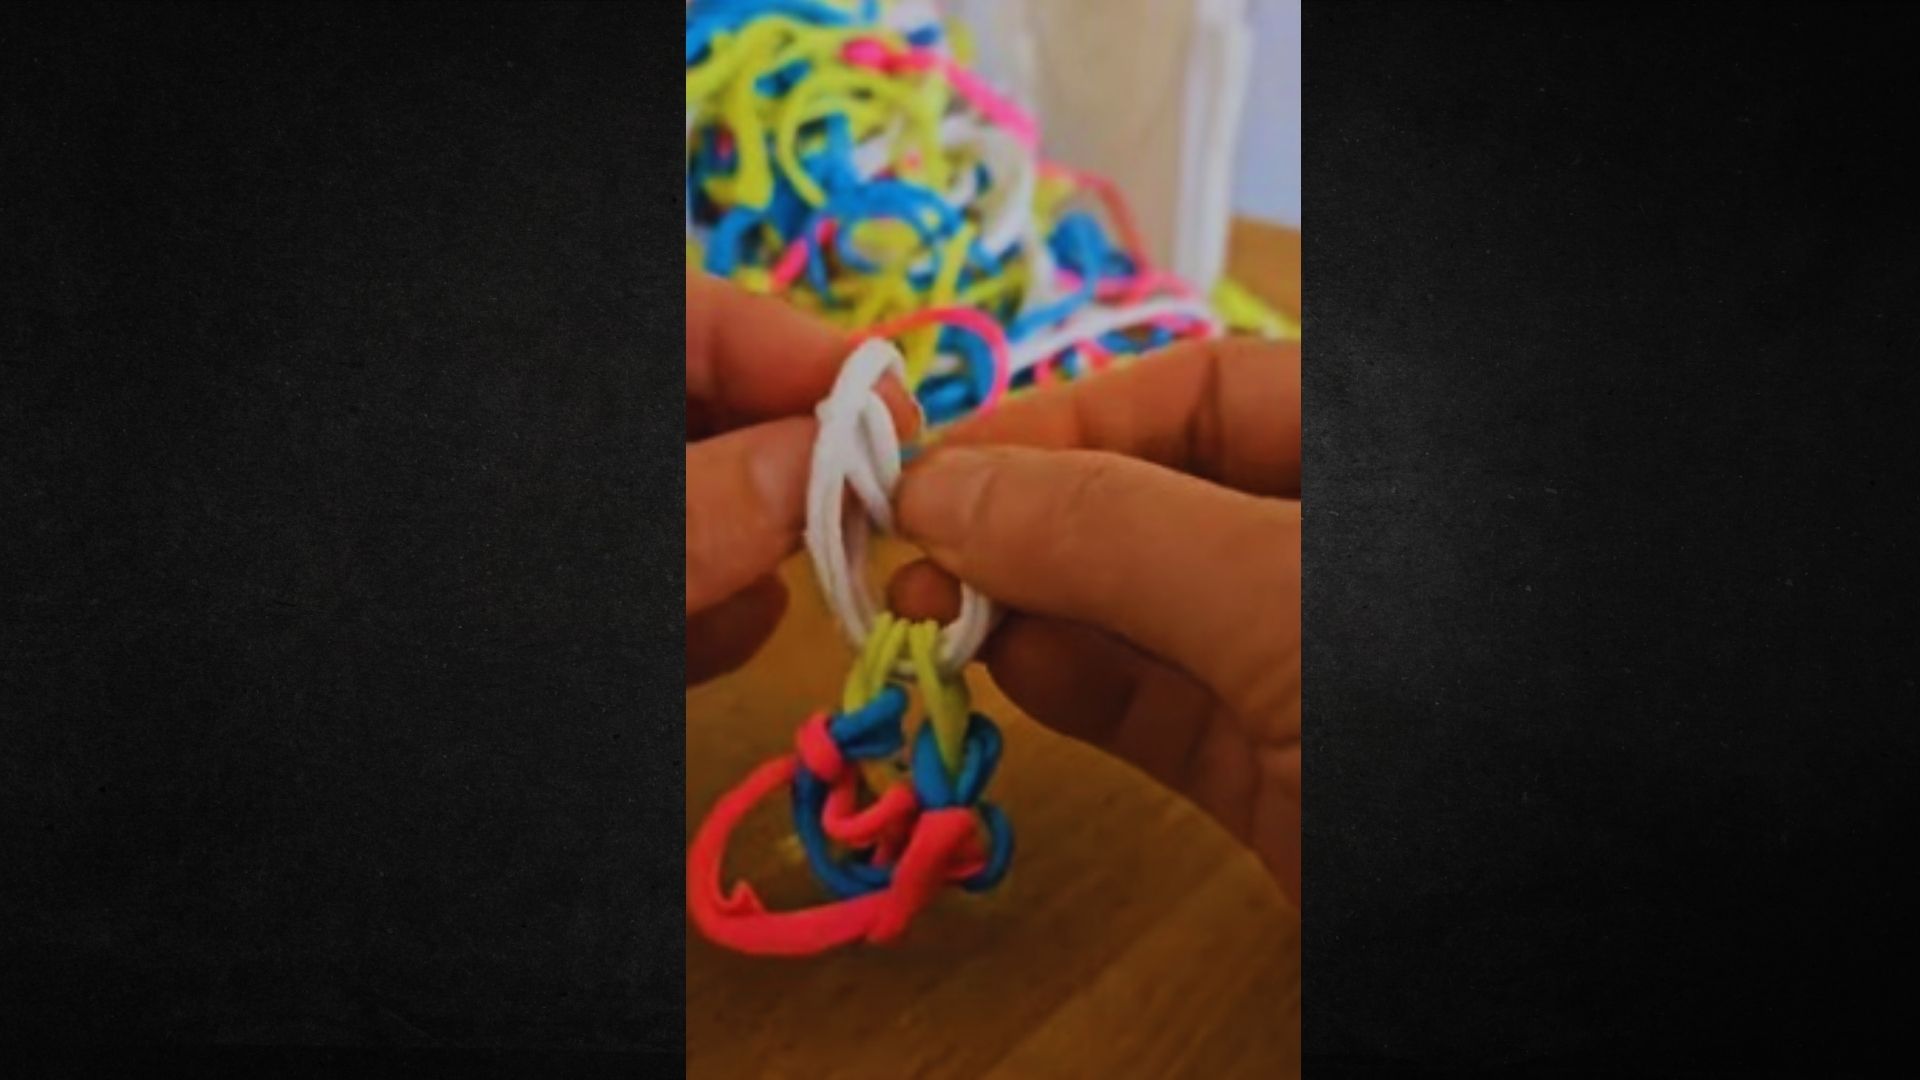
Once your band reaches the length you want, stop adding new loops. Slide the remaining loops off your fingers one at a time and thread the tail of yarn through each loop.
Pull it snug and tie a knot. Trim any extra yarn. Your band is done and ready to wear or give away.
Creative Project Ideas
Once you’ve got the basics down, here’s what you can make with finger weaving.
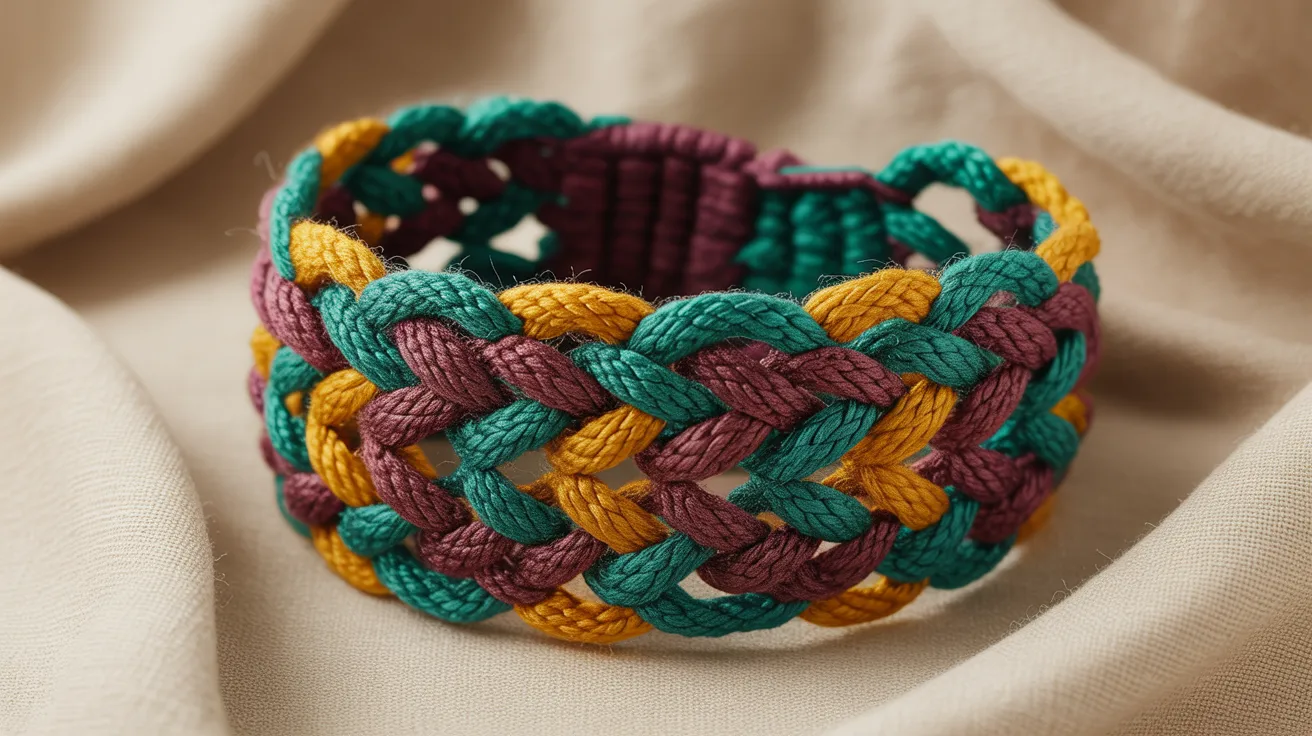
Finger Woven Bracelets
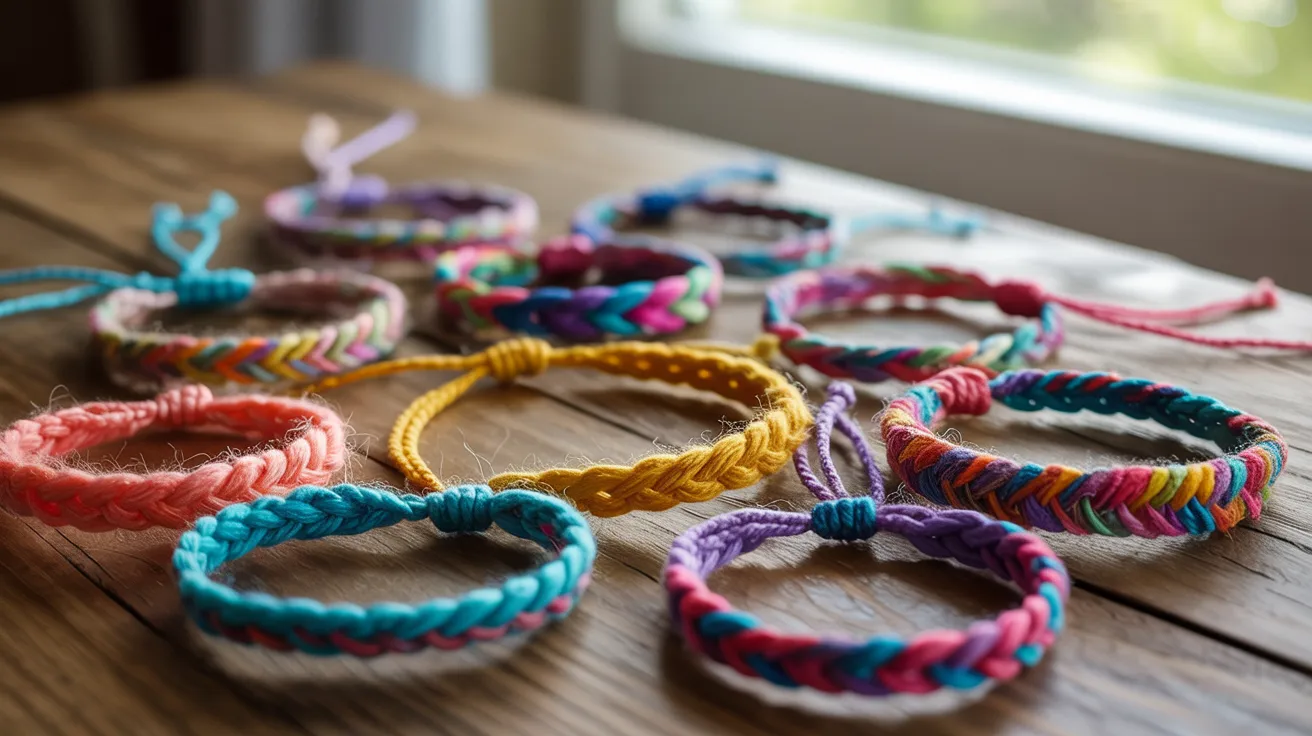
Finger woven bracelets are one of the easiest things you can make. Pick two or three colors, follow the basic loop pattern, and you’ll have a finished bracelet in under 30 minutes.
They look great stacked or worn solo.
Friendship Bands
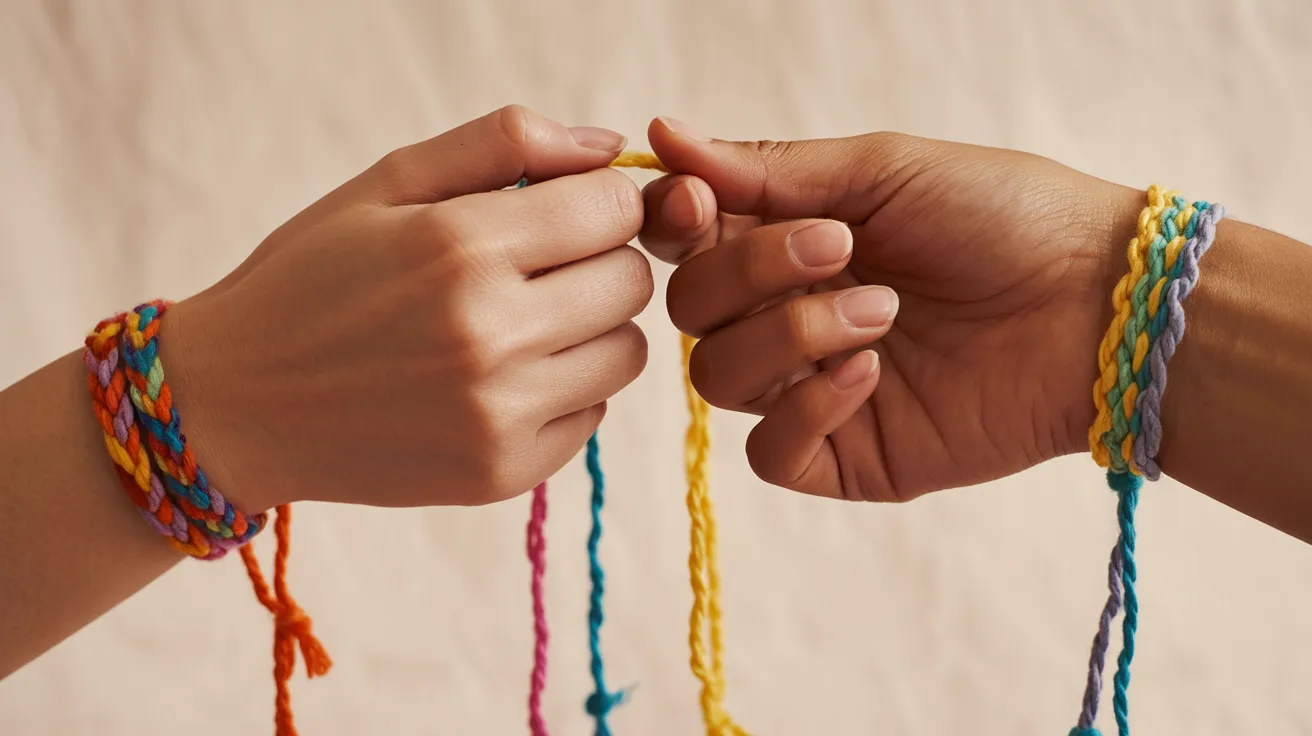
Friendship bands are personal and fun to make. Use your friend’s favorite colors and weave a short, tight band that fits their wrist.
It takes almost no time, costs next to nothing, and means way more than anything you’d buy.
Keychains
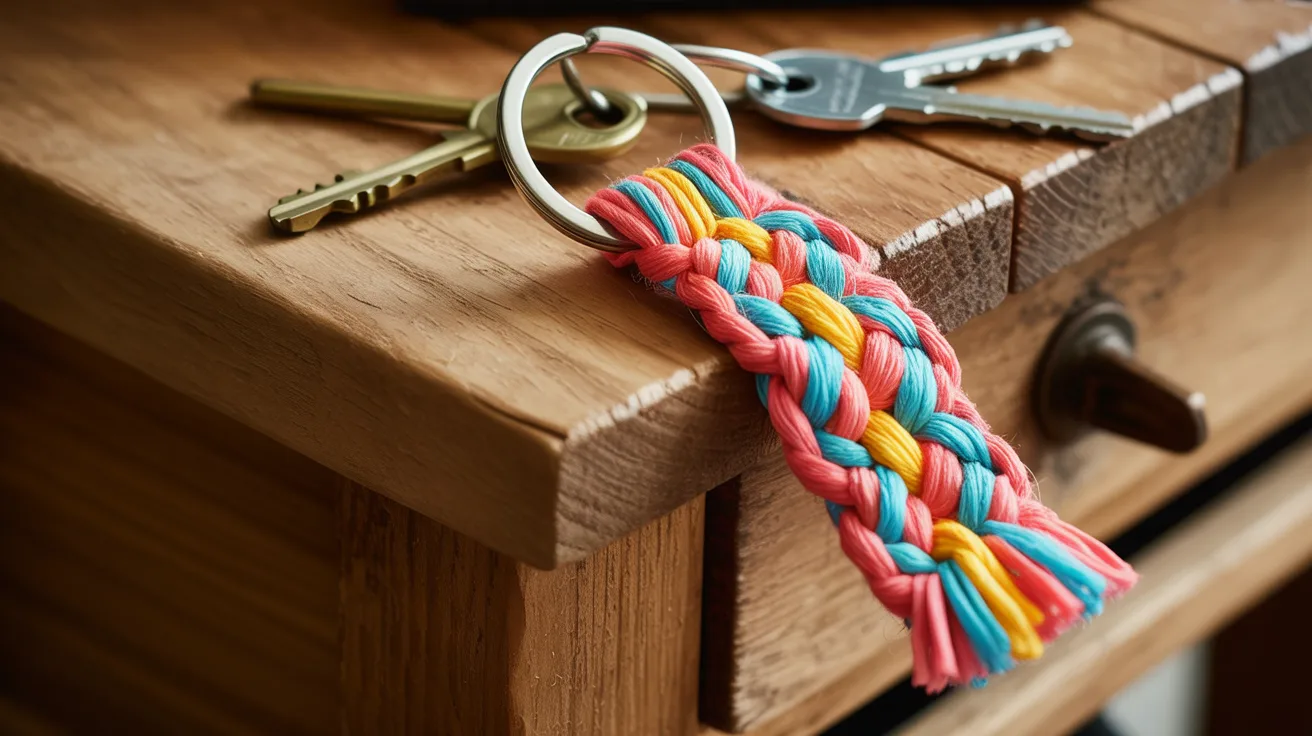
Keychains are a great first project if bracelets feel too long. Weave a short strip, fold it, and loop it through a keyring.
You can use bold colors or keep it simple. Either way, it’s a quick and satisfying make.
Bag Straps
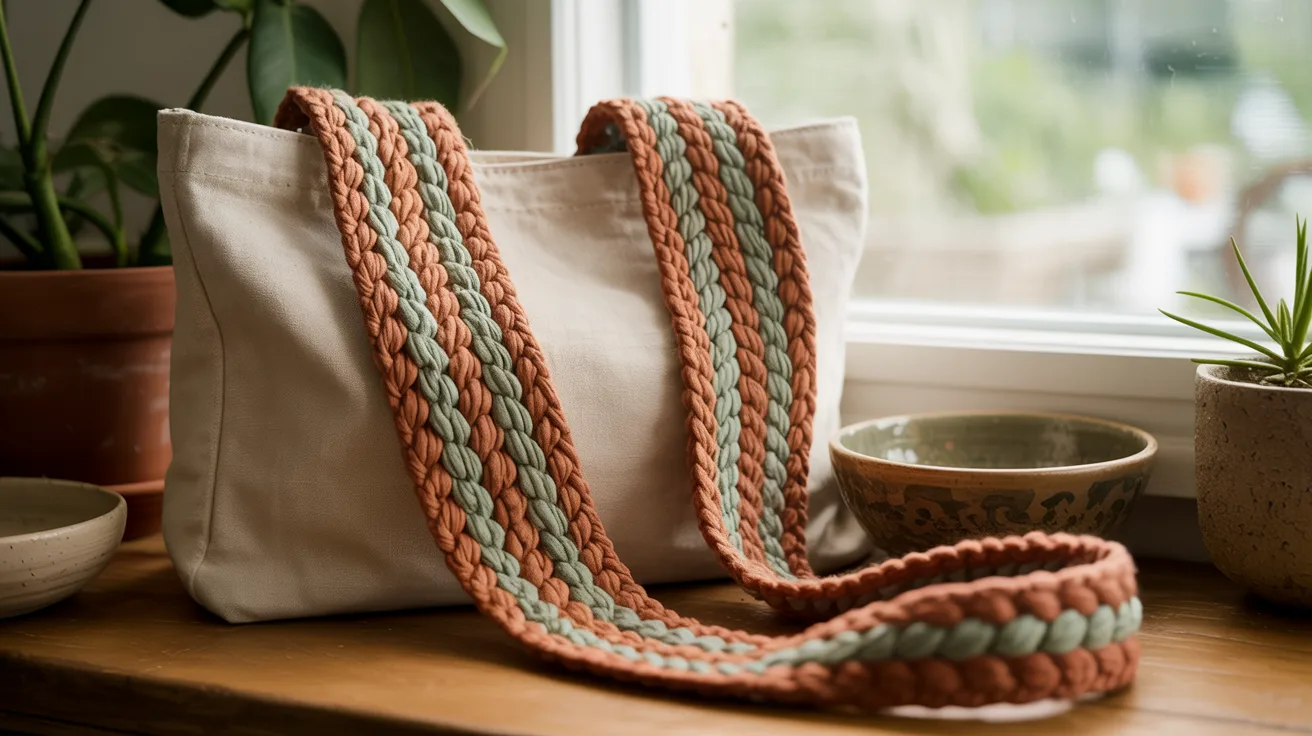
Bag straps take more time but the result is worth it. Weave a long, sturdy strip using thick yarn and attach it to any tote or pouch.
It adds a handmade look to a plain bag without much effort at all.
Decorative Belts
A finger woven belt works best with thick yarn and a steady hand. Weave a long strip, add a simple buckle or tie closure, and you’ve got a one-of-a-kind accessory.
It looks way harder to make than it actually is.
Hat Bands
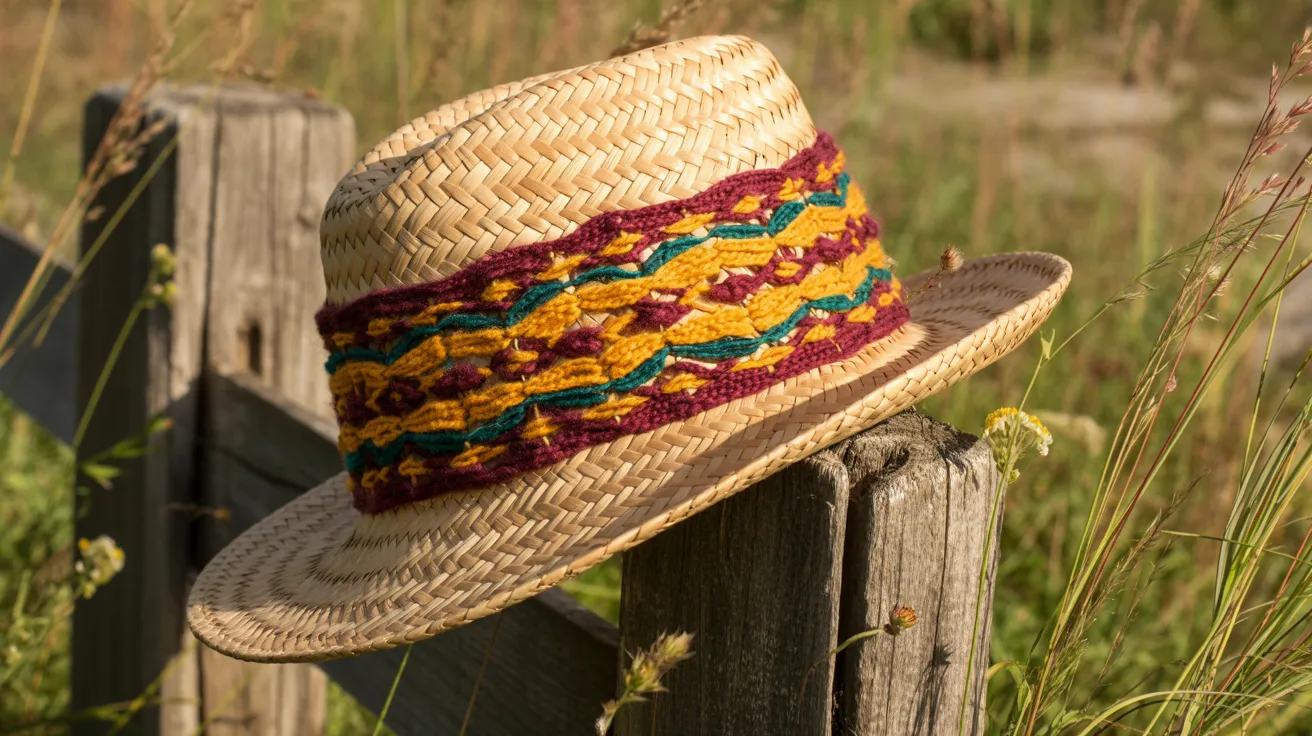
Hat bands are a fun way to dress up a plain cap or sun hat. Weave a strip long enough to wrap around the brim, then stitch or tie it in place.
Use earthy tones for a natural look or go bold.
Tips for Beginners
Small things make a big difference when you’re just starting out.
- Start with one color. It’s easier to see what you’re doing when the yarn is all one shade. Add colors once you’ve got the rhythm down.
- Keep your loops loose. Tight loops are hard to pull over. Relax your grip and let the yarn sit naturally on your fingers.
- Work over a flat surface. Rest your wrist on a table while you work. It takes pressure off your hand and helps keep the weave even.
- Use shorter yarn lengths first. Long strands tangle more. Start with 12–15 inch pieces to practice the motion without frustration.
- Check your tension every few rows. Look at the back of your work. If the loops look uneven, gently adjust before you go further, it’s easier than fixing it later.
Conclusion
Finger weaving ideas are everywhere once you start looking. I made my first band just to kill time, and now I genuinely keep yarn in my bag for slow moments.
That’s how good this craft is, it’s low effort, fast to learn, and the results feel rewarding every single time.
If you’re trying finger weaving for the first time, start with a simple bracelet. You’ll have it figured out in one sitting.
Got a project you made or a question you want answered? Drop it in the comments, I’d love to see what you come up with.
Frequently Asked Questions
What yarn works best for finger weaving?
Medium weight yarn or embroidery thread both work well. I prefer cotton yarn for bracelets, it holds its shape and doesn’t slip around on your fingers while you work.
How long does it take to finger weave a bracelet?
Most beginners finish a simple bracelet in 20 to 30 minutes. Once you know the pattern, it goes even faster. It’s a great craft for short free moments.
Can kids do finger weaving?
Yes, kids as young as 6 or 7 can learn it with a little guidance. The steps are simple and there are no sharp tools involved, making it a solid activity for keeping hands busy.
Do I need any tools to start finger weaving?
No tools needed at all. Just yarn and your hands. A small pair of scissors helps for cutting yarn, but that’s about it. That’s what makes this craft so easy to pick up.
How do I keep my finger even weaving?
Check your loop tension every few rows. If one side looks looser than the other, gently tug it to even things out. Working slowly at first helps too, speed comes naturally with practice.