

I still remember picking up a macrame cord for the first time and having no idea where to begin. It felt confusing until I learned a few basic knots, and then everything started to click.
Macrame is simply the art of tying cords into patterns using just your hands. No fancy tools needed.
Starting with the basics builds your confidence and keeps your work looking clean. By the end of this guide, you will know the core knots used in wall hangings, plant hangers, and more.
Let’s get started.
Understanding the Basic Structure of Macrame Knots
Every macrame piece starts with two types of cords. Working cords do the tying, while filler cords stay in place and give shape.
The direction you tie your knots changes how your pattern looks, whether it goes left, right, or diagonal. Keeping even tension is just as important as the knot itself.
Too loose or too tight, and your work loses its shape. The good news is that most macrame patterns are built from just three or four core knots.
Tools & Materials You Need to Get Started
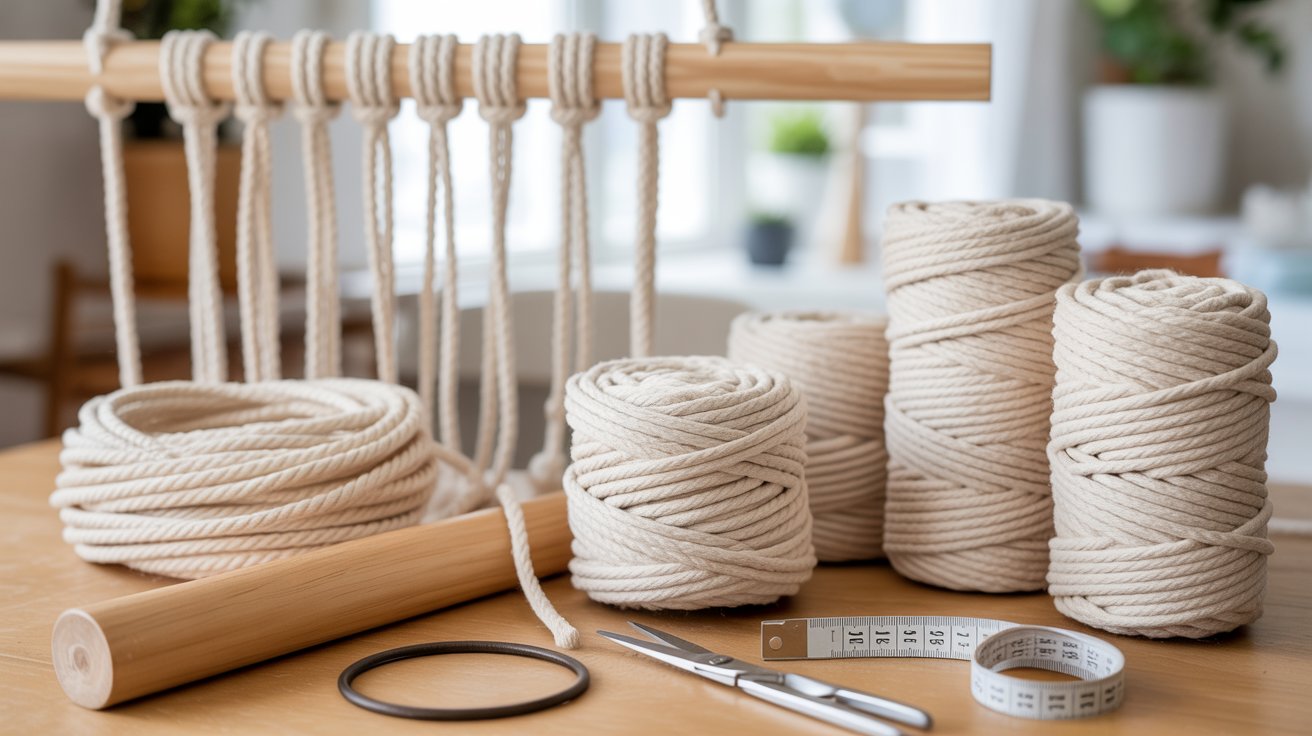
You do not need much to begin macrame. A few simple supplies are all it takes to get your first project going.
Cords and Thickness
- Cotton rope is the best choice for beginners. It is soft, easy to handle, and holds knots well.
- Start with 3mm to 5mm thickness. It is easy to grip and forgiving when you make mistakes.
Basic Supplies You Will Need
- A wooden dowel or metal ring to mount your cords
- Sharp scissors for clean cuts
- A measuring tape to keep cord lengths consistent
Setting Up Your Workspace
- Hang your dowel at eye level so you can see your work clearly
- Keep your cords untangled and sorted before you start
- Work in good lighting to track your knot patterns easily
Step-by-Step Macrame Knots for Beginners
https://youtu.be/R3cmK14NAQY?si=bNPyfqmTqq5nk7Rz
These six knots cover everything you need to start. Follow each step slowly and build your confidence as you go.
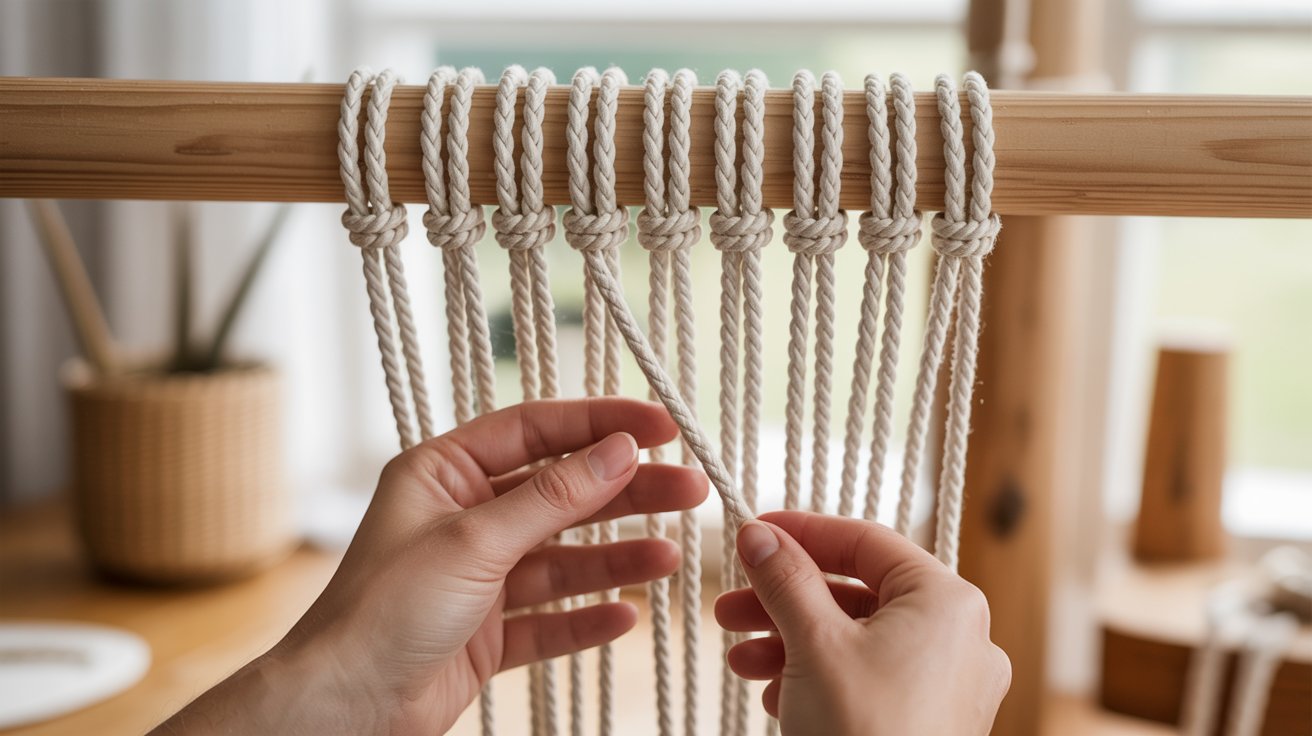
Step 1 – Lark’s Head Knot (Starting Knot)
This is the first knot you will tie in almost every macrame project. It attaches your cord to a dowel or ring cleanly and securely.
- Fold your cord in half to create a loop.
- Place the loop over your dowel or ring.
- Pull the loose ends through the loop.
- Tighten neatly.
Beginner Tip: Keep both cord sides even before tightening for a cleaner finish.
Step 2 – Reverse Lark’s Head Knot
This works just like the Lark’s Head but gives your project a smoother, neater front face.
- Fold the cord in half.
- Bring the loop under the dowel.
- Pull the cord ends over the dowel and through the loop.
- Tighten firmly.
Step 3 – Square Knot (Foundation Knot)
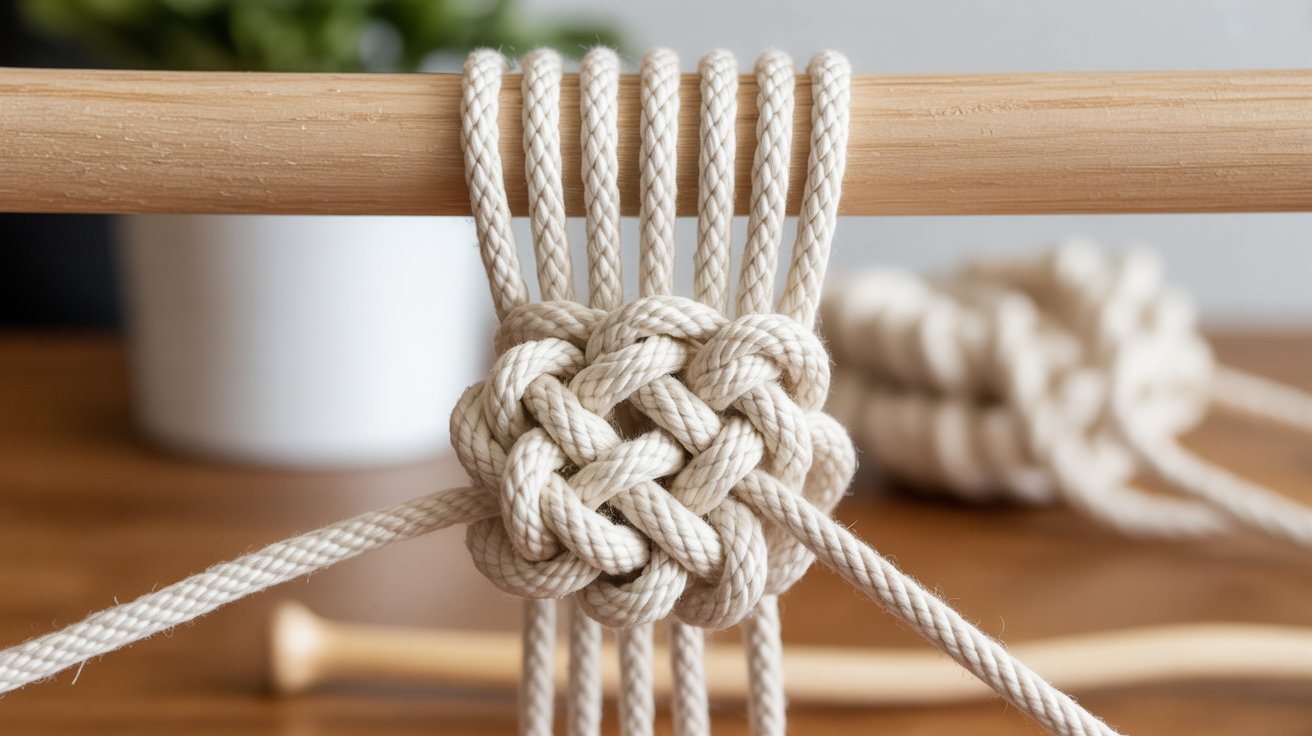
This is the most used knot in macrame. It builds strong, even patterns and is the base of most beginner projects.
- Use four cords, two working cords on the outside and two filler cords in the middle.
- Cross the left cord over the middle cords and under the right cord.
- Bring the right cord behind and through the loop.
- Tighten.
- Repeat from the opposite side to complete the full square knot.
Tip: Always alternate sides. Tying from the same side creates a spiral instead of a square pattern.
Step 4 – Half Square Knot (Spiral Knot)
This knot is great for adding a twisted, spiral look to your work.
- Cross the left cord over the filler cords.
- Bring the right cord behind and through the loop.
- Tighten.
- Keep repeating in the same direction and watch the spiral form naturally.
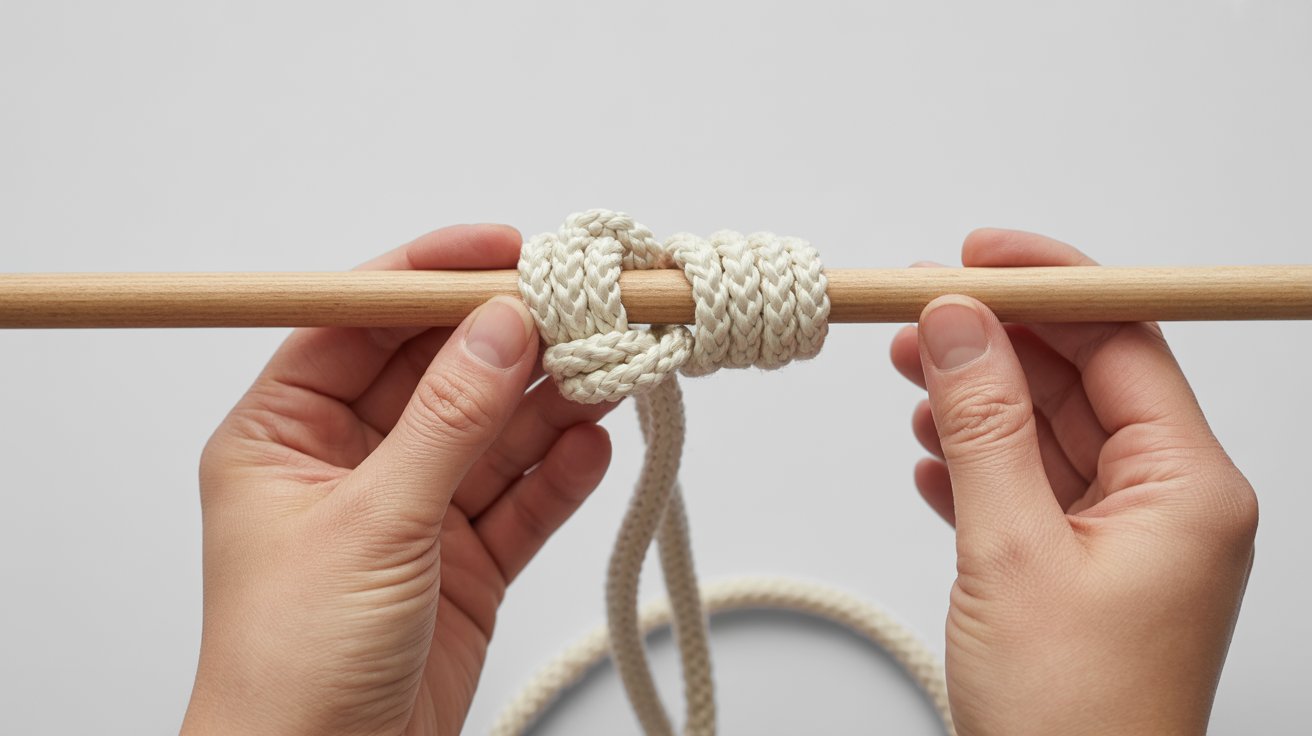
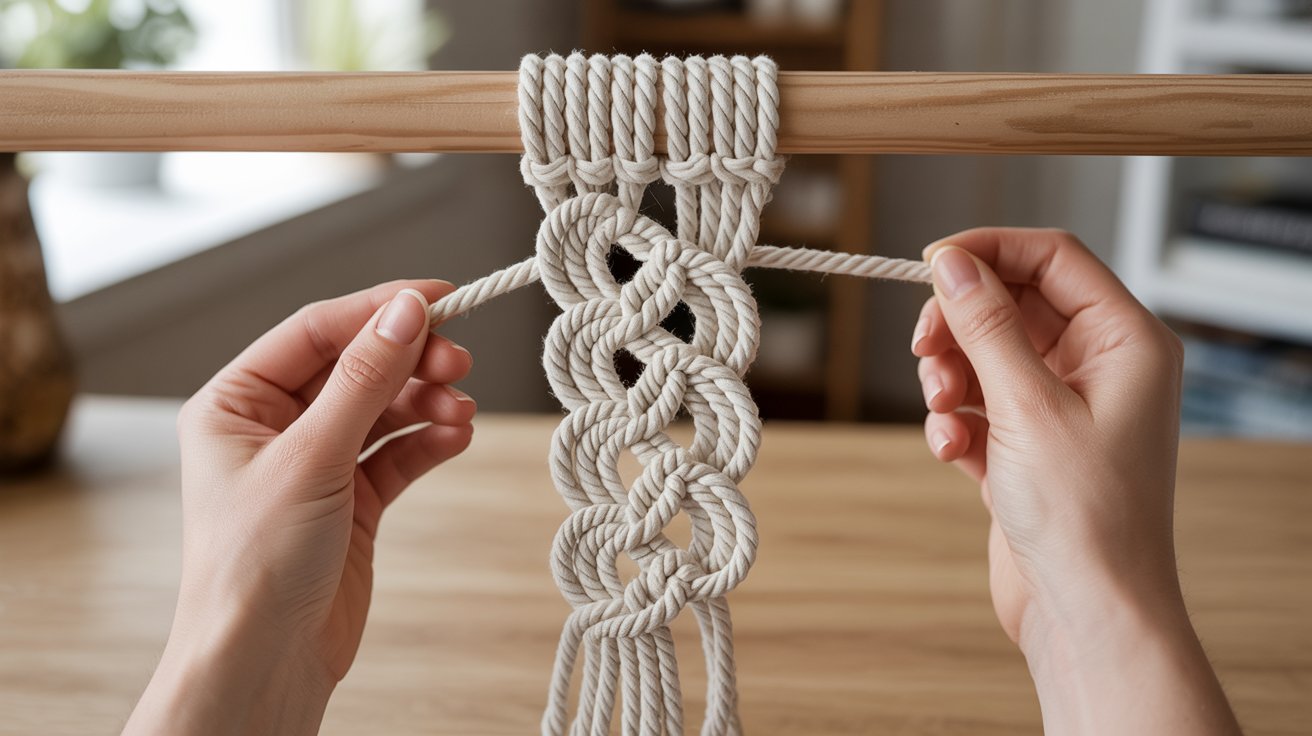
Step 5 – Double Half Hitch Knot (Creating Lines)
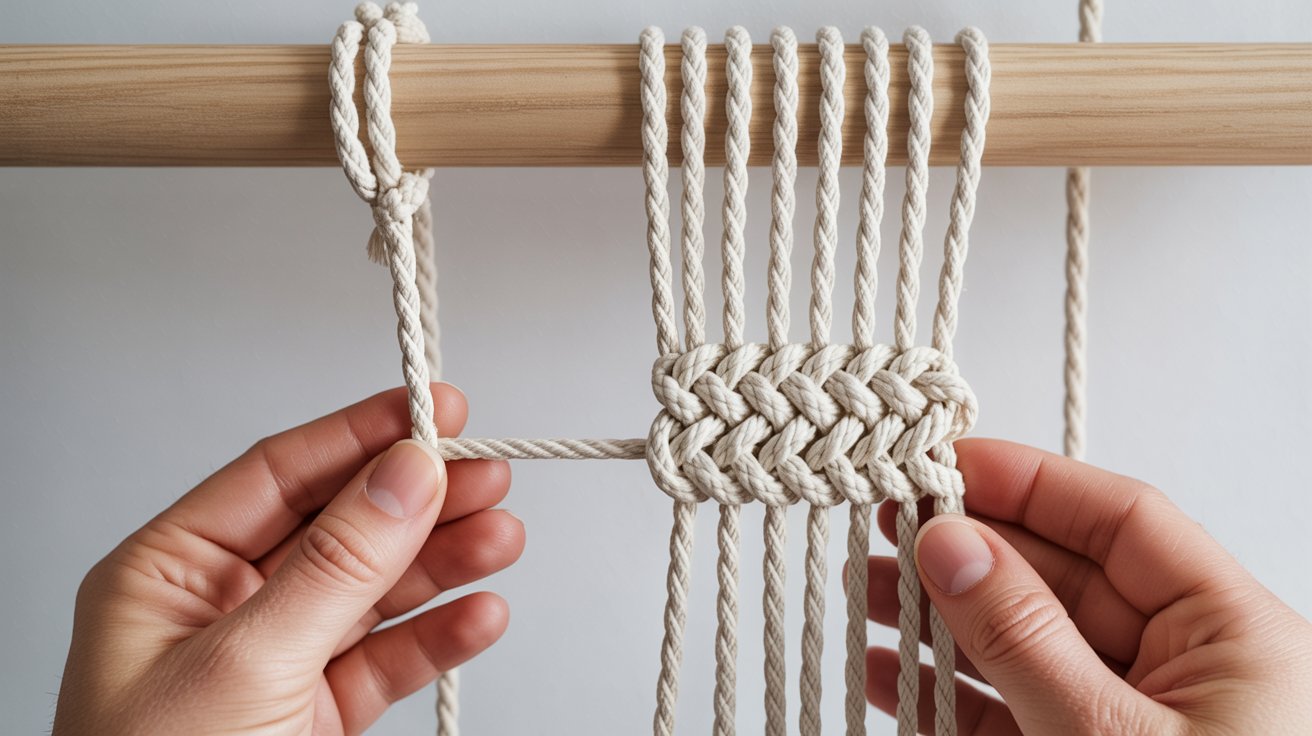
This knot gives you control over direction. You can create horizontal, vertical, or diagonal lines with it.
- Choose one cord to act as your guide cord.
- Wrap a working cord over and around the guide cord.
- Pull it through to form a half hitch.
- Repeat once more on the same guide cord.
- Slide both knots tightly together into place.
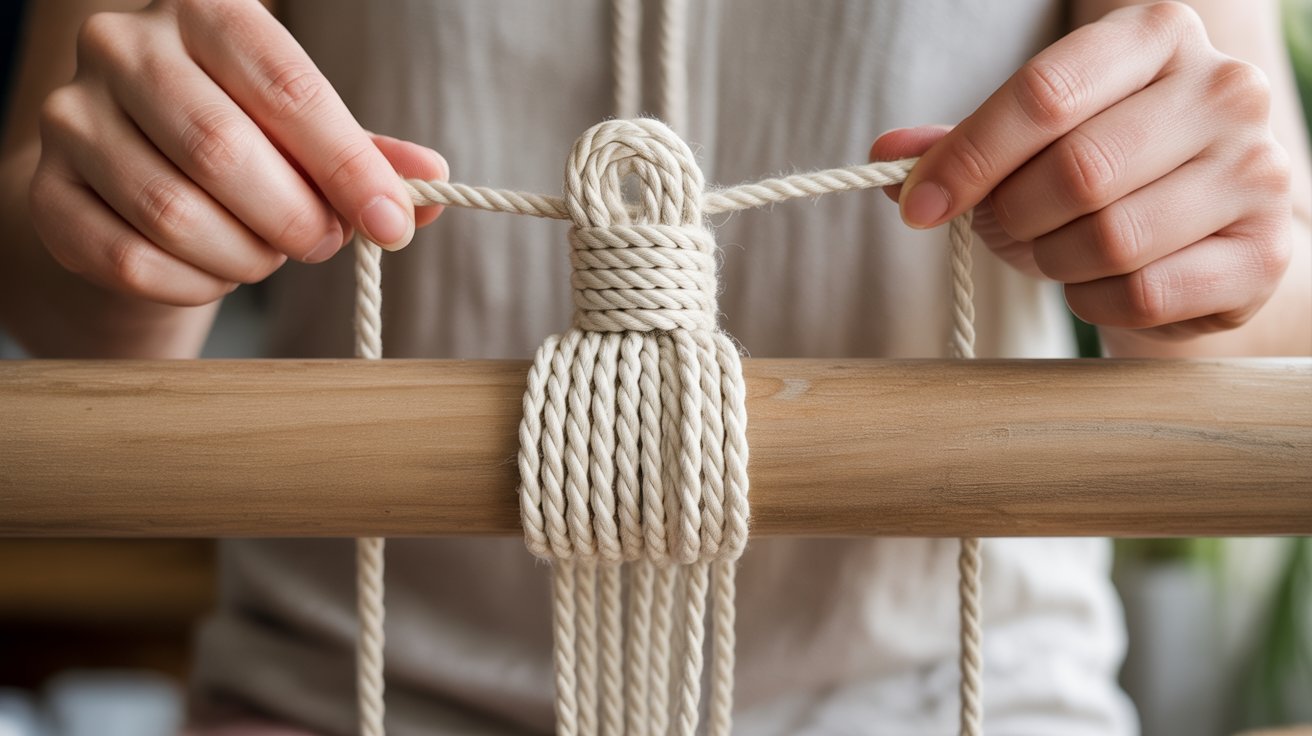
Step 6 – Wrap Knot (Gathering Knot)
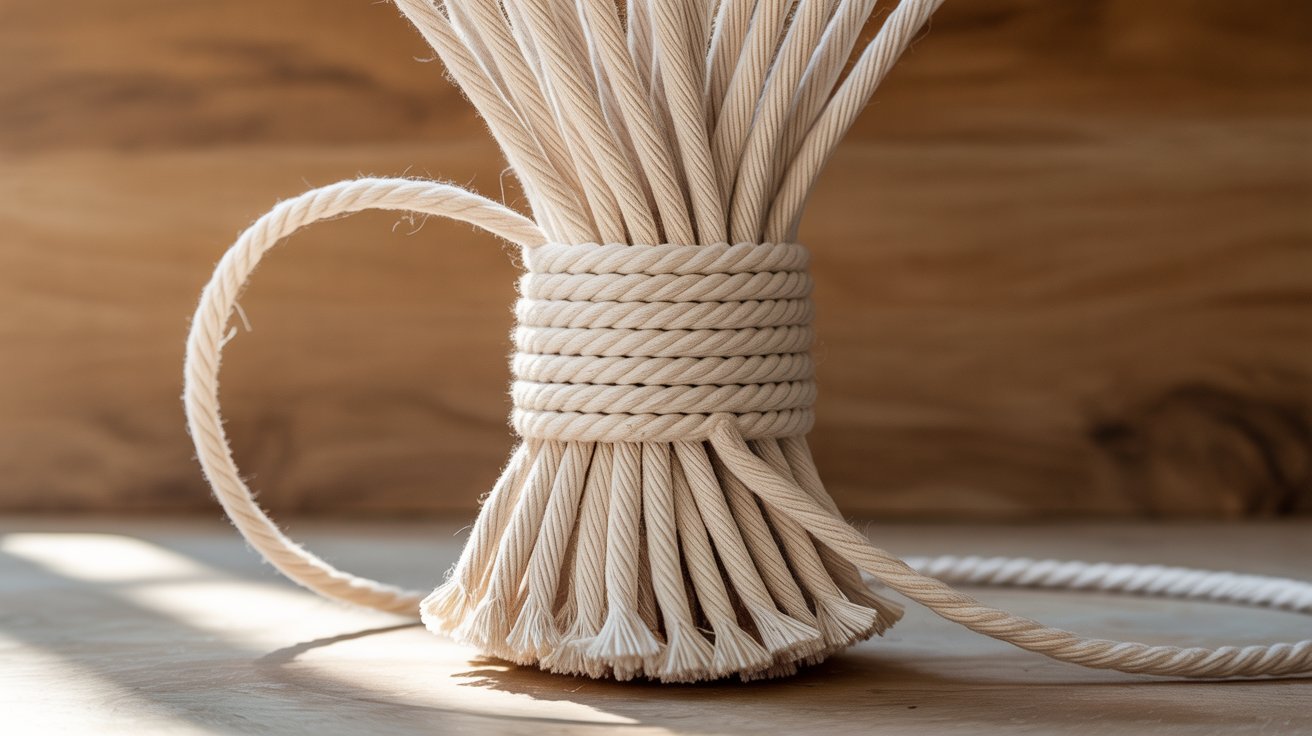
This knot is used to finish projects cleanly by gathering loose cords together.
- Place a short cord along your cord bundle.
- Wrap another cord tightly around the full bundle.
- Pull the end through the loop at the bottom.
- Tug firmly to secure and trim any excess cord.
Common Beginner Mistakes to Avoid
- Uneven Tension: Pulling cords too tight or too loose makes your work look inconsistent. Try to keep the same pressure with every knot you tie.
- Forgetting to Alternate Square Knots: Tying from the same side every time creates a spiral, not a square pattern. Always switch sides to get clean, even rows.
- Twisted Cords: Tangled or twisted cords make tying harder and affect the final look. Stop and straighten your cords regularly as you work.
- Cutting Cords Too Short: Short cords run out before your project is done. Always cut longer than you think you need, you can trim later.
- Rushing the Process: Going too fast leads to loose, uneven knots that are hard to fix. Slow down, check each knot, and adjust before moving to the next.
Conclusion
The best advice I can give you is to start simple and stay consistent.
Focus on one knot at a time before moving to the next. Once the basics feel natural, beginner wall hanging patterns will come much easier.
Speed and clean results come with practice, not pressure. Tie a few knots daily and you will notice real improvement within days.
Grab your cord, pick one knot from this guide, and start today. You have everything you need right here.
Frequently Asked Questions
What is the easiest macrame knot for beginners?
The Lark’s Head Knot is the easiest place to start. It is simple, quick to learn, and used in almost every beginner project.
How much cord do I need for my first macrame project?
A good rule is to cut each cord four times the length of your finished piece. It is always better to have extra and trim it down later.
What type of cord is best for learning macrame?
Cotton rope in 3mm to 5mm thickness works best for beginners. It is soft, easy to handle, and holds knots without slipping.
How long does it take to learn basic macrame knots?
Most beginners get comfortable with the core knots within a few days of regular practice. The more you tie, the faster and cleaner your work becomes.
Can I make macrame projects without any prior crafting experience?
Yes, absolutely. Macrame requires no special background or prior skills. If you can follow simple steps and stay patient, you can create great pieces from day one.