

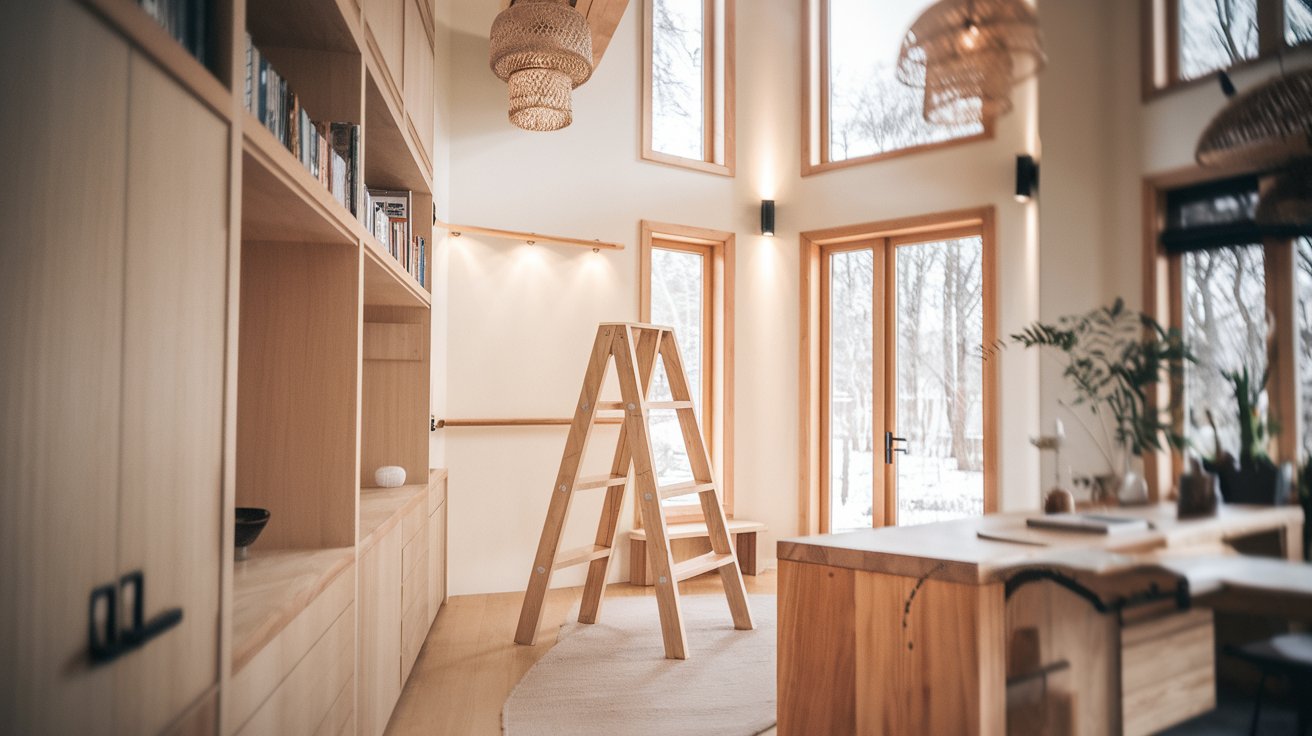
Want to build a DIY ladder that actually works for your space? You’re in the right place. I’ll walk you through making a farmhouse-style wooden ladder from start to finish.
We’ll cover preparing materials, assembly techniques, finishing methods, and practical uses for every room.
This guide comes from real building experience, not theory. You’ll spend $25-50 instead of hundreds at furniture stores. Plus, you’ll create a custom piece built exactly to your measurements.
Even if you’ve never done woodworking before, you can complete this project in just a few hours.
Let’s get building.
Why Build a DIY Ladder?
Building your own ladder gives you complete control over size, style, and cost while creating something truly yours.
Store-bought decorative ladders often cost $100 to $300 or more. A DIY version runs just $25 to $50. You can cut costs even further by using reclaimed wood or repurposing old curtain rods.
Standard ladders from stores come in fixed heights and widths. Building your own means exact measurements. Need a 5-foot ladder for that awkward corner? You control every dimension to match your room perfectly.
You choose the wood type that matches your existing furniture and pick any stain or finish you want. The choice is completely yours. This level of control simply doesn’t exist with pre-made options.
Materials Needed

Your DIY ladder project requires just a few basic supplies that are readily available at most hardware stores.
Having everything prepared before you start will make the construction process much smoother.
- Old curtain rod or wooden dowels (for rungs)
- Wood trim pieces (1×2 size) for the sides
- Wood stripper (if refinishing older materials)
- Wood stain in weathered color of your choice
- Nail gun and appropriate nails
- Sandpaper (medium and fine grit)
- Protective gloves
- Measuring tape
- Pencil
- Hand saw or miter saw
- Safety glasses
- Wood glue (optional for extra stability)
- Clean rags for stain application
- Polyurethane finish (optional for protection)
Step-by-Step Instructions
This simple guide breaks down the ladder-building process into manageable stages, allowing you to create a beautiful and functional piece for your home.
Follow each step carefully for professional results.
1. Preparing the Dowels
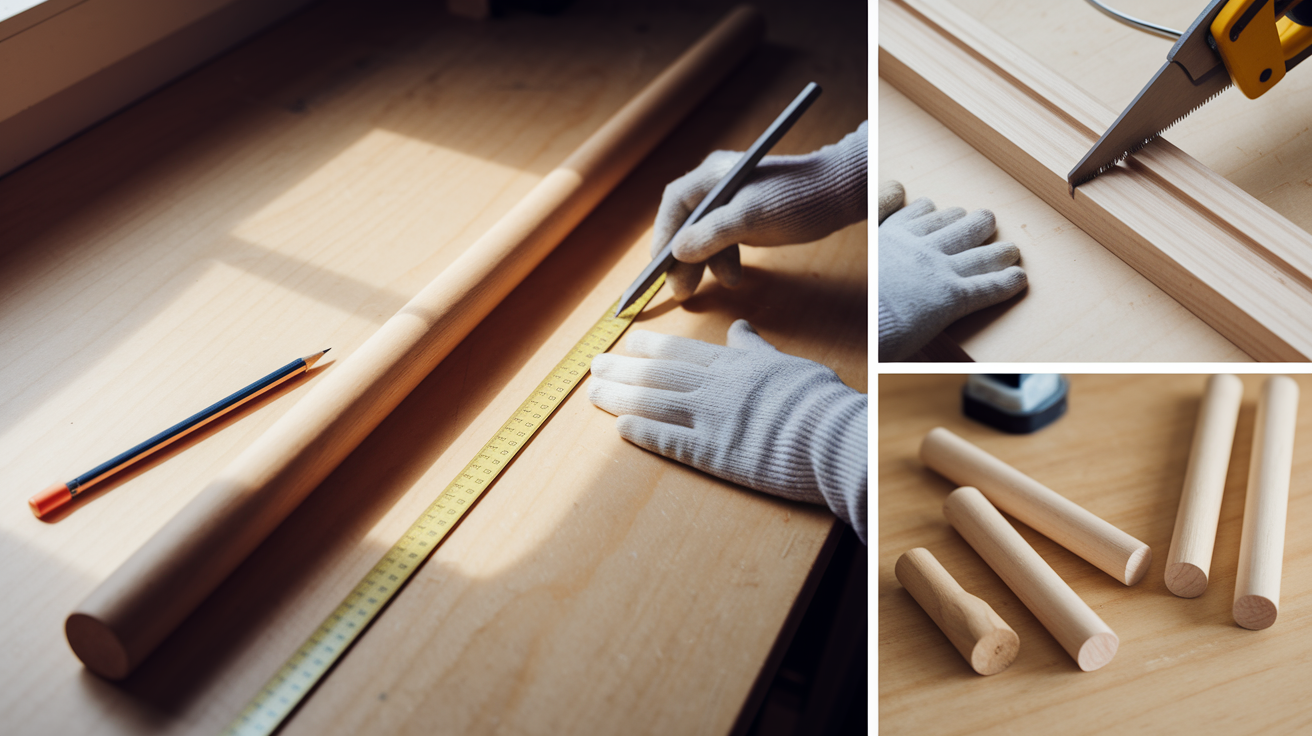
Start by examining your curtain rod or purchased dowels. If using a curtain rod, measure and mark it according to your desired rung lengths.
Cut the rod into equal sections using a saw, making clean cuts for a professional look. For old dowels with existing finish, apply wood stripper according to the product instructions to remove old stain or paint.
Once stripped, sand all dowels thoroughly with medium-grit sandpaper, then finish with fine-grit for a smooth surface. Remove all dust with a clean cloth before proceeding.
2. Preparing the Ladder Rails
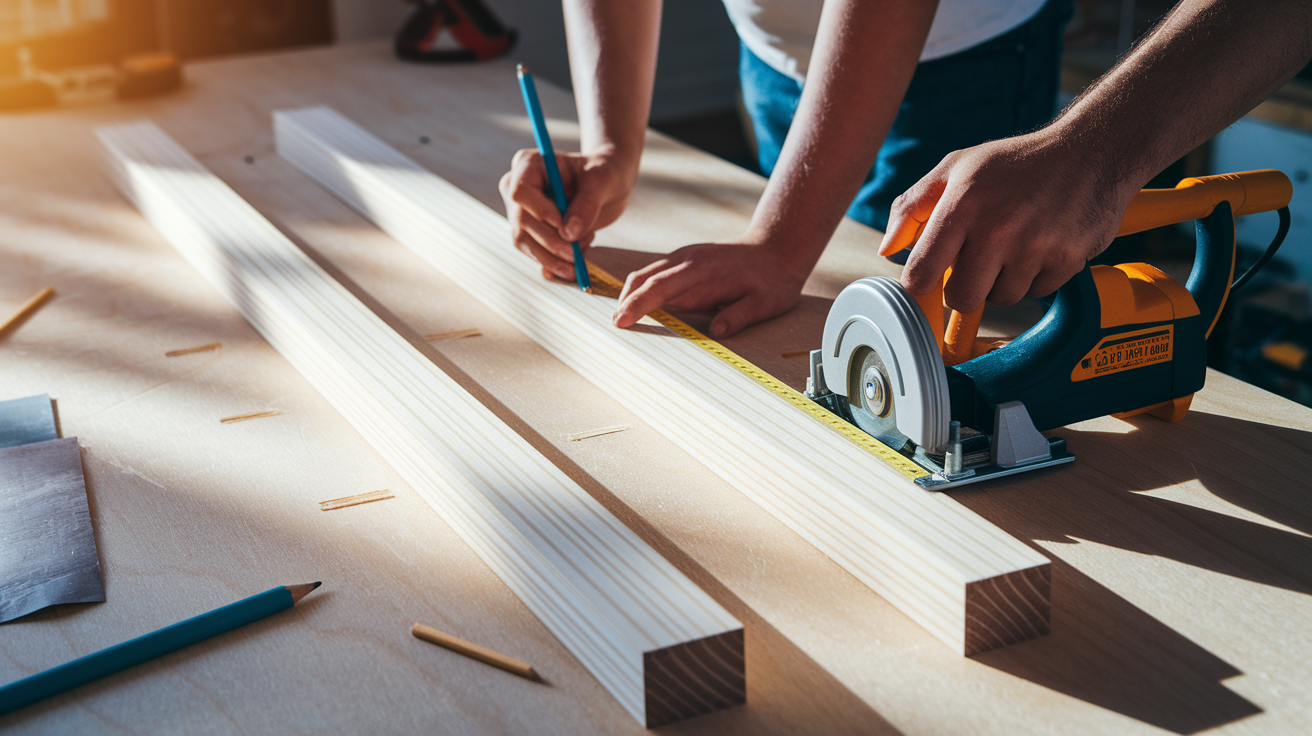
Select straight 1×2 wood trim pieces for your ladder rails. Measure and cut them to your desired ladder height, ensuring both rails are exactly the same length for proper alignment.
Sand any rough edges on the cut ends and along the length of each rail. Mark evenly spaced points along both rails where the dowels will be attached, measuring carefully to ensure the rungs will be parallel when assembled.
3. Assembling the Ladder

Lay both rails parallel on a flat work surface with your marks facing up. Position the first dowel across the rails, aligning it with your marked points.
Using wood glue for extra stability (optional), place a small amount at each connection point. Secure the dowel to the rails using your nail gun, placing two nails at each connection for strength.
Continue adding each dowel, checking that they remain parallel and evenly spaced. Measure diagonally from corner to corner to verify the ladder is square.
4. Finishing Touches
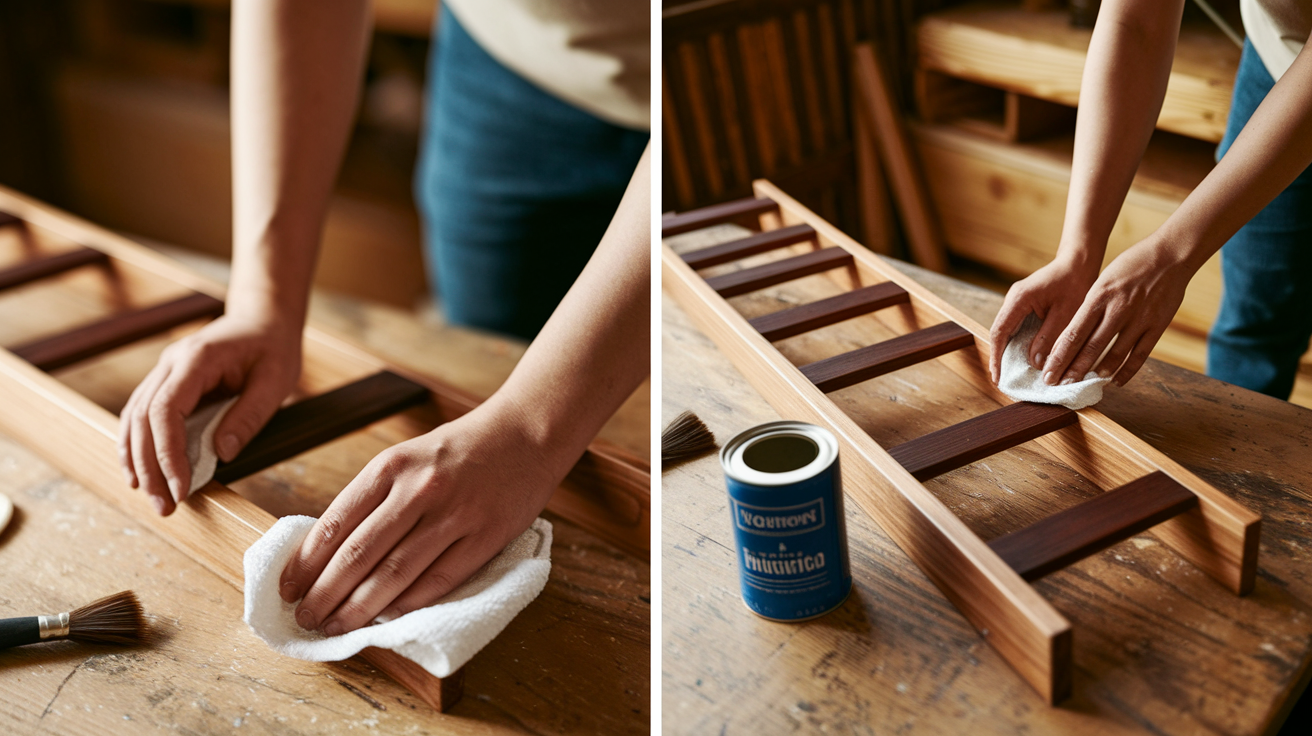
Once assembly is complete, sand any rough spots or nail heads that protrude. Wipe the entire ladder with a tack cloth to remove dust.
Apply your chosen wood stain using a clean rag, working in the direction of the wood grain.
Allow the stain to penetrate according to product instructions before wiping away excess. For additional protection, apply a clear polyurethane finish after the stain has dried completely.
Let the ladder cure fully before using or displaying it in your home.
Practical Uses for Your Farmhouse Ladder
Your handcrafted ladder offers both functionality and style throughout your home. Here are several ways to put it to work.
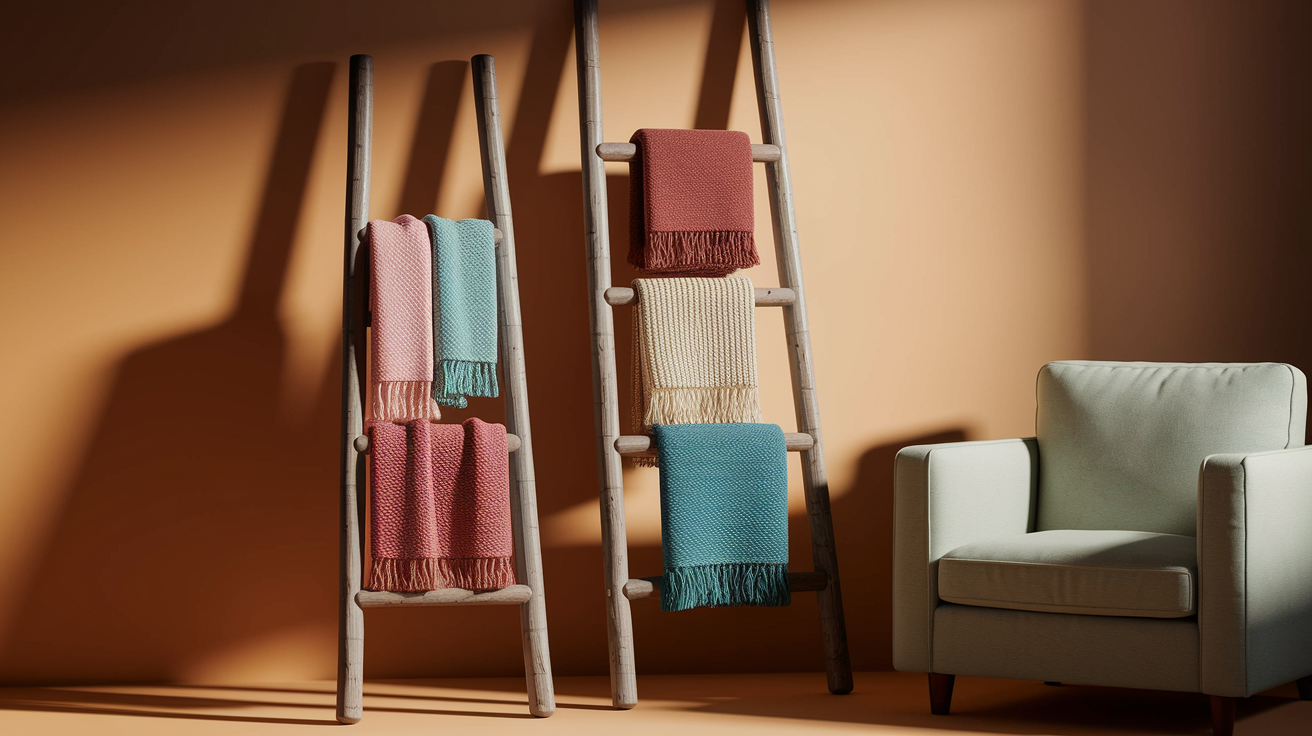
Displaying Blankets and Throws
Use your ladder as a convenient, visible storage spot for blankets and throws in living rooms or bedrooms.
This keeps textiles accessible while showing off their colors and patterns. The open display prevents folding creases while adding cozy texture to your room’s design.
Using as a Clothes Valet or Storage
Convert your ladder into a clothing organizer in bedrooms or dressing areas.
It works perfectly for planning outfits, storing scarves, or keeping frequently worn items visible and wrinkle-free.
This vertical storage is especially valuable in smaller spaces with limited closet room.
Decorative Purposes Around the Home
Beyond practical uses, your ladder adds character to any space.
Use it in bathrooms for towels, in entryways for seasonal items, or adorned with string lights and small plants for visual interest.
Its simple lines complement most decor styles while adding rustic warmth to your home.
Tips and Tricks
Make the most of your ladder project with these practical suggestions for construction, safety, and use.
- Save leftover wood pieces from your ladder construction for future small projects like phone stands, small shelves, or decorative frames.
- Always use wood strippers and stains in spaces with good airflow, as their fumes can be harmful to your health.
- Use appropriate protective gloves to prevent chemical contact with skin, and wear safety glasses when operating cutting tools or the nail gun.
- Your handcrafted ladder is designed as a decorative piece, not for climbing or supporting significant weight.
- For blankets and clothing, spread weight across multiple rungs rather than concentrating it in one area, and mount the ladder to the wall with brackets if you plan to place heavier items on it.
Conclusion
Building your own DIY ladder is simpler than most people think. I remember finishing my first one and feeling genuinely proud of what I’d made with just basic tools and a few hours of work.
You’ve now got all the steps to create a custom piece that fits your space perfectly while saving money. The best part? Every time you walk past it, you’ll know you built it yourself.
Grab your materials this weekend and start building. When you’re done, I’d love to hear how it turned out. Drop a comment below and share your results with us.
Frequently Asked Questions
How much does it cost to build a DIY ladder?
The total cost typically ranges from $25-50 depending on your choice of materials. Using reclaimed wood or repurposing old curtain rods can reduce expenses to under $20.
How long does it take to complete this ladder project?
Most people can finish this project in 2-3 hours of active work time. Allow additional time for drying between applying wood stripper, stain, and any protective finish.
Can I use my DIY ladder for climbing?
No, this decorative ladder isn’t designed to support human weight. For climbing purposes, build a sturdier ladder with proper structural supports following safety guidelines.
What tools are absolutely necessary for this project?
At minimum, you’ll need a saw for cutting, sandpaper, and a hammer or nail gun. While a power saw and nail gun make the job easier, the project can be completed with basic hand tools.
How do I make my ladder match my home’s color scheme?
Choose a wood stain that complements your existing furniture or select paint that matches your color palette. Test your finish on scrap wood first to ensure it achieves the look you want.