


I still remember the first time I tried drawing a daffodil. It looked nothing like a flower.
So I broke it down, step by step, and it finally made sense. In this easy daffodil drawing tutorial for beginners, I will show you exactly how I did it.
We will cover the structure of the flower, a full 10-step drawing guide, how to draw it from different angles, common mistakes to avoid, and tips to make it look more realistic.
I have helped many beginners get this right. If you follow along, you will go from a blank page to a proper daffodil drawing without any stress.
Understanding the Structure of a Daffodil
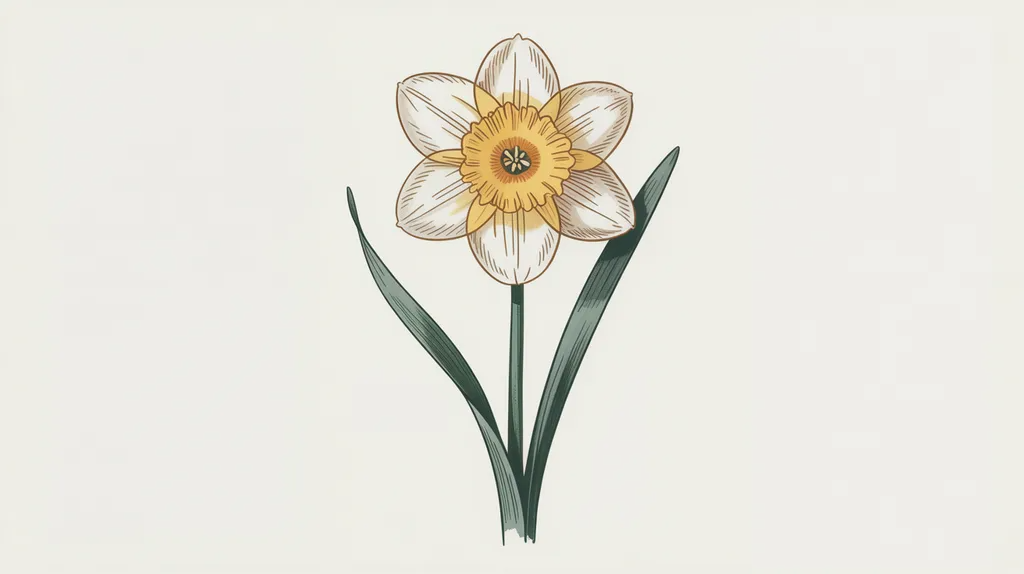
Before you draw anything, take a moment to look at the flower itself.
A daffodil has two main parts. The outer ring of six petals is called the perianth. The cup-shaped tube in the center is called the corona or trumpet.
The stem is long and straight. The leaves are thin and tall, almost like blades of grass but wider.
Once you see it this way, it stops feeling complicated. You are just drawing shapes that fit together.
How to Draw a Daffodil Step by Step
Follow these steps and you will have a clean daffodil drawing in no time.
Step 1: Draw a Basic Guideline Shape
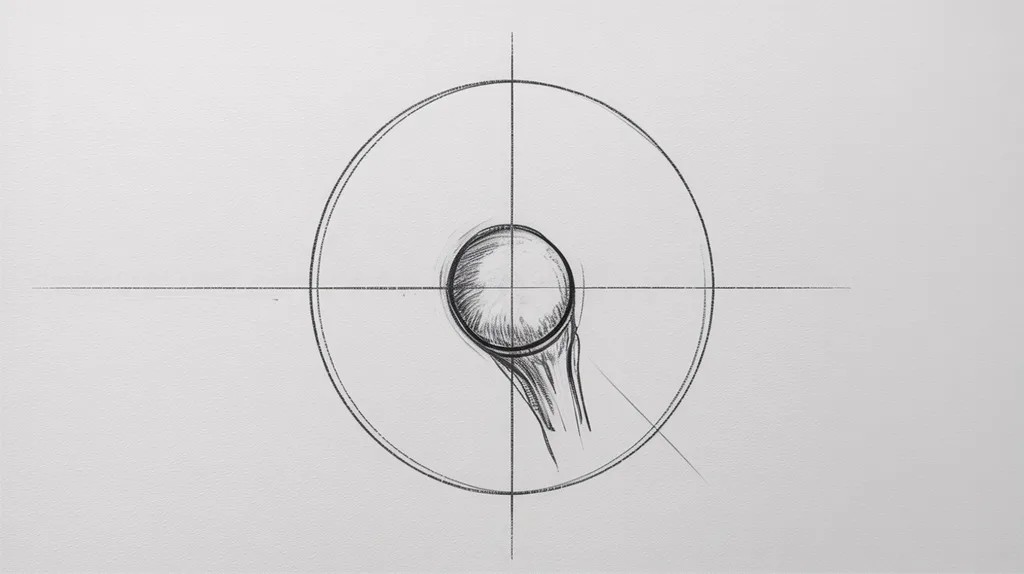
Start with a light circle in the center of your paper. This is your anchor point. It marks where the trumpet will sit.
Draw a few light lines coming out from the circle like spokes on a wheel. These will guide where each petal goes. Keep it loose. These are just helpers, not final lines.
Step 2 Sketch the Center of the Daffodil
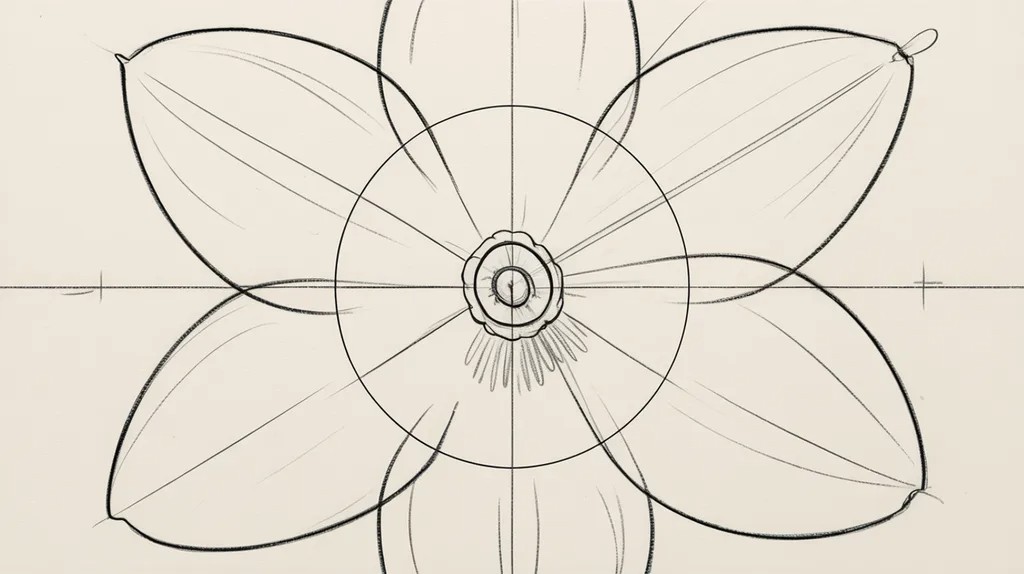
Inside the circle, draw a smaller oval or ring. This becomes the opening of the trumpet. Think of it like drawing a small cup viewed slightly from the front.
Keep the lines light. You will refine them later.
Step 3: Outline the Trumpet (Corona)

Now draw the walls of the trumpet coming down from that oval. It should look like a short cylinder or a flared cup. The edges can be slightly wavy or ruffled. That is what gives the daffodil its personality.
Do not make it too long or too short. It should sit comfortably inside the petal ring.
Step 4: Add the First Layer of Petals
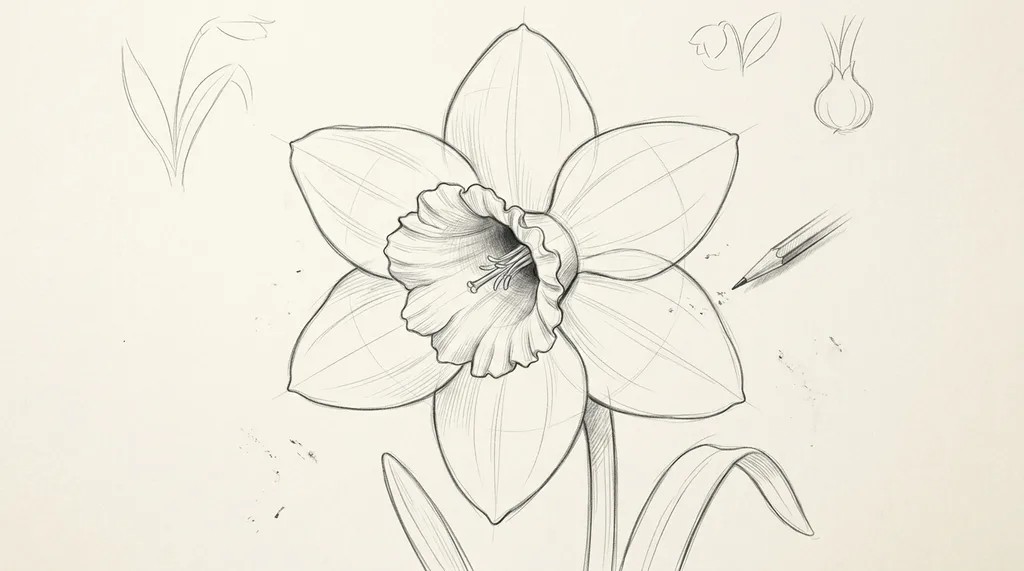
Using your guideline spokes, start drawing the first two or three petals. Each petal is wide in the middle and slightly pointed at the tip. They curve gently, not sharply.
Space them evenly around the trumpet.
Step 5: Complete All Six Petals

Add the remaining petals to fill the ring. Daffodils have six petals total. Some may peek out from behind others, and that is fine. It actually makes the drawing look more natural.
Step 6: Refine the Flower Shape
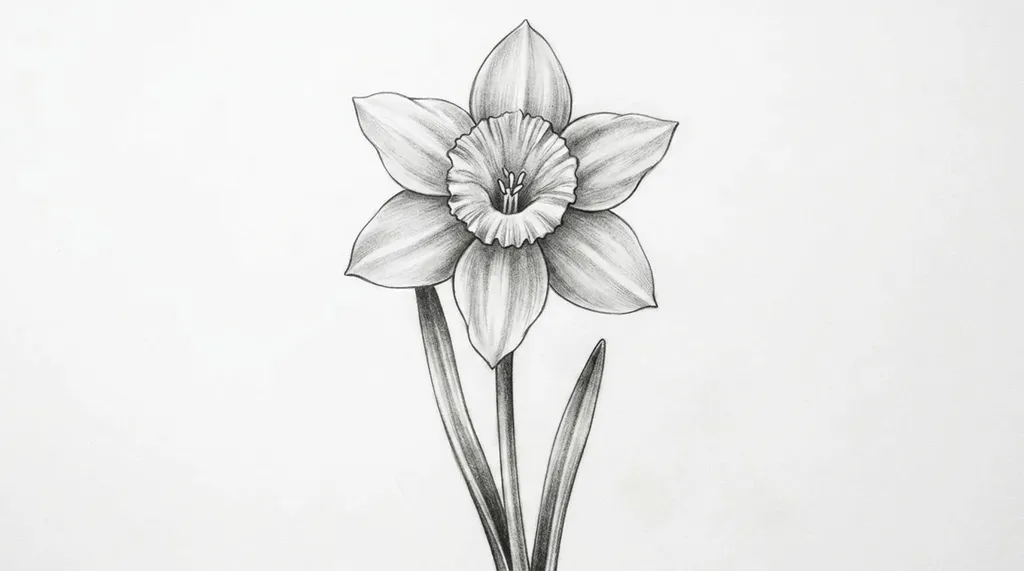
Go back over your sketch and clean up the lines. Smooth out the petals. Fix any that look uneven. Erase the guideline circle and spokes now that you do not need them.
This is where the flower starts to look real.
Step 7: Draw the Stem
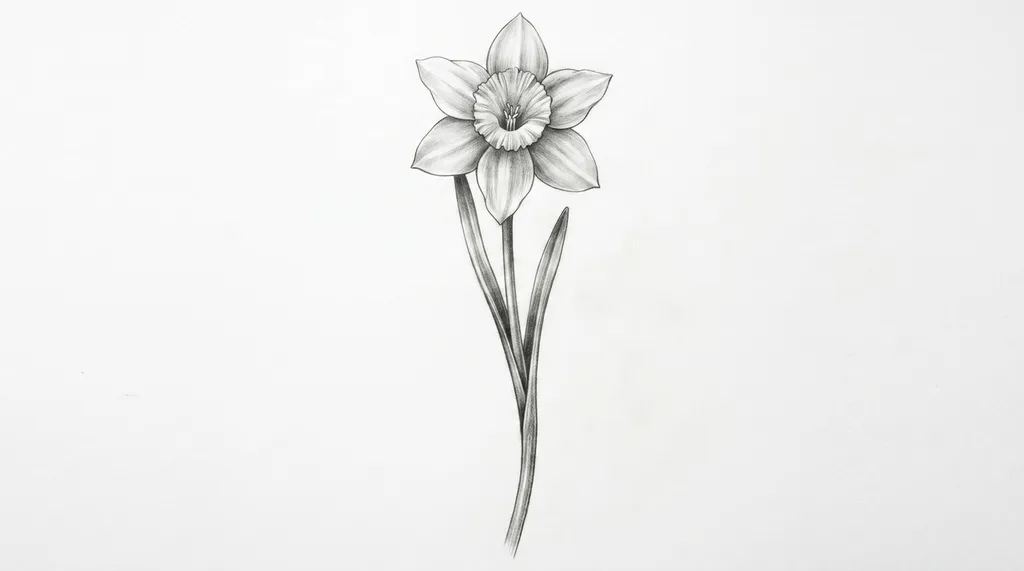
Draw two slightly curved parallel lines going down from the base of the flower. The stem is firm and upright, not wobbly. Keep it proportional to the flower head.
Step 8: Add Long Daffodil Leaves

On either side of the stem, draw long, narrow leaves. They curve gently and taper at the tip. Daffodil leaves are flat and strap-like. Do not make them too pointy or too wide.
Step 9: Add Details and Texture
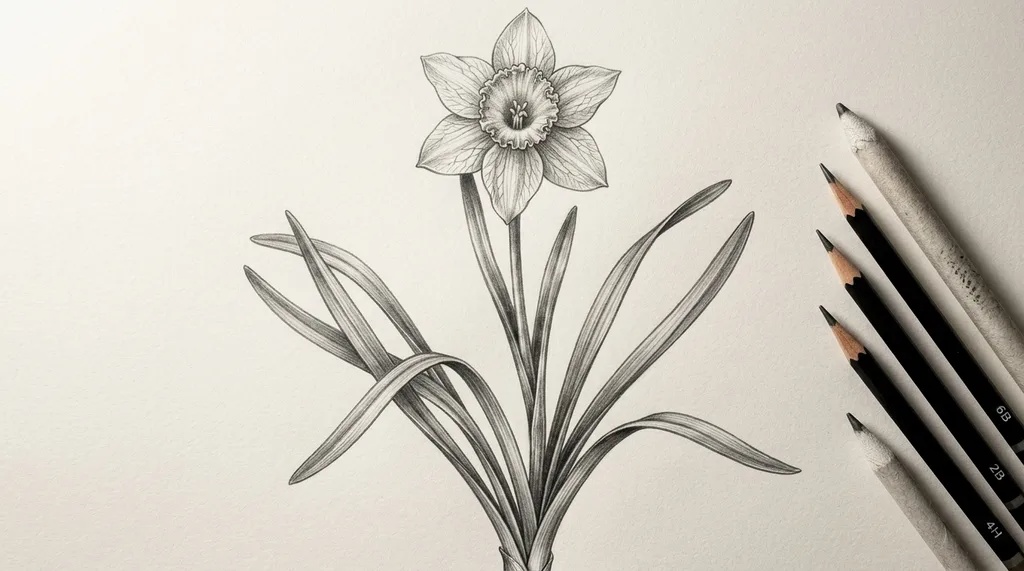
Now add small lines inside the petals to show the veins. Add a few ruffled lines at the edge of the trumpet. These small details make a big difference.
You can also add a small stamens cluster inside the trumpet if you want more accuracy.
Step 10: Shade or Color the Daffodil

If you are shading, use light pencil strokes. Add shadow under the trumpet and between the petals. Leave the areas where light would hit a bit brighter.
If you are coloring, daffodils are usually yellow with an orange or deeper yellow trumpet. Go light first, then build color gradually.
Drawing Daffodils from Different Angles
Once you know the basics, changing the angle is simpler than you think.
1. How to Draw a Front-Facing Daffodil
This is the easiest view. The flower faces straight at you. The trumpet is centered and the six petals spread out evenly around it like a star. Use a circle as your guide and work outward.
2. How to Draw a Slightly Angled Daffodil
Tilt the center oval slightly to one side. The petals on one side will look a bit smaller due to perspective. The trumpet will appear slightly off-center. This view gives the drawing more depth.
3. How to Draw a Side-View Daffodil
From the side, you only see the trumpet sticking out and the petals fanning behind it. Start with a narrow oval for the trumpet opening. Then draw the petals sweeping back like a crown. This angle looks great when drawing a full daffodil plant.
Common Daffodil Drawing Mistakes
These are the slip-ups I see most beginners make, and they are easy to fix.
- Making the trumpet too wide or too flat. It should look like a real cup, not a flat circle.
- Drawing petals that are all the same size and shape. Vary them slightly for a natural look.
- Spacing petals unevenly. Use light guide lines first to keep them balanced.
- Skipping the ruffled edge on the trumpet. That detail is what makes it look like a daffodil.
- Making the stem too thin or too short. It needs to look strong enough to hold the flower.
- Over-shading. Too much shading flattens the drawing. Keep it subtle.
Tips to Make Your Daffodil Drawing More Realistic
Small changes in technique can make a big difference in how your drawing turns out.
- Study a real daffodil photo before you start. Even one minute of observation helps a lot.
- Use light guidelines and erase them as you go. Clean lines look more polished.
- Draw the trumpet first, then build the petals around it. This keeps proportions right.
- Add texture with small, confident strokes. Do not scribble.
- Leave some white space in your shading to show where light hits.
- Practice the trumpet shape separately before putting the whole flower together.
Conclusion
Drawing a daffodil is not as hard as it looks once you break it into steps. I went from messy sketches to clean, confident drawings just by slowing down and focusing on one part at a time.
Start with the trumpet, build the petals around it, add the stem and leaves, then bring it to life with details and shading.
Every step in this guide is something I have tested and found works well for beginners. The more you practice, the easier it gets.
Try drawing it from a front view first, then move to an angle. What part of the daffodil drawing did you find the trickiest?
Frequently Asked Questions
What is the easiest way to start a daffodil drawing?
Start by drawing a small circle for the trumpet in the center of your paper. Build the petals around it using light guide lines.
How many petals does a daffodil have?
A daffodil has six petals arranged in a ring around the central trumpet. Some varieties may look slightly different, but six is the standard.
Can I draw a daffodil without any art experience?
Yes, absolutely. This tutorial is made for complete beginners. Take it one step at a time and do not rush.
What pencils should I use for a daffodil sketch?
A regular HB pencil works well for outlines. Use a 2B for shading. These are easy to find and beginner-friendly.
How do I make my daffodil drawing look less flat?
Add light shading between the petals and under the trumpet. Leave brighter areas where the light hits. Small vein lines inside the petals also help add dimension.
