

I remember spending way too long on a cylinder sketch, wondering why it kept looking flat no matter what I tried.
If you’ve felt that frustration, you’re in the right place.
In this guide, I’ll show you exactly how to shade a cylinder step by step from the first pencil stroke to the final cast shadow.
I’ve covered the right tools, core techniques, and quick tips that actually work. I’ve been drawing for years, and these are the steps that made the biggest difference for me.
What Is Cylinder Shading and Why Does It Matter?

Cylinder shading is the process of adding light, shadow, and tone to a cylindrical shape to make it look three-dimensional on a flat surface.
When I first started, I thought shading just meant making one side darker. But a realistic cylinder needs a core shadow, midtones, a clear highlight, and a cast shadow all working together.
Once you understand how light behaves on a cylinder, you can apply the same thinking to bottles, arms, columns, and dozens of other shapes.
It is one of the most practical skills you can build as an artist.
Materials and Tools Required
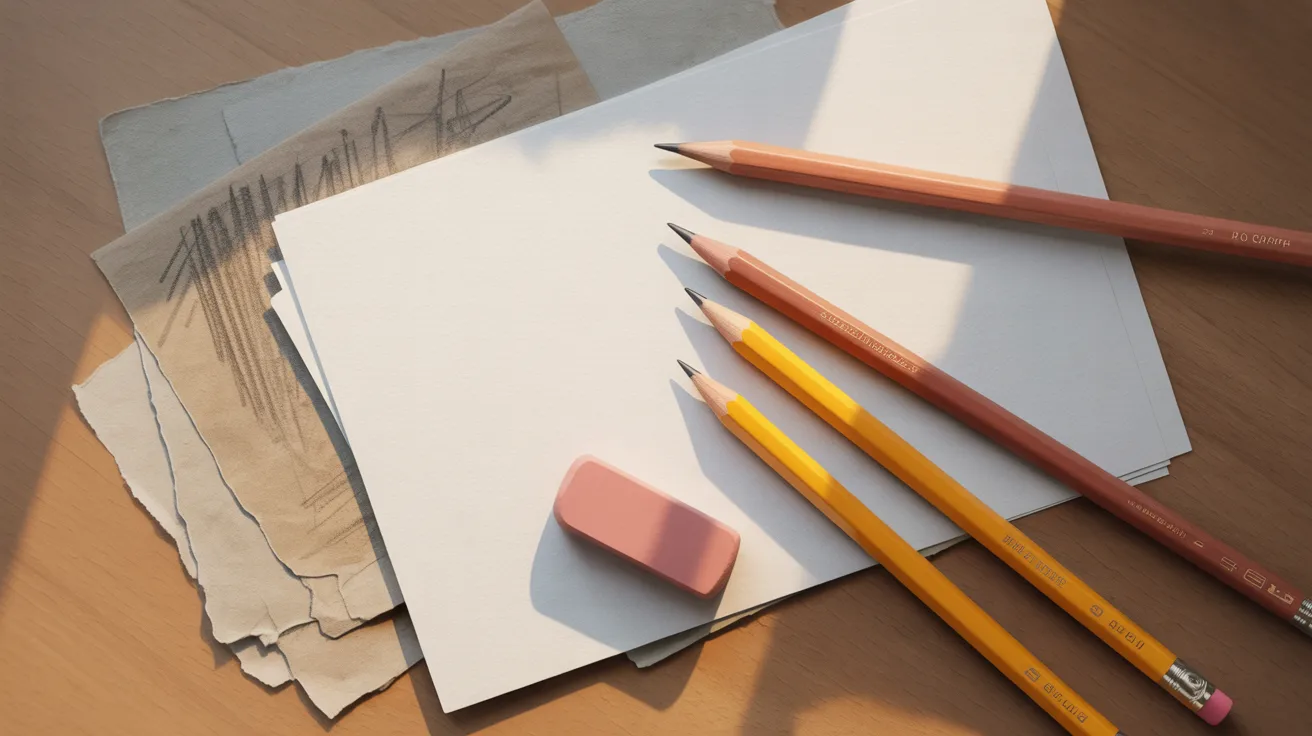
You do not need a lot to get started. Here is everything you need before picking up your pencil.
White drawing paper: Use this for your final drawing to get clean, smooth results.
Scrap paper: Keep this nearby to test tones and protect your work surface.
HB pencil: Best for light sketching and initial guidelines.
2B or 4B pencil: Ideal for shading with softer, darker tones.
Soft eraser: Great for lifting tones and cleaning up edges.
Blending stump or tissue: Smooths out tones and creates soft transitions.
Step-by-Step Guide to Shade a Cylinder
Follow these simple steps to shade a cylinder and make it look fully three-dimensional.
Step 1: Sketch the Basic Cylinder Shape

Lightly draw a vertical rectangle as the main body, then add an oval on the top and a curved line at the bottom to form the cylinder.
Keep your pencil pressure soft and lines clean, as this will make shading easier in the next steps.
Step 2: Establish the Light Source

Lightly draw a small arrow or simple sun symbol to indicate the direction of the light. This will guide where highlights and shadows fall on the cylinder.
Keep the mark subtle, as it’s only a reference for accurate shading in the next steps.
Step 3: Block in the Core Shadow

Begin shading the darkest area opposite the light source. Use soft vertical strokes following the curve of the cylinder to create depth.
Keep the center slightly lighter and gradually build darker tones toward the shadow side for a smooth transition.
Step 4: Build Midtones and Smooth the Transition

Expand the shading from the dark core shadow toward the lighter side using gentle, layered strokes. Apply even pressure and follow the cylinder’s curve.
Gradually blend the tones to create a soft gradient, leaving a lighter strip to represent the highlight area.
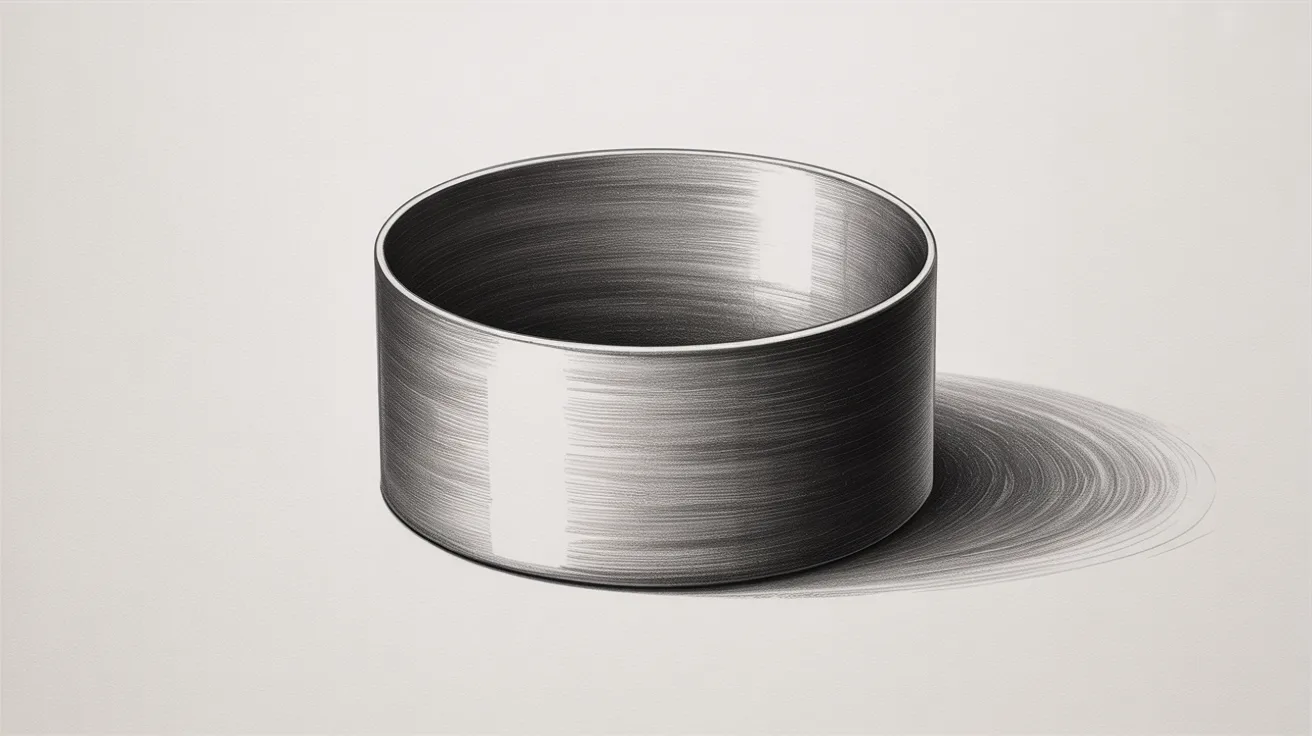
Step 5: Shade the Top and Refine the Form
Lightly shade the top ellipse following its curved shape to show depth. Darken the far edge slightly to match the light direction.
Refine the side shading by smoothing transitions and strengthening the darkest areas for a more realistic, rounded effect.
Step 6: Add Final Contrast and Clean Edges

Darken the contact shadow directly under the cylinder to anchor it to the ground.
Sharpen the edge where the object meets the shadow, and lightly clean up stray lines to keep the form clear and solid.
Step 7 : Strengthen the Cast Shadow

Shade the cast shadow to the right of the cylinder, keeping it darkest near the base. Use diagonal strokes that follow the shadow’s direction.
Gradually lighten the pressure as the shadow extends outward to create a smooth, natural fade.
Step 8: Final Touches and Balance

Deepen the darkest areas one last time, especially the contact shadow and the core shadow. Lightly blend any rough patches for smoother transitions.
Keep a thin highlight on the light side to enhance the rounded form and overall contrast.
Best Techniques for Shading a Cylinder
These are the core shading techniques that turn a basic cylinder outline into something that looks solid, dimensional, and real.
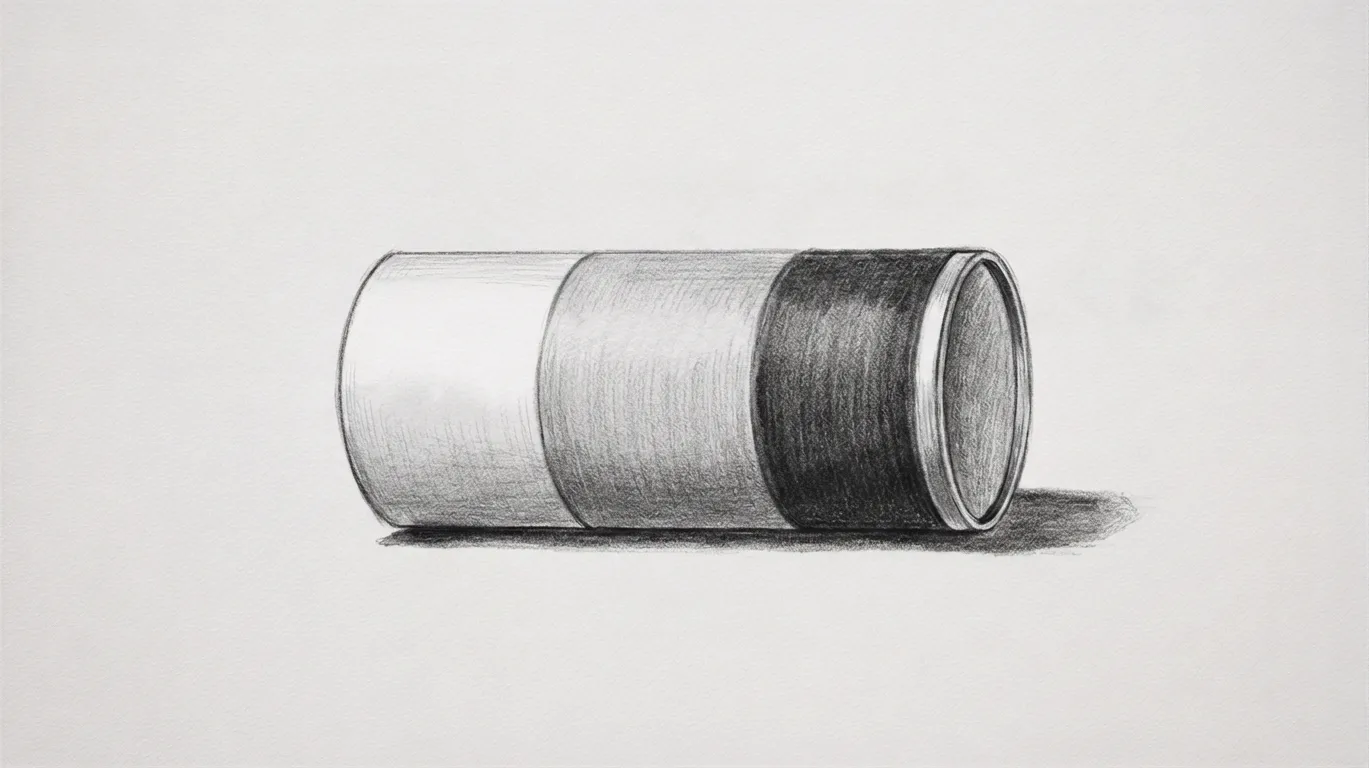
Gradient Shading Technique
Create a smooth transition from highlight to shadow across the curved surface. Start light and gradually build midtones and darker values.
Keep the highlight clean and blend softly to avoid harsh lines. A consistent gradient is key to making the cylinder look round and three-dimensional.
Pressure Control Technique

Control value by adjusting how hard you press the pencil. Use light pressure for highlights, medium pressure for midtones, and stronger pressure for darker areas.
Build layers gradually instead of pressing hard immediately. This gives better control, smoother transitions, and a cleaner, more realistic finish.
Core Shadow Placement Technique
Place the darkest area slightly away from the outer edge, opposite the light source. This core shadow defines the cylinder’s form and depth.
Leave a thin strip of reflected light near the edge to prevent the object from looking flat and enhance realism.
Tips for Better Cylinder Shading
Keep these quick tips in mind before you start shading your cylinder.
- Decide your light source first. Every shadow and highlight depends on it.
- Build tone gradually with light pressure to avoid dark, unfixable mistakes.
- Place the core shadow slightly inward, never directly on the edge.
- Always blend in the direction of the form for smoother transitions.
- Step back often to check the contrast between your highlight and darkest shadow.
Follow these simple tips consistently and your cylinder shading will look more confident and realistic every time.
Conclusion
When I first started drawing cylinders, I kept placing shadows in the wrong spots and losing the highlight completely.
It took a lot of scrap paper before things finally clicked. But once they did, every rounded object became so much easier to shade.
Now it’s your turn. Grab a pencil, follow these steps at your own pace, and don’t stress if the first one looks rough. That’s completely normal.
Did this guide help you? Drop a comment and let me know how your cylinder turned out!
Frequently Asked Questions
What pencil grade is best for shading a cylinder?
Use a 2B or 4B for shading and an HB for sketching. Softer grades give darker, smoother tones.
Where exactly should I place the core shadow on a cylinder?
Place it slightly inward from the edge. This small shift makes the surface look curved and realistic.
How do I make my cylinder shading look smooth?
Use a blending stump or tissue and always blend in the direction of the form.
Why does my cylinder still look flat even after shading?
Your contrast is likely too low. Deepen your shadows and keep a clear highlight on the lit side.
Do I need to add a cast shadow to make the drawing look complete?
Yes. Without it, the cylinder looks like it is floating off the surface.