

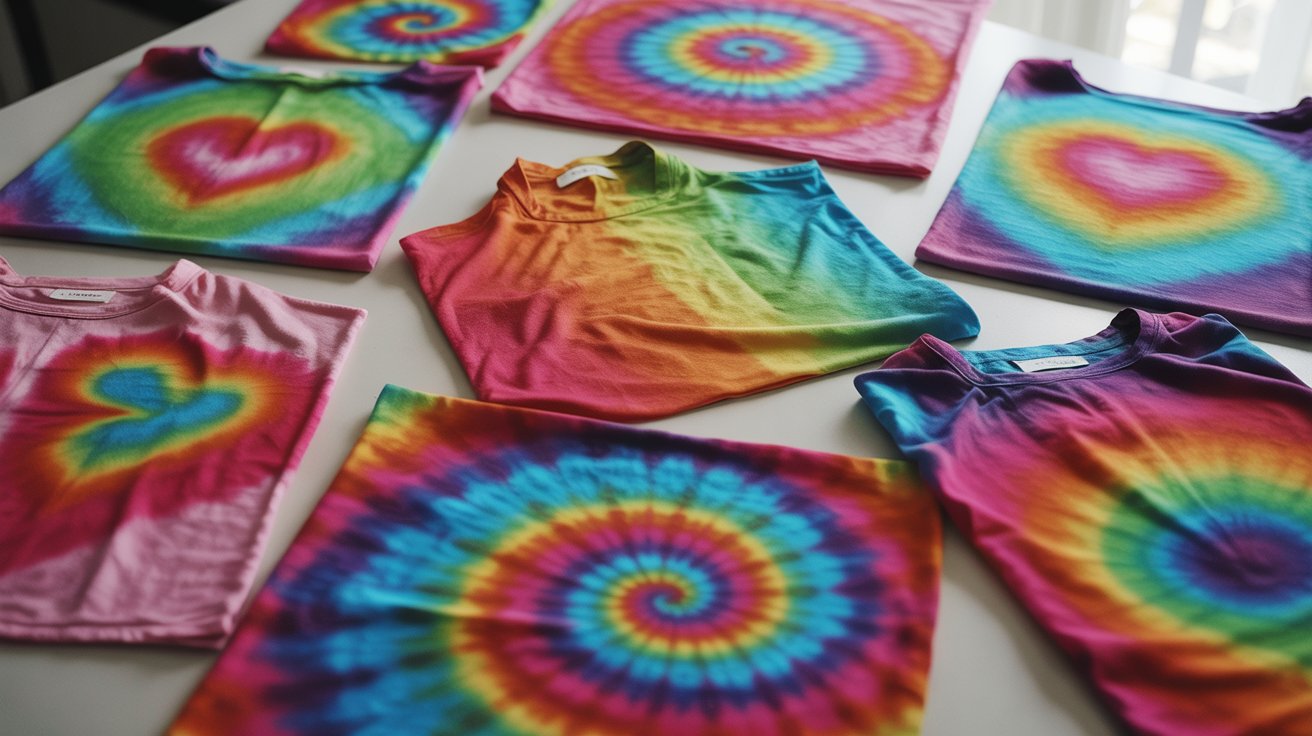
I’ve been making cute tie dye patterns for years, and I’m excited to share what works best. In this guide, you’ll find 21 easy patterns that anyone can try at home. I’ll walk you through supplies, step-by-step methods, and pro tips to get bright, clear designs every time.
You’ll learn what fabrics work best, how to avoid muddy colors, and tricks I’ve picked up from countless projects. From classic spirals to trendy heart shapes, these patterns work great on shirts, tote bags, and room decor.
I’ve tested all these techniques myself. Some worked on the first try. Others took practice. I’ll show you both.
Let’s make something colorful.
Why Cute Tie Dye Patterns Are Trending Right Now
Tie dye is back in a big way. People love it for clothing, home decor, and handmade gifts.
Social media is full of bright, bold designs. TikTok and Instagram users share their creations daily. Kids use them for school projects. Adults make custom shirts and pillowcases. The vintage vibe feels fresh again.
Many people use their designs as phone wallpapers and backgrounds. The swirls and colors make eye-catching digital art. You can photograph your finished piece and use it right away.
The best part? You don’t need special skills. Just fabric, dye, and rubber bands. Each pattern turns out different, which makes every project feel personal.
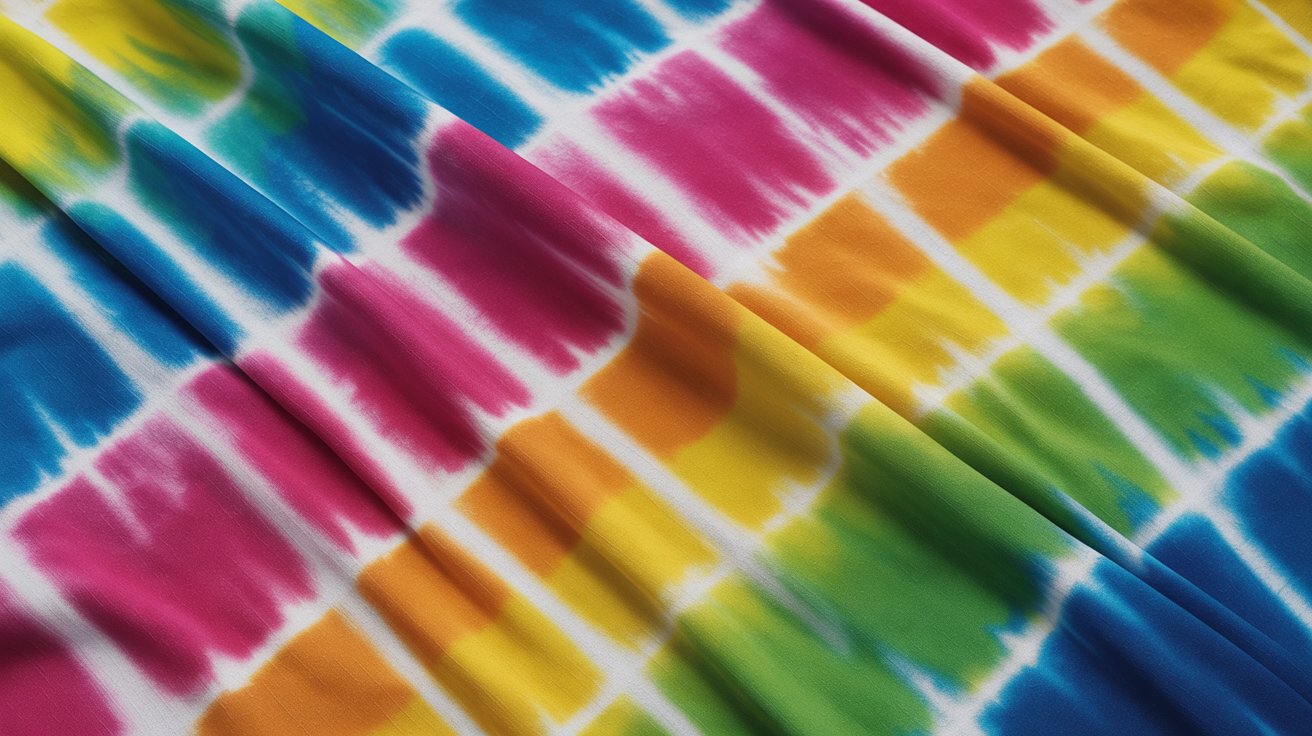
What You Need to Make Cute Tie Dye Patterns at Home
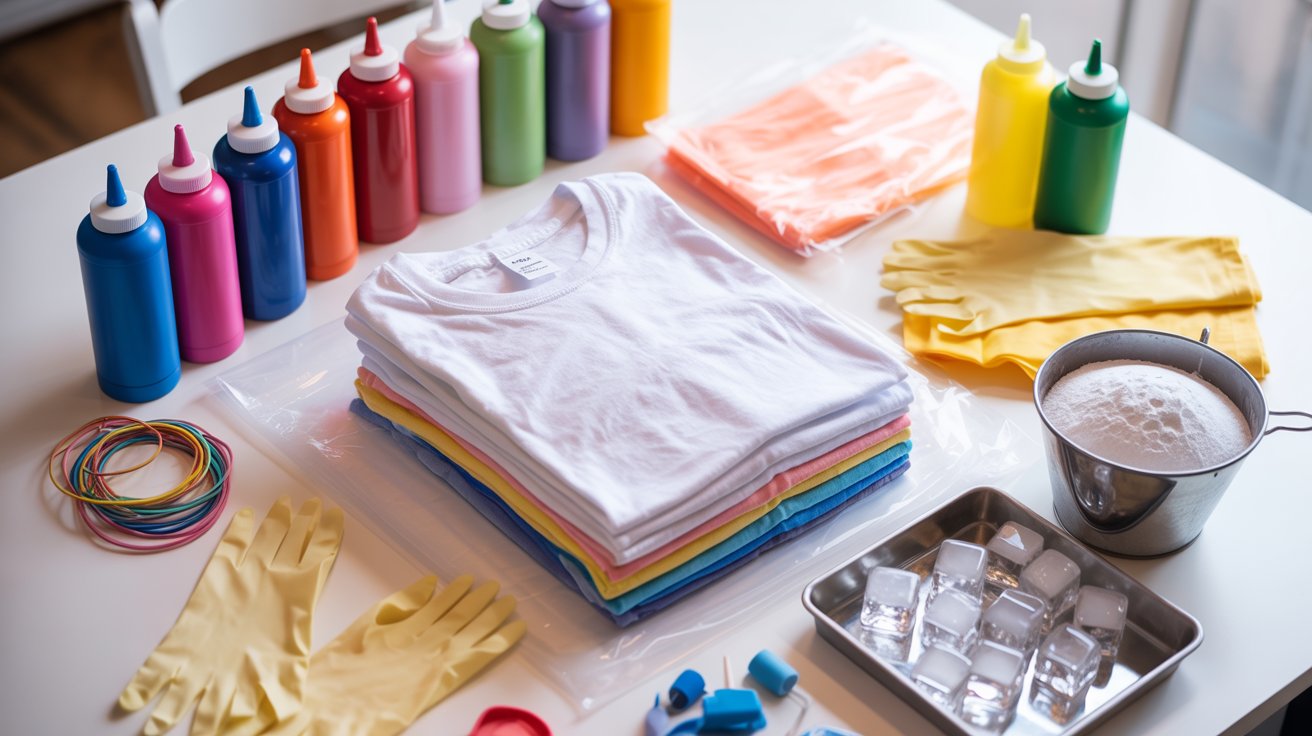
Get ready to create vibrant designs with basic supplies you can find at any craft store.
You’ll need fabric dye (fiber reactive works best), soda ash, rubber bands, squeeze bottles, plastic gloves, plastic bags, and a mixing bucket. Paper towels and plastic sheets help with cleanup.
100% cotton works best. Try t-shirts, tote bags, pillowcases, or socks. Rayon blends with at least 50% natural fiber also work. Avoid polyester as it won’t absorb dye. Pre-washed fabric gives better results.
Always work in a well-aired space. Wear old clothes and gloves. Keep dye away from your face. For kids, adults should handle soda ash and dye powder while kids help with folding and squeezing bottles.
21 Cute Tie Dye Patterns You’ll Love to Make
Here are 21 simple patterns you can try today, from beginner-friendly to more advanced designs.
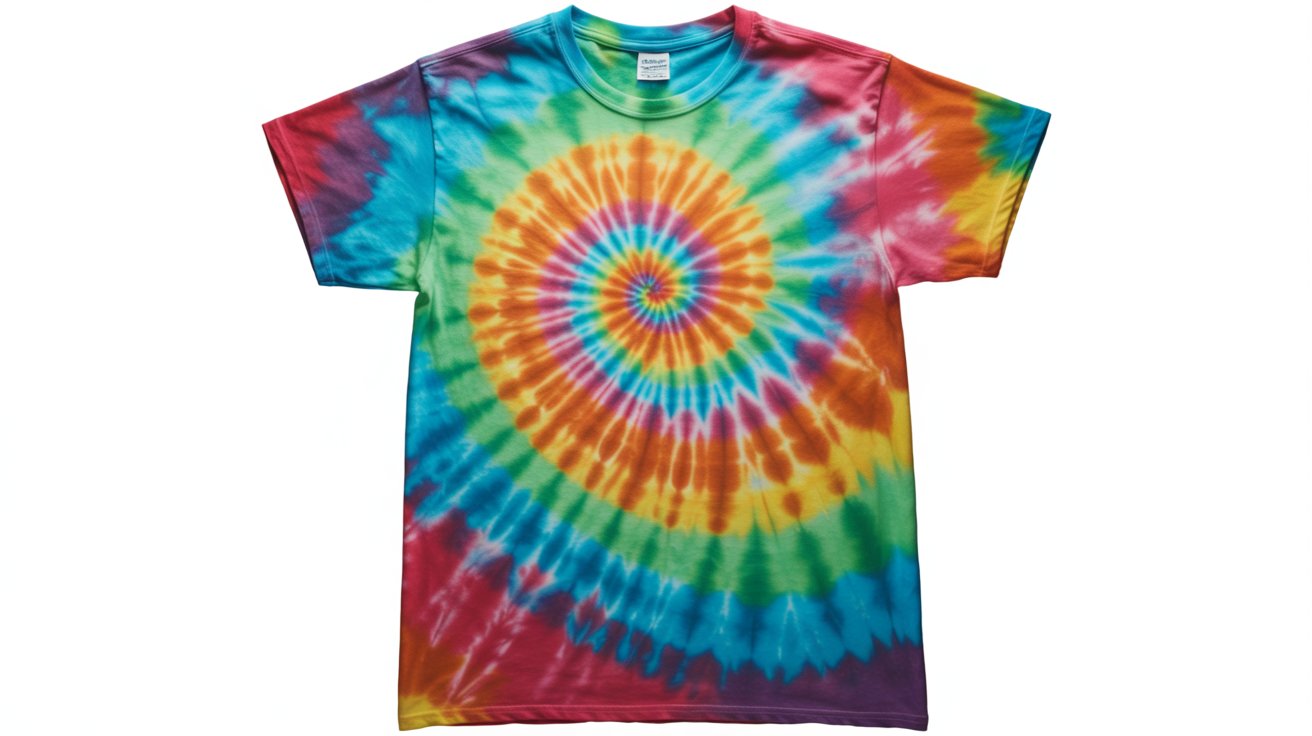
1. Classic Spiral Tie Dye
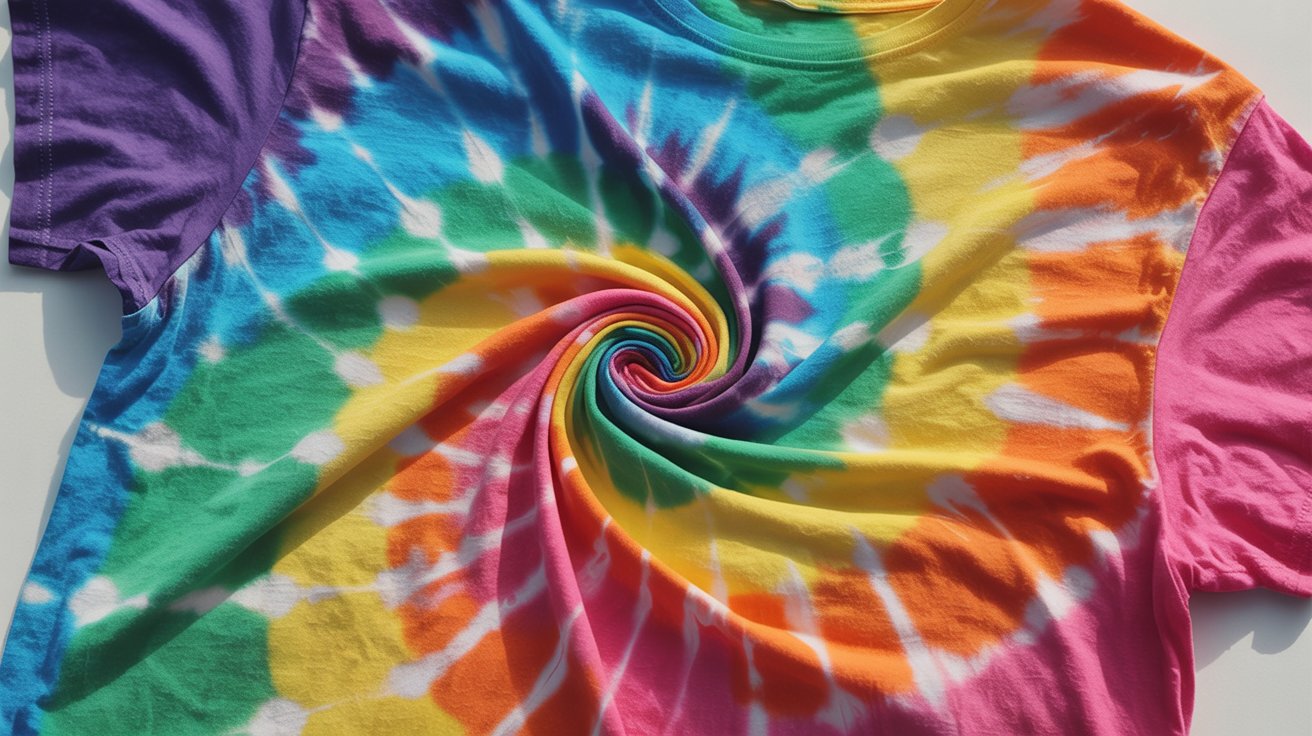
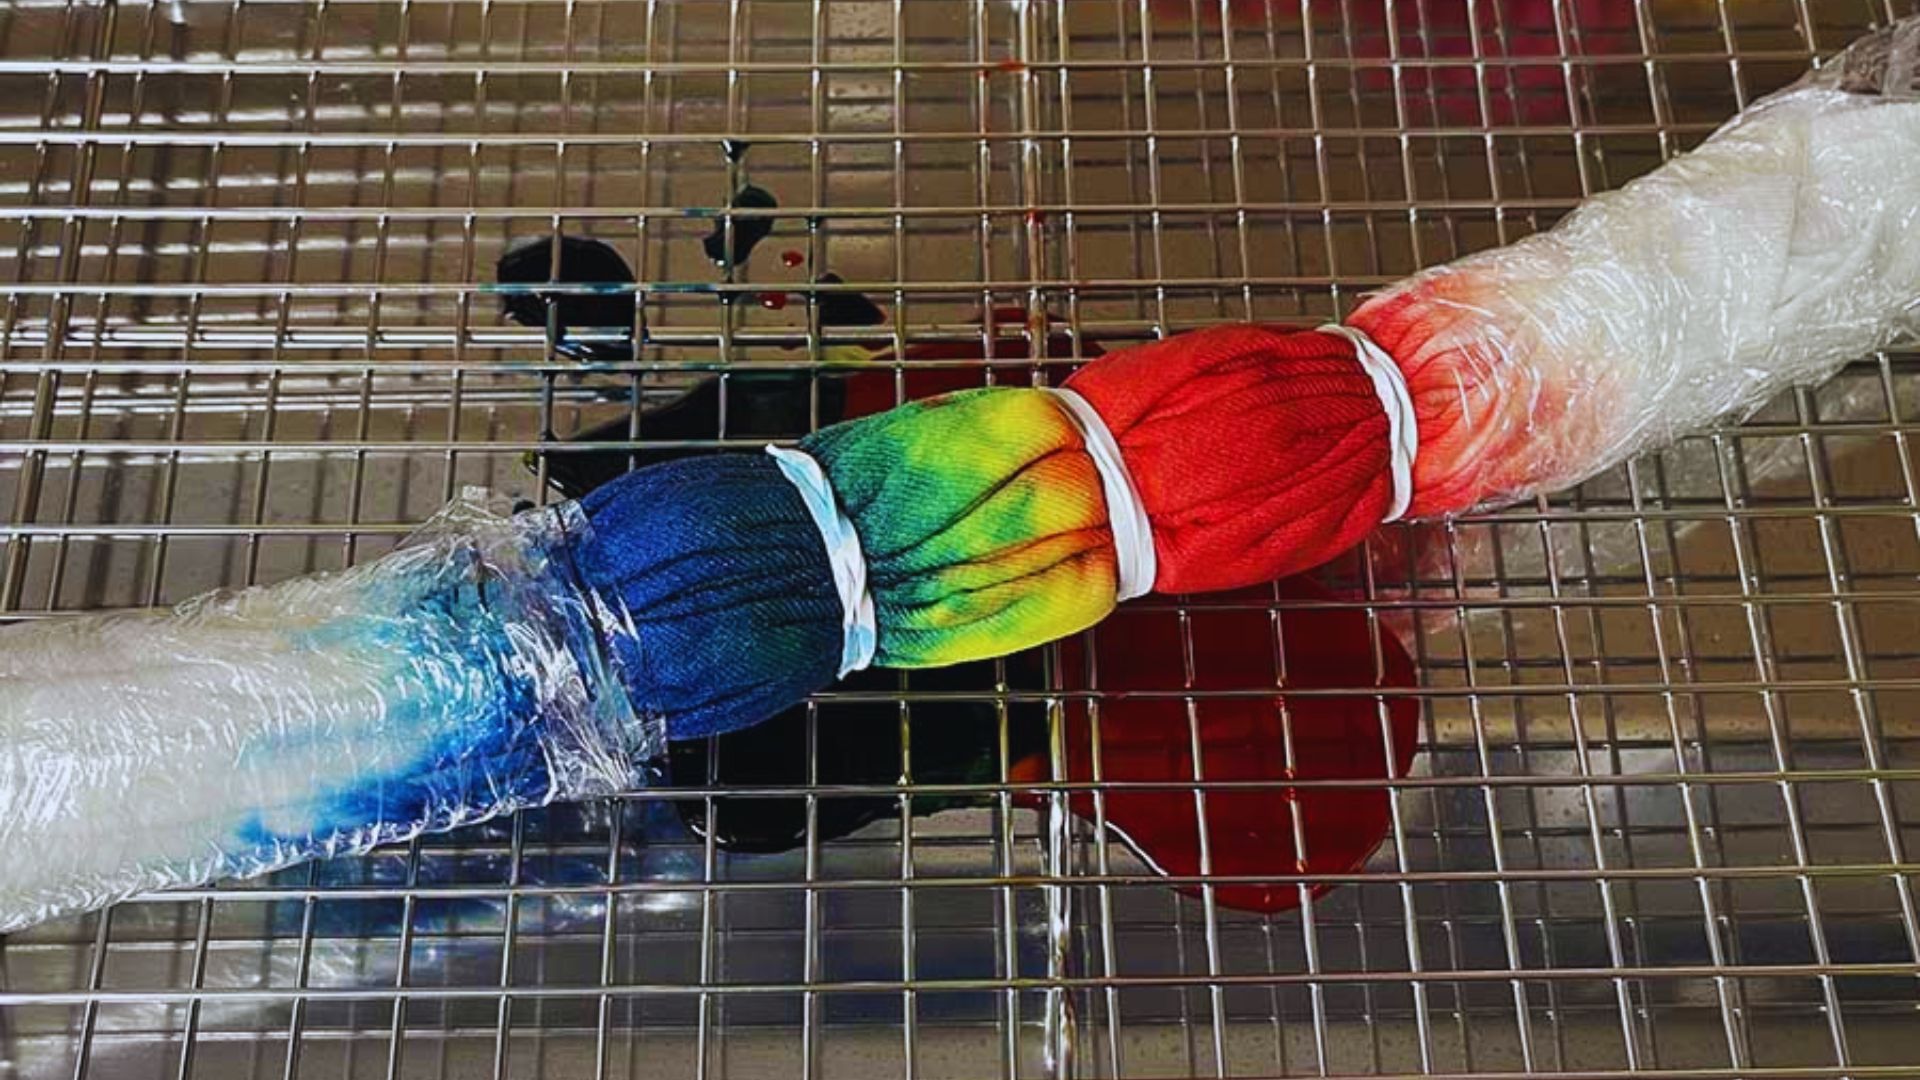
Lay your shirt flat and pinch the center. Twist clockwise until it forms a flat disk. Add 3 to 4 rubber bands to make pie-shaped sections and apply different colors to each section.
2. Rainbow Swirl Tie Dye
Start like the classic spiral. Use rainbow colors in order: red, orange, yellow, green, blue, purple. Apply them in a circle around your spiral for a color wheel effect.
3. Crumple Tie Dye

Scrunch your fabric into a ball. Add rubber bands randomly to hold the shape. Apply colors all over in a random pattern. Great for beginners.
4. Scrunch Tie Dye
Scrunch the fabric from one end to the other and keep it tight. Band it in several places. Apply dye in stripes or random spots for an all-over pattern.
5. Bullseye Tie Dye

Pinch one spot and pull it up into a point. Add rubber bands down the length at regular spaces. Dye each section a different color to get circles radiating out.
6. Sunburst Tie Dye

Make multiple bullseyes across your fabric with 3 to 5 pinch points. Use the same color family for a cohesive look. Each burst creates overlapping circle patterns.
7. Heart Tie Dye
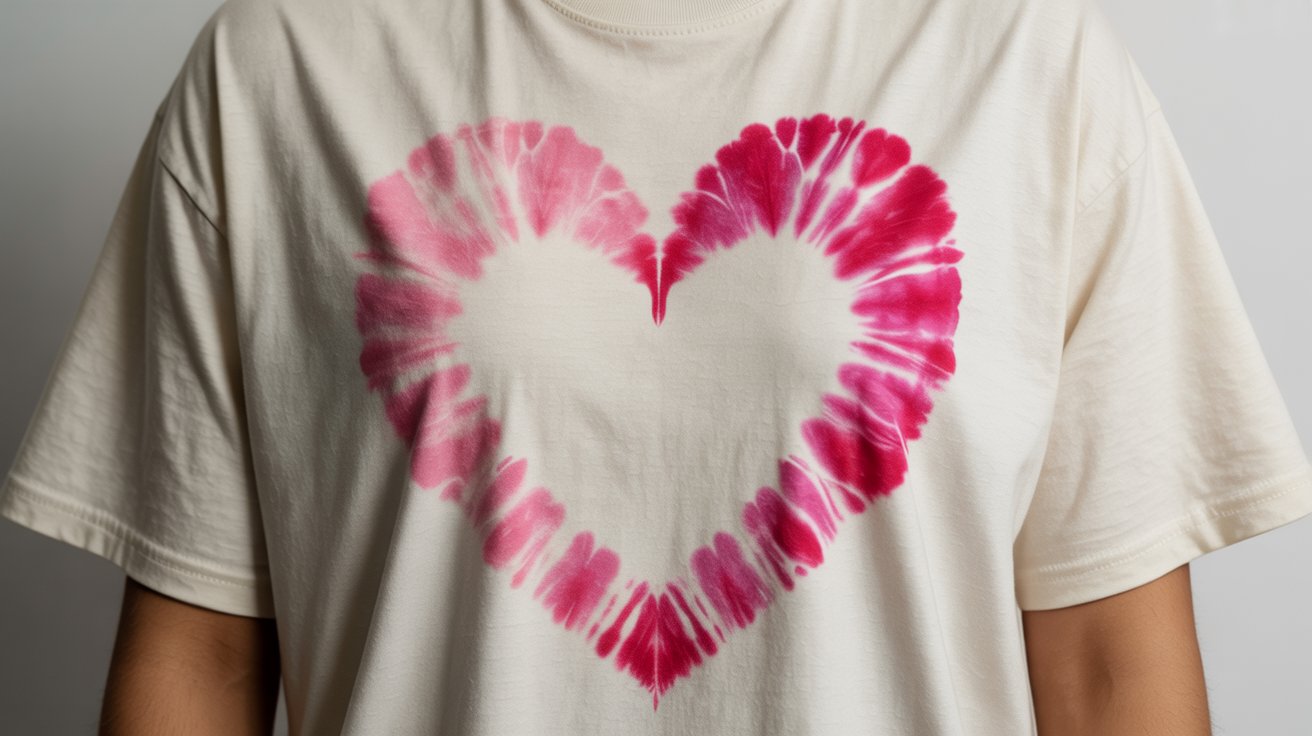
Fold your shirt in half vertically. Draw half a heart along the fold with a washable marker. Pleat along the line and band tightly. Dye the heart area in pink or red.
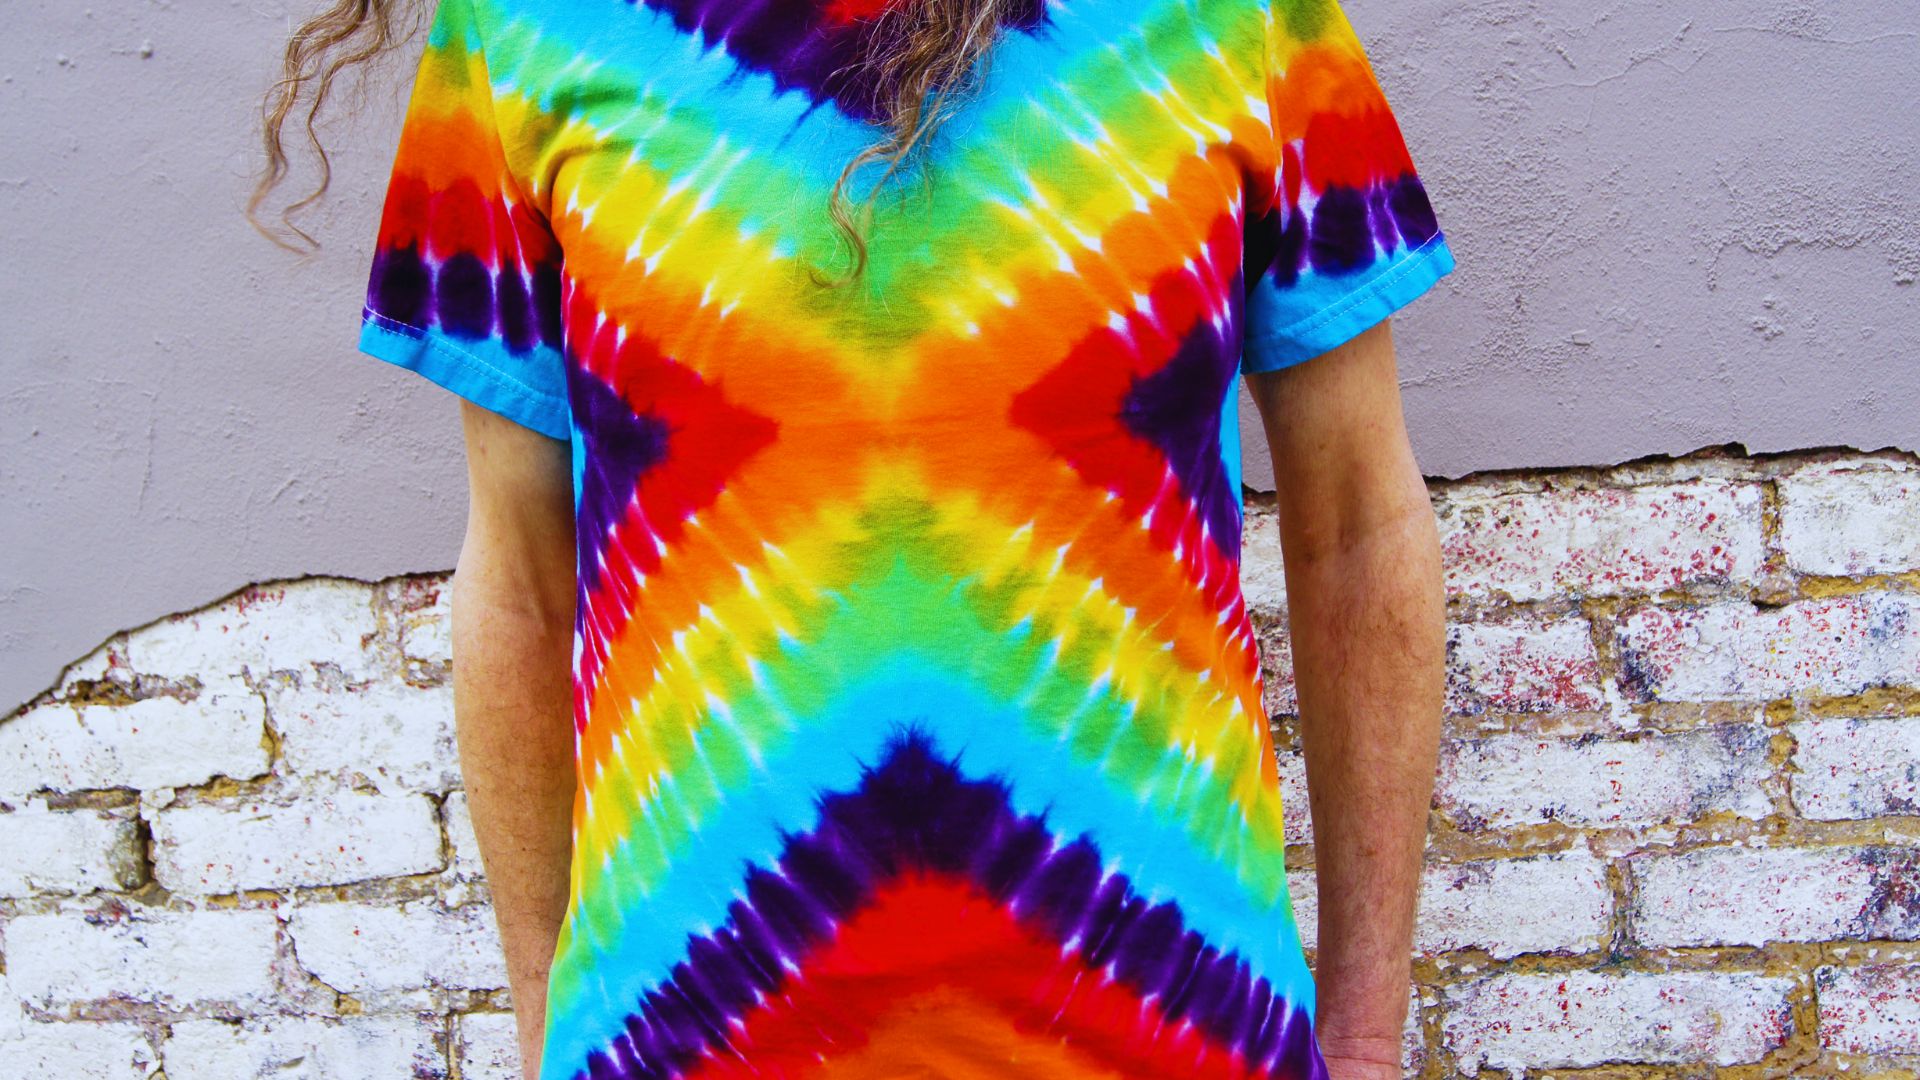
8. Rainbow Arch Tie Dye
Fold the shirt in half and draw a rainbow arch. Pleat along the curved line.
Apply rainbow stripes perpendicular to the bands: red, orange, yellow, green, blue, purple.
9. Chevron Tie Dye
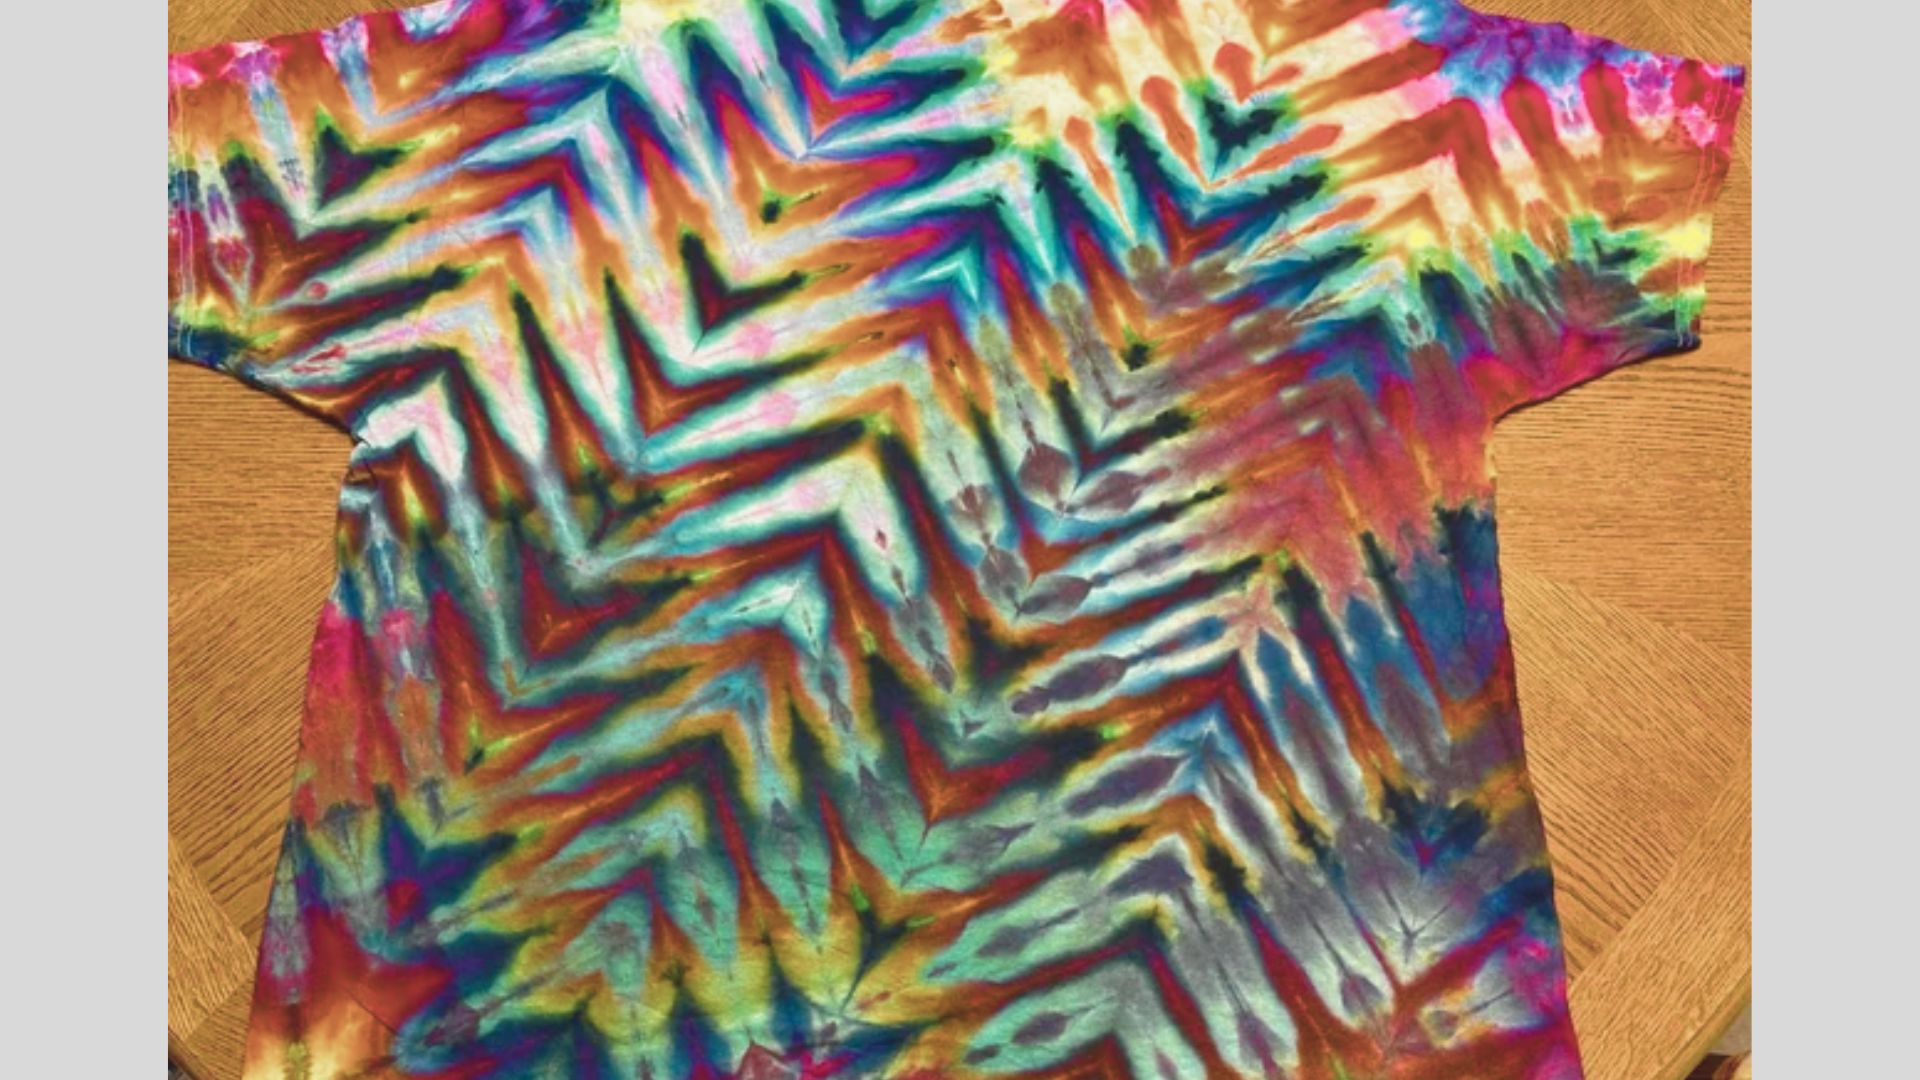
Fold the fabric in accordion pleats at a 45-degree angle. Band the folded fabric in several places. Apply colors between the bands for zigzag chevron stripes.
10. Ombre Dip Dye

Mix dye in a bucket. Dip the bottom third of your fabric and hold for 5 minutes. Lift slightly and hold for 5 more minutes. Repeat for a color fade effect.
11. Horizontal Stripe Tie Dye

Fold your fabric in accordion pleats from top to bottom, about an inch wide. Band tightly and apply different colors to different sections. Stripes run across the shirt.
12. Vertical Stripe Tie Dye

Same as horizontal stripes but fold from side to side. The pleats run vertically. Band and dye the sections. Stripes run up and down the shirt.
13. Diagonal Stripe Tie Dye
Fold corner to corner at a 45-degree angle. Make accordion pleats along the diagonal. Band tightly and dye each section for shoulder to hip stripes.
14. Polka Dot Tie Dye

Pick multiple spots across your fabric. Pull each one up and band just below the tip. Dye the peaks one color and the background another. Each peak becomes a dot.
15. Star Tie Dye

Fold the fabric in half vertically, then horizontally. Draw a quarter of a star from the center. Pleat and band tightly. Dye the star shape and background in different colors.
16. Diamond Tie Dye
Fold the fabric corner to corner both ways to make a triangle. Draw a diamond shape from the center. Pleat and band tight. The diamond repeats across the fabric.
17. Square Fold Tie Dye (Shibori-Inspired)
Fold the fabric into a small square. Keep folding until you have a thick, small square. Band or clamp it. Apply dye to the edges or corners for a kaleidoscope effect.
18. Triangle Fold Tie Dye

Fold the fabric into an accordion strip. Fold that strip into triangles like folding a flag. Dye the edges and points for a repeating triangle or hexagon pattern.
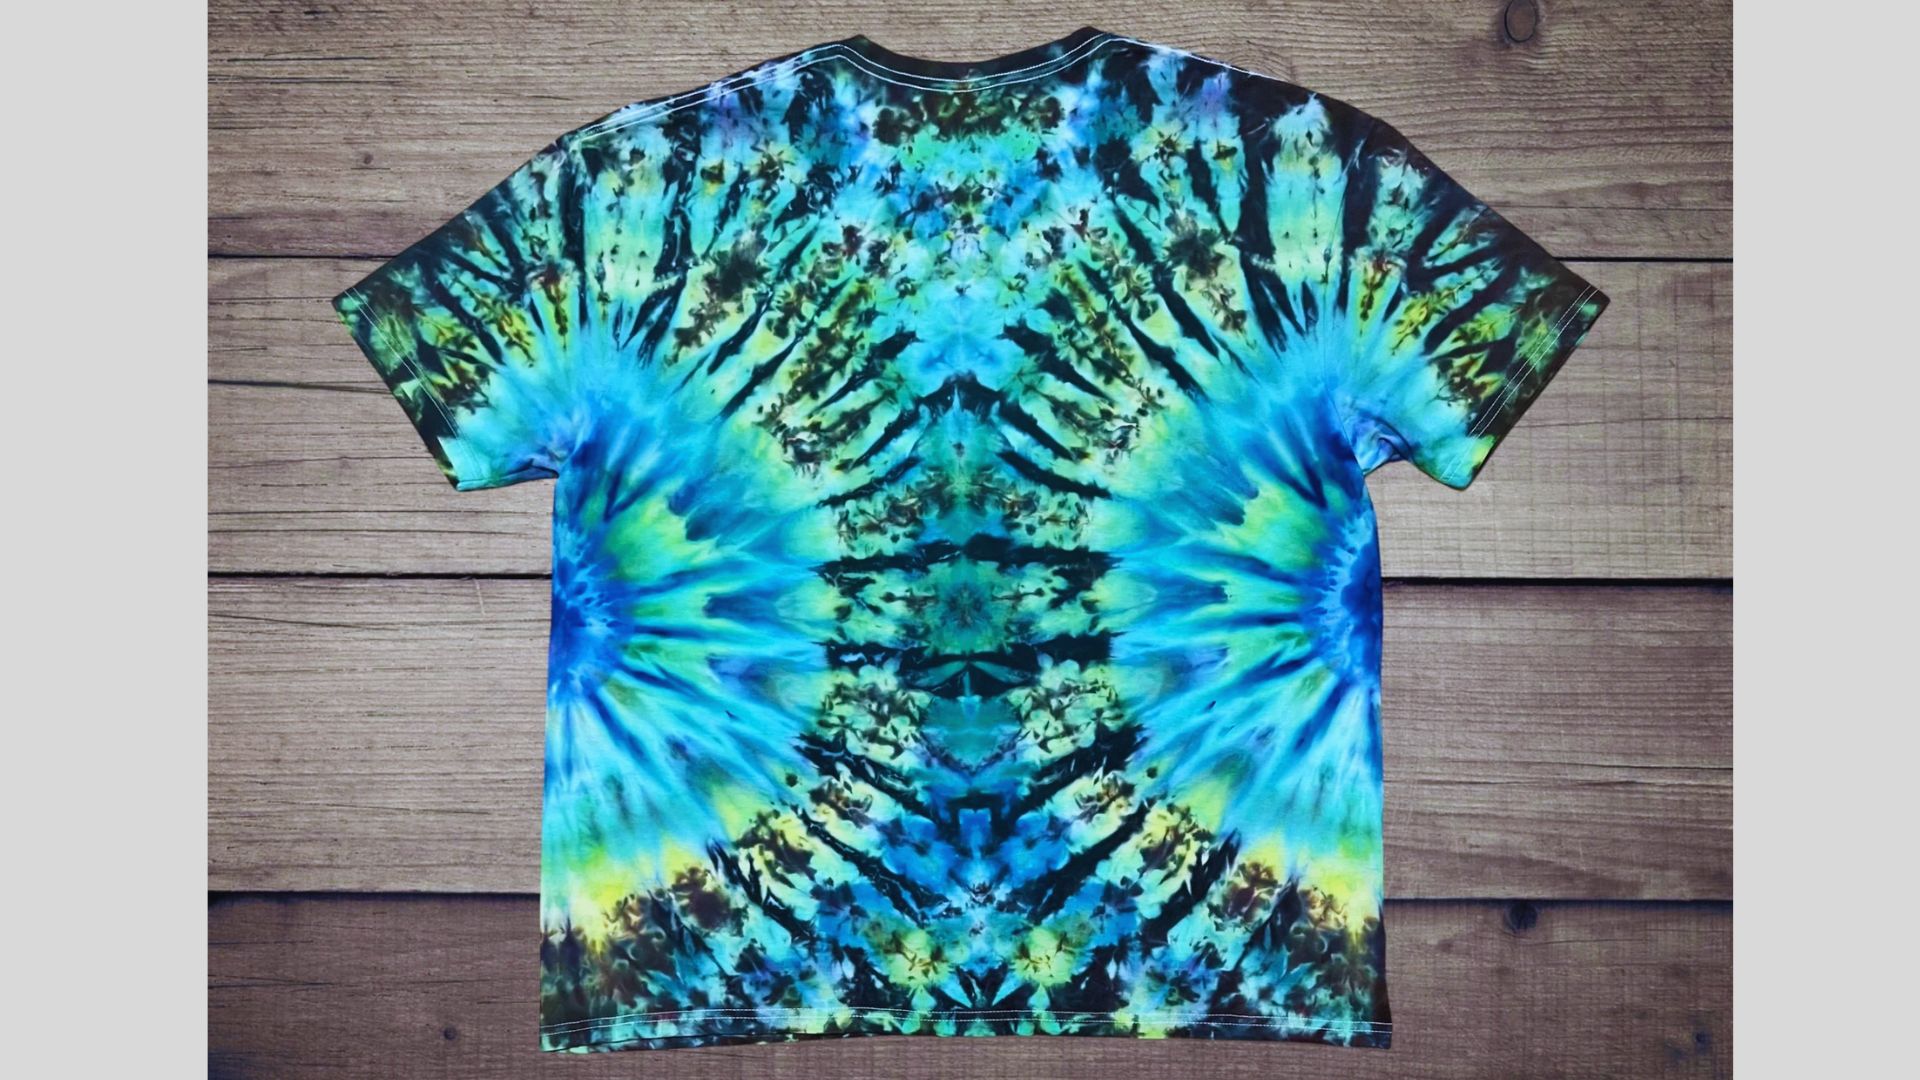
19. Mandala (Kaleidoscope) Tie Dye
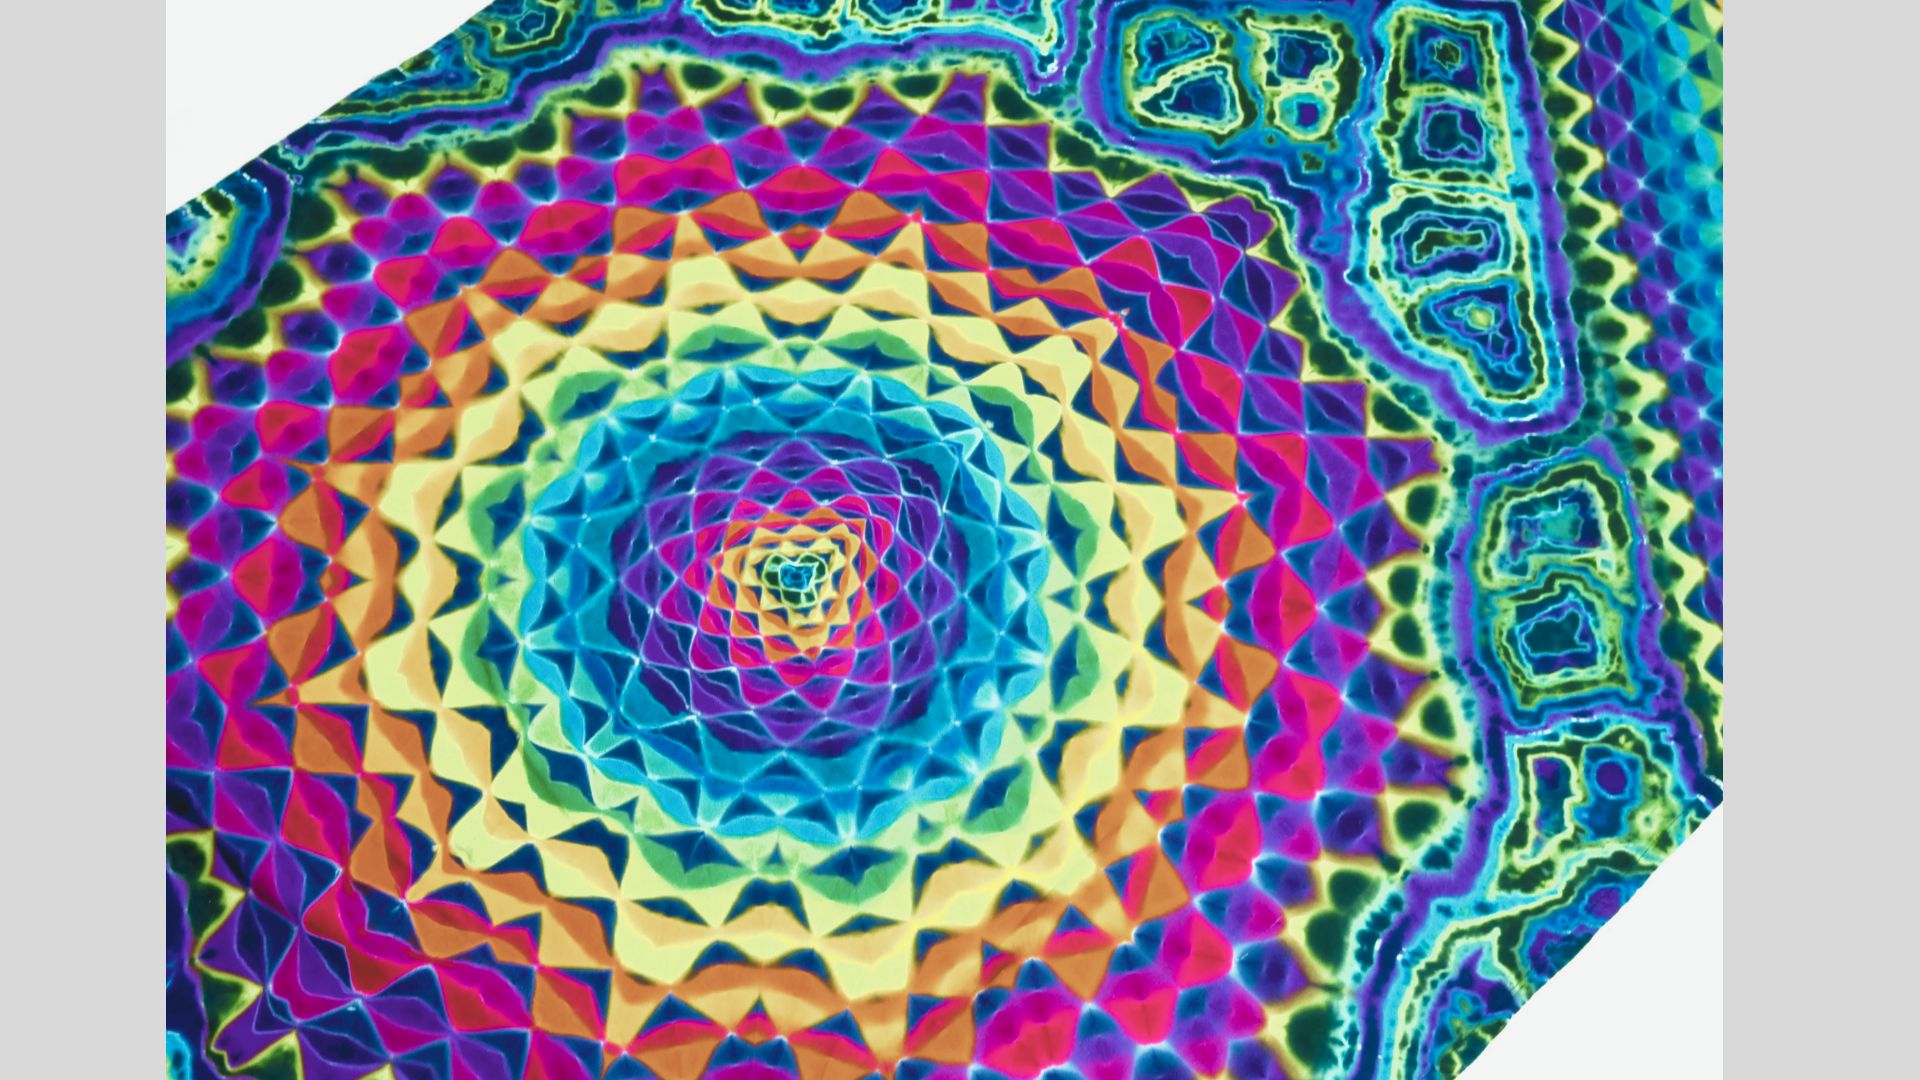
Pinch the center and pull it up. Pleat the fabric around the center in a circular pattern to make a cone shape. Band at regular intervals and dye in stripes of different colors.
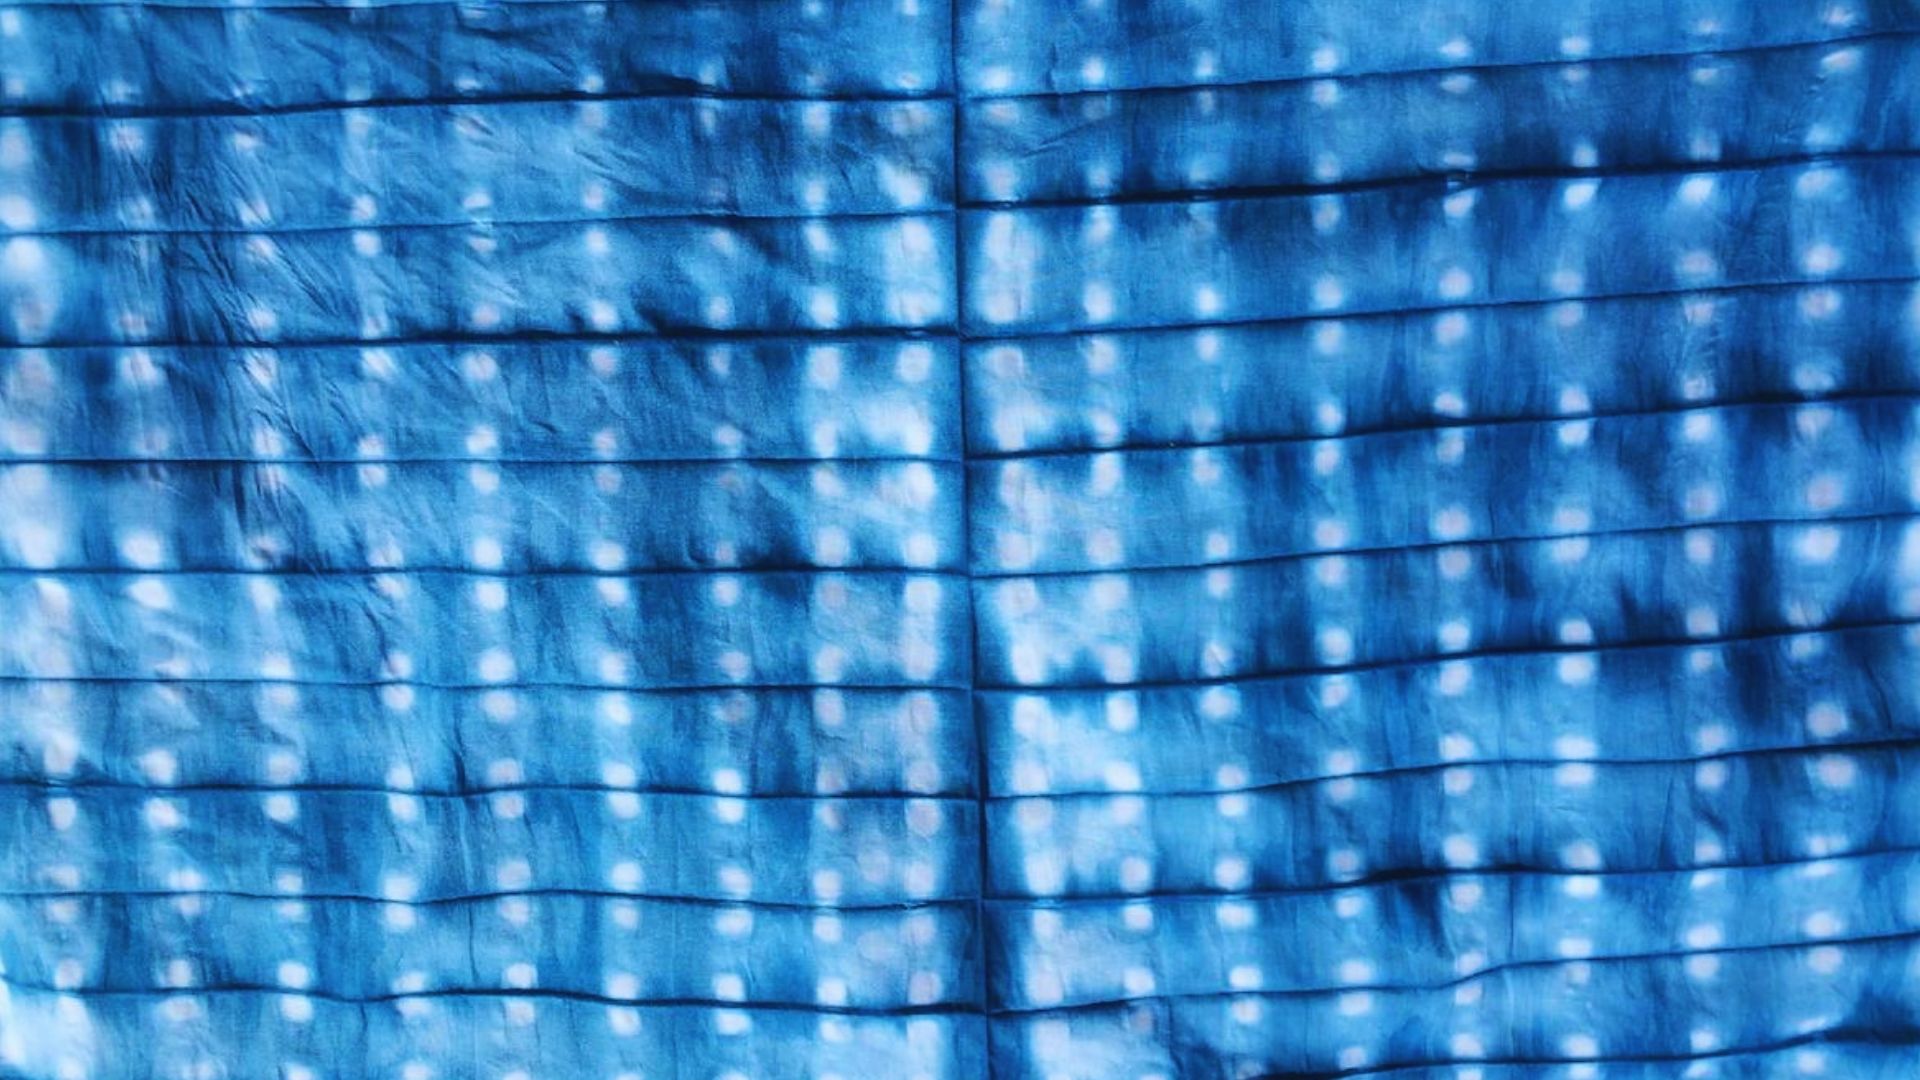
20. Ice Tie Dye

Place your scrunched fabric in a pan. Cover it with ice cubes and sprinkle powdered dye over the ice. Let the ice melt slowly for soft, watercolor-like patterns.
21. Tie Dye Socks (Cute Mini Patterns)
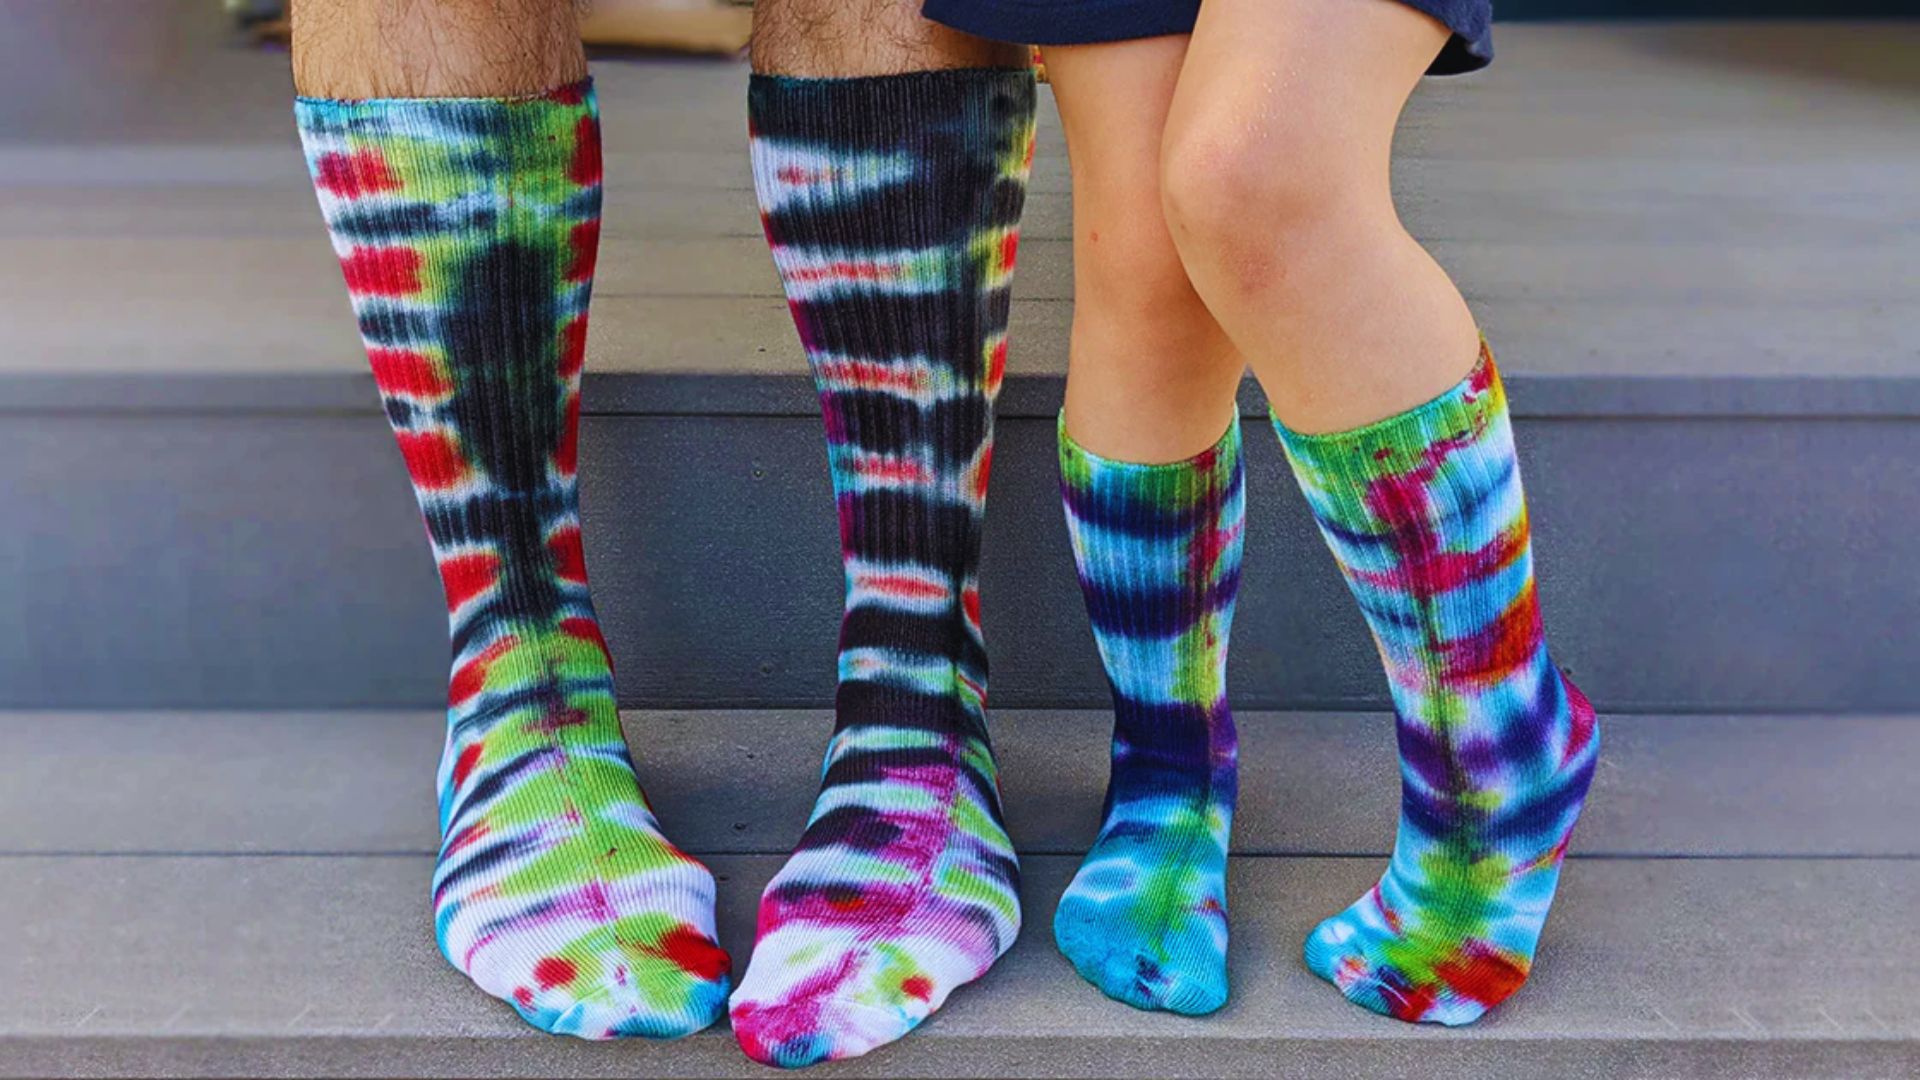
Roll each sock from toe to top and band them. Apply bright colors in sections. Mini spirals or stripes work best. Great for gifts or matching pairs.
Tips to Get Perfect Cute Tie Dye Patterns Every Time
Follow these five proven steps to make your colors pop and your designs stay crisp.
- Pre-wash your fabric with regular detergent before dyeing. New items have chemicals that block dye. Skip fabric softener as it repels color.
- Soak fabric in soda ash solution for 15 minutes. Mix 1 cup soda ash per gallon of warm water. This makes colors brighter and longer lasting.
- Apply dye evenly on both sides of your bundled fabric. Check for white spots and add more dye where needed. Don’t oversaturate or colors turn muddy.
- Let your tied fabric sit in a sealed plastic bag for 6 to 24 hours. Keep it in a warm spot. The longer it sits, the brighter the colors.
- Rinse in cold water with rubber bands on until water runs clear. Remove bands and rinse again. Wash separately the first time in cold water.
Conclusion
I still remember my first tie dye project. The colors weren’t perfect, but I was hooked. Now I make cute tie dye patterns all the time. My closet is full of them.
You can do this too. Start with one easy pattern. Maybe try the classic spiral. See how it feels. Then try another.
Don’t worry if your first piece isn’t exactly what you hoped for. That’s part of the process. Each one teaches you something.
I’d love to hear which pattern you try first. Drop a comment below and tell me how it goes. Share your photos if you want.
Now grab some fabric and make something colorful.
Frequently Asked Questions
How do I keep my tie dye colors from bleeding together?
Don’t oversaturate your fabric with dye. Keep rubber bands tight and let the dye set for the full time before rinsing.
Can I tie dye colored fabric or does it have to be white?
You can dye colored fabric, but lighter colors work best. White or light gray gives the clearest, brightest patterns.
What’s the best way to wash tie dye for the first time?
Rinse in cold water until it runs clear, then remove bands. Wash alone in cold water with mild detergent.
How long does tie dye last on fabric?
Properly made tie dye lasts for years. Use fiber reactive dye and soda ash, and let it set for 24 hours.
Can kids safely do tie dye projects?
Yes, with adult help. Kids can fold fabric and squeeze bottles. Adults should handle soda ash and dye powder.