


I get it, craft supplies take over fast, especially in small spaces. One minute, your desk is clear, and the next, it is buried under fabric scraps, paint tubes, and ribbons you just organized last week. It can quickly feel overwhelming and stressful.
When you cannot find what you need, crafting stops being fun. You spend more time digging through bins than actually creating.
A well-organized space changes everything, letting you focus on the projects you love instead of hunting for supplies.
I have tested plenty of storage ideas in my own home and found solutions that really work. From wall storage and smart drawers to rolling cabinets, these setups help you maximize every inch. With a few simple changes, you can organize your space and get back to making things you enjoy.
Clear Out Before You Organize
You can’t organize clutter. Trust me, I learned this the hard way after buying bins for stuff I never even used. Before you add any storage solutions, you need to clear out what doesn’t belong.
Use the 4-Box Decluttering Method
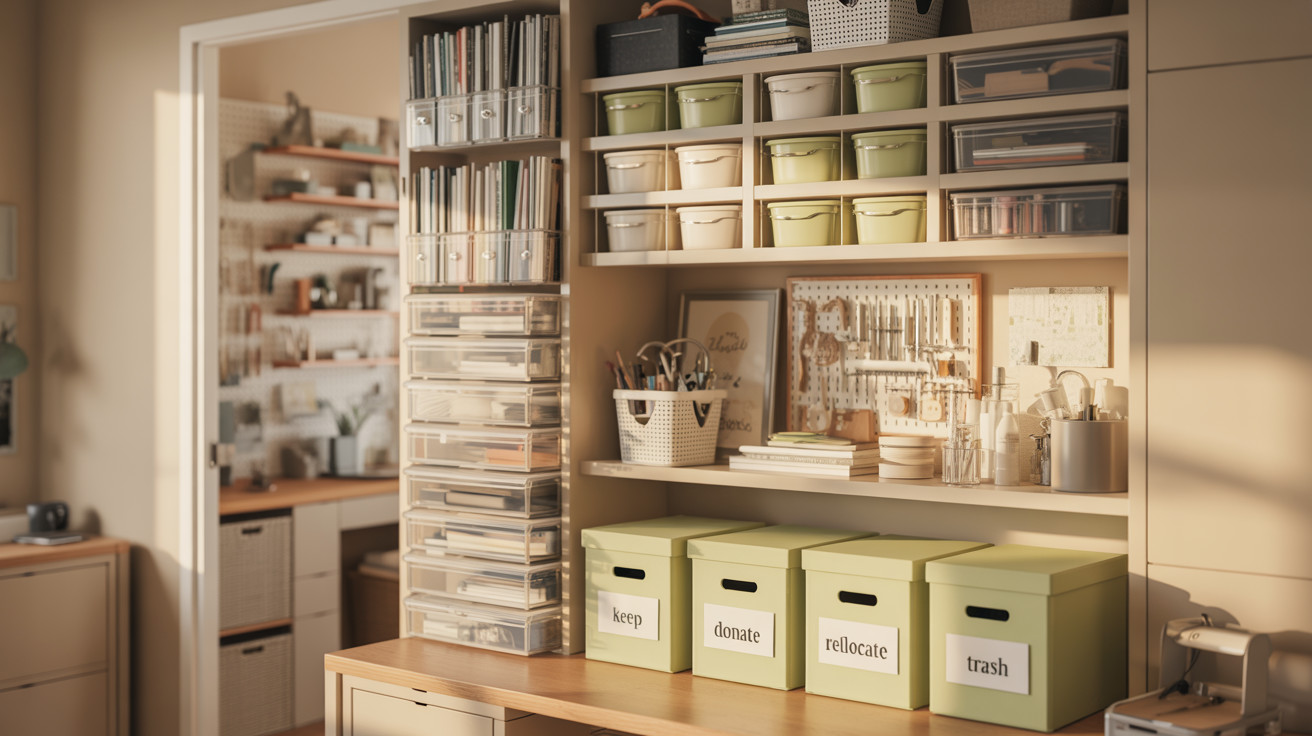
Label four boxes as Keep, Garbage, Donate, and Maybe, and sort every item in your craft space accordingly. Be honest about what you actually use and what’s broken or old.
Keep items you use monthly, toss broken supplies, donate unused but good items, and place uncertain items in the Maybe box to revisit in 30 days.
Remove Non-Craft Items
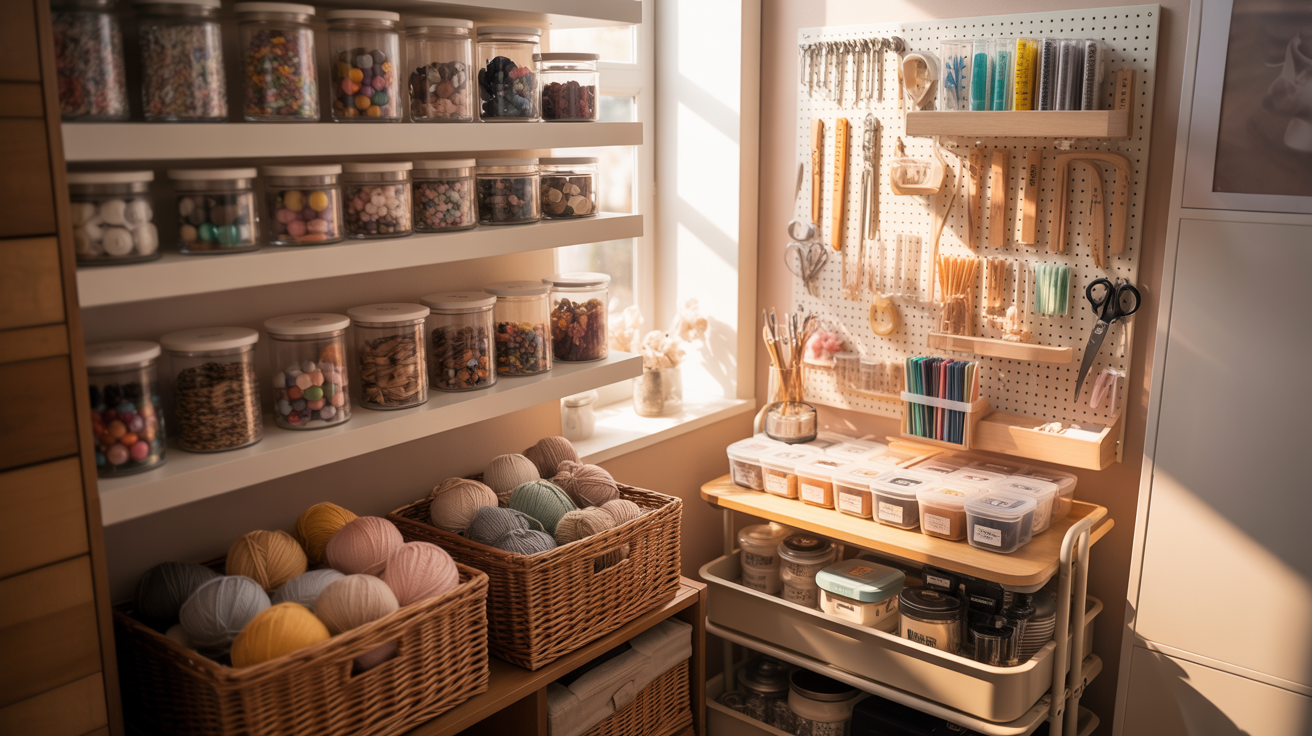
Look around your craft space right now. I bet some things don’t belong there, yard games, old mail, and random household items that somehow migrated in.
Take everything that’s not craft-related and move it to where it actually belongs. That yoga mat? Back to the bedroom.
Those gardening tools? Garage. You’d be surprised how much space you free up just by removing things that shouldn’t be there in the first place.
11 Craft Storage Ideas For Small Spaces
Small spaces need smart storage that doesn’t eat up your work area. These ideas use vertical space, hidden spots, and multipurpose solutions to keep everything organized without buying a bigger house.
Vertical Wall Organizers
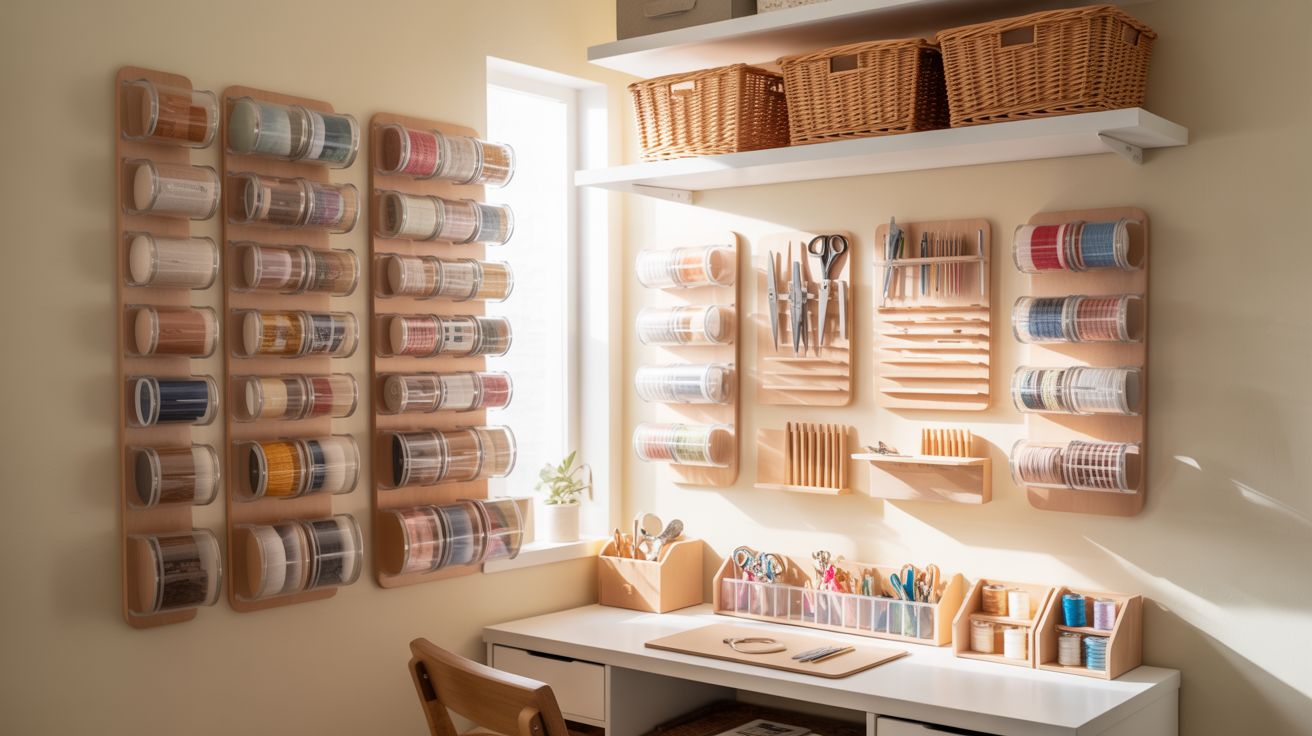
Wall space costs nothing and holds more than you think. Mount pegboards, floating shelves, or hanging organizers to keep supplies off your desk. Small baskets on wall hooks store scissors, glue, and tape within arm’s reach.
Go all the way to the ceiling if possible. The top shelf can hold things you rarely use. Everything stays visible, so you actually remember what you own.
Over-the-Door Solutions
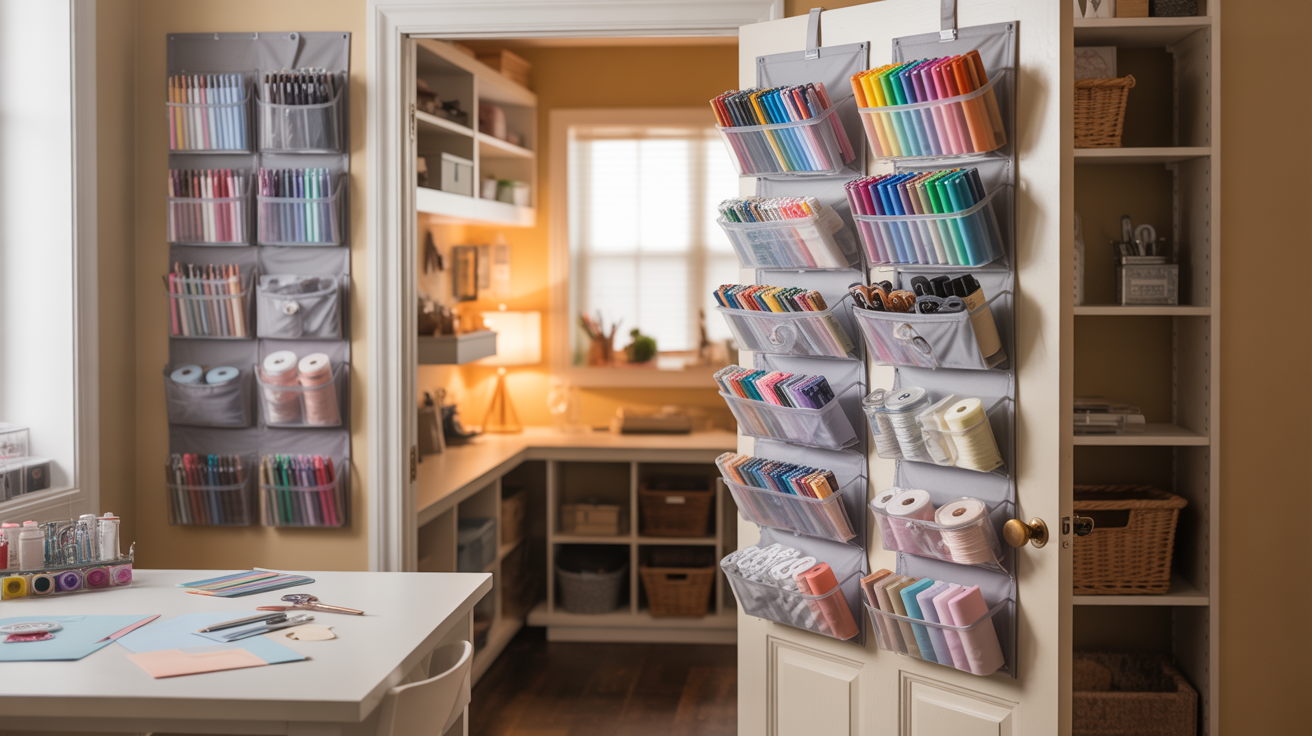
Doors are wasted space that most people ignore. Hang shoe organizers with clear pockets for markers, ribbons, and small tools. Each pocket becomes a mini storage bin you can see through.
Over-door racks work for cutting mats, poster boards, and wrapping paper, too. No installation required, and you can take it with you when you move. One door can replace an entire storage cabinet.
Rolling Carts with Drawers
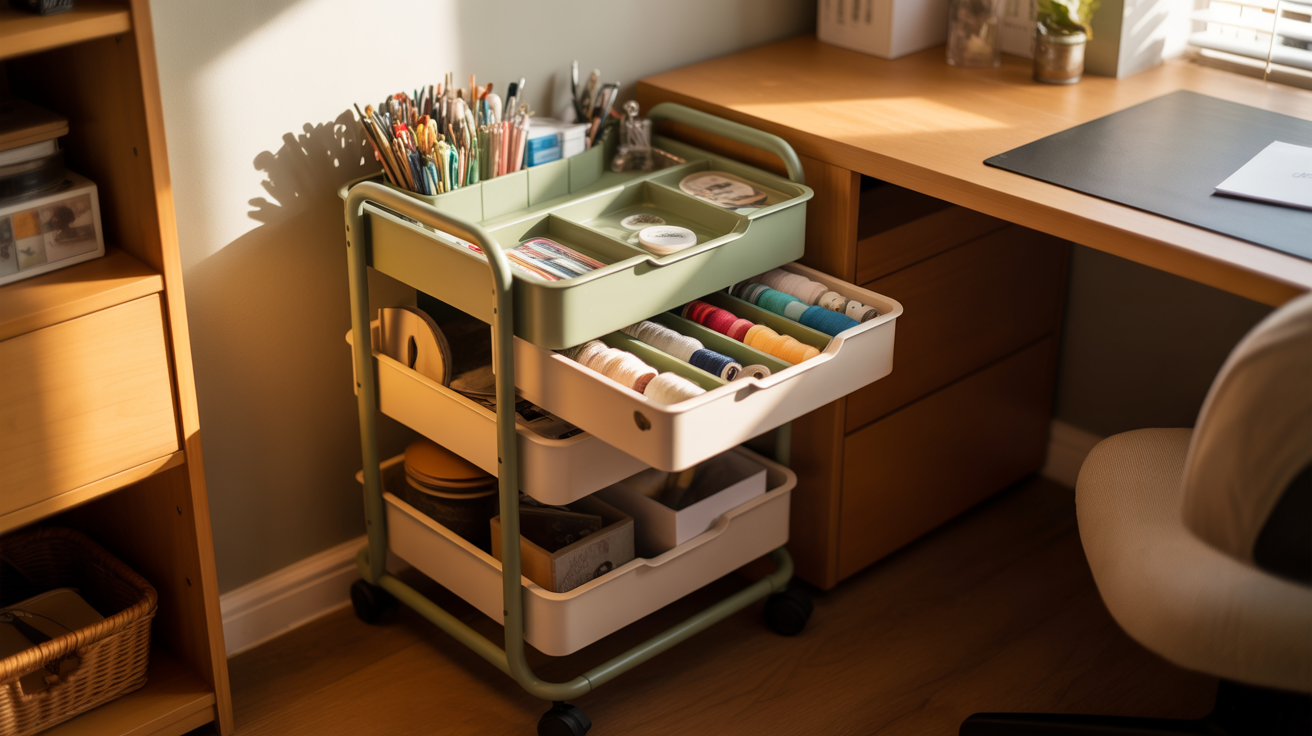
A small cart fits in corners and slides under tables when not in use. Three-tier carts with drawers keep everything separated by project type. Roll it out when you’re working and tuck it away after.
Label each drawer so you’re not digging around every time. The top becomes extra workspace for supplies you’re currently using. These carts cost less than traditional craft storage furniture.
Clear Stackable Bins
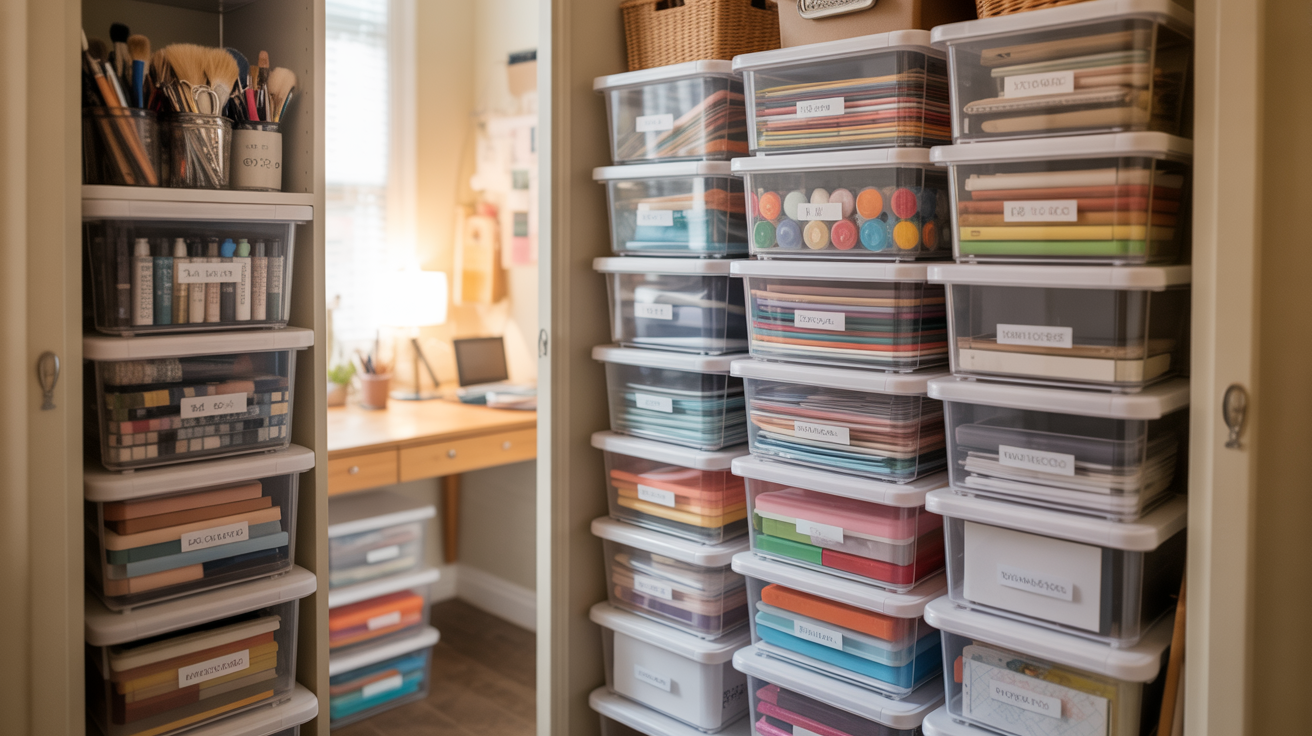
See-through containers prevent the “out of sight, out of mind” problem. Stack them in closets or under beds to maximize vertical space. Group supplies by type: one bin for paint, one for fabric, one for paper.
Measure your space before buying so the bins actually fit where you need them. Square containers use space better than round ones. Clear sides mean you’ll never buy duplicate supplies by accident.
Tension Rod Dividers
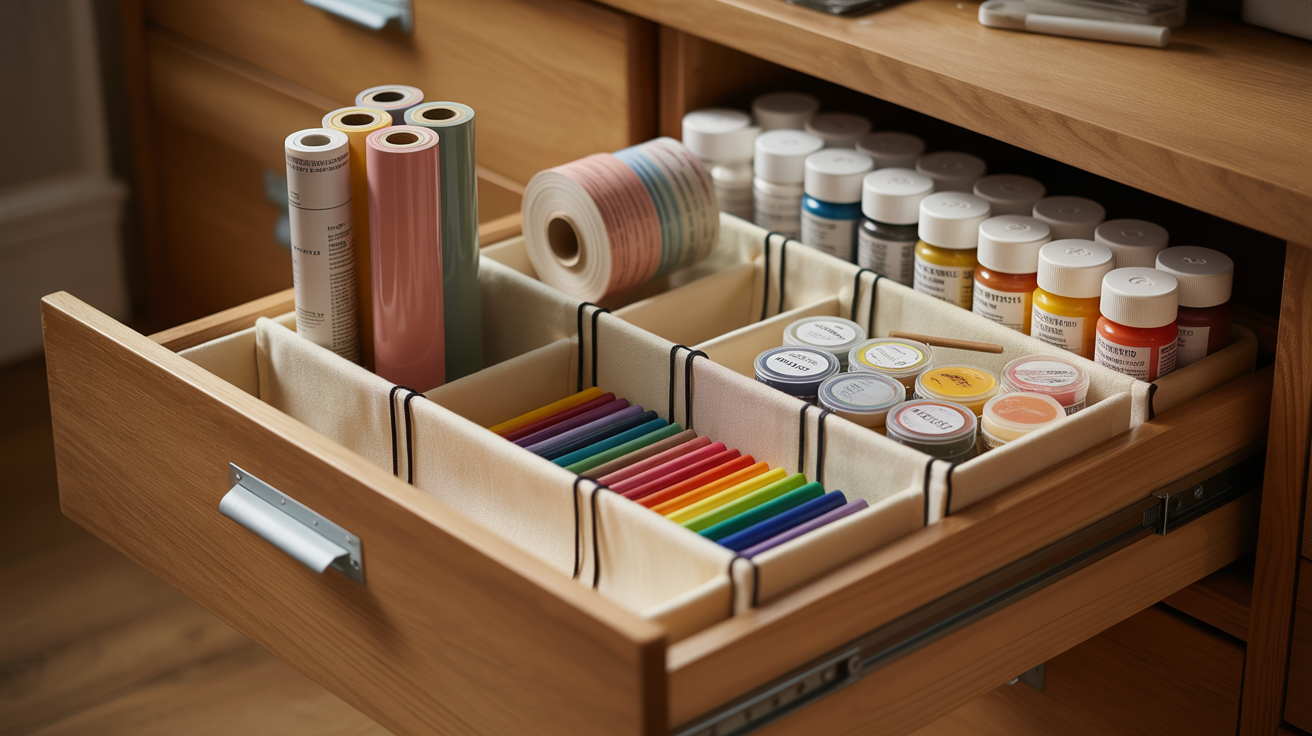
Tension rods installed in drawers create adjustable compartments. Stand vinyl rolls, ribbon spools, or paint bottles upright between the rods. Everything stays organized without buying drawer inserts.
Use them in cabinets too for vertical storage of cutting boards or canvases. They’re removable, so you can reconfigure as your collection changes. One pack of rods organizes multiple drawers for cheap.
Mason Jar Desktop Storage
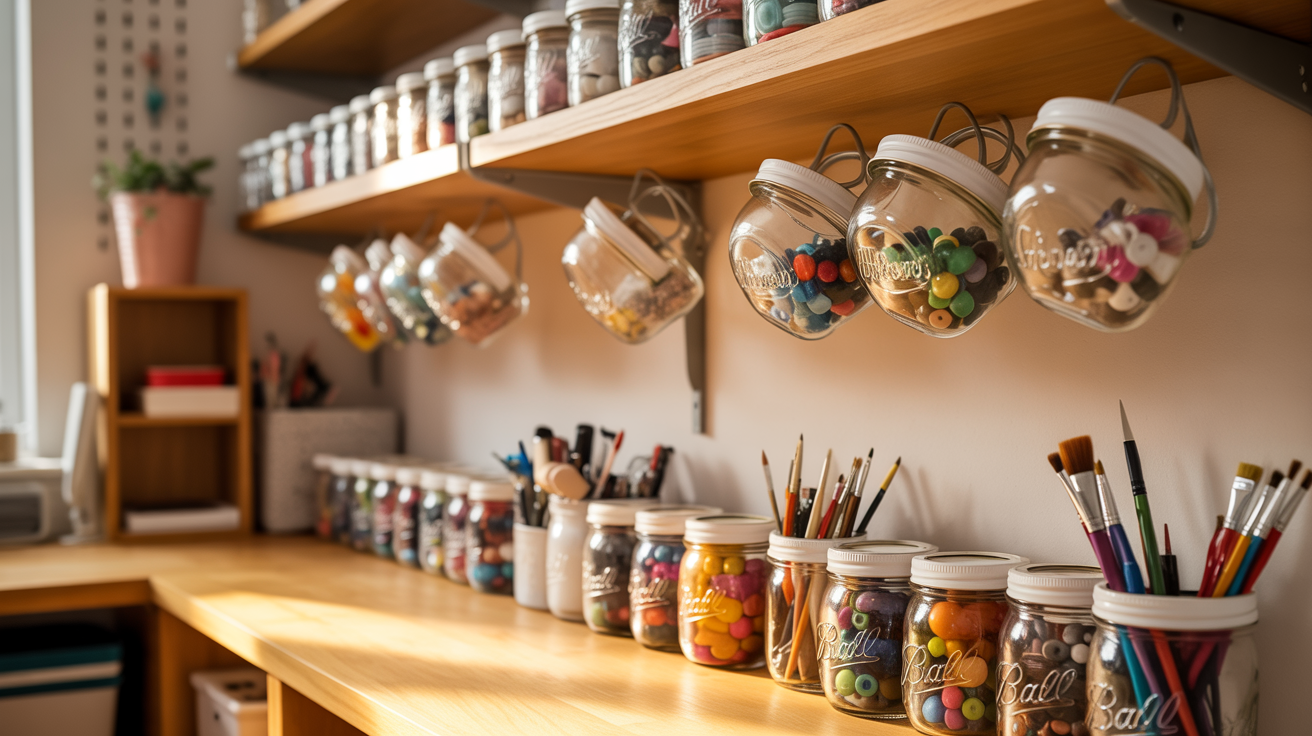
Glass jars corral small items and look decent on display. Mount lids under shelves and screw jars up into them for hanging storage. Or just line them up on a shelf for brushes, pens, and buttons.
Label the lids with chalkboard paint so you know what’s inside. Different jar sizes handle different supply types. They’re free if you save food jars instead of recycling them.
Magnetic Strips and Boards
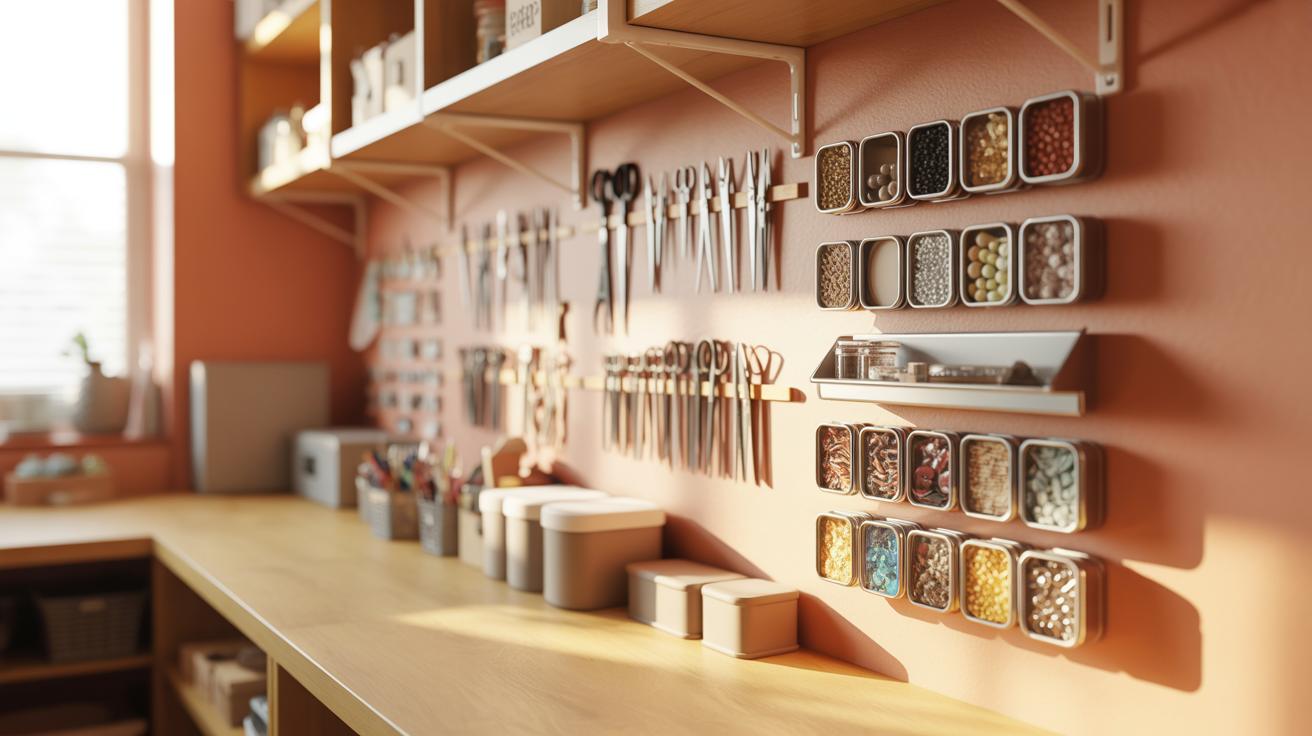
Mount magnetic strips on walls for metal tools like scissors and tweezers. Magnetic boards hold small metal tins filled with beads or sequins. Everything hangs neatly and takes up zero counter space.
Cookie sheets work as cheap magnetic boards if you’re on a budget. Stick magnetic hooks on the side of filing cabinets for hanging storage. This system keeps sharp tools safely out of reach from kids.
Under-Bed Storage Bins
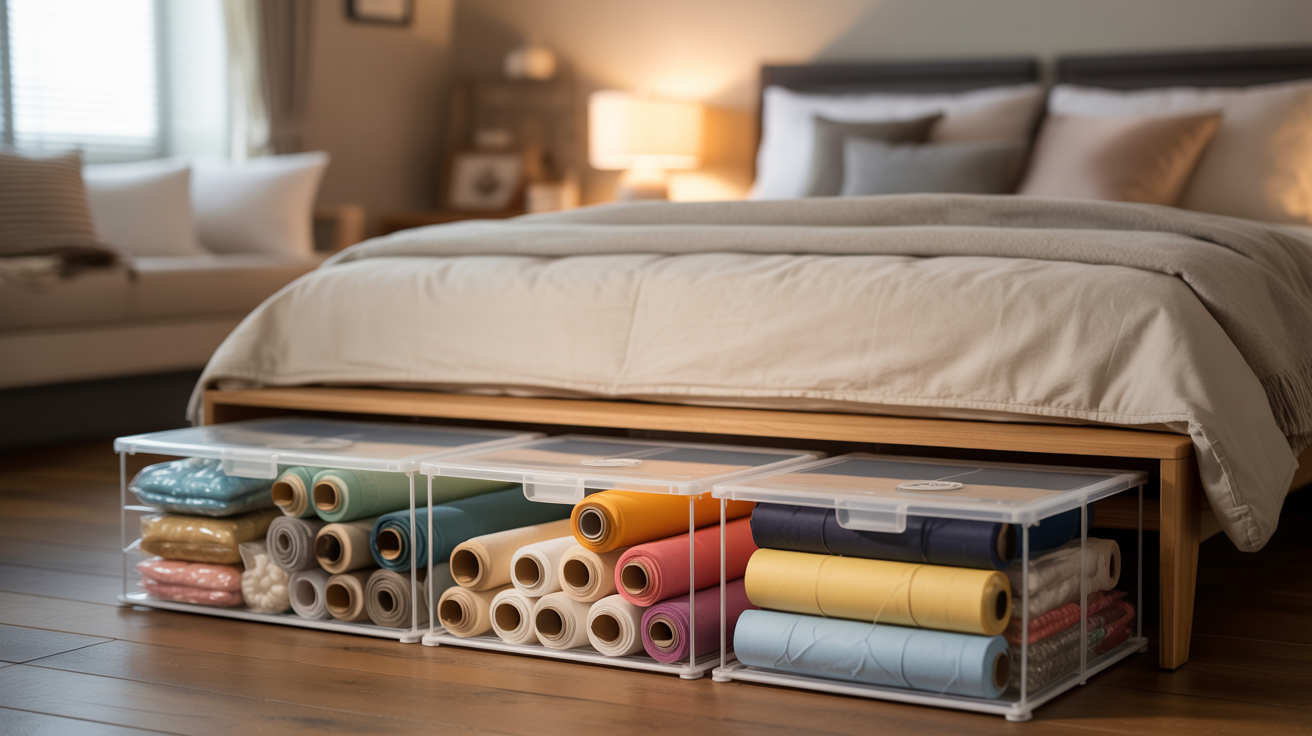
The space under your bed is craft storage you’re not using. Flat rolling bins slide in and out easily and hold large items like fabric bolts or poster paper.
Vacuum-seal bags compress yarn and fabric to save even more room.
Measure the height clearance before buying bins. Add labels on the ends so you can see what’s inside without pulling everything out. This works especially well for seasonal craft supplies.
Repurposed Furniture Pieces
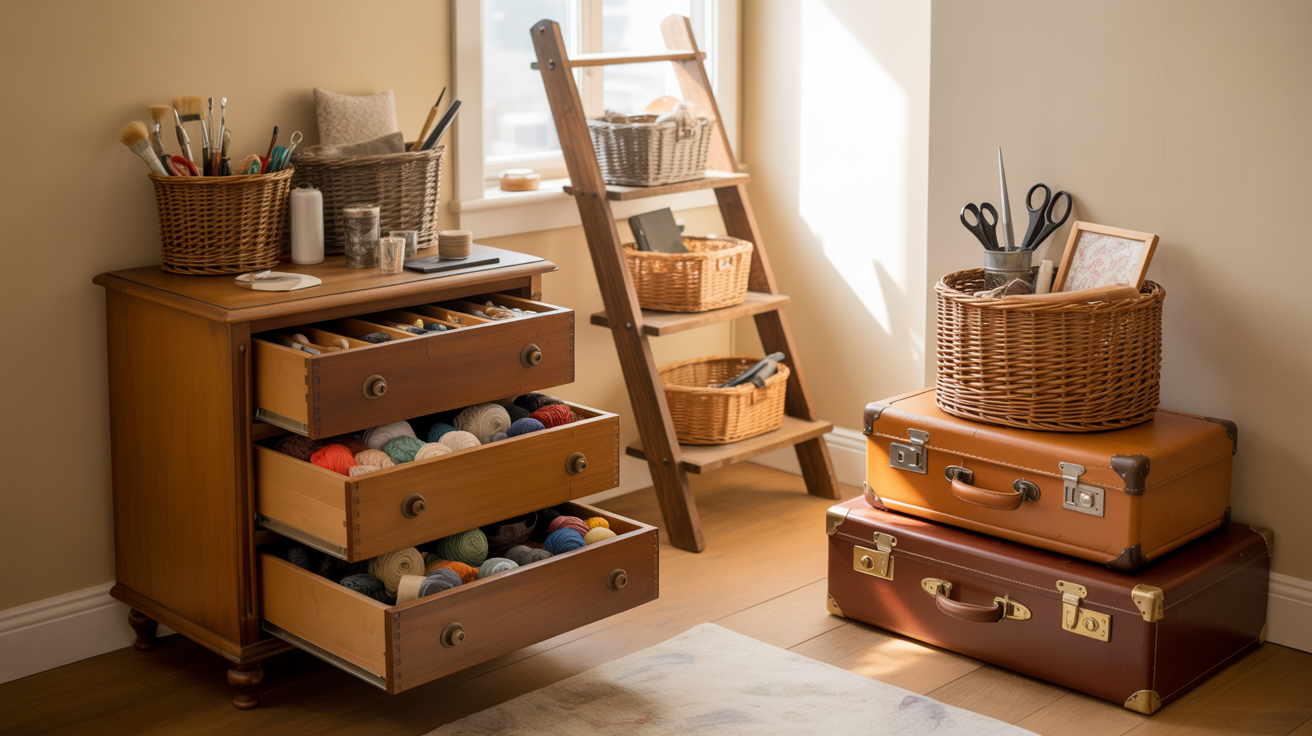
Old dressers become perfect craft storage with drawer organizers added inside. Vintage suitcases stack decoratively while hiding supplies.
A ladder leaning against the wall holds baskets on each rung.
Thrift stores sell cheap furniture that just needs a coat of paint. Small bookcases turned sideways create cubbies for bins. Look at furniture for what it could hold, not what it was designed for.
Closet Door Back Panels
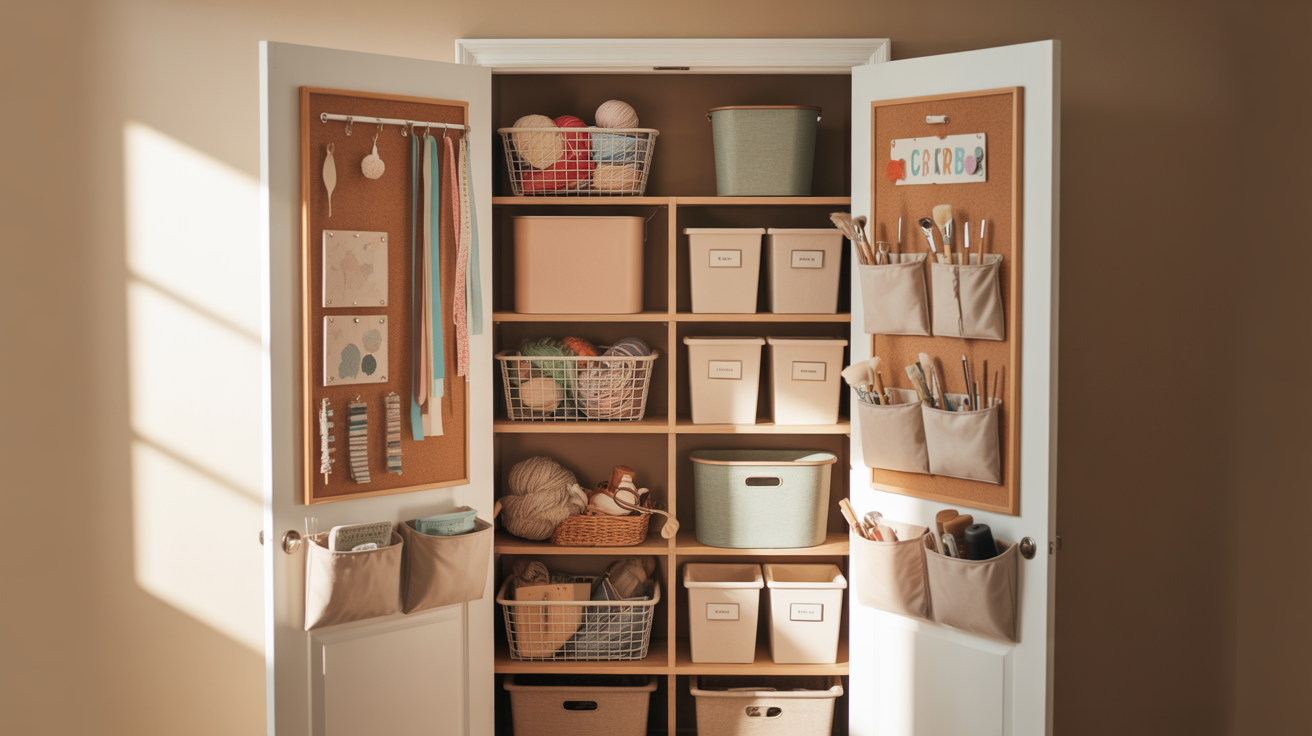
The inside of closet doors offers hidden storage space. Attach cork boards, wire baskets, or fabric pockets to hold lightweight supplies.
Your craft room looks clean because everything’s tucked behind closed doors.
Command hooks work if you’re renting and can’t drill holes. Hang scissors, rulers, or ribbon on the door back. Open the door, and your most-used tools are right there waiting.
Collapsible Storage Solutions
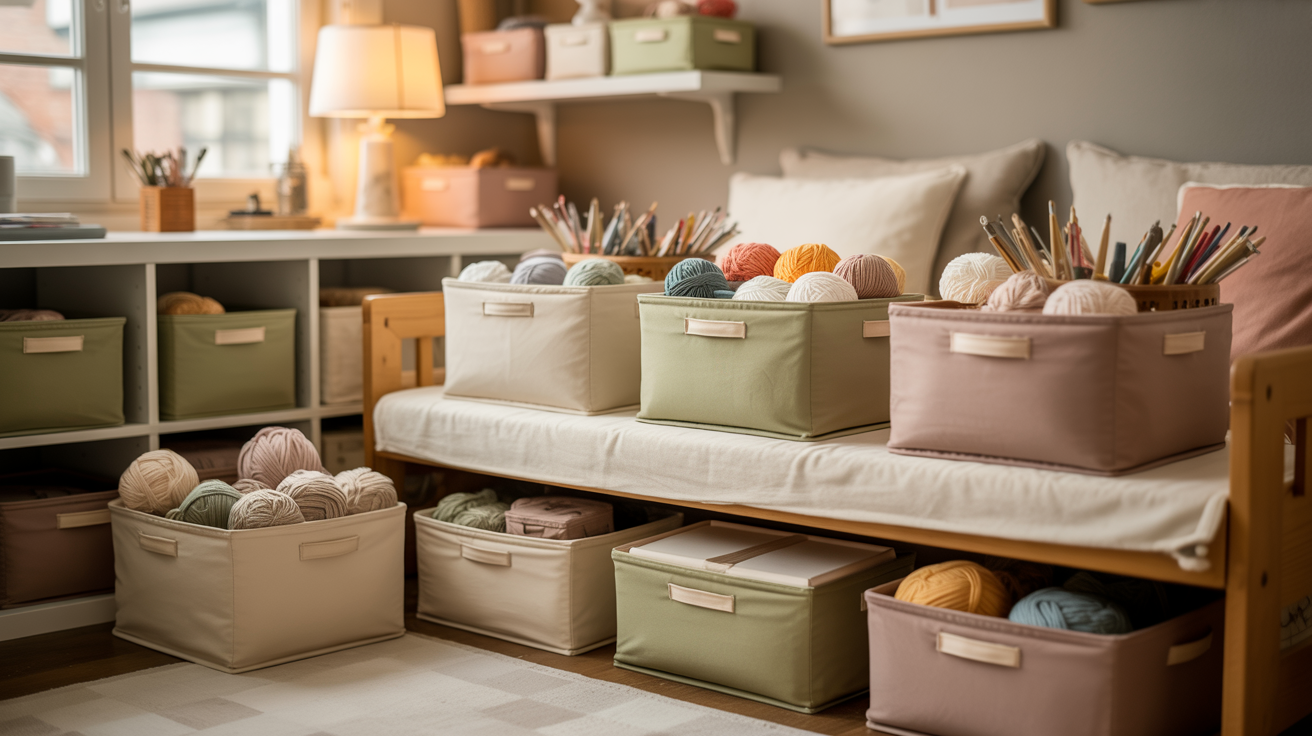
Fabric bins and boxes fold flat when empty and expand when needed. Keep collapsed ones under your bed until a new project requires more organization.
This flexibility beats permanent storage that takes up space year-round.
Look for collapsible options in baskets, cubes, and even drawer organizers. Store them with your seasonal decorations when not actively crafting. Only set up what you’re currently using to keep the room from feeling cramped.
How To Make Storage Functional and Practical?
Storage only works if you actually use it. Pretty bins that frustrate you every time you open them? Not worth it.
- Keep frequently used items within easy reach, like scissors or daily tools, to make crafting smoother.
- Organize by frequency: daily items on desks or top shelves, weekly in reachable drawers, monthly in higher or closet storage.
- Avoid complicated access, like unstacking bins or reaching through clutter, which discourages use.
- Balance function and style by displaying supplies in visually appealing ways without sacrificing accessibility.
- Test and adjust your system regularly to ensure it works for different projects and evolves with your needs.
Conclusion
Small spaces do not have to limit your creativity. With the right approach, you can keep your craft supplies organized while still having space to work. Smart storage solutions help you stay functional without feeling cramped or cluttered.
Start by clearing out anything you no longer need. Then add simple ideas like wall shelves, stacking bins, and rolling cabinets. The goal is to make every inch of your space work for you. When everything has a home and is easy to find, crafting becomes much more enjoyable and less stressful.
Try one or two of these ideas in your own space and see how much more room you have to create. I have tested these solutions myself, and they make a real difference. Share in the comments what your biggest craft storage challenge is and what has worked for you.
Frequently Asked Questions
How do I organize craft supplies in a small room?
Start by decluttering with the 4-box method, then use vertical storage like wall pegboards and stacking bins. Keep frequently used items in rotating desk caddies within reach. Group supplies by category in clear or opaque bins, and consider rolling cabinets if you’re working in a shared space.
What’s the best way to store vinyl rolls in small spaces?
Use large acrylic bins to store vinyl rolls upright, divided by type and color. Keep HTV in one or two bins (colorful and neutral), and adhesive vinyl in separate bins. This system saves space and limits overbuying by restricting storage to available bin space.
Should I use clear or opaque storage bins?
Both work well depending on your needs. Clear bins let you see contents at a glance, saving time when starting projects. Opaque bins hide clutter for a cleaner, streamlined look, great for shared spaces or offices. Choose based on your organization’s style.
How can I maximize vertical space in my craft room?
Install wall pegboards for tools and supplies, use stackable acrylic crates on shelves, and add wall boxes for small items like washi tape and stamps. In closets, go vertical with drawer systems instead of stacking lidded bins. Don’t overcrowd walls, balance storage with visual appeal.
What furniture works best for small craft spaces?
Choose rolling cabinets that move when needed and tuck away when not in use. Opt for stacking drawers over lidded bins for easier access. Use rotating desk caddies to keep tools within reach without taking up much space. Prioritize functional furniture that makes crafting easier.
