


Looking for fun scratch art projects to do right now? You’re in the right place. This article shows you simple scratch art ideas that work with supplies you already have at home.
I’ve tested these projects myself, and I’ll walk you through each one step by step. You’ll learn techniques that actually work, not complicated methods that waste your time. Some projects take just 10 minutes, while others give you something impressive to hang on your wall.
I know you want clear instructions that make sense. That’s exactly what you’ll get here. No confusing art terms or expensive materials required.
I’ve made these projects with my own hands, fixed the mistakes, and figured out what actually matters. By the end of this guide, you’ll have real skills you can use today.
Scratch Art Basics
I love scratch art because it’s simple and fun. You scrape away a black layer to show bright colors underneath. It’s like magic on paper.
What Is Scratch Art?
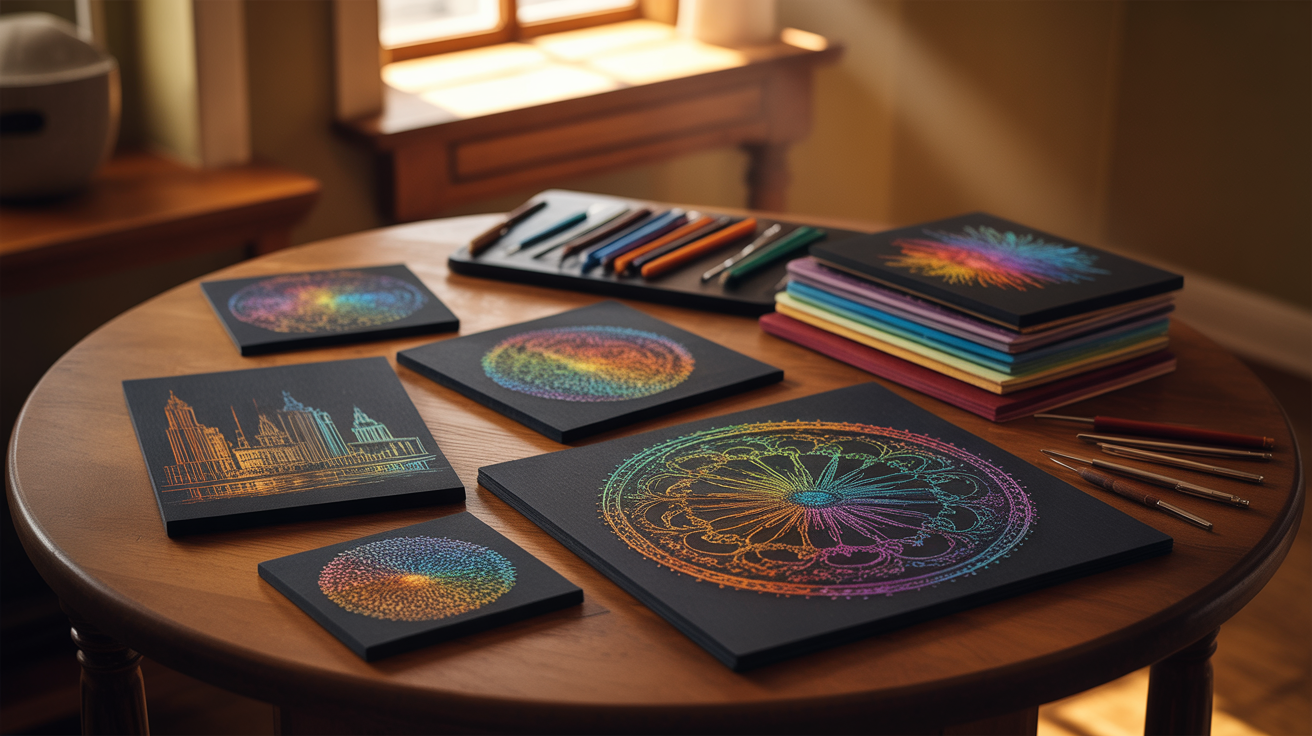
Scratch art is a technique where you cover colorful paper with black paint. Then you use a tool to scratch designs into the surface. The colors pop through wherever you scratch.
It works because the black layer sits on top of the color layer. When you scrape it off, you reveal what’s hiding below. That’s the whole trick.
Supplies You Need
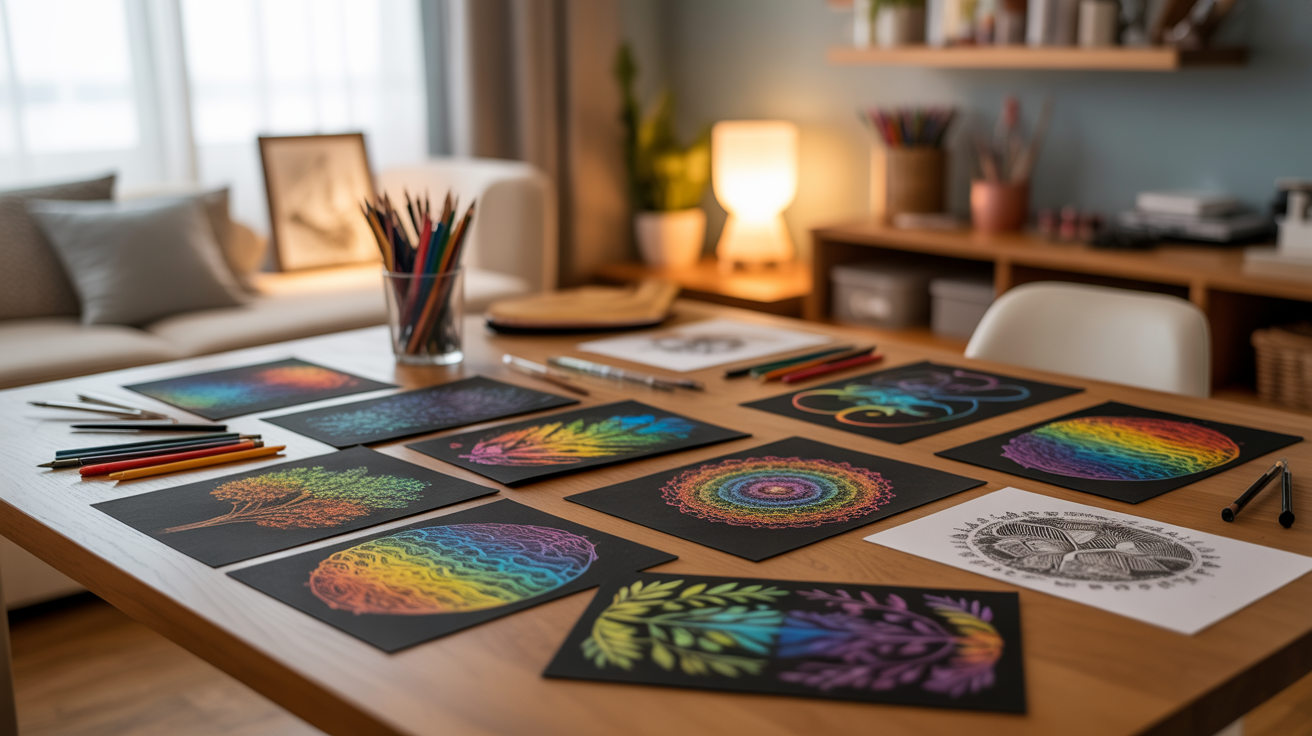
You don’t need much to get started. Here’s what works best:
Paper options:
- Pre-made scratch art paper from craft stores
- Cardstock or thick paper for DIY versions
- White poster board
Scratching tools:
- Wooden stylus
- Toothpicks
- Wooden skewers
- Dull pencils
- Plastic forks
Most of these items are already in your house. You can start today without spending money.
13 Cool Scratch Art Ideas
Ready to create something special? I’ve put together 13 scratch art ideas that work for beginners and experienced artists. Pick one that speaks to you and start scratching.
Rainbow Animal Art
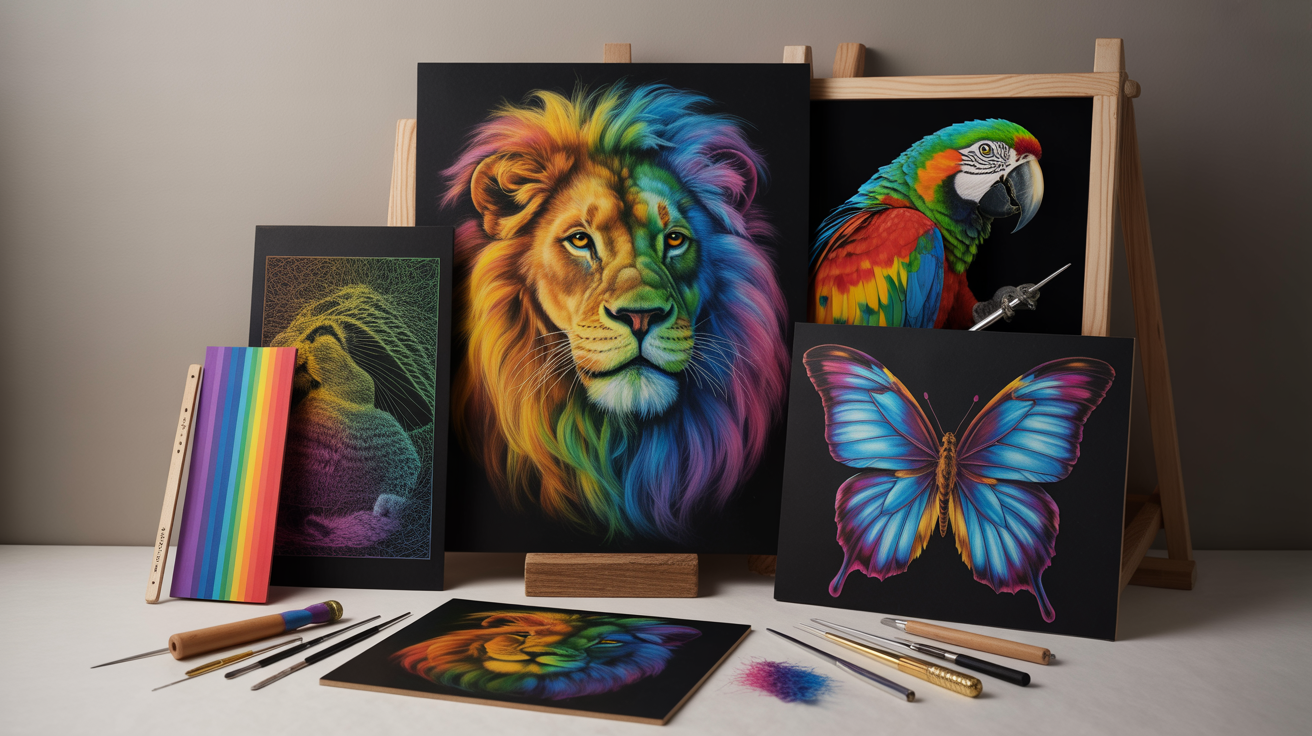
Animals look great in scratch art because they have natural shapes and textures. You can make butterflies with patterned wings, cats with striped fur, or fish with shimmering scales.
How to make it:
- Sketch your animal outline lightly, then scratch the body shape and add fur, scales, or feather details with small repeated lines
Try adding whiskers, spots, or wing patterns. The rainbow colors underneath make each animal look bright and alive.
Galaxy and Space Scenes
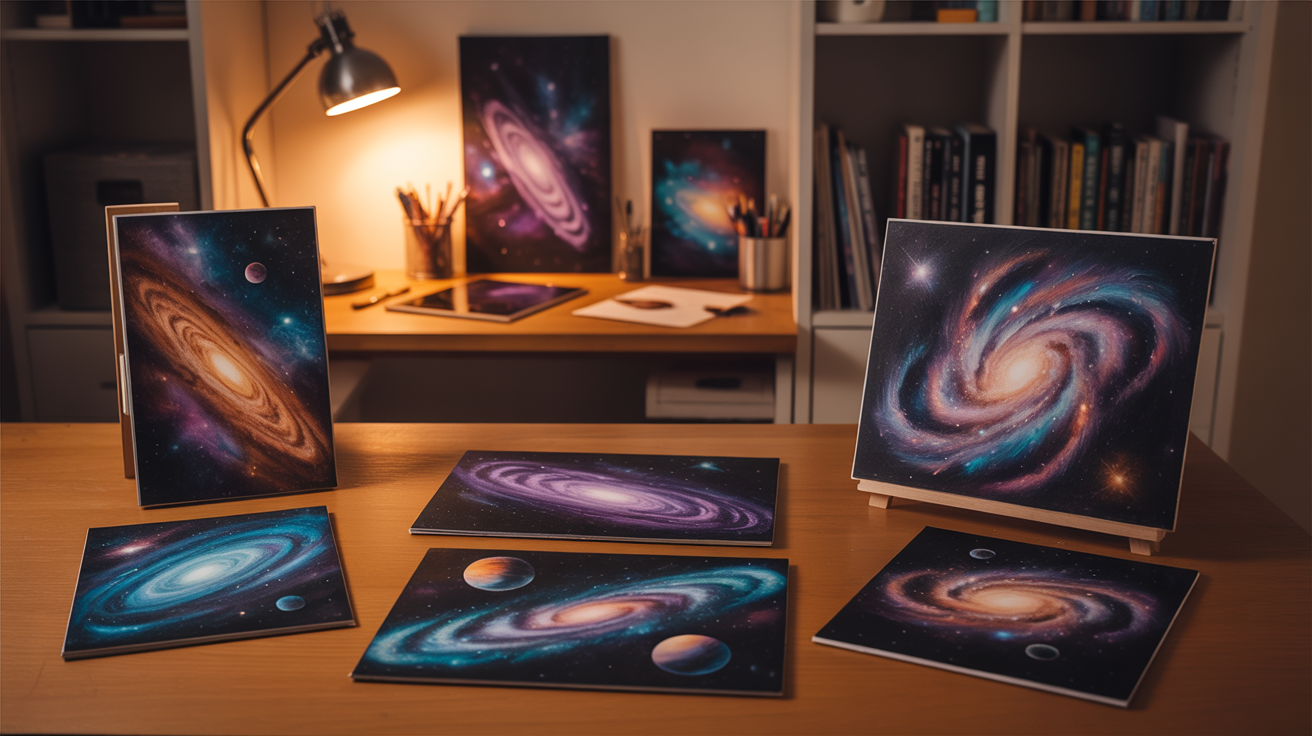
Space themes are my favorite because they’re forgiving. You don’t need perfect lines. Just scratch dots for stars and swirls for nebulae.
How to make it:
- Scratch small dots randomly across the paper for stars, then add larger circles for planets and curved, flowing lines for galaxy swirls
Add shooting stars with long tails. The black background already looks like outer space, so half your work is done.
Night Sky with Moon and Stars

This design is simple but looks impressive. Start by scratching a large circle for the moon. Add craters inside it for detail.
How to make it:
- Draw a big circle for the moon with smaller circles inside for craters, then scratch stars of varying sizes all around it, with some clustered and some spread out
Layer more dots in some areas and fewer in others. This creates depth and makes your sky look real.
Under the Sea Designs
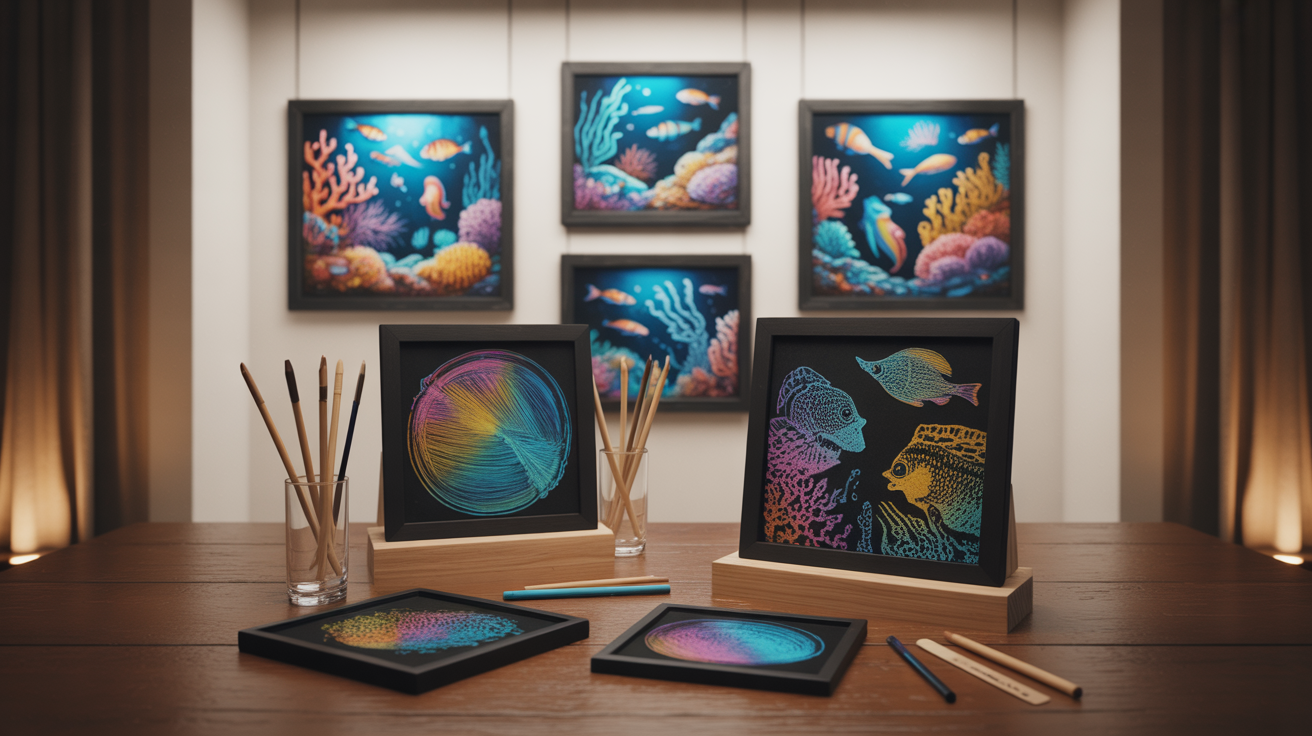
Ocean scenes give you lots of creative freedom. You can include jellyfish with flowing tentacles, schools of fish, or coral reefs.
How to make it:
- Start with wavy lines at the bottom for sand, add coral branches and seaweed rising, then scratch fish and jellyfish swimming through with bubbles scattered around
Add treasure chests or sea turtles for extra interest. The layered look makes your ocean feel deep and vast.
Name Art and Lettering Designs
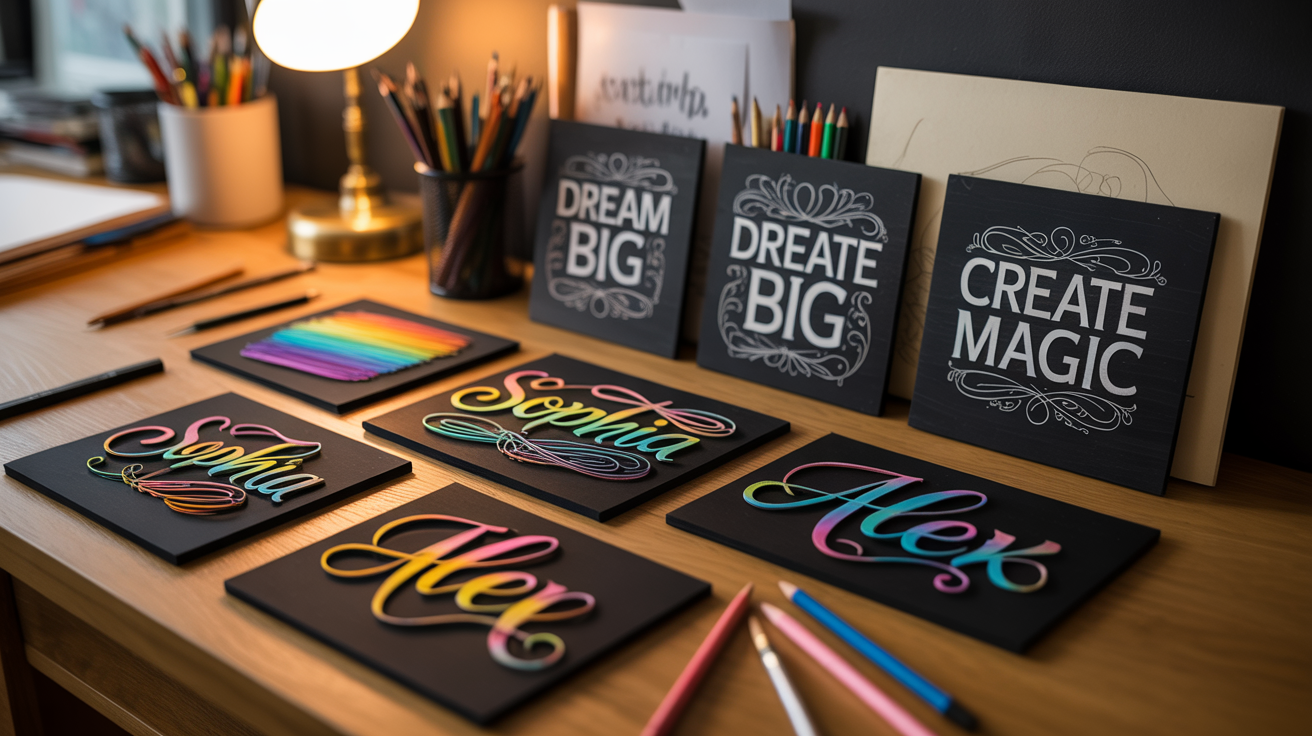
Write your name or someone else’s name in big bubble letters. Then fill each letter with different patterns like stripes, dots, zigzags, and swirls.
How to make it:
- Draw thick bubble letters across your paper, fill each one with a different pattern (dots, lines, swirls), then add a decorative border around the whole design
Make the letters thick enough to hold patterns inside. Thin letters don’t give you enough room to work.
Mandala Scratch Art
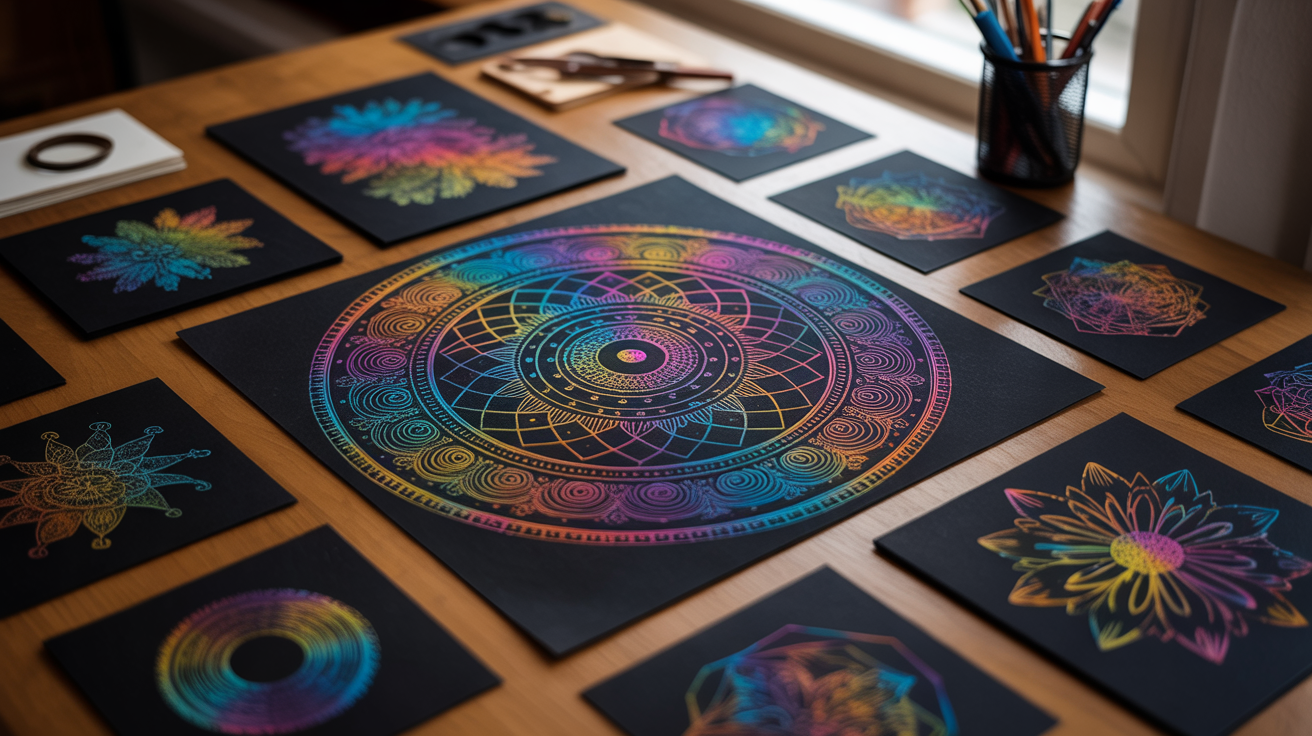
Mandalas are circular patterns that repeat. Start from the center and work outward. Draw a small circle, then add petals or shapes around it.
How to make it:
- Scratch a small circle in the center, then keep adding rings of patterns (petals, dots, curves) around it, making each ring different as you work outward
The repetition makes it calming to create. Plus, it’s hard to mess up because the pattern hides mistakes.
Inspirational Quote Art
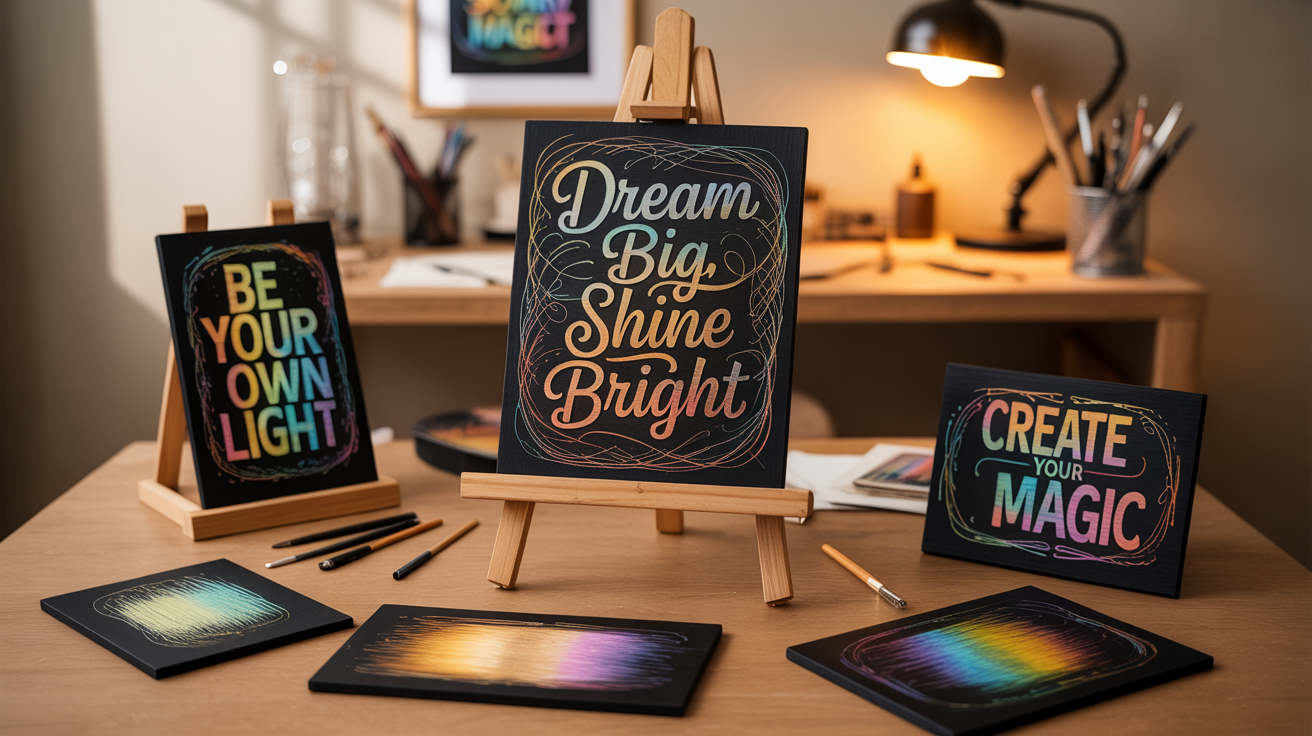
Pick a short quote that means something to you. Write it in the center of your paper. Keep the words readable and well-spaced.
How to make it:
- Scratch your quote in the middle using clear letters, then add a decorative frame around it with flowers, vines, stars, or geometric borders
The contrast between the words and the designs makes the quote stand out. Choose quotes with fewer than ten words for best results.
Optical Illusion Patterns
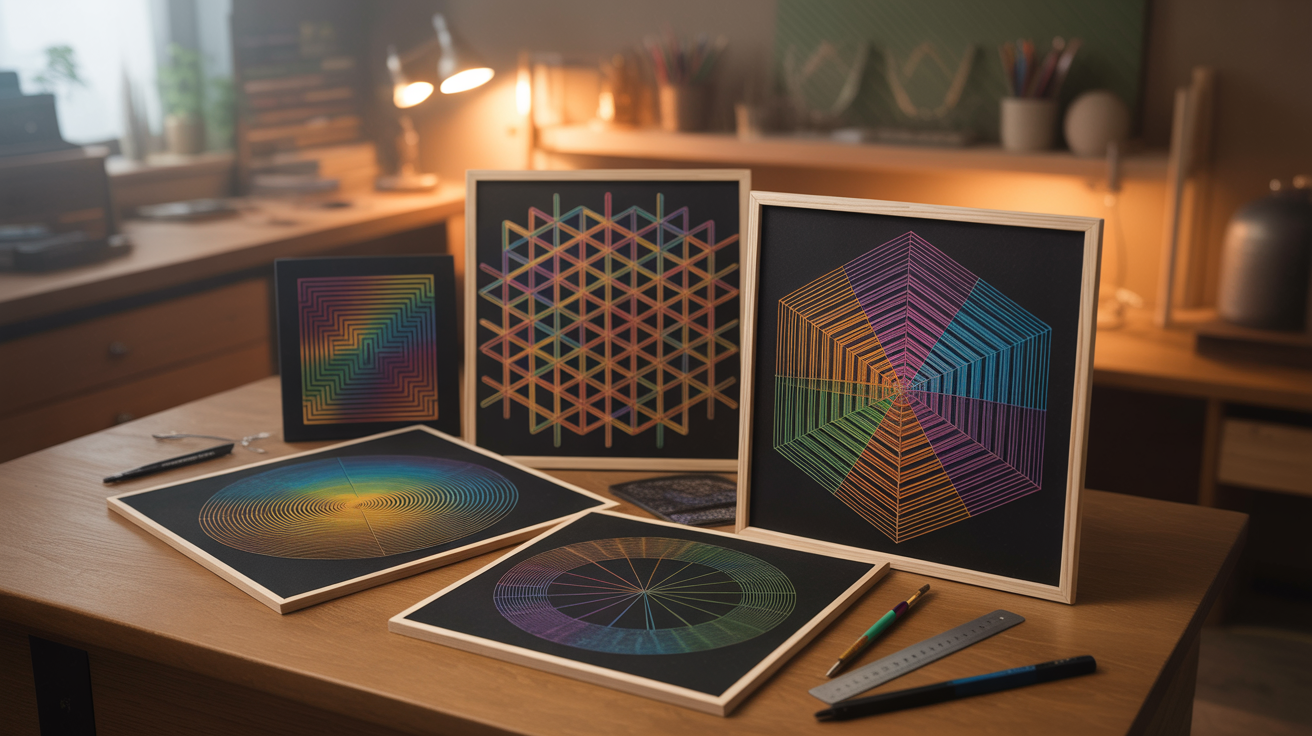
These patterns trick your eyes and look complicated. But they’re actually easy to make. Spirals, wavy lines, and tunnels work great.
How to make it:
- Draw a center point, then scratch curved lines spiraling outward from it, or make parallel wavy lines across the whole paper that seem to ripple
The rainbow colors add to the illusion effect. Start with simple patterns before trying complex ones.
Botanical and Floral Designs
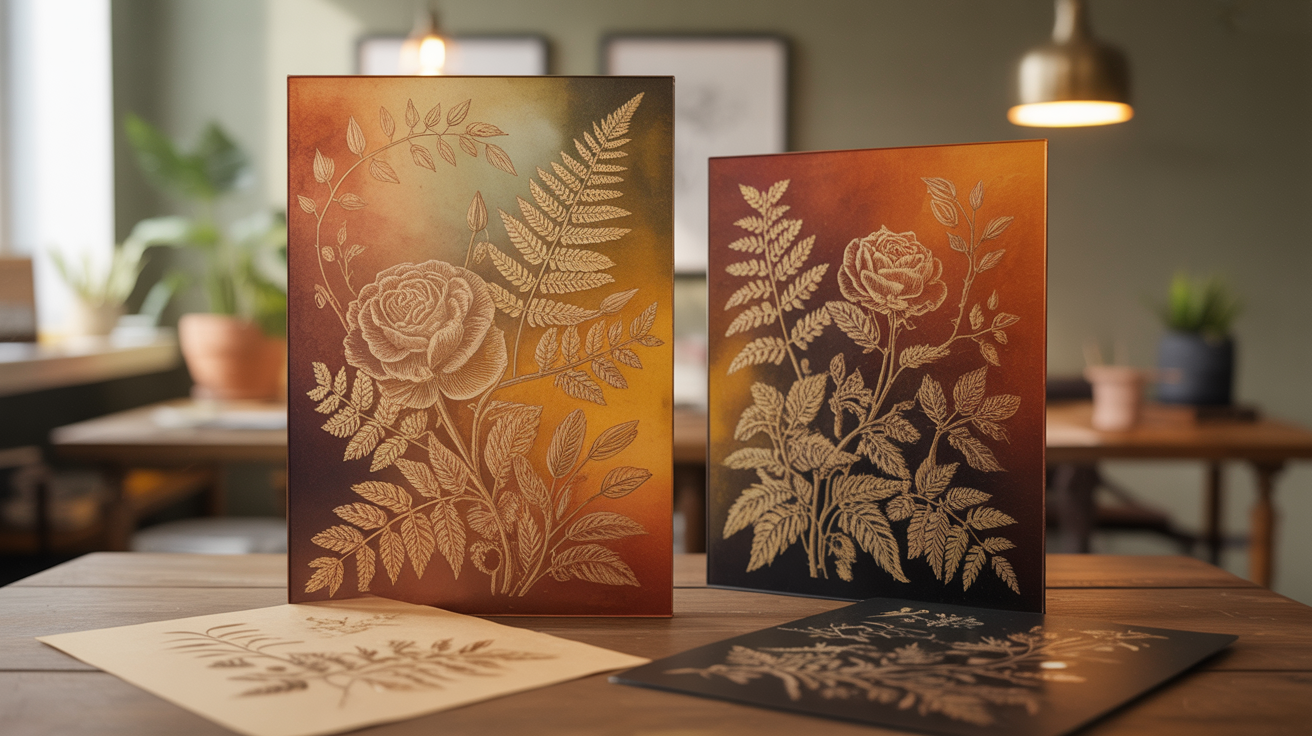
Plants and flowers look natural in scratch art. Draw stems first, then add leaves branching off. Make each leaf a different size for a realistic look.
How to make it:
- Scratch main stems going up the paper, add leaves branching off to the sides with veins inside them, then draw flower petals at the top with detailed centers
Layer plants at different heights to fill your paper. Add tiny details like seeds or thorns for texture.
City Skyline at Night
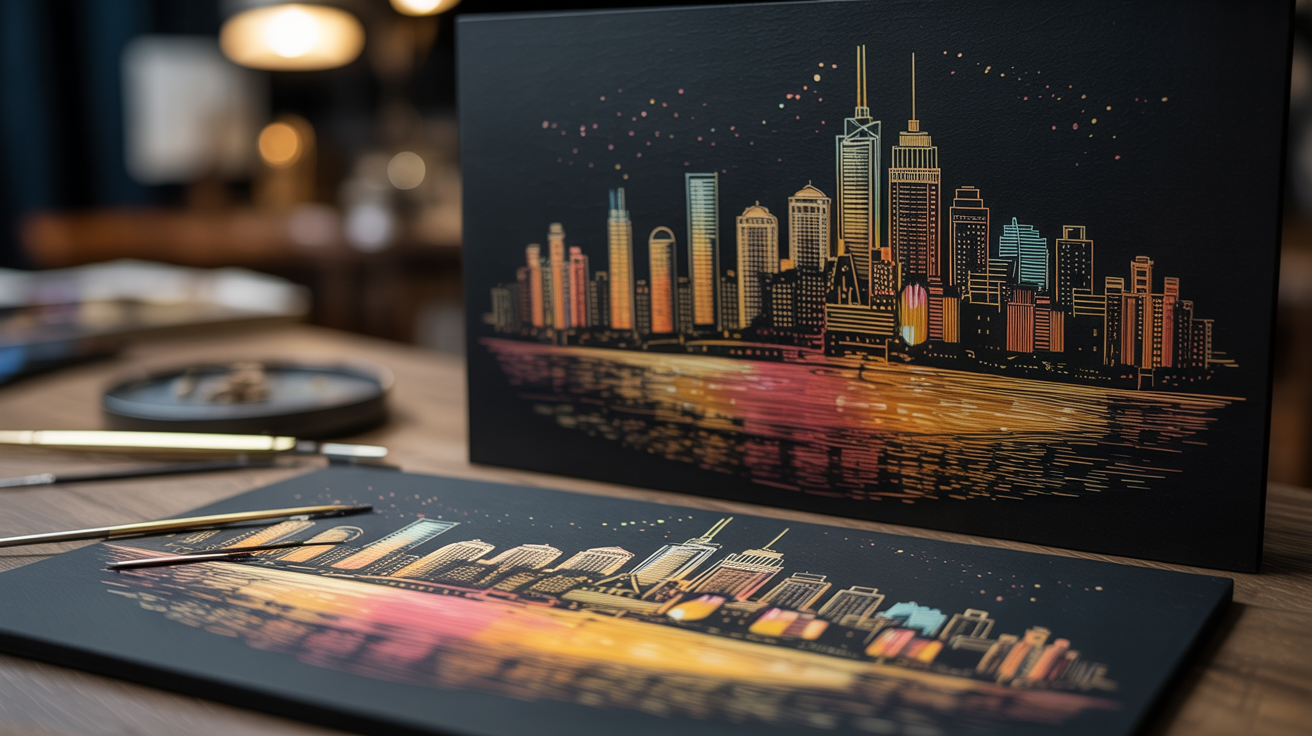
Draw building outlines of different heights across your paper. Make some tall and skinny, others short and wide. This creates a realistic skyline.
How to make it:
- Scratch rectangles of different heights across the bottom of your paper for buildings, add small rectangle windows inside each one, then scratch a moon and stars in the sky above
Leave some windows black to show the building’s dark areas. The black background makes it look like nighttime automatically.
Zentangle and Zen Doodle Art
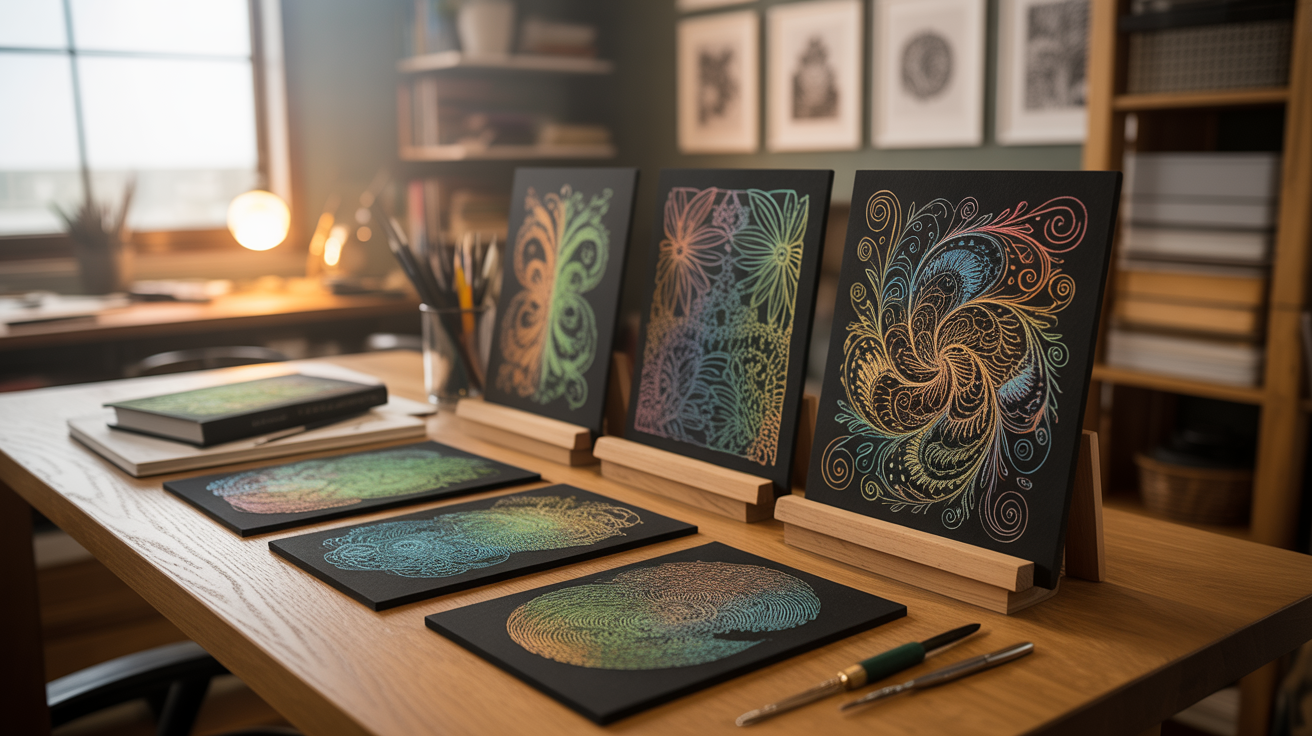
This style is all about patterns without planning. Divide your paper into sections with curved lines. Then fill each section with a different pattern.
How to make it:
- Draw random curvy lines to divide your paper into sections, then fill each space with a different repeating pattern like circles, grids, waves, or dots
Don’t think too much. Just let your hand move and create. There’s no wrong way to do this type of art.
Holiday and Seasonal Art
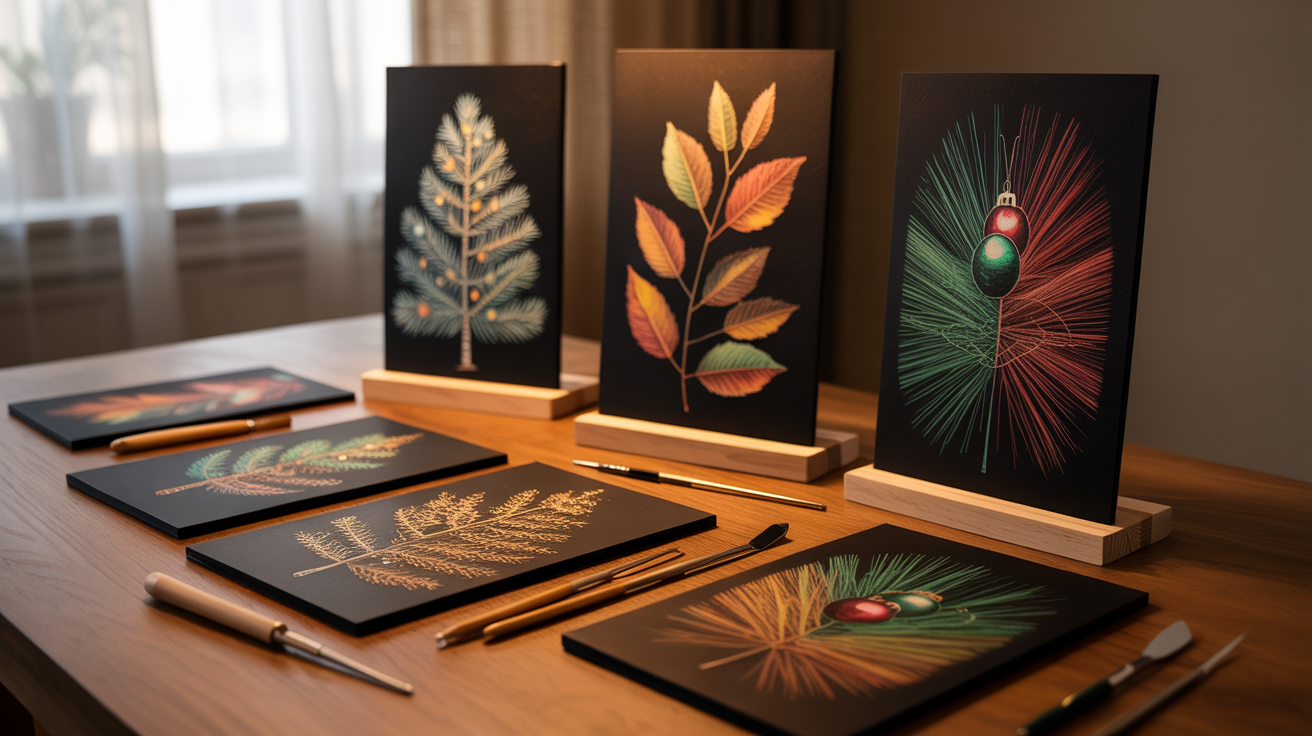
Match your scratch art to the time of year. Halloween works great with pumpkins, ghosts, and bats. Christmas designs can include trees, ornaments, and snowflakes.
How to make it:
- Choose holiday symbols (pumpkins, trees, flowers, suns), scratch their outlines, and fill with seasonal details, then add background elements like stars, snowflakes, or leaves
Spring brings flowers and butterflies. Summer means beach scenes and ice cream. The bright colors underneath fit any celebration.
Abstract Expression Scratch Art

Sometimes the best art comes from feeling, not planning. Scratch lines, curves, and shapes based on your mood. Fast, jagged lines show energy while soft, flowing curves feel calm.
How to make it:
- Let your tool move freely across the paper, making whatever lines, swirls, or shapes feel right, mixing short scratches with long flowing curves without planning ahead
Don’t worry about making something recognizable. The random patterns and colors create something meaningful to you.
Tips for Better Scratch Art Results
I’ve learned that getting good results with scratch art isn’t hard. You just need to know a few tricks.
- Light touch: Use gentle pressure when you want thin, light lines on your design.
- Press harder: Push down firmly with your tool to show bright, bold colors underneath.
- Sketch first: Draw a light pencil outline before scratching so you know where everything goes.
- Good light matters: Work near a window or lamp to see details and make colors pop.
- Leave black spaces: Don’t scratch everywhere, dark areas make your bright parts look better.
Conclusion
You now have cool scratch art ideas you can start making today. From simple rainbow scratchboards to detailed sunset scenes, these projects work with basic supplies you already own.
The best part? You don’t need art experience to make something you’re proud of. Pick whichever project matches your time and skill level. Start with the easiest one if you’re new to scratch art, or jump into a bigger design if you’re feeling confident.
Grab your materials and try your first project this afternoon. If you found these ideas helpful, share this guide with someone who loves hands-on crafts. Got questions or want to show off what you made? Drop a comment below. I’d love to see how your scratch art turns out.
Frequently Asked Questions
What materials do I need for scratch art at home?
You need crayons or oil pastels, black acrylic paint or ink, paper or cardboard, a paintbrush, and a scratching tool like a toothpick or wooden skewer. Most people already have these items at home. The wax from crayons resists the paint, which creates the scratch-off effect.
How long does scratch art take to make?
Simple scratch art projects take 10-30 minutes once your base dries. The crayon layer takes 5 minutes to color, and the black paint needs 1-2 hours to dry completely. More detailed designs with intricate scratching can take an hour or longer to complete.
Can kids do scratch art safely?
Yes, scratch art is safe for kids ages 5 and up with supervision. Use child-safe materials and blunt scratching tools like popsicle sticks instead of sharp objects. Younger kids should stick to simple designs, while older children can try more detailed patterns.
What’s the best surface for scratch art?
Heavy cardstock or poster board works best because it won’t tear when you scratch. Regular printer paper is too thin and rips easily. Watercolor paper also works well. The thicker the paper, the better it handles repeated scratching without damage.
How do I fix mistakes in scratch art?
You can’t really undo scratches once made. However, you can add more black paint over small mistakes and re-scratch once dry. Plan your design lightly first or practice on scrap paper. Some people incorporate mistakes into their design as happy accidents.
