

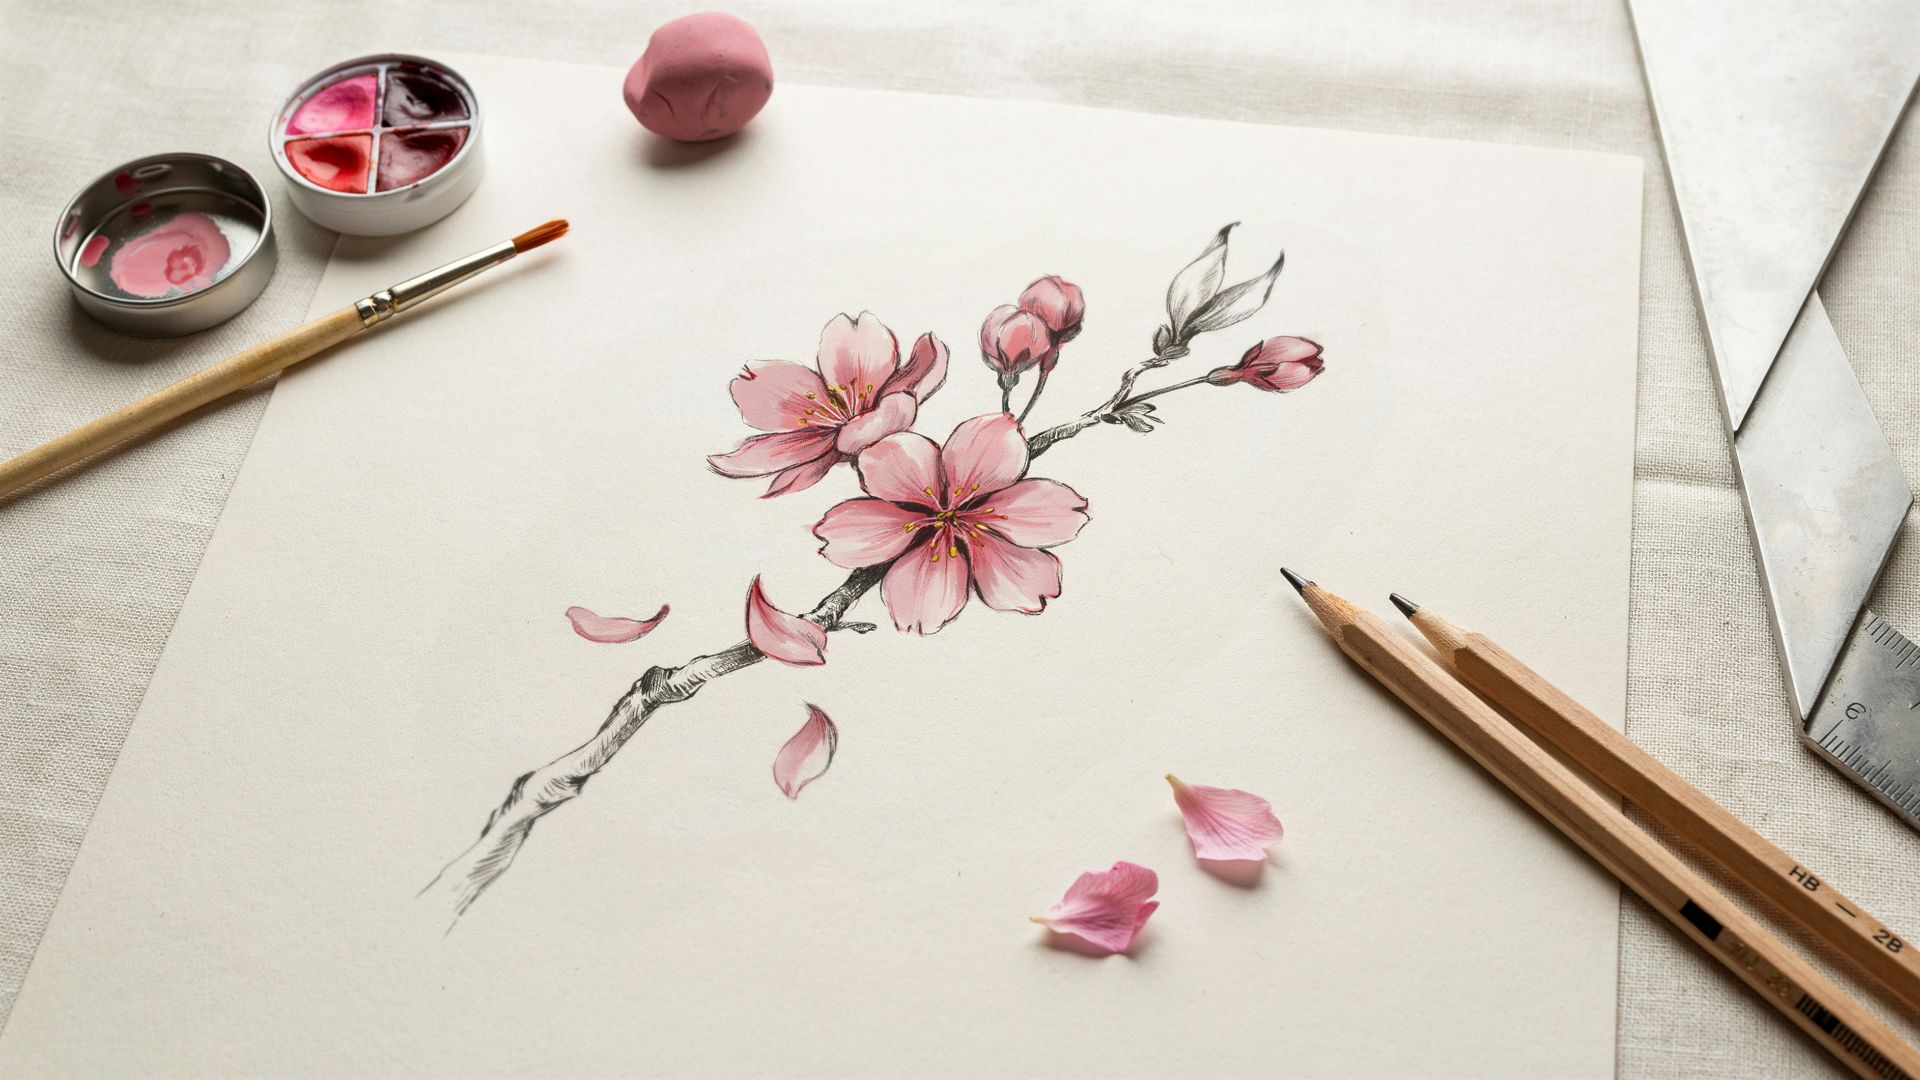
Cherry blossoms are one of the most lovely flowers to draw. They appear in Japanese art, greeting cards, journals, and paintings and for good reason.
Their soft petals and thin branches carry a deep meaning:new beginnings, the beauty of short-lived moments, and the arrival of spring.
If you've always wanted to draw them but didn't know where to start, this guide is for you.
I've broken everything down into simple, clear steps no art degree needed.
In this tutorial, you'll learn how cherry blossoms are structured, what materials to use, how to draw a single flower and a full branch, easy ideas to try, coloring tips, and common mistakes to avoid.
Why Cherry Blossom Drawing Is Great for Beginners
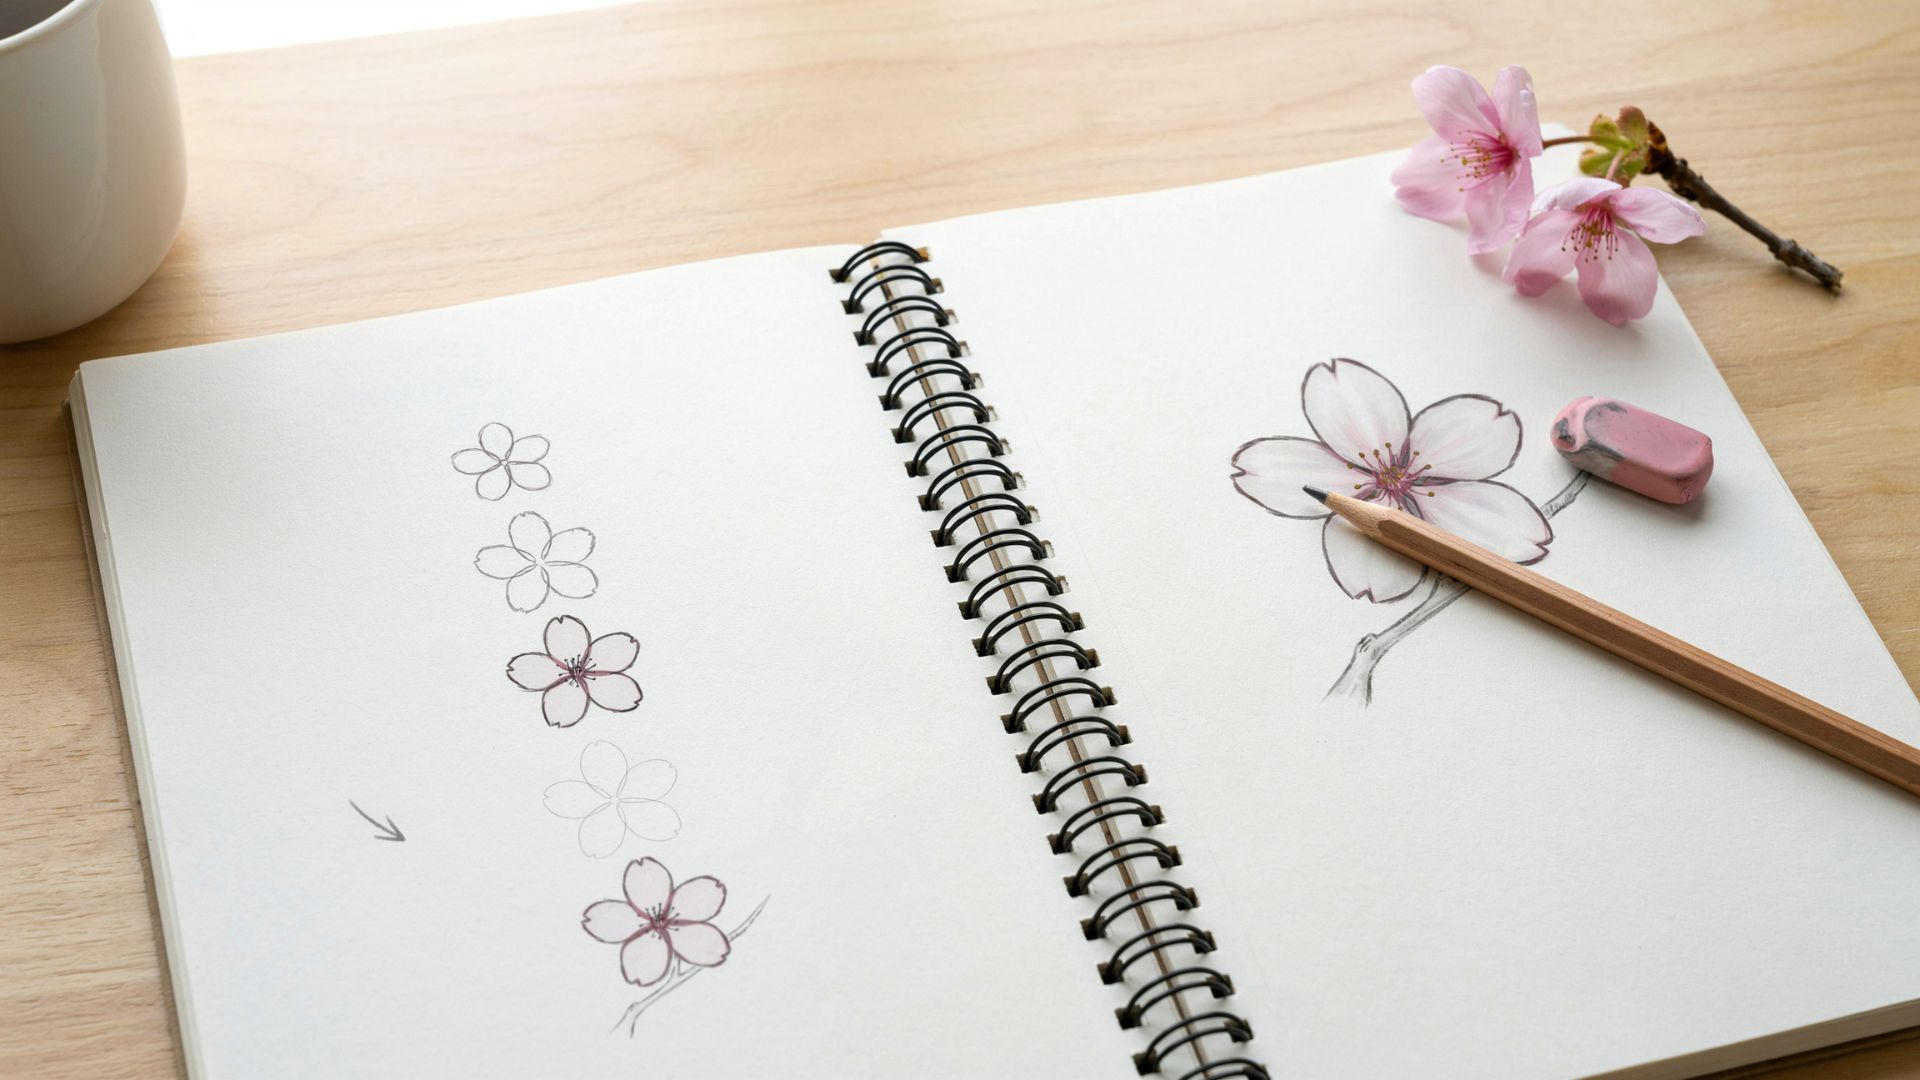
Cherry blossoms are one of the best flowers to start with. Here's why.
The shapes are simple. Each flower has five rounded petals and a small center. There are no complex details to worry about early on. You can sketch one in under a minute once you get the hang of it.
The branch structure is easy to follow. Branches grow outward from a main stem. They curve naturally and do not need to be perfectly straight. That actually makes them more fun to draw.
They work for almost anything. Cherry blossom drawings fit into school projects, journal pages, sketchbooks, greeting cards, and full artwork.
Whether doodling in the margins or creating something more detailed, they always look good.
Drawing cherry blossoms also helps you build real skills. You start paying attention to shapes, proportions, and how petals overlap. These are things that improve your overall drawing ability over time.
Materials Needed for Cherry Blossom Drawing
You do not need a lot to get started.
Basic Drawing Supplies
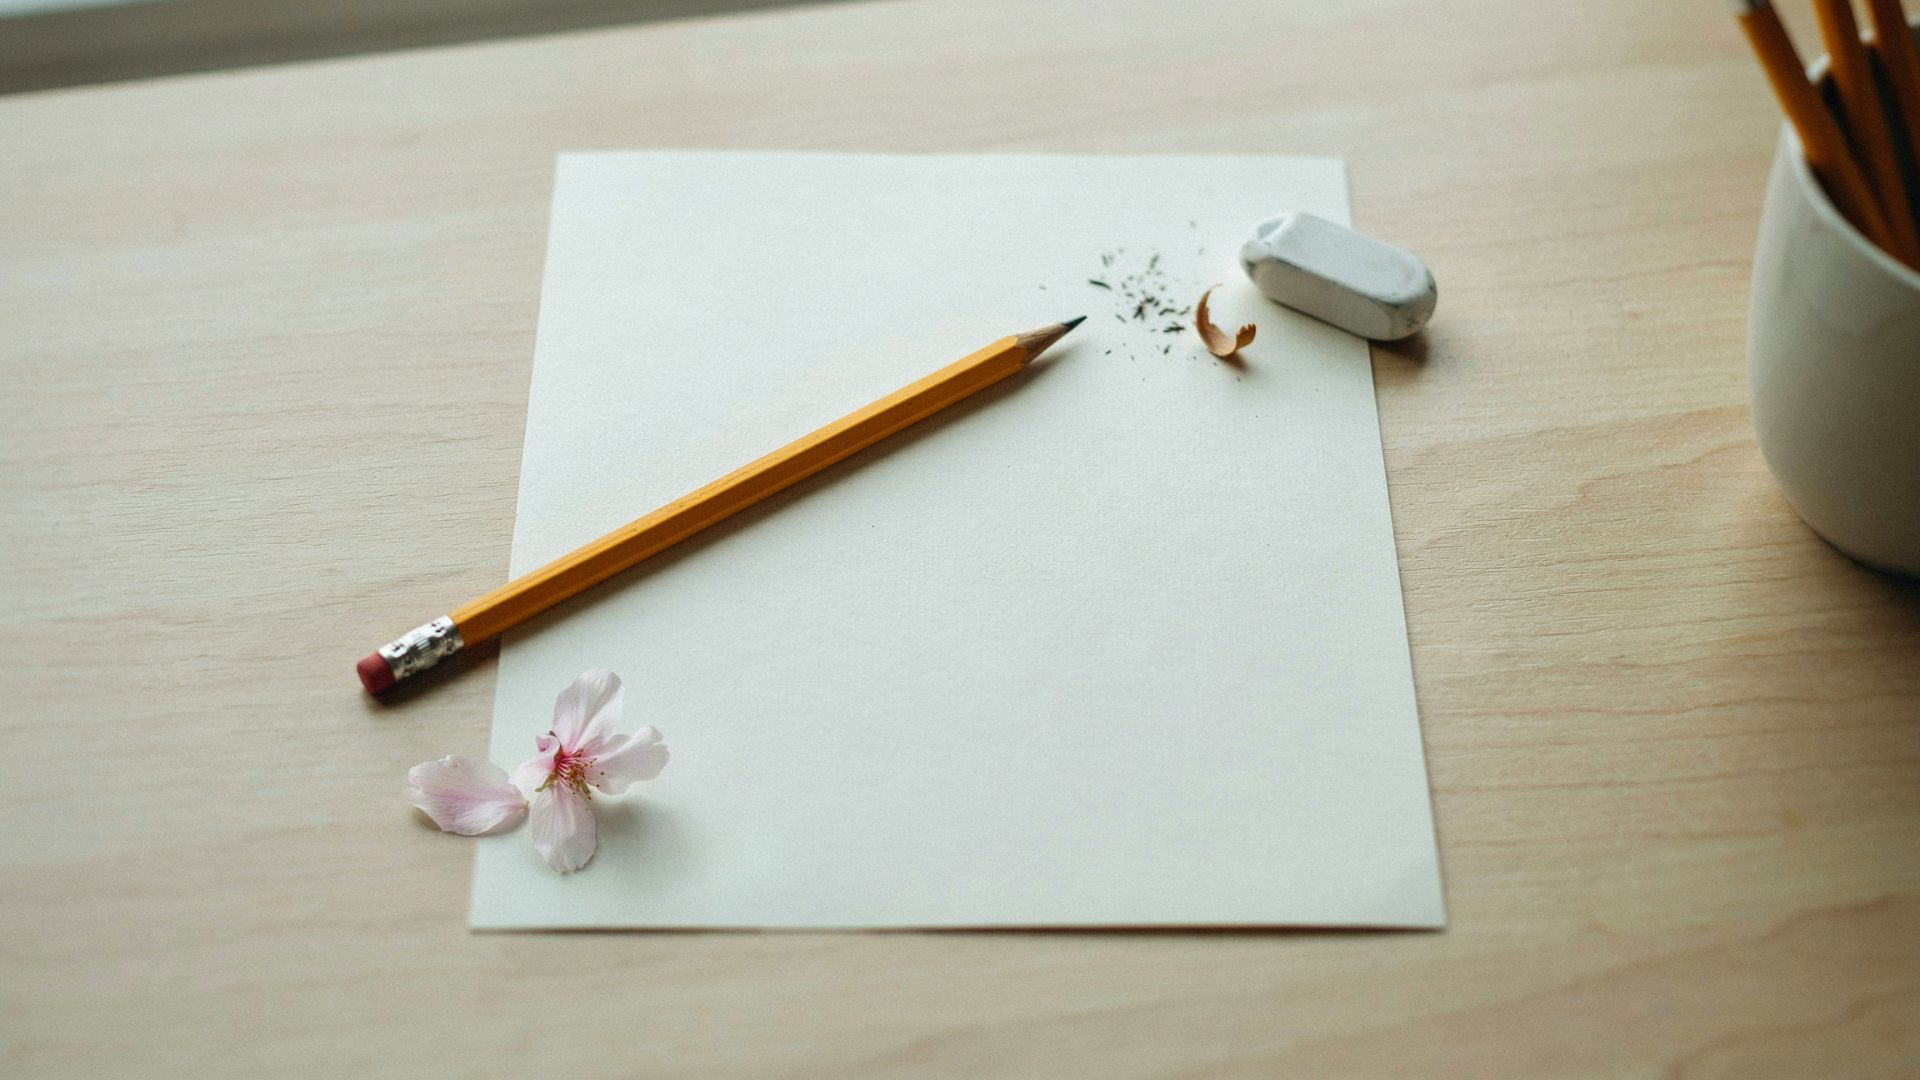
Pencil:A standard HB pencil works fine. Use a lighter grip when sketching so you can erase easily.
Eraser: A soft eraser is best. It removes pencil lines cleanly without smudging.
Drawing paper: Any smooth paper works. Thicker paper holds up better if you plan to add color later.
Optional Coloring Tools

Colored pencils: Great for adding soft, natural-looking color. Easy to control and blend.
Markers: Give bold, clean color. Best used after you finalize your pencil lines.
Watercolors:Perfect for a soft, springtime feel. They blend really well and give cherry blossoms a light, dreamy look.
You do not need all of these. Start with just a pencil and paper. Add color tools as you get more comfortable.
Understanding the Structure of Cherry Blossoms
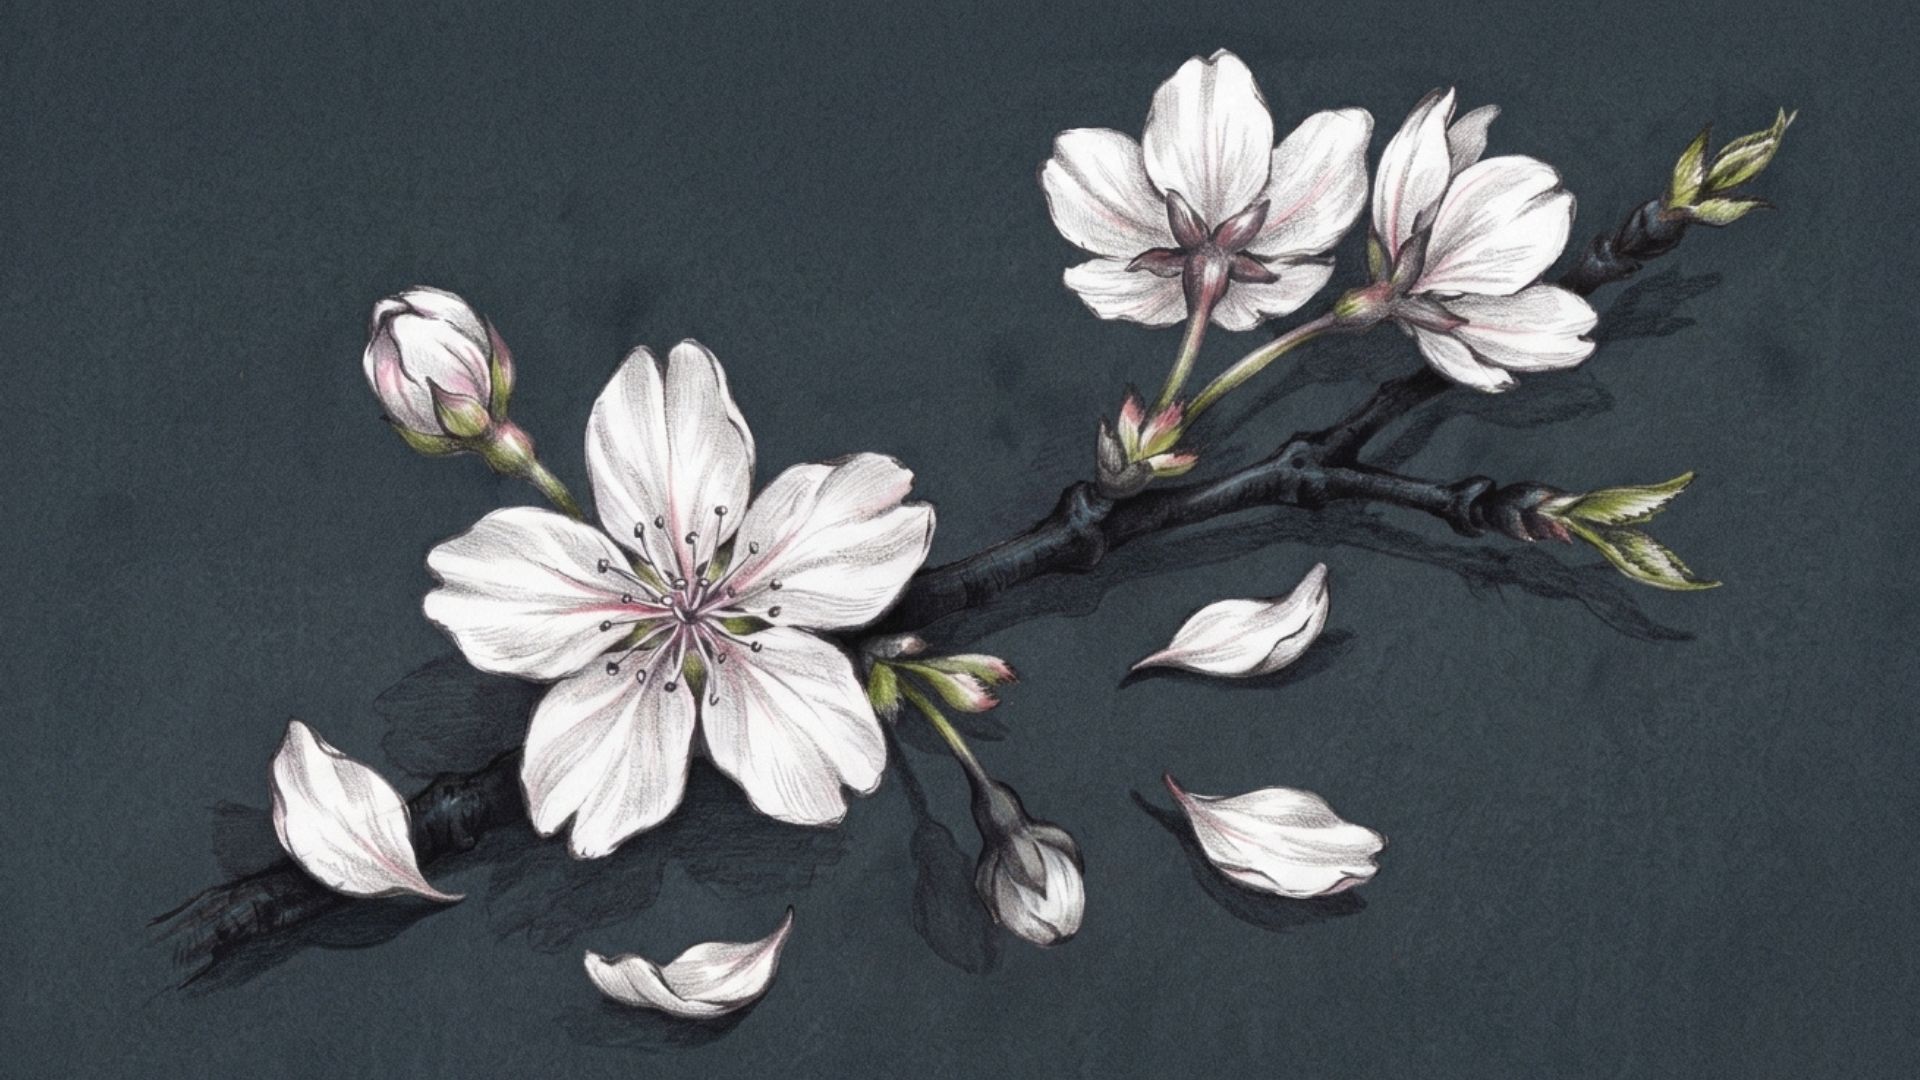
Before you draw, it helps to understand what a cherry blossom actually looks like.
Shape of Cherry Blossom Petals
Each cherry blossom has five petals. They are rounded and slightly wide at the top. Most petals have a small notch or dip at the tip. This small detail makes your drawing look much more realistic.
The petals are not all exactly the same size or shape. In real flowers, they vary slightly. Keep this in mind when drawing so your flower looks natural rather than mechanical.
How Cherry Blossom Branches Grow
Branches do not grow in straight lines. They curve, split, and change direction. The main branch is the thickest. Smaller branches grow off it, and even smaller twigs grow off those.
Think of it like a tree but more thin. The tips of the branches are thin and light. This is where most of the flowers and buds appear.
Common Features to Include in Your Drawing

A good cherry blossom drawing usually includes:
Stamens:The thin lines that stick out from the center of the flower. They add a lot of detail with very little effort.
Buds:Small, closed flowers that have not opened yet. Adding a few buds makes the branch look alive and natural.
Leaves:Optional, but they add contrast and balance to the overall composition.
How to Draw a Cherry Blossom Step by Step
Take your time with each step. Light pencil strokes first, always.
Step 1: Sketch the Center of the Flower
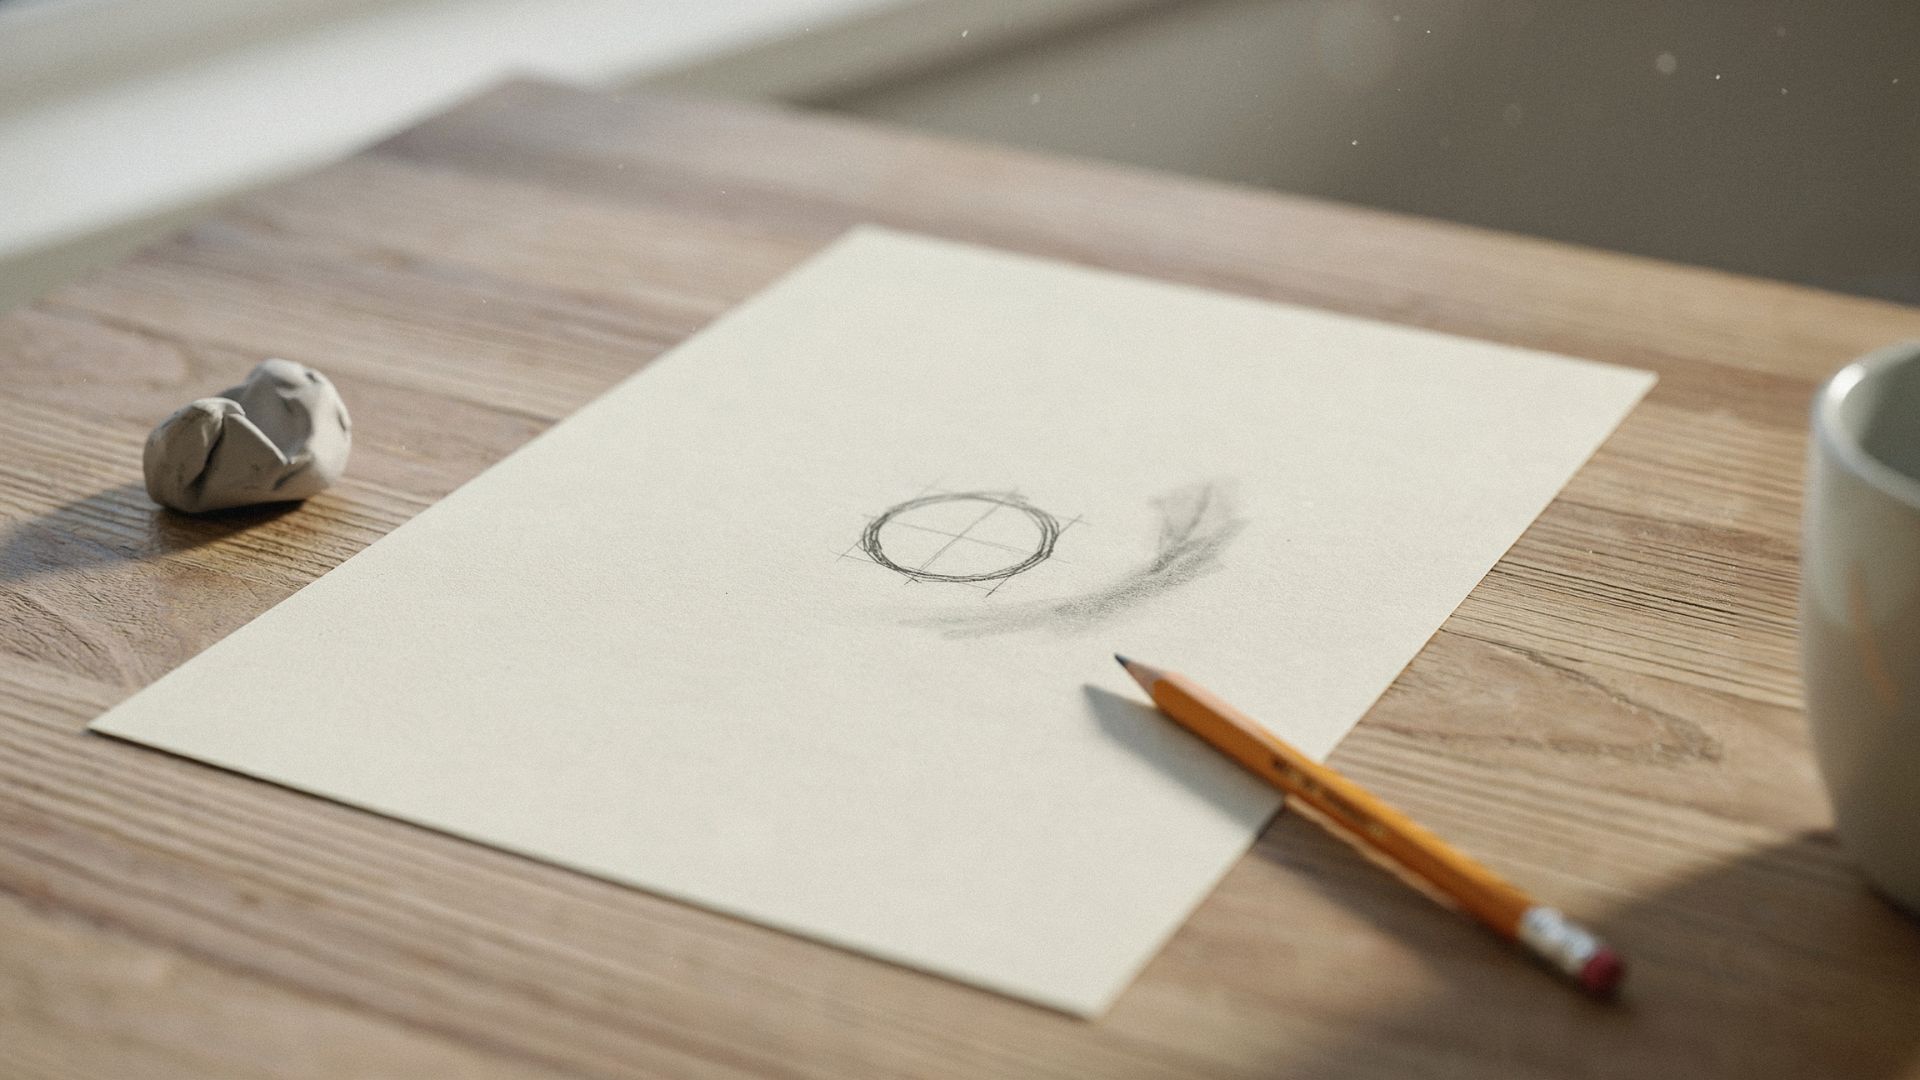
Draw a small circle or dot near the center of where you want your flower. This is your guide point. Everything else will be built around it.
Keep it light. You may erase it later or cover it with stamens.
Step 2: Draw the First Petal
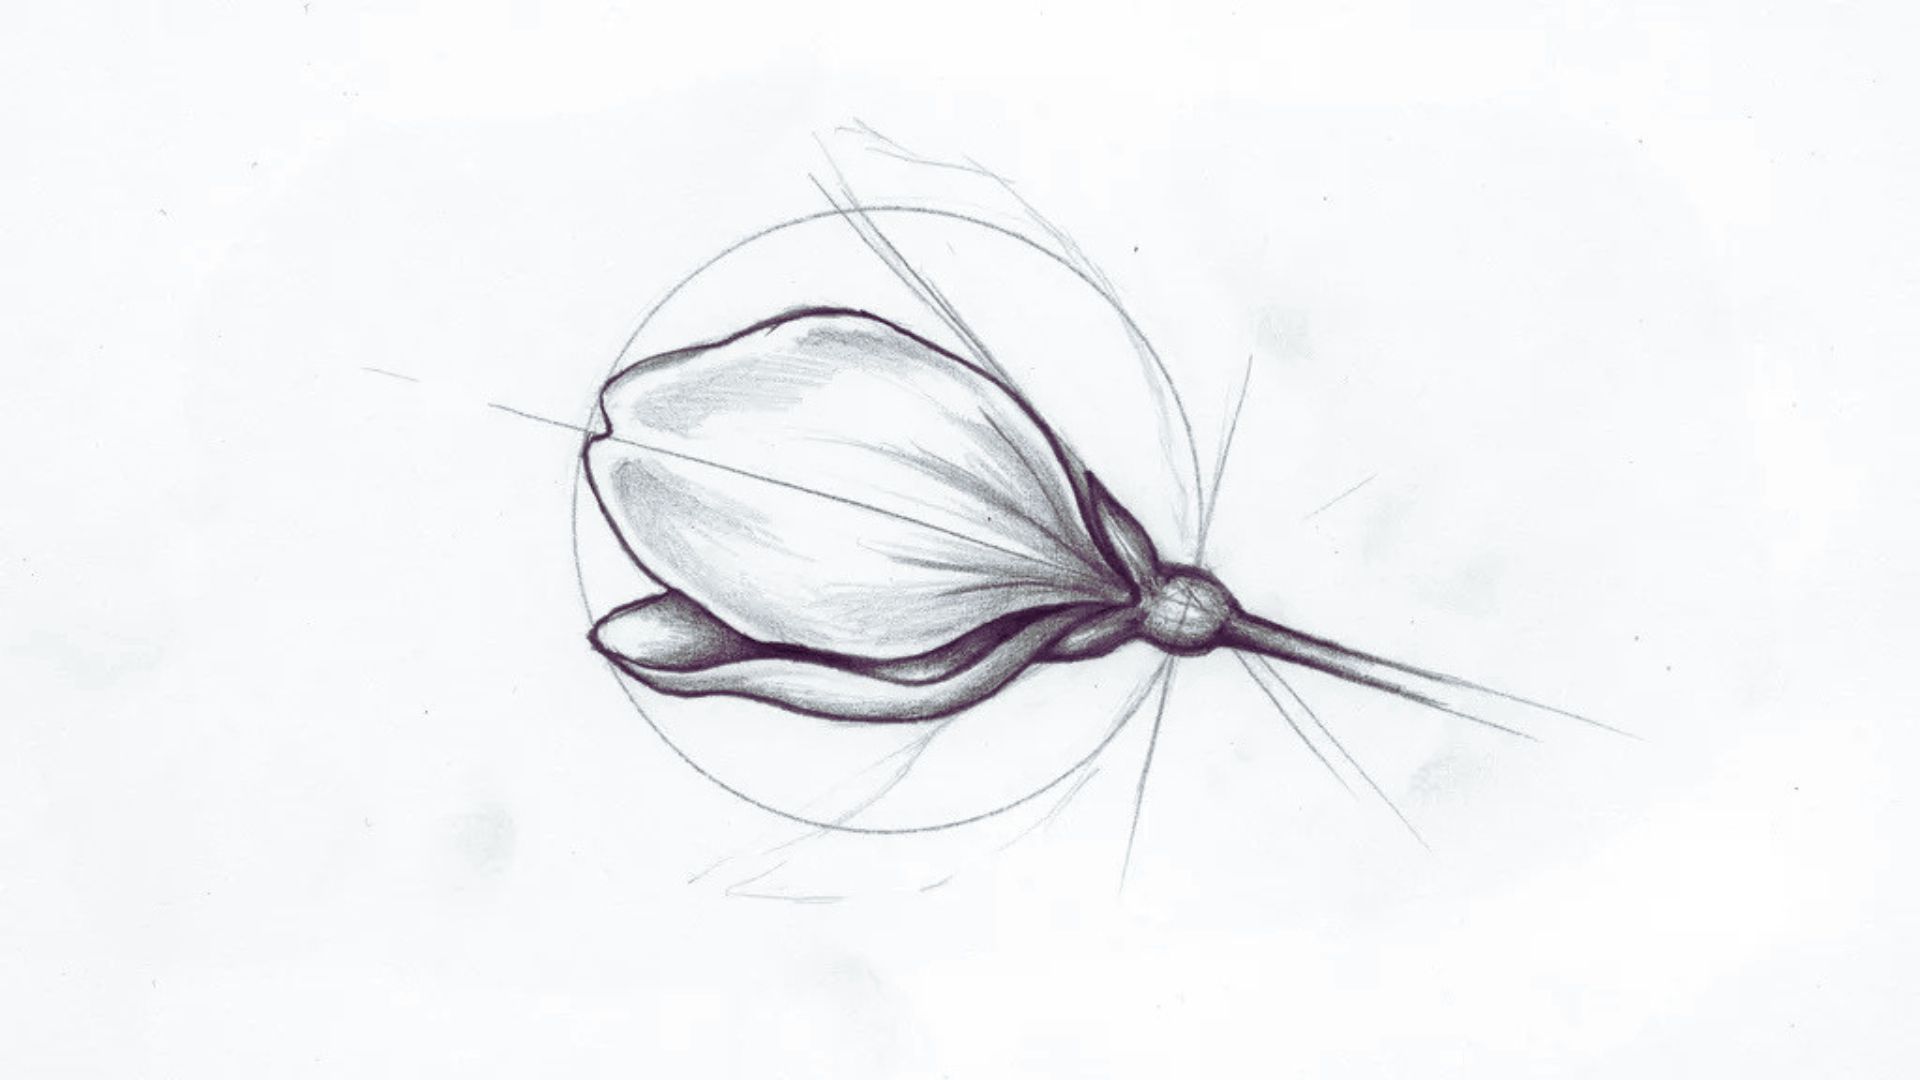
Draw one petal starting from the center point. Make it rounded, slightly wide, and include a small notch at the top.
Do not press too hard with your pencil at this stage.
Step 3: Add the Remaining Petals

Add four more petals around the first one. Space them evenly around the center. They should slightly overlap each other near the base.
Do not make them all identical. Vary the size and angle slightly for a natural look.
Step 4: Refine the Flower Shape

Look at the overall flower shape. Adjust any petals that look too stiff or too wide. Make sure the overlapping areas look natural.
Erase any guide lines you no longer need.
Step 5: Add Details and Texture
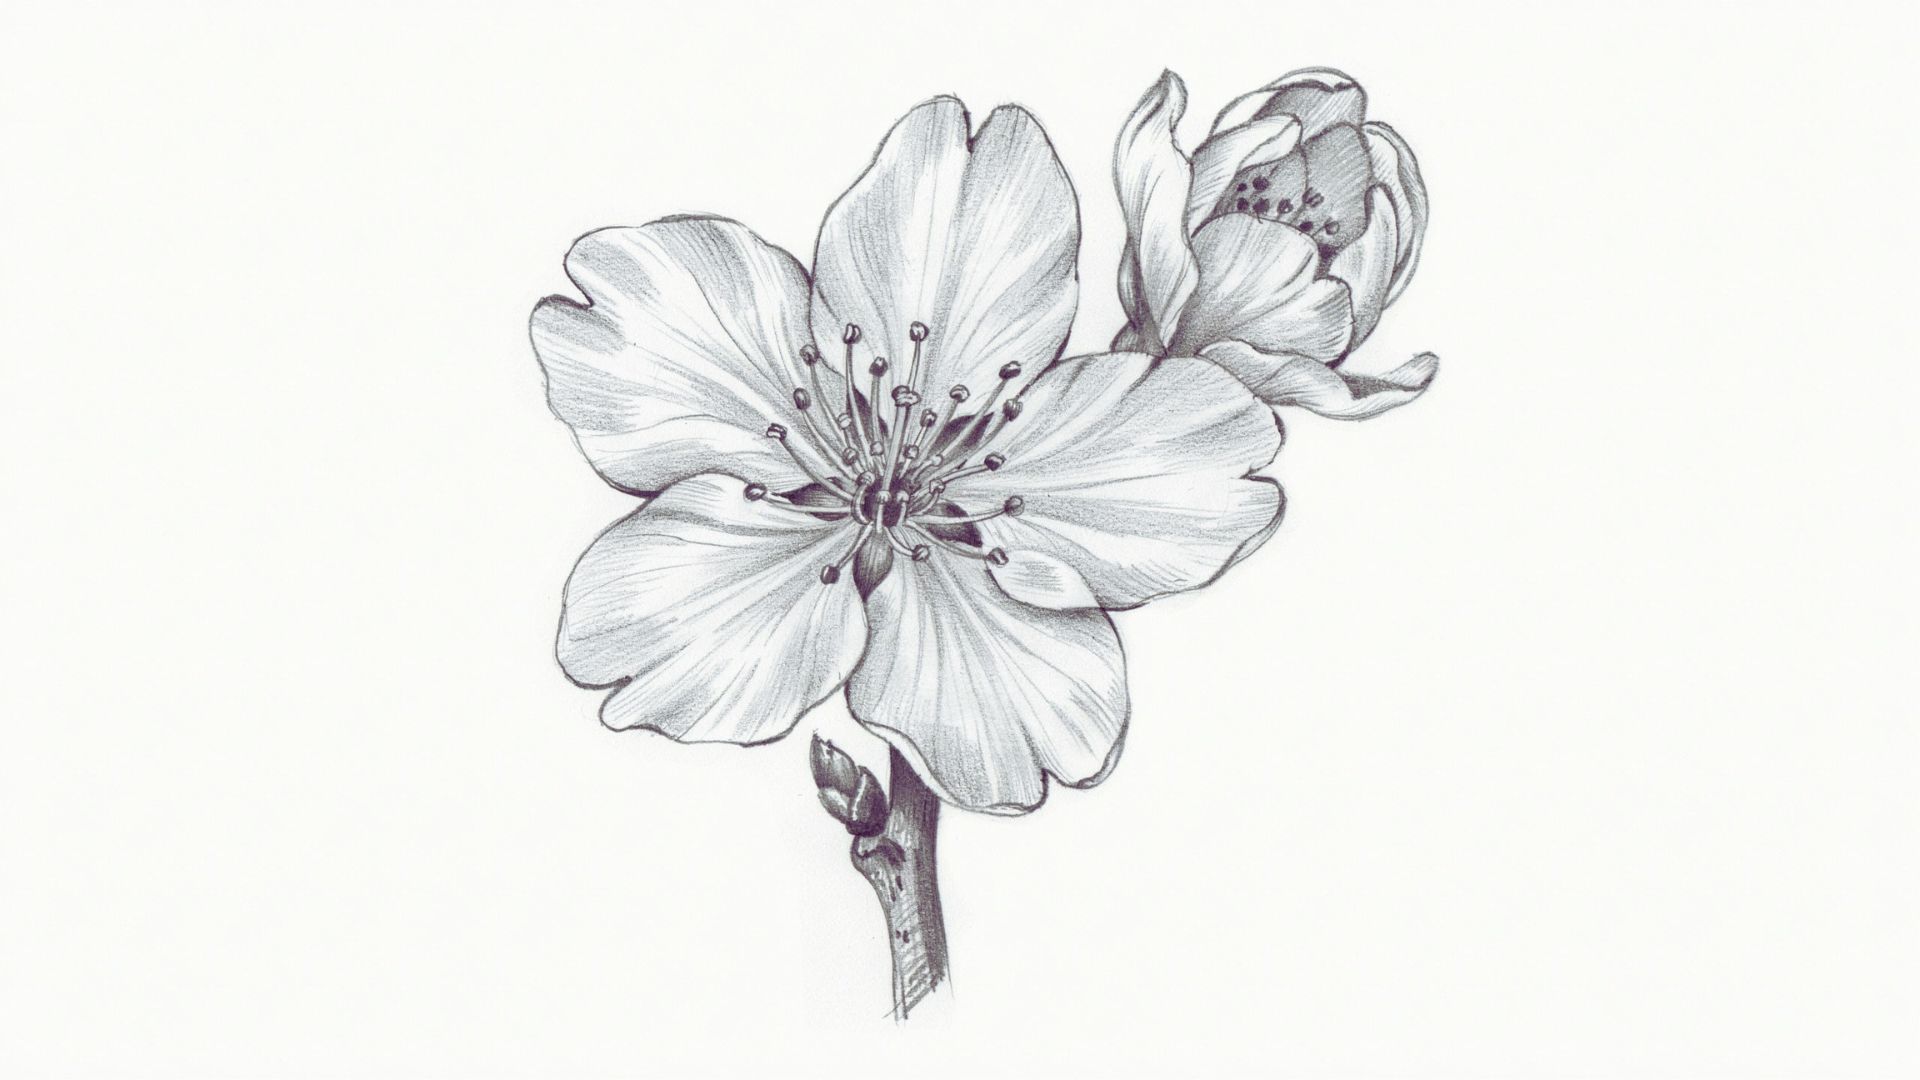
Draw small lines inside each petal to show texture. Add thin stamens coming out from the center. These are just short, straight lines with a tiny dot at the end.
These small details make a big difference.
Step 6: Outline and Clean Up the Sketch
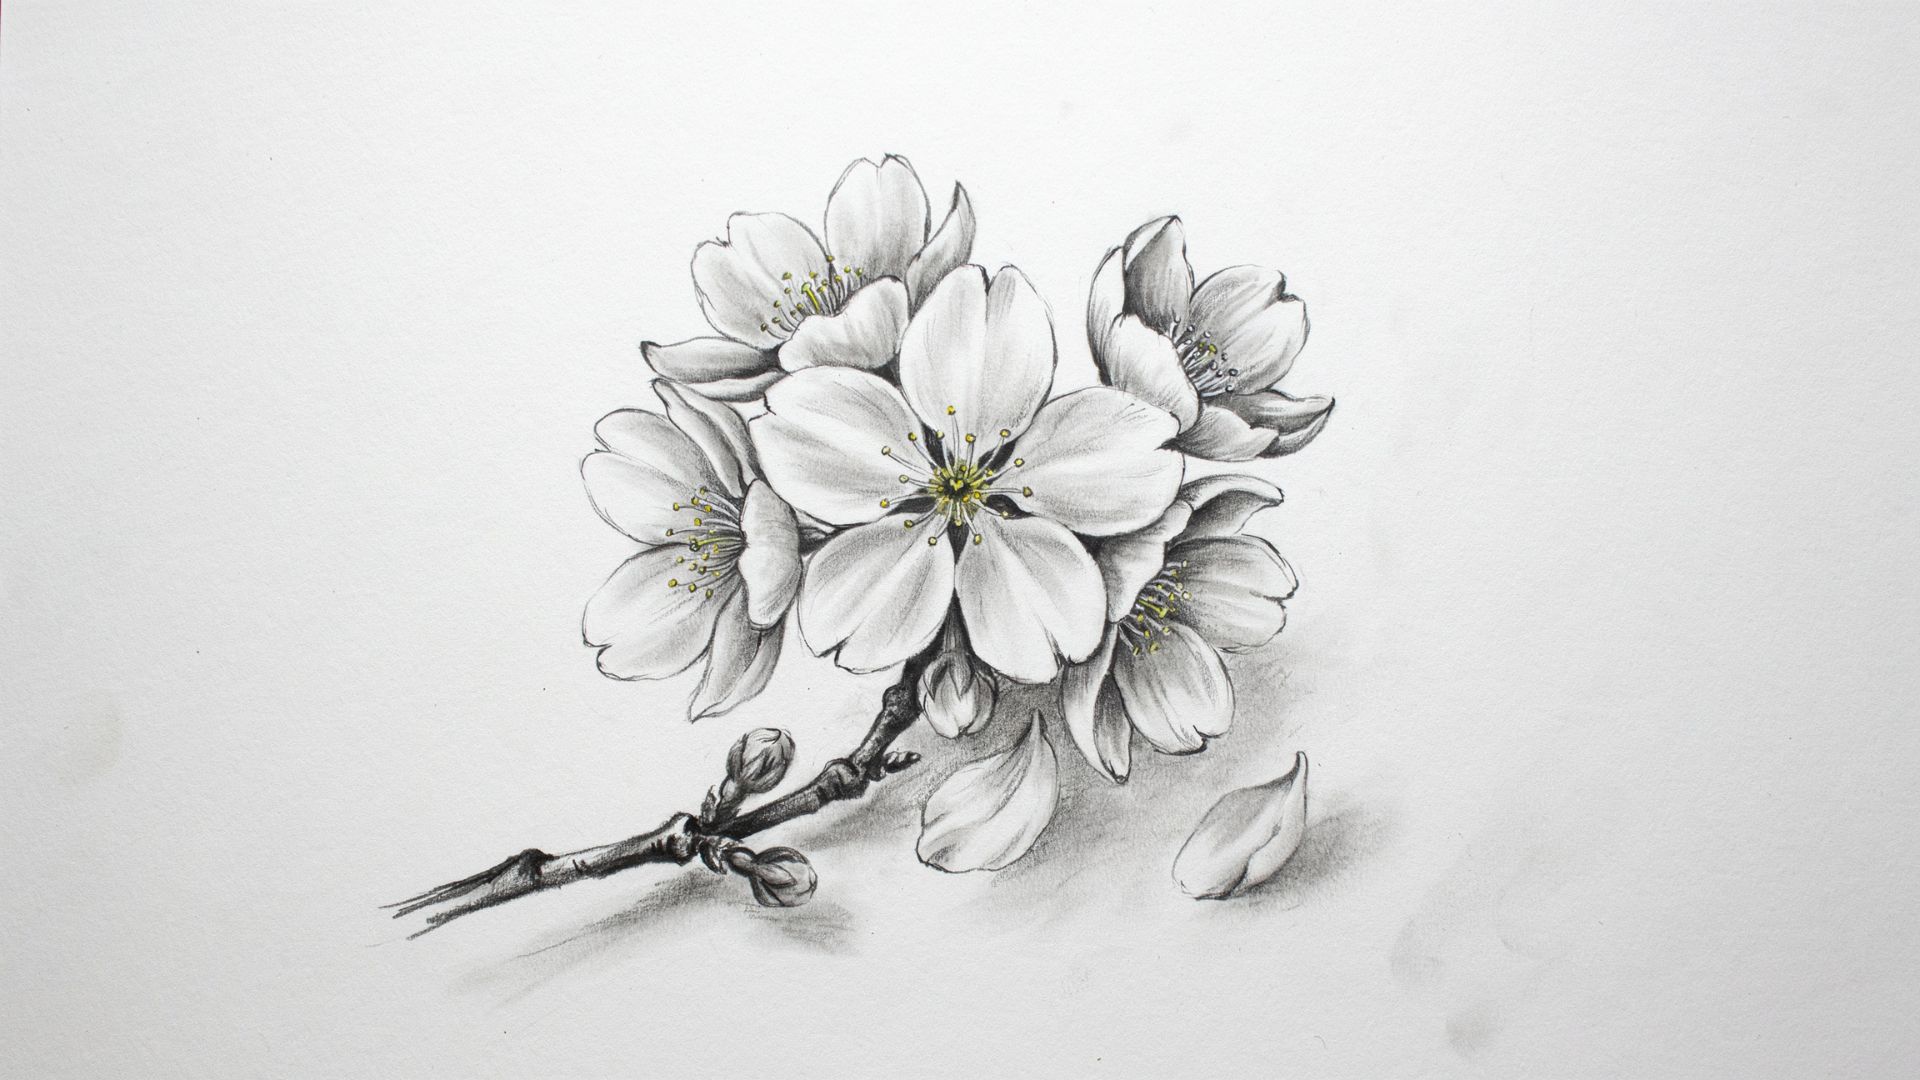
Go over your lines with a slightly firmer stroke or a fine pen if you prefer.
Clean up any smudges or extra marks. Your flower is now complete.
How to Draw a Cherry Blossom Branch
A cherry blossom branch combines delicate flowers, buds, and natural curves to create a beautiful spring-inspired drawing.
Sketch the Main Branch
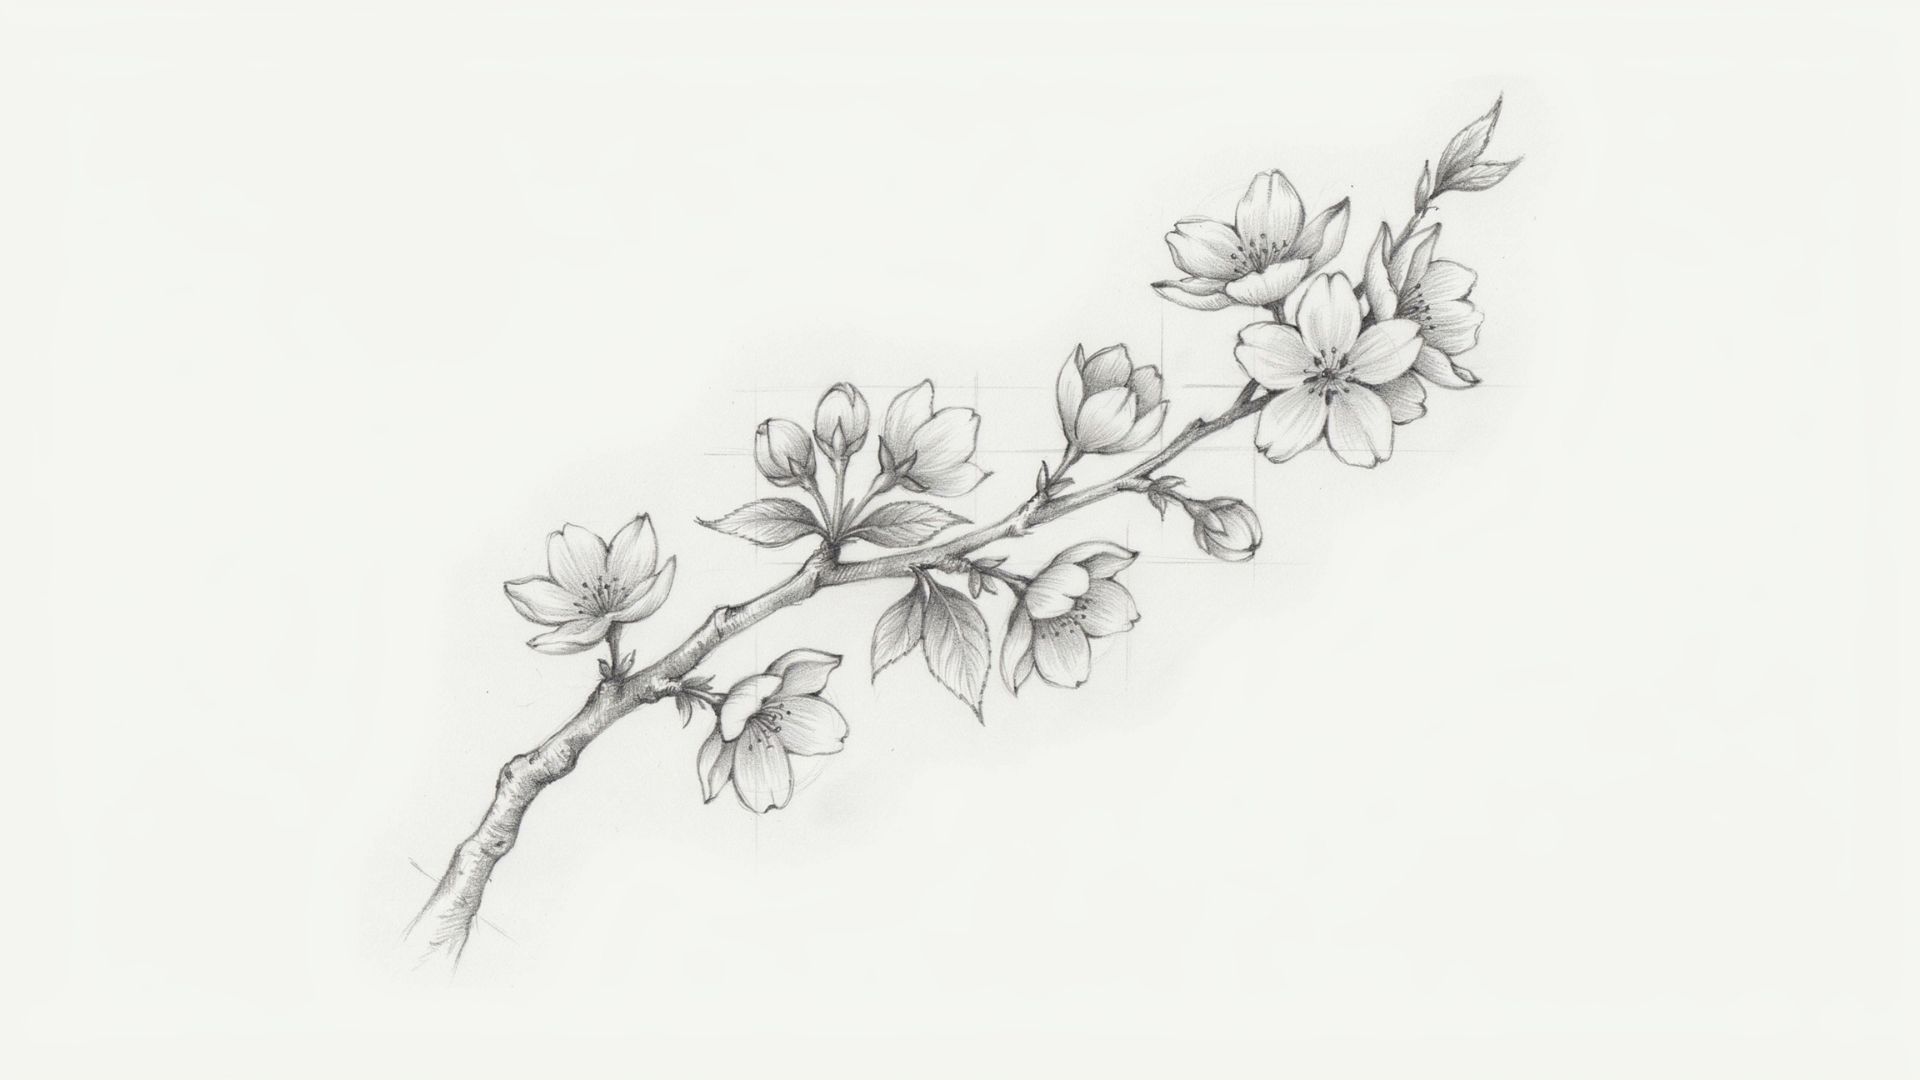
Draw a curved line across your paper. This is the main branch. It should be thicker at the base and gradually taper as it goes up. Do not make it perfectly straight. A gentle curve looks much more natural.
Add Smaller Twigs
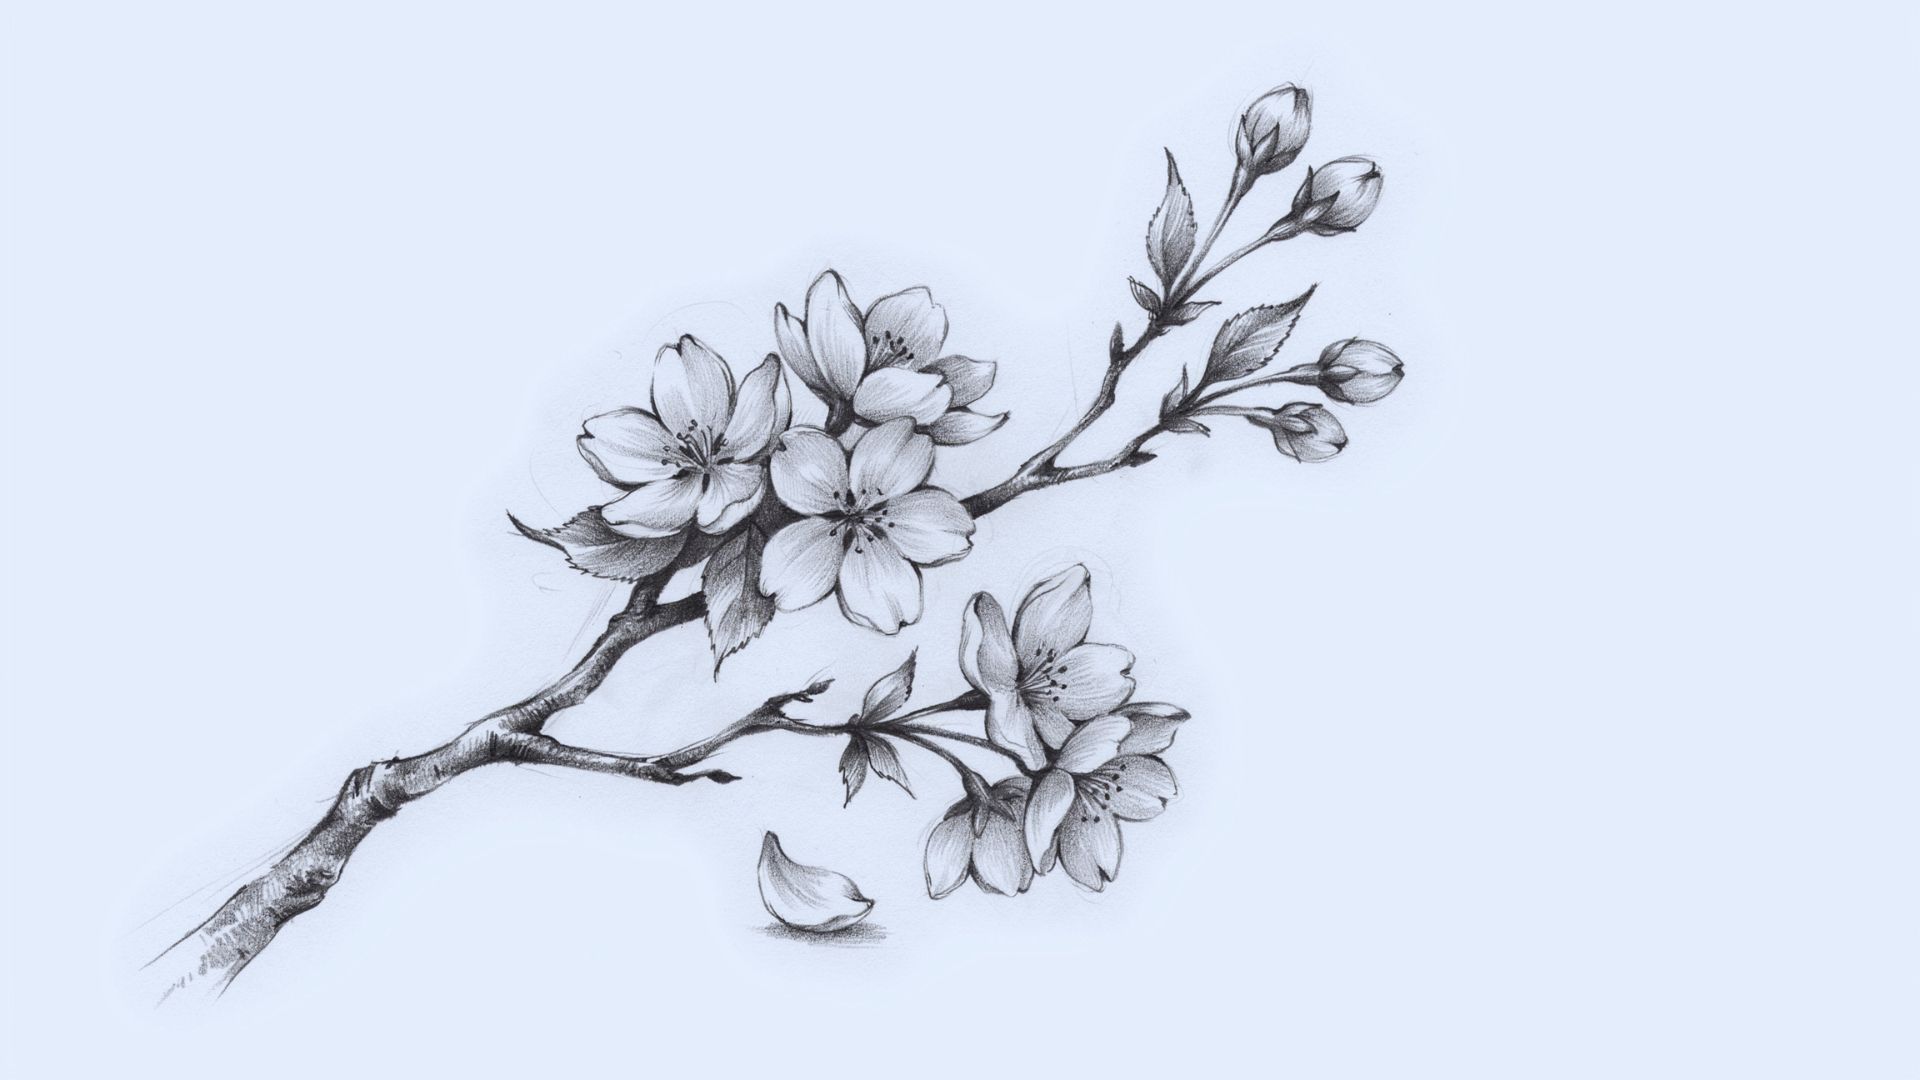
From the main branch, draw smaller lines branching off to the sides. These twigs are thinner than the main branch. They also curve slightly and point upward or outward.
Add two to four twigs. Do not crowd them too close together.
Draw Multiple Blossoms
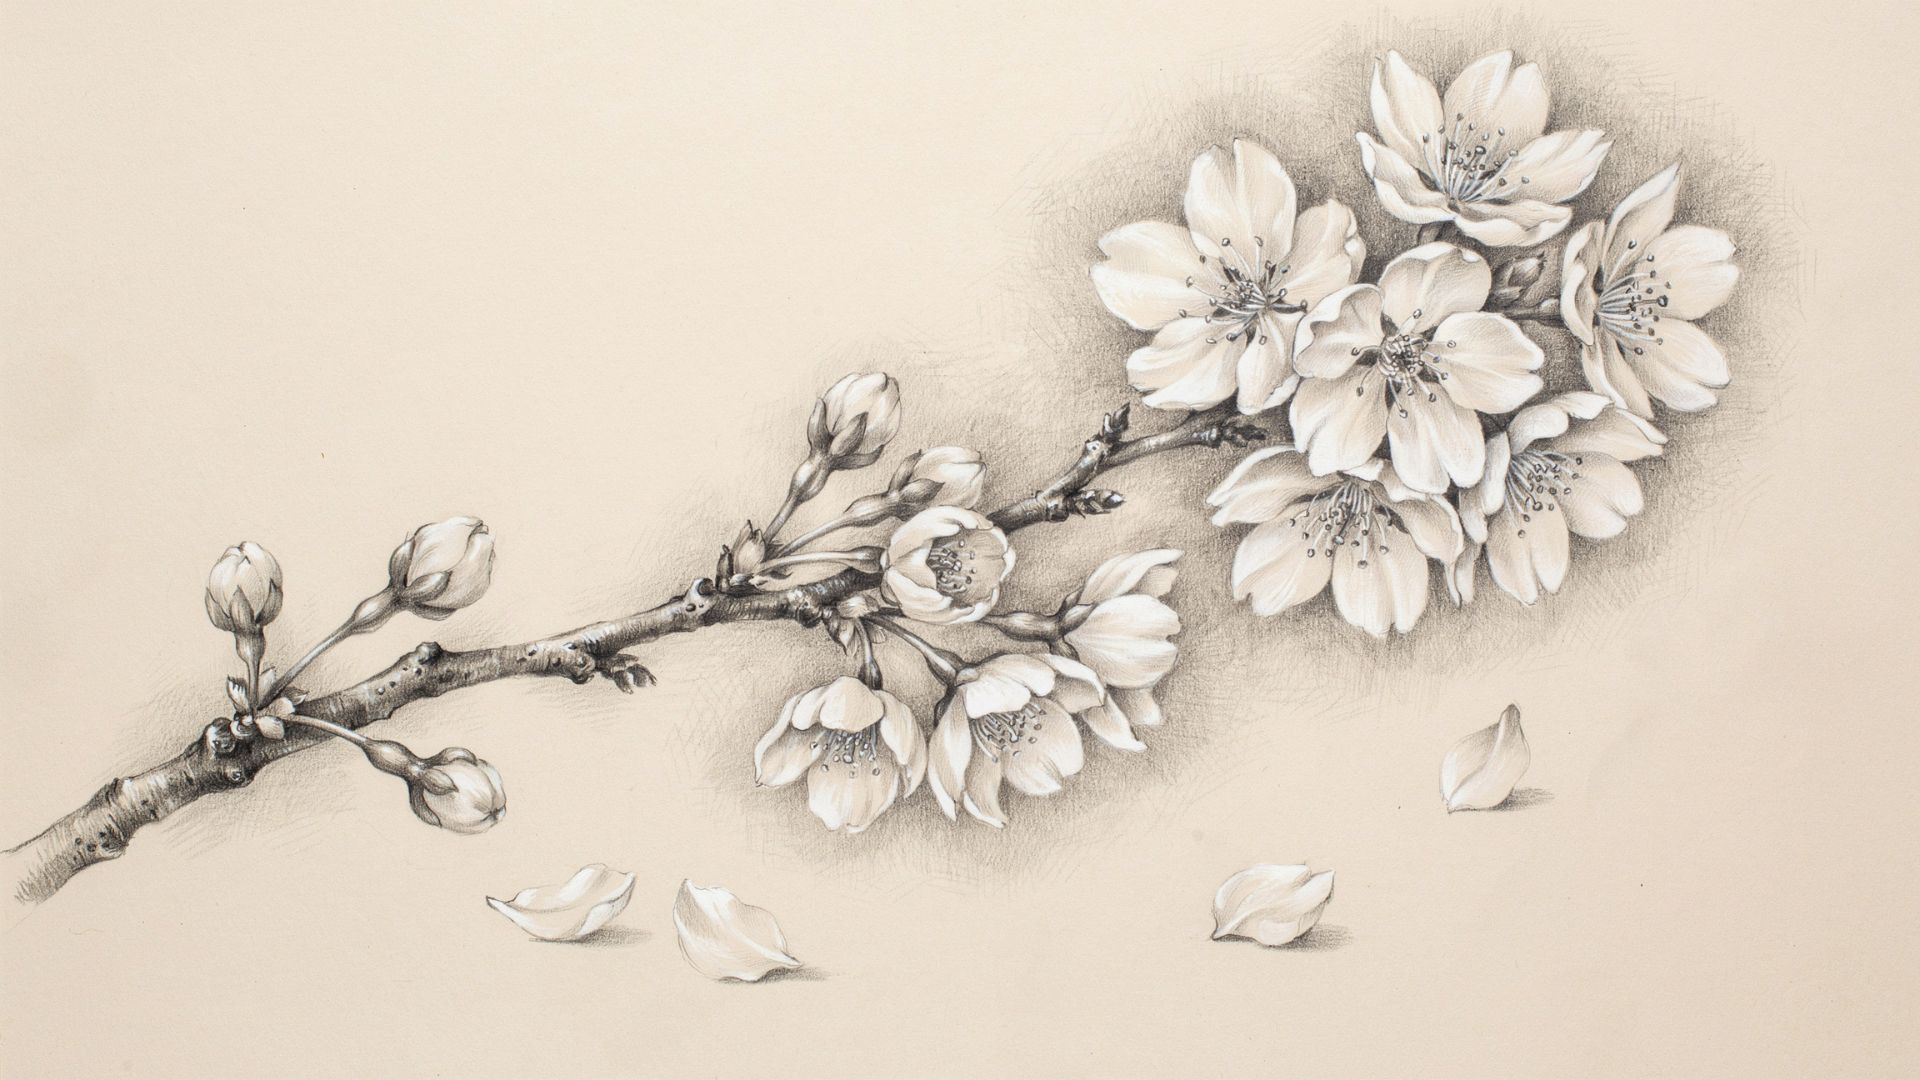
Place flowers at the tips of the twigs and along the main branch. Not every spot needs a flower. Leave some space between them.
Draw each flower using the step-by-step method above. They do not all need to face the same direction.
Fill Empty Areas with Buds and Leaves
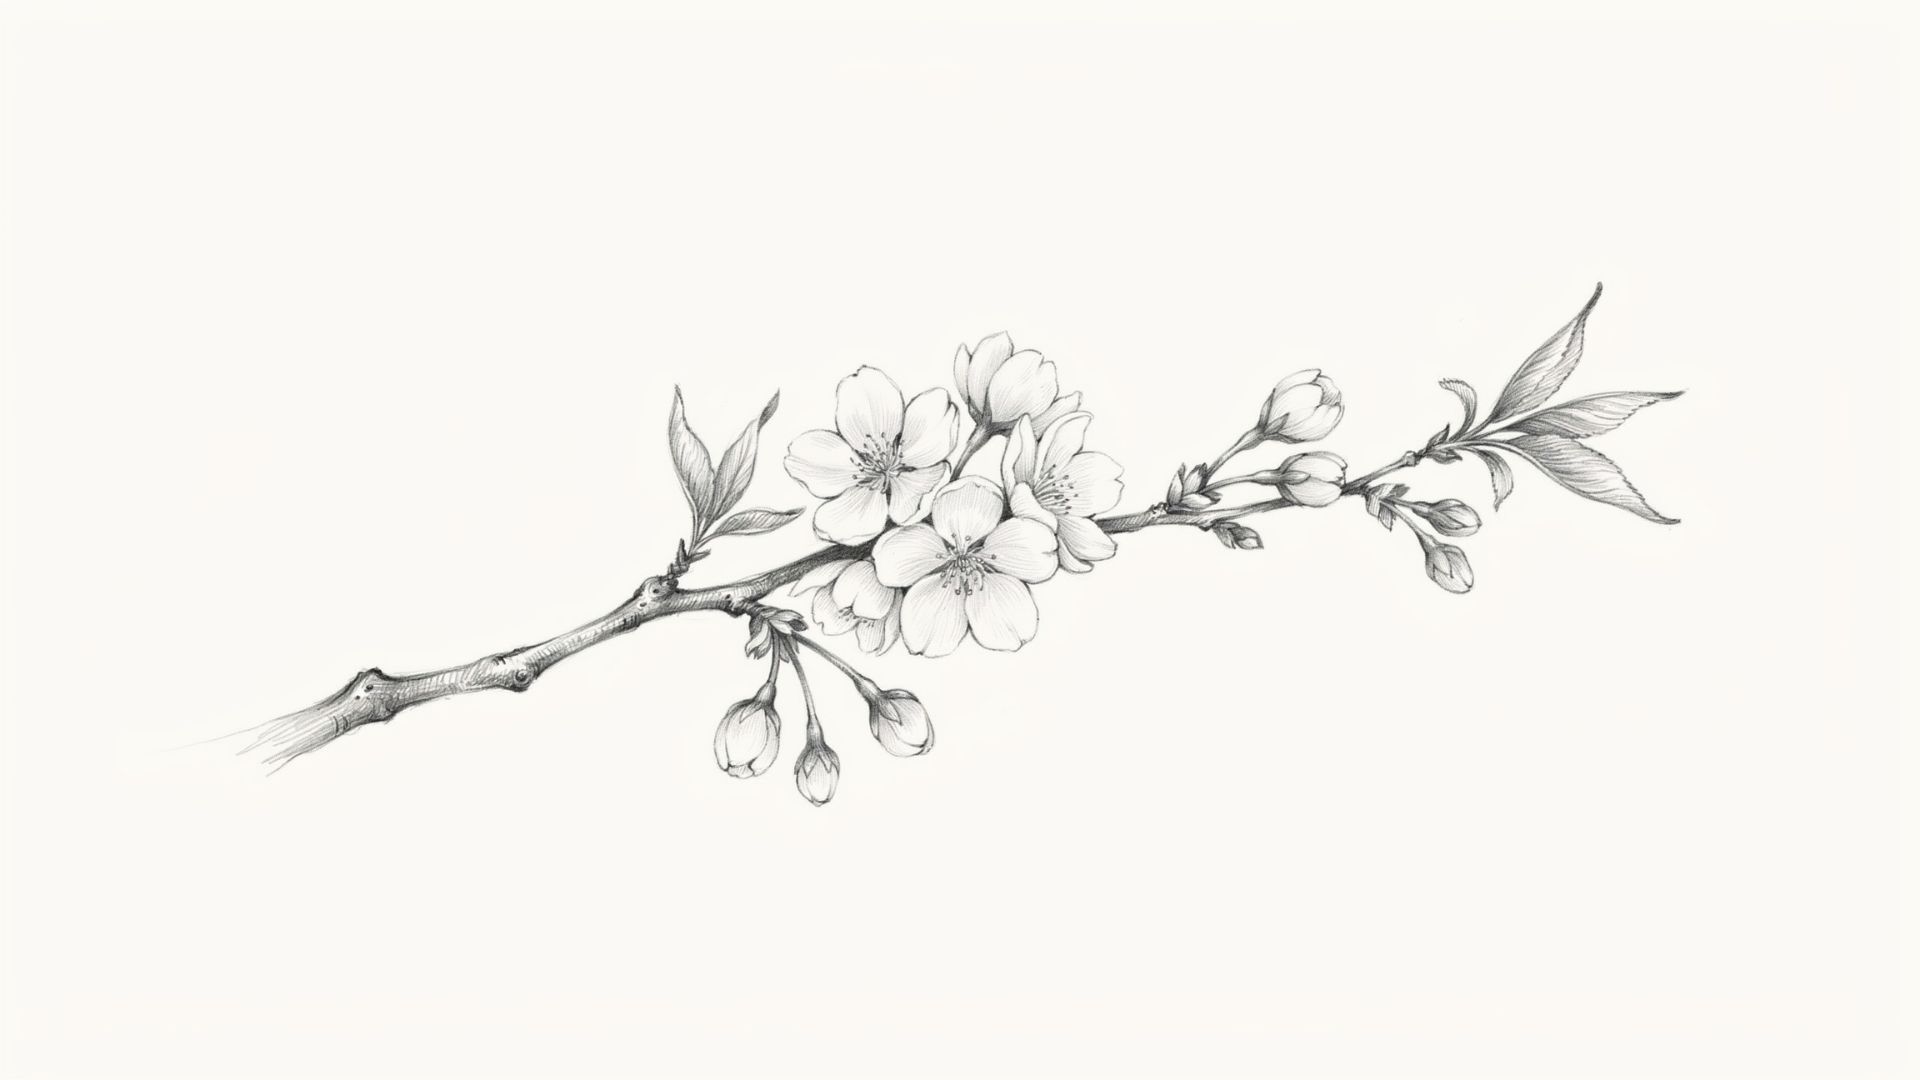
Add small buds where flowers have not opened yet. They look like small ovals or teardrop shapes sitting on short stems.
Add a few leaves if the branch feels too bare. Keep the leaves simple and narrow.
Easy Cherry Blossom Drawing Ideas to Try

Once you are comfortable with the basics, try these.
Single Cherry Blossom Sketch
Draw just one large flower in the center of the page. Focus on getting the details right. This is great practice before you try larger compositions.
Cherry Blossom Branch Drawing
Draw a branch with five to seven flowers on it. Add a few buds and some bare twigs. This is the most classic cherry blossom composition.
Cherry Blossom Tree Drawing
Draw a full tree with a thick trunk that splits into branches. Cover the upper branches with clusters of blossoms. Let a few petals fall beneath the tree.
Cherry Blossom Doodle for Notes and Journals
Draw small, simple flowers along the borders of a page. These do not need to be detailed. Quick sketches with a pen work perfectly here.
Cherry Blossom Cover Page Design
Create a decorative border using branches and blossoms around the edges of a page. Add a title in the center. This works very well for school projects and journals.
How to Color Your Cherry Blossom Drawing
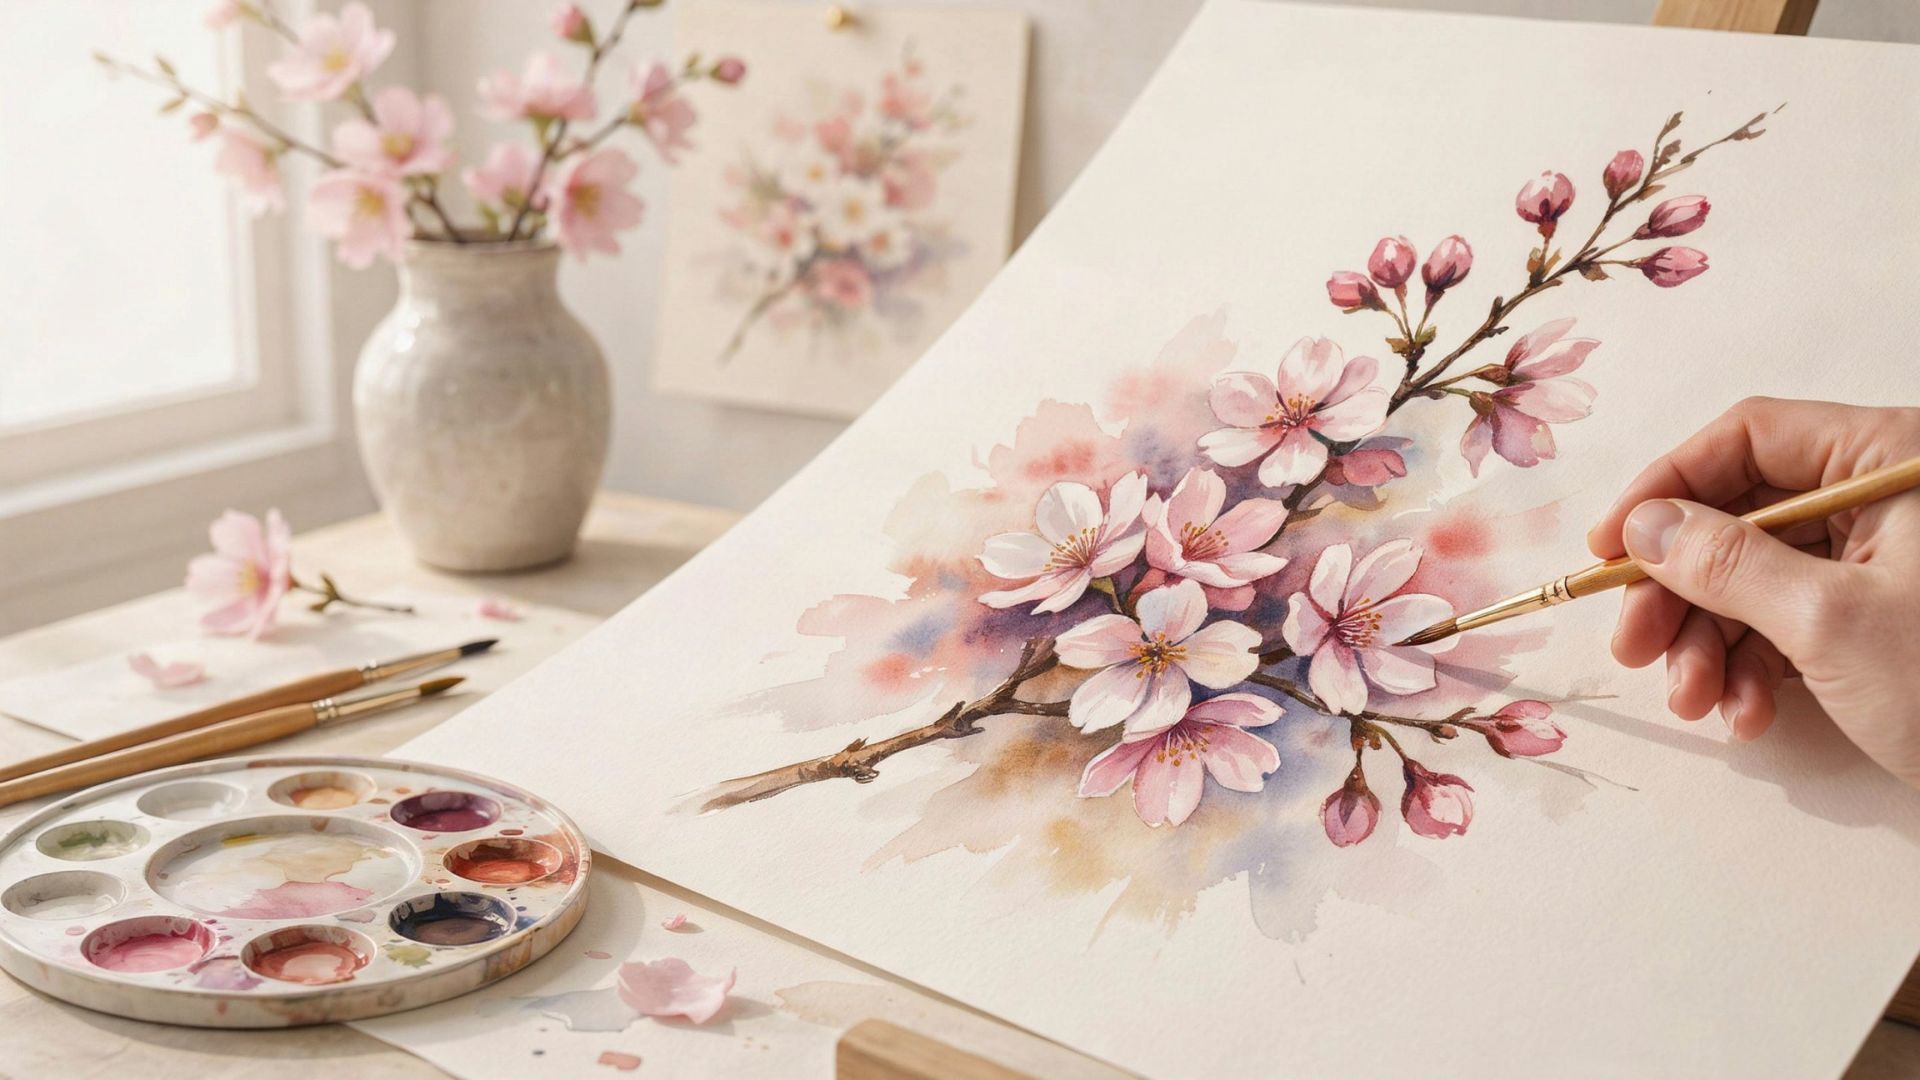
Choosing Realistic Cherry Blossom Colors
Real cherry blossoms range from pure white to soft pink. The base of each petal is usually lighter. The edges can be a slightly deeper pink.
Use these shades as your starting point: light pink, blush pink, white, and pale rose. Avoid using dark or bright pinks unless you want a stylized look.
Adding Light and Shadows
Add a slightly darker shade near the base of each petal where it overlaps another. Leave the center and tips lighter. This creates the illusion of depth without too much effort.
For the branches, use brown and add a darker shade on one side to show shadow.
Creating a Soft Springtime Look
Blend your colors lightly. Watercolors work especially well for this. Do not try to fill every space perfectly.
Leaving some white paper showing through gives the flowers a soft, airy feel.
Tips to Make Your Cherry Blossom Drawing Look Better
- Start with light pencil strokes. Light lines are easy to fix. They also prevent deep grooves in the paper that are hard to erase later.
- Vary your petal sizes. Real cherry blossom petals are never identical. Make some slightly bigger and some smaller. This one change makes your flower look far more natural.
- Let flowers overlap each other. When petals and blossoms overlap on a branch, the drawing gains depth. It stops looking flat and starts feeling three-dimensional.
- Keep branches curved and irregular. Straight, evenly spaced branches look stiff. Add slight curves, small bumps, and uneven spacing to make them feel alive.
- Save dark lines for last. Heavy outlines added too early are hard to fix. Finalize your sketch first, then go over it with darker strokes at the very end.
Common Mistakes to Avoid
This is the most common mistake beginners make.
When all five petals look exactly the same, the flower looks artificial. Vary the shape and size just slightly.
Adding too many flowers too close together makes the drawing look messy. Leave breathing room between blossoms. Less is often more.
Pressing too hard with your pencil or pen before your sketch is finalized makes it hard to fix mistakes. Always start light. Add darker lines only at the end.
If your petals are too large for the branch, or the center is too big for the petals, the flower will look off. Step back and check proportions as you draw.
Benefits of Learning Cherry Blossom Drawing
Learning to draw cherry blossoms gives you more than just a pretty picture.
It improves your flower-drawing skills. Once you can draw cherry blossoms, other flowers become easier too. You start to understand petal shapes, overlapping, and proportion.
It builds patience and creativity. Drawing takes time. The more you practice, the more comfortable you get with slowing down and paying attention to details.
It has real uses. Cherry blossom drawings look great on greeting cards, journal covers, school projects, and handmade gifts. It is a skill you will actually use.
Conclusion
Honestly, the first cherry blossom I ever drew looked nothing like a flower. But I kept going, and that is exactly how it works.
You now have everything you need. The steps, the tips, the mistakes to avoid. All that is left is picking up your pencil.
Start with just one flower today. You might surprise yourself.
If this helped you, drop a comment below and share your drawing. I would love to see it. And if you know someone who loves art, share this post with them.
Frequently Asked Questions
Is cherry blossom drawing easy for beginners?
Yes. Cherry blossoms have simple shapes and a forgiving structure. Even if your first attempt is not perfect, it will still look recognizable. With a few tries, most beginners get comfortable quickly.
How many petals does a cherry blossom have?
A cherry blossom has five petals. This is one of the things that makes it easy to draw. Five is a manageable number, and the petals are evenly spaced around the center.
What colors should I use for cherry blossoms?
Stick to light pink, blush pink, pale rose, and white. The center is usually slightly yellow or pale green. Avoid dark pinks unless you want a stylized, non-realistic look.
Can I draw cherry blossoms without coloring them?
Absolutely. A pencil or pen sketch of cherry blossoms looks pretty on its own. Many artists prefer the clean look of an uncolored drawing. Coloring is always optional.
How long does it take to learn cherry blossom drawing?
Most beginners can draw a decent cherry blossom within one or two practice sessions. Getting really comfortable with branches and full compositions takes a bit longer, but steady practice gets you there.
