


Most polymer clay should be baked for 30 minutes per quarter inch of thickness at 275°F, though exact times vary by brand.
I’ve worked with this material for years, and I know how frustrating it is to pull out a piece that’s underbaked or burnt. That’s why I’m sharing everything about polymer clay baking time.
This guide covers exact durations for every major brand, the right temperatures to use, and how to avoid common mistakes.
I’ll show you what works in different ovens and how to tell when your piece is actually done. You’ll also learn if longer baking makes clay stronger and what to do if things go wrong.
These are methods I’ve tested myself. Let’s get started.
What Is Polymer Clay and Why Baking Time Matters

Polymer clay isn’t actually clay at all. It’s a modeling material made from PVC particles mixed with plasticizers.
When you heat it, the particles fuse together and harden permanently.
Getting the baking duration right is critical. Too short and your piece stays weak and bendy. Too long and you risk burning or discoloration.
I learned this the hard way when I first started. My early projects either crumbled or turned brown at the edges.
Temperature matters just as much as time. Every brand has specific requirements.
The thickness of your piece changes everything too. A thin pendant needs less time than a chunky sculpture.
Underbaked clay looks done but breaks easily later. That’s frustrating when you’ve put in the work.
Correct temperature prevents burning, which is what produces harmful fumes. When baked properly at the right temperature, polymer clay is completely safe.
Trust me, you want to get this part right.
How Long to Bake Polymer Clay (Quick Answer Table)
Here’s the standard guideline most polymer clay brands follow:
| Clay Thickness | Baking Time | Temperature |
|---|---|---|
| Under 1/8 inch | 30 minutes | 275°F (135°C) |
| 1/4 inch | 30 minutes | 275°F (135°C) |
| 1/2 inch | 60 minutes | 275°F (135°C) |
| Over 1/2 inch | 60+ minutes | 275°F (135°C) |
The widely accepted rule is 30 minutes per quarter inch of thickness. So if your piece is half an inch thick, you’d bake it for 60 minutes.
Most brands use 275°F (135°C) as their base temperature. Some European brands like Fimo and Cernit prefer 230°F to 250°F.
I always add 5 extra minutes to be safe. It’s better to overbake slightly than underbake. Your clay won’t burn at the correct temperature.
Always follow the package instructions first. Manufacturers test their formulas extensively. These are general guidelines that work for most situations.
Recommended Baking Times by Polymer Clay Brand
Each brand has its own formula, so baking requirements can vary quite a bit.
Sculpey Baking Time
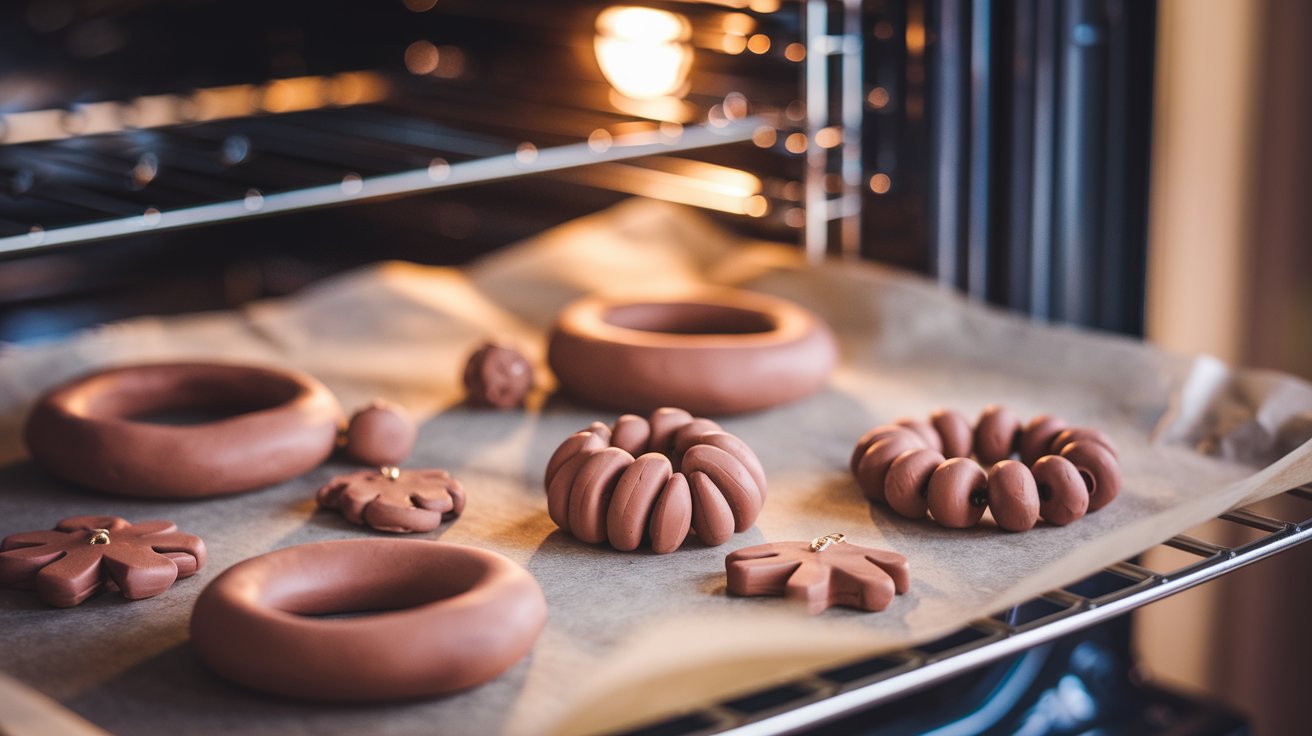
Sculpey is probably the most common brand you’ll find. According to manufacturer guidelines, Original Sculpey bakes at 275°F for 30 minutes per 1/4 inch.
Sculpey III uses the same temperature and time. Super Sculpey bakes at 275°F following the same 30 minutes per 1/4 inch rule.
Some experienced crafters use up to 300°F with Super Sculpey, but I recommend sticking with 275°F when you’re starting out.
Premo Sculpey is stronger and I use it for jewelry. It bakes at 275°F for 30 minutes per 1/4 inch of thickness. For a half-inch piece, that’s 60 minutes total.
Sculpey Souffle is lighter and needs 275°F for 30 minutes per 1/4 inch. I find it slightly more forgiving than other types.
Fimo Baking Time

Fimo comes from Germany and has slightly different requirements. Fimo Professional bakes at 230°F (110°C) for 30 minutes per 1/4 inch.
Fimo Soft and Fimo Effect use the same temperature. The lower heat means less risk of burning. I like that about Fimo.
Fimo Kids is designed for children and bakes at 230°F for 30 minutes too. It’s very safe at that temperature.
Some crafters bake Fimo at 265°F to save time. I stick with 230°F because it gives better results. The colors stay brighter.
Cernit Baking Time
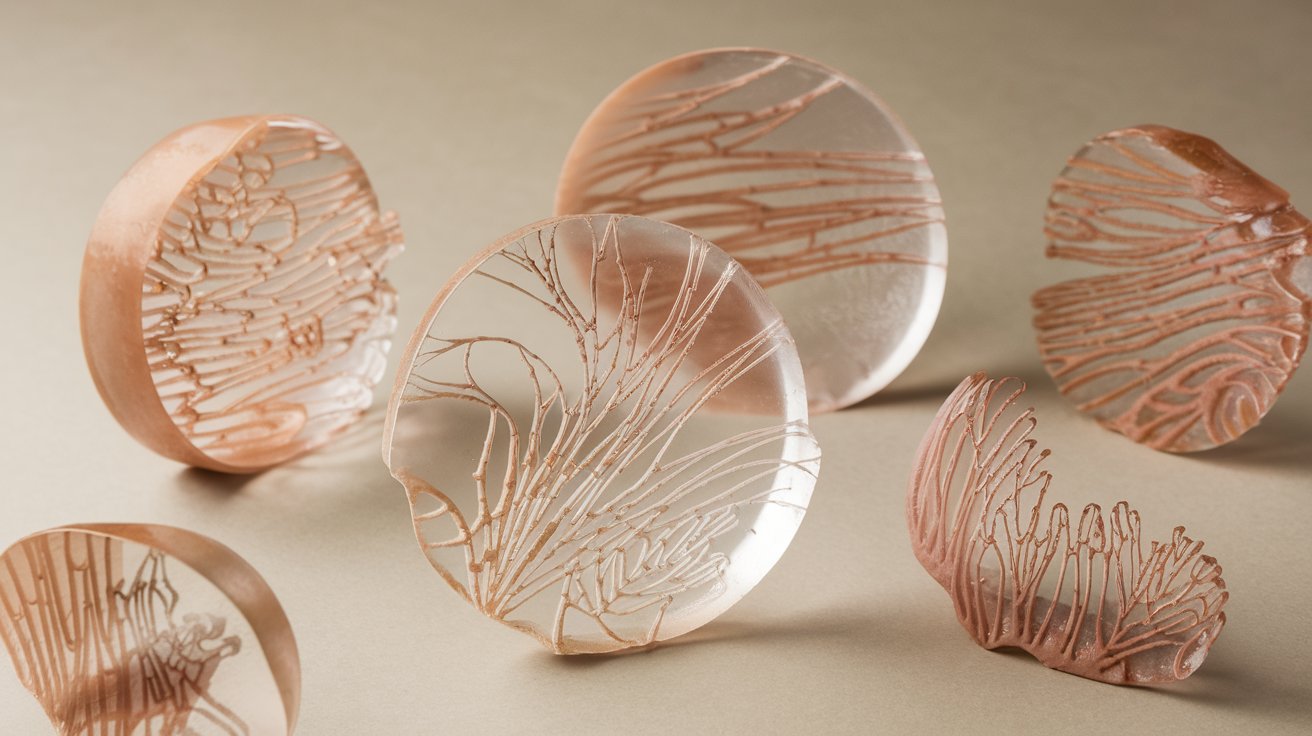
Cernit is less common but makes great clay. It bakes at 230°F (110°C) for 30 minutes per 1/4 inch.
Cernit translucent stays clearer than most brands. I use lower temperatures with it sometimes. Around 215°F works if you’re patient.
The finish on Cernit is smooth right out of the oven. You get less plaquing, which is that white chalky surface some clays develop.
Other Popular Brands
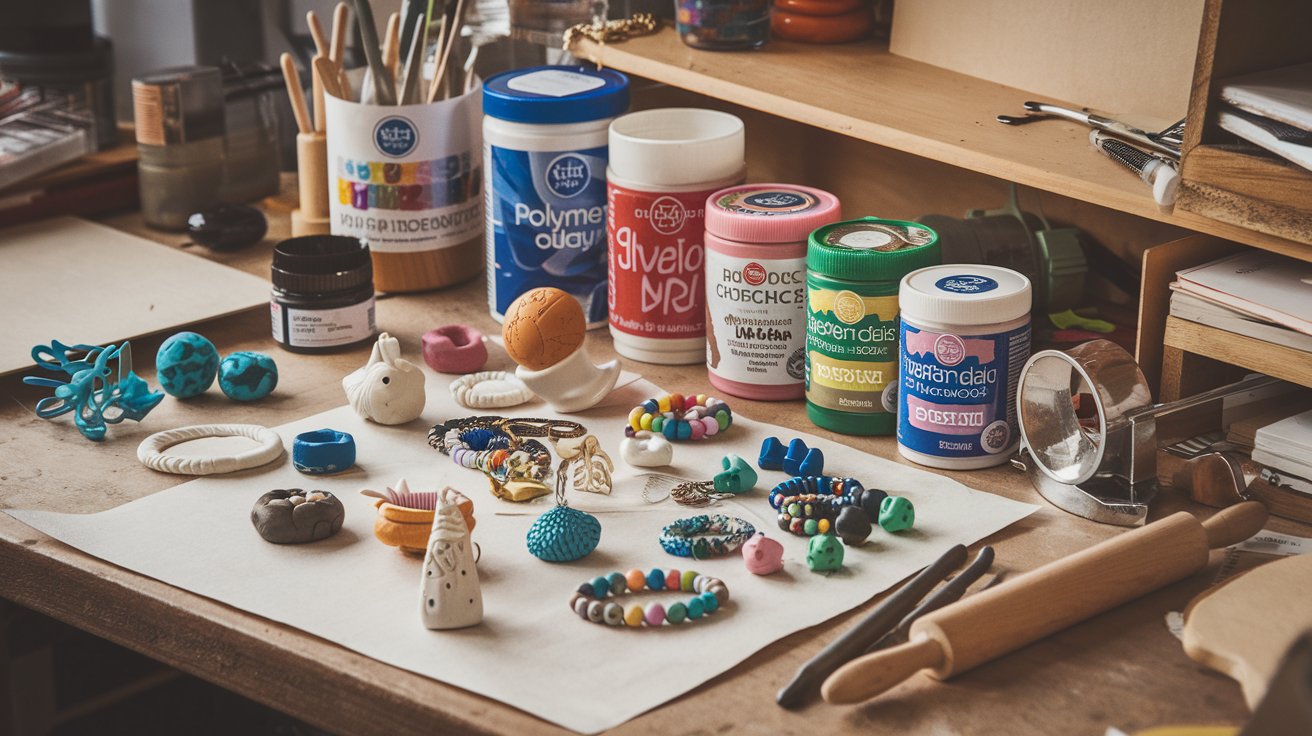
Kato Polyclay bakes hotter according to the package directions. Use 300°F for 30 minutes per 1/4 inch. It’s very strong when done.
Pardo bakes at 275°F to 325°F depending on the line. Check your package. Pardo Translucent needs lower temps around 265°F.
Craft Smart from Michaels follows Sculpey guidelines. Use 275°F for 30 minutes per 1/4 inch.
I recommend sticking with one brand when starting out. Each behaves differently.
What Temperature Should Polymer Clay Be Baked At?
Most polymer clay bakes between 230°F and 275°F. Never go above 300°F unless your brand specifically says to.
I use an oven thermometer every single time. Home ovens lie about their temperature. Mine runs 25 degrees hot.
Preheating is important. Wait until your oven reaches the right temp before putting clay inside. Cold starts cause problems.
Convection ovens work great but watch them closely. The fan can cause hot spots. I reduce the temperature by 25 degrees in convection mode.
Toaster ovens are tricky. They fluctuate wildly. If you use one, get a good thermometer and stay nearby.
The wrong temperature causes more problems than wrong timing. Too hot creates bubbles and burns. Too cool leaves clay weak.
Does Polymer Clay Get Stronger the Longer You Bake It?
Yes, up to a point. Curing polymer clay longer at the correct temperature makes it stronger. The particles fuse more completely.
I often bake pieces for twice the recommended time. A 1/4 inch piece might get 60 minutes instead of 30. This makes it much more durable.
You can bake polymer clay for hours without burning it. Just keep the temperature right. I’ve baked test pieces for 3 hours at 275°F with no issues.
How to Tell When Polymer Clay Is Fully Baked
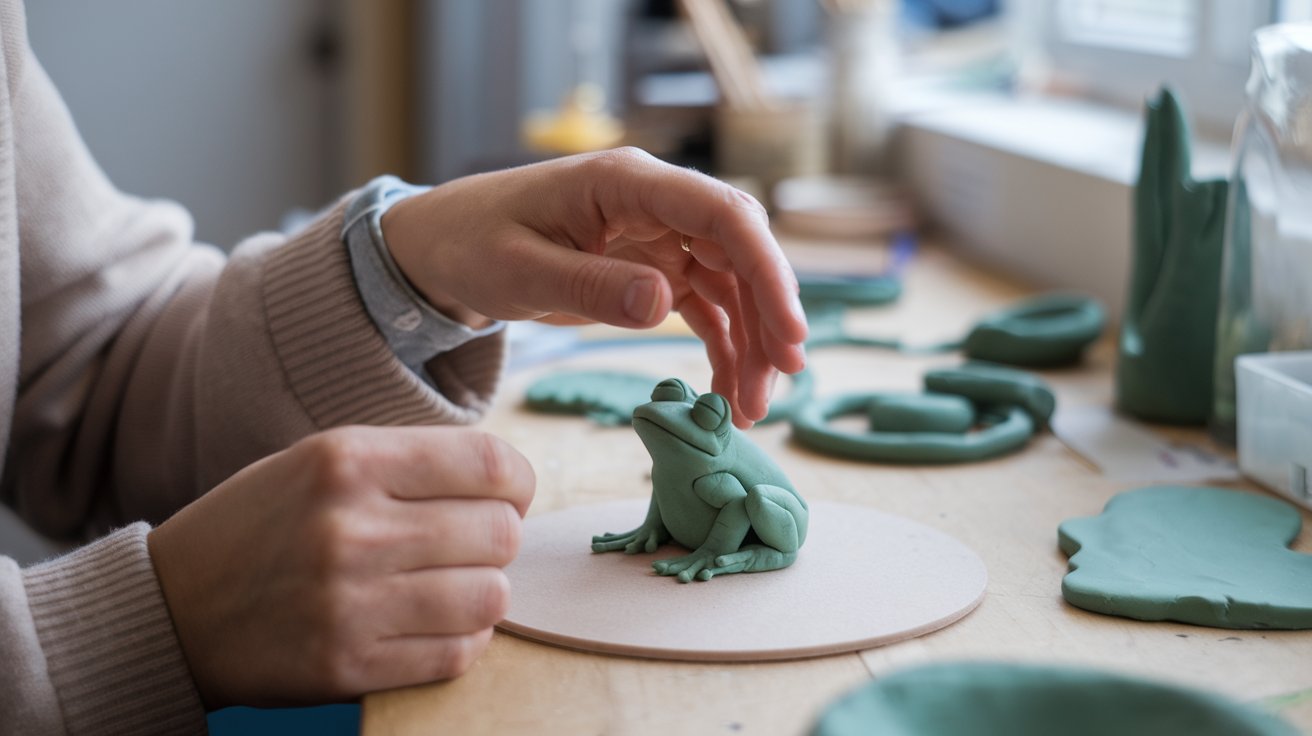
This is tricky because polymer clay doesn’t look different when done. It won’t brown like cookies.
The best test happens after cooling. Let your piece cool completely for at least 15 minutes. Then try to bend a thin part gently. Fully baked clay flexes slightly but doesn’t bend easily.
Underbaked clay bends too much. It feels soft at thin points. When cool, it should be hard but not brittle.
I do the thumbnail test too. Press your thumbnail into an inconspicuous spot. Baked clay barely shows a mark. Unbaked clay dents easily.
Translucent clay should look glassy, not milky. If it’s still chalky looking, it needs more time.
Thick pieces are hardest to judge. The outside might be done while the center is raw. When in doubt, bake longer.
Common Polymer Clay Baking Mistakes (And How to Fix Them)
Not using an oven thermometer is mistake number one. Your oven probably runs hot or cold. I wasted so many pieces before buying a thermometer.
Underbaking is super common. People get impatient. I add extra time now and never regret it.
Baking directly on metal pans causes shiny spots. Use parchment paper or cardstock underneath. I tear up cereal boxes for this.
Opening the oven door too much lets heat escape. Temperature drops and your clay doesn’t cure right. Check through the window instead.
Not preheating causes uneven baking. The clay starts curing before reaching proper temperature. Always wait to preheat.
Burning happens when the temperature is too high. If you burn a piece, there’s no fix. Prevention is everything here.
Baking different brands together can work but they might need different temps. I separate them when possible.
Baking Polymer Clay in Different Ovens
Different ovens have their quirks, so here’s what works for each type.
| Oven Type | Temperature Adjustment | Best Practices | Watch Out For |
|---|---|---|---|
| Regular Kitchen Oven | Use as directed | Most reliable option | Hot spots near elements |
| Toaster Oven | Reduce by 10-15°F | Place on top rack | Extreme temperature swings |
| Convection Oven | Reduce by 25°F | Great even heating | Fan can create hot spots |
| Dedicated Craft Oven | Use as directed | Keeps fumes separate | Same as kitchen oven |
Temperature accuracy matters more than oven type, so get a good thermometer regardless of what you’re using.
Final Tips for Perfectly Baked Polymer Clay Every Time
These quick tips will help you get consistent results every single time.
- Always condition your clay well before baking to prevent cracking
- Use an oven thermometer, your oven’s built-in gauge isn’t accurate
- Add 5-10 extra minutes when in doubt, underbaking is worse than overbaking
- Cover pieces with foil to prevent browning and discoloration
- Let pieces cool for at least 30 minutes before handling
- Keep a baking journal to track what works for your specific oven
- Test new brands with small samples before baking important projects
- Don’t rush thick pieces, they need extra time for heat to reach the center
Conclusion
Learning polymer clay baking time takes practice, but these guidelines will save you from ruined projects.
If you remember one rule, make it this: correct temperature matters more than time.
Always use an oven thermometer because home ovens aren’t accurate. Don’t be afraid to bake longer than recommended for stronger results.
You can always rebake if something isn’t fully cured. The key is maintaining the right temperature and giving your pieces enough duration.
Start with these basics and adjust based on your specific oven and clay brand. Your projects will come out properly cured and ready to last.
Frequently Asked Questions
Can I bake polymer clay with wire inside?
Yes, you can bake wire armatures inside polymer clay. Metal doesn’t melt at polymer clay temperatures. I use wire in sculptures all the time for support.
Why did my polymer clay crack after baking?
Cracking usually happens from underbaking or not conditioning the clay enough. Thick pieces can also crack if the outside bakes faster than the inside. Try longer baking times next time.
Is it safe to bake polymer clay in my food oven?
Yes, it’s safe when you follow the correct temperatures. Don’t let clay burn. Some people dedicate one oven to crafts. I use my kitchen oven with good ventilation.
Can different polymer clay brands be baked together?
You can bake different brands together if they share similar temperature requirements. I stick to brands that use 275°F when mixing. Just use the longer time if they differ.
How long does baked polymer clay last?
Properly baked polymer clay lasts indefinitely. I have pieces from 10 years ago that look perfect. Keep them away from direct sunlight to prevent fading.
