

Creating DIY Christmas village houses brings holiday magic right into your home.
I’ve been making these charming miniature buildings for years, and I’m excited to share exactly how you do it.
This guide covers everything from choosing materials to displaying your finished village. You’ll learn basic construction steps, decorating tricks, and creative style options that actually work.
I’ve tested each method myself, so you know these techniques are reliable. No craft experience needed, just simple supplies and about an hour per house.
Let’s build something special this season.
Why You’ll Love Making DIY Christmas Village Houses

Making your own Christmas village gives you complete control over the look and feel.
Store-bought sets cost anywhere from $50 to $200, but homemade versions run under $20 for multiple houses.
You can customize every detail to match your home decor. Choose colors that fit your style. Add personal touches like tiny wreaths or snow-dusted roofs. Each house becomes one-of-a-kind.
Kids love helping with these projects. Painting, glittering, and arranging the village turns into quality family time. The houses also make thoughtful handmade gifts for friends and neighbors.
Once you learn the basic technique, you can make new buildings every year. Your village grows over time without breaking your budget.
Materials for DIY Christmas Village Houses (Cardboard, Paint & Decor)

These basic supplies are easy to find and budget-friendly.
- Cardboard or chipboard
- Cereal boxes or shipping boxes
- White cardstock or thick paper
- Scissors
- Craft knife
- Ruler
- Pencil
- Hot glue gun
- Glue sticks
- Acrylic paint
- Small paintbrushes
- White glue or Mod Podge
- White glitter
- Epsom salt for snow texture
- Cotton batting or cotton balls
- Battery-operated tea lights
- Bottle brush trees
- Small beads or buttons for details
This list covers everything needed to build, decorate, and display simple Christmas village houses.
Step-by-Step DIY Christmas Village Houses Tutorial
Follow these simple steps to build and decorate your own Christmas village houses from start to finish.
Step 1: Prepare Your House Base
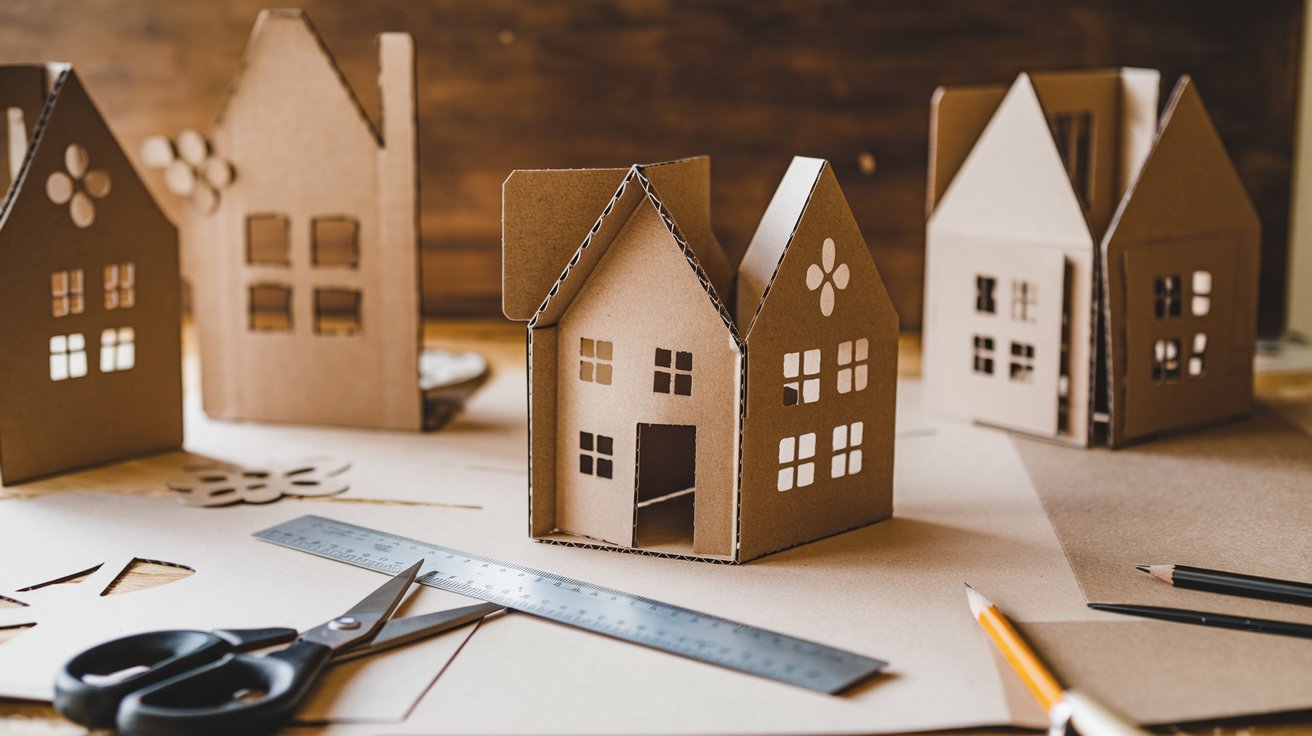
Draw your house template on cardboard. Make walls about 4 to 5 inches tall. Cut out four walls, a base, and two roof pieces. Score fold lines with a ruler and dull knife.
Hot glue the walls to the base one at a time. Hold each piece for 10 seconds while glue sets. Cut windows and a door before assembly if you want interior lighting.
Attach roof pieces last, angling them to meet at the top.
Step 2: Paint and Add Details
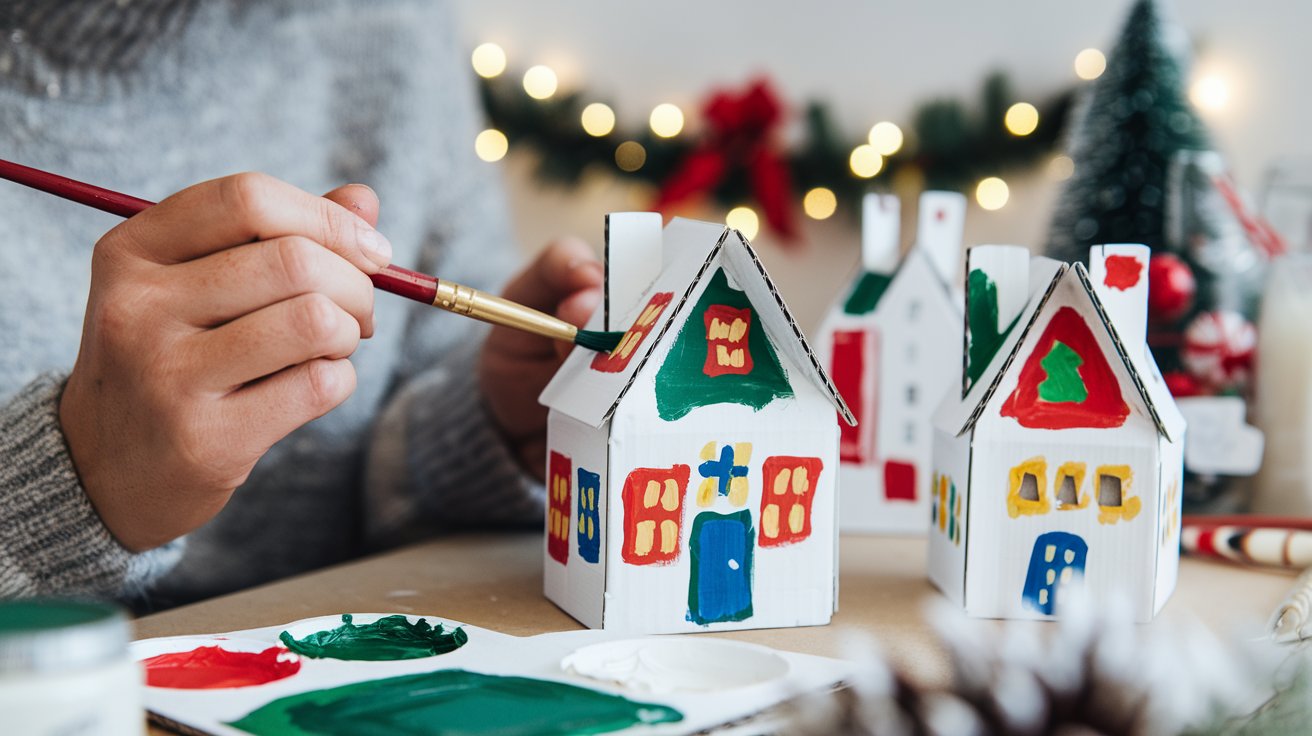
Apply white base coat paint to all surfaces. This covers any printing on cardboard. Let dry for 20 minutes.
Add your color scheme next. Soft pastels work for vintage style. Bold red and green suit traditional looks.
Paint window frames and doors in contrasting colors like dark brown or black. Add brick lines or roof shingles with simple straight lines. Let dry for 30 minutes.
Step 3: Apply Glitter and Snow Effects
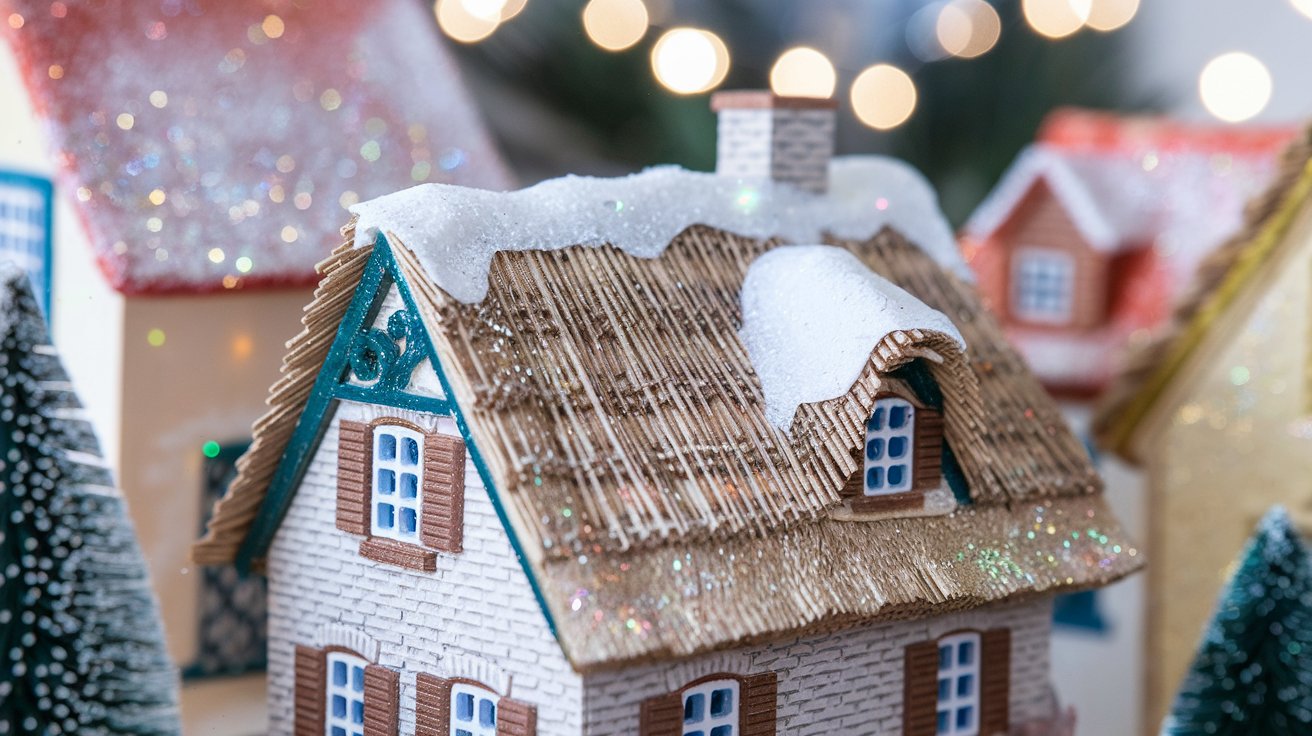
Brush Mod Podge on the roof where you want snow. Sprinkle white glitter generously over wet glue. Tap off excess to reuse.
Mix Epsom salt with white glue for textured snow. Spread along roof edges and windowsills.
Add cotton batting to chimneys for puffy snow drifts. Glitter the base around your house for snowy ground.
Step 4: Assemble and Display Your Village
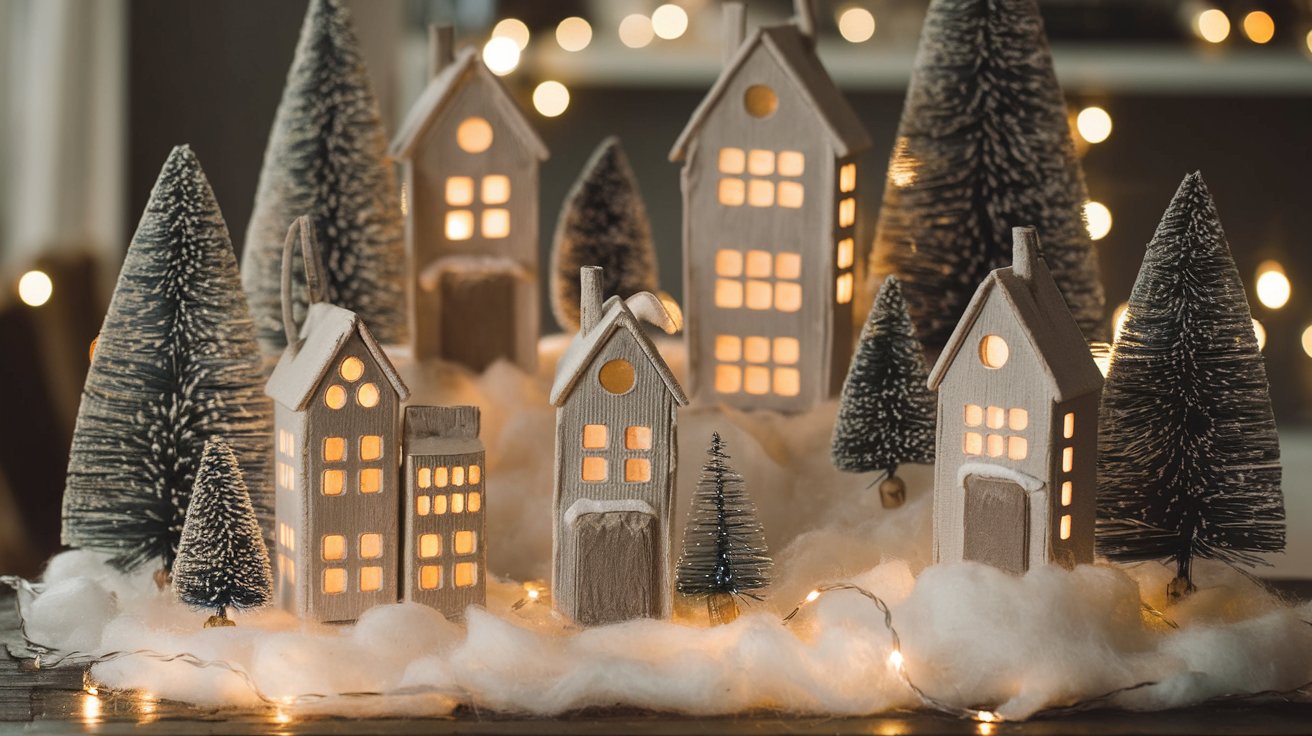
Arrange houses on a stable surface before gluing. Place larger houses in back and smaller ones in front. Leave walking paths between buildings.
Secure houses with hot glue dots. Add battery tea lights inside houses with windows. Fill spaces with bottle brush trees and cotton snow.
Keep it simple to avoid clutter.
Creative Variations for Your Christmas Village
Try these three distinct styles to match your personal taste and home decor.
Rustic Farmhouse Village Style
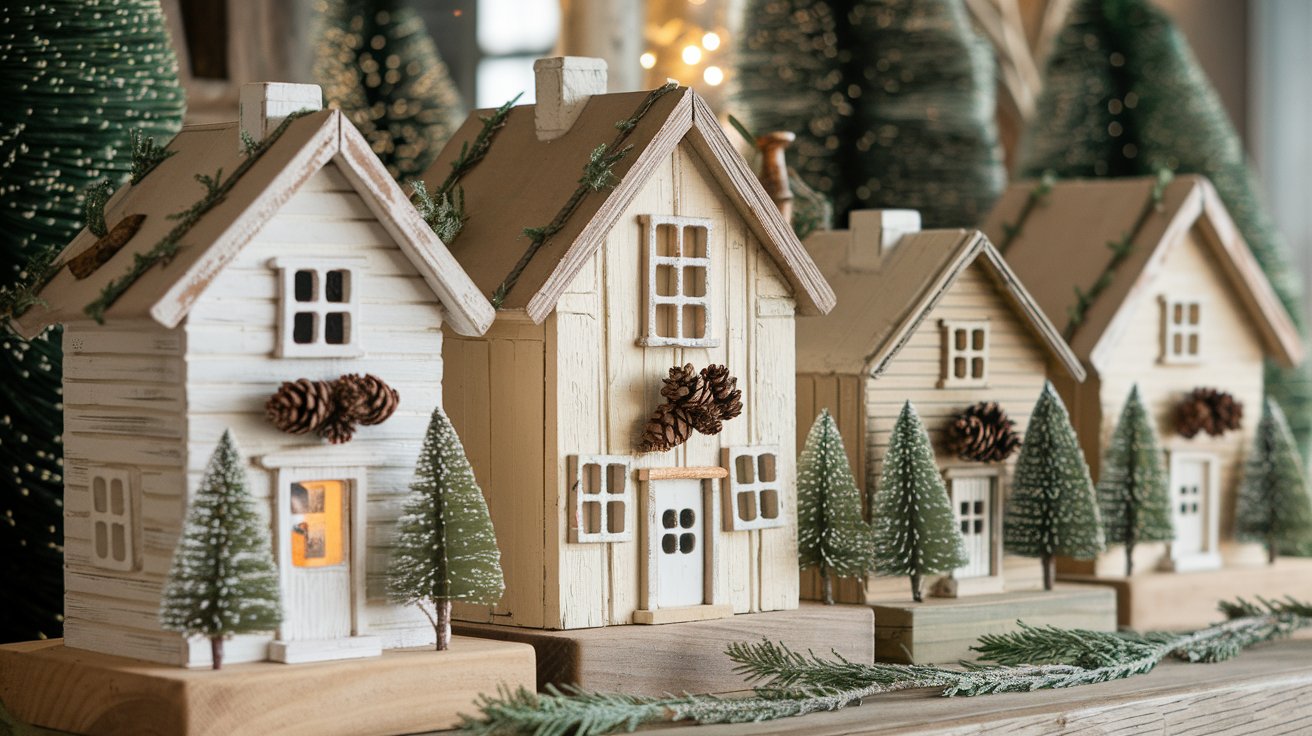
Use natural materials and muted colors for a cozy look. Paint houses in cream, tan, and soft gray tones. Skip the glitter and brush on thin white paint for weathered snow instead.
Make tiny wood fences from popsicle sticks or toothpicks. Use burlap scraps for roof shingles, layering small rectangles with hot glue.
Decorate with miniature pine cones, cinnamon sticks, and dried orange slices.
Vintage Glitter Village Look
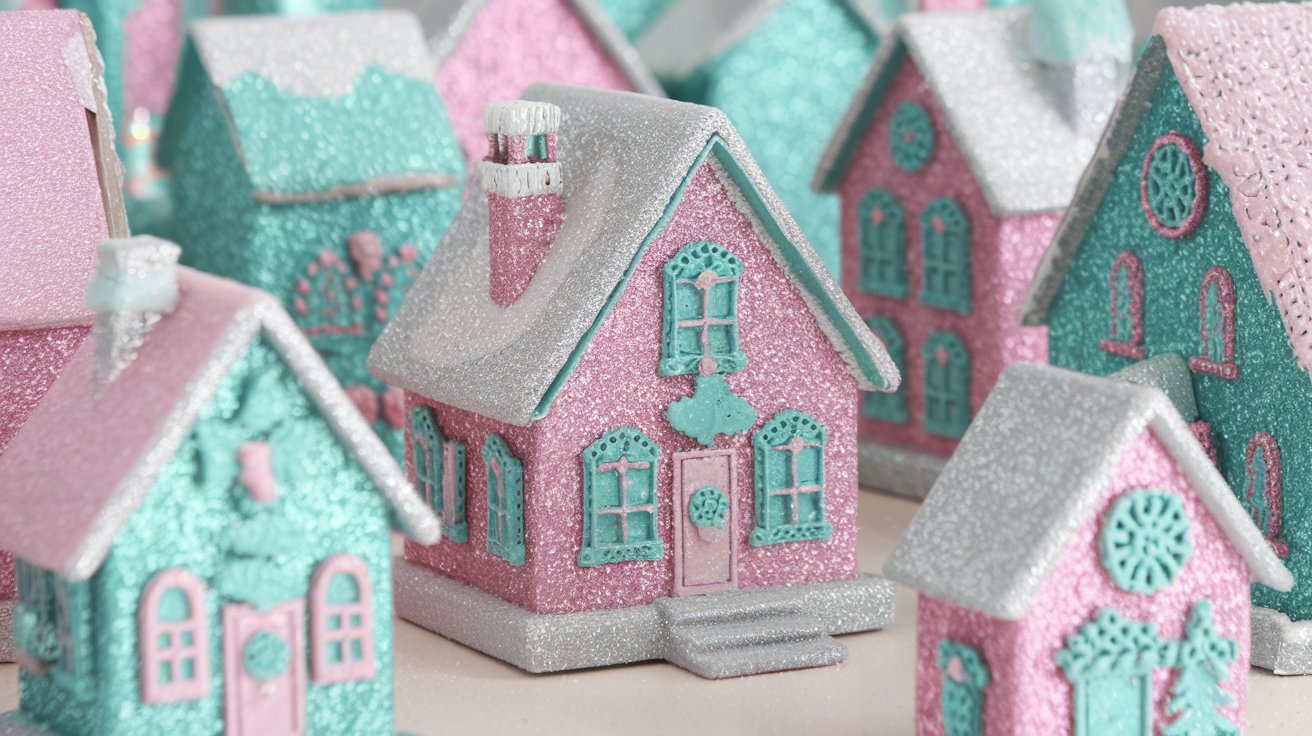
Go heavy on sparkle for a retro 1950s vibe. Use pink, aqua, and silver as your main colors. Cover entire houses in fine iridescent glitter. Every surface should shimmer.
Add mica flakes on top of glitter for extra shine. Use metallic pipe cleaners for roof trim and wreaths.
Display on a mirror base with white feather boas for fluffy vintage snow.
Modern Minimalist Village Idea
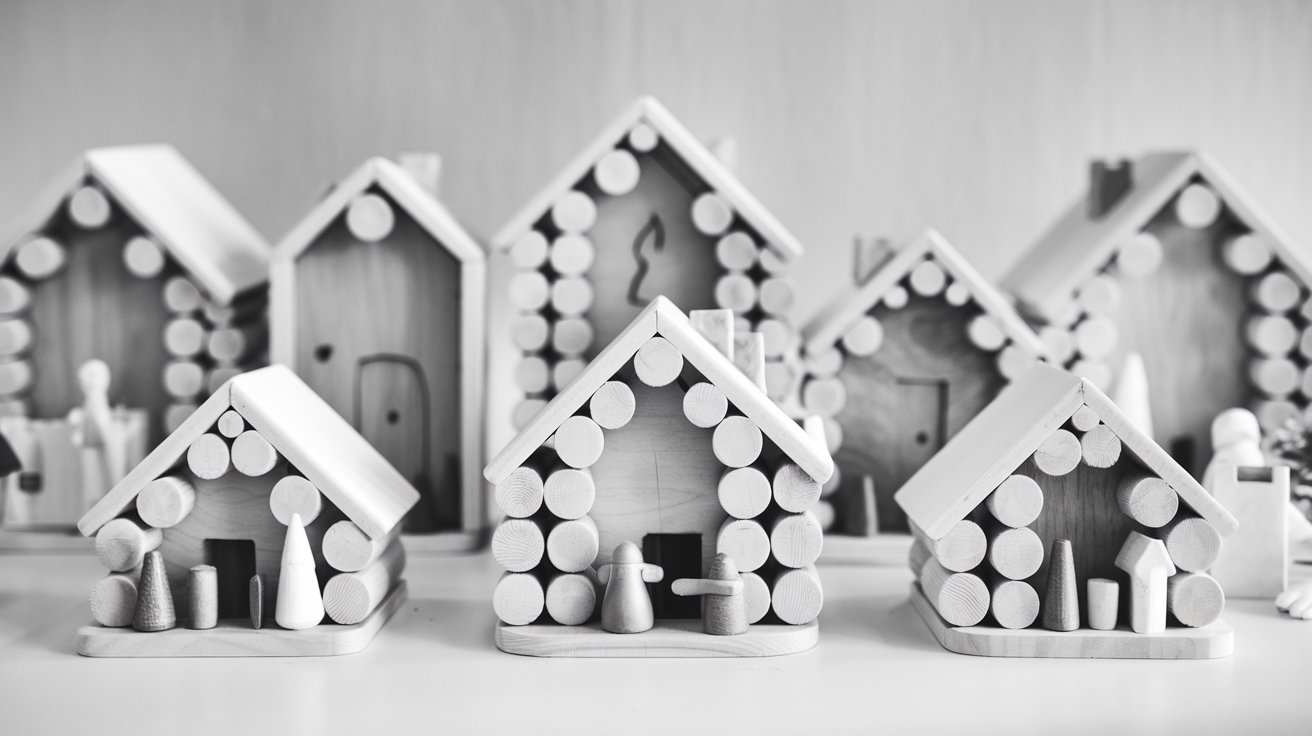
Stick to black, white, and one accent color. Paint houses solid colors with no texture or patterns. Use painter’s tape for crisp, clean edges.
Skip glitter entirely and use matte paints instead. Make houses different heights and sizes for intentional asymmetry.
Display on a white platform with just a few bottle brush trees.
Common Mistakes When Making DIY Christmas Village Houses
These small errors can affect how your village looks and how long it lasts.
- Using weak cardboard: Thin cardboard bends and causes houses to lose shape. Strong boxes hold up better.
- Skipping planning and measurements: Cutting without a template leads to uneven walls and poor fits.
- Adding glitter too soon: Glitter clumps on wet paint. Always let paint dry first.
- Using too much glue: Heavy glue leaves messy seams. Small glue dots work best.
- Forgetting window cutouts: Windows are hard to add after assembly. Cut them before gluing.
- Overdecorating the houses: Too many details make the village feel crowded. Simple designs look cleaner.
- Making all houses the same size: Same-sized houses look flat. Mixed heights add depth.
- Rushing drying time: Wet paint smears easily. Dry time keeps details sharp.
- Storing houses without care: Loose storage causes damage. Wrap each house before packing.
Avoiding these common mistakes makes building DIY Christmas village houses easier and far more enjoyable.
Small changes go a long way, and each house turns out better than the last.
Tips to Display and Store Your DIY Christmas Village Houses
Keep your village looking great all season and protect it for years to come.
- Place your village near a window where natural light highlights it during the day, then add a spotlight or string lights at night for a warm glow.
- Use a multi-level display by stacking books or boxes under white fabric or felt to create hills, and group houses in clusters rather than straight lines.
- Add a mirror behind your village to make it look twice as big, which works perfectly in small spaces.
- Wrap each house individually in tissue paper before packing, then store in a sturdy box with dividers in a cool, dry place.
- Label your storage box clearly with a photo of your display setup, and reapply Mod Podge and glitter next season if any loosens.
Conclusion
I hope this guide helps you create a DIY Christmas village that brings warmth to your home.
My favorite part is watching the houses come together. Each one tells its own little story. Start with just one or two houses this year if you’re short on time.
You can always add more next season. The imperfections make them charming, so don’t stress about perfect edges or matching colors.
Try it out, get the kids involved, and see where your creativity takes you.
Drop a comment below and share what style you’re planning to make!
Frequently Asked Questions
What’s the easiest material for beginners to use?
Cardboard from cereal boxes or shipping boxes works perfectly for first-timers. It cuts easily, glues well, and costs nothing. Start here before investing in foam board or wood.
How long does each house take to make?
Most houses take 45 to 60 minutes from start to finish, including drying time. Simple designs go faster. More detailed houses with lots of glitter and trim might need 90 minutes.
Can kids help make these village houses?
Yes, kids ages 6 and up can help with painting, glittering, and arranging. Adults should handle hot glue guns and cutting. This makes a great family project for holiday weekends.
Do the houses need to be weatherproofed?
Only if you’re displaying them outdoors. Indoor houses stay fine with just paint and glue. For outdoor use, seal everything with clear acrylic spray to protect against moisture.
How do I make windows that actually glow?
Cut window openings before assembly, then place battery tea lights inside finished houses. You can also glue yellow tissue paper behind windows and add a light inside for a warm effect.