

I’ve painted a lot of air dry clay pieces over the years. And I’ll be honest, I ruined a few before I got it right.
The best paint for air dry clay isn’t just about picking a color you like. It’s about choosing something that actually sticks, stays put, and looks good long after it dries.
In this guide, I’ll cover every paint type that works on clay, how to prep your surface, and how to apply paint the right way.
I’ve tested these methods myself, so you’re getting real advice, not guesswork.
By the end, you’ll know exactly what to use and what to avoid.
Why Choosing the Best Paint for Air Dry Clay Matters
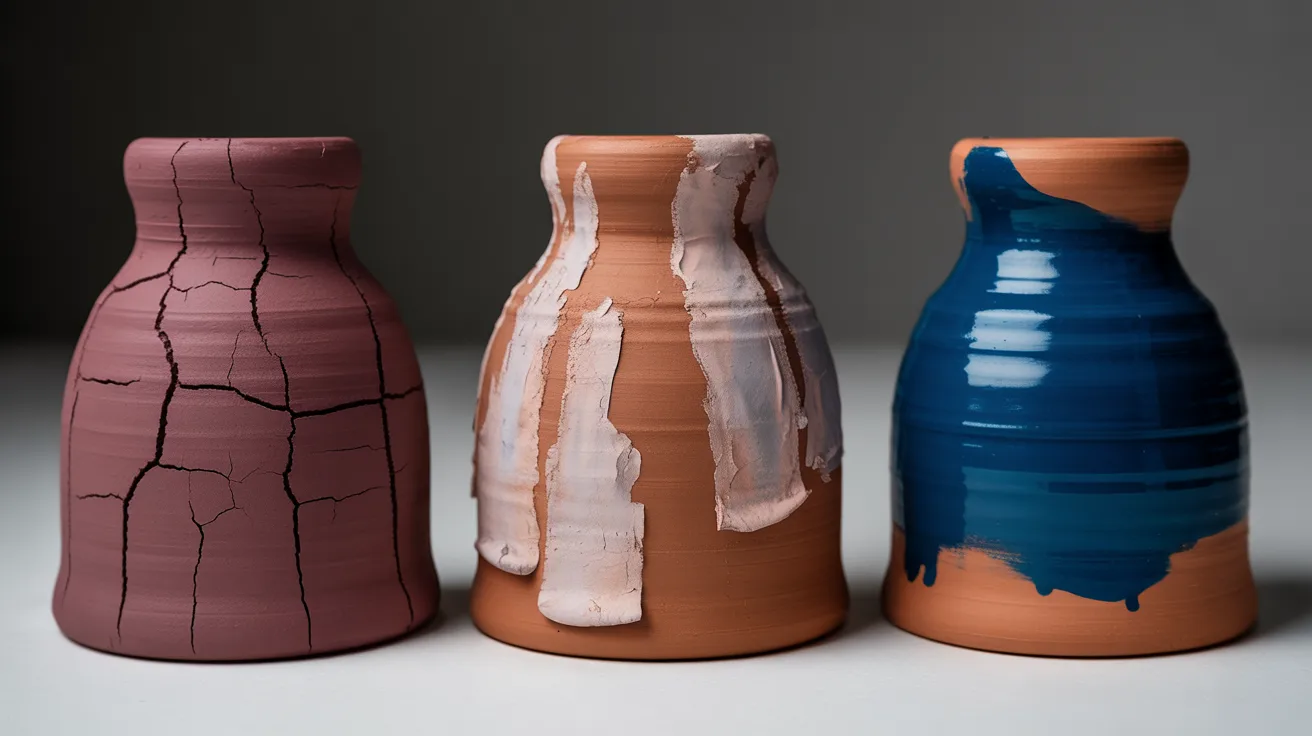
Not every paint bonds well with air dry clay. Use the wrong one and it cracks, peels, or rubs off fast.
Air dry clay has a porous surface, which means it absorbs paint differently than wood or canvas. The right paint sticks properly, stays flexible, and holds up over time.
It also makes sealing easier. Picking the right type from the start saves you a lot of time, wasted materials, and frustration later on.
Preparing Air Dry Clay Before Painting
Good prep makes all the difference. Skip it and even great paint can lift or crack.
Ensure the Clay Is Fully Dry
This is the most important step. Never paint clay that’s still wet. Most pieces need at least 24 to 72 hours to dry, depending on thickness and room conditions. Press gently on the thickest part.
If it feels even slightly cool or soft, give it more time. Painting too early traps moisture, which leads to bubbling and cracking down the line.
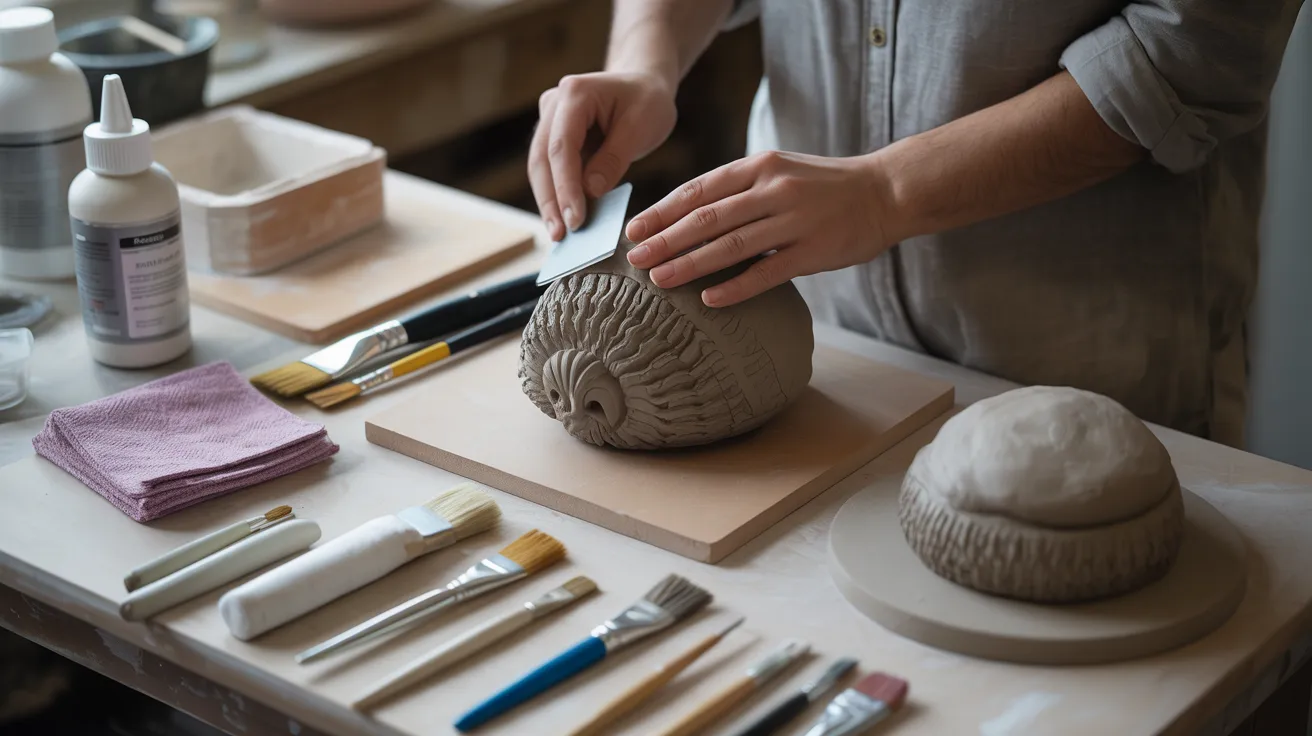
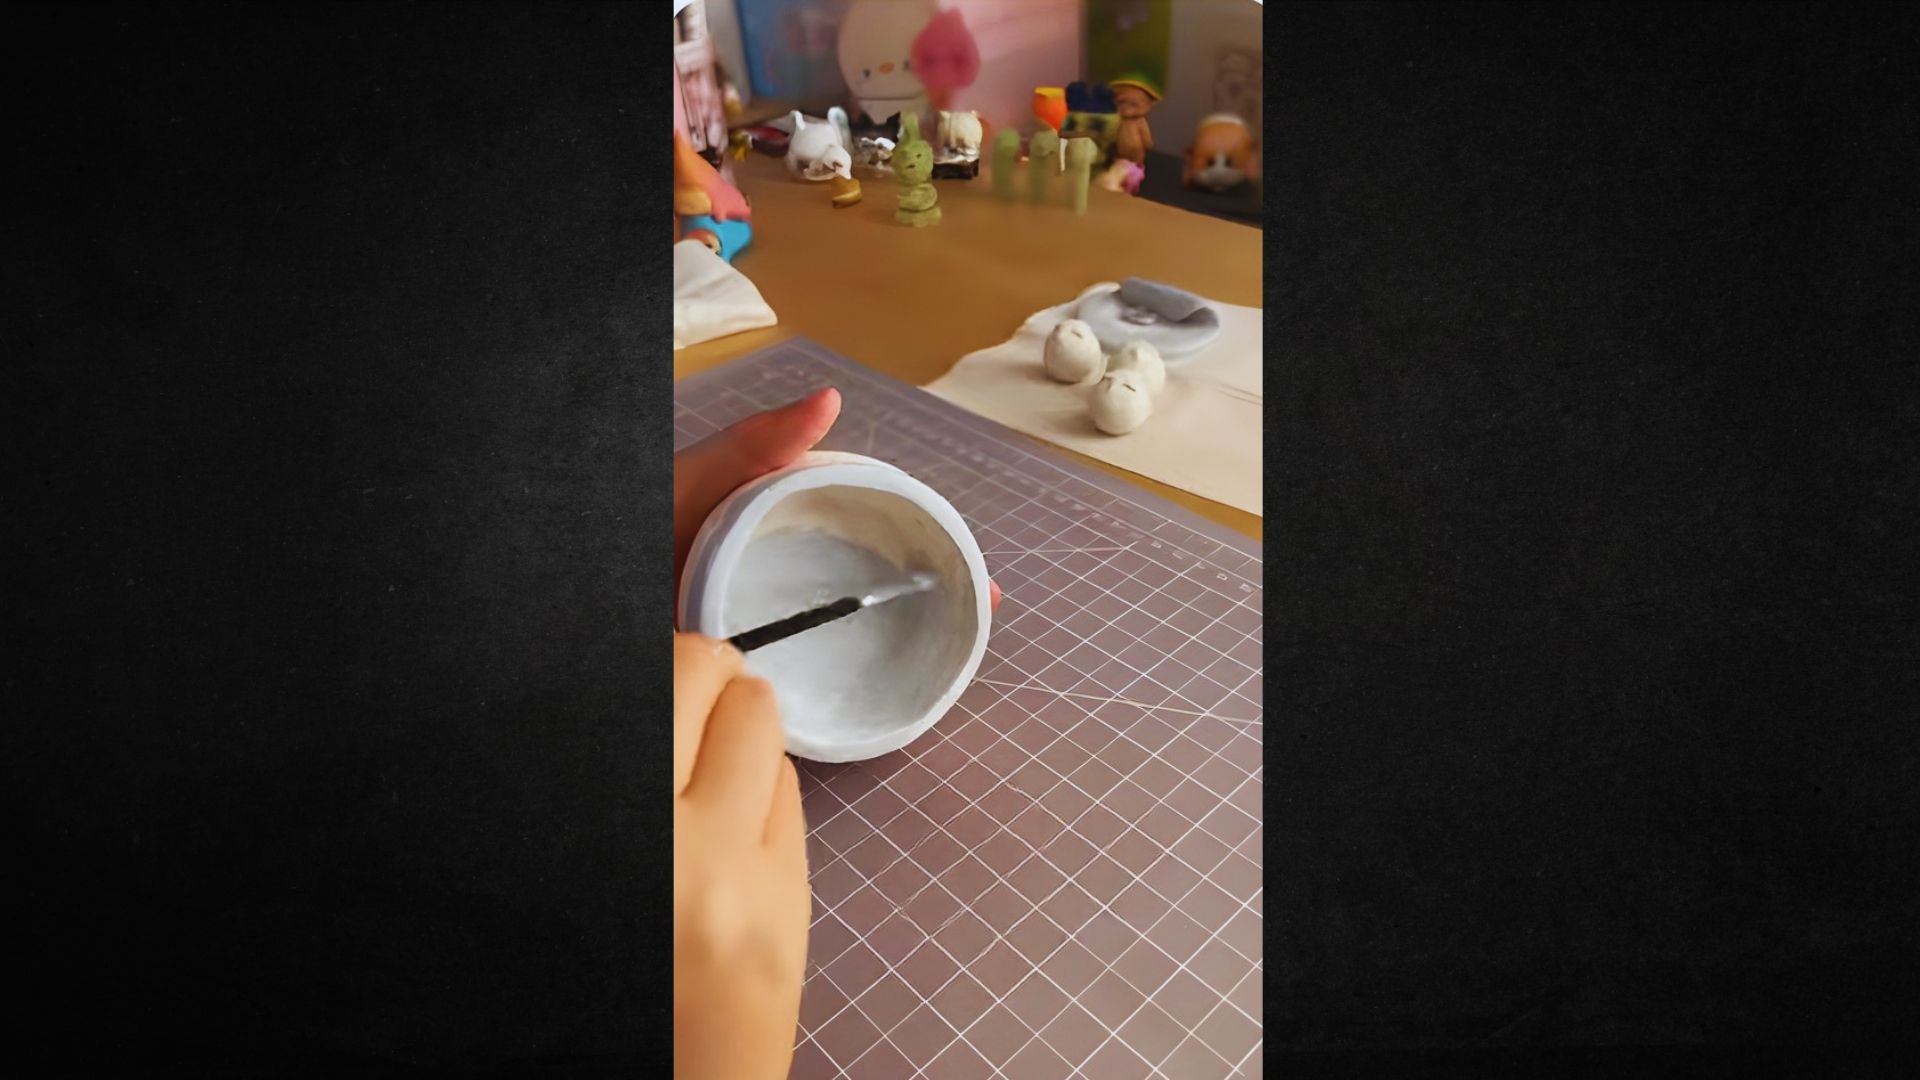
Sand and Clean the Surface
Once dry, lightly sand the surface with fine-grit sandpaper, around 220 grit. This smooths out rough spots and finger marks.
After sanding, wipe the piece with a slightly damp cloth to remove any dust. Let it dry again before you pick up a brush. A clean, smooth surface helps paint go on evenly and grip better.
When to Use a Primer
You don’t always need one, but a primer helps a lot. Use a white gesso or acrylic primer when you’re working with dark clay or want bright colors to show up well.
Apply one thin coat and let it dry fully before painting. Priming seals the surface slightly, so you use less paint overall. It’s worth the extra ten minutes.
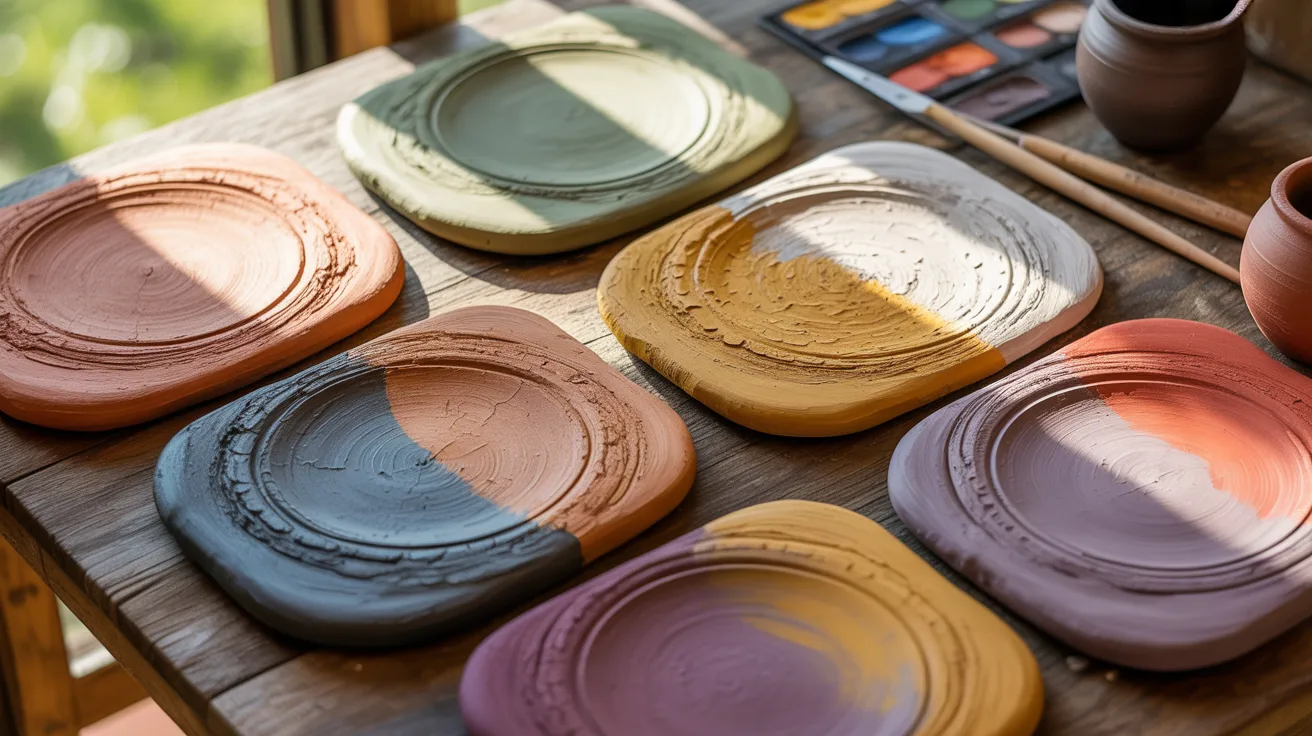
Best Paint for Air Dry Clay: Types Explained
Each paint type has its strengths. Here’s what you need to know before picking one.
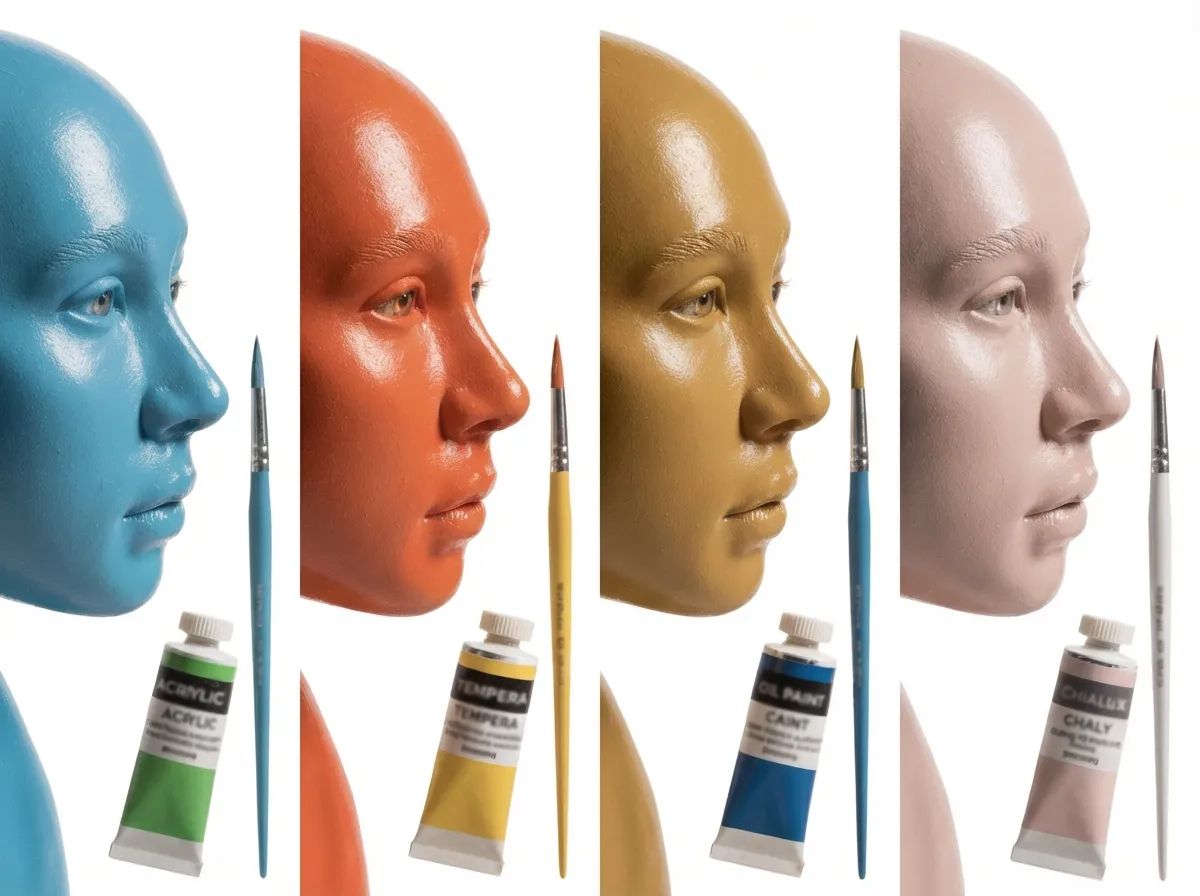
Acrylic Paint: The top choice for air dry clay. Water-based, fast-drying, and bonds well to clay. Wide range of colors and finishes. Layers easily and is fairly water-resistant once dry. Always seal it after.
Tempera Paint: Budget-friendly and easy to clean up, but not very durable. Can crack if applied too thick. Best for decorative pieces. Sealing is a must.
Oil Paint: Rich, deep color but takes days to dry. Use thin layers only. Better suited for experienced artists.
Chalk Paint: Soft, matte finish that works great on figurines and decor. Adheres well without primer. Seal with wax or varnish for a lasting finish.
How to Choose the Right Paint for Your Project
Use these five points to narrow down your choice:
- Think about durability. If the piece will be handled often or placed outdoors, go with acrylic. It holds up far better over time than other options.
- Consider your skill level. Beginners do best with acrylic or tempera. Oil paint needs more experience to apply well on clay surfaces.
- Match the finish to your vision. Want a flat, matte look? Try chalk paint. After something glossy? Use acrylic with a gloss sealant on top.
- Check if kids are involved. For children’s crafts, tempera is the safest and easiest to clean up. Always check that the paint is labeled non-toxic.
- Plan to seal it. No matter what paint you pick, sealing is always the final step. Choose a paint that pairs well with your sealant of choice.
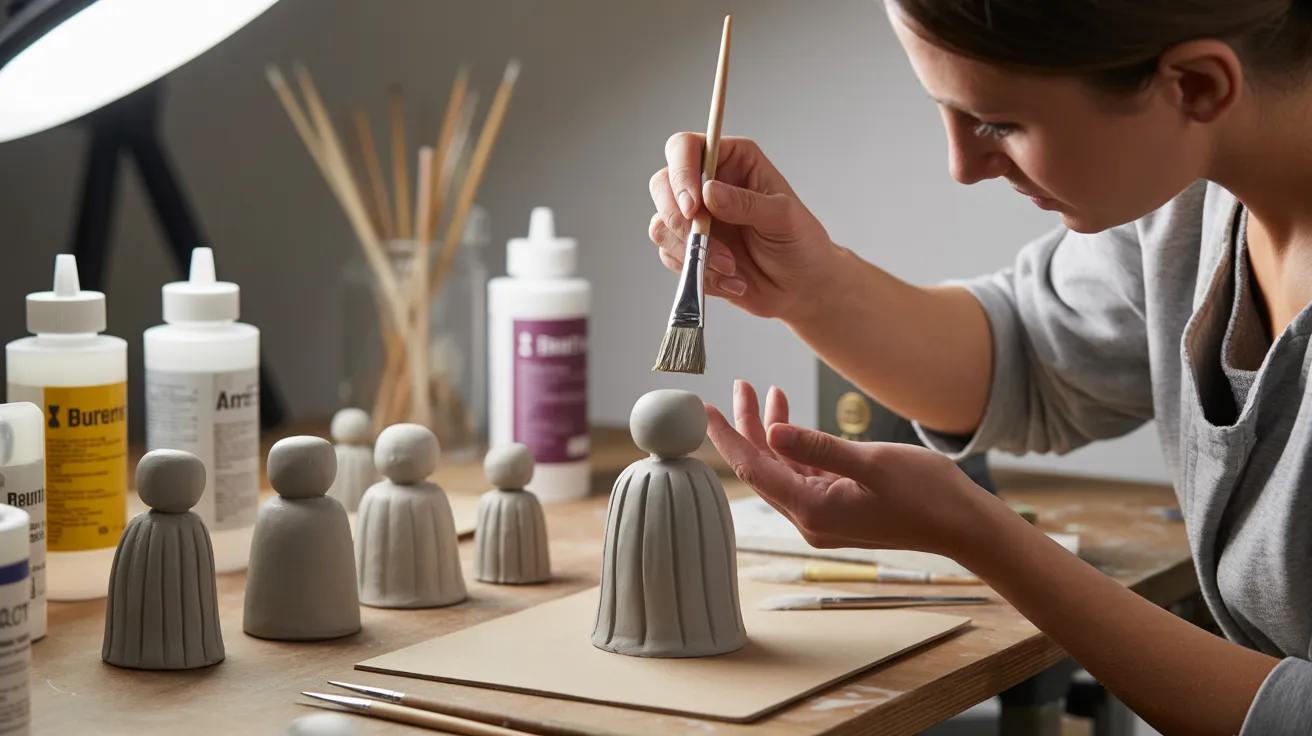
Step-by-Step Guide to Painting Air Dry Clay
Follow these steps and your finished piece will look clean, polished, and professional.
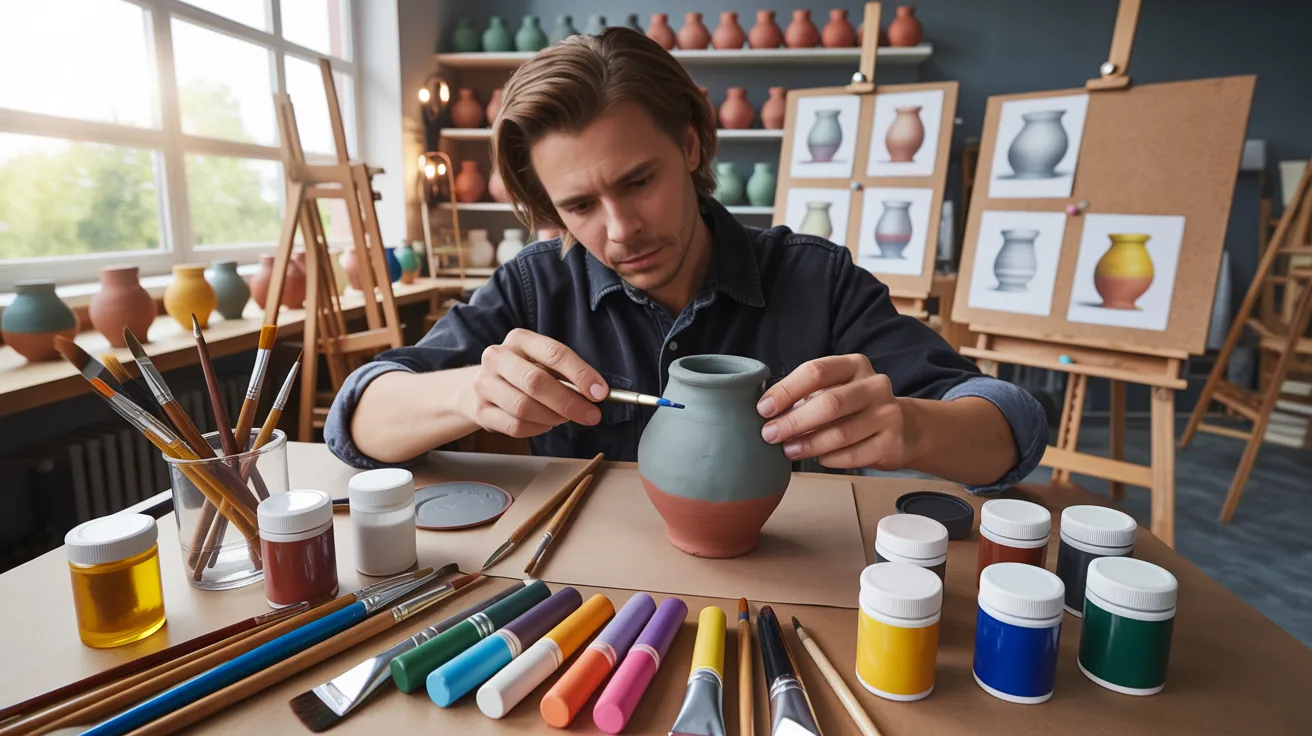
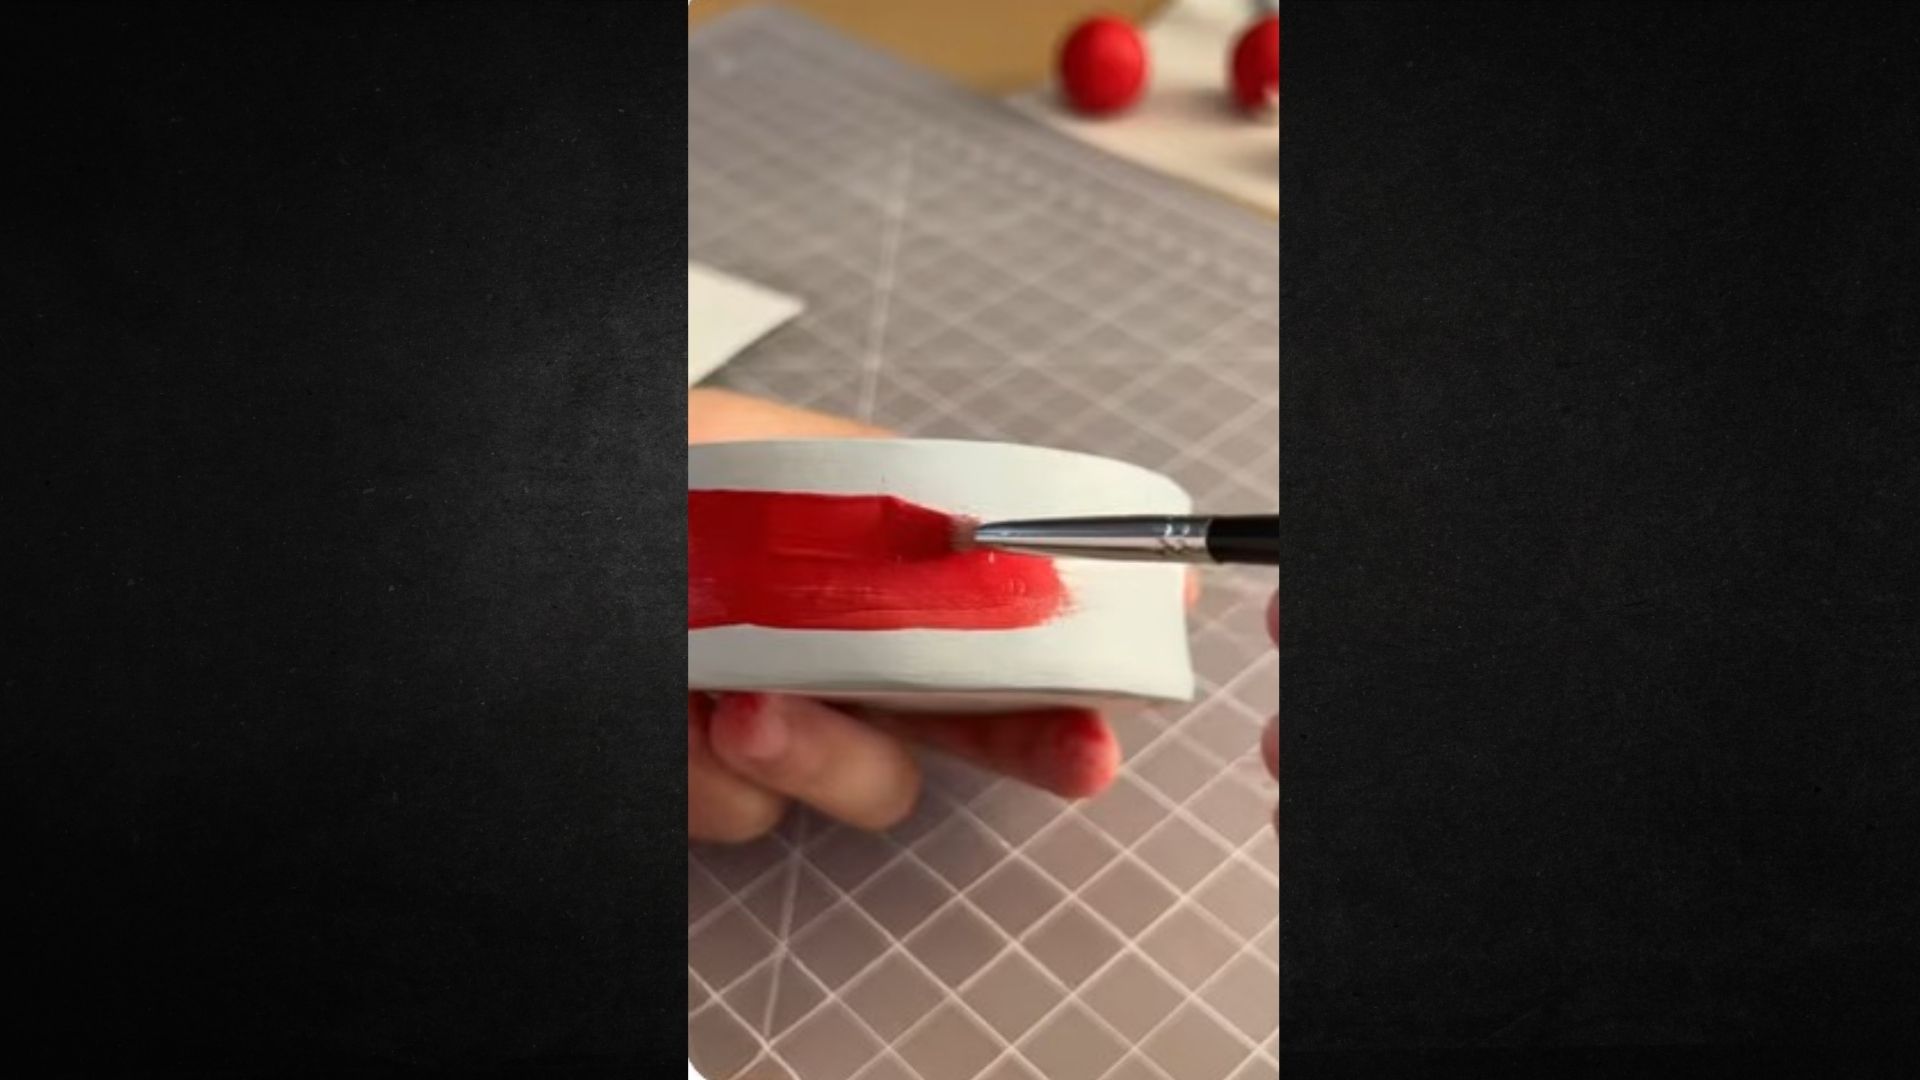
Step 1: Apply a Base Coat
Start with a thin, even base coat. This gives you a clean foundation and helps later layers look consistent. Use a flat or wide brush for large areas and work in smooth, even strokes.
Let the base coat dry fully before moving on. Rushing this step causes streaks and patchy coverage that’s hard to fix later.
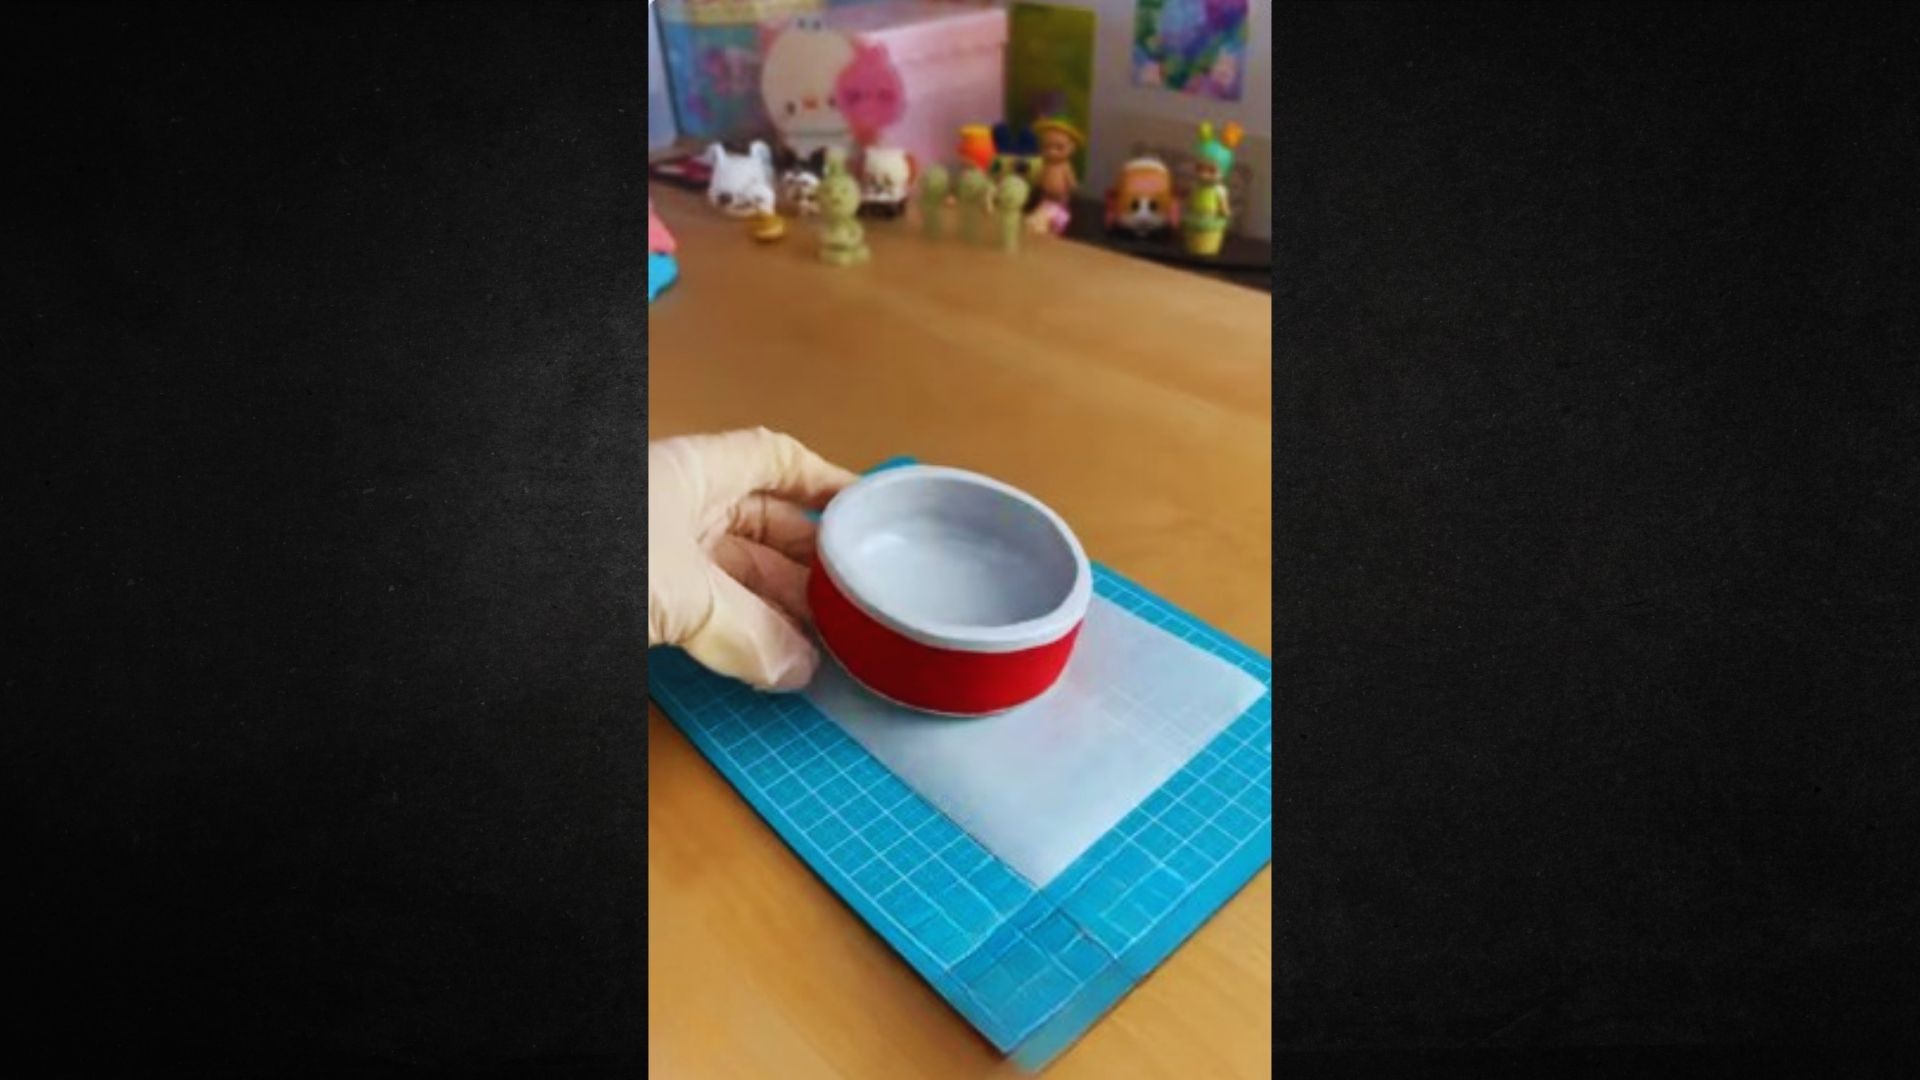
Step 2 : Build Up Thin Layers
Never try to get full coverage in one coat. Thin layers dry faster and look better. Two or three light coats will always give a smoother result than one thick one.
Thick coats can crack as they dry on clay. Patience here pays off with a much cleaner finish overall.
Step 3 : Let Each Layer Dry Properly
This sounds simple, but it’s where most people rush. Wait until each coat is fully dry to the touch before adding the next.
With acrylics, that’s usually 15 to 30 minutes per layer depending on how thick you applied it. Painting over a wet layer causes colors to blend when you don’t want them to and leaves the surface tacky.
Step 4 : Add Details and Highlights
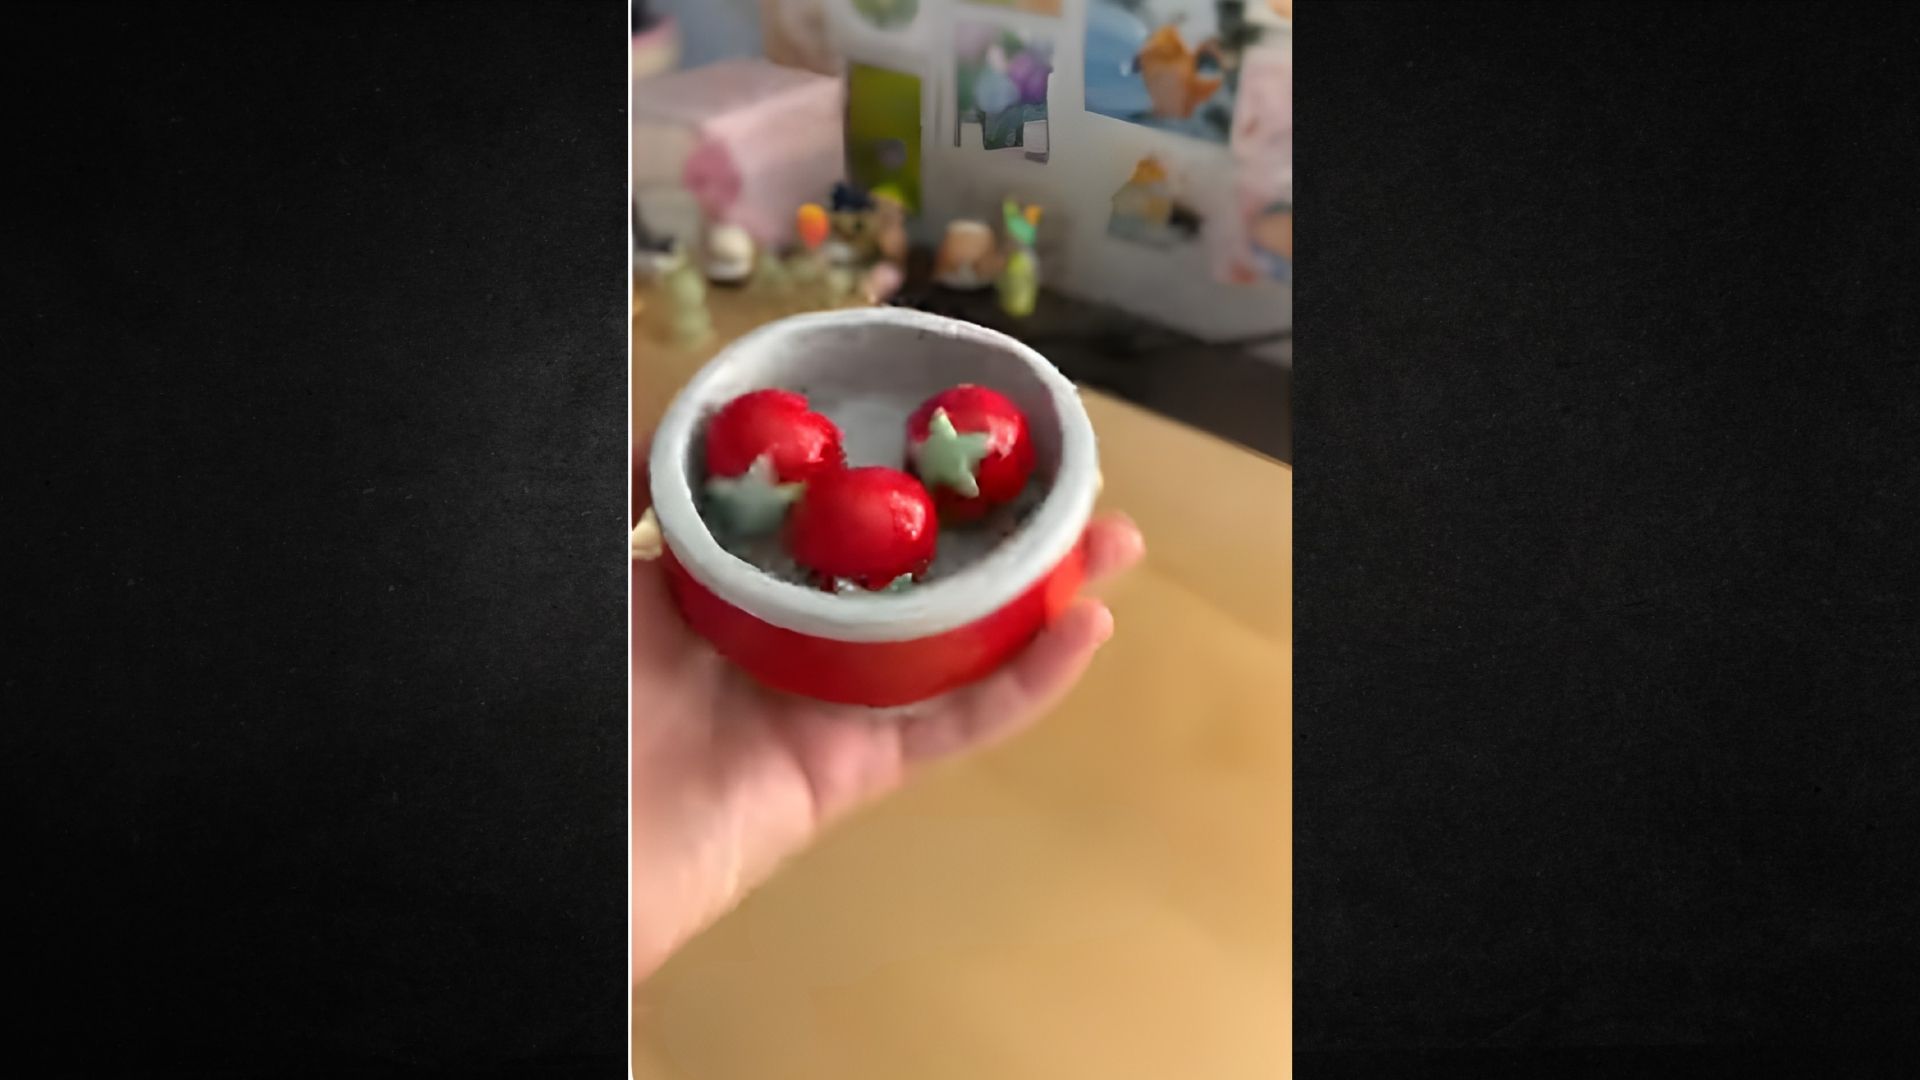
Once your base colors are done, switch to a small detail brush for fine lines, patterns, and highlights.
A thin stroke of white or a light color along raised edges adds real depth and makes the piece pop. Take your time here.
Details are what make a clay piece look carefully crafted rather than rushed.
Painting Techniques for Professional Results
These techniques take your clay painting from basic to genuinely impressive.
Dry Brushing: Dip a stiff brush into paint, wipe off most of it on a paper towel, then lightly drag it across the surface. Catches raised textures and adds a weathered look with little effort.
Washing: Mix paint with lots of water and brush it over the piece. It settles into crevices and adds depth. Wipe excess off raised areas.
Stippling: Dab a stiff brush or sponge straight down onto the surface to build up texture. Great for stone, fur, or rough finishes.
Blending and Glazing: Apply two colors side by side and blend while wet. Glazing adds a thin, transparent coat over dried color to shift the tone and add dimension.
Sealing and Protecting Your Painted Clay
Sealing is the last step and one you should never skip. Once your paint is fully dry, apply a clear sealant over the entire piece.
Mod Podge, acrylic varnish, and polyurethane are all solid options. Matte sealants keep the finish flat while gloss sealants add a nice shine.
Apply at least two thin coats, letting each one dry fully before adding the next. Sealing protects against scratches, moisture, and fading, and it makes the colors look more vivid too.
Common Mistakes to Avoid
- Painting before the clay is fully dry. Always wait for the full drying time. Rushing leads to bubbling, cracking, and peeling paint that’s hard to fix.
- Applying paint too thick. Thick coats crack as they dry on clay. Thin, even layers are always the better approach.
- Skipping surface prep. Unsanded, dusty clay causes poor adhesion and uneven coverage that shows through every coat.
- Forgetting to seal. Paint alone won’t hold up with regular use. Sealing is what locks everything in and protects the finished piece.
- Using a low-quality brush. A bad brush leaves streaks and bristle marks. A few decent brushes make a noticeable difference in the final result.
Conclusion
Painting air dry clay is one of my favorite parts of the process. Watching a plain white piece come to life with color never gets old.
I learned the hard way, wrong paint, no sealing, chipped pieces within a week. Once I switched to acrylic paint with proper prep and a good sealant, everything changed.
Try these tips on your next project. Drop a comment if something works well for you, and share this with a fellow crafter who needs it.
Frequently Asked Questions
Can I use regular craft paint on air dry clay?
Yes, most regular craft paints are acrylic-based and work fine on clay. Just make sure the clay is fully dry first and seal the piece when you’re done.
Do I need to prime air dry clay before painting?
You don’t have to, but it helps. A coat of white gesso smooths the surface and makes colors look brighter, especially on dark clay.
How long should I wait before painting air dry clay?
At least 24 to 72 hours. Thicker pieces need more time. Press the thickest part gently — if it feels cool or soft, wait longer.
What is the best sealant to use over acrylic paint on clay?
Acrylic varnish and Mod Podge both work well. Apply two thin coats and choose matte or gloss depending on the finish you want.
Can I paint air dry clay with watercolor?
Watercolor soaks into clay and looks faded. For a similar soft look, use heavily diluted acrylic paint instead and seal it well after.