

I’ve been folding sticky notes into fun shapes for years, and I’m excited to show you how simple it really is. Sticky note origami turns those bright squares on your desk into stars, flowers, hearts, and animals in just minutes.
This guide covers 15 easy designs that work for kids, students, and anyone who wants a quick break from screens. No special tools needed. No expensive paper.
Just grab a few sticky notes and start folding. Each project includes clear steps that beginners can follow.
I’ve tested every design to make sure it works with regular office supplies.
Preparing Your Sticky Notes for Origami
Choose sticky notes that make folding easier. Square notes work better than rectangles for most designs. Thin paper creates sharper creases than thick notes. Bright colors add fun to your finished pieces.
Work on a flat, clean surface. Remove any dust or crumbs that might interfere with your folds. Some people peel off the sticky strip before folding. Others keep it attached. Try both methods to see what feels right for you.
Stack a few extra notes nearby. You’ll want backups if you make mistakes while learning.
15 Sticky Note Origami Step by Step
Each design below includes time estimates and difficulty levels to help you choose the right project for your skill level.
1. Sticky Note Origami Crane
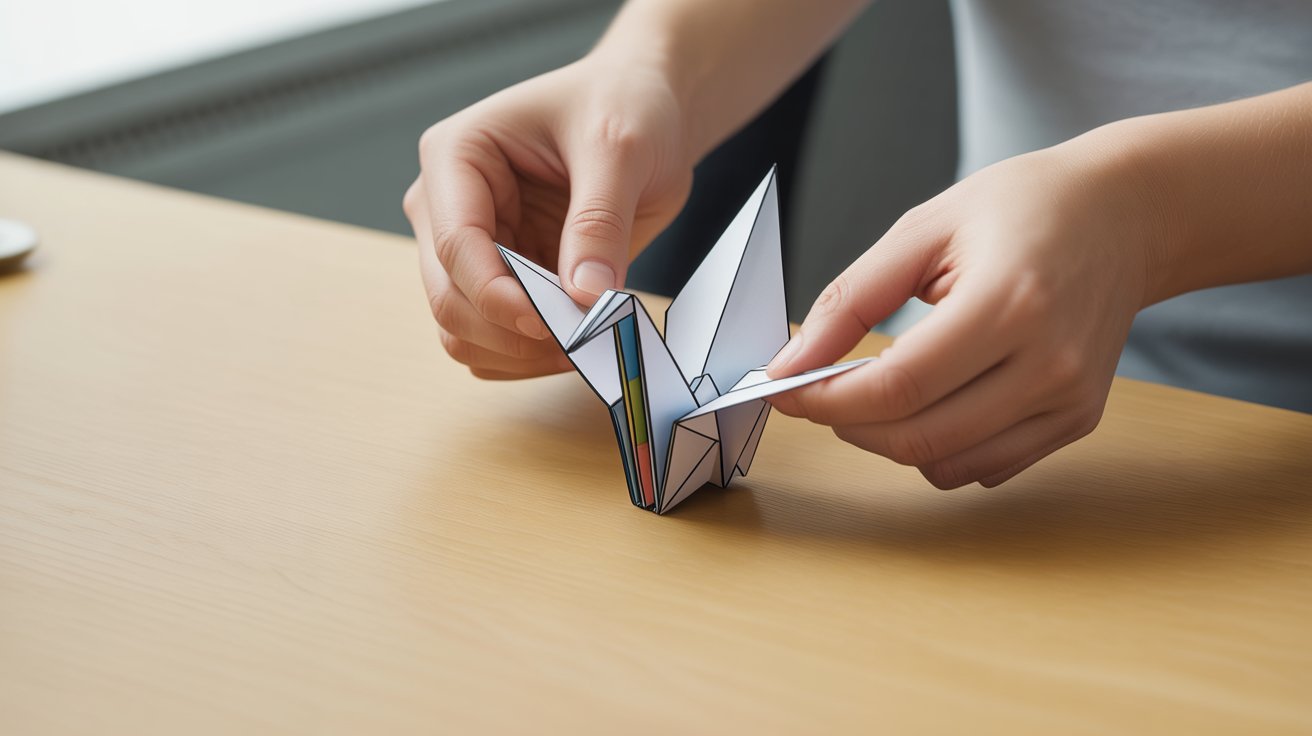
Time: 10 minutes
Difficulty: Easy
Fold your square sticky note in half diagonally. Crease it well. Open it up and fold the other diagonal. You’ll create an X pattern. Bring all four corners to the center point. Flip it over and repeat on the other side. Form the wings by pulling the sides outward. Pinch the head and tail into position.
2. Easy Sticky Note Origami Rose
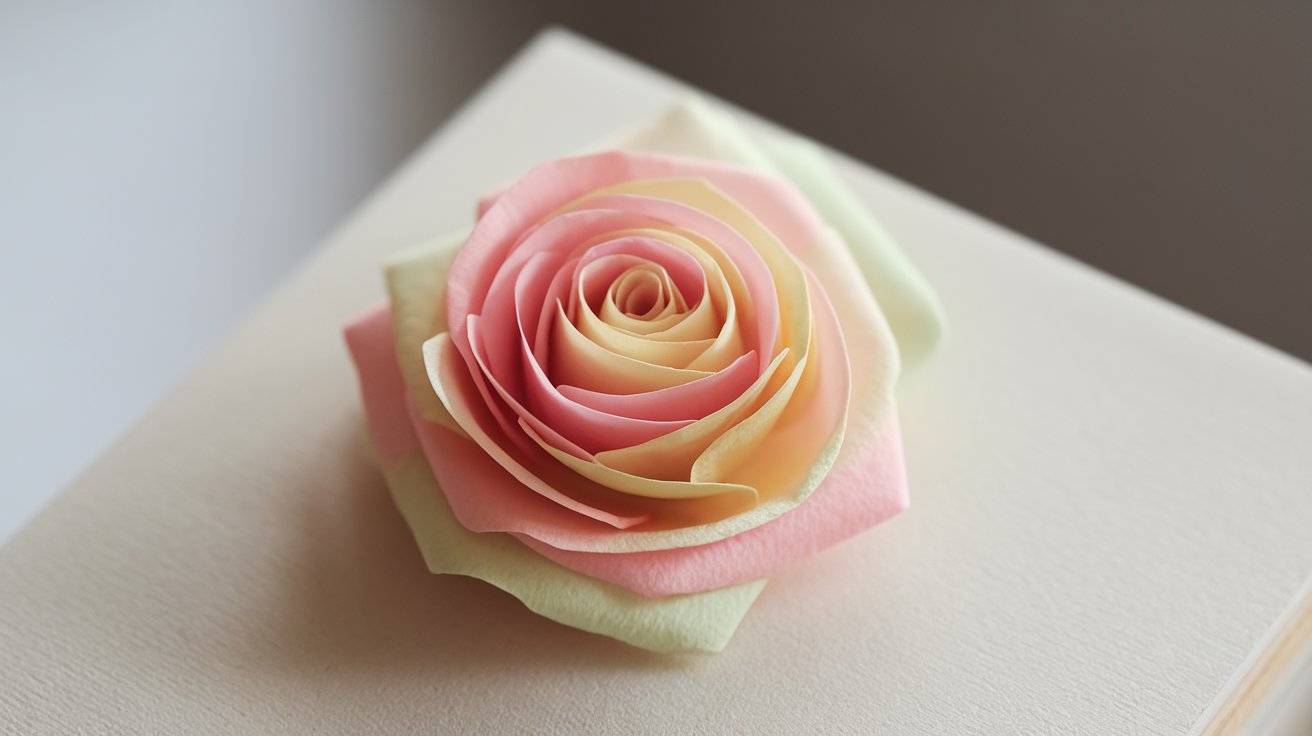
Time: 10 minutes
Difficulty: Easy
Start with the sticky strip at the top. Roll the bottom edge upward about one-third of the way. Keep rolling loosely to create the flower center. Fold the outer edges down to form petals. Pinch the base to secure everything. Adjust the petals by gently pulling them outward.
3. Sticky Note Origami Shark

Time: 20 minutes
Difficulty: Medium
Fold your square in half to make a triangle. Bring the top point down to meet the bottom edge. Fold the left corner up at an angle for the first fin. Repeat on the right side for the second fin. Create the tail by folding the back point upward. Shape the mouth by making a small fold at the front.
4. Sticky Note Origami Box
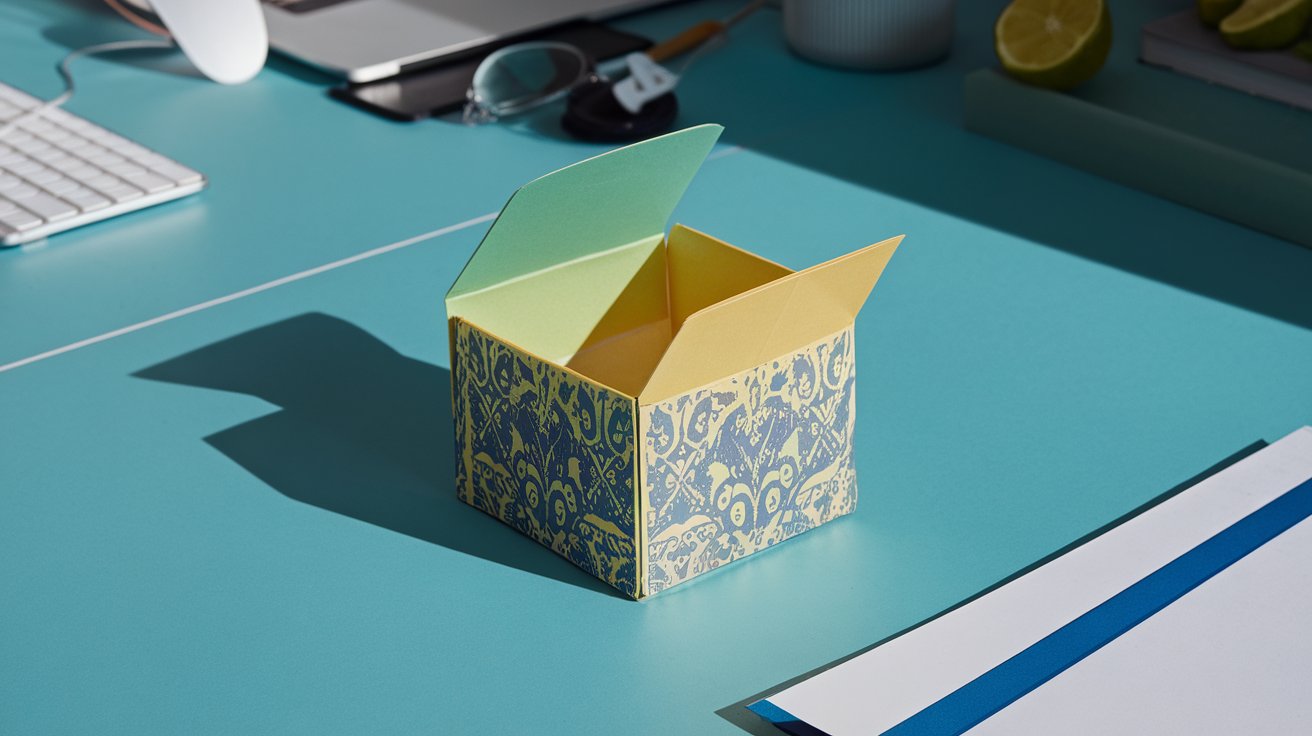
Time: 10 minutes
Difficulty: Easy
Fold your sticky note in half both ways. Open it flat. Bring each corner to the center point where the creases meet. Fold the top and bottom edges to the middle line. Unfold those last two folds. Now fold the left and right edges to the center. Lift the sides up to form walls. Tuck the flaps into place.
5. Sticky Note Origami Star
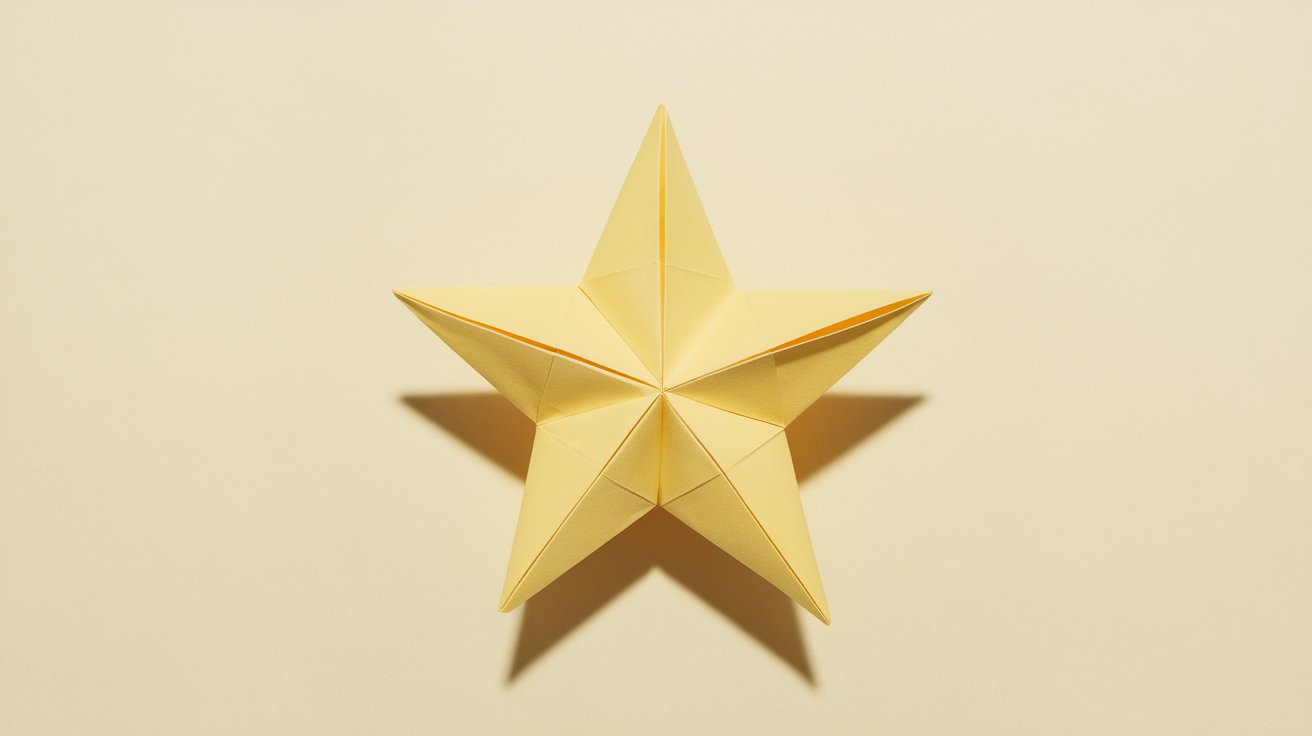
Time: 5 minutes
Difficulty: Easy
Fold your sticky note in half. Cut along the fold to make two rectangles. Take one rectangle and fold it in half lengthwise. Make diagonal cuts from the folded edge toward the open edge. Stop before cutting all the way through. Open your cuts to reveal a star shape.
6. Sticky Note Origami Frog
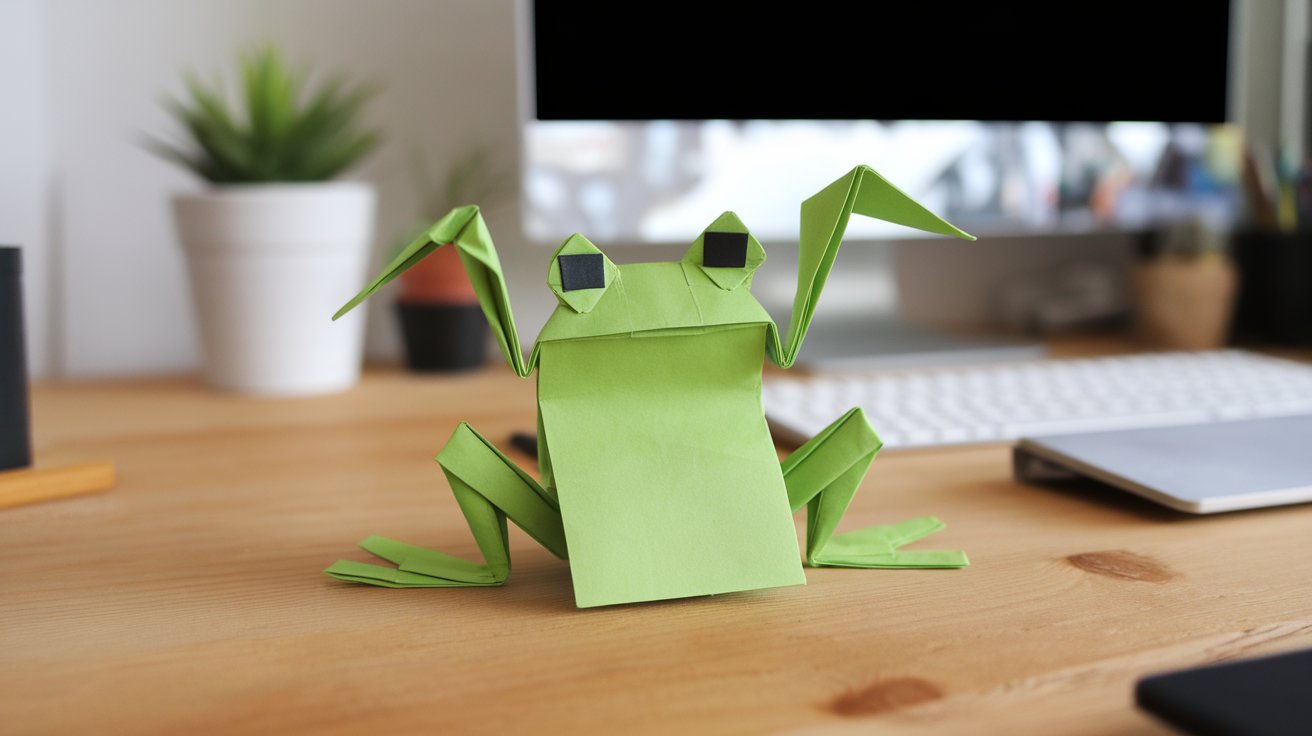
Time: 15 minutes
Difficulty: Easy
Fold your sticky note in half to form a rectangle. Fold the top corners down to meet the bottom edge. This creates a house shape. Fold the bottom edge up to the triangle base. Flip the paper over. Fold the bottom corners up and outward for the legs. Make a small fold at the bottom for the jumping mechanism.
7. Sticky Note Origami Butterfly

Time: 5 minutes
Difficulty: Easy
Fold your sticky note in half diagonally. Fold it in half again. You now have a small triangle. Make accordion folds from the wide end toward the point. Keep each fold about the width of your pinky finger. Pinch the center tightly. Fan out both sides to create wings.
8. Sticky Note Origami Heart

Time: 5 minutes
Difficulty: Easy
Place your sticky note with the sticky strip at the top. Fold the bottom point up to the top edge. Fold the left and right corners down to form the top of the heart. Make small folds on the side points to round out the heart shape. Tuck the top corners behind slightly.
9. Sticky Note Origami Bookmark

Time: 5 minutes
Difficulty: Easy
Fold your sticky note in half diagonally. Fold it in half diagonally again. Open the last fold. Take the top layer and fold the point down to the bottom edge. Fold the left corner to the center. Fold the right corner to the center. Tuck both corners into the pocket you created.
10. Sticky Note Origami Crown
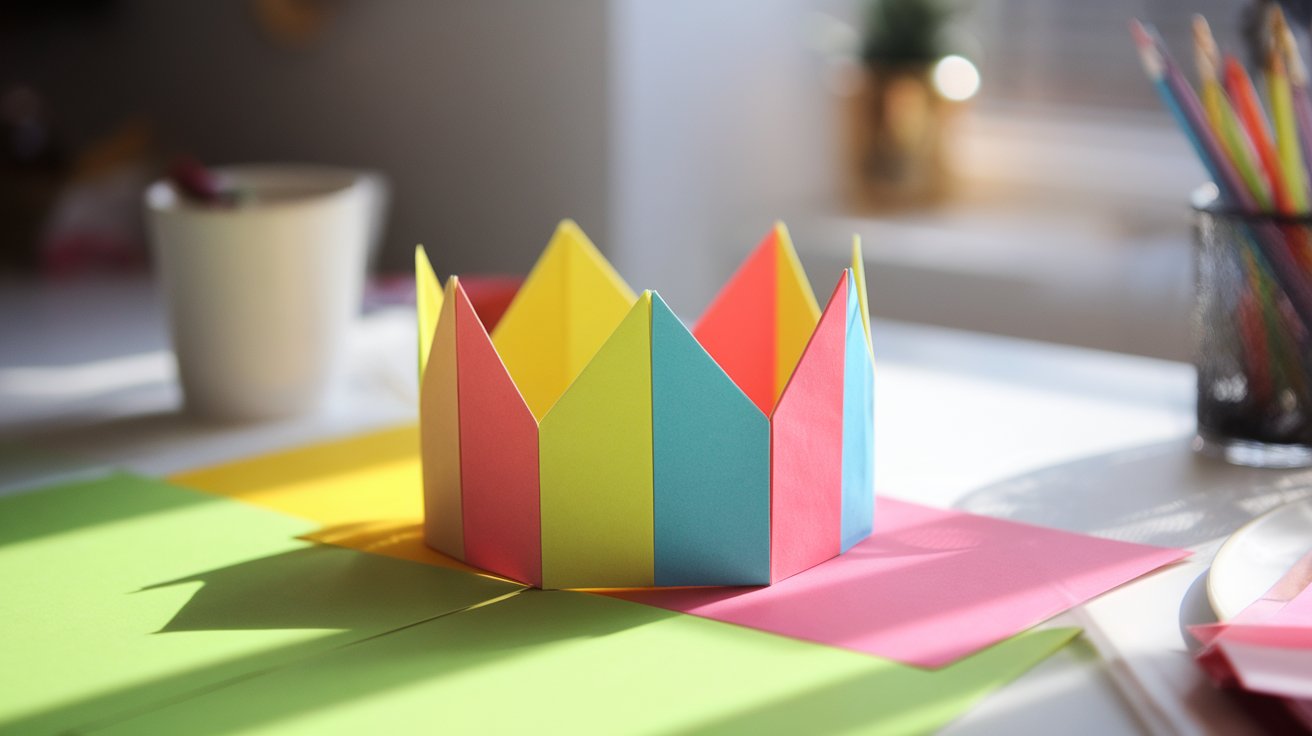
Time: 5 minutes
Difficulty: Easy
You need six sticky notes for this project. Fold each note into a triangle by bringing one corner to the opposite corner. Insert the point of one triangle into the fold of another. Continue connecting all six triangles in a circle. Adjust the angles to create crown points.
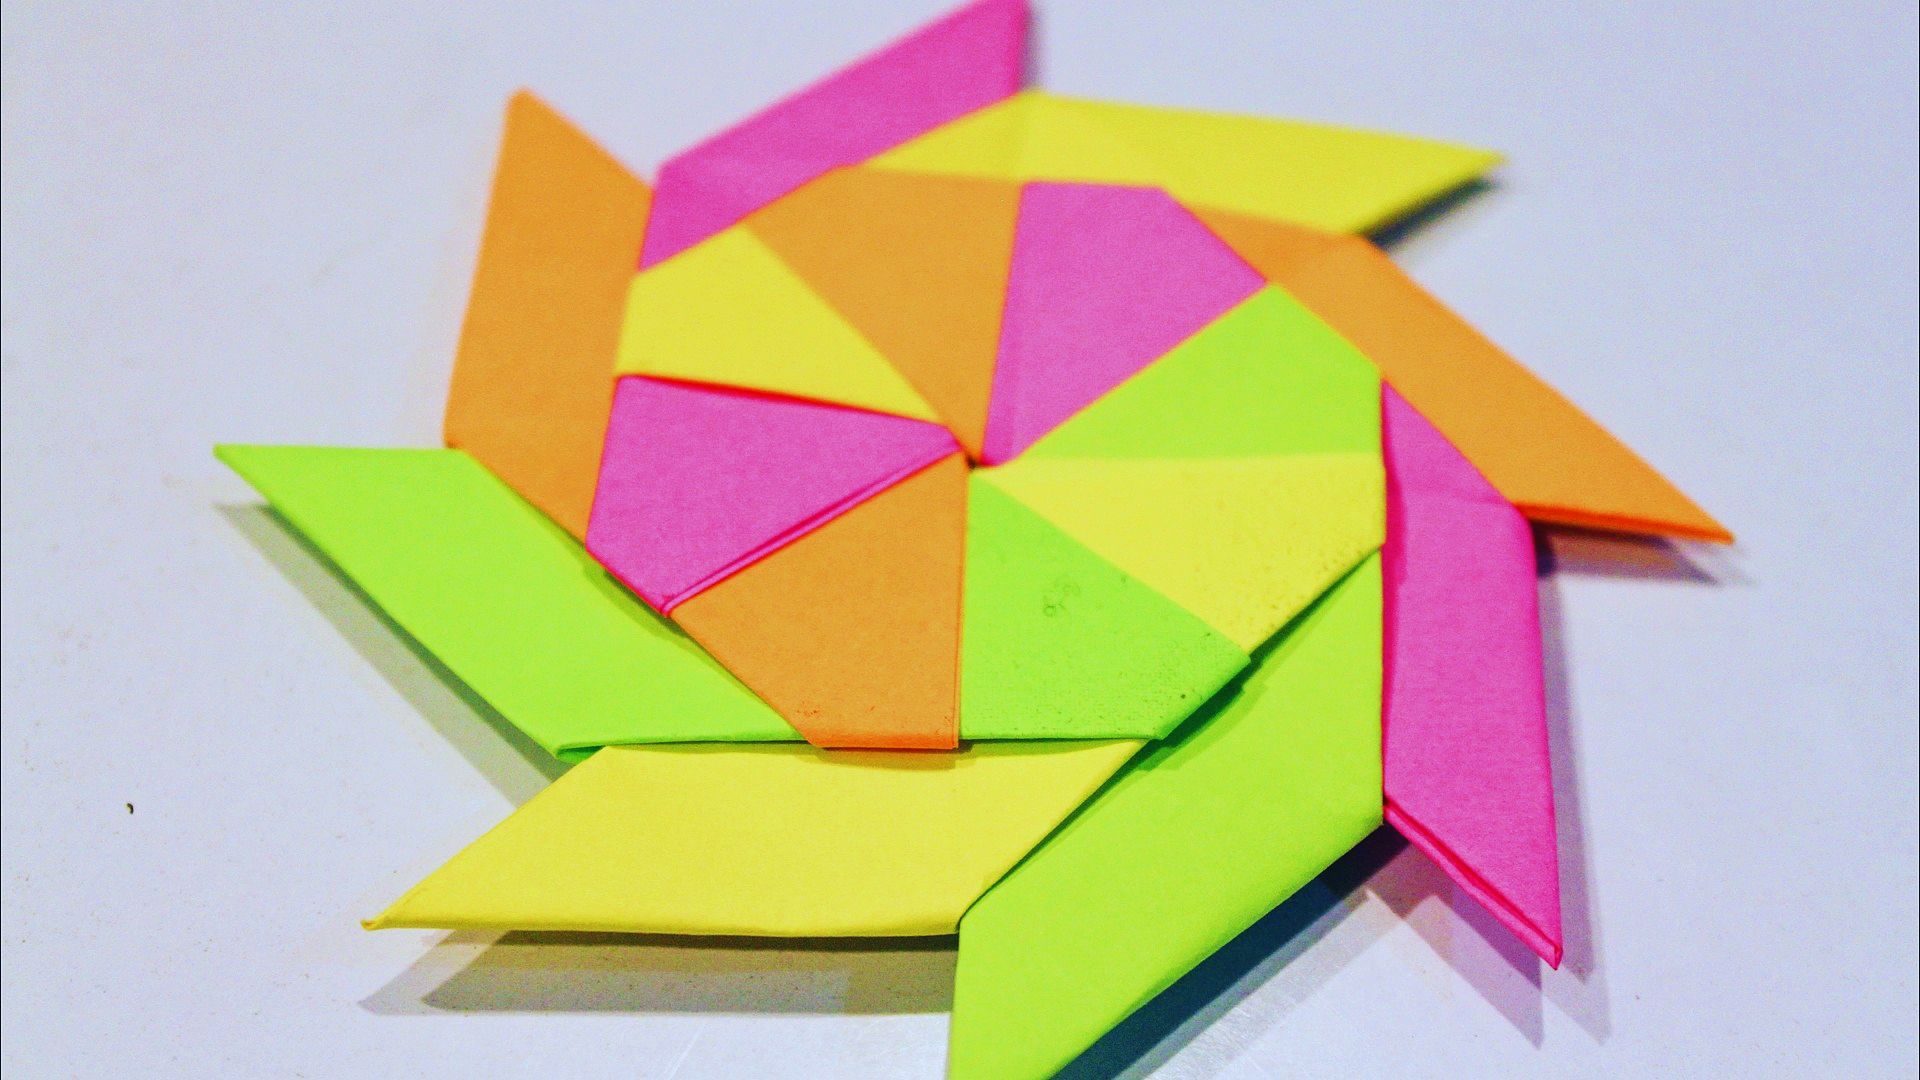
11. Sticky Note Origami Flat Flower
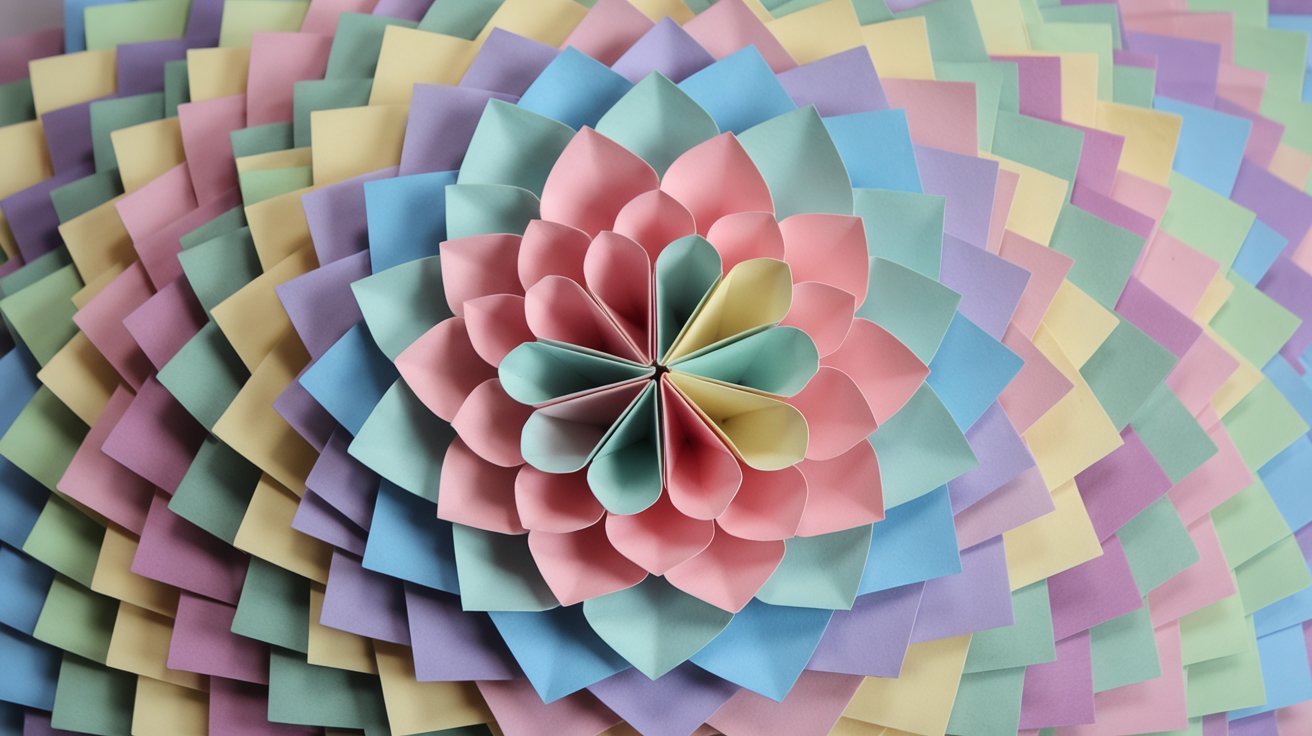
Time: 10 minutes
Difficulty: Easy
Gather four sticky notes in different colors. Fold each one in half diagonally. Fold in half again to make smaller triangles. Cut a petal shape along the open edge. Unfold to reveal a flower with four petals. Stack all four flowers on top of each other. Rotate them so the petals don’t line up exactly.
12. Sticky Note 5-Petal Flower
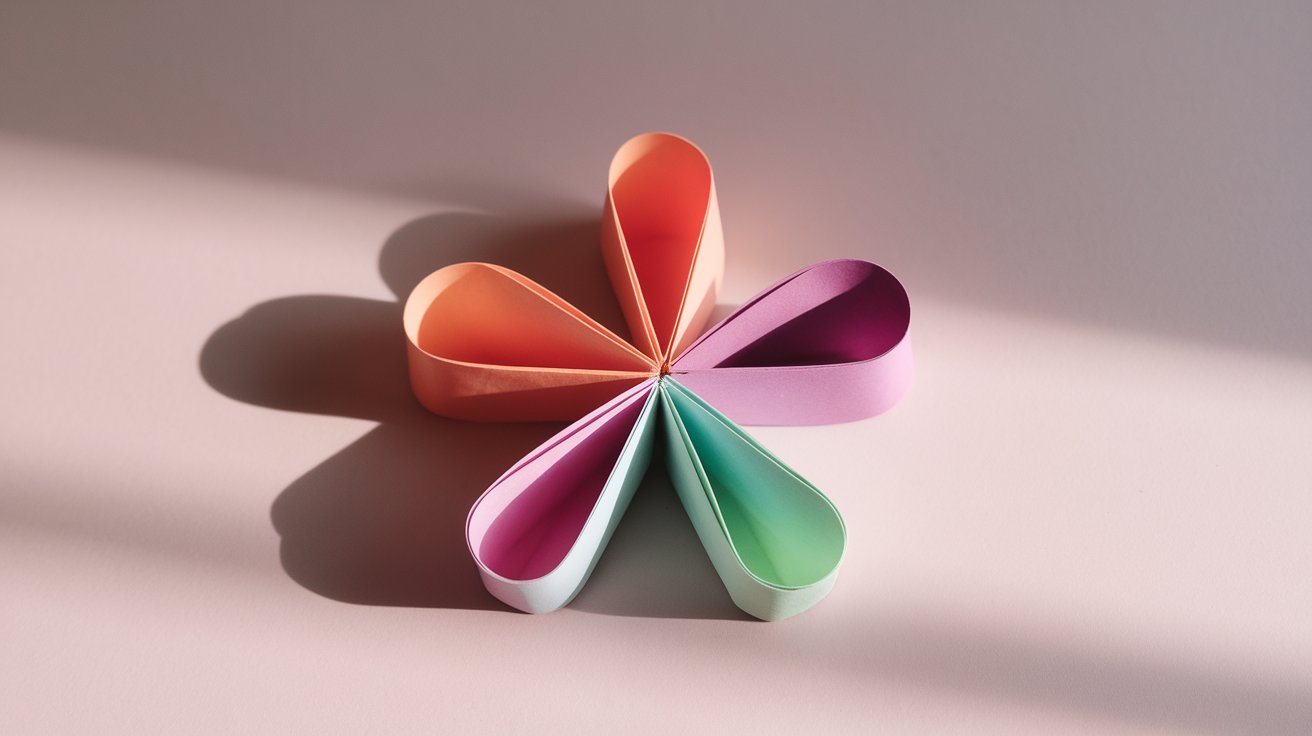
Time: 10 minutes
Difficulty: Easy
Take five sticky notes of the same color. Fold each one in half diagonally. Roll the wide end toward the point to form a cone shape. This creates one petal. Repeat with the other four notes. Arrange all five petals in a circle with points meeting in the center.
13. Sticky Note Frog Face
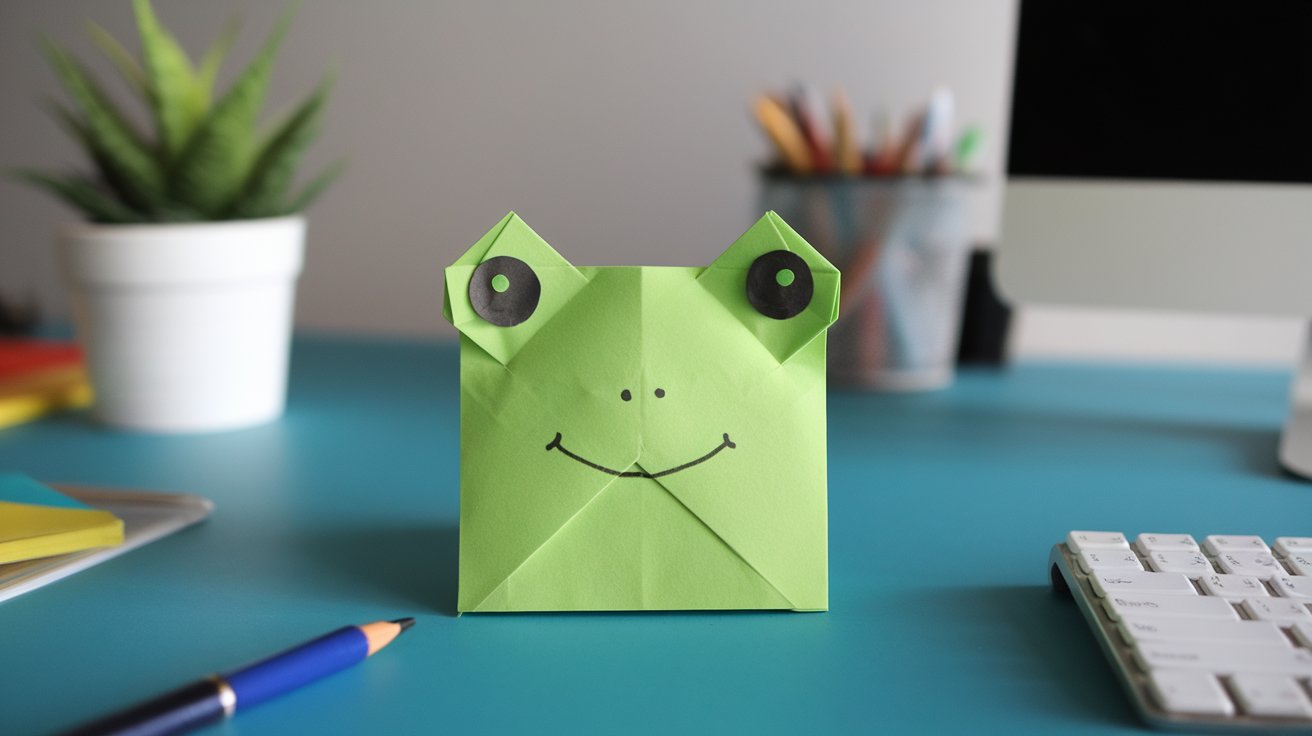
Time: 10 minutes
Difficulty: Easy
Start with a green sticky note. Fold the top corners down to create a triangle at the top. Fold the side points inward to narrow the face. Make two small folds at the top for eyes. Flip the bottom point up for the mouth area. Draw eyes and a smile with a marker.
14. Sticky Note Cat Face
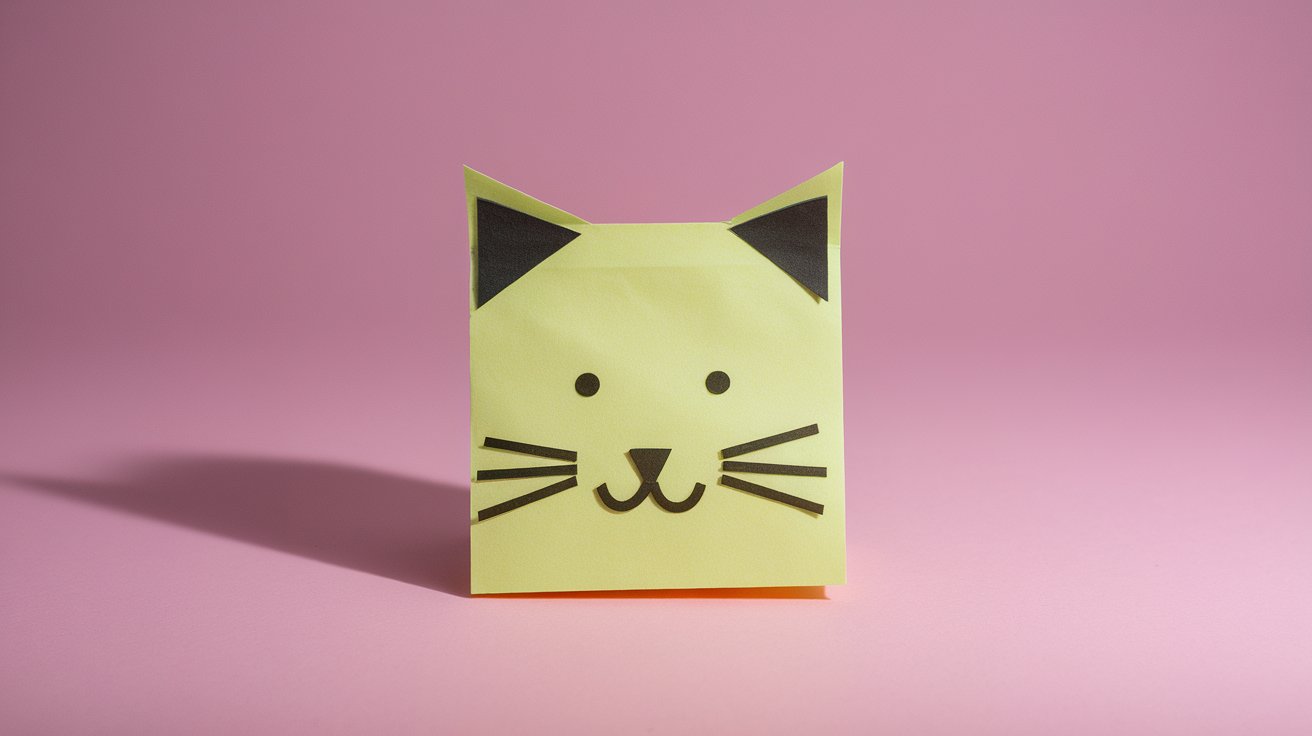
Time: 5 minutes
Difficulty: Easy
Begin with your sticky note oriented as a diamond. Fold the top point down about one-third of the way. Fold the left and right points outward and up to create ears. The bottom point becomes the chin. Draw eyes, a nose, and whiskers.
15. Sticky Note Dog Face
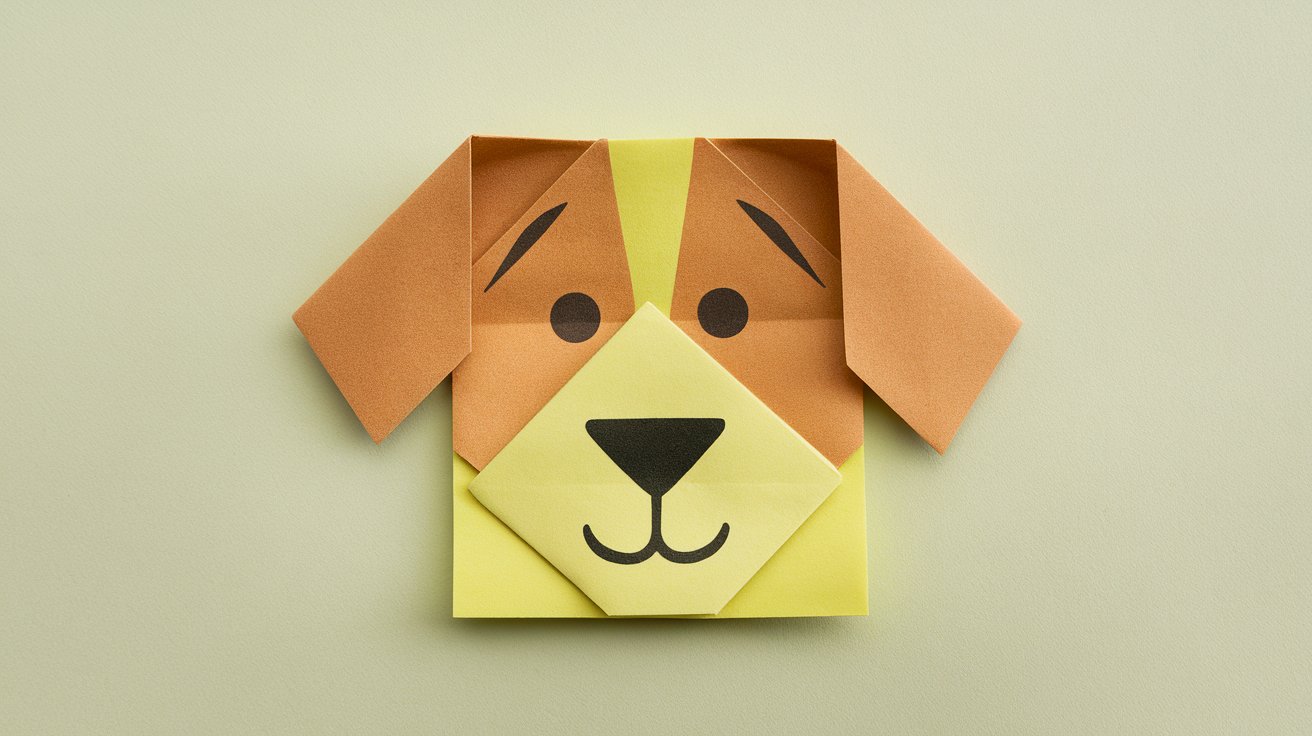
Time: 6 minutes
Difficulty: Easy
Position your sticky note as a square. Fold it in half diagonally. Fold the top corners down to make floppy ears. Adjust the ear angle based on what dog breed you want. Fold the bottom point up slightly for the snout. Draw eyes and a nose.
Tips for Beginners
Practice makes progress, so don’t worry if your first few folds look a bit wonky.
- Start with the simpler designs first. Hearts, stars, and butterflies build your confidence. Once you feel comfortable with basic folds, move on to animals and flowers.
- Thin sticky notes fold more easily than thick ones. The paper creases better and holds shapes longer. Office supply brands work just as well as expensive options.
- Take your time with each fold. Small, precise movements create better results than rushing. If a fold doesn’t look right, unfold and try again. The paper can handle several tries.
- You can decorate your finished pieces with pens or markers. Add eyes, patterns, or messages. Get creative with colors and details.
- Keep your work area clean and flat. Uneven surfaces make folding harder. Good lighting helps you see the creases clearly.
Conclusion
I folded my first sticky note crane during a boring meeting, and now I can’t stop. These 15 sticky note origami projects turn dull moments into creative breaks. Your desk drawer probably has sticky notes right now.
Pull them out and try the heart or star first. Kids go crazy for the hopping frog. I leave folded butterflies on coworkers’ desks as surprises.
Start with one design today. Then share a photo of your creation in the comments below. Which one will you fold first?
Frequently Asked Questions
What size sticky notes work best for origami?
Standard 3×3 inch square sticky notes are ideal for beginners. Larger 4×4 inch notes give you more room for detailed folds. Avoid tiny notes until you master the basics.
Can I use sticky notes with strong adhesive for origami?
Strong adhesive makes folding harder. The sticky strip can interfere with crisp creases. Look for notes with light tack or remove the sticky portion before folding.
How do I make my folds sharper and cleaner?
Press each crease firmly with your fingernail or a flat tool. Fold on a hard surface rather than in your hand. Thin paper creates sharper edges than thick paper.
Do I need special tools for sticky note origami?
No special tools are required. Your fingers do all the work. Some people like using a ruler to press creases, but it’s optional for beginners.
Can kids do sticky note origami safely?
Yes, sticky note origami is safe for kids. No cutting or glue is needed for most designs. Supervise young children with scissors on projects that require cutting.