

Struggling to get thread through that tiny needle eye? I’ll show you how to thread a needle with a needle threader in just minutes. This guide covers wire loop threaders, hook threaders, and when to use each type.
You’ll also learn common mistakes to avoid and tips that make threading faster. I’ve been sewing since I was young, so trust me when I say this works.
You’ll cover step-by-step instructions, the right tools to use, and tricks I wish someone taught me years ago.
By the end, threading needles will be quick and stress-free.
What Is a Needle Threader?

A needle threader is a small tool that helps you push thread through the eye of a needle without straining your eyes or fingers. There are two main types.
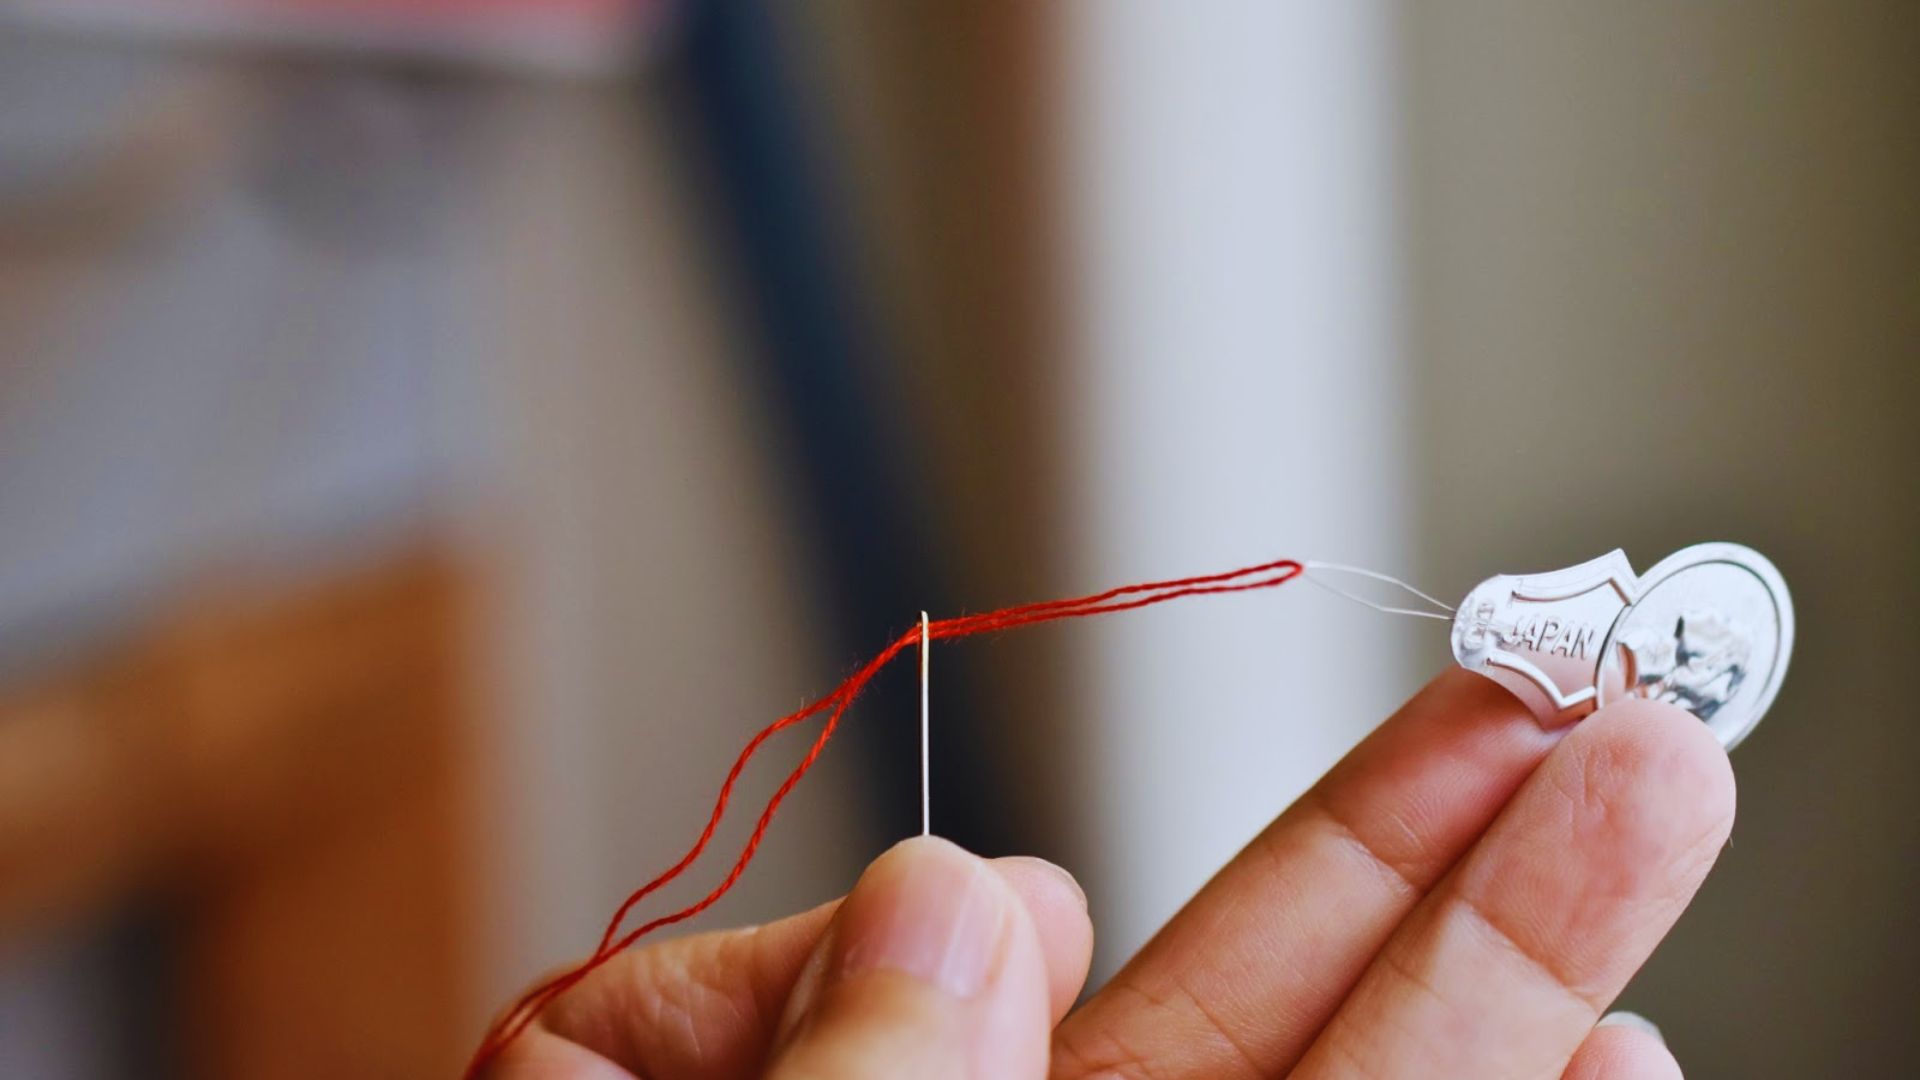
The wire loop threader has a thin wire bent into a diamond shape. You push the wire through the needle eye, put your thread through the loop, then pull it back.
This is the most common type found in sewing kits. It’s easy to use and cheap to replace. But the wire breaks easily if you pull too hard.
The hook threader looks like a tiny crochet hook. You insert the hook through the needle eye, catch the thread, then pull the needle over the hook.
This type is stronger and works better with thick thread. It costs more and needs practice to use well.
What You Will Need

Gather these three things before you start threading your needle.
Pick a needle that matches your project. Hand sewing needles come in different sizes. The eye size varies too.
Make sure your needle eye is big enough for your thread. Small needles work for thin fabric. Large needles work for thick fabric.
Cut your thread to the right length. I recommend 18 to 24 inches for most sewing. Longer thread tangles more. Shorter thread means you’ll rethread often. Choose a thread that fits your needle size. Thin thread for small needles. Thicker thread for large needles.
Pick the threader that matches your needs. Use a wire loop threader for regular sewing projects. Use a hook threader for embroidery or thick thread. Keep your threader in your sewing kit. Having one ready saves time.
How to Thread a Needle with a Needle Threader
Follow these three steps to thread your needle using a wire loop threader.
Step 1: Prepare the Needle, Thread, and Threader

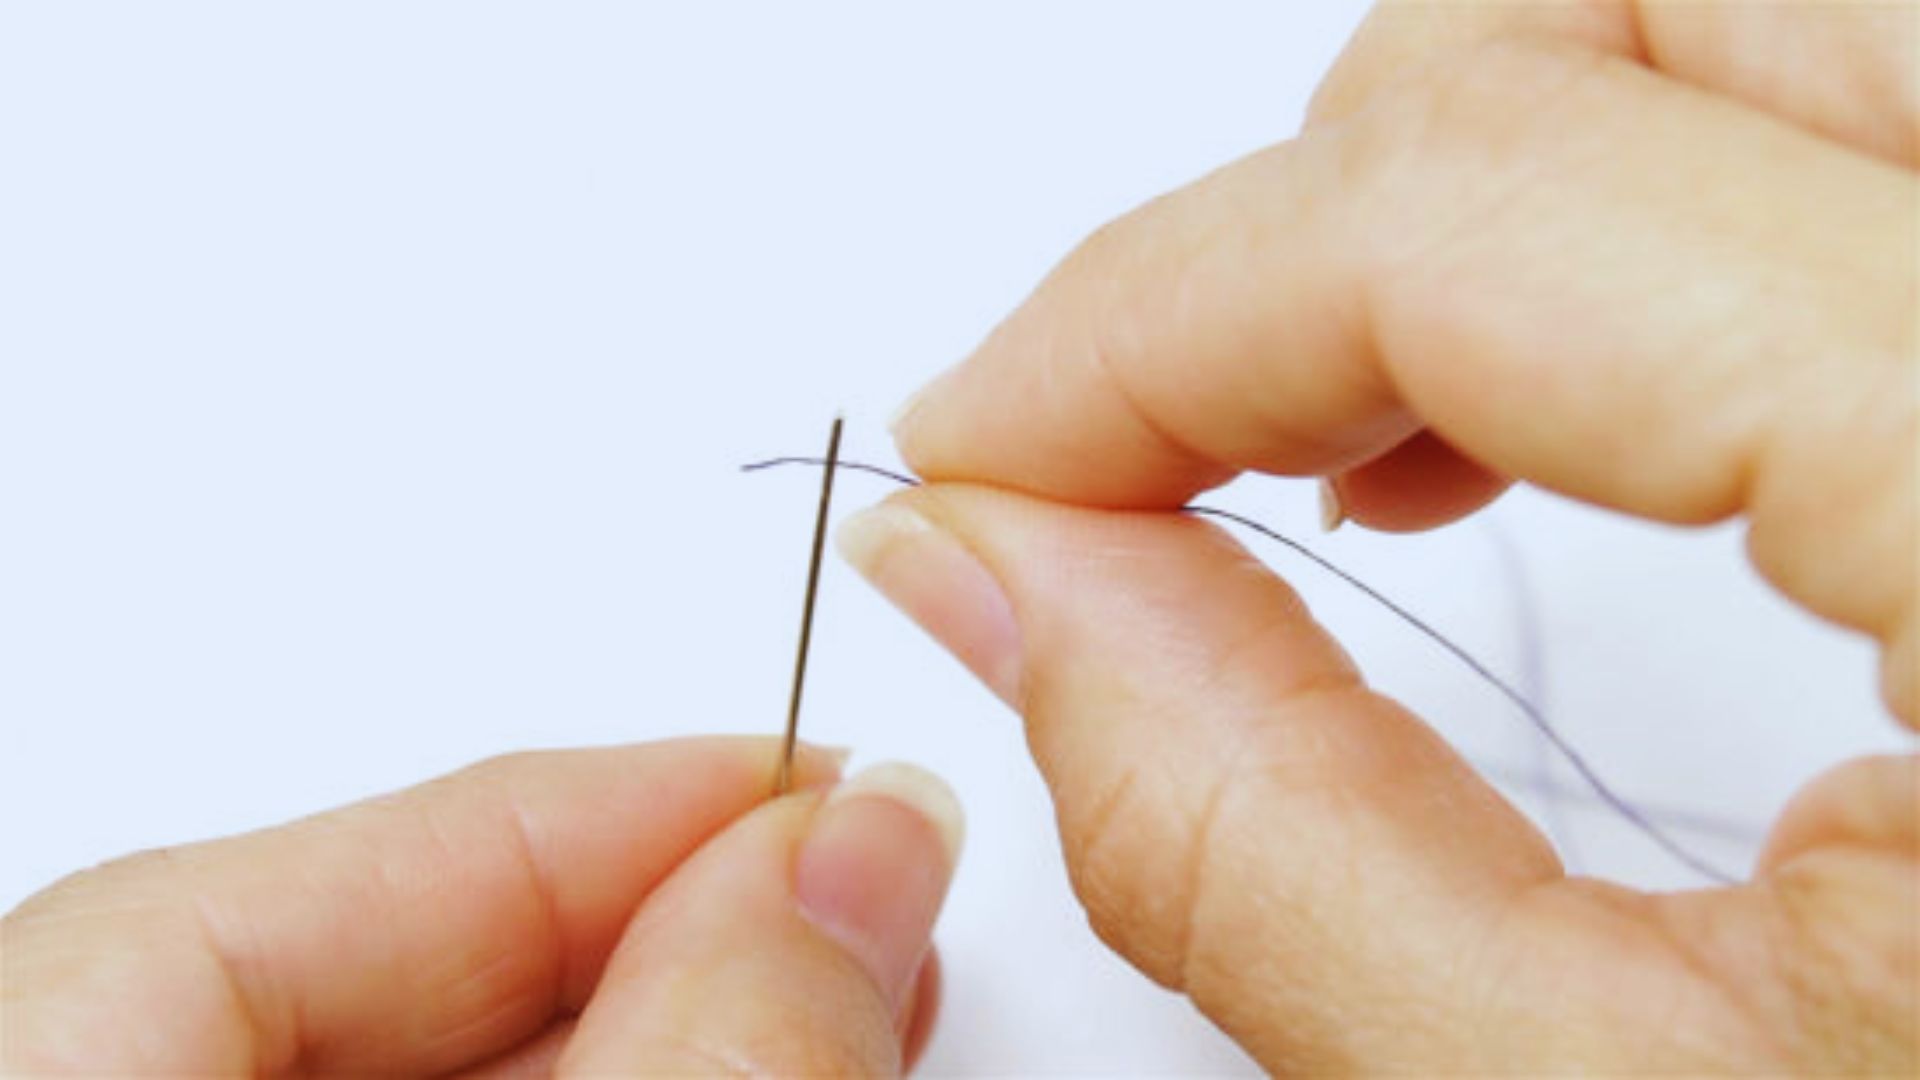
Hold your needle in one hand. Keep the eye facing you. Cut your thread cleanly. A clean cut goes through easier.
Get your wire loop threader ready. Make sure the wire isn’t bent or broken.
Step 2: Insert the Thread Through the Wire Loop or Hook

Push the wire loop through the needle eye. The diamond shape should poke through to the other side. Now put your thread through the wire loop. You can use both ends or just one.
Hold the thread and wire together. Don’t let the thread slip out.
Step 3: Pull the Thread Through the Needle Eye
Gently pull the wire loop back through the needle eye. The thread comes with it. Pull slowly and steadily. Don’t yank or jerk.
Once the thread is through, pull it to your desired length. You’re ready to sew.
How to Use a Hook-Style Needle Threader

The hook threader works differently. Here’s how to use it.
Step 1: Insert the Hook Through the Needle Eye
Push the hook end through the needle eye from the back to the front. Make sure the hook part is facing up and ready to catch thread.
Hold the needle steady. The hook should stick out clearly on the front side.
Step 2: Place the Thread Over the Hook
Lay your thread across the hook. The hook will catch it. Make sure the thread sits in the curve of the hook.
Don’t wrap it around. Just lay it across.
Step 3: Pull the Needle Over the Hook
Now slide the needle back over the hook. As the needle moves back, the hook pulls the thread through the eye. Keep the thread in the hook until it’s fully through.
Pull the thread to your working length. You’re done.
Common Mistakes When Using a Needle Threader
Avoid these two mistakes to make your threader last longer.
Pulling Too Hard on the Wire Loop
The wire loop is delicate. If you pull too hard, it will bend or snap. I’ve broken many threaders this way. Pull gently and slowly. Let the wire do the work.
If your thread won’t come through, check that the wire is fully through the needle eye first.
Using the Wrong Threader for the Needle Size
A thick thread won’t fit through a small wire loop. A large needle eye might be too big for a tiny hook threader. Match your threader to your needle and thread size.
When in doubt, test with a scrap thread first.
Tips for Threading a Needle More Easily
These simple tips make threading faster and easier every time.
- Cut your thread between 18 and 24 inches long. This length is easy to work with and doesn’t tangle as much as longer thread. For quick repairs, 12 inches works fine. For long seams, stick to 18 inches.
- Match your needle size to your thread thickness. Use needles size 9 to 11 for thin thread. Use size 7 to 8 for medium thread. Use size 5 to 6 for thick thread. The thread should slide through the eye without forcing it.
- Cut your thread with sharp scissors. A clean, straight cut makes the thread easier to push through the wire loop or hook. Frayed ends get stuck and won’t go through smoothly.
- Work in good lighting. Bright light helps you see the needle eye clearly. Natural daylight works best. If you sew at night, use a bright lamp right above your work area.
- Hold the needle steady and still. Rest your hand on a table while threading. A shaky hand makes it harder to get the thread through. Take your time and stay relaxed.
When to Use Each Type of Needle Threader
Pick the right threader for your project type.
Use the wire loop threader for regular hand sewing. It works great with cotton thread and single strands. Use it for mending clothes, hemming pants, or attaching buttons. The wire loop handles single thread perfectly and makes quick work of everyday sewing tasks.
Use the hook threader for embroidery and thicker materials. Embroidery floss is thicker and has multiple strands. The hook can handle this thickness better than a wire loop.
The hook also works well for yarn or thick decorative thread. If you’re doing any kind of craft work with chunky thread, reach for the hook threader.
Conclusion
You now know how to thread a needle with a needle threader the right way. I still remember sitting with my grandmother, watching her thread needles in seconds while I struggled. Once I learned this trick, everything changed.
Pick the threader that fits your project and follow these steps. Be gentle when pulling. With a little practice, you’ll thread needles fast too.
Try it on your next sewing project. Drop a comment below and tell me how it goes. I’d love to hear about your experience.
Frequently Asked Questions
Can I use a needle threader on any needle?
Most needle threaders work with standard hand sewing needles. Very small needles like beading needles might be too tiny for some threaders. Very large needles work with hook threaders better than wire loop types.
Why does my wire loop threader keep breaking?
Wire loop threaders break when you pull too hard or use them with thick thread. Pull gently and slowly. Replace them often since they’re cheap.
Do I need to cut the thread at an angle?
A straight, clean cut works fine. Some people cut at a slight angle to make it easier. I just use sharp scissors and cut them cleanly.
Can I thread multiple needles at once?
Yes. Thread several needles before you start sewing. This saves time when you’re working on big projects. Just stick them in a pin cushion.
How do I know which size needle threader to buy?
Start with a standard wire loop threader. It comes in most sewing kits and works for regular sewing. Buy a hook threader later if you do embroidery.