

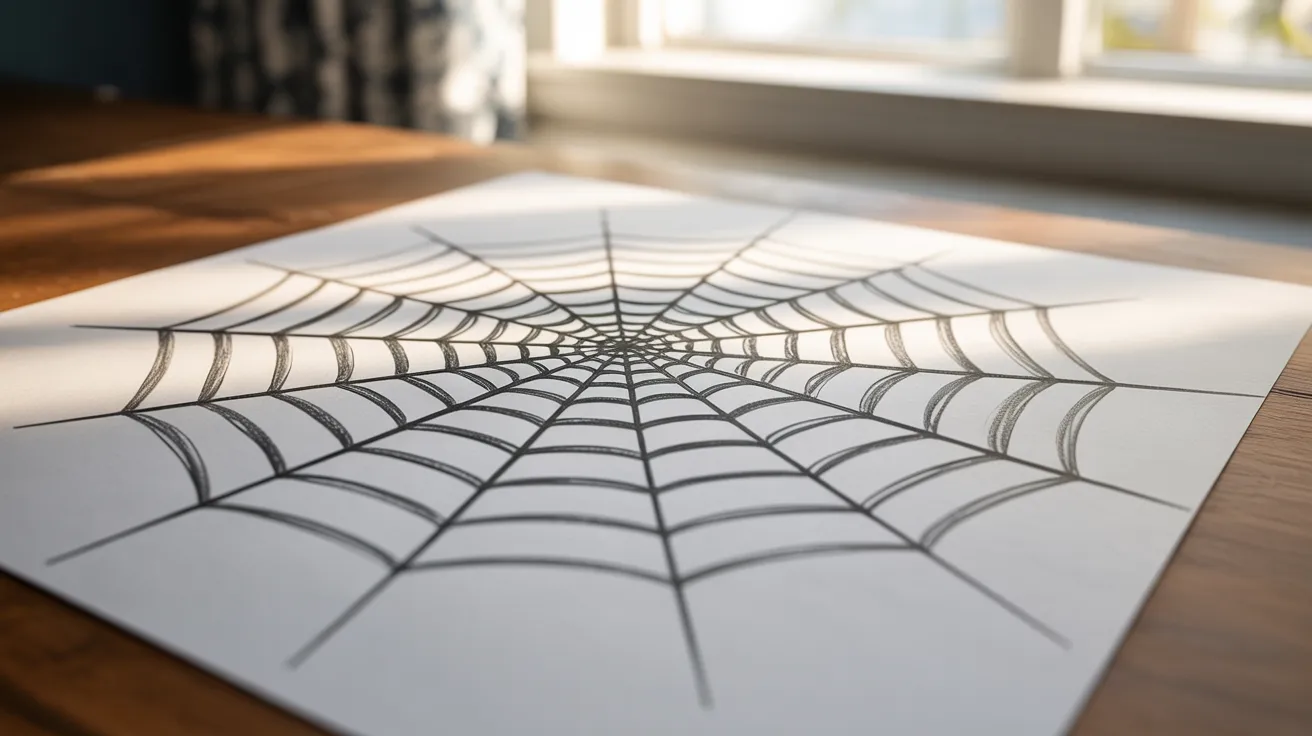
I remember the first time I tried spider web drawing and kept getting the lines all wrong. It felt harder than it looked. But once I learned the right steps, it clicked fast.
I have been drawing for years, and I want to make this as simple as possible for you.
In this guide, you will learn how a spider web is structured, what supplies you need, and a clear step-by-step process to draw one.
If you are a complete beginner or just want to improve, this tutorial will help you get it right.
Overview of Spider Web Drawing
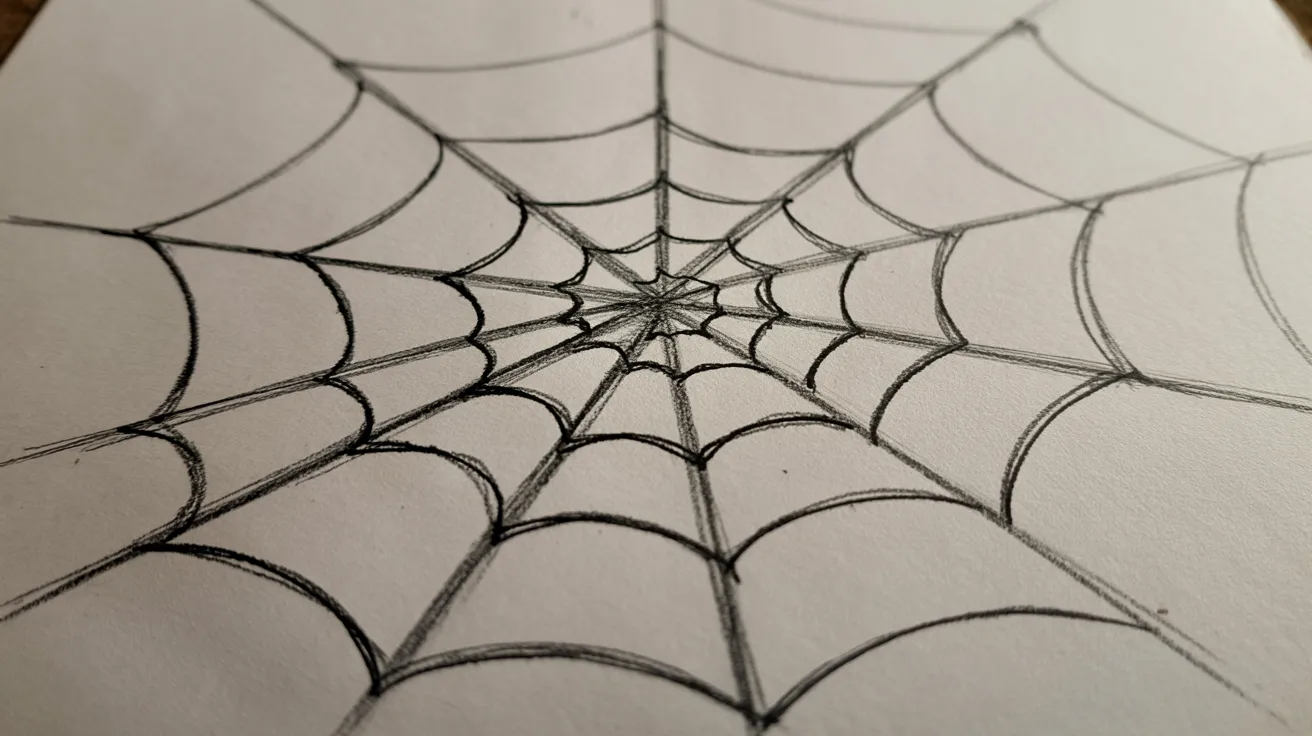
A spider web looks complex at first, but it is actually built from just two simple shapes. straight lines and gentle curves. Straight lines go out from a center point, like spokes on a wheel.
Curved lines then connect those spokes in rings moving outward. That is the full structure. The straights build the frame, and the curves fill it in.
The more evenly you space them, the more realistic your web looks. Once you see it broken down this way, it stops feeling hard. It is one of the simplest patterns in nature to copy on paper.
Art Supplies You Will Need
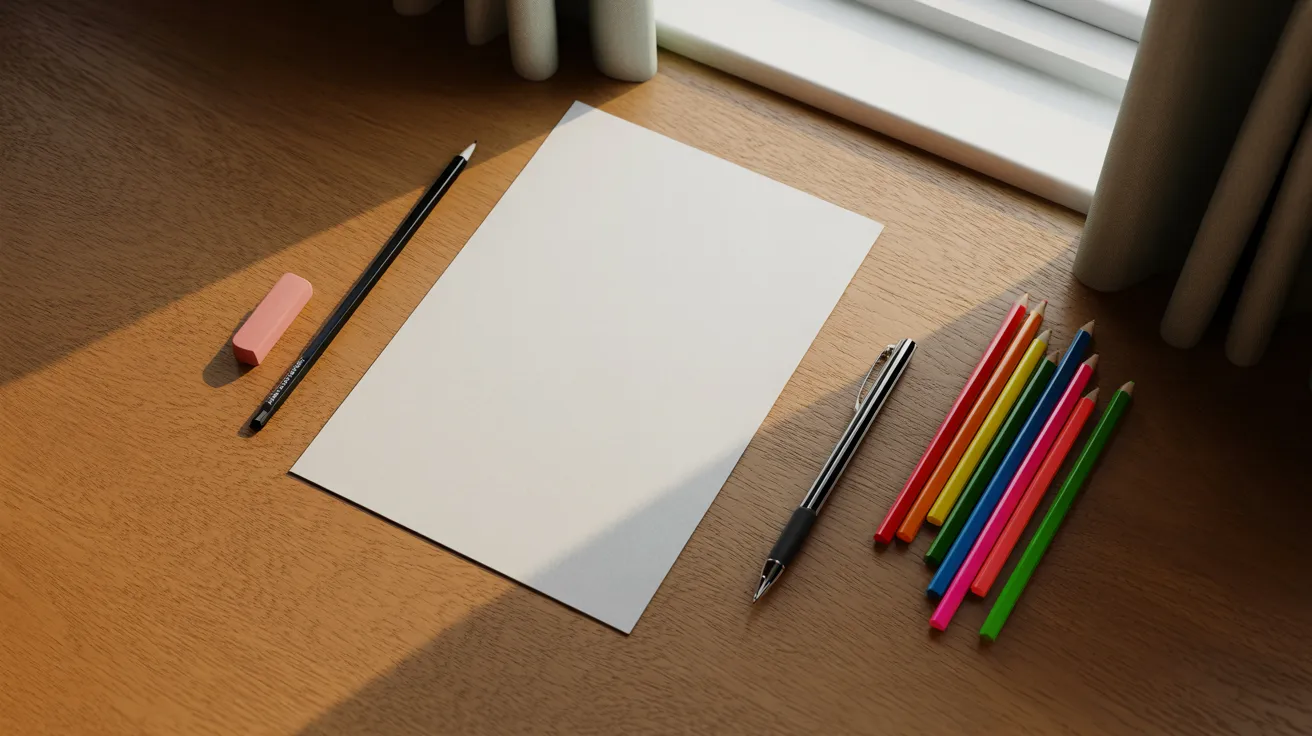
You do not need much to get started. A few basic tools are all it takes.
Basic Sketching Tools (Pencil, Paper, Eraser)
Start with a regular pencil and any plain white paper. A good eraser matters here because you will be drawing guide lines first and removing them later.
Inking Tools (Fine Markers or Black Pen)
A fine-tip black marker or a ballpoint pen works great for the final outline. It makes your web look sharp and clean.
Optional Coloring Tools (Markers, Gel Pens, Colored Pencils)
If you want to add a background or extra detail, colored pencils or gel pens can help. Orange and black work well for a Halloween look.
Step-by-Step Process to Draw a Spider Web
Drawing a spider web is easier than you think just start from the center and work your way out.
Step 1: Draw a Center Point and Make Straight Guideline Lines Crossing Through It
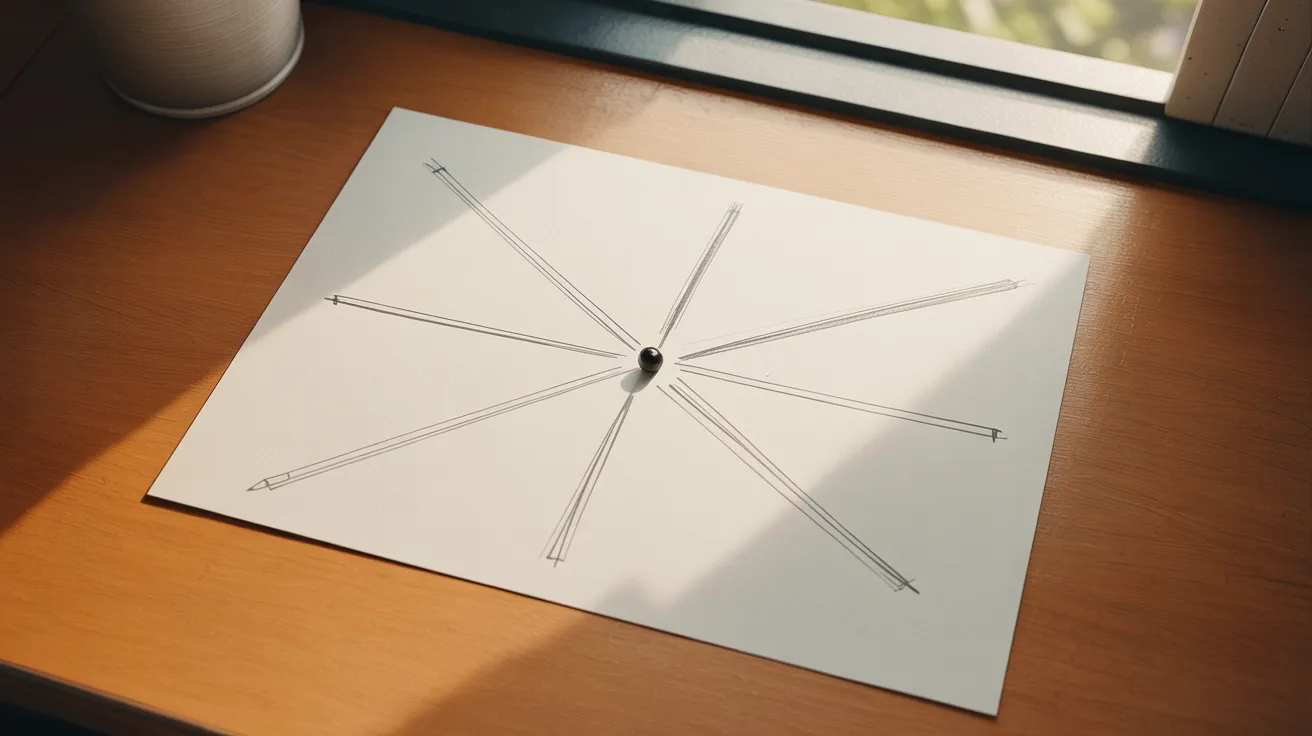
Start by placing a small dot in the center of your paper. This dot is your anchor point. From it, draw three straight lines going in different directions so they cross through the center.
These lines should divide your paper into six equal sections. Try to keep them as evenly spaced as you can. These are your main guide lines and the base of your whole web.
Step 2: Add Additional Straight Lines Between the Main Guides to Form a Star-Like Structure
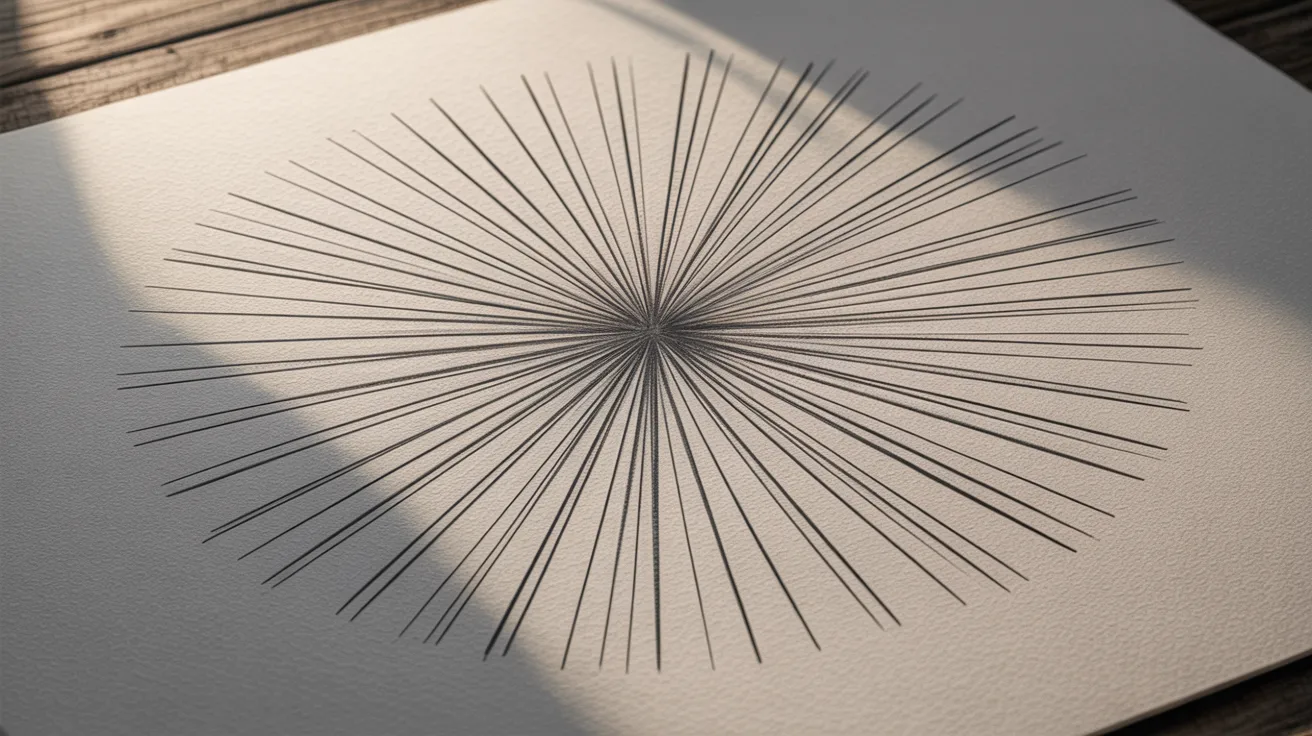
Look at the six sections you created. Now draw one more straight line inside each section, again passing through the center dot.
This doubles the number of spokes coming out from the middle. Your drawing should now look like a starburst or a sunburst shape.
The more evenly you place these extra lines, the cleaner your web will look in the later steps.
Step 3: Draw Curved Lines Between the Straight Lines Near the Center to Start the Web Pattern
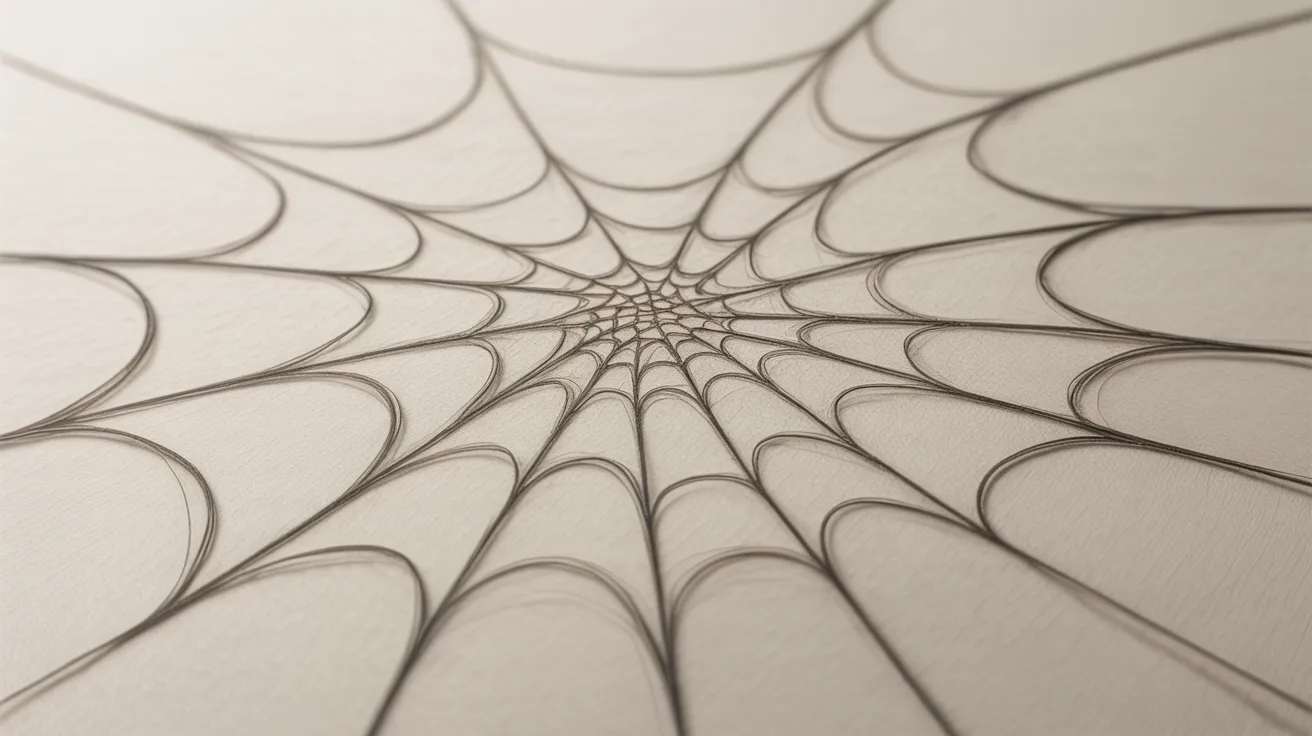
Now the real web shape begins. Stay close to the center dot and draw a small curved line connecting two spokes next to each other.
The curve should bow outward slightly, not go straight across. Keep going around the full circle, connecting every pair of neighboring spokes the same way.
Work slowly and keep the curves light. This first ring sets the tone for the whole web.
Step 4: Continue Adding Curved Lines Outward, Gradually Spacing Them Wider to Complete the Web Shape
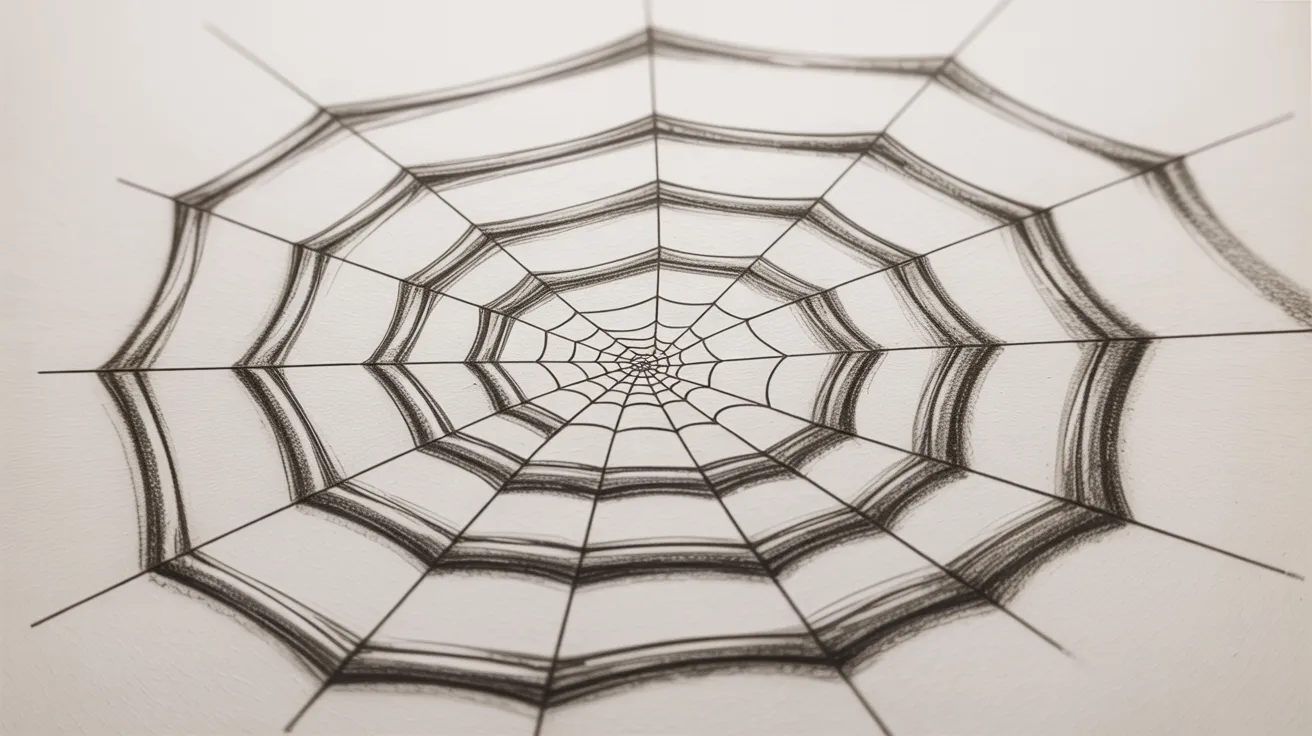
Move outward from your first ring and draw another full ring of curved lines. This time, space is a little farther from the first one.
Keep going outward, ring by ring, and increase the gap slightly each time. Real spider webs are wider near the outside, so this spacing makes your drawing look natural.
Small differences in the curves are totally fine and actually help it look more realistic.
Step 5: Outline Your Drawing With a Pen or Marker and Erase Pencil Guidelines for a Clean Finish
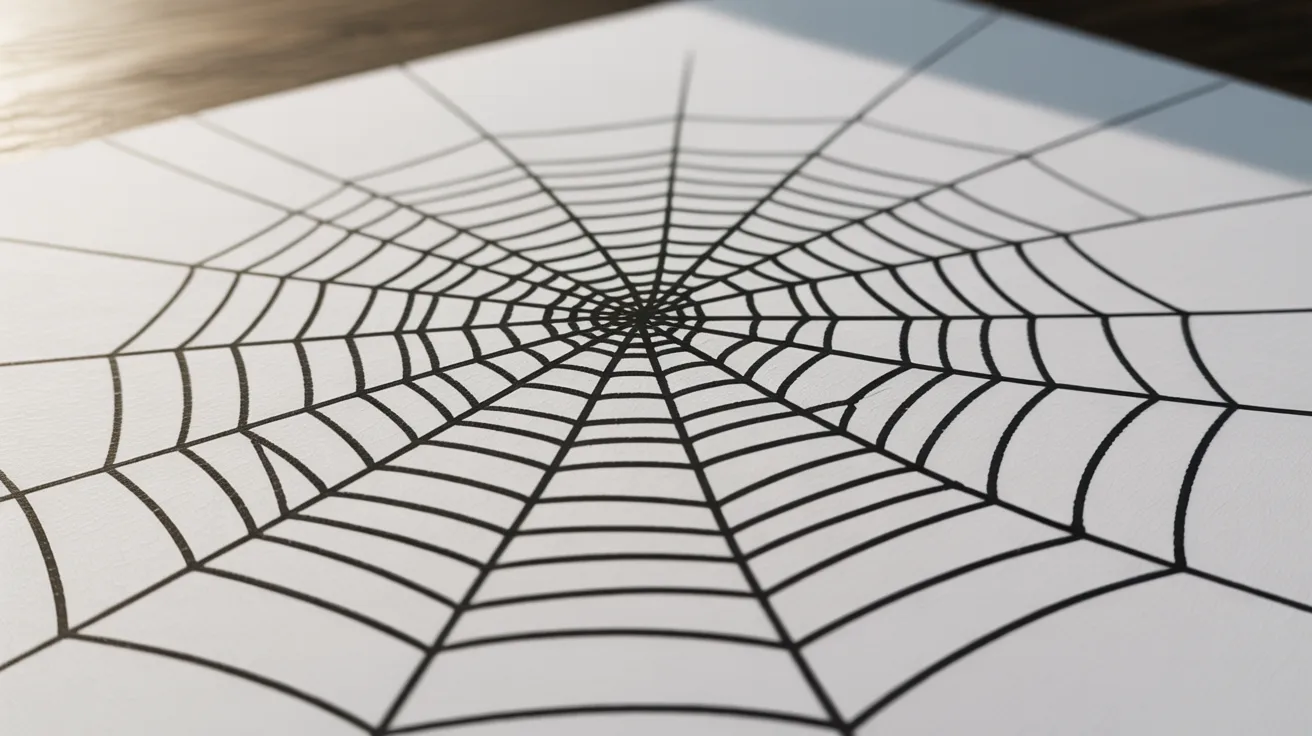
Once your pencil web looks the way you want, trace over every line carefully with a fine black marker or pen. Go slowly so your lines stay neat.
After you finish inking, set it aside and let the marker dry fully. This step matters because rushing can cause smudging.
Once dry, use your eraser to remove all the pencil lines. Your clean, finished spider web drawing is now ready.
Tips for a Better Spider Web Drawing
Small habits that make your spider web drawing look much cleaner and more creative.
- Keep gaps between your curved lines roughly the same size for a neat, clean look.
- Going slow when adding rings rushing is the main reason spacing goes uneven.
- Make outer lines slightly thicker and inner lines thinner to add depth.
- This small thickness change makes the web look more three-dimensional with very little effort.
- Add a small spider at the center or edge to make the drawing more interesting.
- Draw a light shadow underneath the web to give it a floating effect.
Conclusion
Spider web drawing is one of those skills that feels tricky at first but becomes easy once you know the steps. I was surprised by how fast it came together when I stopped rushing and just followed each step.
Now it is your turn. Grab a pencil and give it a try today. Share your drawing in the comments or tag us if you post it online.
Did you add a spider? A background? I would love to see what you create. Keep practicing, and you will get better every single time.
Frequently Asked Questions
How many lines do I need to start a spider web drawing?
Start with six straight lines crossing at the center. You can add more between them to create a fuller, more detailed web shape.
Can I draw a spider web without a ruler?
Yes, you can. Freehand lines give the web a natural look. A ruler helps with the straight spokes, but the curved lines should always be drawn by hand.
What is the best paper for spider web drawing?
Plain white printer paper or sketchbook paper both work well. Thicker paper is better if you plan to use markers, as it prevents bleeding.
How do I make my spider web look more realistic?
Space your curved lines farther apart as you move outward. Also, keep the curves gentle and consistent. Small imperfections actually make it look more real.
Can kids do this spider web drawing tutorial?
Yes, this tutorial works well for kids aged seven and up. The steps are simple, and no special skills are needed to get a good result.
