

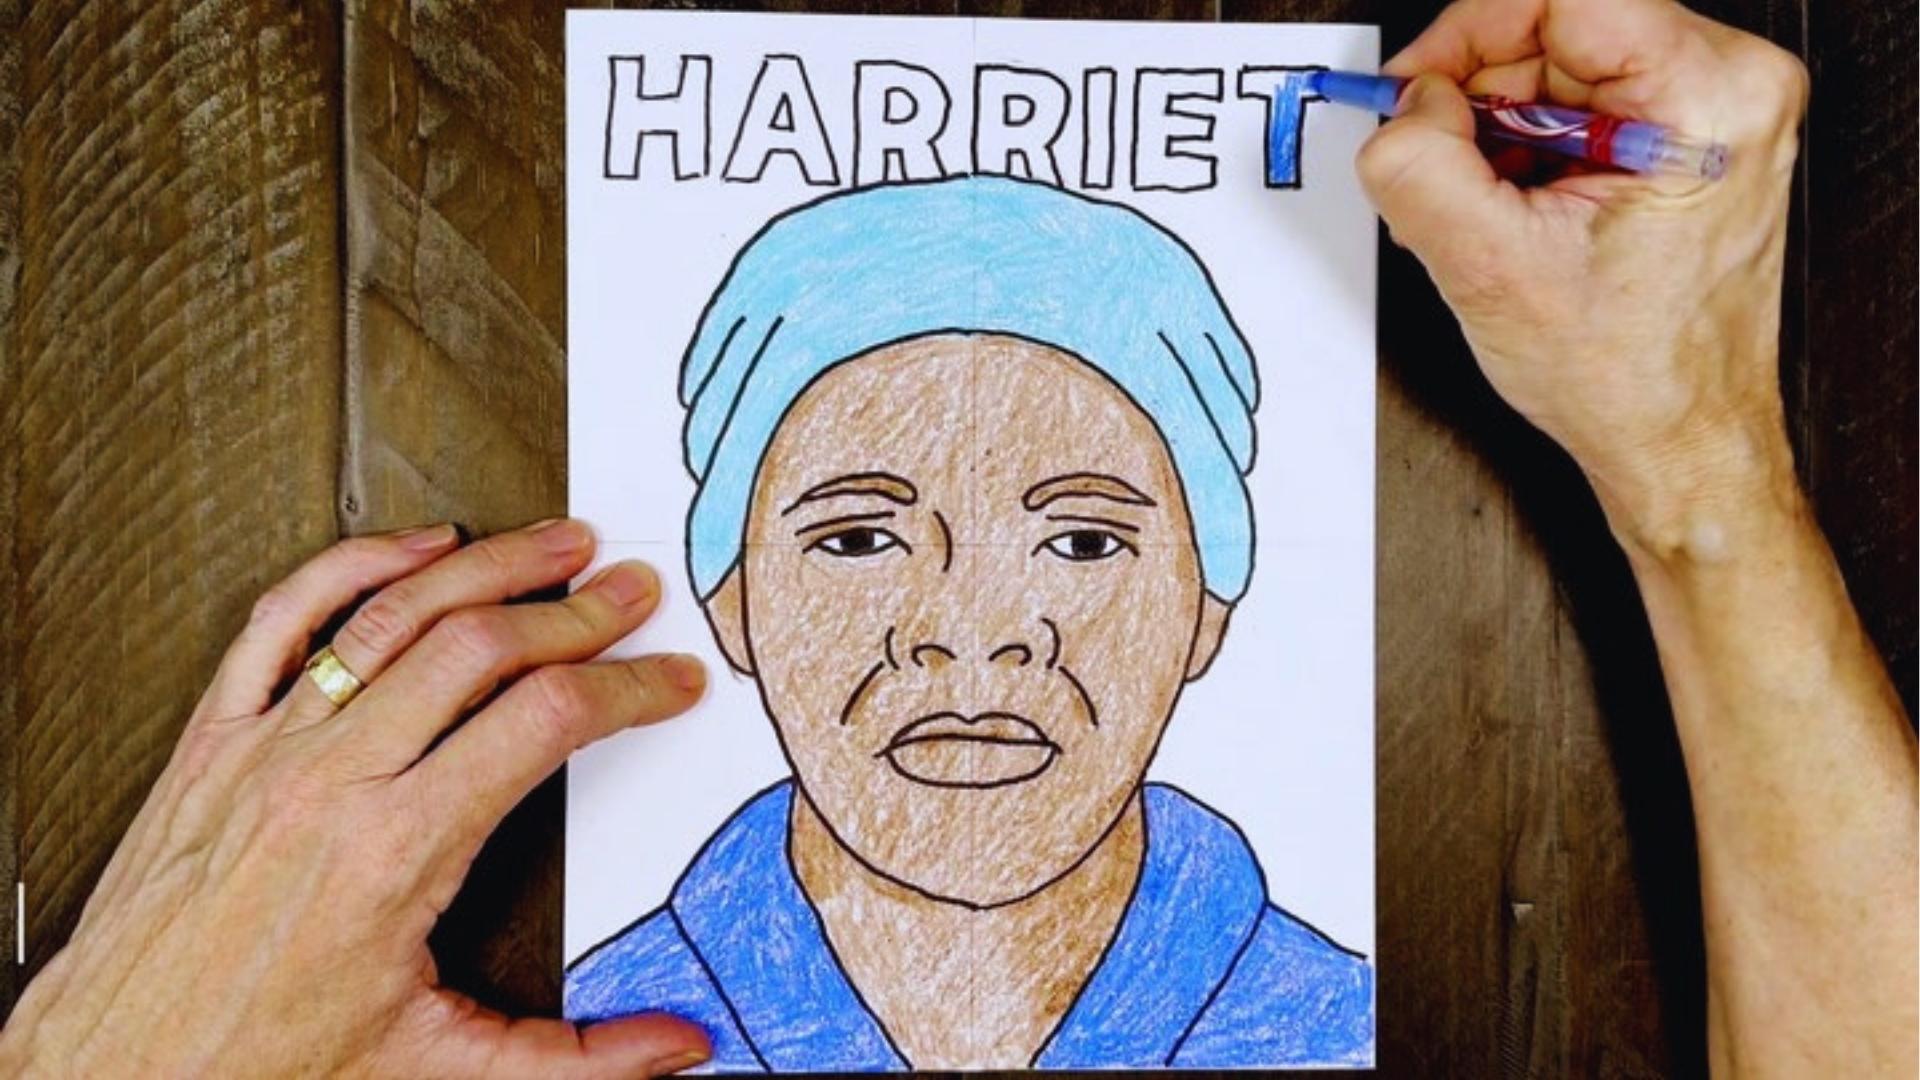
I still remember my first attempt at drawing a historical figure for a school project. It felt hard, but once I broke it down step by step, it got much easier. That's exactly what this guide on Harriet Tubman drawings does for you.
In this article, you will learn what materials you need, how to draw her face, hair, and clothing, and how to color and shade your drawing.
I have worked with art lessons for years, so you can trust this guide to keep things simple and clear.
Let's get started.
Understanding the Drawing Style
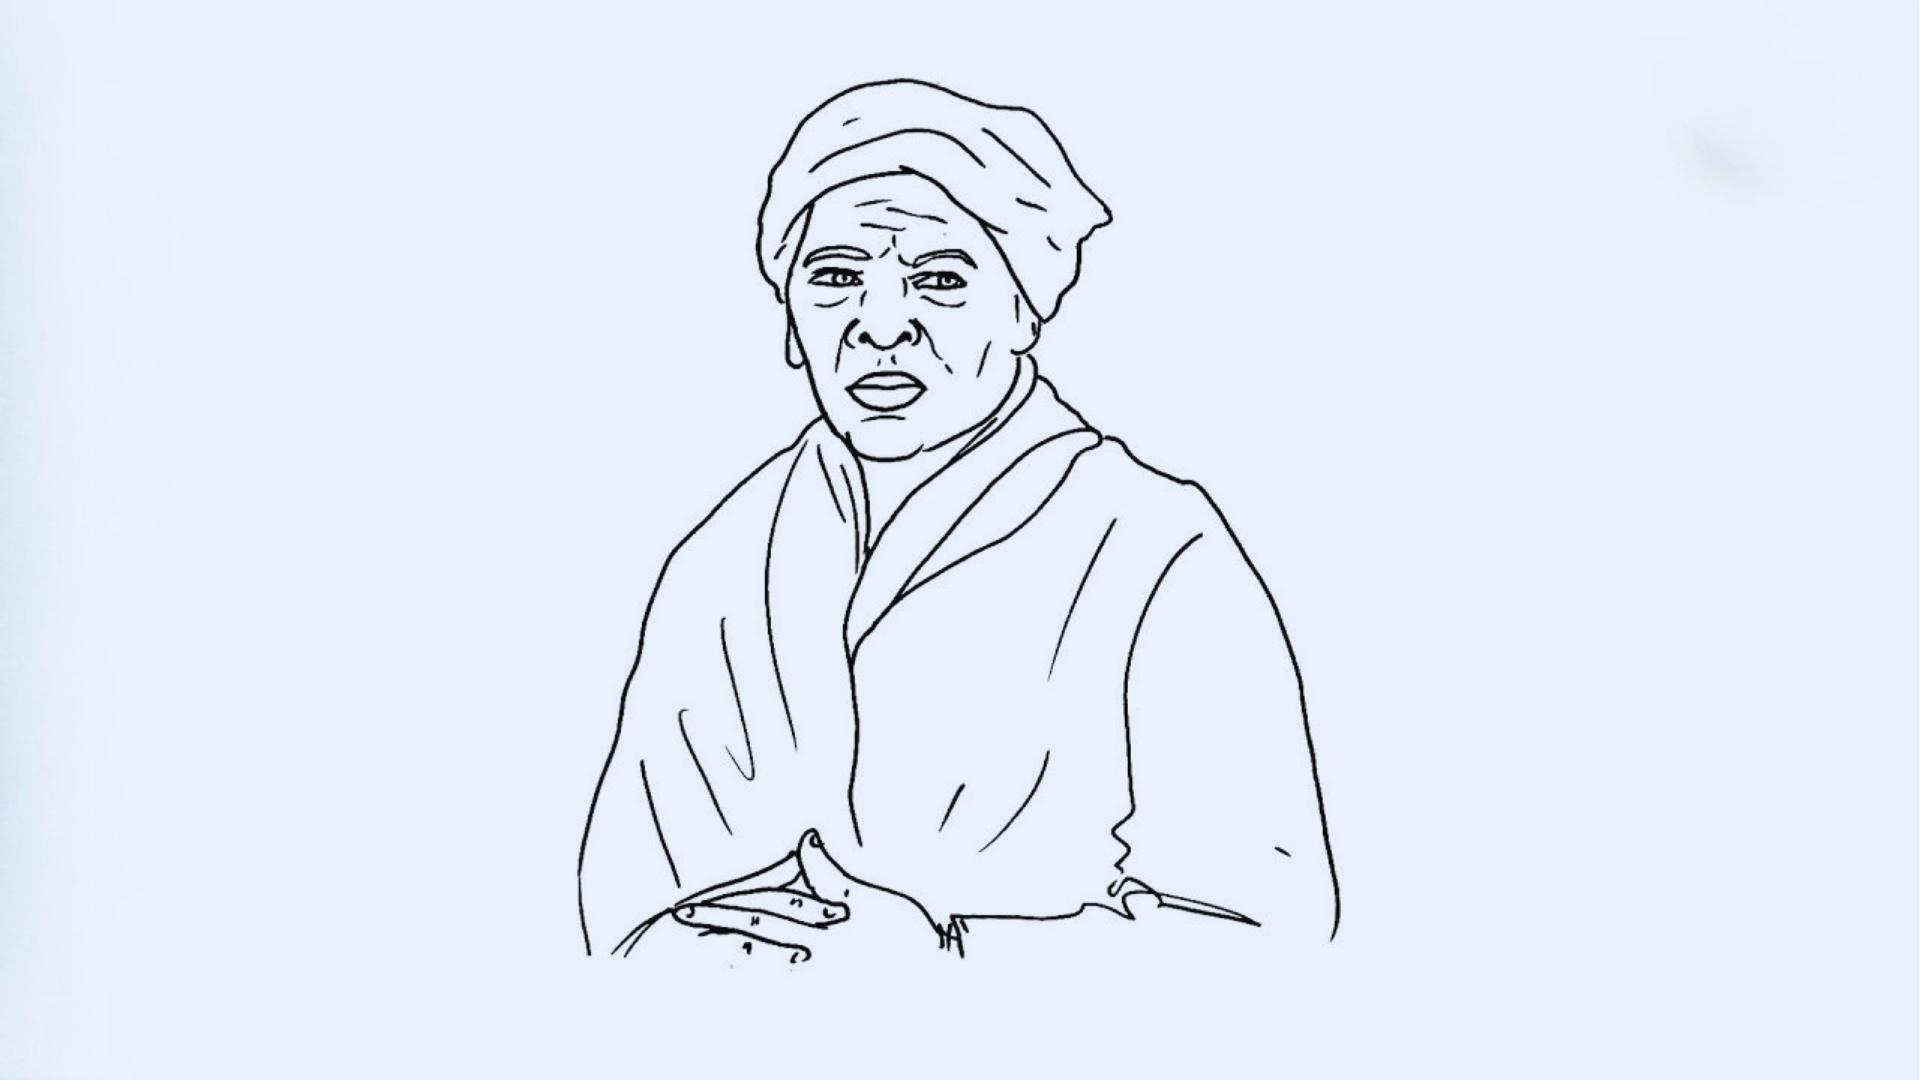
Knowing your drawing style before you pick up a pencil saves time and confusion. You can draw Harriet Tubman in two main ways.
A cartoon style uses bold lines and simple shapes, making it great for beginners. A realistic portrait uses shading and fine detail for a more lifelike result.
Start with whichever matches your current skill level. Every face begins with basic shapes like ovals, circles, and triangles.
These act as a map for placing features correctly. Symmetry matters too. Draw a vertical line down the center of the face to keep the eyes, nose, and mouth evenly balanced.
Materials Needed for Harriet Tubman Drawings
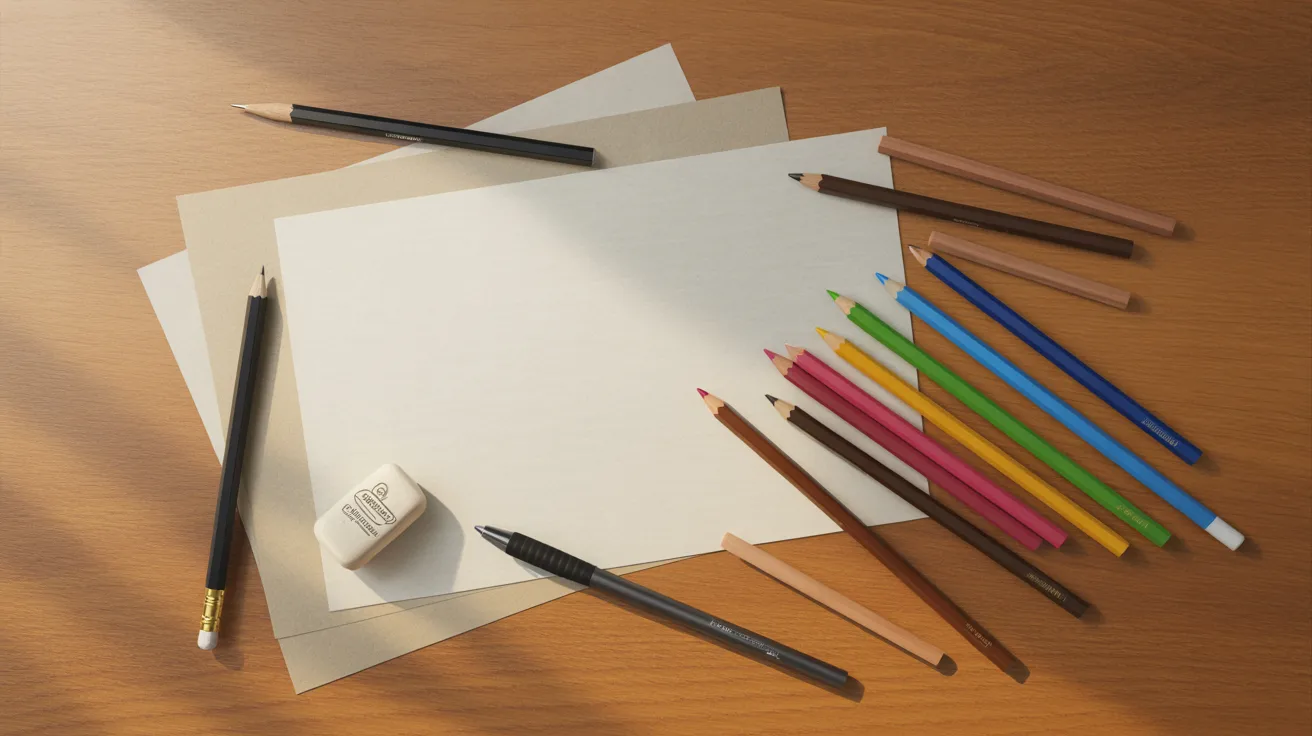
Having the right tools ready before you start makes the whole process smoother and more fun.
Pencils, Erasers, and Sketching Tools
Use a light pencil like an HB or 2H for your first sketch lines. These are easy to erase. A good eraser, preferably a kneaded one, helps fix mistakes without smudging. A ruler can help you draw straight guide lines.
Markers for Outlining
Once your pencil sketch looks good, trace over it with a black marker or fine liner. This makes the drawing stand out. Use thin markers for detail and thicker ones for bold outlines.
Coloring Tools (Crayons or Colored Pencils)
Colored pencils give you more control for shading. Crayons work well for younger kids and give a bold, flat color. Watercolor pencils are another option if you want a softer look.
Paper and Workspace Setup
Use smooth white paper or a drawing pad. Set up your workspace with good lighting. Keep your tools nearby so you don't have to stop mid-drawing. A flat, clean surface works best.
Step-by-Step Harriet Tubman Drawing Guide
Follow these five simple steps to build your drawing from scratch, one part at a time.
Step 1: Outline the Face Shape
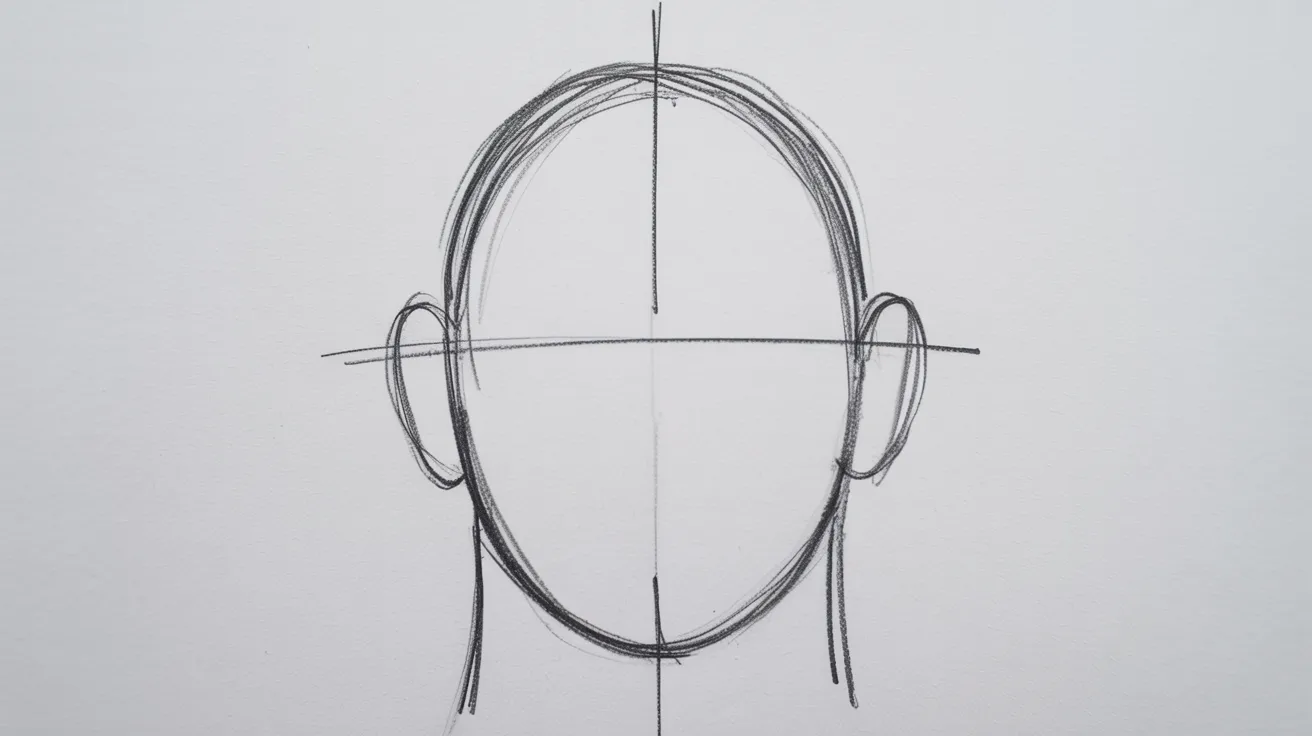
Draw an oval that is slightly wider at the top with a gently rounded chin. Add ears on both sides, lined up between the eyes and nose.
Draw a vertical and horizontal center line to keep the face balanced. This simple base sets up everything that comes next.
Step 2: Draw the Eyes and Eyebrows
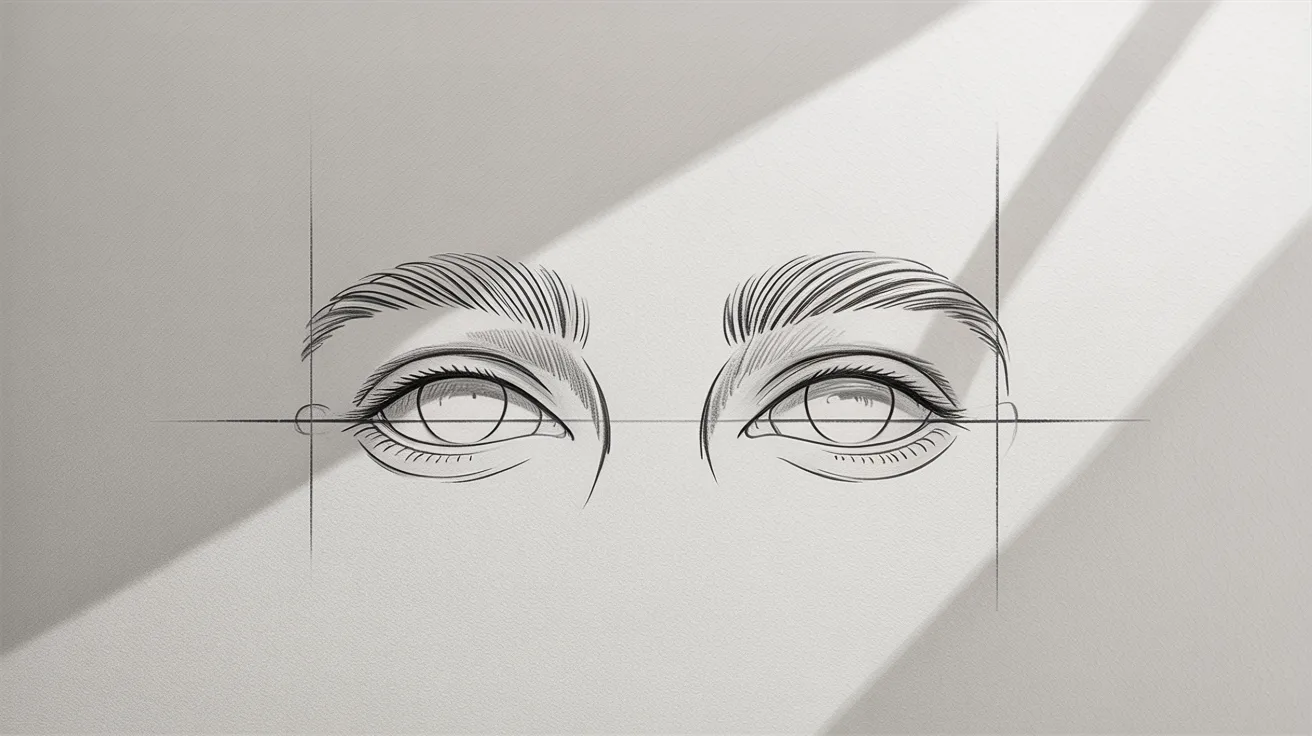
Place two almond shapes along the horizontal center line for the eyes. Add a small circle inside each one for the iris. Draw thick, slightly arched eyebrows just above each eye.
Leave a small gap between the brow and the eye to keep it natural.
Step 3: Sketch the Nose and Mouth
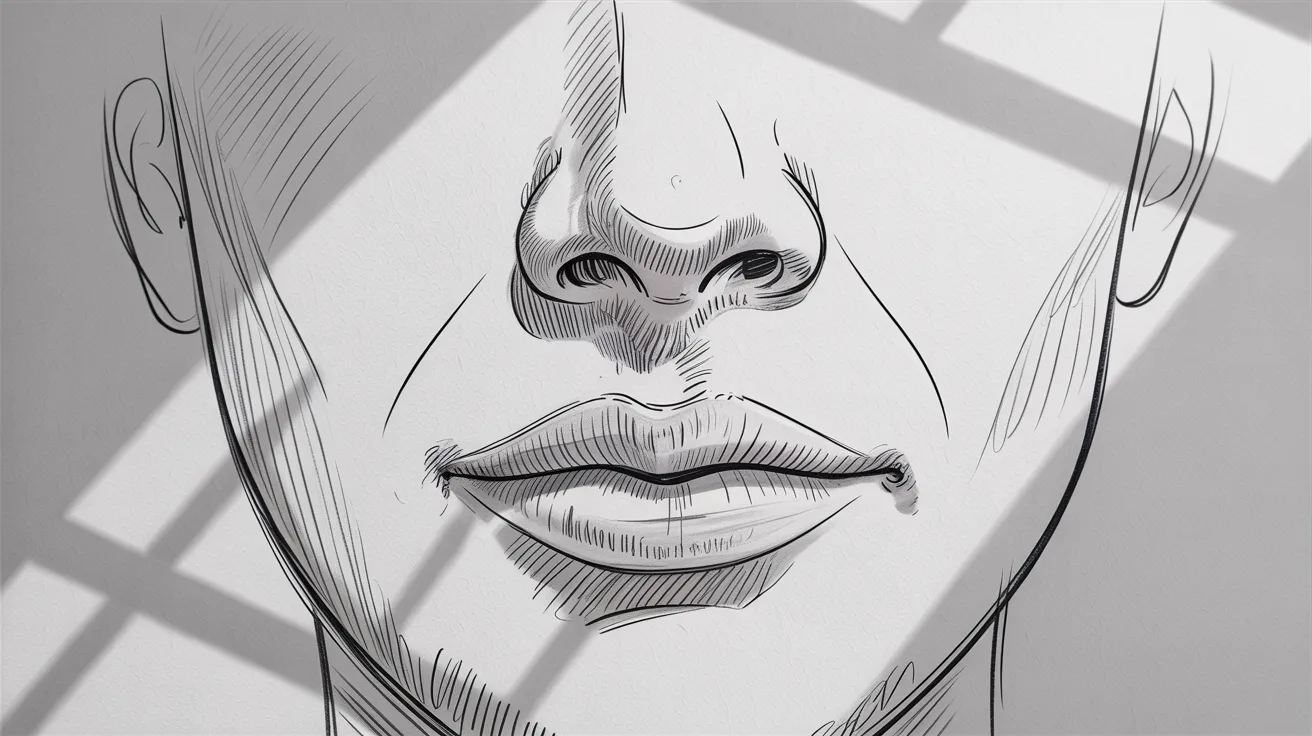
Place the nose halfway between the eyes and chin using two small curved lines for the nostrils. Draw a curved line for the upper lip and a fuller curve below for the lower lip.
Keep the expression calm and strong to reflect her character. Light pencil strokes work best here before you finalize the lines.
Step 4: Add Hair and Headwrap Details
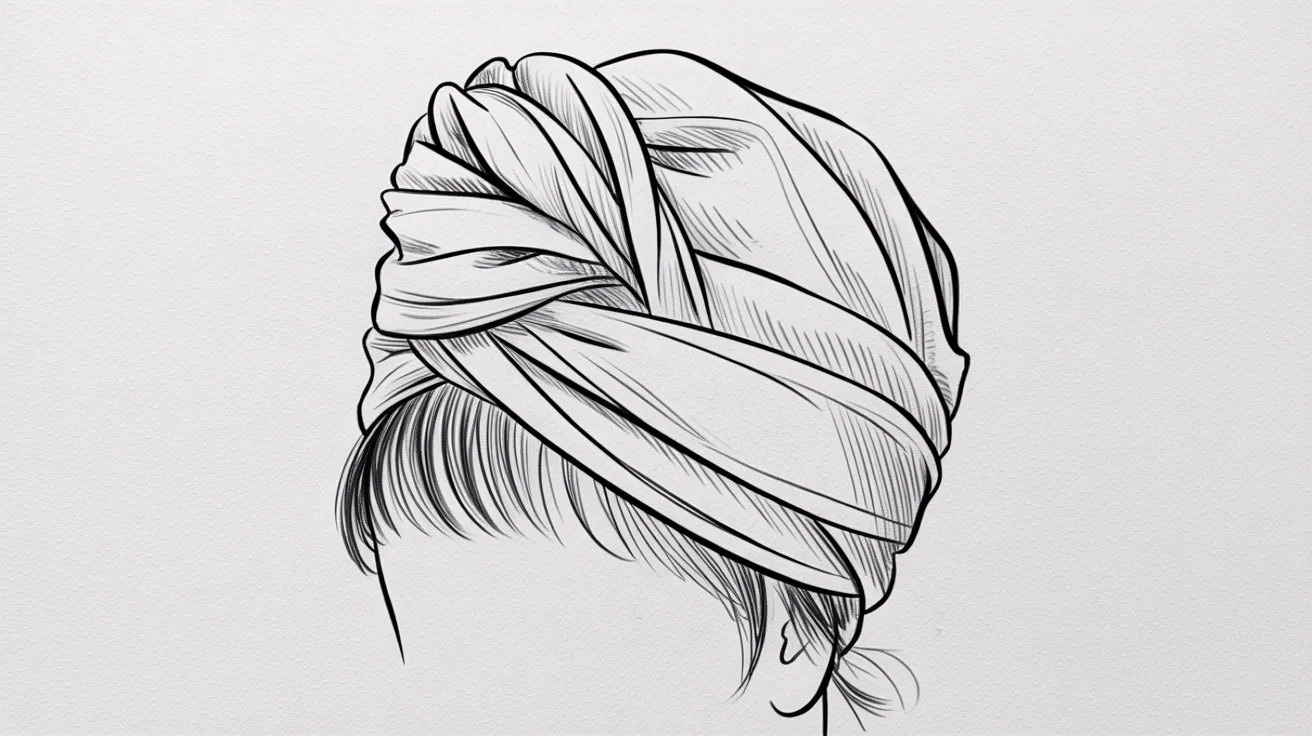
Draw the headwrap or bonnet starting from the top and coming down the sides of the head. Add soft, curved folds to make the fabric look real and full.
If you want to show hair, use short curved strokes to create tight curls or waves. This step adds a lot of personality to the drawing.
Step 5: Draw Clothing and Finishing Touches
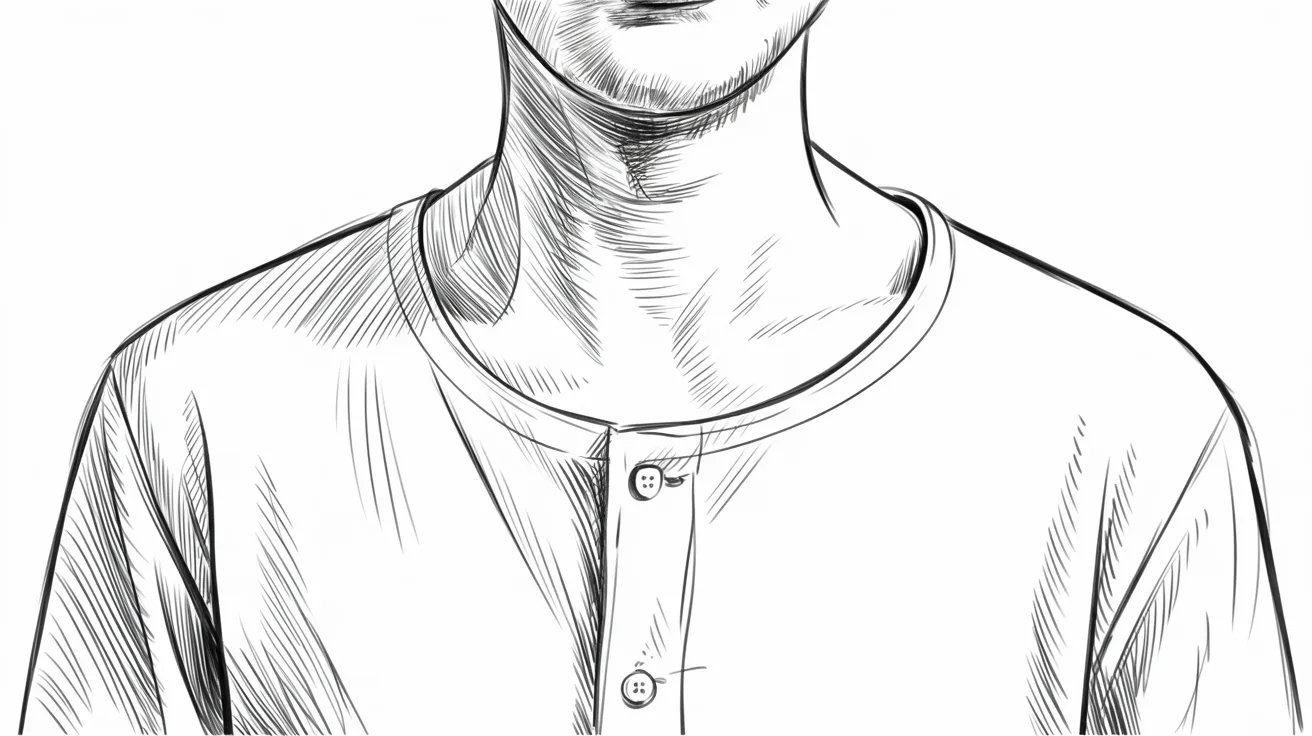
Start with the neck and shoulders, then bring lines down to form the bodice and long skirt. Add curved lines at the elbows, waist, and hem to show natural fabric folds.
Draw small buttons down the front for a finished, detailed look. These small touches make the whole drawing feel complete and polished.
Coloring Your Harriet Tubman Drawing
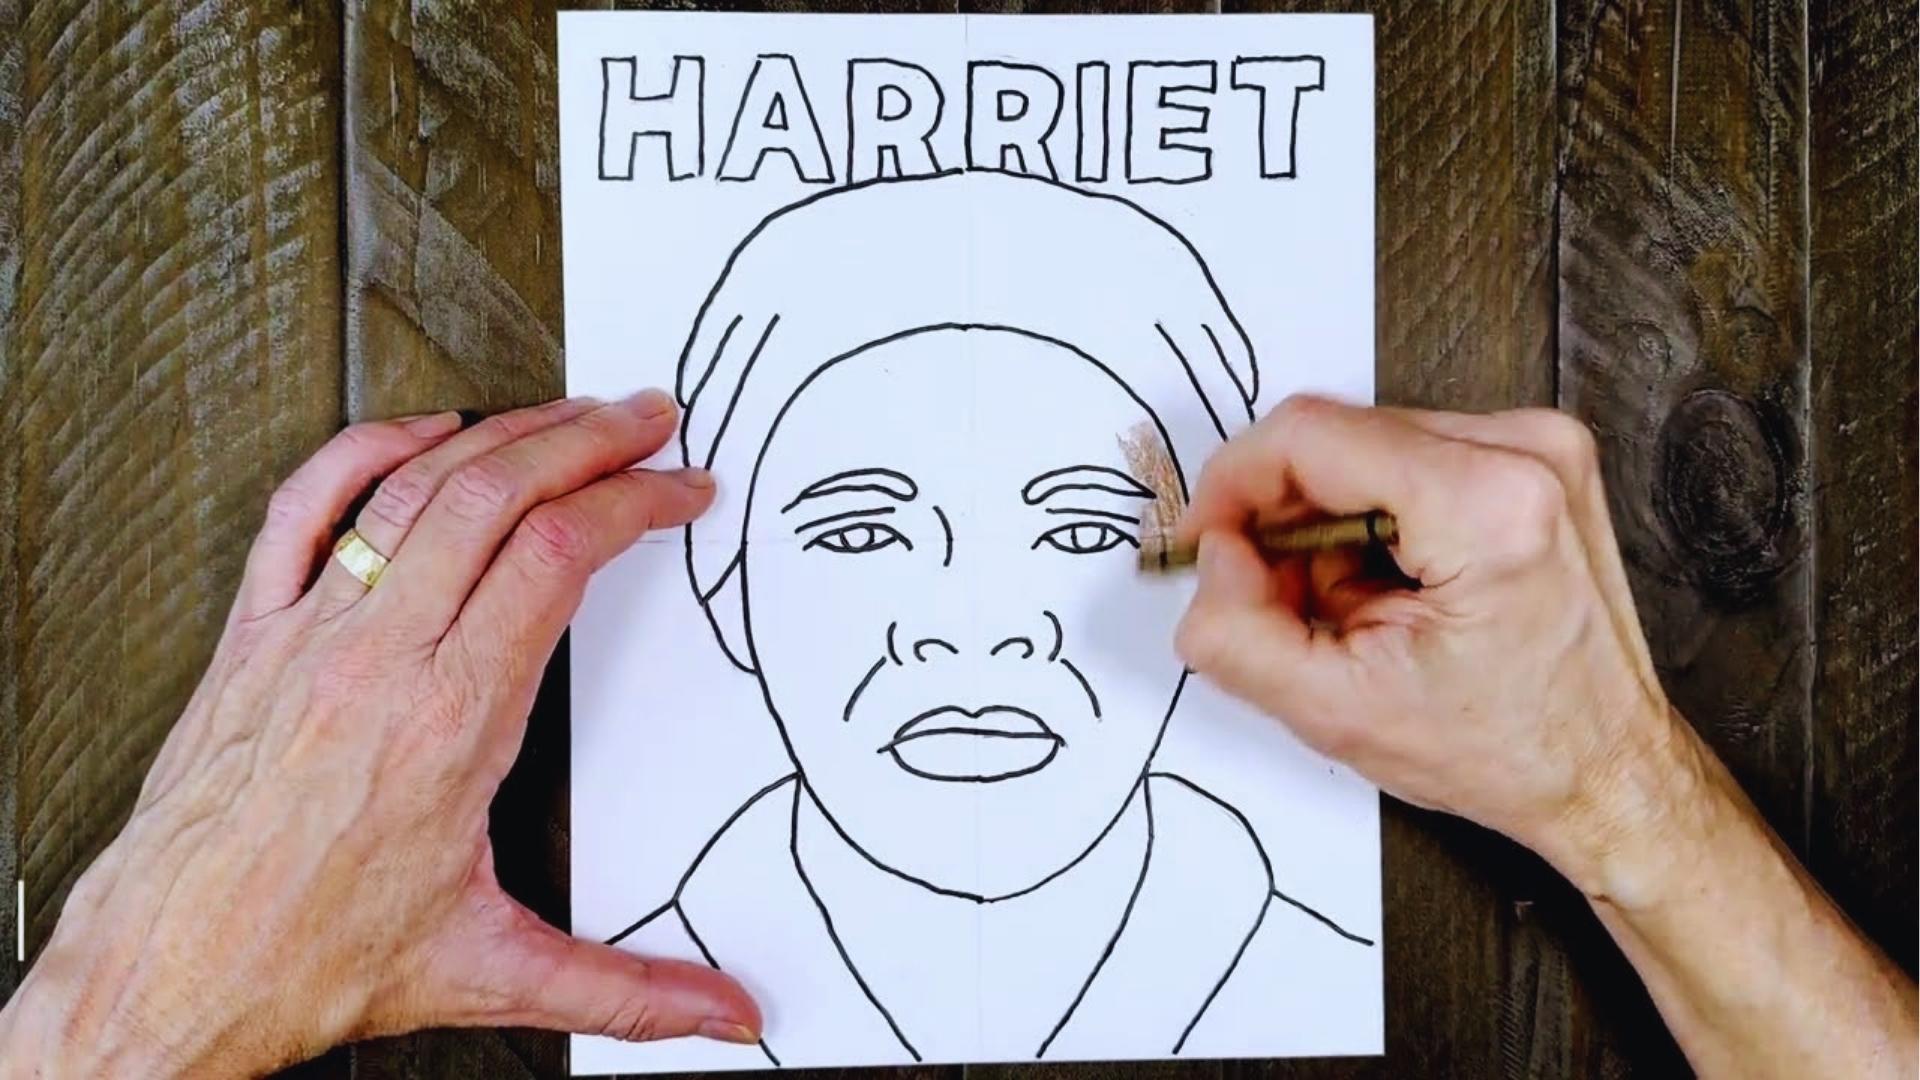
The right colors bring your drawing to life and help show historical detail with care and respect.
Choosing Skin Tones and Hair Colors
Harriet Tubman had warm brown skin. Mix or layer brown and red-brown pencils to get a natural tone. For shading, use a darker brown in the shadows under the chin and beside the nose.
Her hair, when shown, was dark brown to black.
Clothing Color Ideas for Historical Accuracy
In most historical references, she wore muted, earthy tones. Think dark navy, forest green, deep brown, or gray. Avoid bright or modern colors. A white or cream collar adds a nice contrast.
Shading Tips for Depth and Realism
Shading makes flat drawings look three-dimensional. The light source usually comes from one side. Make that side lighter.
Add darker color on the opposite side and under the chin, nose, and brow. Blend gently with a cotton swab or tissue for a smooth look.
Tips for Better Harriet Tubman Drawings
A few simple habits can make a big difference in how your final drawing turns out.
- Use center guidelines Draw a vertical and horizontal line through the face first to keep features balanced and even.
- Sketch lightly at first Press gently with your pencil so mistakes are easy to erase before you commit to dark lines.
- Outline only when ready Switch to markers or dark pencil only after you are happy with the overall shape and placement.
- Follow basic proportions, Eyes sit halfway down the head, the nose halfway between eyes and chin, and the mouth below the nose.
- Practice on scrap paper Try the face a few times before working on your final drawing. Each attempt builds confidence.
- Work on one feature at a time. Don't rush. Focus on the eyes, then the nose, then the mouth. Slow and steady gives better results.
Conclusion
Drawing Harriet Tubman has always felt meaningful to me. It is more than art. It is a small way to honor someone who changed history. If you followed this guide on Harriet Tubman drawings, I hope you feel proud of what you created.
Keep practicing. Try other historical figures next. Every drawing gets better with time.
Did this guide help you? Leave a comment below and share your drawing. I would love to see what you made. Share this post with a friend who loves art or history.
Frequently Asked Questions
What is the easiest way to start a Harriet Tubman drawing?
Start with a simple oval for the head and light guide lines for the face. Build from basic shapes before adding details.
Can kids do Harriet Tubman drawings easily?
Yes, kids can follow this guide using the cartoon-style approach. Simple shapes and bold lines make it manageable for younger artists.
What colors should I use for Harriet Tubman drawings?
Use warm brown tones for the skin and dark earthy colors like navy or forest green for the clothing to reflect the historical time period.
Do I need special art supplies for this drawing?
No, basic pencils, an eraser, a black marker, and colored pencils are enough. You don't need expensive tools to get a great result.
How long does it take to finish a Harriet Tubman drawing?
A simple drawing can take 30 to 60 minutes. A more detailed, shaded version may take a couple of hours depending on your pace.
