


Acrylic painting is perfect for anyone starting their art practice. The paint dries fast, cleans up with water, and costs less than oils. You can use it on canvas, paper, wood, or fabric.
This guide covers everything you need to start painting with acrylics. You’ll learn what supplies to buy, how to set up your space, and which techniques work best for new painters.
I’ve been teaching art basics for years, and these methods really work. By the end, you’ll know how to create your first finished piece with confidence.
Why Choose Acrylics as a Beginner
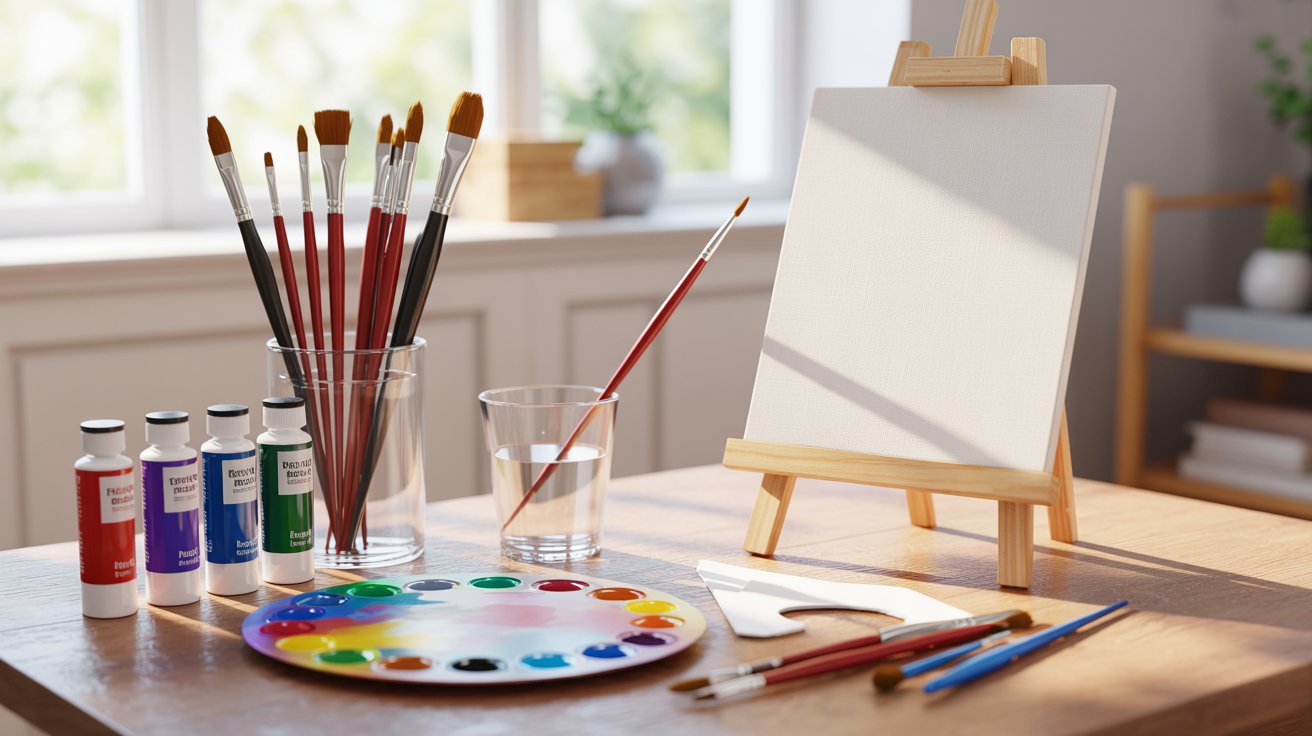
Acrylic paint dries quickly, which means less waiting between layers. You can finish a painting in one session instead of waiting days for oils to dry. Cleanup takes just soap and water, no harsh chemicals needed.
The cost stays low compared to oil paints. A basic set of acrylics and a few brushes won’t break your budget, making it easy to try painting without spending too much upfront.
You can paint on many surfaces. Canvas works great, but so do paper, wood panels, and even fabric. This flexibility lets you test different approaches and find what you like best.
Mistakes are easy to fix, too. Just let the paint dry and cover it with a new layer. You can change your mind, adjust colors, or start over without scraping anything off.
Needed Materials for Beginners

Start with three primary colors: red, yellow, and blue. Add white and black for shading. Secondary colors like green, orange, and purple save mixing time. Earth tones such as burnt umber and raw sienna work for shadows and natural subjects.
Get round brushes for details and flat brushes for coverage. A palette knife mixes colors and adds texture. Use a plastic or glass palette and keep water nearby for rinsing. Canvas panels are affordable and great for practice.
Acrylic mediums change paint behavior, but aren’t needed at first. Drop cloths protect your workspace since acrylic dries permanently.
Step-by-Step Acrylic Painting Process
Follow these steps to create your first acrylic painting from start to finish.
1. Preparing Your Surface
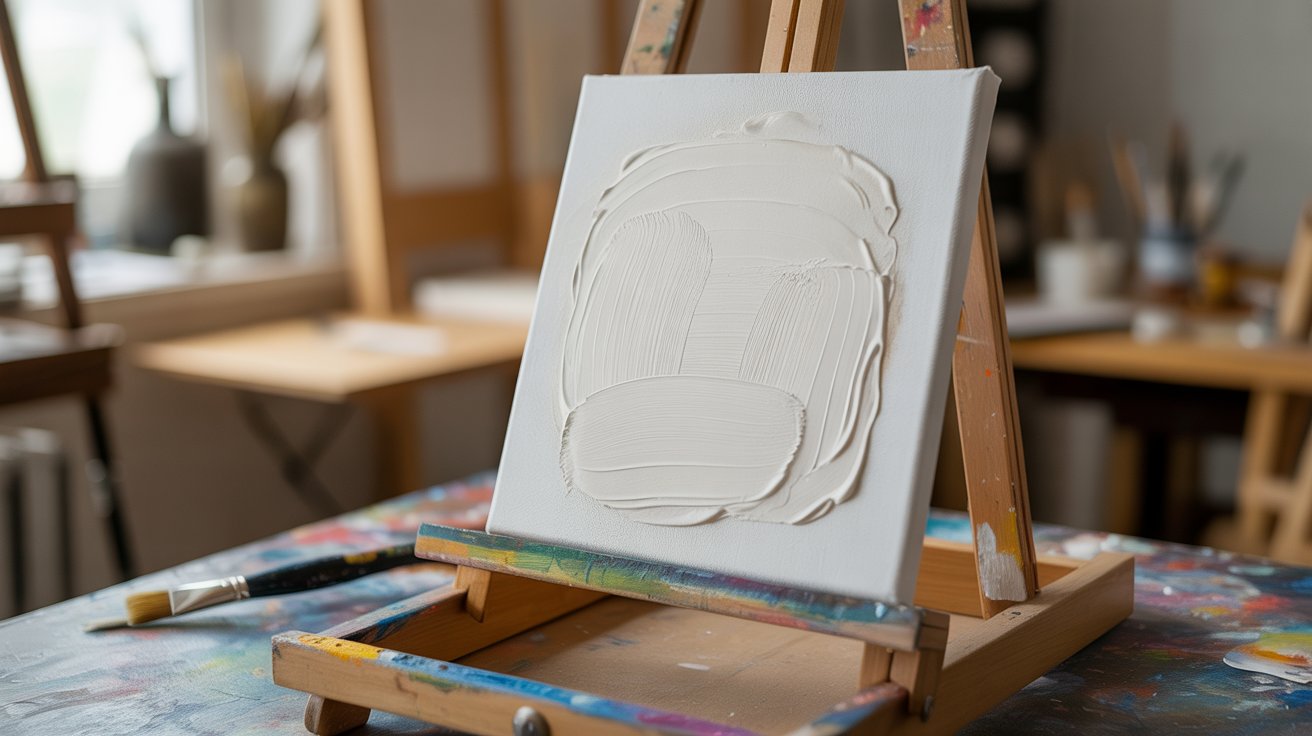
Apply gesso before painting. This white primer seals the canvas and gives the paint something to grip. Use one or two coats, letting each dry completely.
Paint a base color over the whole canvas if you want. This is called a ground. A tinted ground can set the mood and help colors look connected.
2. Planning Your Composition
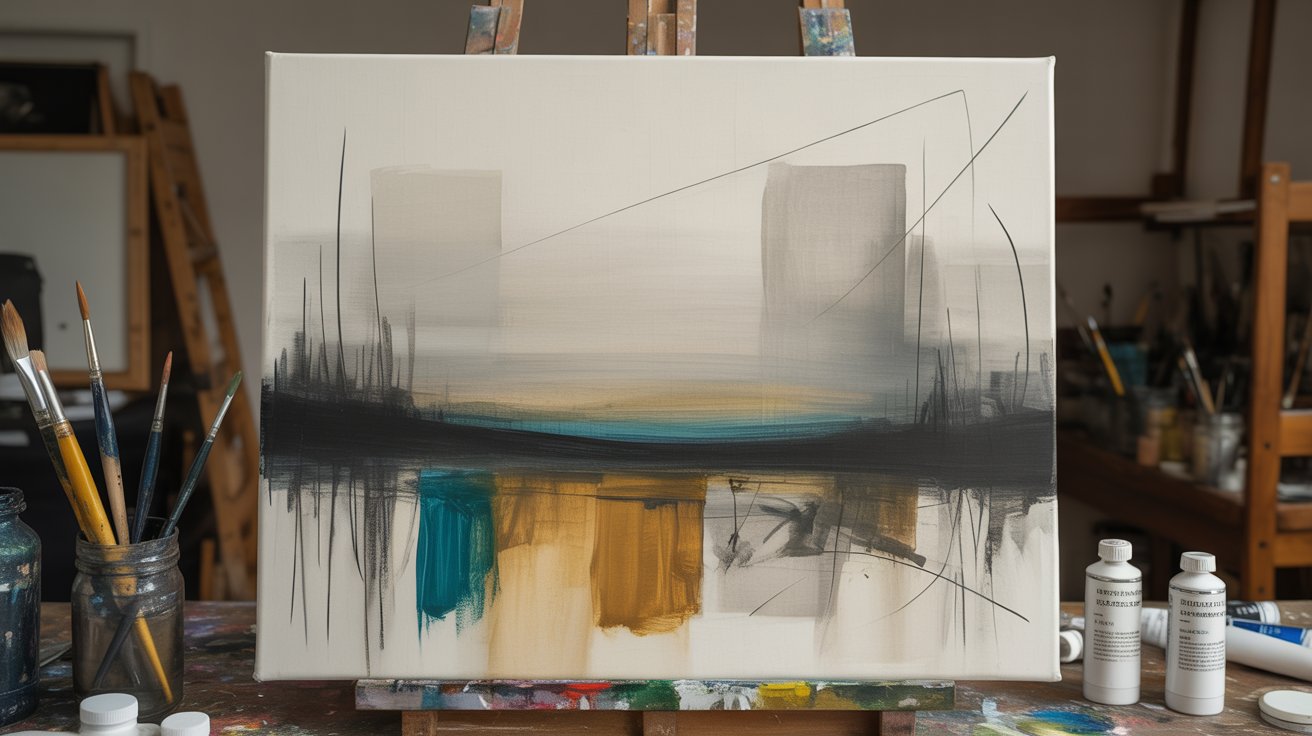
Choose a composition type. Central compositions put the main subject in the middle. Low horizon compositions show more sky. Abstract compositions follow shapes and colors instead of recognizable objects.
Make a rough sketch with thinned paint or charcoal. Don’t worry about details yet. Just map out where things go.
3. Layering and Adding Details
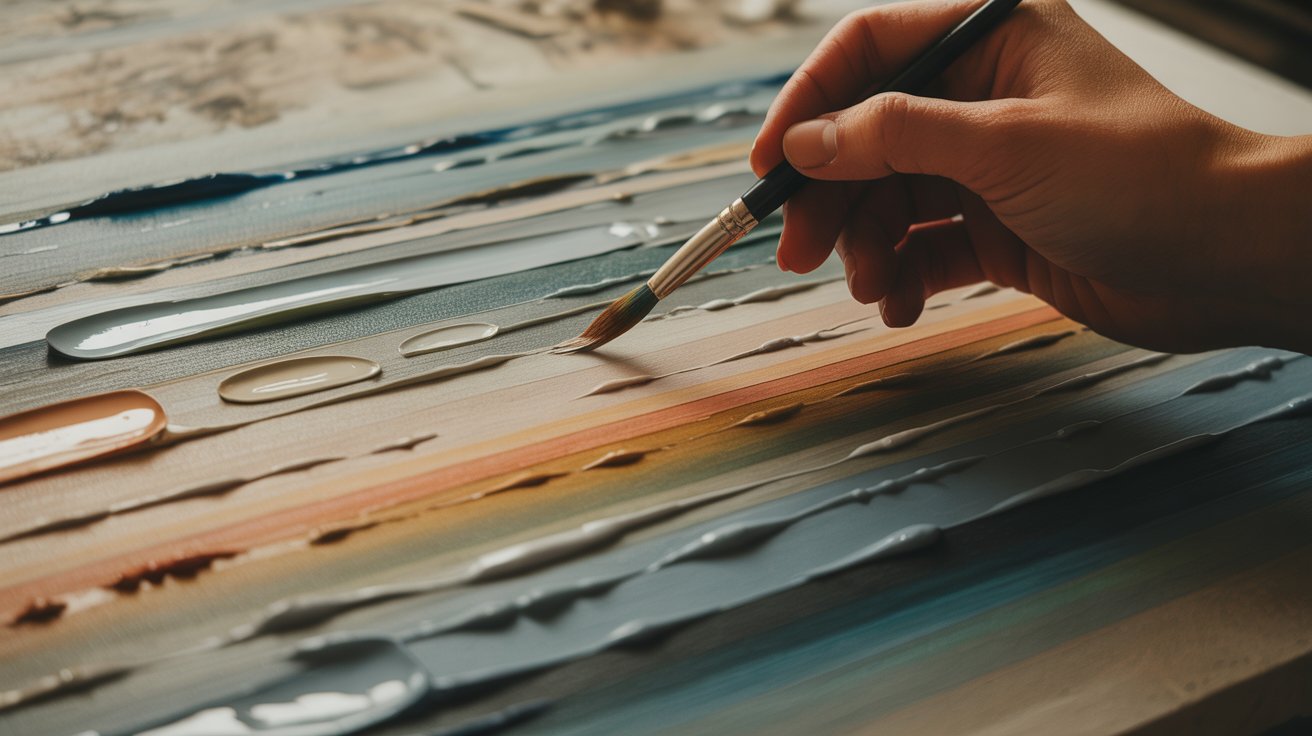
Start with thin layers. Water down your paint for the first coat. This dries fast and lets you adjust placement easily. Build up thickness gradually. Each new layer can be a bit thicker than the last.
This prevents cracking and gives you more control.
Focus on three things: contrast between light and dark, a clear focal point where the eye goes first, and balance across the whole canvas.
Try different mediums once you’re comfortable. Gel medium adds texture. Matte medium dulls the shine. These tools expand what you can do.
4. Checking Progress
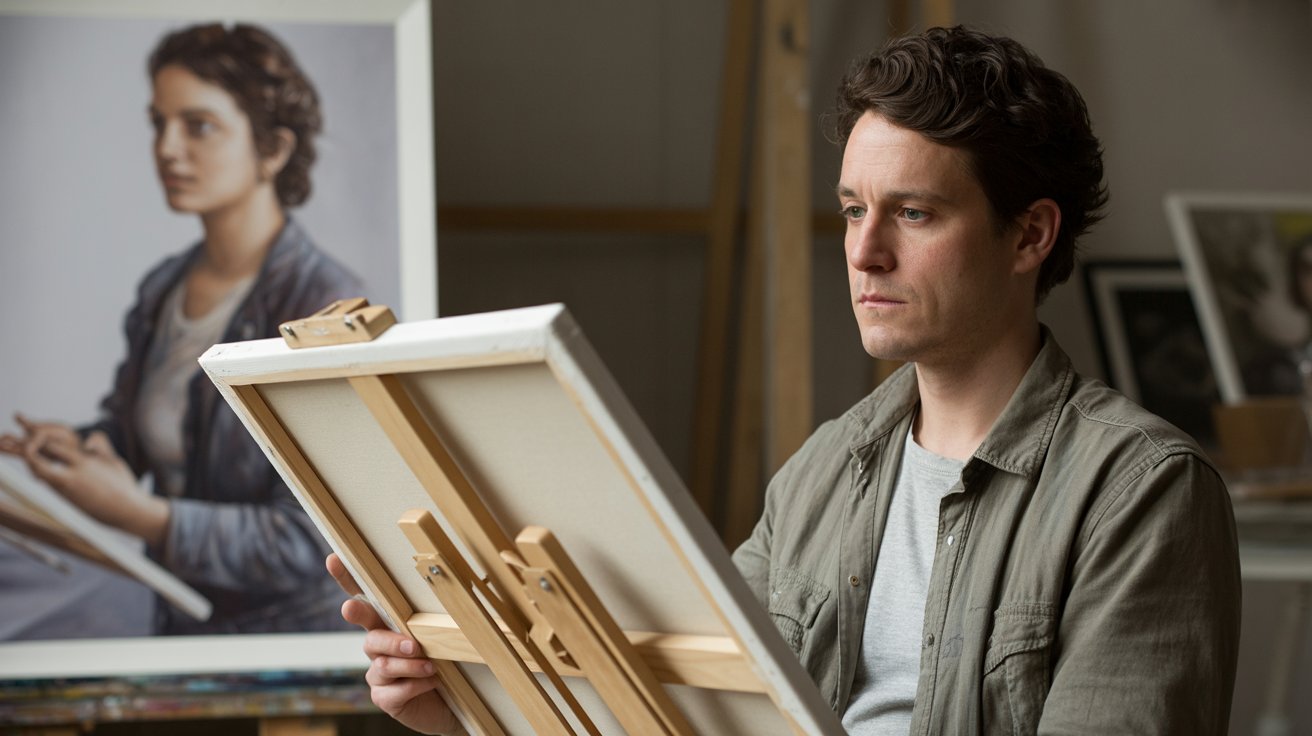
Flip your canvas upside down or sideways. This tricks your brain into seeing problems you missed. Shapes that seemed fine might look off-balance when rotated. Use a mirror to view your painting in reverse.
Fresh eyes catch mistakes. You can also take a photo and look at it on your phone. Ask someone else what they see. Another person notices different things than you do.
Acrylic Painting Techniques for Beginners
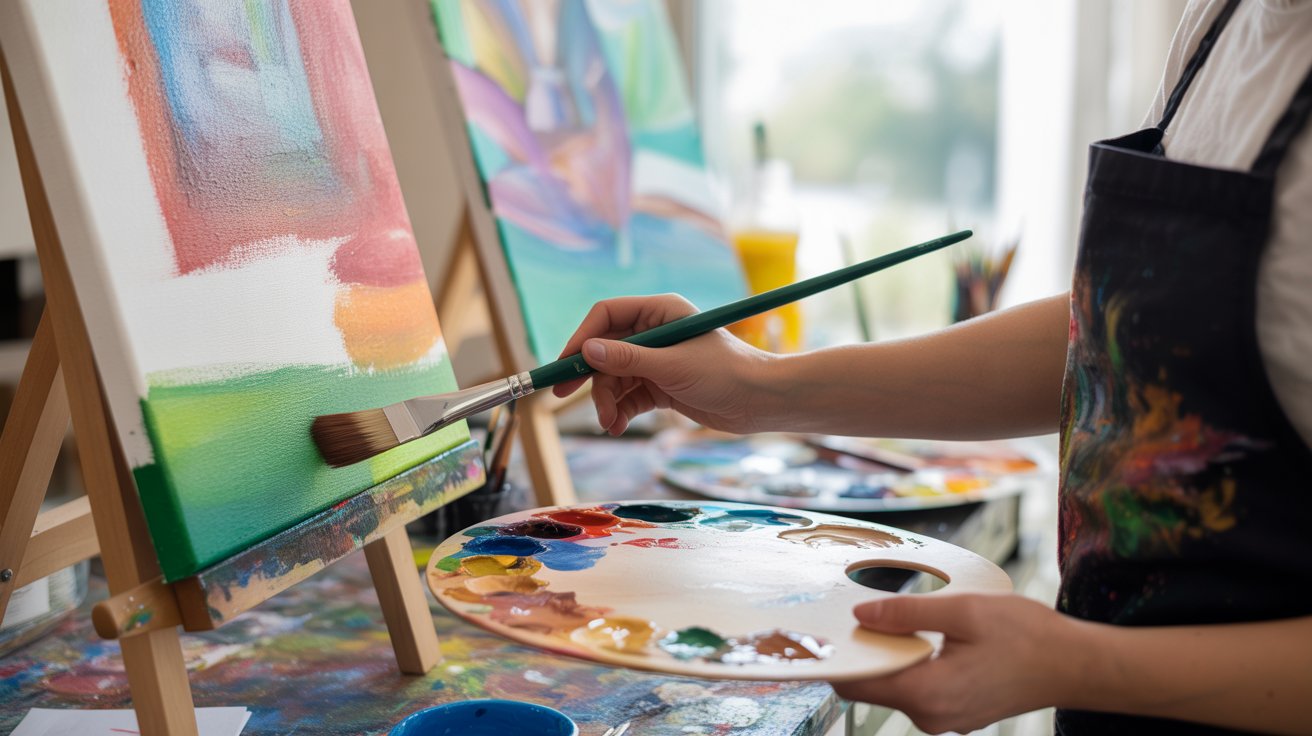
These basic techniques will help you create different effects and textures in your paintings.
1. Brush Techniques
Dry brushing uses very little paint to create texture and let the color underneath show through. Wet brush on dry canvas is the standard approach.
Wet-on-wet painting adds new paint before the first layer dries, creating soft edges. Stippling uses brush tips to make dots that build texture.
2. Palette Knife & Impasto
Load your palette knife with thick paint and spread or dab it on. The ridges catch light in interesting ways. Heavy body paint stays thick on its own. Regular paint needs a gel medium to hold peaks.
3. Glazing and Color Effects
Glazing medium lets you layer transparent color. Each glaze changes the color underneath, creating depth. Water thins paint but weakens it. Use a medium for thinned paint that still has a body.
4. Pouring, Drips, and Splatters
Thin your paint with water or pouring medium and pour it onto the canvas. Drips happen when gravity pulls loaded paint down.
Splatters come from flicking a loaded brush. These techniques add movement and energy.
Finishing Your Painting
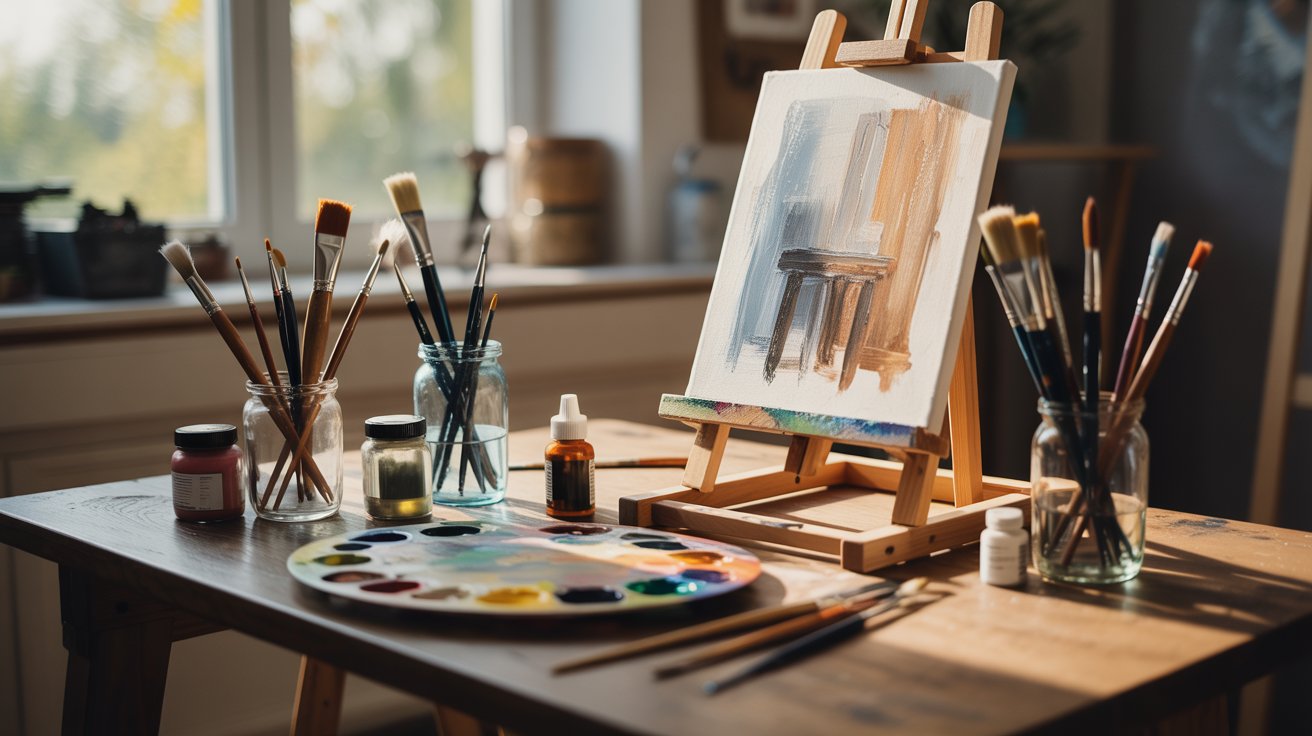
The final steps protect your work and help you know when to stop painting.
1. Sealing and Varnishing
Varnish protects your painting from dust and damage. Choose matte for no shine, satin for a slight glow, or gloss for a wet look.
Spray varnish goes on evenly and dries fast. Hold the can about 12 inches away and use light coats. Brush-on varnish gives you more control but can show brushstrokes.
An isolation coat goes between the paint and varnish. This optional step lets you remove varnish later without harming the paint underneath.
2. Knowing When It’s Done
Look for balance across the whole canvas. No area should feel too heavy or empty unless that’s your intent.
Check the contrast. Strong darks and lights create visual interest. Paintings with only middle tones often feel flat.
Find the focal point. Your eye should land somewhere specific first. If everything competes for attention, the painting feels scattered.
Trust your gut. When you stop seeing things to fix, it’s probably done. Overworking a painting can make it worse.
Tips for Beginner Success
These simple habits will help you grow as a painter and build skills faster.
- Use fewer colors at first. Three to five colors plus white and black teach you more than twenty colors. You’ll learn how to mix and how colors interact.
- Try new things without worrying about the result. Some experiments fail, but that’s how you learn what works.
- Paint over mistakes instead of starting fresh. Layers are your friend. What looks wrong now might become part of something better.
- Paint often, even for short sessions. Fifteen minutes every day builds skills faster than one long session per month. Regular practice makes the brush feel natural in your hand.
Conclusion
I still remember my first acrylic painting. The colors looked muddy, and I almost quit. But I kept going, and each canvas taught me something new. That’s what acrylics do best—they forgive mistakes and let you keep building.
Start small. Paint an apple, a simple landscape, or just color blocks. What matters is that you start. Get your brushes dirty, mix some colors, and see what happens. The only way to get better is to paint.
Share your first painting in the comments below. I’d love to see what you create.
Frequently Asked Questions
What type of acrylic paint should beginners buy?
Student-grade acrylics work fine for learning. Brands like Liquitex Basics or Artist’s Loft give good color at a lower price.
How do I keep acrylic paint from drying on my palette?
Mist your palette with water from a spray bottle while you work. Cover unused paint with plastic wrap during breaks.
Can I mix acrylic paint with water?
Yes, water thins acrylic paint for washes and lighter layers. Too much water weakens the paint’s grip on canvas.
How long does acrylic paint take to dry?
Thin layers dry in 10 to 20 minutes. Thick applications can take an hour or more, depending on temperature and humidity.
Do I need to prime my canvas before painting?
Most canvas comes pre-primed with gesso. If your canvas isn’t primed, add one or two coats of gesso first.
