


You do not need a yard to grow fresh herbs at home. A wall and a clear plan can be enough to get started. Many vertical gardens fail because they focus on looks instead of function, which leads to frustration after all the effort.
I have seen wall herb gardens struggle for simple reasons. Water collects and harms the roots, weak frames fall apart, or the setup sits in shade and produces very little. These small mistakes can stop your herbs from growing well.
What makes a vertical herb garden succeed is proper drainage, sturdy materials, and good sun exposure. I am sharing five do-it-yourself designs that have worked for years.
They fit small spaces, cost less than store-bought systems, and come with clear steps and honest tips to help you grow herbs without needing ground space.
Why Choose a Vertical Herb Garden?
Vertical herb gardens make the most of unused wall space and are perfect for small balconies, patios, or sunny walls. You can grow many herbs in the footprint of a single pot, making them ideal for renters and tight spaces.
Growing vertically often improves plant health. Better drainage prevents root rot, airflow reduces disease, and elevation keeps pests away. Some setups are mobile, so you can move your herbs to follow the sun.
Having herbs at eye level makes cooking easier and more enjoyable. You see what you have, harvest without bending, and use herbs more often. DIY versions save money and let you customize size, materials, and style to fit your space.
Step-by-Step Instructions to Create Your Own Vertical Herb Gardens
These are three designs I’ve either built or watched work successfully for years.
Each solves a different space problem, from hiding ugly utility areas to maximizing sun exposure to creating artistic displays on blank walls.
Step 1: Cut and Curve Side Boards
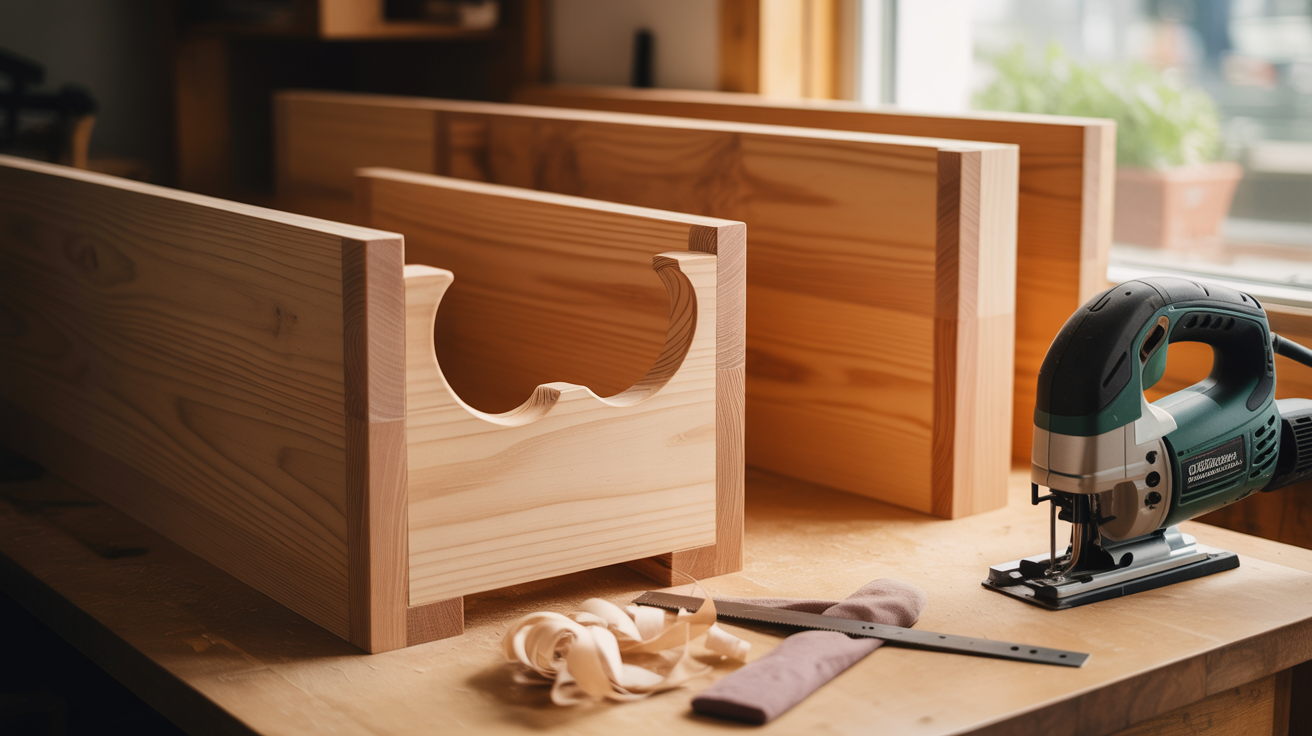
Cut 2 side pieces at 50 inches from 1×8 cedar boards. Using a template, draw a decorative curve on the top front of each board.
Cut the curve with your jigsaw for a finished appearance. Sand the edges smooth.
Step 2: Mark Shelf Placement
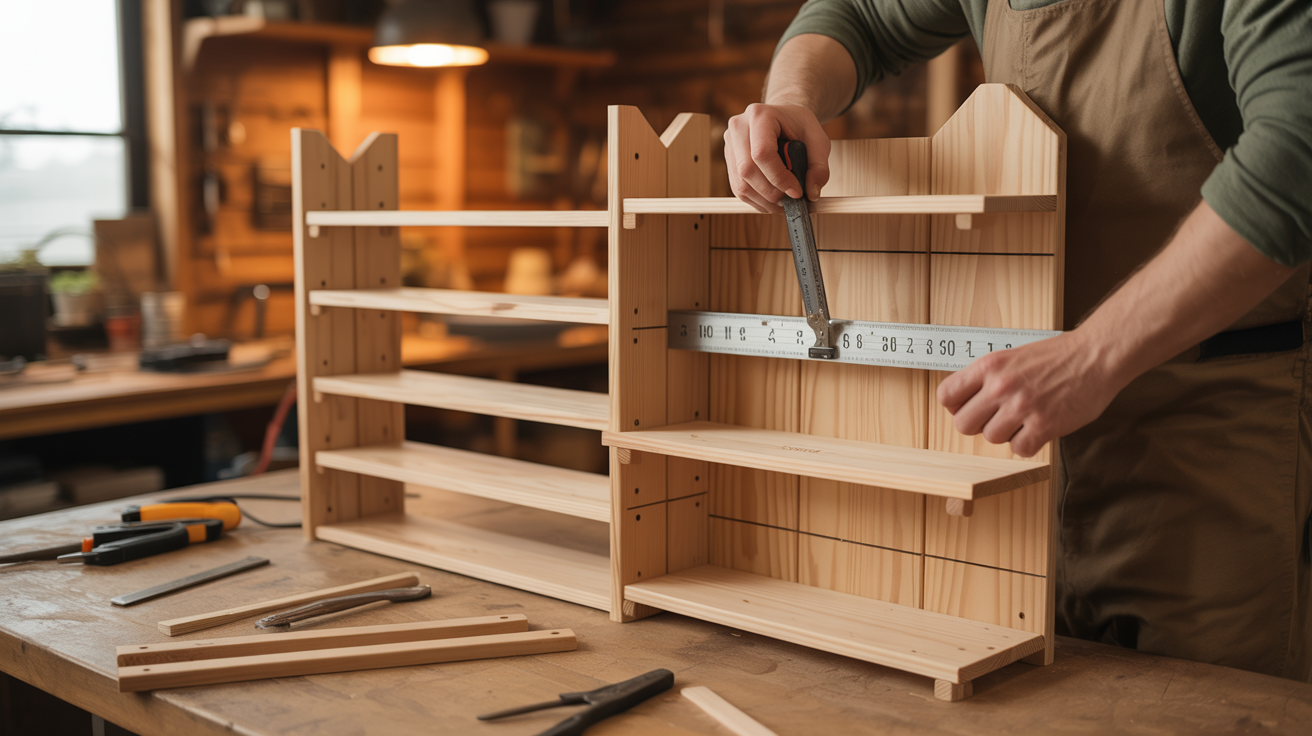
Mark shelf placement on both sideboards, starting the bottom shelf 5.5 inches from the base. Angle this shelf 60 degrees back for proper drainage and stability.
Place each additional shelf 8 inches above the previous one until you have six total. Use a speed square to draw clean, angled lines by aligning the pivot at the front edge and rotating to 30 degrees before marking.
Step 3: Prepare and Attach Shelves to First Side
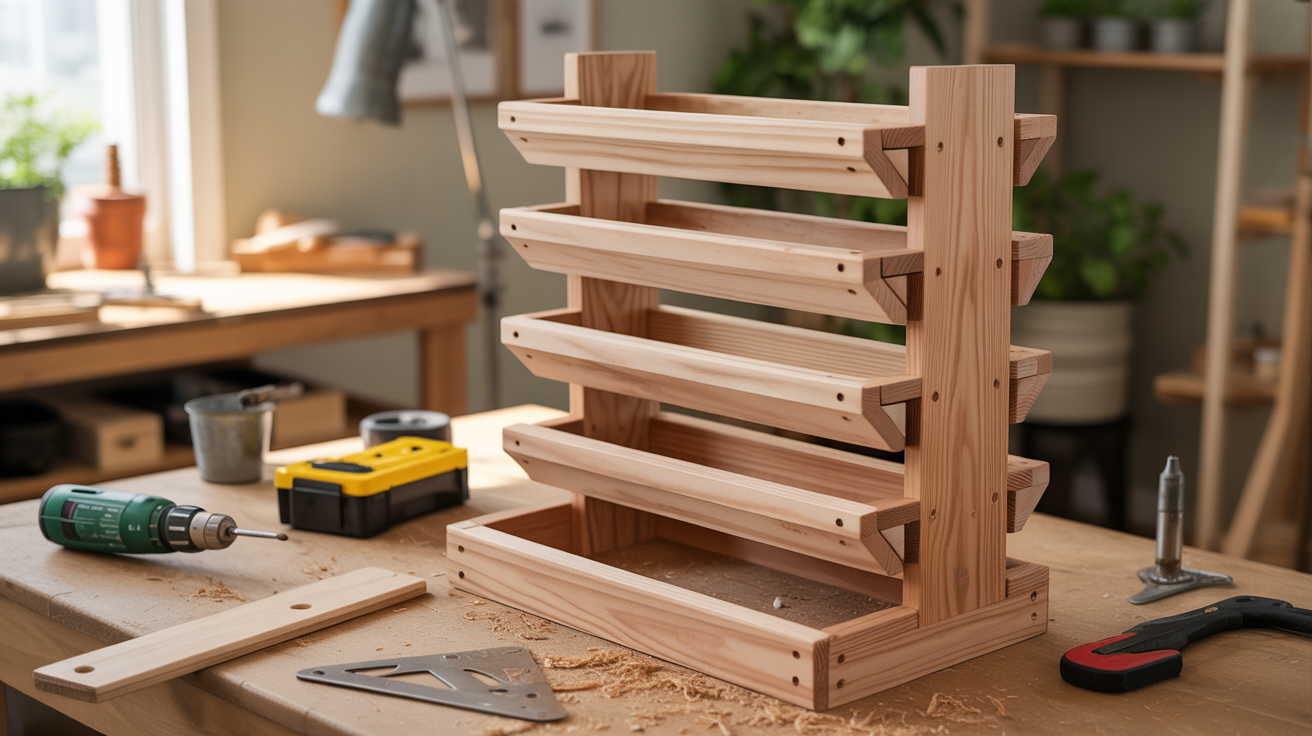
Cut six shelves at 32 inches from 1×8 boards and drill three pocket holes into each end. Apply wood glue to the shelf ends before installation.
Align the bottom of each shelf with the marked placement lines and secure using 1.25-inch pocket hole screws. Keep pocket holes facing up so they stay hidden under soil, and install shelves starting from the bottom and working upward.
Step 4: Attach Second Side
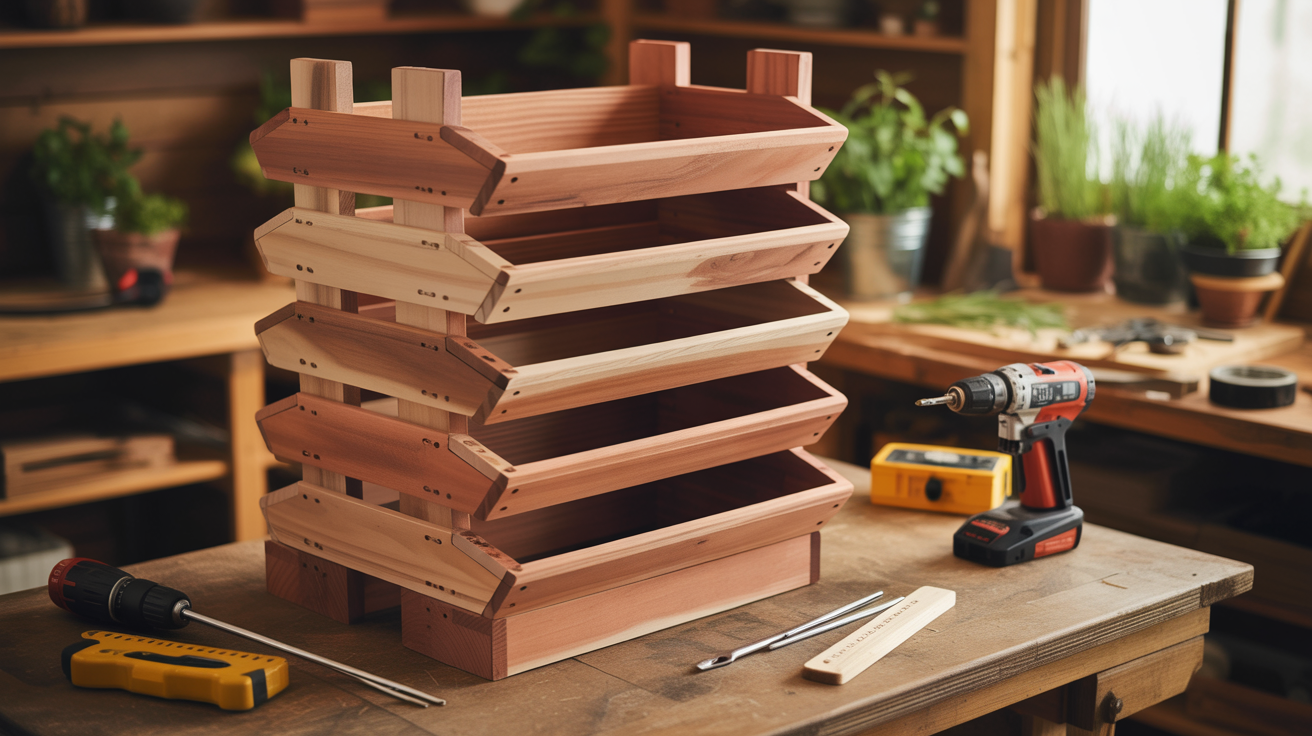
Apply wood glue to the exposed shelf ends. Attach the second side board to the shelf tops using pocket hole screws.
Carefully align with the placement lines you marked earlier. Ensure the structure is square and stable. Check that all shelves angle properly.
Step 5: Install Back Boards
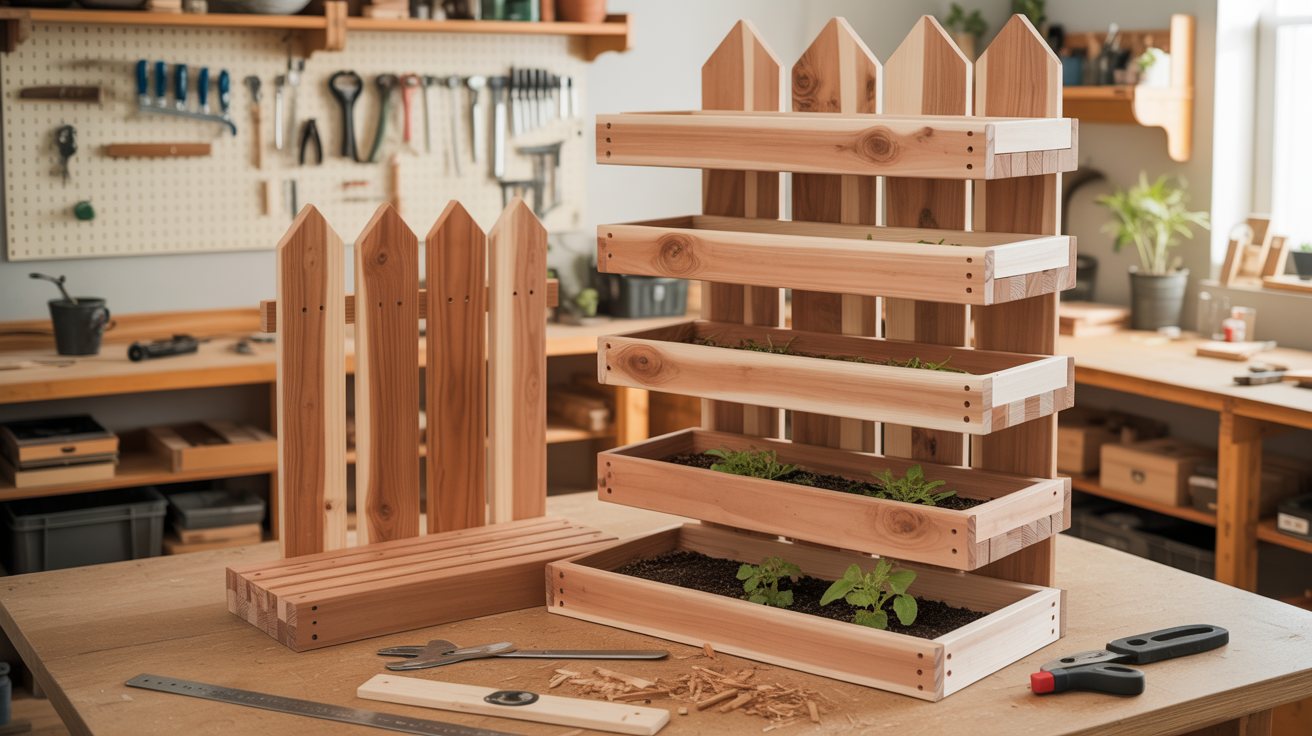
Measure the finished width of your assembled herb garden, which should be about 33.5 inches. Cut cedar fence pickets to match this exact measurement.
Attach the pickets to the back using wood glue and finish nails or staples, starting at the top and working downward. Leave a 1/2 inch gap at the bottom back to allow drainage and prevent water buildup and root rot.
Step 6: Add Decorative Base Trim
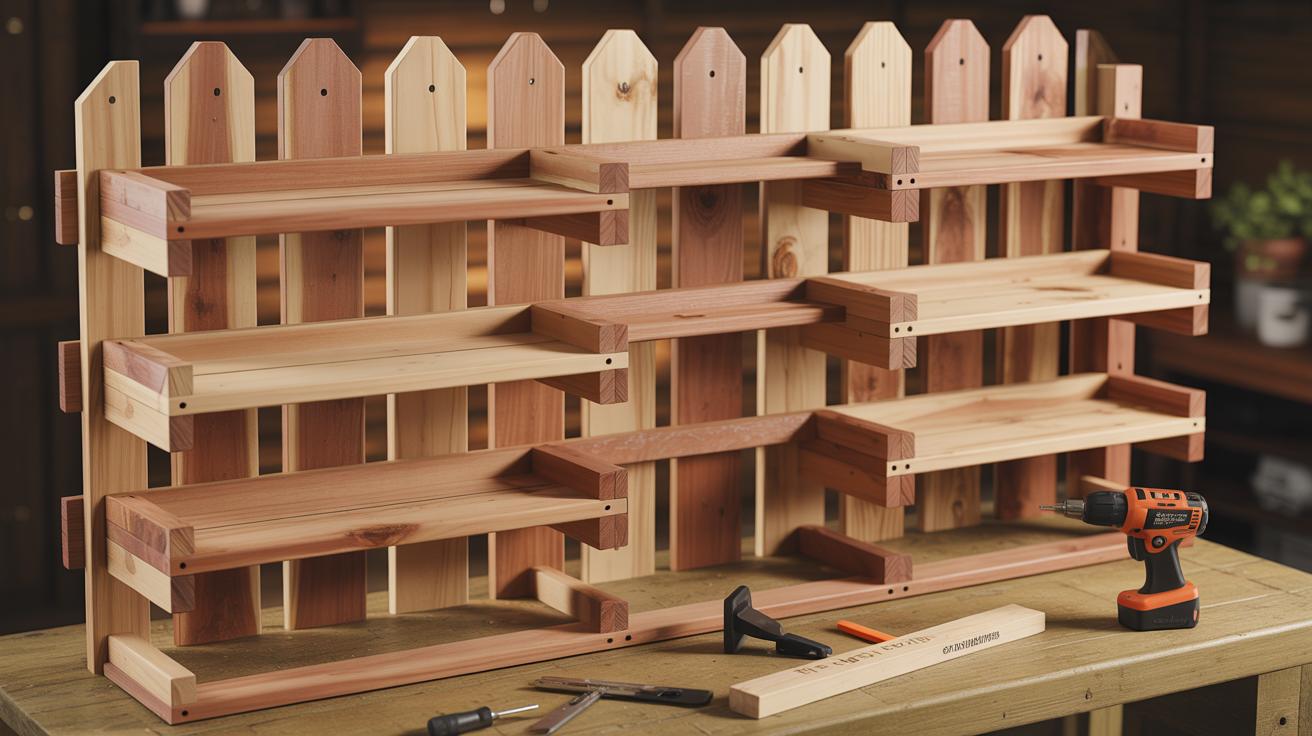
Measure the width of your herb garden. Cut a 1×6 base piece with 45-degree angles on each end.
Attach to the front, hiding the open area under the bottom shelf. Measure and cut side pieces with 45-degree angles on the front. This creates mitered corners for a professional finish.
Step 7: Install Drainage System
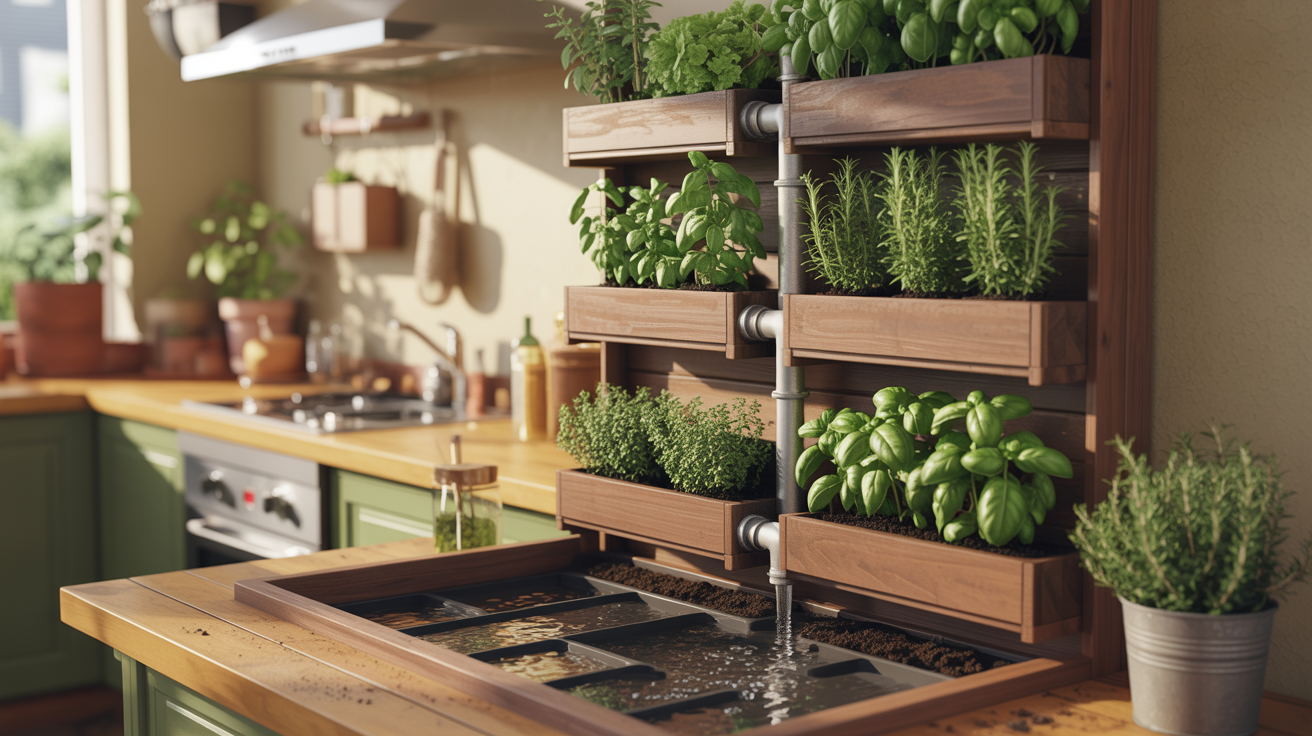
Cut landscaping fabric into 11×36-inch pieces, one per shelf. Use fabric with a high water flow rating.
Staple fabric lightly to the inside of each shelf. The fabric retains soil while allowing water to drain through that 1/2-inch back gap. This step is essential for preventing soil loss while maintaining drainage.
Step 8: Optional Drip Irrigation Installation
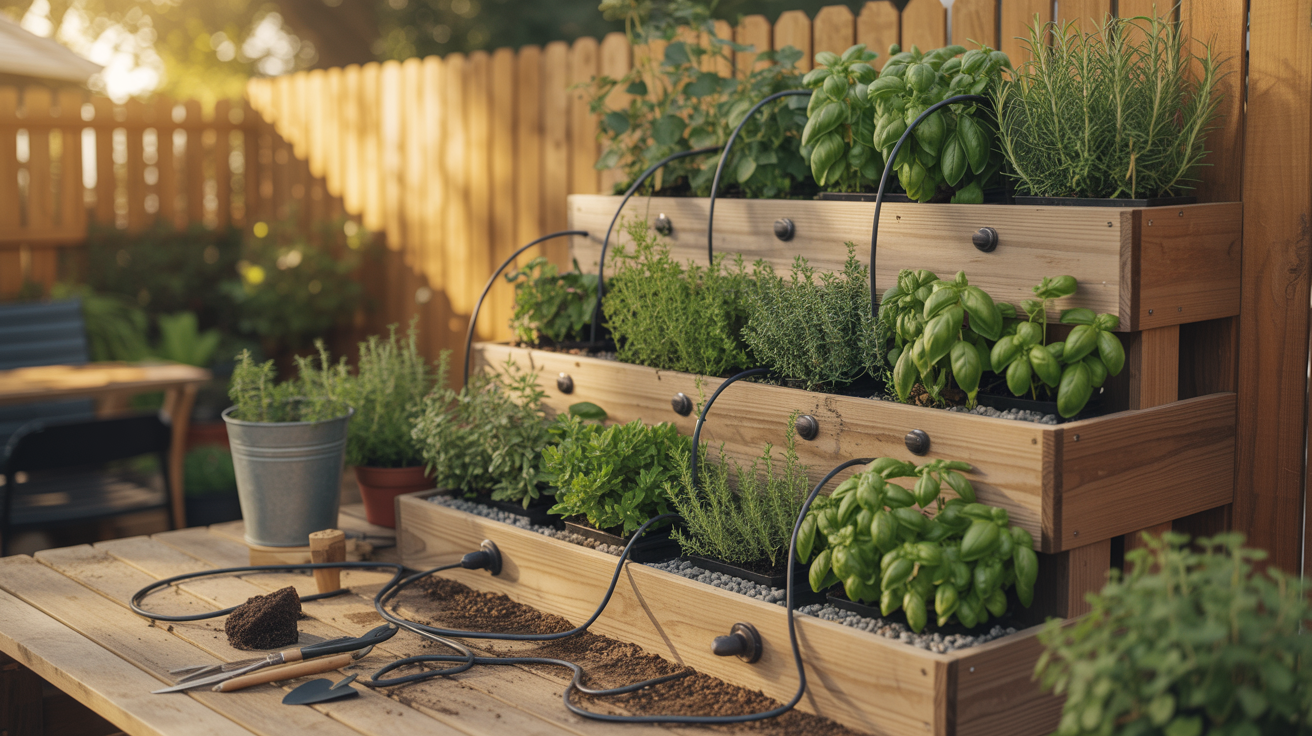
Run a drip irrigation line along the top of your garden. Install individual drippers for each shelf.
Connect to a timer for automated watering. Particularly useful for hot climates or when you’re on vacation. Detailed instructions come with most drip systems.
Step 9: Fill and Plant
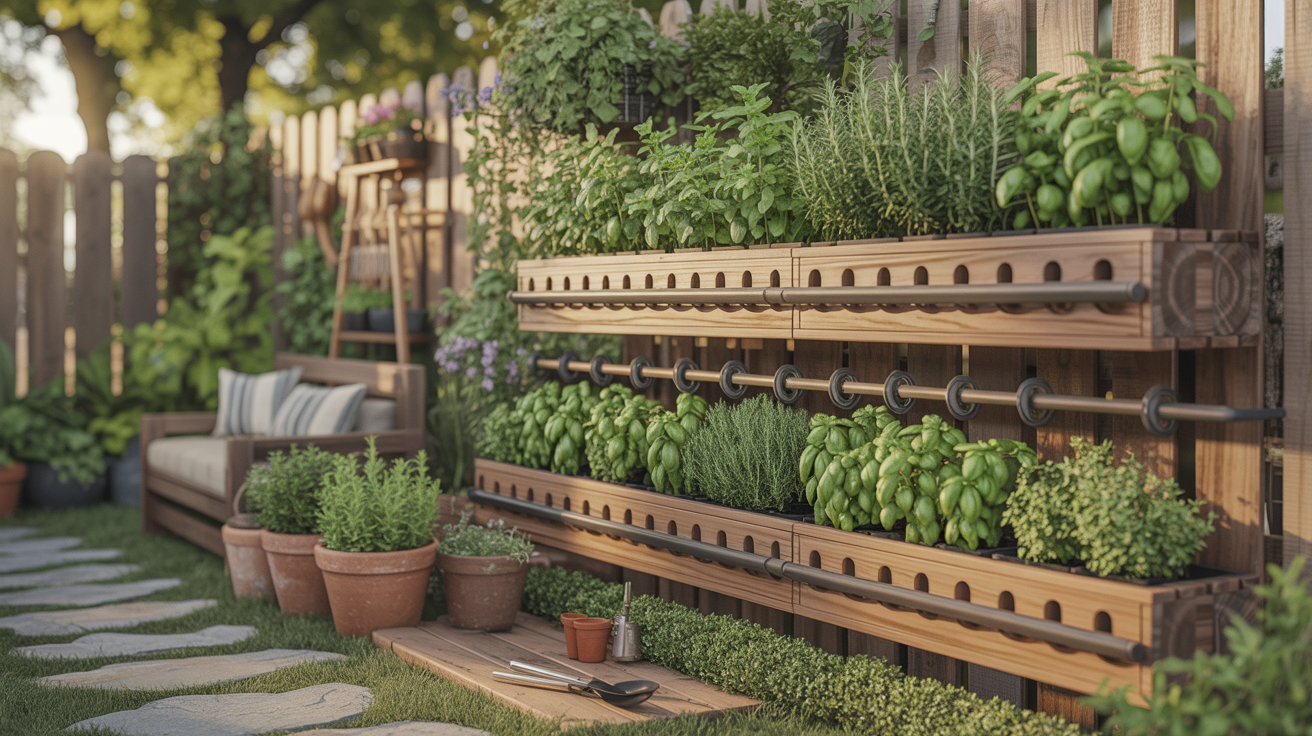
Fill shelves with potting soil and plant herbs according to the sun’s needs, then water well. Top shelves suit heat-loving herbs, middle shelves work for most culinary herbs, and bottom shelves handle shade-tolerant ones.
Lean or mount the garden securely in a spot with six to eight hours of sun. The angled cedar design drains well, looks polished, and lasts for years with little maintenance.
Complete Building Instructions for 5 Vertical Herb Garden Designs
Here are five proven designs with complete step-by-step instructions. From simple no-build options to elaborate cedar constructions, each one actually grows herbs successfully.
Project 1: Rolling Pallet Vertical Herb Garden (Mobile Privacy Screen)
This mobile pallet garden works as both a vertical herb planter and a privacy screen for hiding trash cans or A C units. Locking casters let you roll it for access, then secure it in place, instantly upgrading unused patio space.
Built from pallets and basic lumber, it holds multiple planter boxes for herbs like basil, thyme, and rosemary. For about $50, you get a movable garden that improves privacy, maximizes space, and puts fresh herbs within easy reach.
Project 2: Utility Rack Rolling Herb Garden Cart
This rolling utility cart garden is perfect if you want a fast setup with zero building skills. Line the baskets, add soil, and plant your herbs in under an hour. The wheels make it easy to follow the sun or move plants inside during frost or heavy rain.
Wire carts with liners hold multiple tiers of herbs while staying flexible for small or awkward spaces. You can reposition it anytime, test new plants, and harvest without bending. It works especially well for renters or anyone who wants a portable, low-effort herb garden.
Project 3: Cedar Wall-Mounted Vertical Herb Garden with Built-In Irrigation
This cedar wall garden is the most durable option and improves in appearance over time. Cedar naturally resists weather and insects, aging into a silvery finish with no sealing or yearly upkeep needed. You can also add drip irrigation for easy, low-effort watering.
The design stands about 50 inches tall and 33.5 inches wide with six angled shelves for proper drainage and sun. Each shelf is spaced eight inches apart and holds multiple herbs, giving you room for twelve to eighteen plants in a compact footprint.
Project 4: Vintage Ladder Vertical Herb Garden
This ladder herb garden uses minimal floor space while adding charming vintage style to fences, sheds, or siding. Metal buckets hang from ladder rungs with S-hooks at staggered heights, creating visual interest while keeping herbs accessible and easy to harvest.
You can use an authentic antique ladder or build a simple replica for $40-90 total. The design works beautifully for trailing herbs like thyme on top and upright varieties like basil lower down. It’s lightweight, easy to move, and can come indoors during winter without hassle.
Project 5: Living Picture Frame Vertical Herb Garden
This picture frame garden transforms blank walls into functional art using the smallest possible footprint.
Old frames get new life with wire mesh backing, fabric liner, and compact herbs planted directly into the frame. You can create a gallery wall effect with multiple frames in coordinating colors.
Source frames from thrift stores for $5-15 each, making this one of the cheapest vertical garden options. Small herbs like creeping thyme, chives, and compact basil work best.
The frames need a couple of weeks to establish roots while lying flat, then mount vertically for a conversation-starting display that’s perfect for renters.
Important Tips for Vertical Herb Garden Success
These tips separate thriving gardens from failed experiments. Pay attention to the basics.
- Ensure proper drainage with holes, gaps, and landscape fabric to prevent root rot and disease. Angled shelves help excess water flow away naturally.
- Choose compact, shallow-rooted herbs like basil, thyme, oregano, chives, parsley, and cilantro. Give aggressive spreaders their own space.
- Use quality potting soil and fertilize more often since containers lose nutrients faster. Apply liquid fertilizer every two to three weeks during the growing season.
- Water consistently, checking the soil daily in hot weather, and water at the soil level in the morning. Place gardens where herbs get six to eight hours of sun.
- Harvest and prune regularly to boost growth and prevent legginess. Prepare for winter by moving tender herbs indoors and protecting or storing planters.
Troubleshooting Common Vertical Herb Garden Problems
Things go wrong sometimes. Here’s how to fix the most common issues.
- Plants drying out too fast show wilting and crispy edges. Water more often, add moisture-retaining soil additives, mulch the surface, or shift to light shade.
- Poor drainage causes yellow leaves, mushy stems, and fungus gnats. Clear drainage holes, improve soil with perlite or sand, and reduce watering.
- Uneven growth between shelves signals a light or moisture imbalance. Rotate plants, match herbs to sun levels, and adjust watering by shelf.
- Structural instability shows as leaning or wobbling. Level the base, balance the weight, add supports, or secure firmly to a wall.
- Weather damage appears as warping or rot. Use durable wood, seal annually, improve airflow, and protect during extreme conditions.
Conclusion
These do-it-yourself vertical herb garden designs give practical ways to grow fresh herbs without any ground space. From a simple ladder setup to a cedar wall, each option focuses on function first. The plans are made for real homes, small spaces, and everyday use.
The difference between a garden that struggles and one that grows well comes down to basics. Good drainage protects roots, sturdy materials hold up over time, and proper sunlight supports healthy growth. When these factors are in place, herbs grow reliably and are ready to use.
You can get started with confidence by choosing a design that fits your space, budget, and comfort level. Start with one project and see how it performs before adding more. Share your results and pass these ideas to someone who wants fresh herbs but lacks yard space.
Frequently Asked Questions
How much does it cost to build a DIY vertical herb garden?
DIY vertical herb gardens cost $50-$150, depending on design complexity and materials. Pallet gardens using recycled wood run around $50, while cedar wall gardens with optional irrigation cost $90-$200. Ladder gardens range from $40-$90. All options are cheaper than commercial systems costing $200+, and you can customize them to fit your exact space.
What materials do I need to build a vertical herb garden?
Basic materials include wood (pallets, cedar boards, or dimensional lumber), exterior wood screws, landscape fabric, potting soil, and drainage components. Specific designs may need casters for mobility, corner brackets for mounting planters, waterproof wood sealer, or coco liners. Most projects require standard tools: drill, jigsaw, clamps, and staple gun.
How often do vertical herb gardens need watering?
Vertical herb gardens dry out 2-3 times faster than ground plantings and typically need water 1-2 times daily during peak summer. Check soil daily in hot weather—water when the top inch feels dry. Morning watering is best. Consider drip irrigation systems for consistent moisture and less daily maintenance.
What are the best herbs to grow in a vertical garden?
Compact herbs with shallow roots work best, basil, thyme, oregano, parsley, chives, and cilantro. Give mint and sage their own individual planters since they spread aggressively. Avoid tall herbs like dill or fennel unless you have deep planters. Choose varieties suited to your climate and available sunlight for best results.
Do vertical herb gardens work in small spaces like balconies?
Yes, vertical herb gardens are specifically designed for small spaces like balconies, patios, and urban areas with no ground space. They maximize unused wall space while keeping a minimal footprint. Mobile designs on casters can be repositioned to follow the sun or moved indoors during bad weather, making them perfect for renters.
