

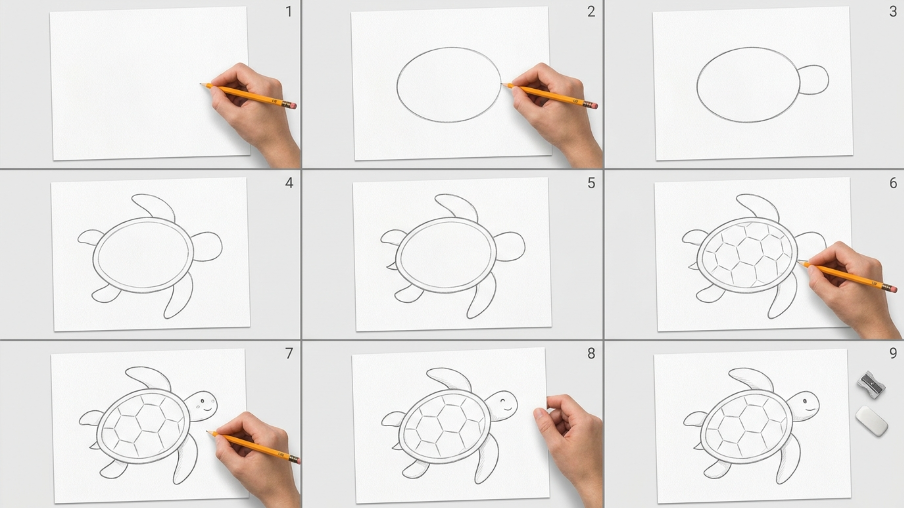
If you’ve been searching for how to draw a sea turtle, you’re in the right place. This guide will help you create a simple and clear drawing, even if you are a complete beginner.
I’ll walk you through each step so you don’t feel stuck or confused.
In this article, you’ll learn how to break a sea turtle into easy shapes, build the shell, add flippers, and finish with details and color.
I’ll also share simple tips to make your drawing look clean and balanced. This guide is made for easy learning and steady progress.
I’ve broken down complex drawings into beginner-friendly steps based on years of teaching simple sketch methods.
Understanding the Basic Sea Turtle Shape
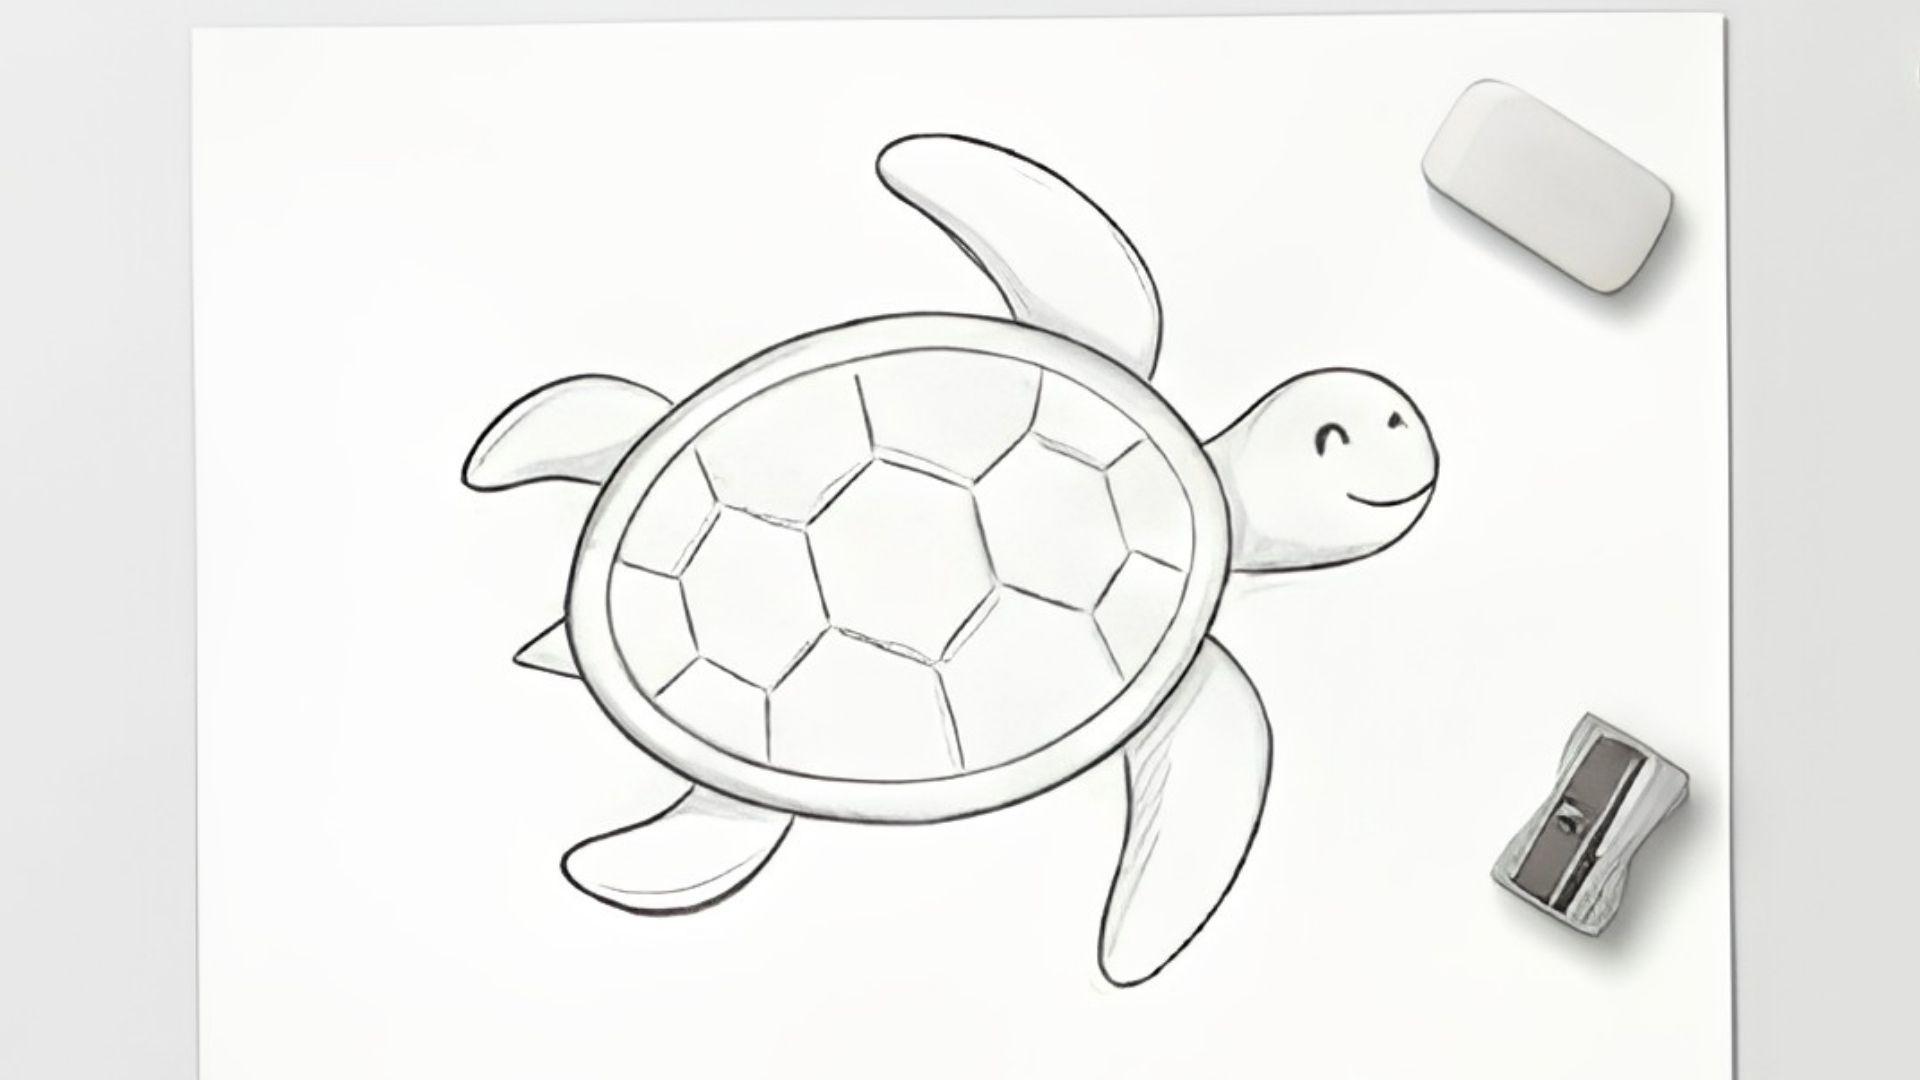
Before you start drawing, it helps to understand the simple structure of a sea turtle. Most of the body can be broken into easy shapes.
The shell is usually an oval, while the head can be drawn as a small circle or rounded shape. The flippers are also based on curved circles or long oval forms.
When you simplify the turtle this way, it becomes much easier to draw step by step without feeling overwhelmed.
Breaking the turtle into basic forms is important because it helps you keep proportions right and build confidence. Start with light sketching, and don’t worry about details at first.
Focus on shapes, spacing, and flow. This makes your drawing clean, balanced, and easier to improve later.
Materials You’ll Need
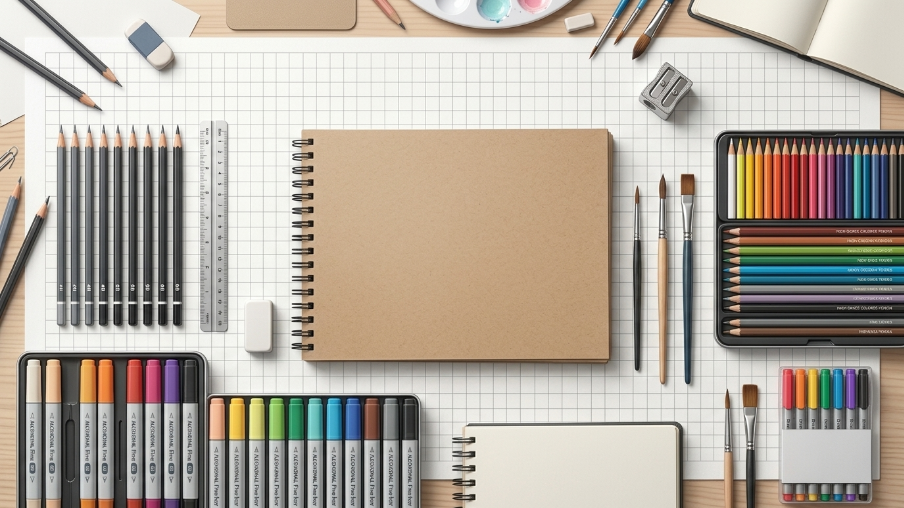
Before you start drawing, gather these simple tools so you can follow the steps easily without interruptions.
- Pencil and eraser
- Paper or sketchbook
- Fine liner or pen (optional)
- Colored pencils or markers (for coloring)
Step-by-Step Guide to Drawing a Sea Turtle
Now let’s put everything together and draw a sea turtle step by step using simple shapes. Follow each stage slowly, and don’t worry about making it perfect on the first try.
Step 1: Draw the Shell Shape
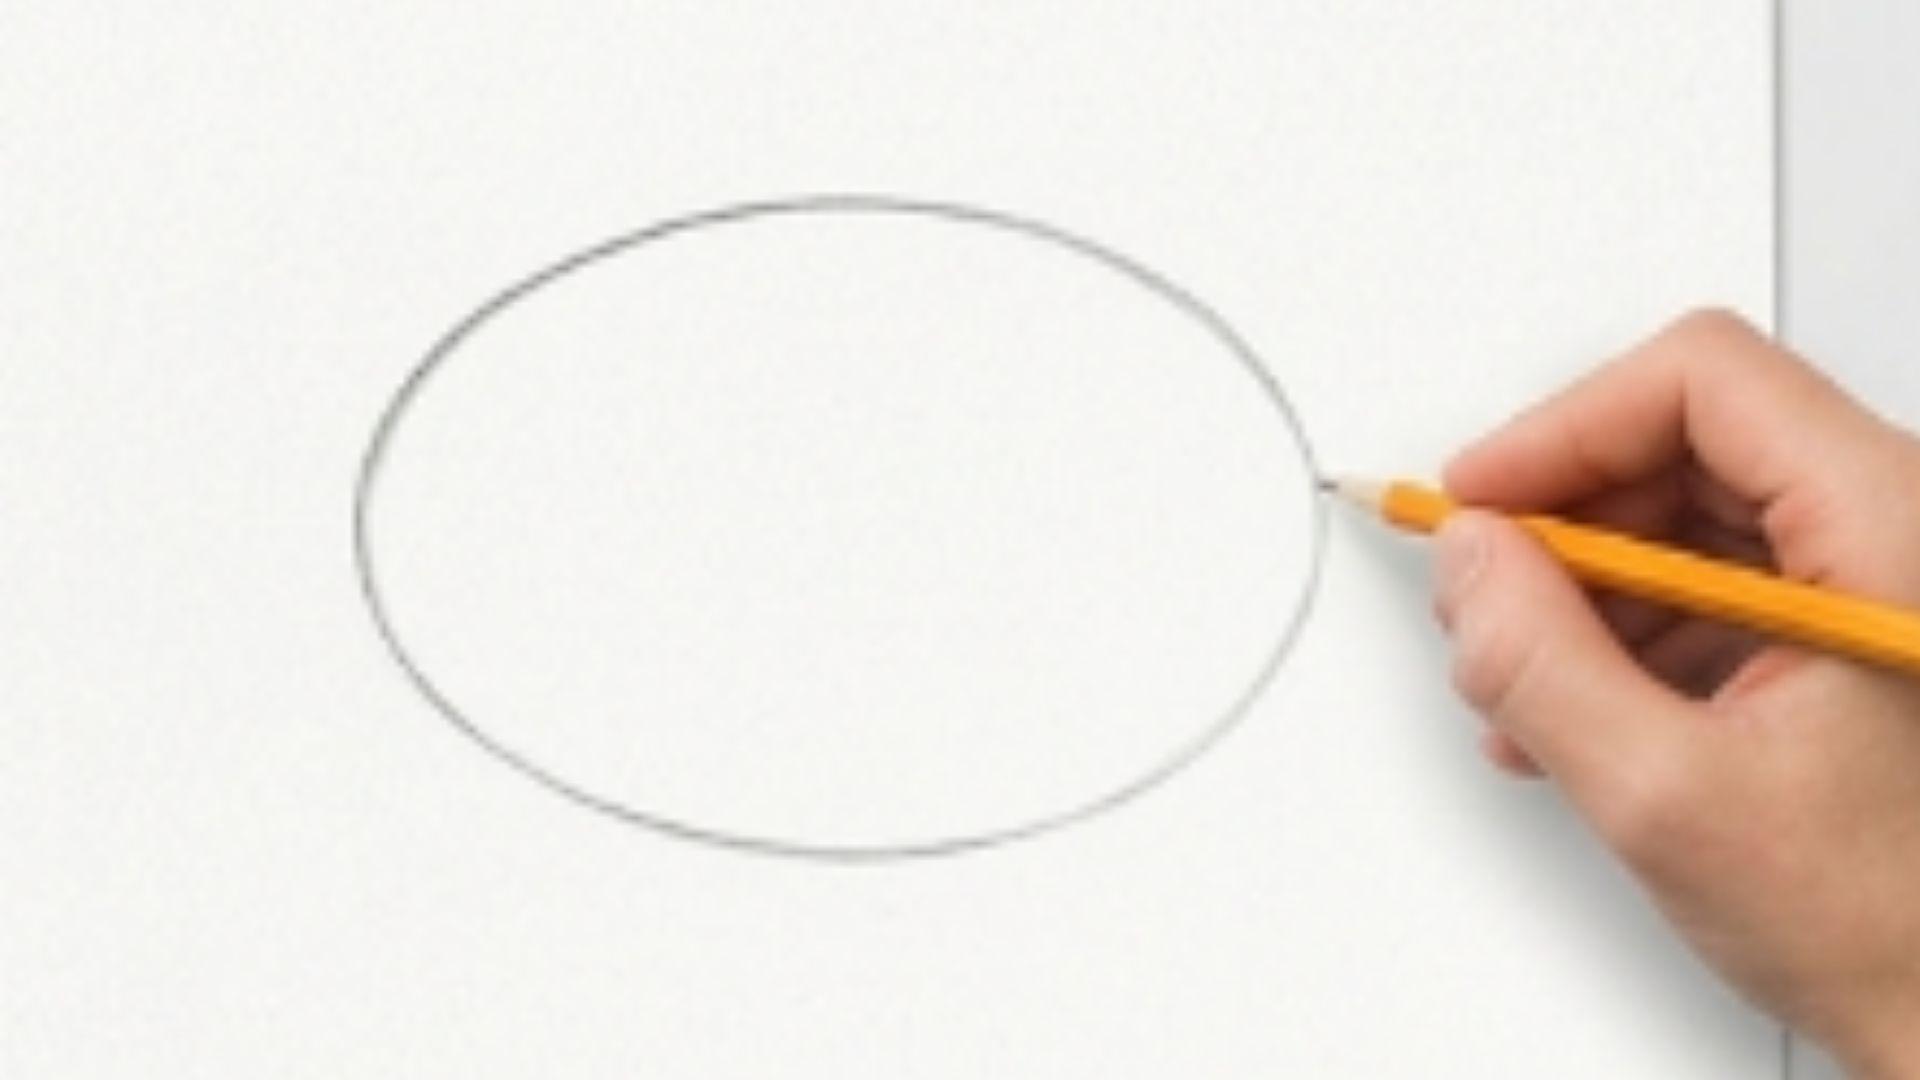
Start your sea turtle by drawing a large oval or rounded shape in the center of your page. This will form the main body of the turtle. Keep it light and smooth so you can adjust it later if needed.
Try to make the shape balanced, as it will guide the rest of your drawing.
Step 2: Add the Head
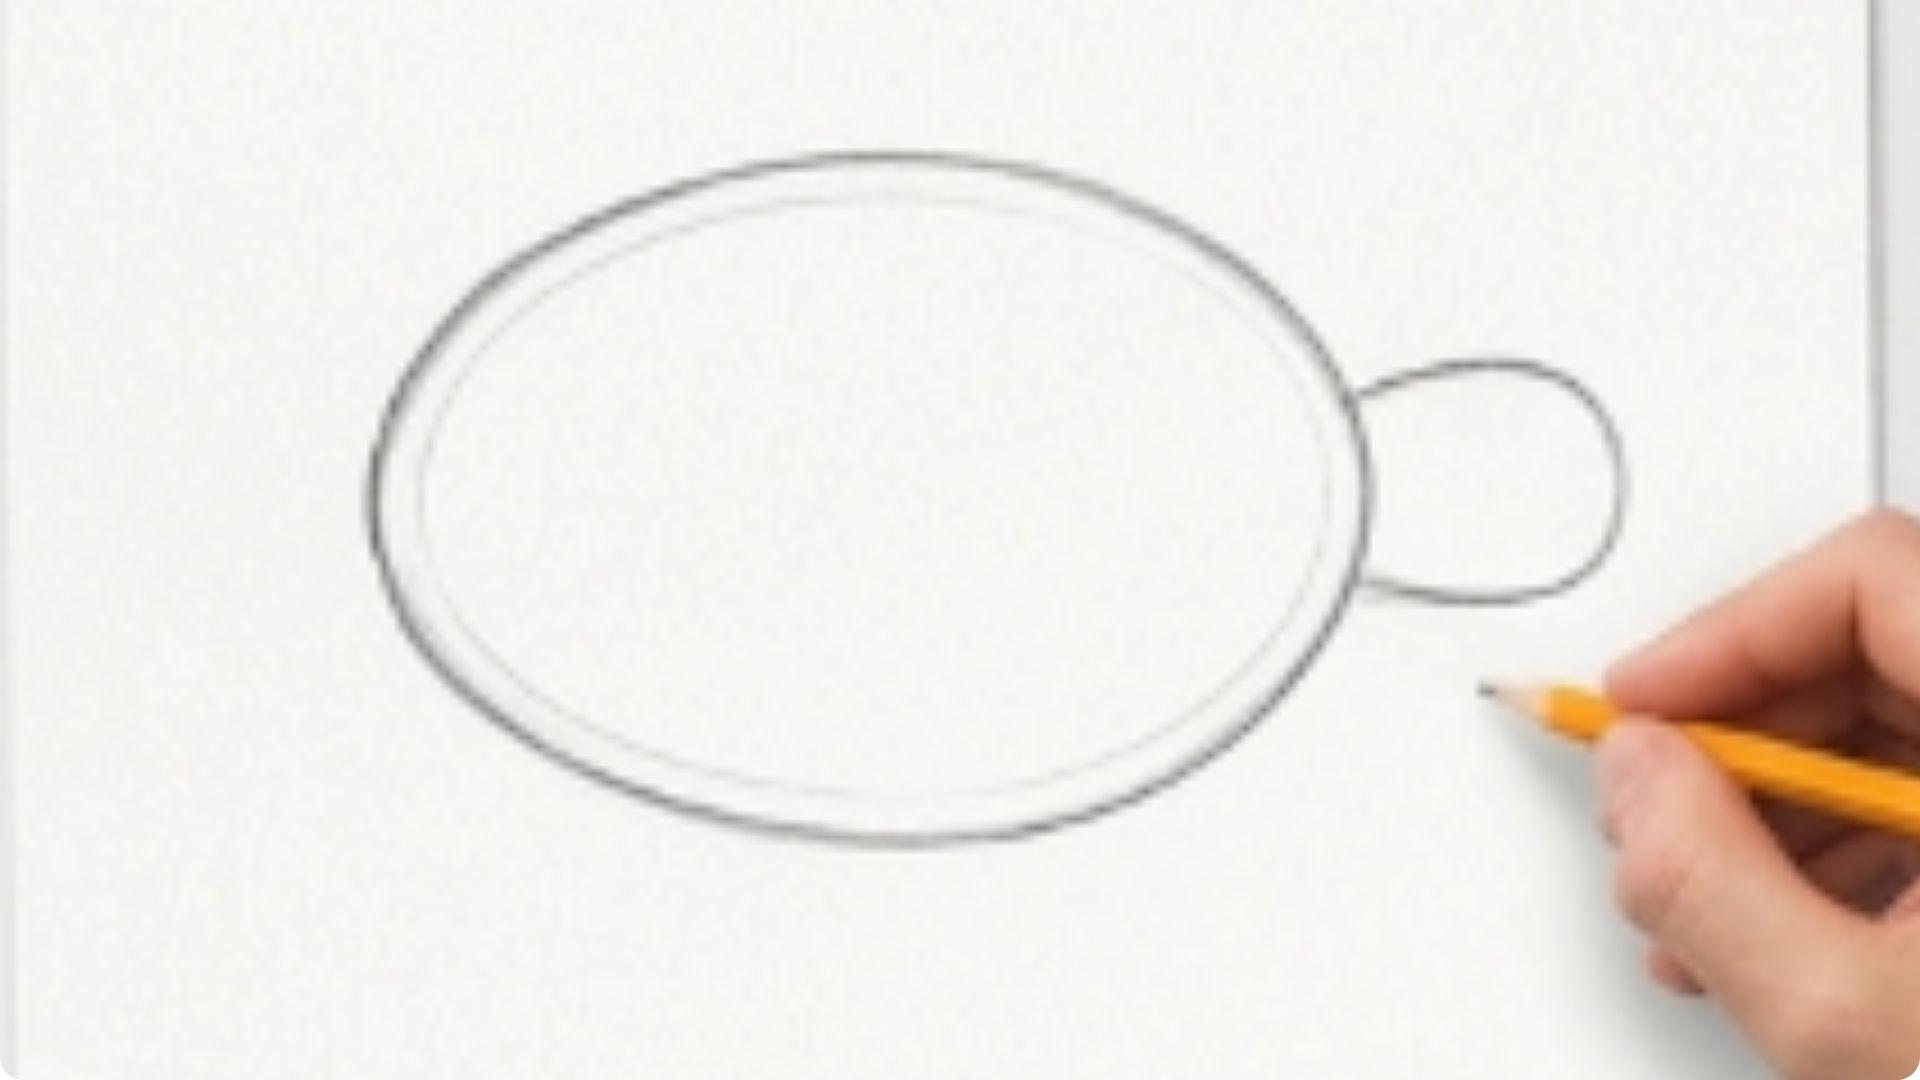
Next, draw a small circle or rounded shape at one end of the shell to create the turtle’s head. Make sure it connects smoothly with the shell.
Keep the size smaller than the body so it looks natural and proportional in your drawing.
Step 3: Sketch the Flippers
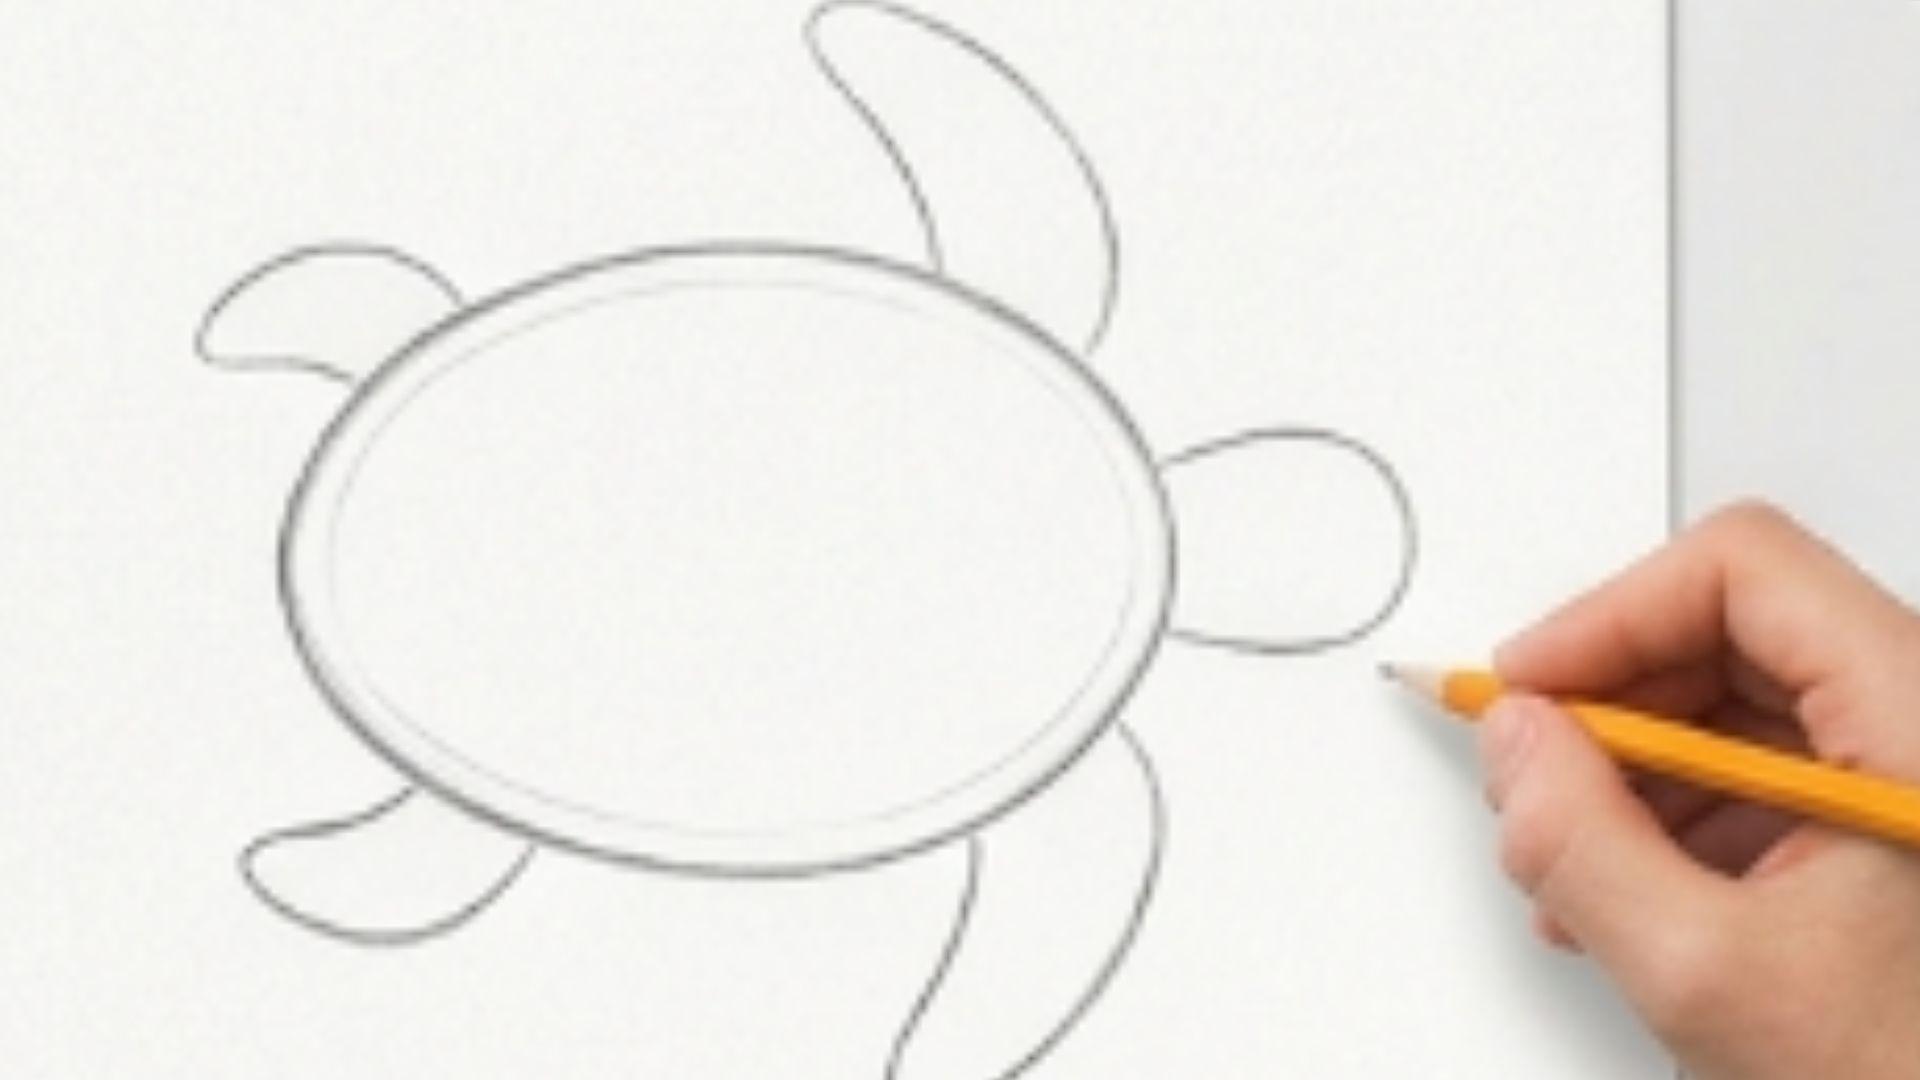
Now add four flippers using long, curved oval shapes. Place two at the front and two at the back of the shell.
These shapes should look soft and flowing, as sea turtles have smooth, paddle-like limbs that help them swim easily in water.
Step 4: Draw the Tail
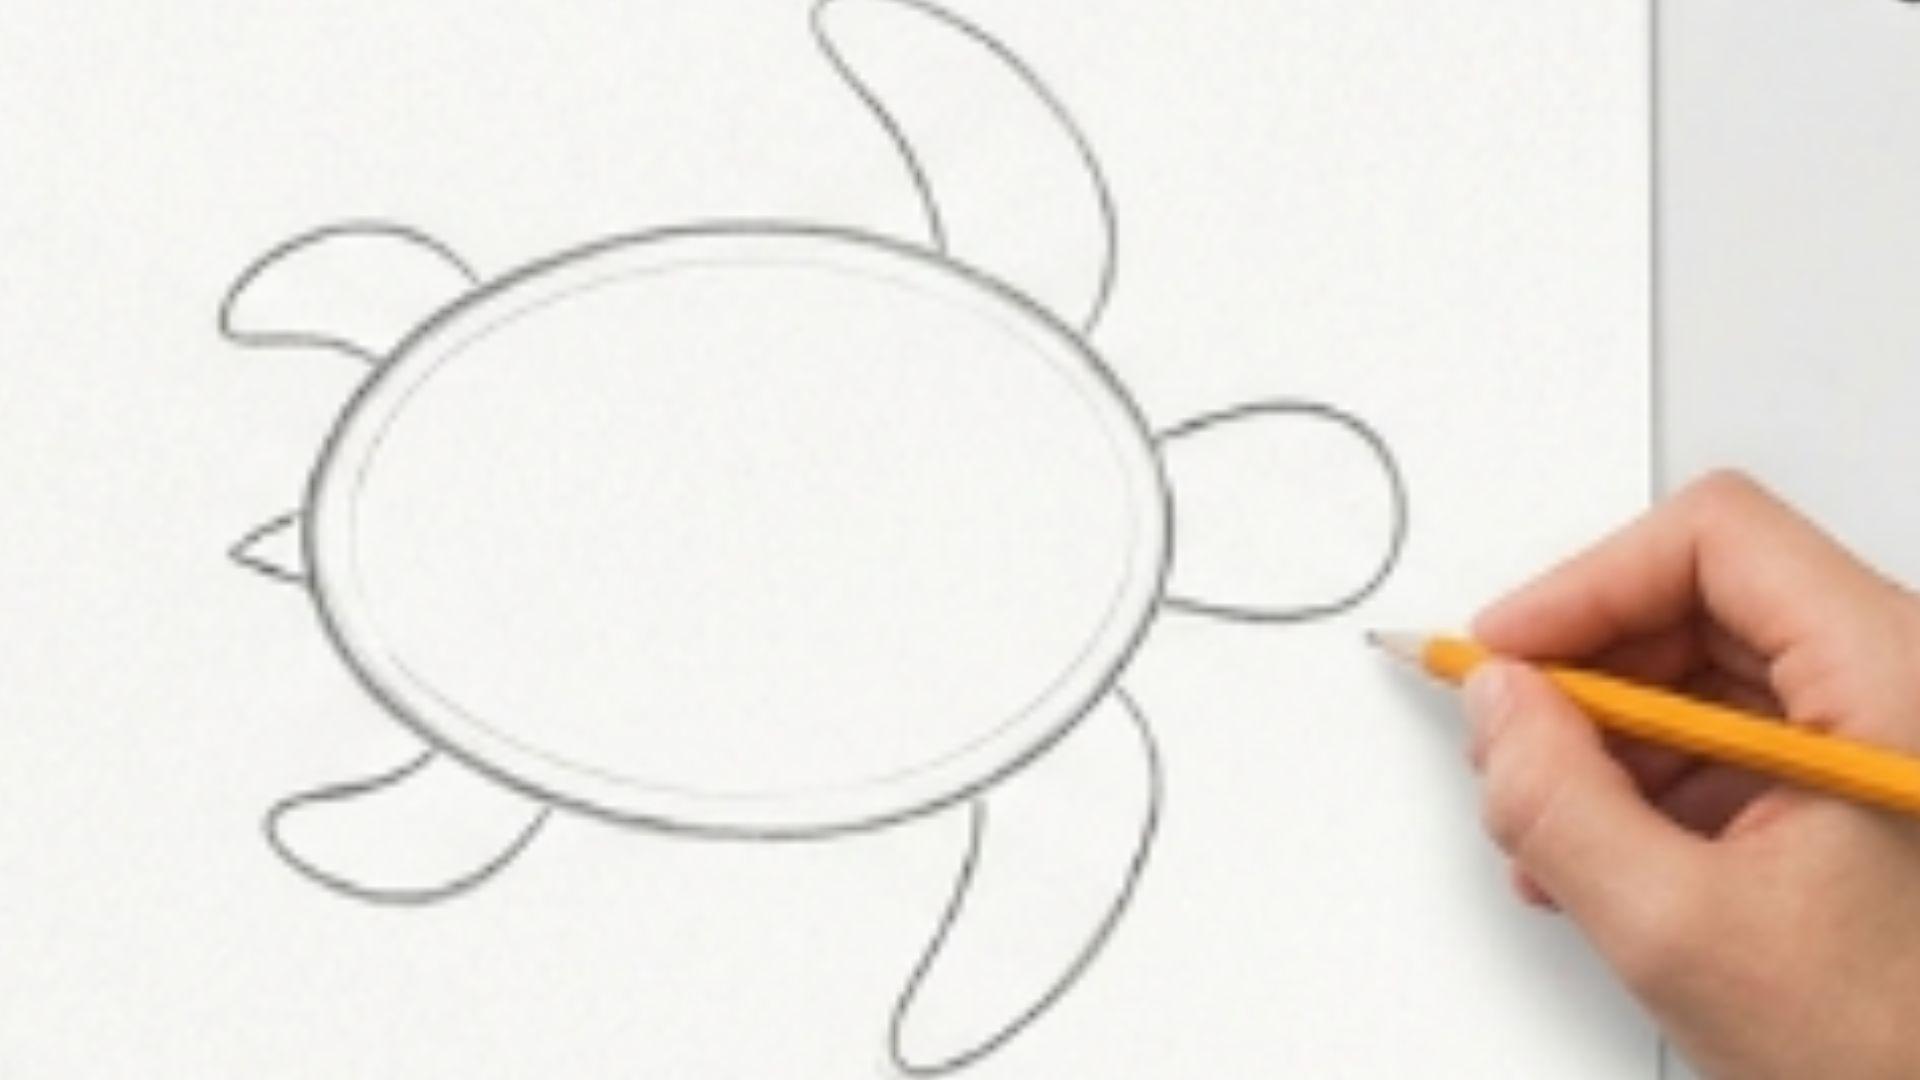
At the back of the shell, draw a small triangle or gentle curved line to form the tail. Keep it short and simple so it doesn’t take attention away from the main body.
This small detail helps complete the turtle’s overall shape.
Step 5: Add Shell Details
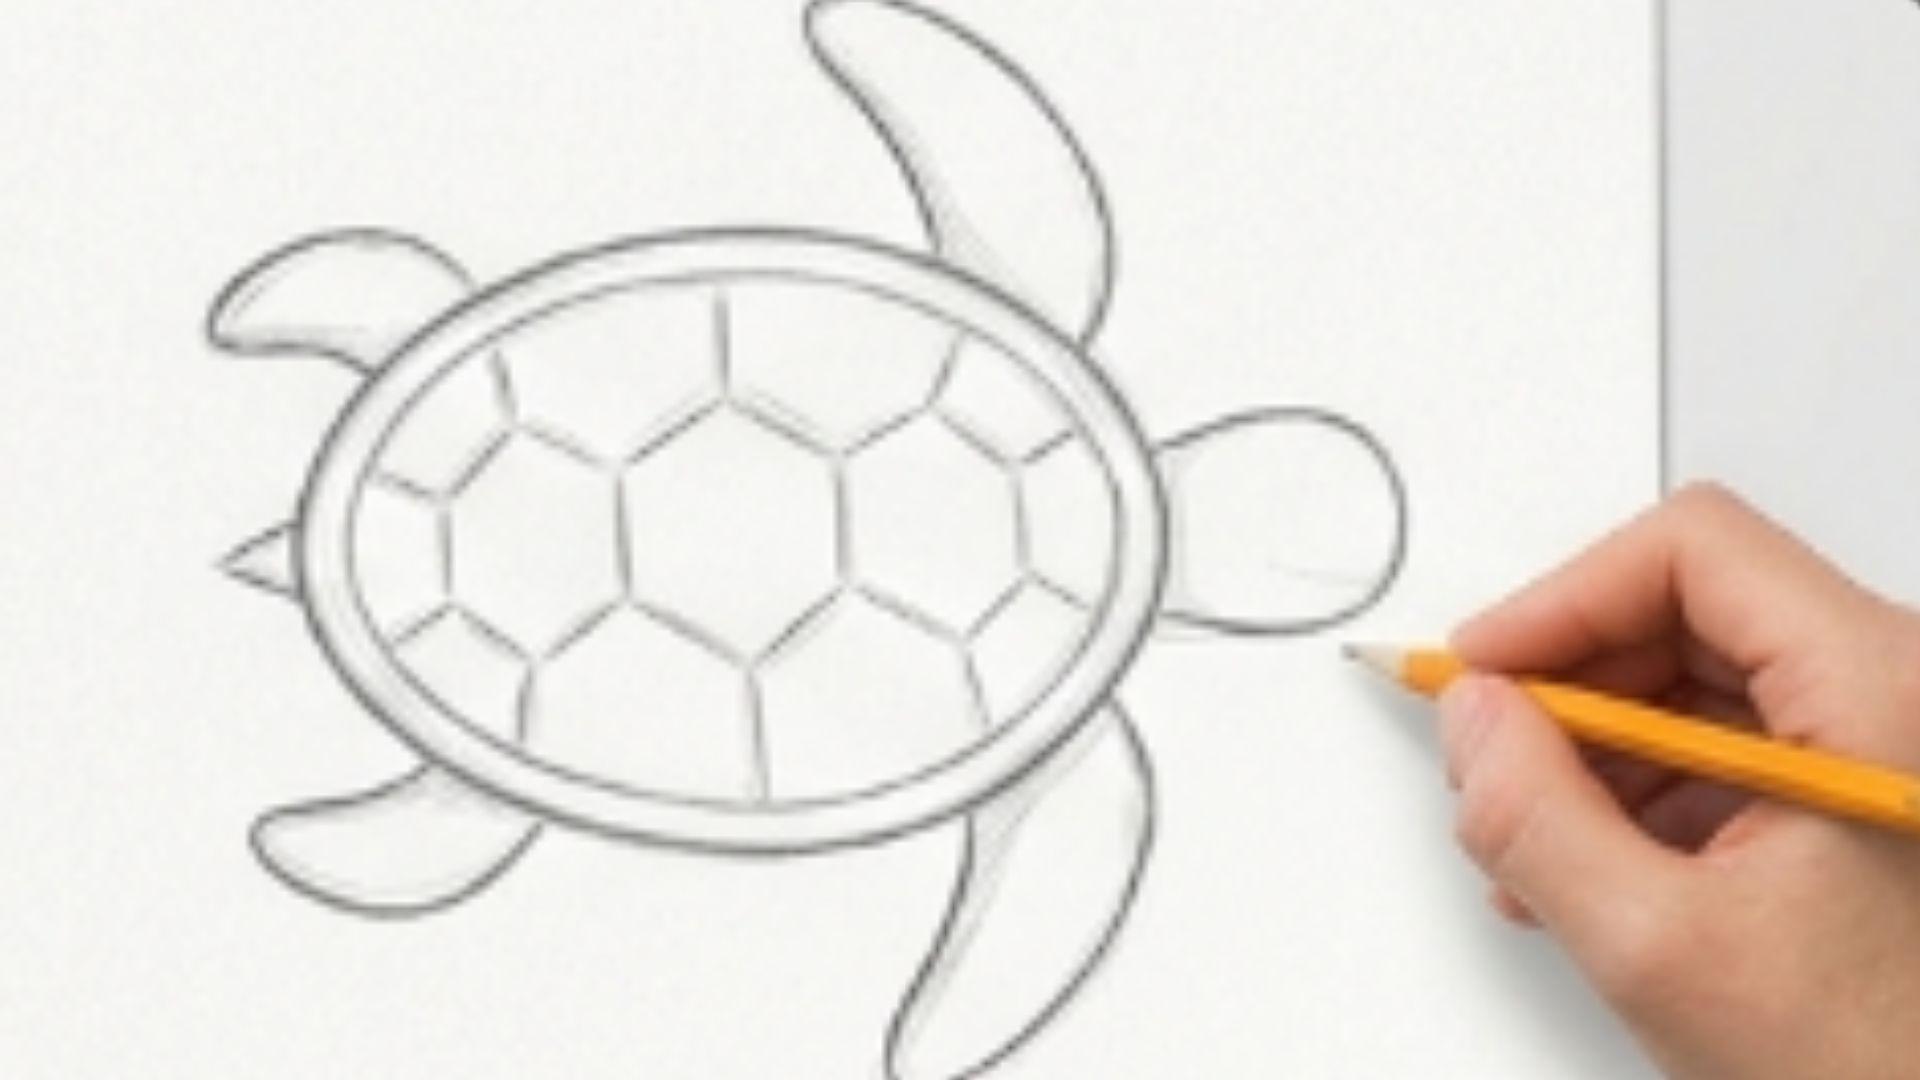
Inside the shell, draw a pattern using hexagons or simple curved lines. These shapes give the turtle its natural texture.
Keep the pattern neat but not too crowded, so the design stays clean and easy to understand.
Step 6: Add Facial Features
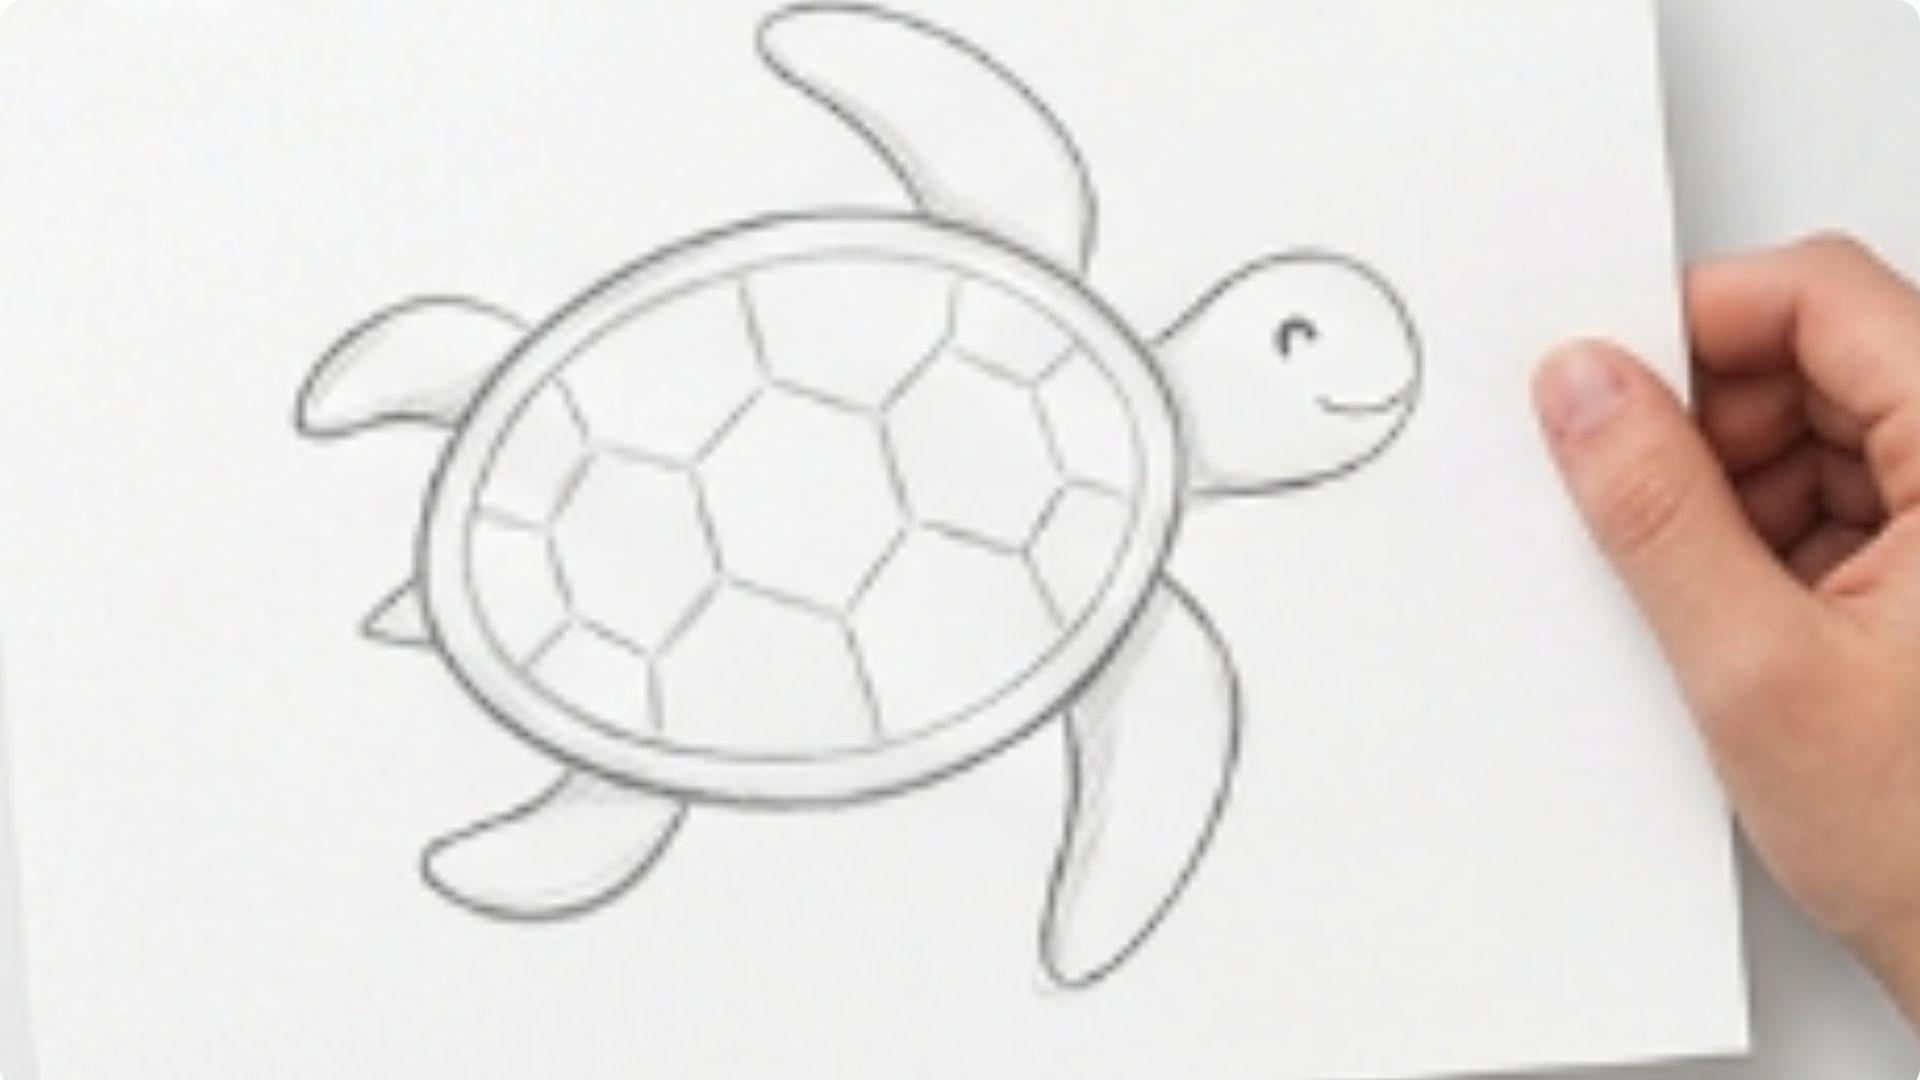
Finally, draw two small eyes and a simple curved line for the mouth on the head. Keep the features minimal and soft to match the calm look of a sea turtle.
These small details bring your drawing to life without making it too complex.
Easy Variations You Can Try
Once you’ve learned the basic sea turtle drawing, you can experiment with different styles to make your artwork more creative and fun.
| Variation | Description |
| Cartoon sea turtle | Simple shapes, bold outlines, and playful expressions for a cute and fun look. |
| Realistic sea turtle | Detailed shell patterns, natural shading, and accurate proportions for a lifelike drawing. |
| Baby sea turtle drawing | Smaller body, softer curves, and minimal details to create an adorable, easy sketch. |
Tips to Make Your Drawing Look Better
A few simple habits can make your sea turtle drawing smoother, cleaner, and much easier to improve with practice.
- Start with very light pencil strokes to keep your sketch flexible
- Practice basic shapes before adding details
- Take short breaks to check proportions and balance
- Use reference images to understand real sea turtle structure
- Focus on one step at a time instead of rushing
Common Mistakes to Avoid
Knowing what to avoid can help you improve faster and keep your drawing neat and balanced.
- Overcomplicating shapes
- Skipping basic structure
- Pressing too hard with pencil too early
YouTube Tutorial: How to Draw a Sea Turtle
If you prefer learning visually, this video tutorial can help you follow along step by step and see each stage of the drawing process clearly.
Watch How to Draw a Sea Turtle (YouTube Tutorial)
Conclusion
Now you’ve learned how to draw a sea turtle step by step, from simple shapes to final details. If it still feels a bit tricky, that’s okay, every drawing gets better with practice.
I still remember my early sketches looking uneven, but small improvements came over time. Try it on your own page, add your style, and imagine your turtle swimming in the ocean.
If this guide helped you, feel free to leave a comment, share your drawing, or try more easy art tutorials.
Frequently Asked Questions
How do I start learning how to draw a sea turtle?
Start with simple shapes like ovals and circles. Build the shell and flippers step by step before adding details.
Is it hard to draw a sea turtle for beginners?
No, it is quite easy if you follow basic steps. Breaking it into shapes makes it simple to understand.
What is the easiest style for beginners?
Cartoon style is the easiest because it uses simple lines. It helps you learn structure without worrying about details.
How can I make my sea turtle look more real?
Add shell patterns and soft shading for depth. Use light reference images for better accuracy.
Can kids follow this sea turtle drawing guide?
Yes, it is designed to be beginner and kid-friendly. Simple steps make it easy to follow and enjoy.
