

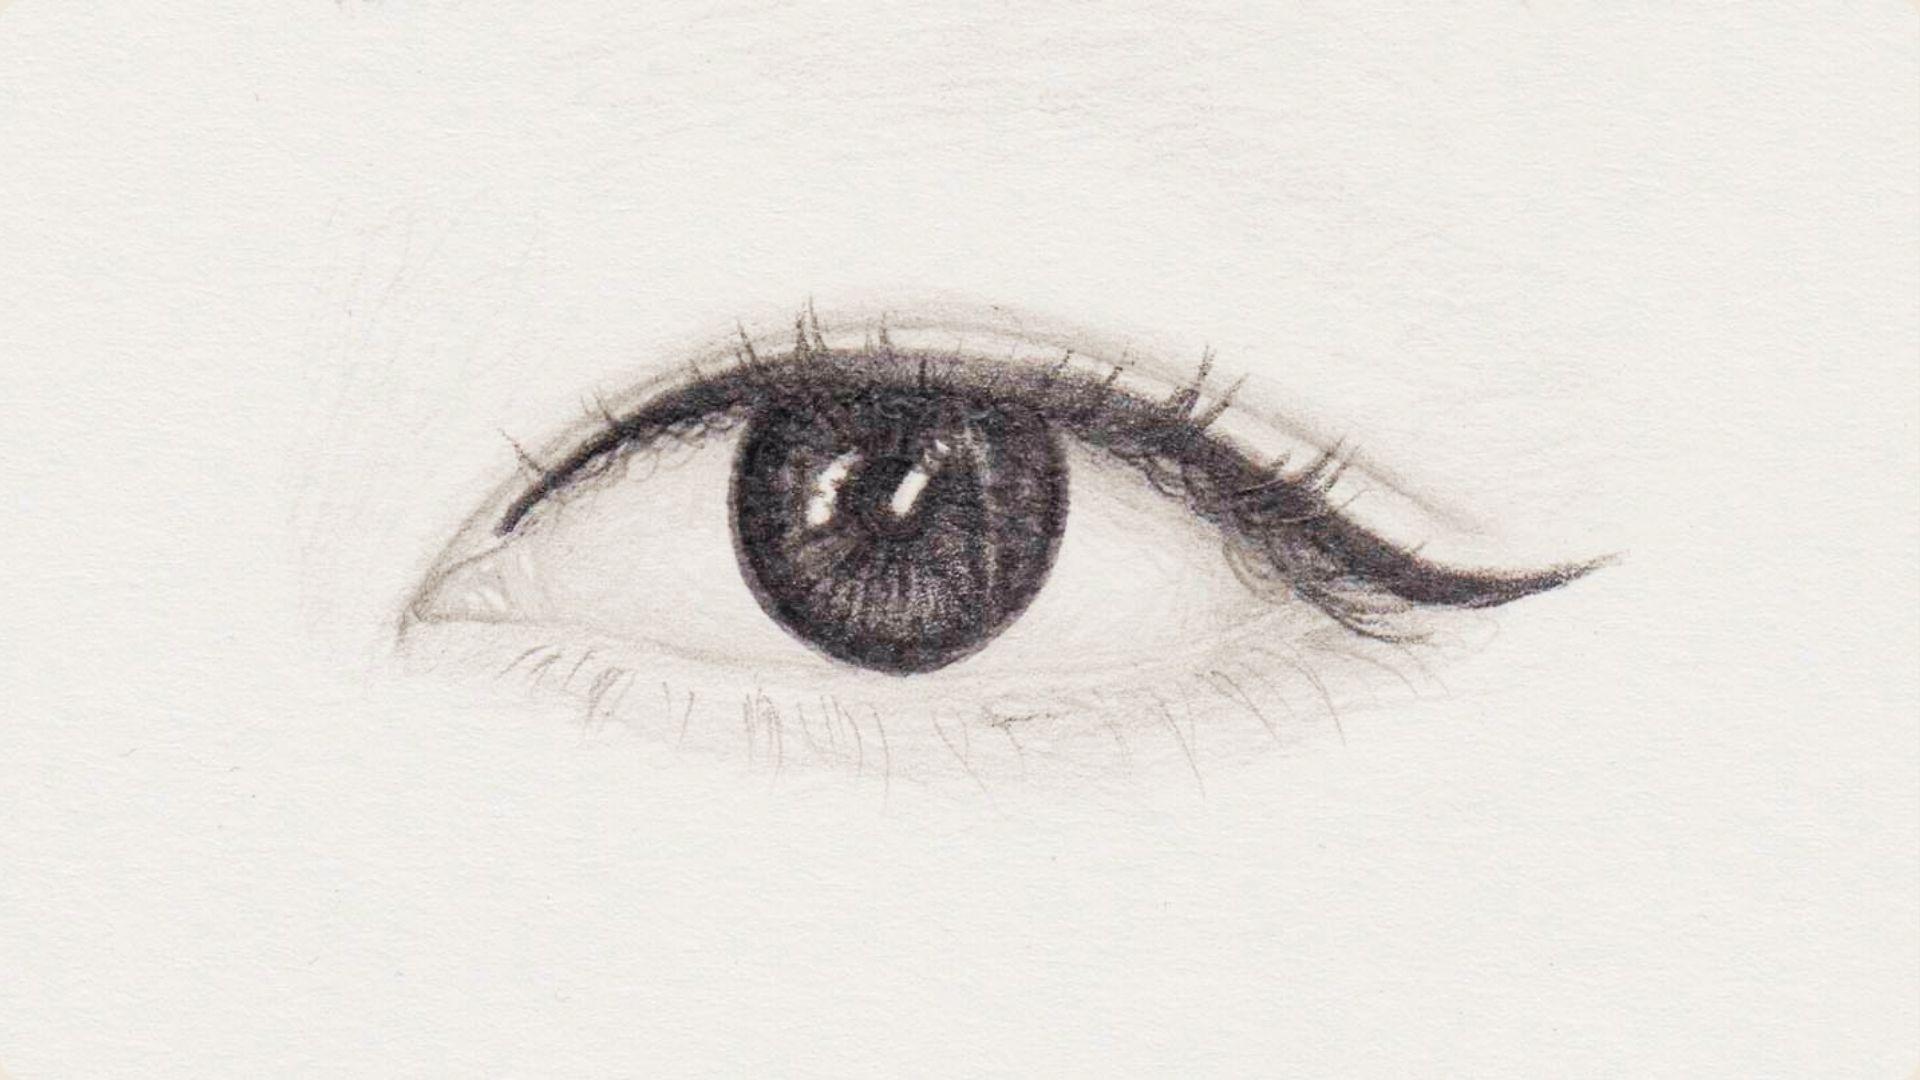
Drawing eyelashes is one of those small details that makes a huge difference in artwork. Get them right, and the whole eye comes alive.
Get them wrong, and the drawing feels off, even if everything else looks great.
I have spent a lot of time practicing this, and I know how frustrating it can be when lashes look stiff or fake.
This guide will walk you through everything, from understanding how lashes grow to drawing them step by step.
You will learn realistic styles, stylized versions, and common mistakes to avoid. By the end, you will have the skills to draw lashes that actually look real.
Understanding Eyelash Shape, Direction, and Growth
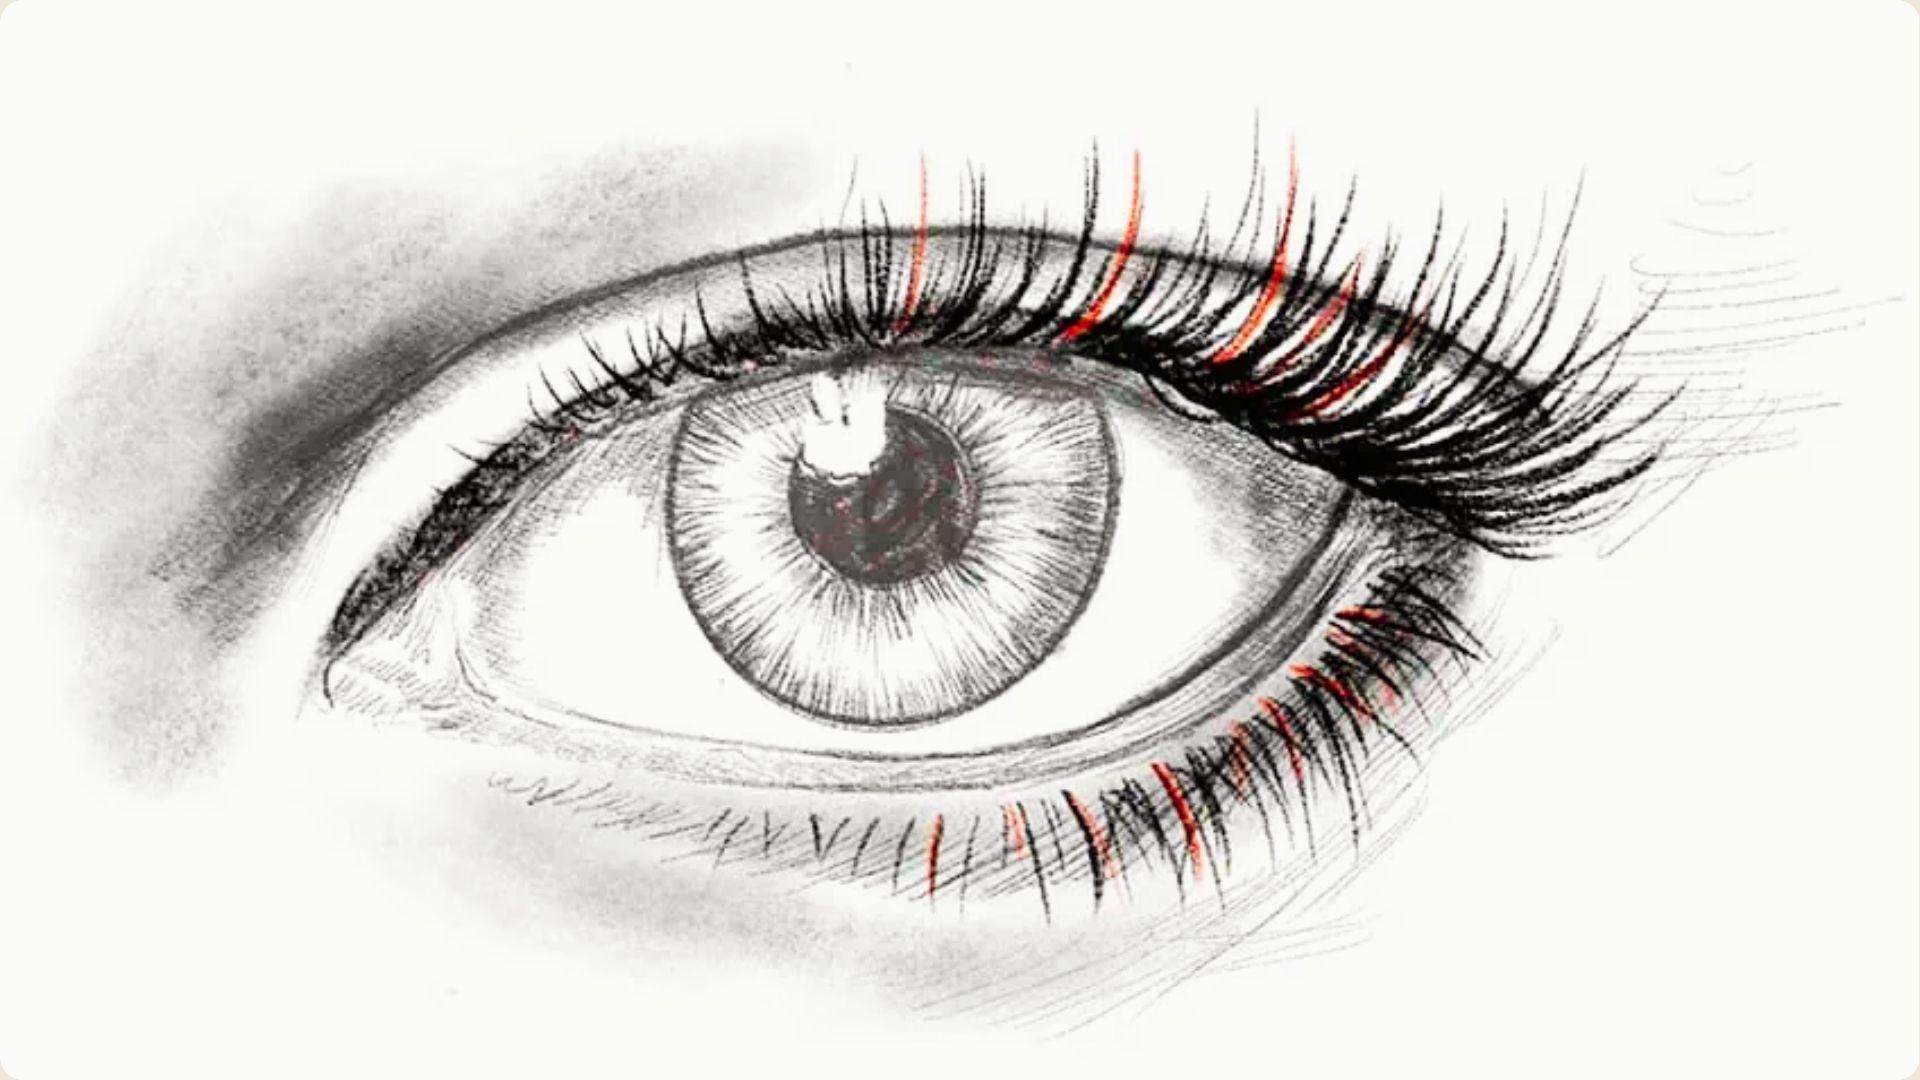
Real eyelashes do not grow in a straight line. They fan outward from the lash line and follow the natural curve of the eyelid.
Inner corner lashes point slightly inward. Center lashes grow upward. Outer lashes angle outward.
Lashes also grow in small clusters, not as single, evenly spaced strands. Each cluster has lashes of slightly different lengths, which gives them a natural, layered look.
On the upper lid, lashes curve upward. On the lower lid, they curve downward. Every lash is thicker at the root and tapers to a fine tip.
Understanding this structure is what makes your drawings look convincing.
Tools and Materials for Drawing Eyelashes
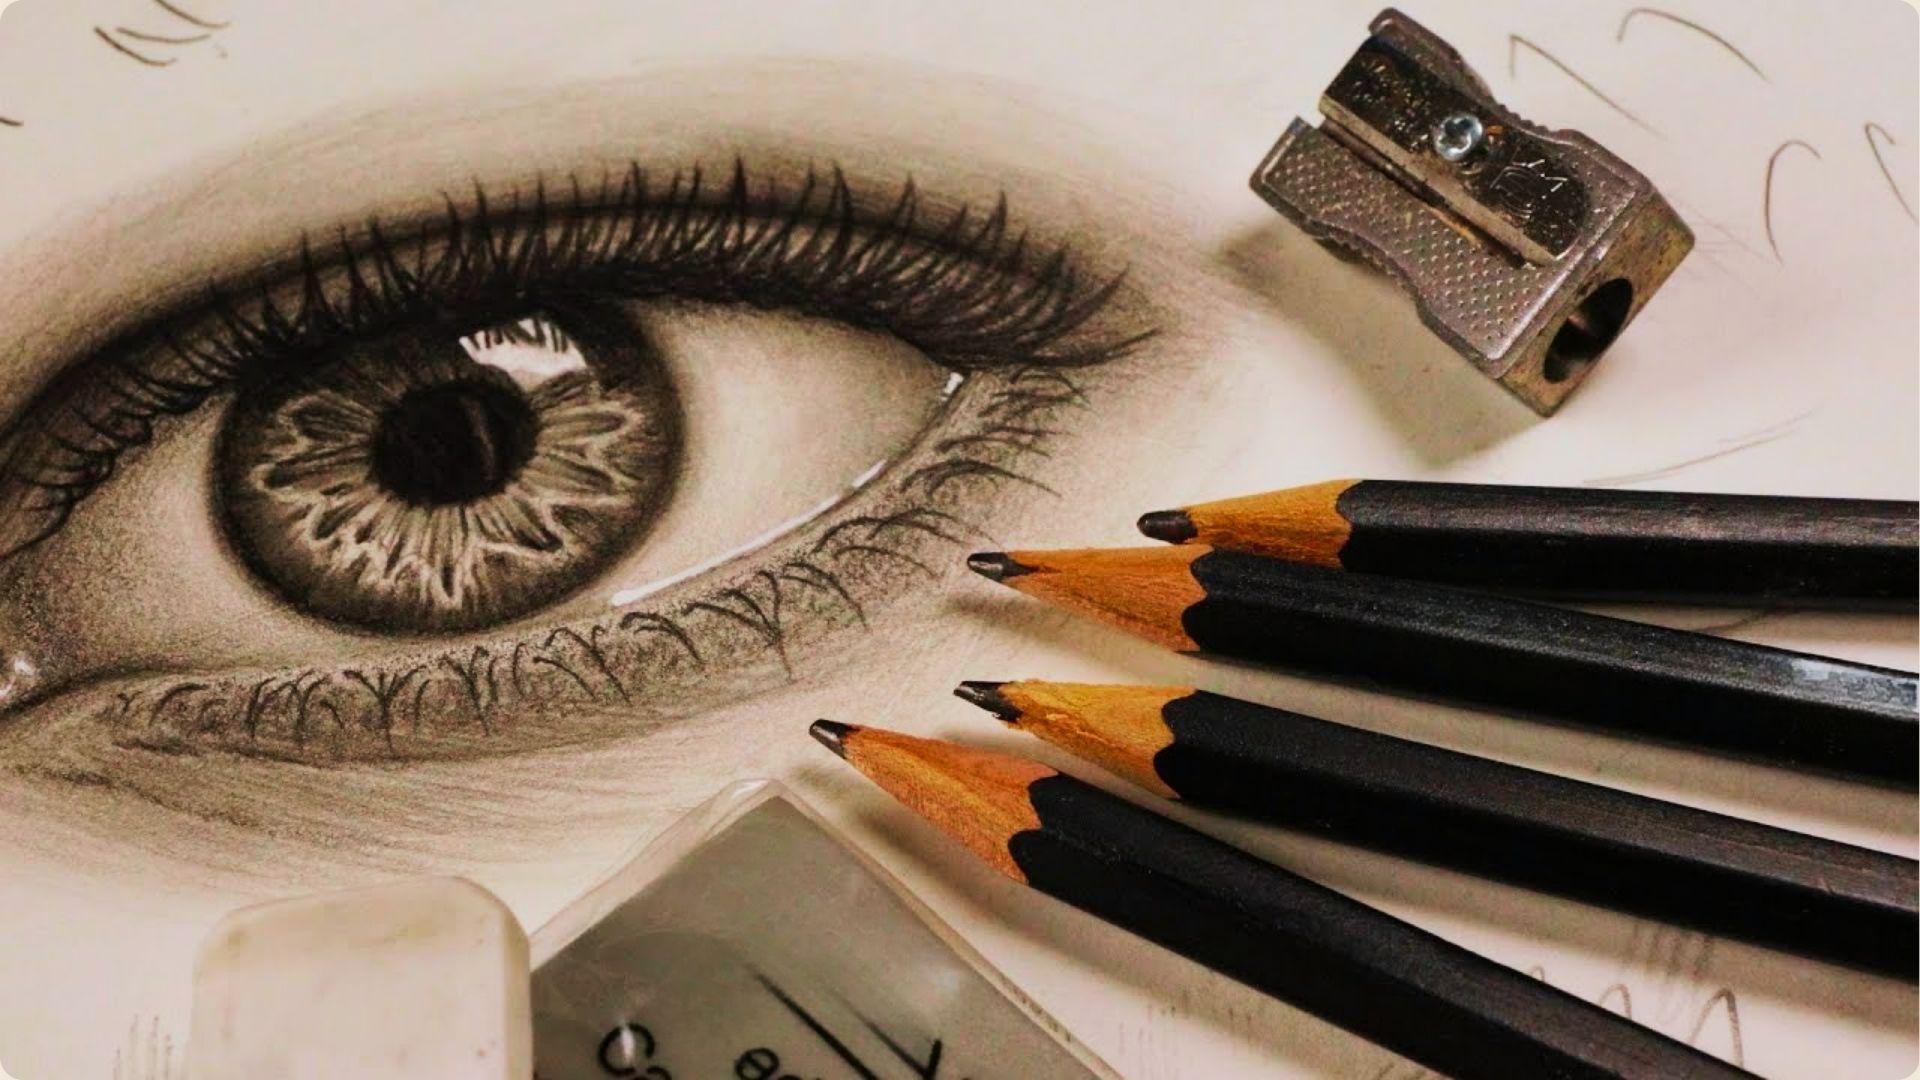
Having the right tools saves time and makes your lines cleaner and more controlled.
For Pencil Drawing
Use a sharp HB pencil for sketching and a 2B or 4B pencil for the actual lashes. Mechanical pencils work great for thin, precise strokes.
For Ink or Liner
A fine-tip pen or brush pen gives you clean, controlled lines. Micron pens and fineliners are solid choices for detailed lash work.
For Digital Drawing
Use a hard round brush with pressure sensitivity turned on. This helps you taper strokes naturally from thick at the root to thin at the tip.
Paper Choice
Smooth paper gives you cleaner, more controlled lines. Textured paper can make fine strokes harder to manage.
How to Draw Eyelashes Step by Step
Follow each step carefully and you will build lashes that look natural and well-placed.
Step 1: Sketch the Eye and Eyelid
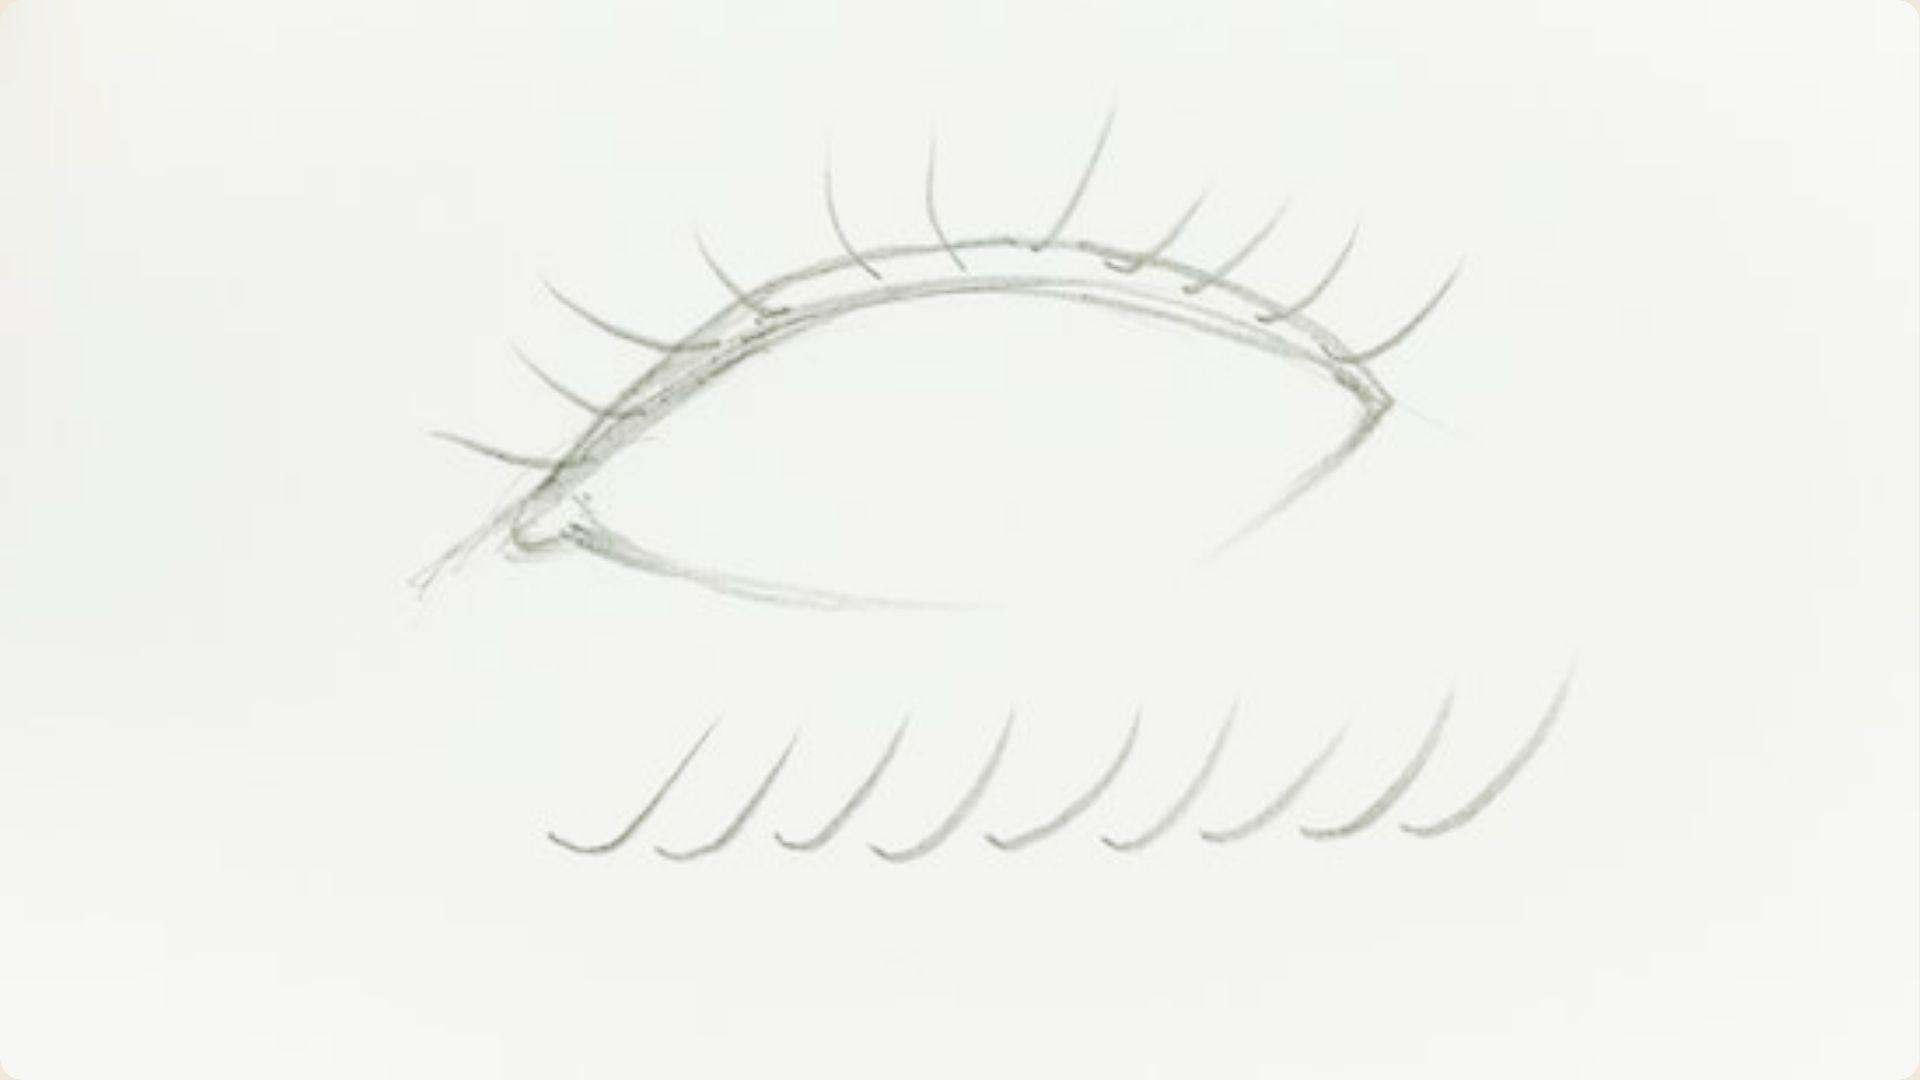
Draw a basic eye shape with a light curved upper lid and a lower lid below it. Keep all lines light since this is just your base.
Step 2: Plan the Eyelash Direction
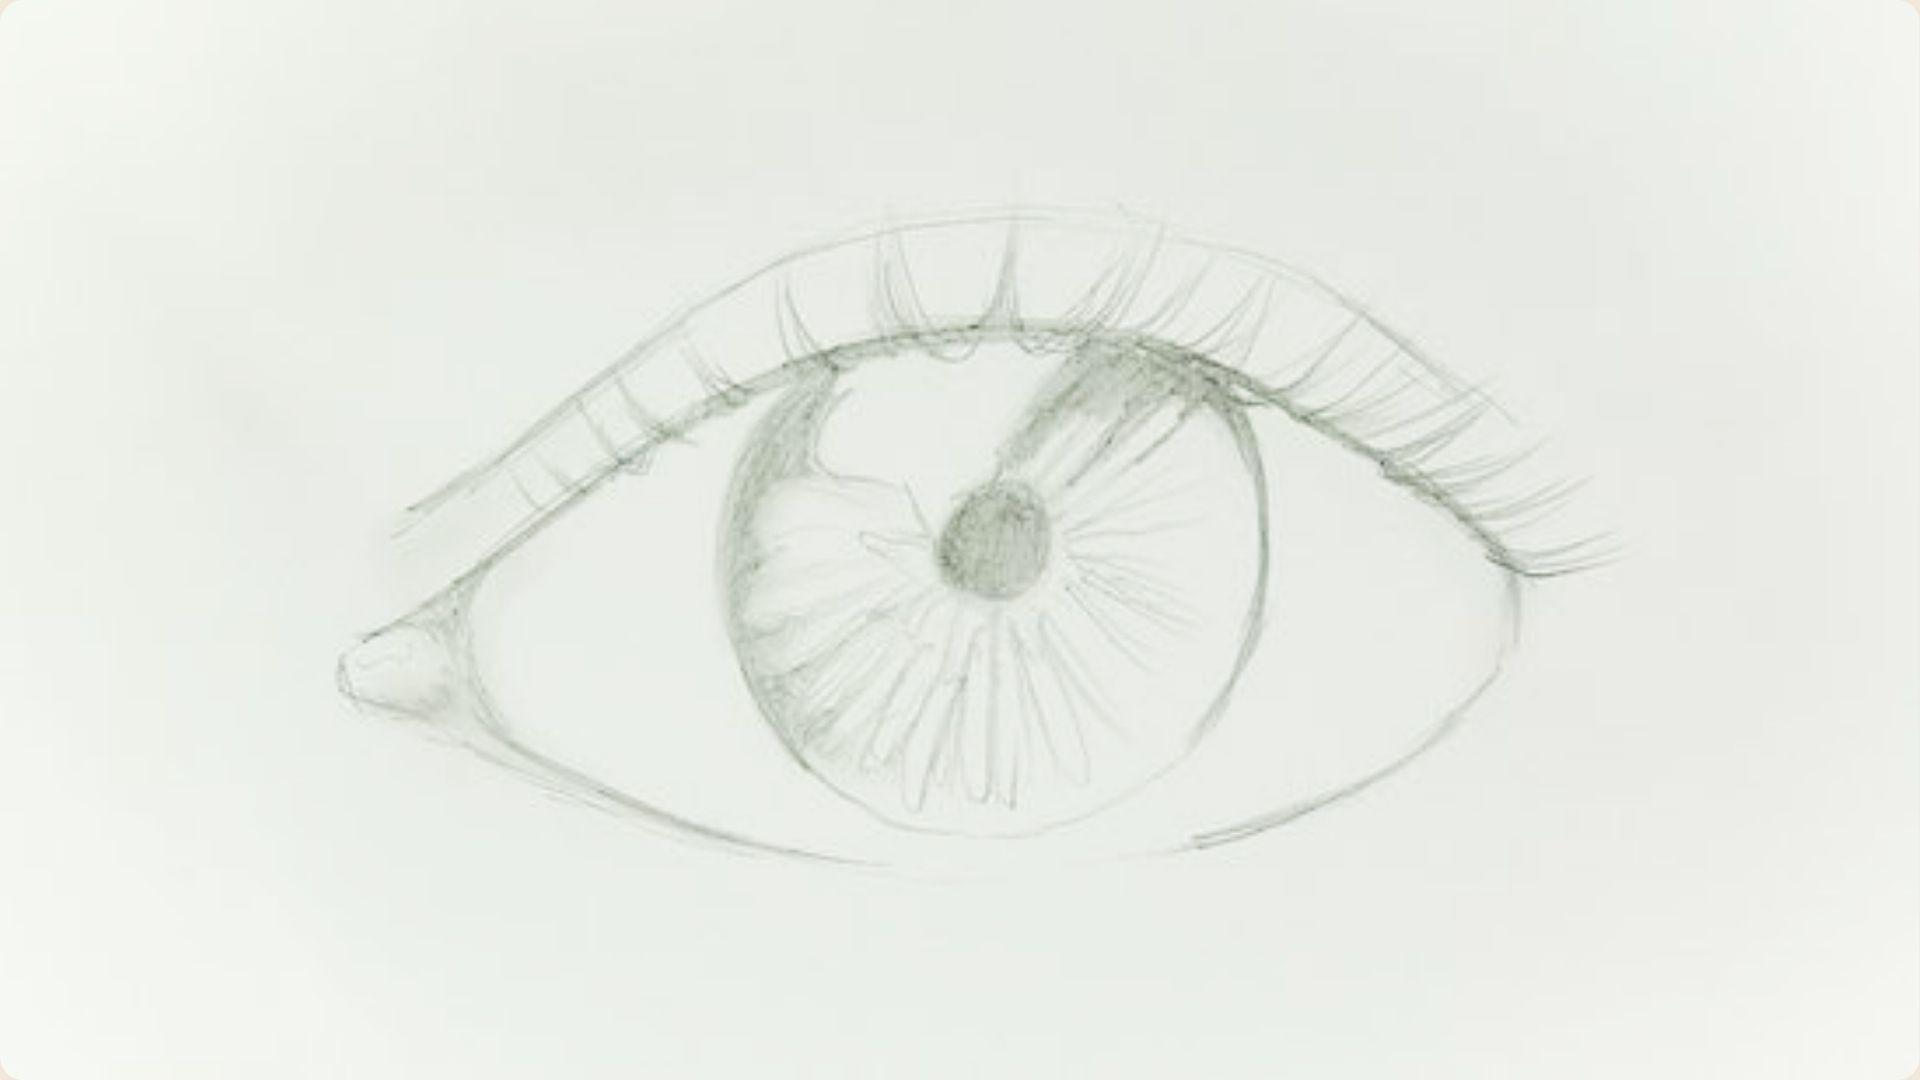
Use small, light strokes to map out where lashes will fan before drawing them. Inner lashes point inward, center lashes go up, and outer lashes angle outward.
Step 3: Draw the First Guide Lashes
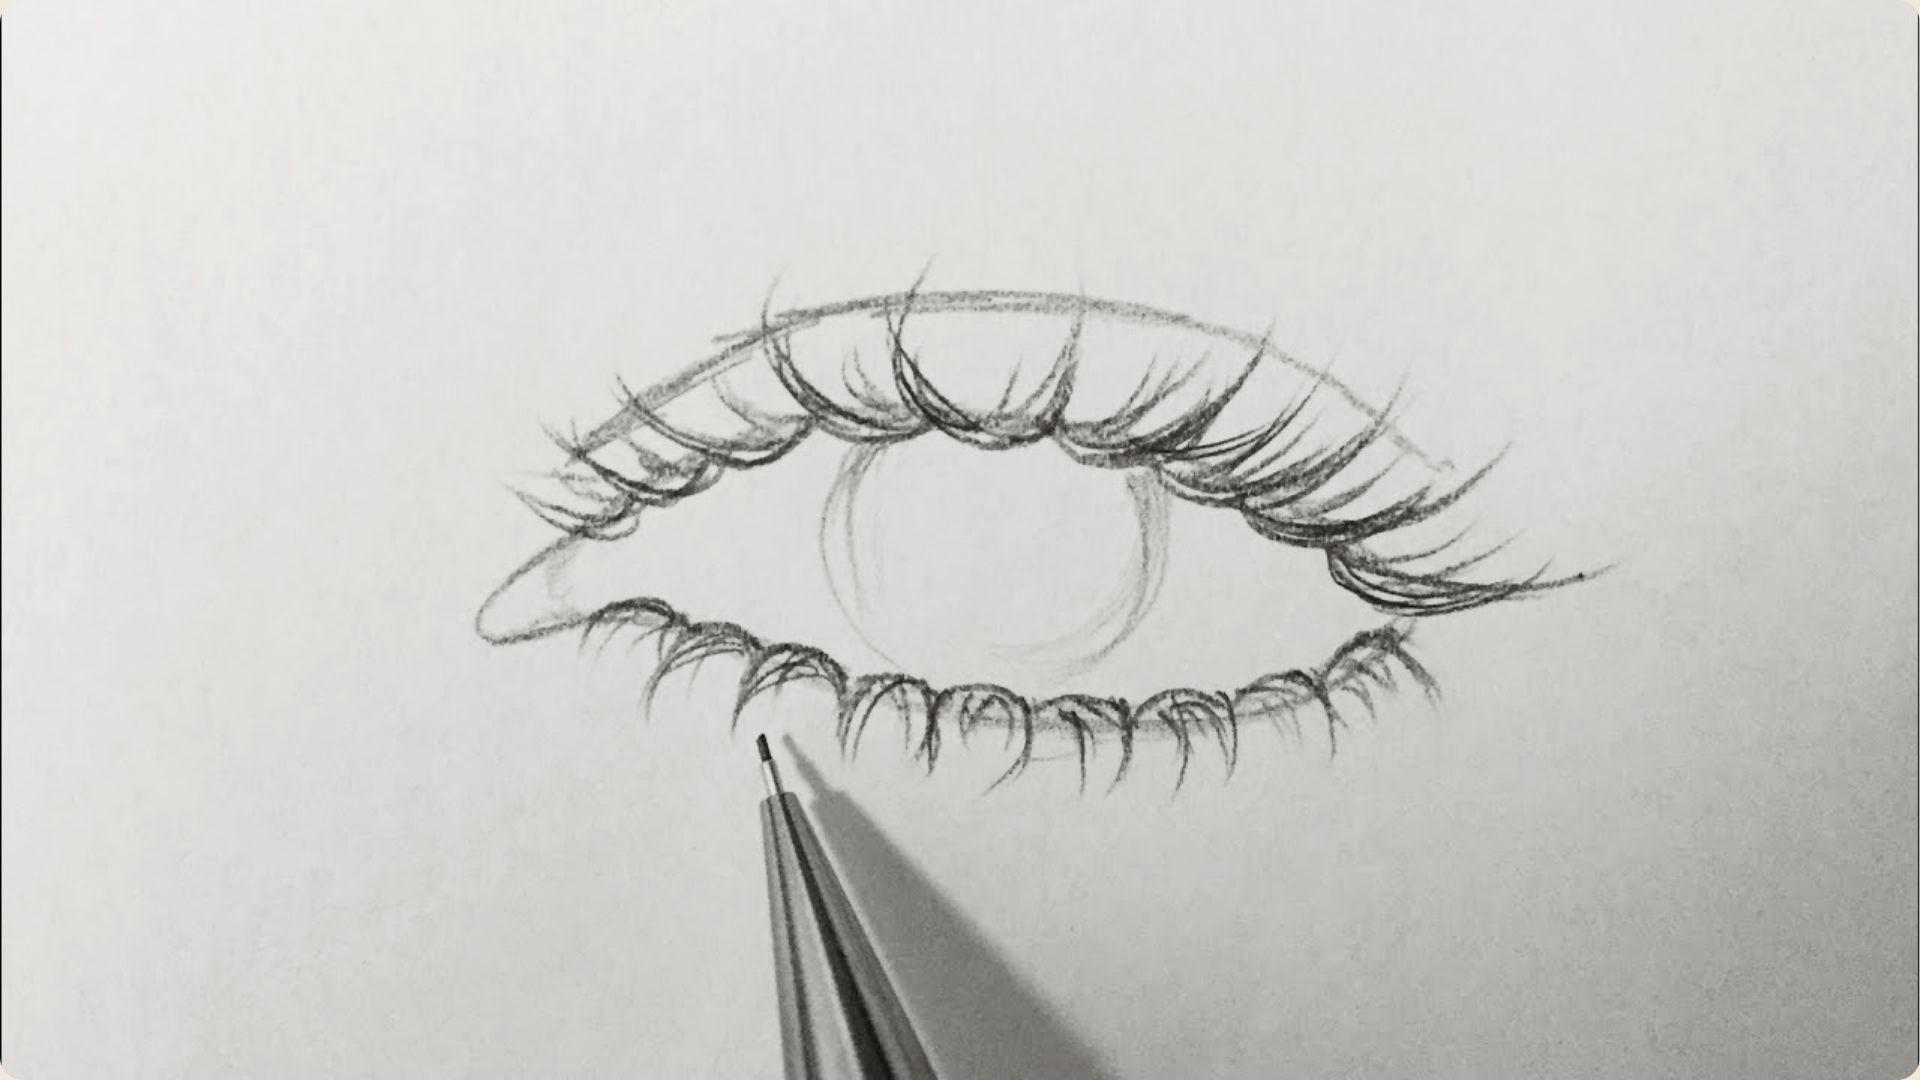
Place a few anchor lashes first, usually the longest ones at the center and outer corner. Draw each one with a single confident stroke, thick at the root and tapered at the tip.
Step 4: Fill in the Upper Lash Line

Add medium and shorter lashes between your guide lashes to fill out the lash line. Let a few lashes overlap slightly to create depth.
Step 5: Add Lower Eyelashes

Lower lashes are shorter, finer, and grow slightly downward. Use lighter pressure so they do not compete with the upper lash line.
Step 6: Vary Lengths and Curves
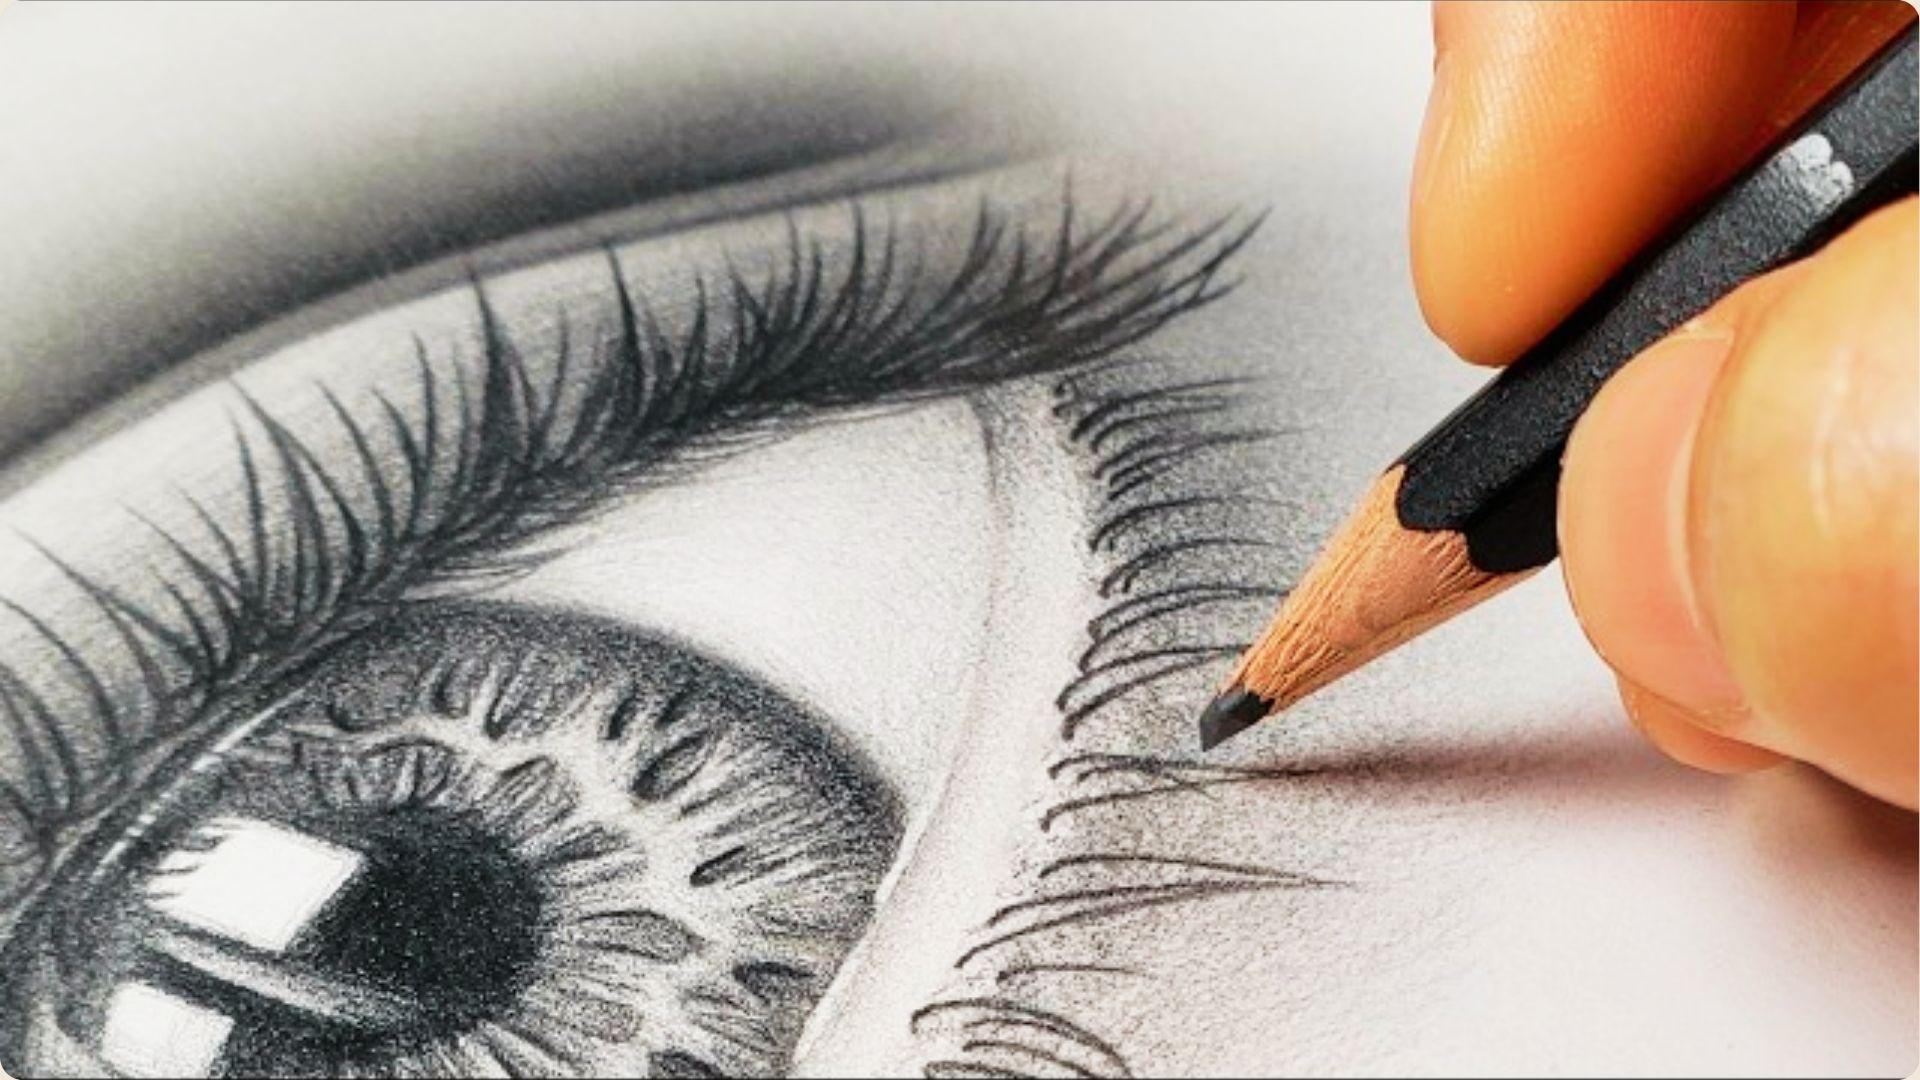
Check that your lashes are not all the same length or curve. Add variation to some lashes since this is what makes them look real.
Step 7: Create Natural Lash Clusters
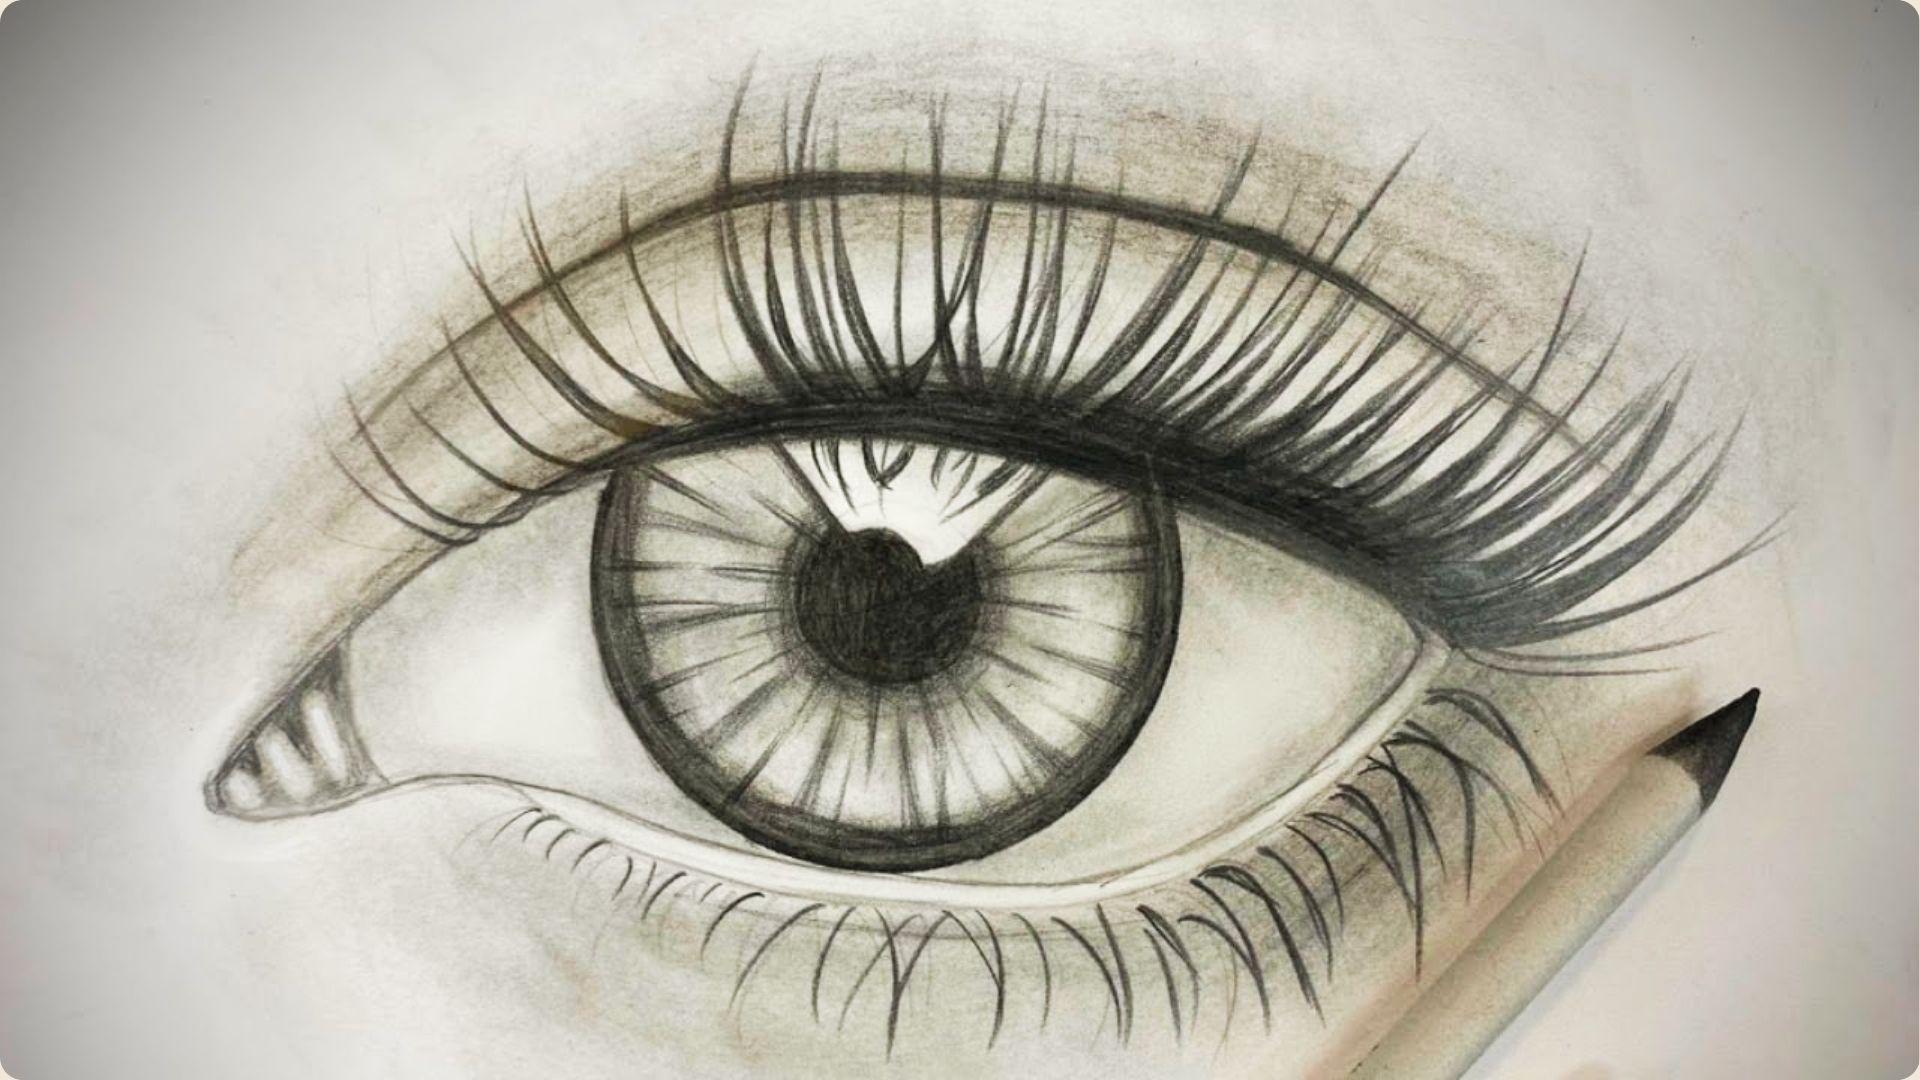
Draw two or three lashes close together, leave a small gap, then repeat the cluster. This grouping creates a natural lash texture.
Step 8: Add Shading and Final Details

Darken the lash line at the base where lashes meet the eyelid. Add a soft shadow along the upper lid to give the eye more depth.
How to Draw Realistic Eyelashes
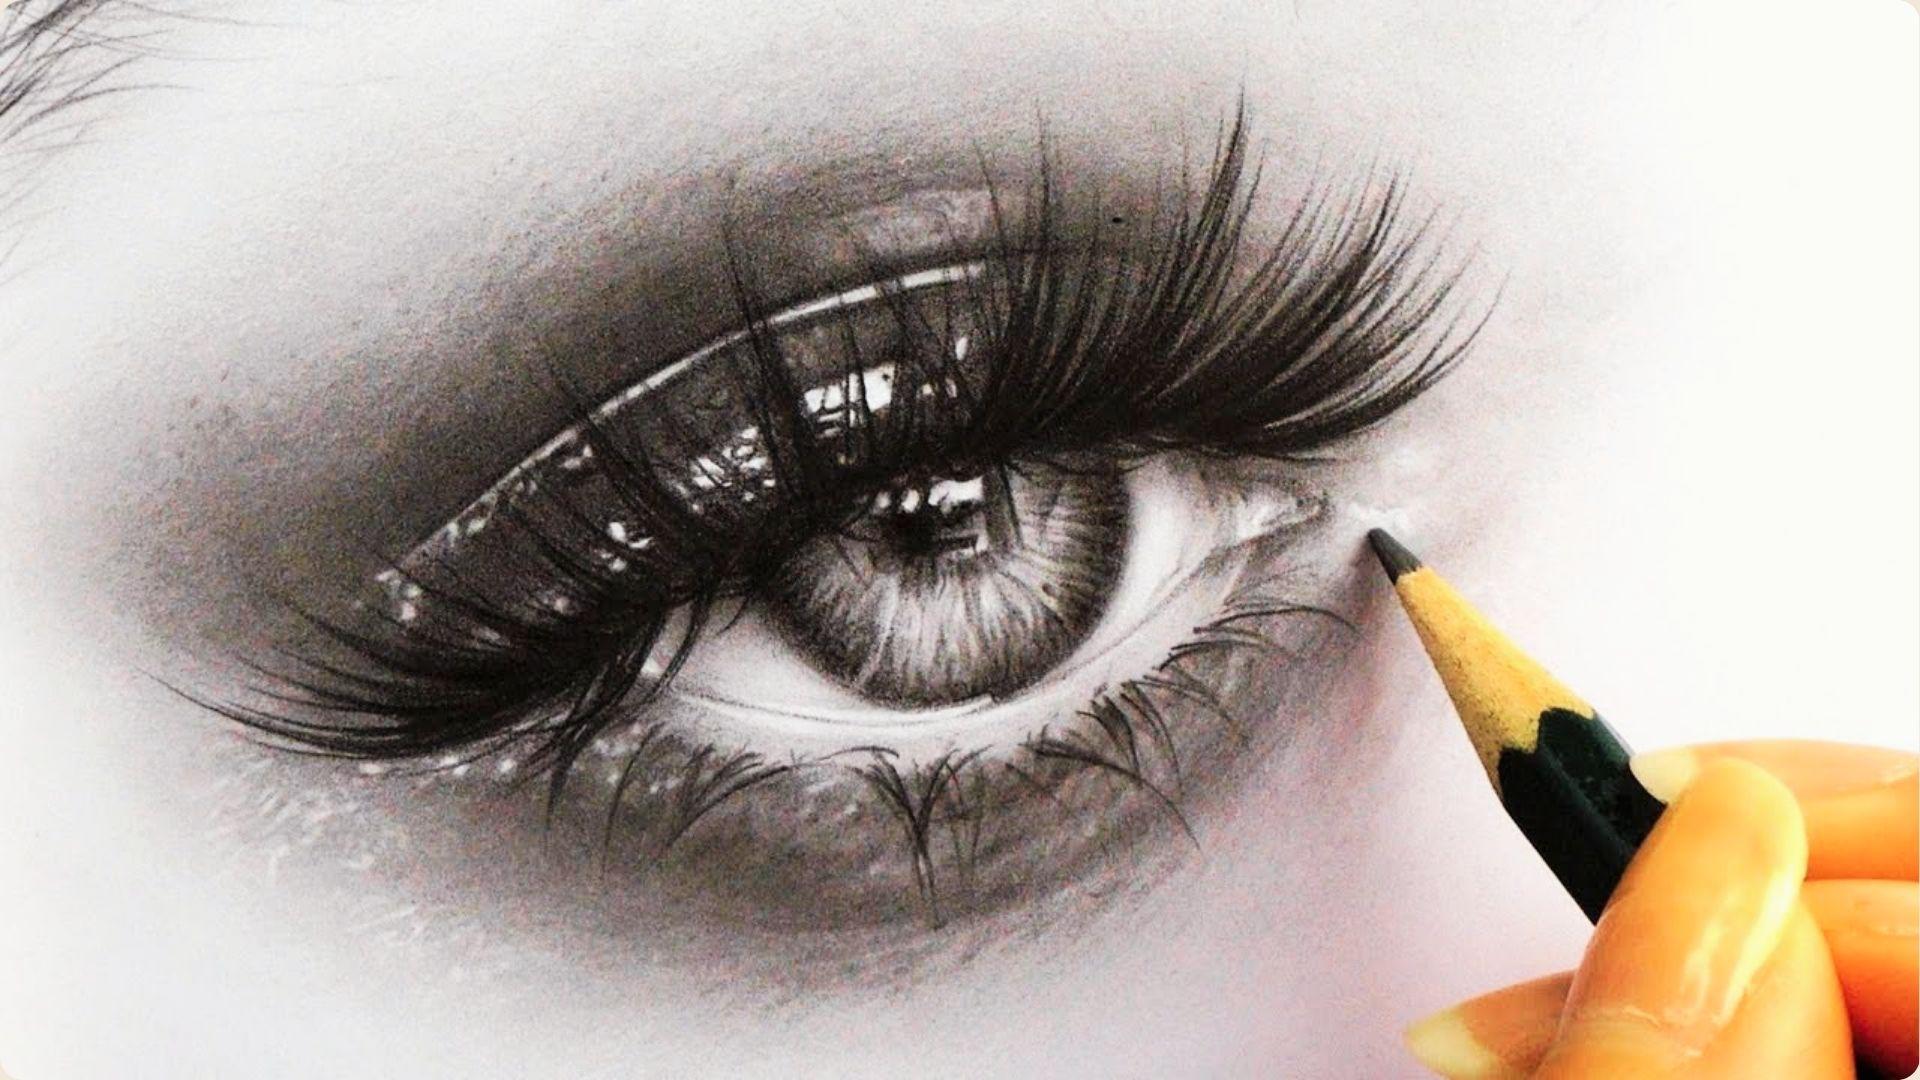
Realistic lashes come down to a few specific techniques that add detail, depth, and natural variation.
Create Tapered Eyelash Strokes
Press harder at the start of each stroke and ease off as you finish so lashes go from thick at the root to a fine tip. Practice this on scrap paper before working on your drawing.
Vary Lash Length and Thickness
Mix long, bold lashes with shorter, finer ones along the same lash line. Keeping every lash identical is one of the fastest ways to make them look fake.
Add Overlapping and Crossed Lashes
Let two or three lashes cross over each other along the upper lash line. This small detail adds a lot of natural realism without much extra effort.
Use Shadows for Depth and Realism
Darken the base of the lash line and add a faint shadow on the eyeball just below the upper lashes. This shadow gives the eye a three-dimensional feel.
Common Eyelash Drawing Mistakes and How to Fix Them
Spotting these mistakes early will save your drawing before it goes too far.
- Checkmark-shaped lashes mean you are curving too sharply. Practice smoother, more gradual curves.
- Evenly spaced lashes look fake. Group them in small clusters with slight gaps.
- Too dark or thick lashes overpower the eye. Lighten your pressure and darken only the base.
- Wobbly strokes come from drawing with fingers only. Use your arm for smoother lines.
- The same angle and length on every lash kills realism. Mix up direction and size throughout.
How to Draw Stylized Eyelashes
Stylized lashes look different depending on the art style, but each has its own clear set of rules to follow.
How to Draw Anime Eyelashes
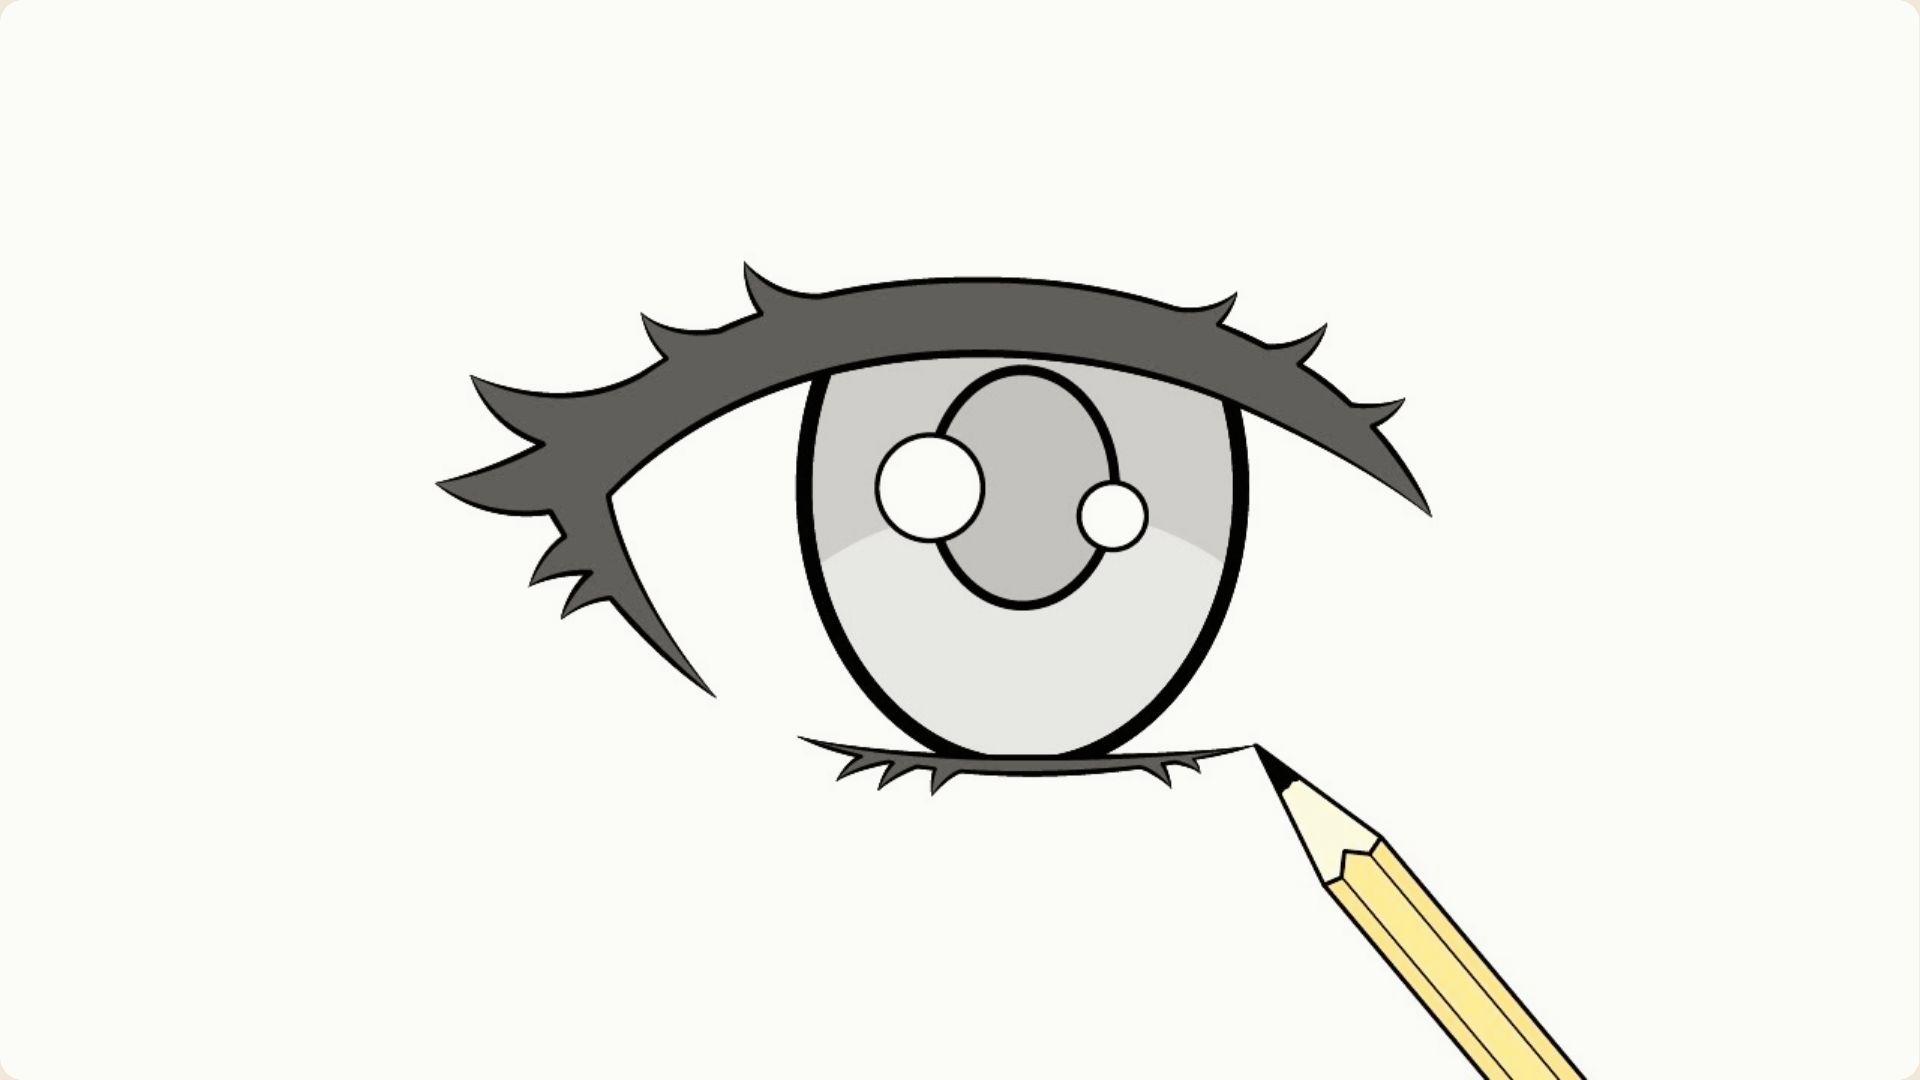
Anime lashes are drawn as thick, bold blocks along the upper lid with sharp spikes at the outer corner. Keep them graphic and simplified since fine detail is not the goal here.
How to Draw Cartoon Eyelashes
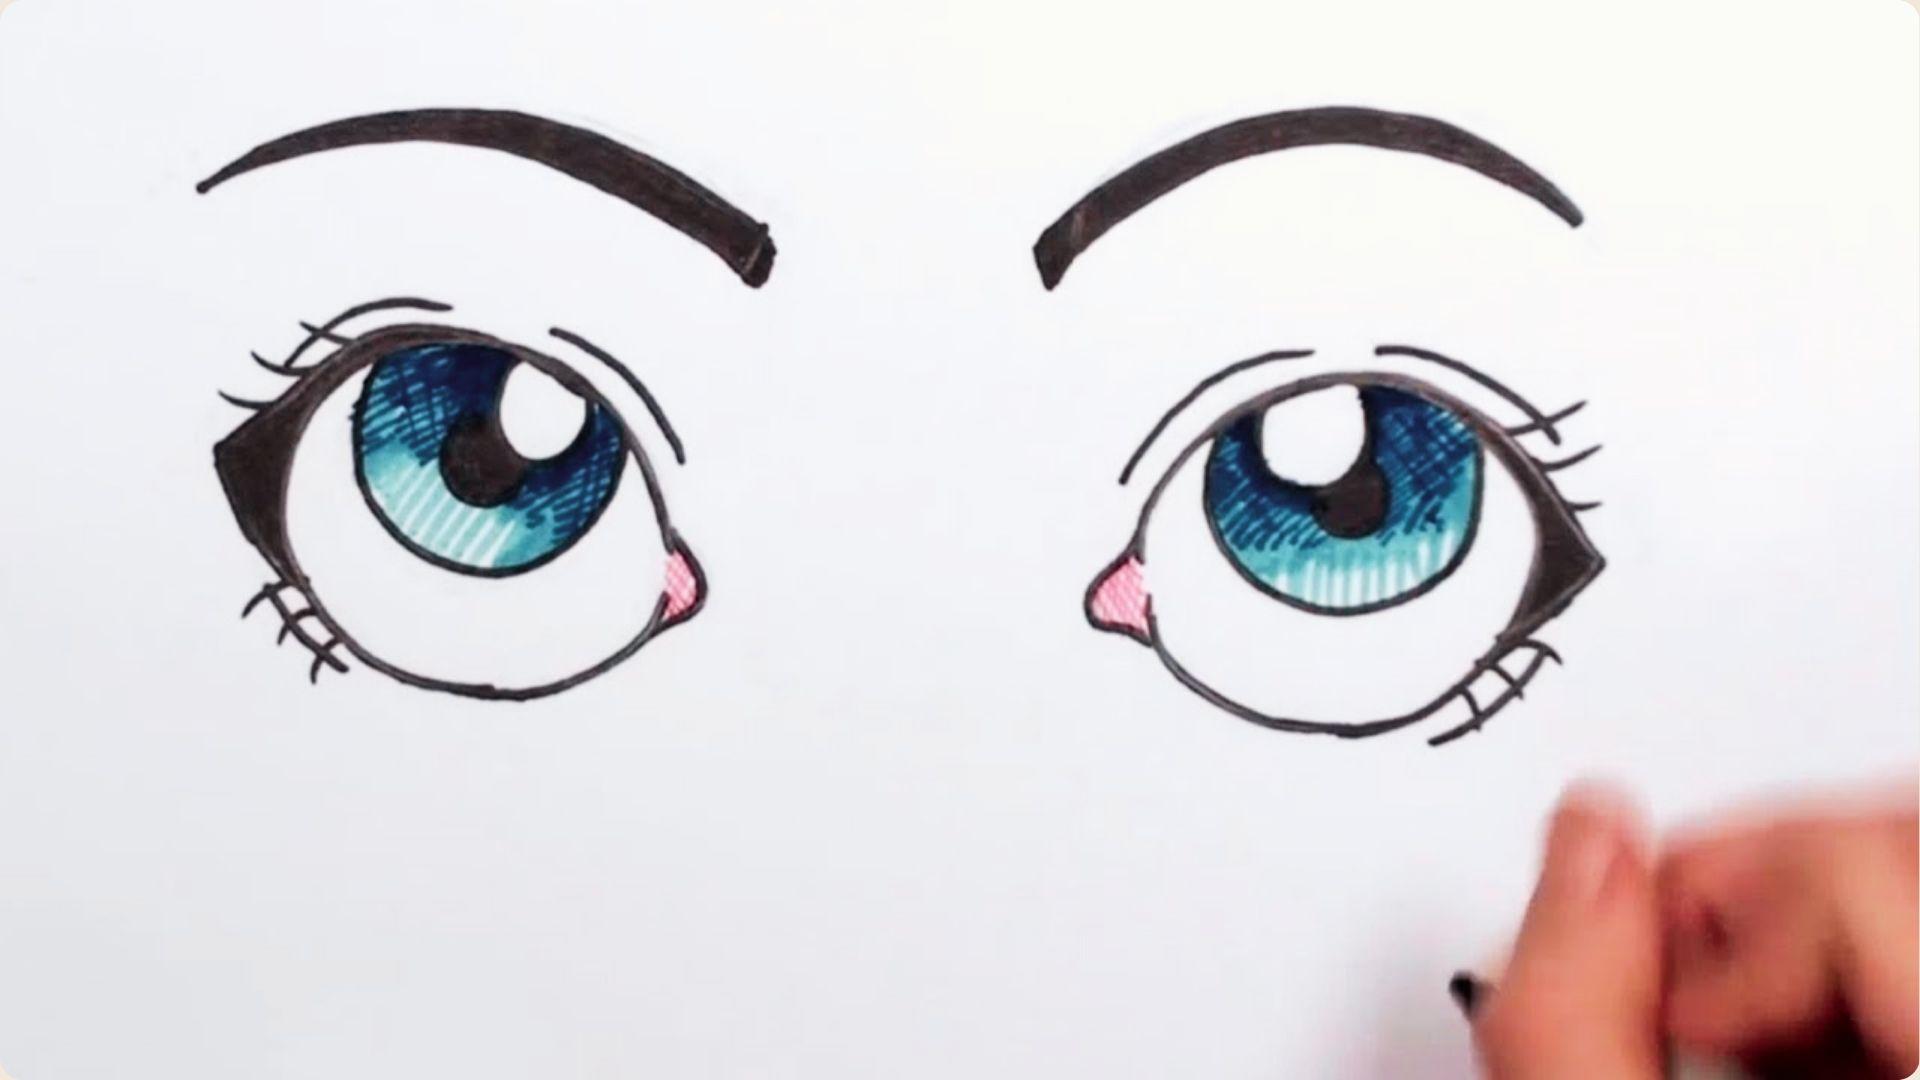
Use three to five thick, evenly curved strokes to suggest a full lash line. Cartoon lashes are bold and expressive, not detailed or realistic.
How to Draw Dramatic Fashion Eyelashes

Draw long, sweeping strokes that fan outward with extra-long lashes at the outer corner for a high-drama look. Layer them for volume and keep the style bold and exaggerated.
Tips for Better Eyelash Drawings
Small habits and techniques make your lash drawings look cleaner and more natural over time.
- Always taper your strokes from thick at the root to a fine point at the tip.
- Vary the length, curve, and spacing of each lash to avoid a stiff, repeated pattern.
- Group lashes in small clusters rather than spacing them out evenly across the lash line.
- Use your arm and wrist for smoother strokes instead of drawing with just your fingers.
- Keep your pencil or pen sharp at all times for clean, precise lines.
Conclusion
Drawing eyelashes gets easier every time you practice. I remember my early attempts looking more like scratchy spikes than actual lashes, but small adjustments made a big difference over time.
Now you have the steps, the tips, and the mistakes to watch out for. All that is left is to pick up your pencil and give it a go.
If this guide helped you, drop a comment below and let me know how your lashes turned out. Sharing it with a fellow artist would mean a lot too.
Frequently Asked Questions
How do I make eyelashes look more natural in my drawings?
Vary the length, curve, and spacing of each lash. Grouping them in small clusters instead of spacing them evenly makes a big difference.
What is the best tool for drawing eyelashes?
A sharp 2B pencil works well for most pencil drawings. A fine-tip liner or brush pen is great for clean, detailed lash work.
How many eyelashes should I draw on an eye?
You do not need to count them. Focus on building a full lash line with varied clusters rather than aiming for a specific number.
Why do my eyelashes look stiff or fake?
Stiff lashes usually come from drawing every lash at the same angle and length. Add variation in direction, size, and curve to fix this.
Can beginners learn how to draw eyelashes?
Yes, absolutely. Start simple, follow the steps in this guide, and practice regularly. Progress comes faster than most beginners expect.
