


Making slime without glue is simpler than most people think.
If you have cornstarch and dish soap at home, you already have everything you need. I have tested this recipe multiple times, and it works every single time.
In this article, you will find step-by-step instructions, tips to fix common problems, fun variations, and safety advice for kids. This guide has you covered from start to finish.
No glue. No borax. No stress. Just simple ingredients and a recipe that actually works.
What You Need to Make Slime Without Glue
You only need two main ingredients. Simple and easy.
Cornstarch

Cornstarch is the base of this slime. It gives the slime its stretchy and dough-like texture. You can find it in any grocery store, usually in the baking aisle.
Use plain white cornstarch. Do not substitute it with flour or other starches, as they will not give the same result.
Dish Soap

Dish soap acts as the binding agent. It holds the cornstarch together and gives the slime its soft, smooth feel.
Any brand of dish soap works. Thicker dish soaps tend to work better than watery ones. Dawn and Palmolive are popular choices.
Optional Add-Ins for Color and Texture

Want to make your slime more exciting? Try adding:
- Food coloring for bright, vivid colors
- Glitter for a sparkly effect
- A few drops of essential oil for a light scent
- Small foam beads for a bumpy, satisfying texture
These are completely optional. The basic recipe works perfectly on its own.
Materials You Will Need
Before you start, gather these simple tools.
Mixing Bowl
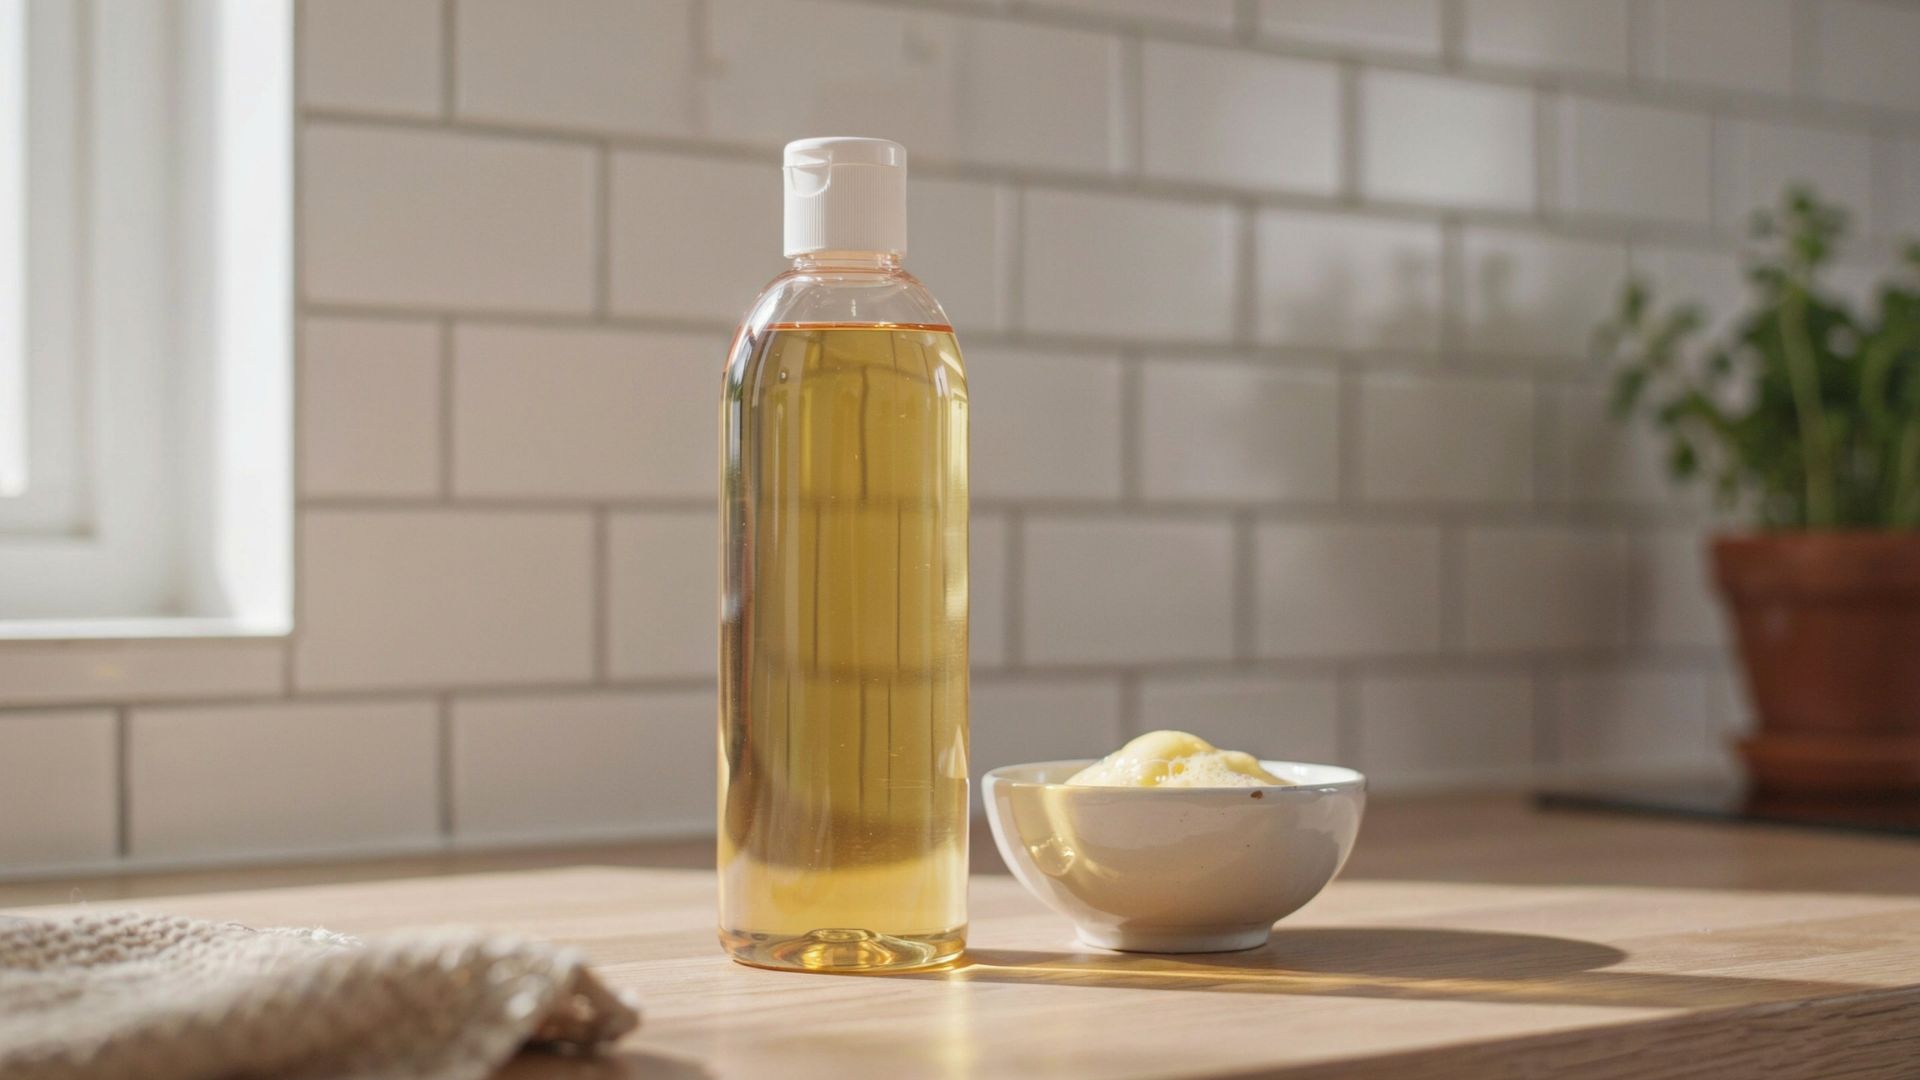
Use a medium-sized bowl. You need enough space to mix the ingredients without making a mess. A glass or plastic bowl works fine.
Spoon or Spatula
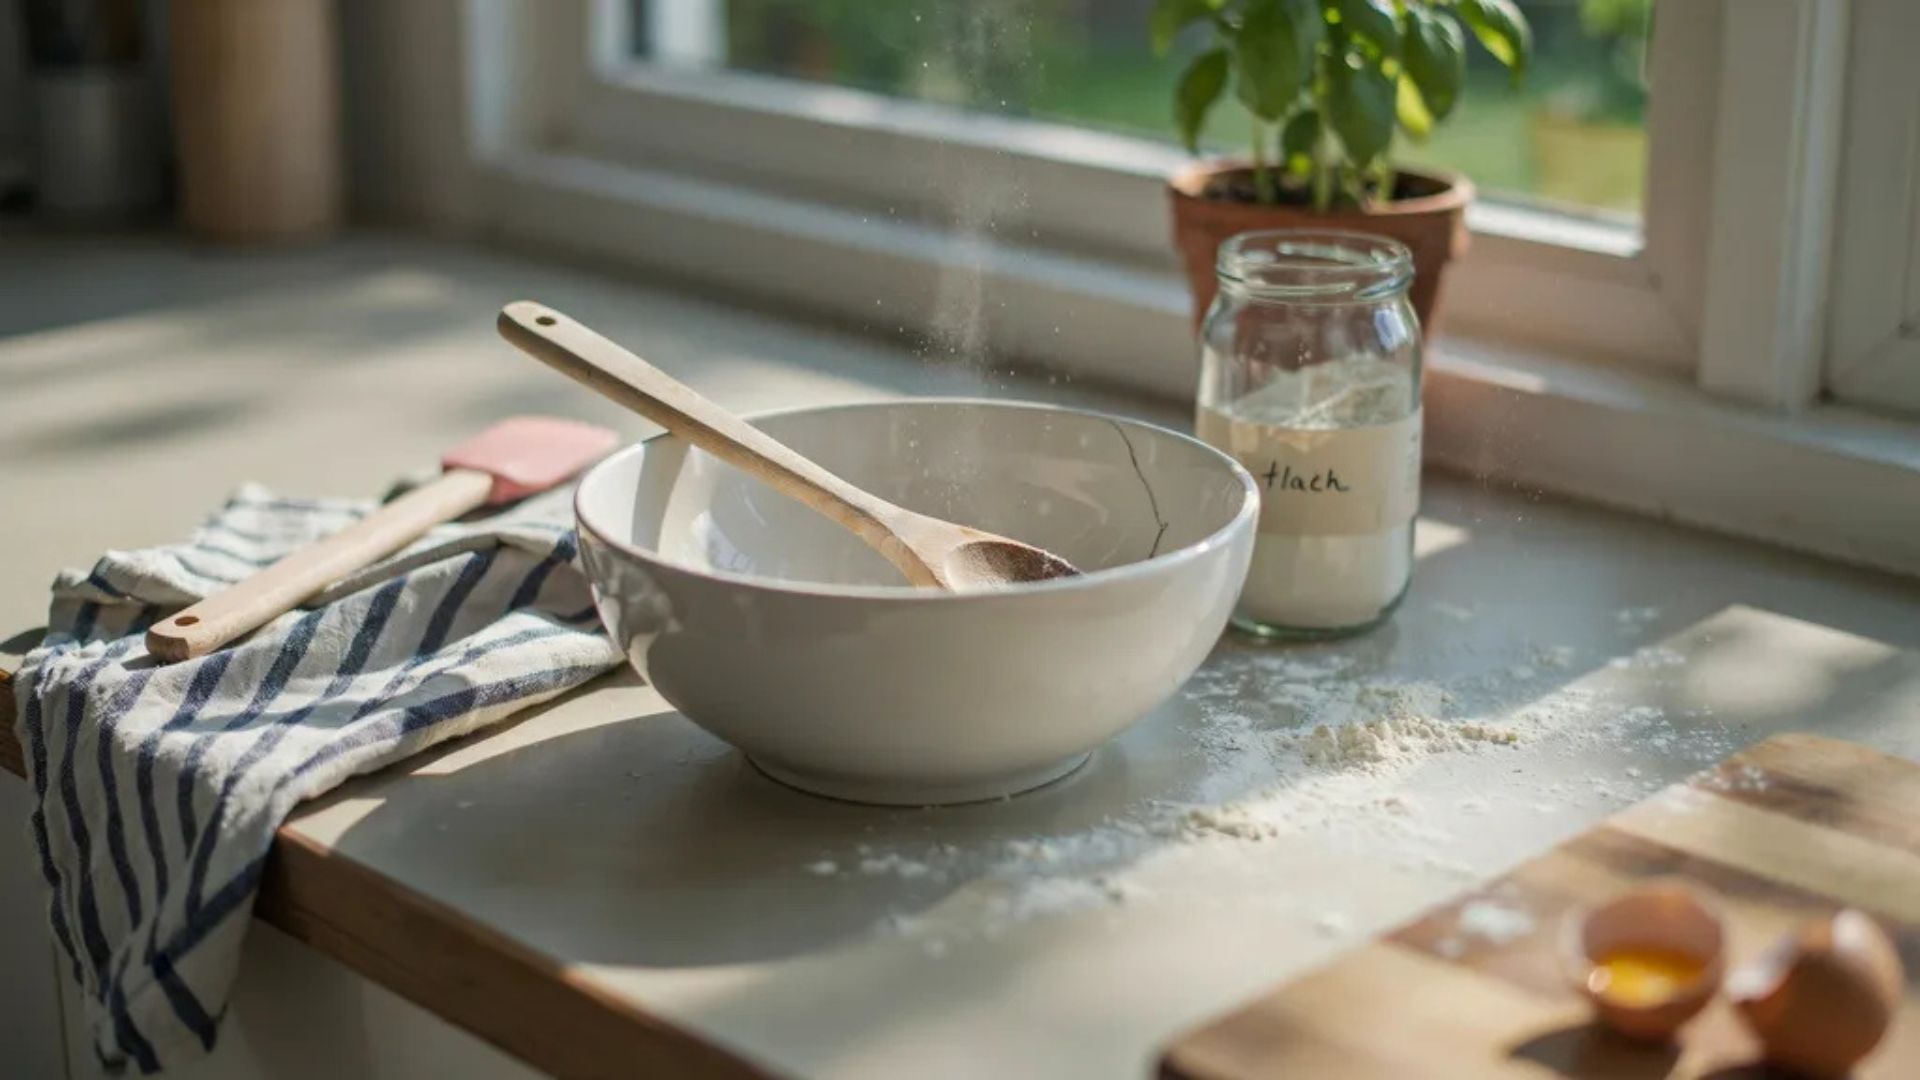
A spoon or spatula helps you mix the ingredients together. Once the slime starts to form, you will switch to using your hands.
Airtight Container for Storage

Once your slime is ready, you will need somewhere to keep it. An airtight container keeps it fresh and prevents it from drying out. A ziplock bag or a small plastic container with a lid works great.
How to Make Slime Without Glue: Step-by-Step Instructions
Here is the full recipe broken down into five simple steps.
Step 1: Add the Cornstarch to a Bowl
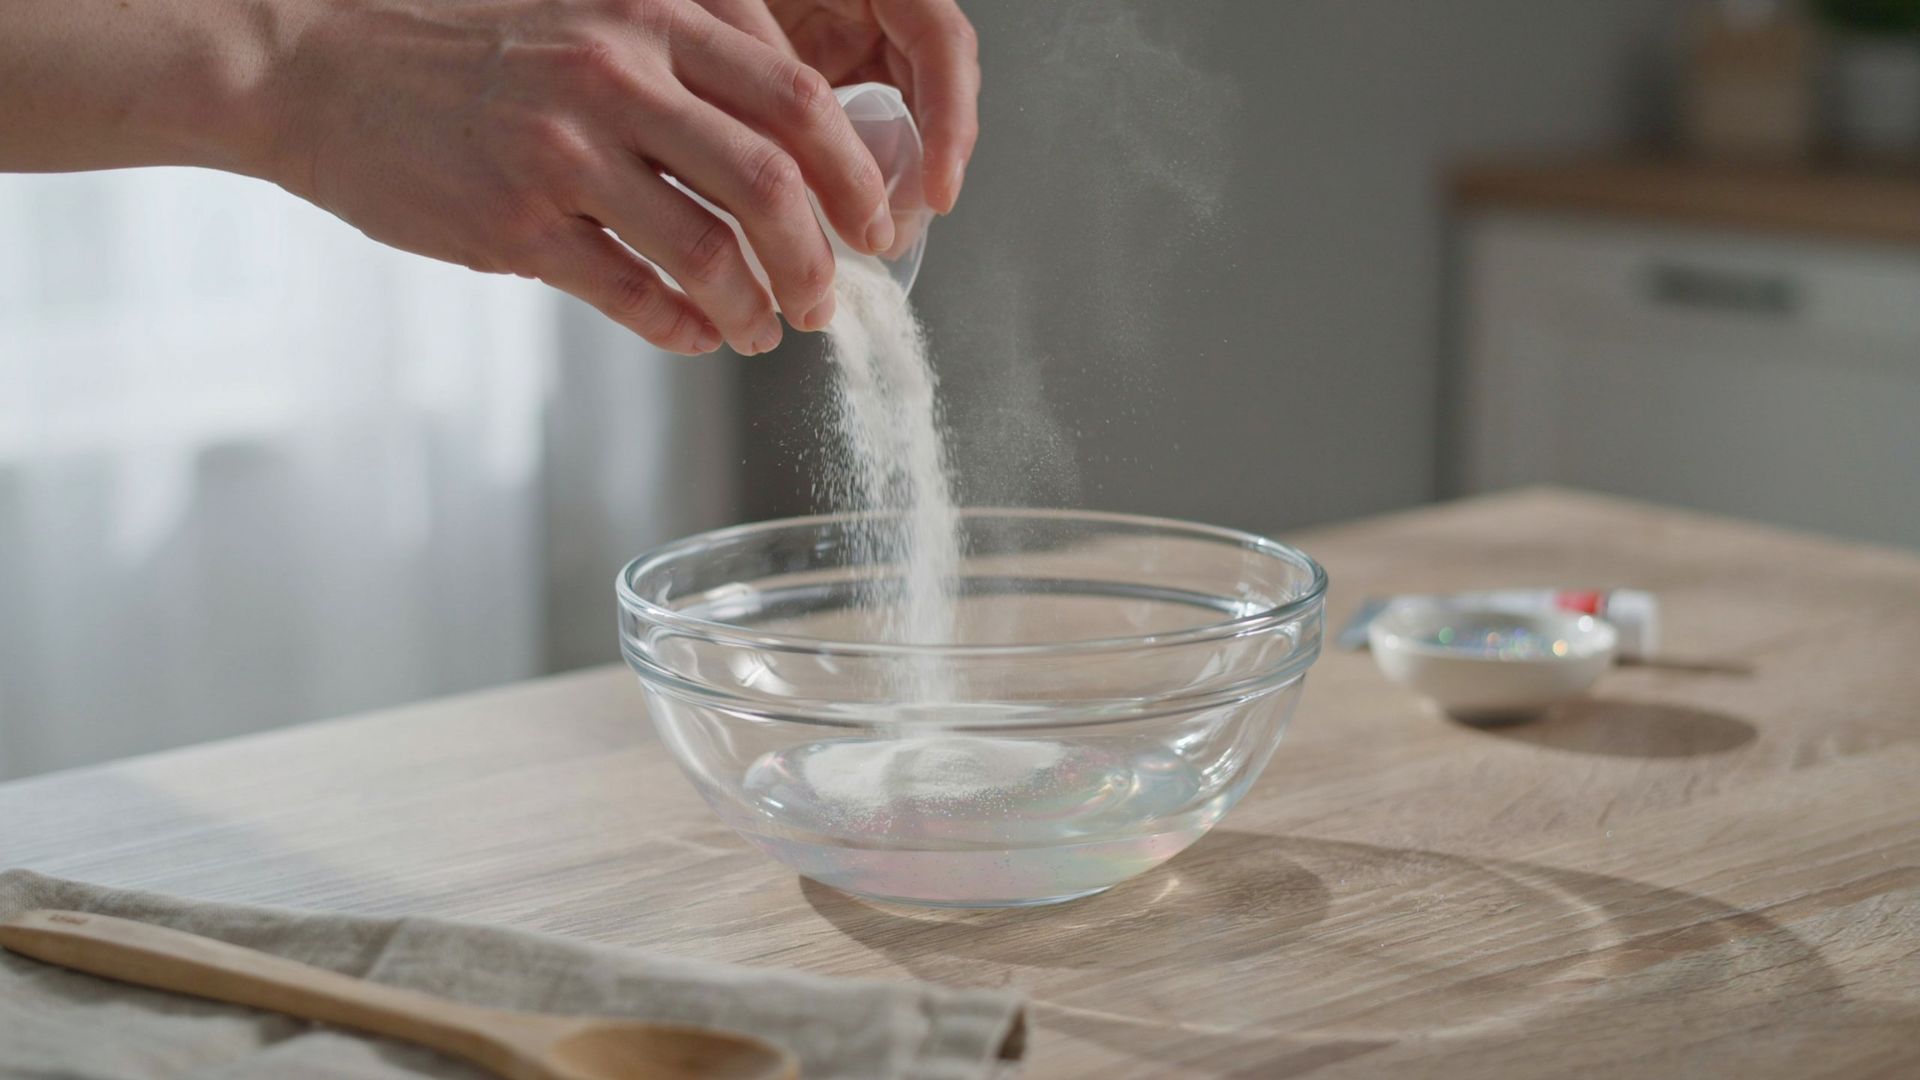
Start by measuring out one cup of cornstarch and pouring it into your mixing bowl. Spread it out evenly so it is ready to absorb the dish soap.
Step 2: Pour in the Dish Soap
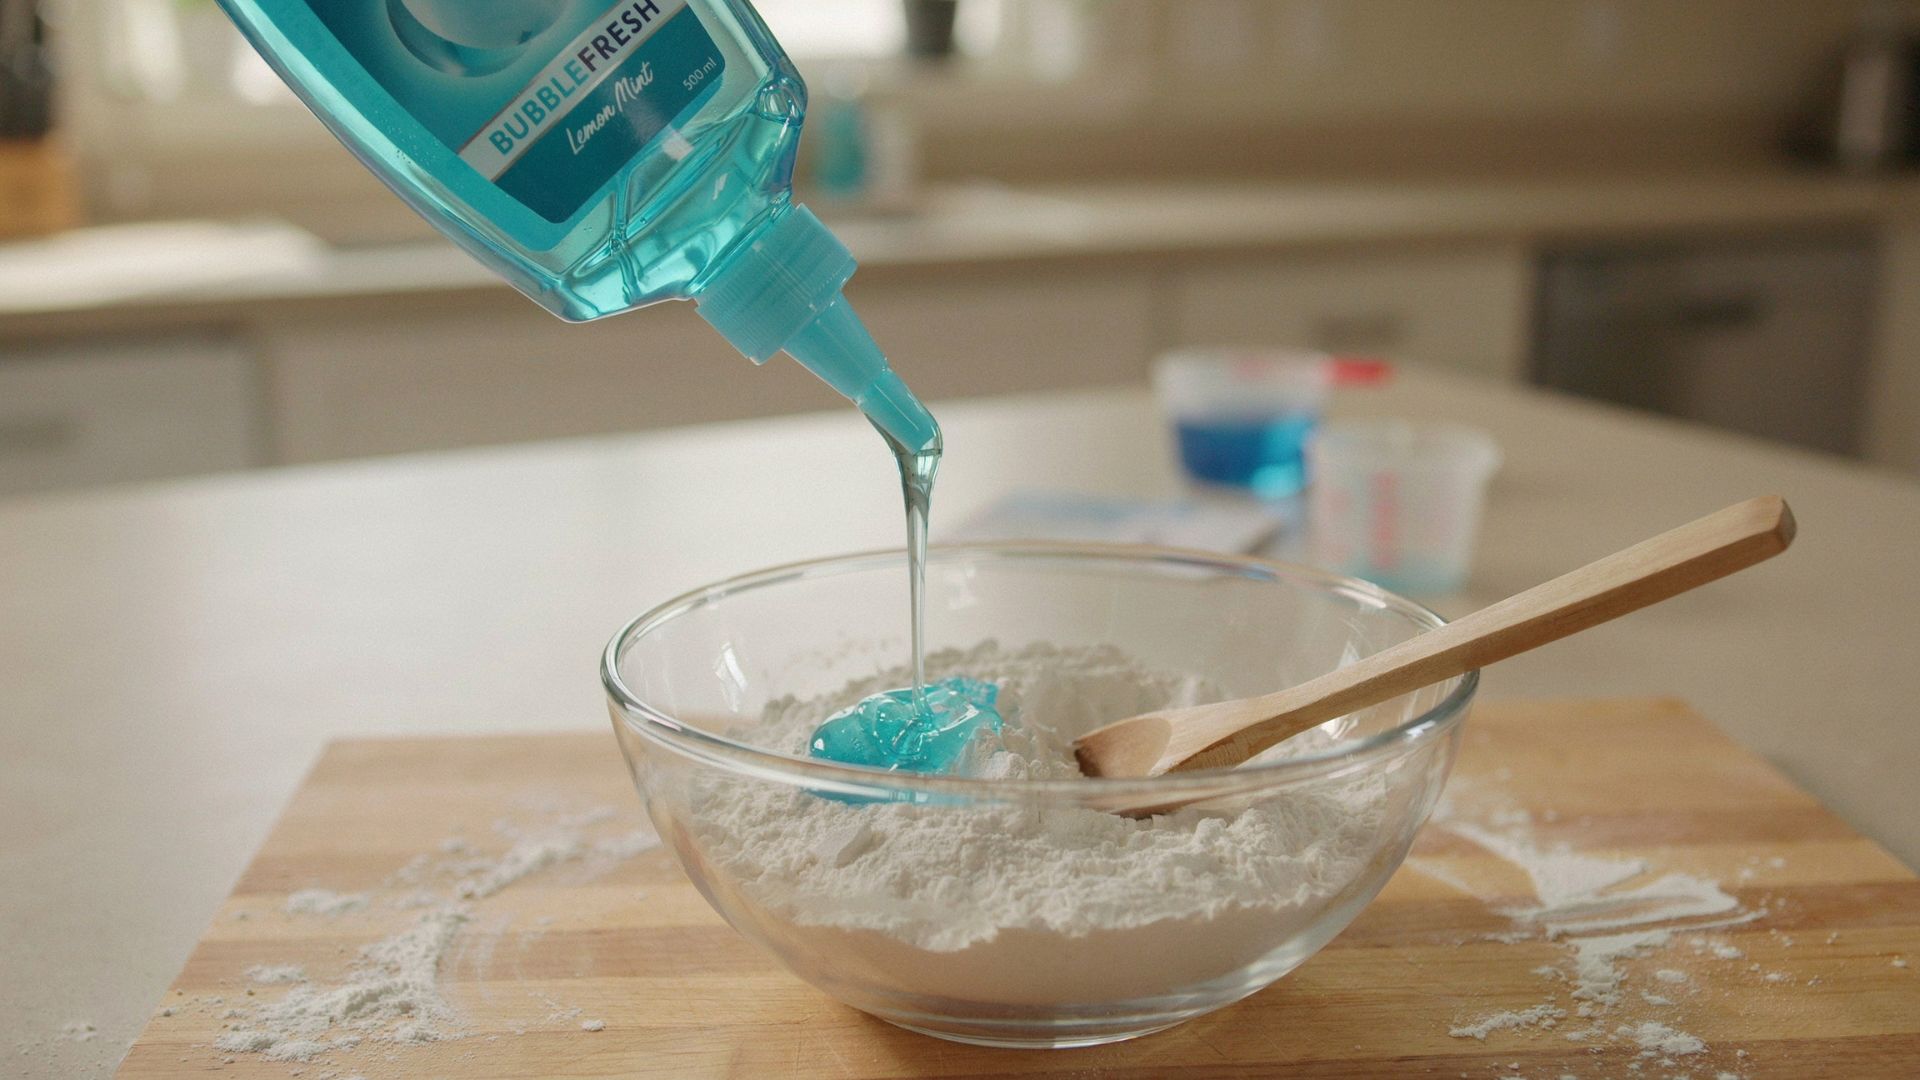
Add two to three tablespoons of dish soap directly onto the cornstarch. Start with two tablespoons. You can always add more later if needed.
If you are adding food coloring, mix a few drops into the dish soap before pouring it in. This helps the color spread evenly.
Step 3: Mix Until Smooth

Use your spoon or spatula to start mixing the two ingredients together. Stir slowly at first. The mixture will look crumbly before it starts coming together.
Keep mixing until the cornstarch fully absorbs the dish soap. This usually takes about two to three minutes.
Step 4: Adjust the Consistency if Needed

Check the texture of your slime at this point.
Too dry or crumbly? Add half a tablespoon of dish soap and mix again.
Too sticky or wet? Sprinkle in a little more cornstarch and mix it through.
Make small adjustments. A little goes a long way here.
Step 5: Knead Until Soft and Stretchy
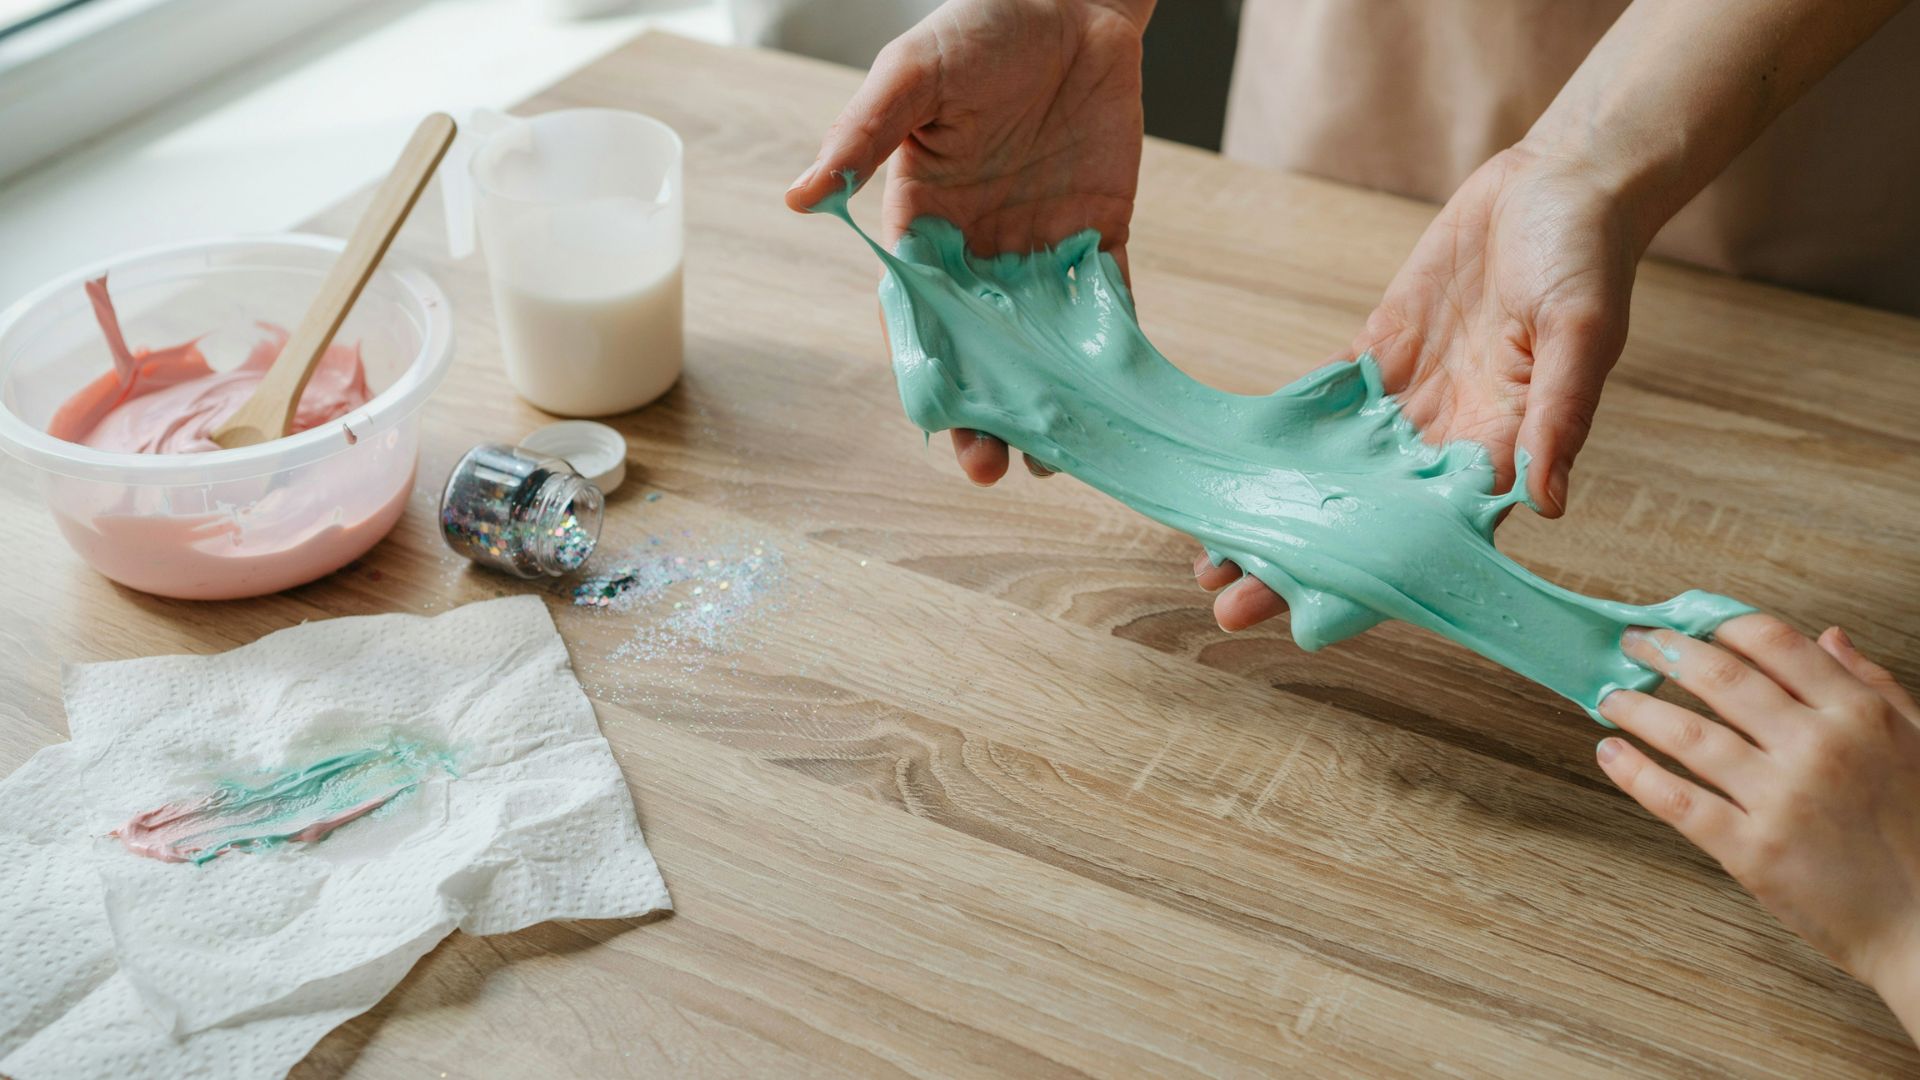
Once the mixture starts holding together, use your hands to knead it. Press it, fold it, and stretch it repeatedly. This step activates the texture and makes the slime soft and stretchy.
Knead for about three to five minutes. The more you work it, the better it feels.
Tips for Making the Best Slime Without Glue
- Add ingredients gradually. If the slime is too dry or too sticky, make small adjustments instead of adding large amounts at once.
- Knead the slime well. Spend a few minutes kneading to create a smoother, softer, and stretchier texture.
- Choose your dish soap carefully. The color of the soap can affect the final appearance of your slime.
- Use clear dish soap for custom colors. This makes it easier to achieve the exact shade you want with food coloring.
- Protect your work surface. Place a silicone mat, parchment paper, or plastic tablecloth underneath to make cleanup easier.
How to Fix Common Slime Problems
Sometimes slime does not turn out perfectly on the first try. Here is how to fix the most common issues.
Slime Is Too Dry
Add half a tablespoon of dish soap and knead it in. Repeat until the slime feels softer and more flexible.
Slime Is Too Sticky
Sprinkle in a small amount of cornstarch. Knead it thoroughly until the stickiness goes away.
Slime Is Too Runny
This usually means too much dish soap was added. Add cornstarch one teaspoon at a time and mix well after each addition.
Slime Falls Apart Easily
Keep kneading. The slime often falls apart at first but comes together as you work it more. If it still falls apart after five minutes of kneading, add a tiny drop of dish soap and try again.
How to Store Slime Without Glue
Proper storage keeps your slime fresh and ready to use again.
Best Containers for Storage
Use an airtight container. A small plastic container with a snap-on lid or a ziplock bag works perfectly. Press out as much air as possible before sealing it.
Avoid leaving slime in open bowls or on the table. It will dry out quickly.
How Long It Lasts
This slime typically lasts three to five days when stored properly. The exact time depends on how airtight your container is and the humidity in your home.
How to Refresh Dried-Out Slime
If your slime starts to feel dry, add a tiny drop of dish soap and knead it back to life. Do not add too much at once. Just a drop or two is usually enough.
Safety Tips for Kids
This recipe is generally safe, but a few precautions are worth keeping in mind.
Wash Hands After Play
Always wash hands with soap and water after playing with slime. This keeps any residue off food and out of eyes.
Avoid Eating the Slime
The ingredients are not toxic, but slime is not meant to be eaten. Remind younger children not to put it in their mouths.
Adult Supervision for Young Children
Children under three years old should always have an adult present. Small children can put things in their mouths without thinking.
Conclusion
Making slime without glue is easy, affordable, and genuinely fun. All you need is cornstarch, dish soap, and a few minutes of your time.
Mix one cup of cornstarch with two to three tablespoons of dish soap. Adjust the consistency, then knead until smooth and stretchy. Add color, glitter, or scent to make it your own.
Always make small adjustments when fixing texture, knead thoroughly, and store it in an airtight container to keep it fresh longer.
Ready to get started? Grab your cornstarch and dish soap and try it today. Share your slime creations in the comments below. We would love to see what you make!
Frequently Asked Questions
Can You Make Slime Without Glue and Borax?
Yes. This recipe uses cornstarch and dish soap only. No glue and no borax required. It is a completely different approach that still gives you stretchy, fun slime.
What Can I Use Instead of Dish Soap?
You can try hand soap or body wash. Results may vary depending on the thickness of the soap. Thicker soaps work better. Dish soap is still the most reliable option.
Why Is My Slime Not Stretchy?
It usually needs more kneading. Work the slime with your hands for a few more minutes. If it is still not stretchy, try adding a small drop of dish soap and kneading again.
Can I Add Food Coloring?
Yes. Add two to three drops of food coloring to the dish soap before mixing. This ensures the color spreads evenly throughout the slime.
How Long Does Homemade Slime Last?
With proper storage in an airtight container, this slime lasts about three to five days. Always store it at room temperature. Avoid leaving it in direct sunlight or heat.
