

Drawing a pumpkin does not have to be hard. This guide breaks it down into simple steps anyone can follow, even if you have never drawn before.
Here is what you will find in this blog:Easy step-by-step pumpkin drawing instructions, Materials you need to get started, Common mistakes and how to fix them, Coloring tips for a finished look.
I have helped many beginners go from blank paper to a full pumpkin drawing. You are in the right place. By the end, you will feel confident picking up that pencil.
Why Pumpkin Drawing Easy Tutorials Are Perfect for Beginners

Simple tutorials build real skills fast, and pumpkin drawing is one of the best starting points for any beginner.
Pumpkins have a forgiving shape. They do not need to be perfect. That is what makes them great for practice.
Beginners often feel stuck because they try something too hard first. A pumpkin drawing is simple enough to finish in one sitting. And finishing something feels really good.
The curved lines and round body teach you shading, depth, and proportion. These are skills you will use in every drawing after this.
Materials Needed for Pumpkin Drawing Easy
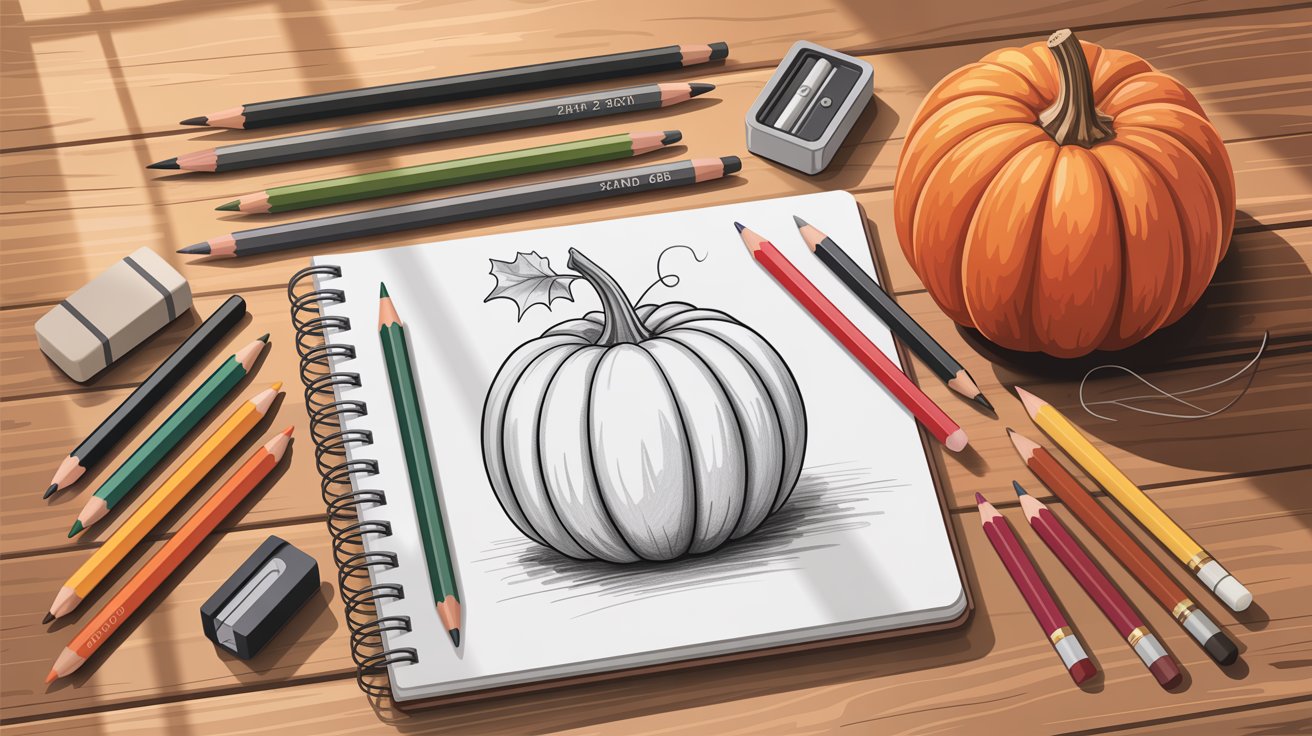
You do not need fancy supplies. The right basic tools are all it takes to get started today.
Basic Supplies (Pencil, Paper, Eraser)
A regular HB pencil works well for beginners. It is easy to control and erase. Use a clean white eraser so you do not smear the paper.
Plain printer paper is fine to start. It is smooth and holds pencil lines well. You do not need a sketchbook right away.
Optional Coloring Tools (Markers, Paint, Digital Apps)
Once your sketch is ready, you can add color. Colored pencils, markers, or watercolors all work well. Even digital apps like Procreate or Sketchbook are good choices.
Pick the tool that feels most comfortable. There is no wrong choice here.
Choosing the Right Paper
Thicker paper holds up better when coloring. If you plan to use watercolor, use watercolor paper. For pencil or marker work, regular cardstock or drawing paper is enough.
Avoid very thin paper. It tears easily and shows through when you erase.
Pumpkin Drawing Easy: Step-by-Step Guide
Follow these steps slowly and you will have a great pumpkin drawing by the end.
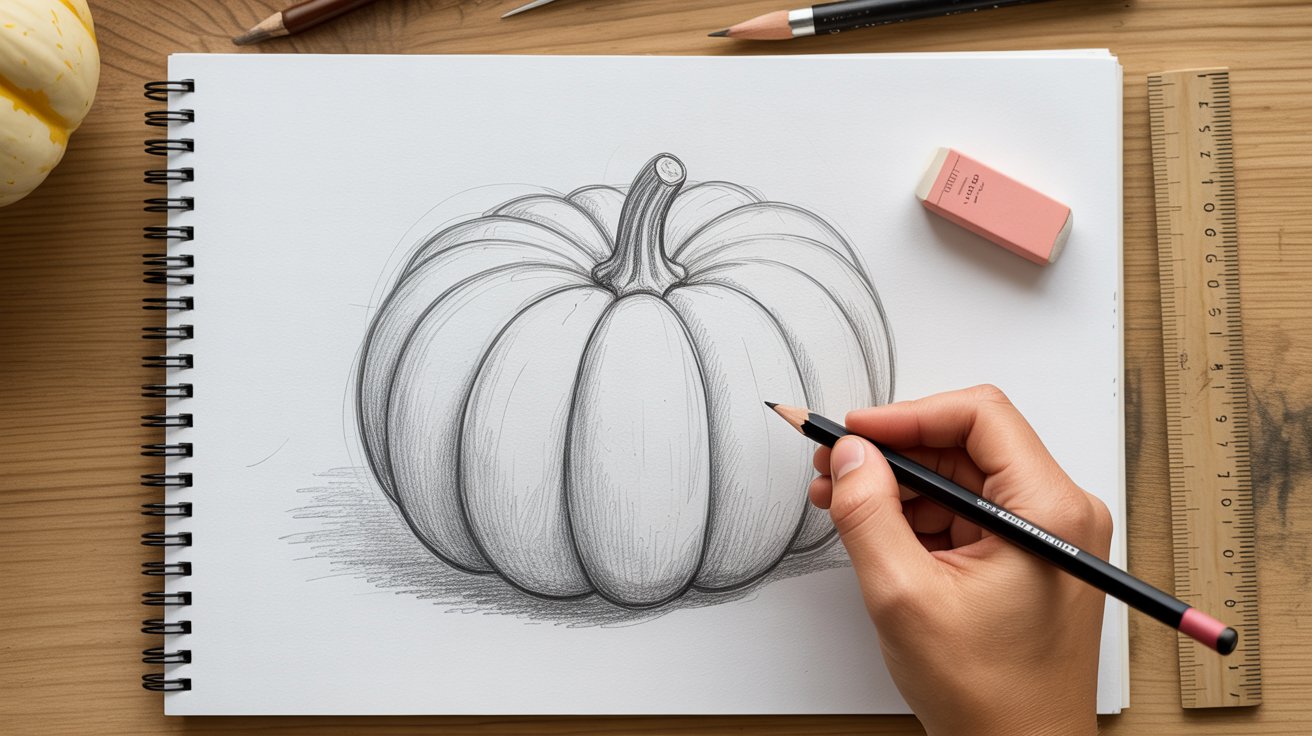
Step 1: Draw a Basic Oval Shape
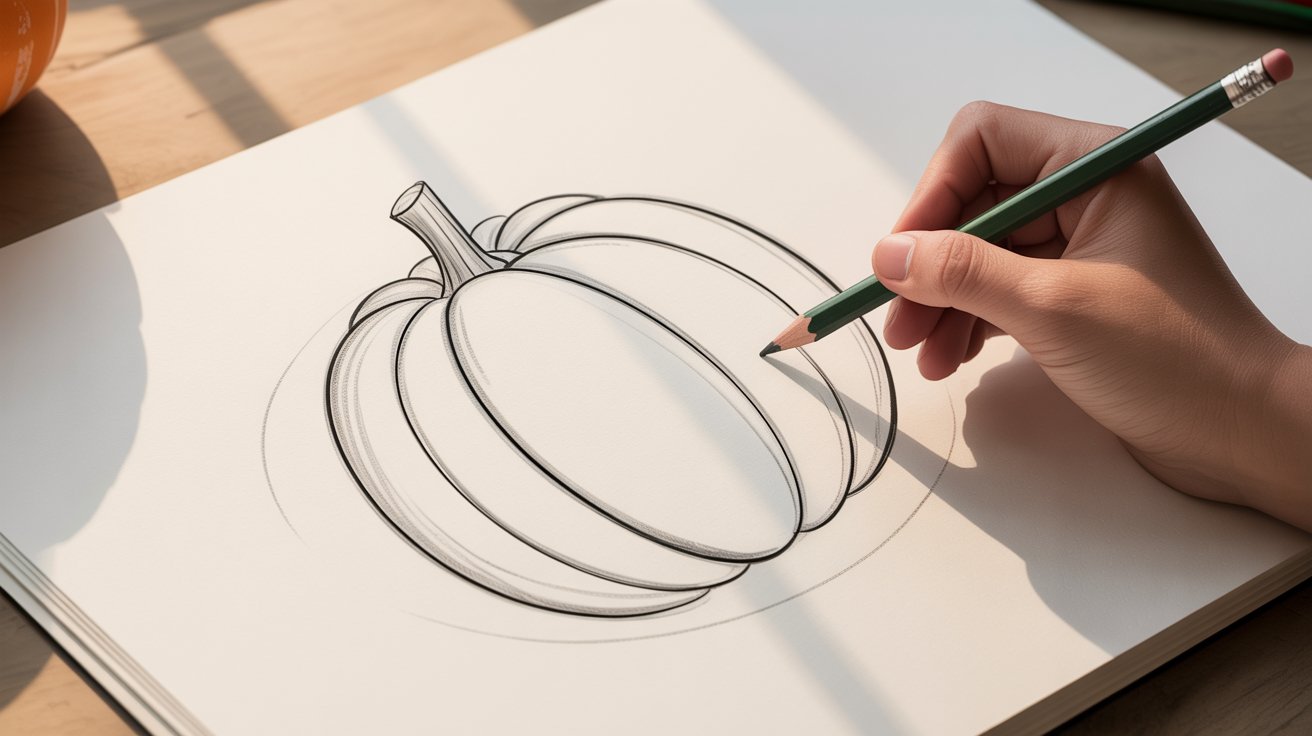
Start with a light, round oval in the center of your paper. This is the base of your pumpkin. Keep it loose. Do not press hard.
Step 2: Add the Pumpkin Stem
Draw a small rectangle at the top of the oval. Slightly curve it to one side. This becomes the stem. Keep it short and simple.
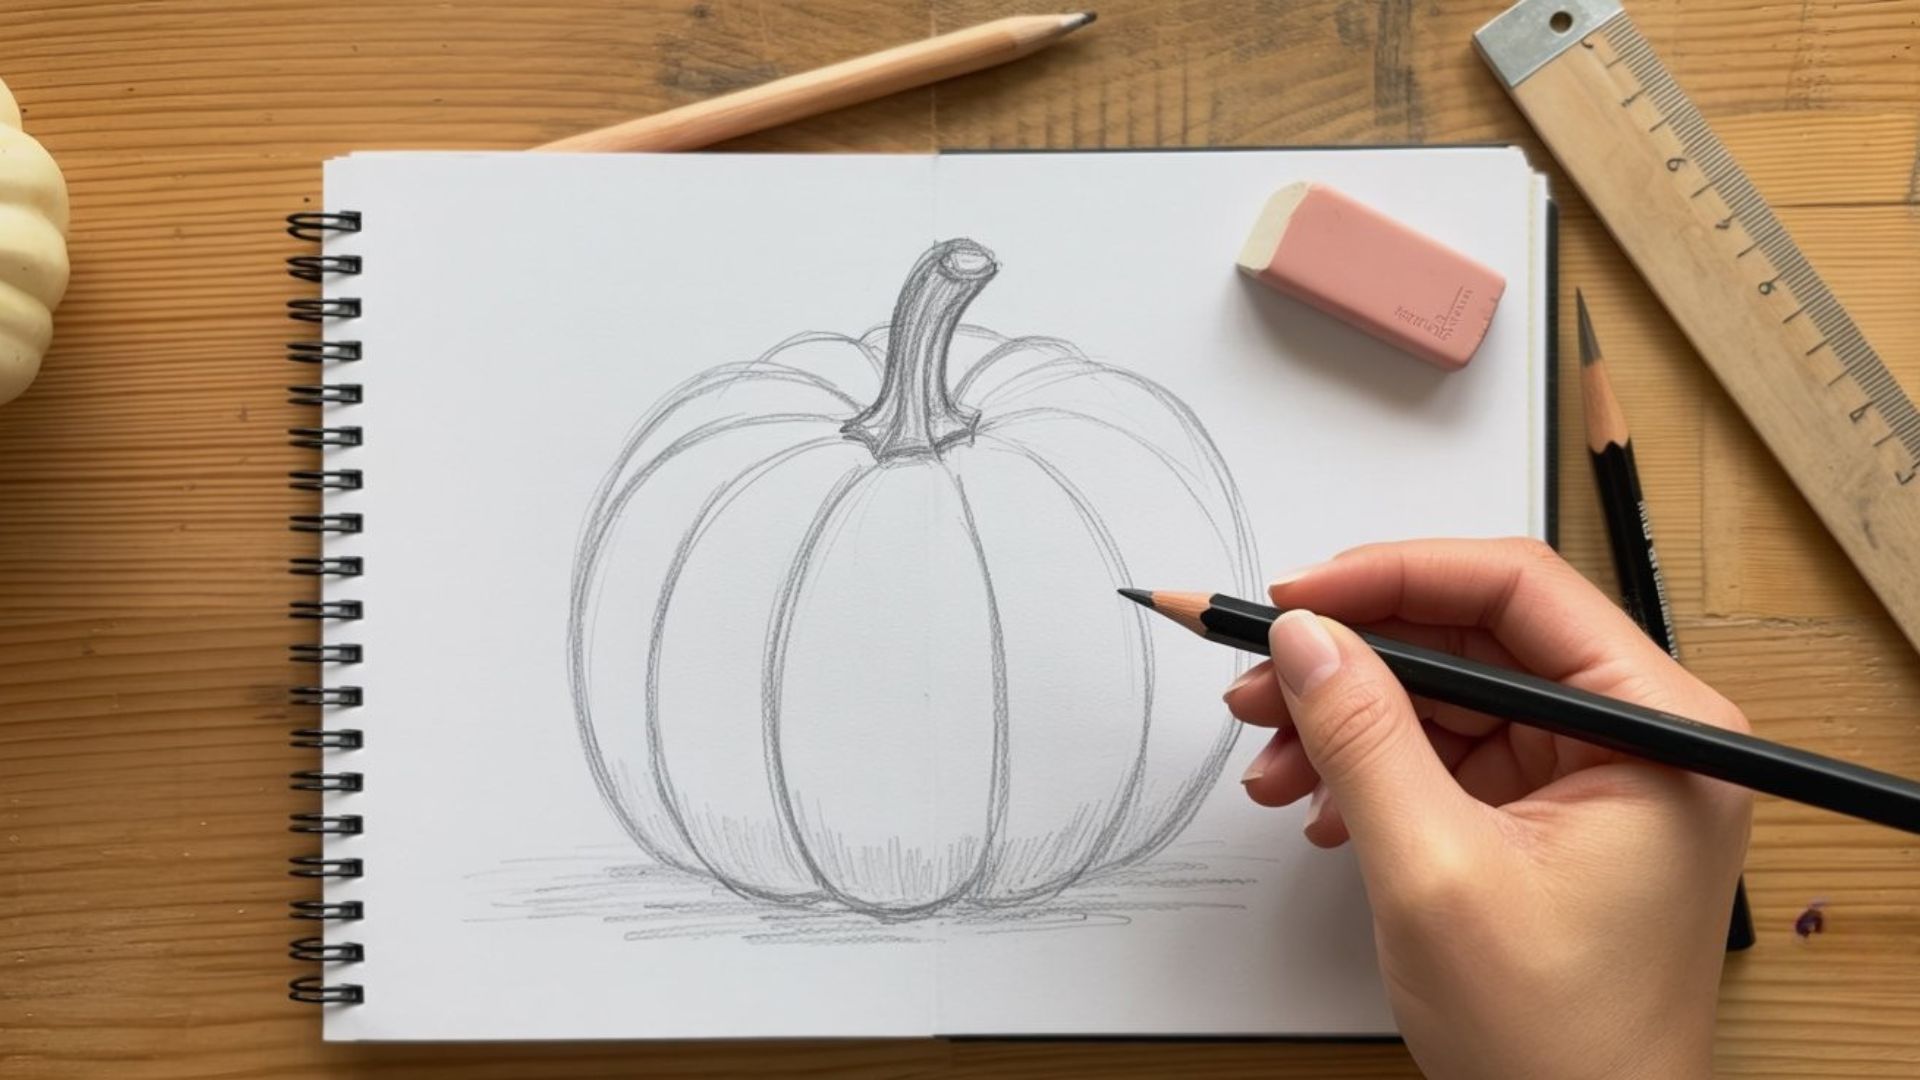
Step 3: Sketch the Center Oval
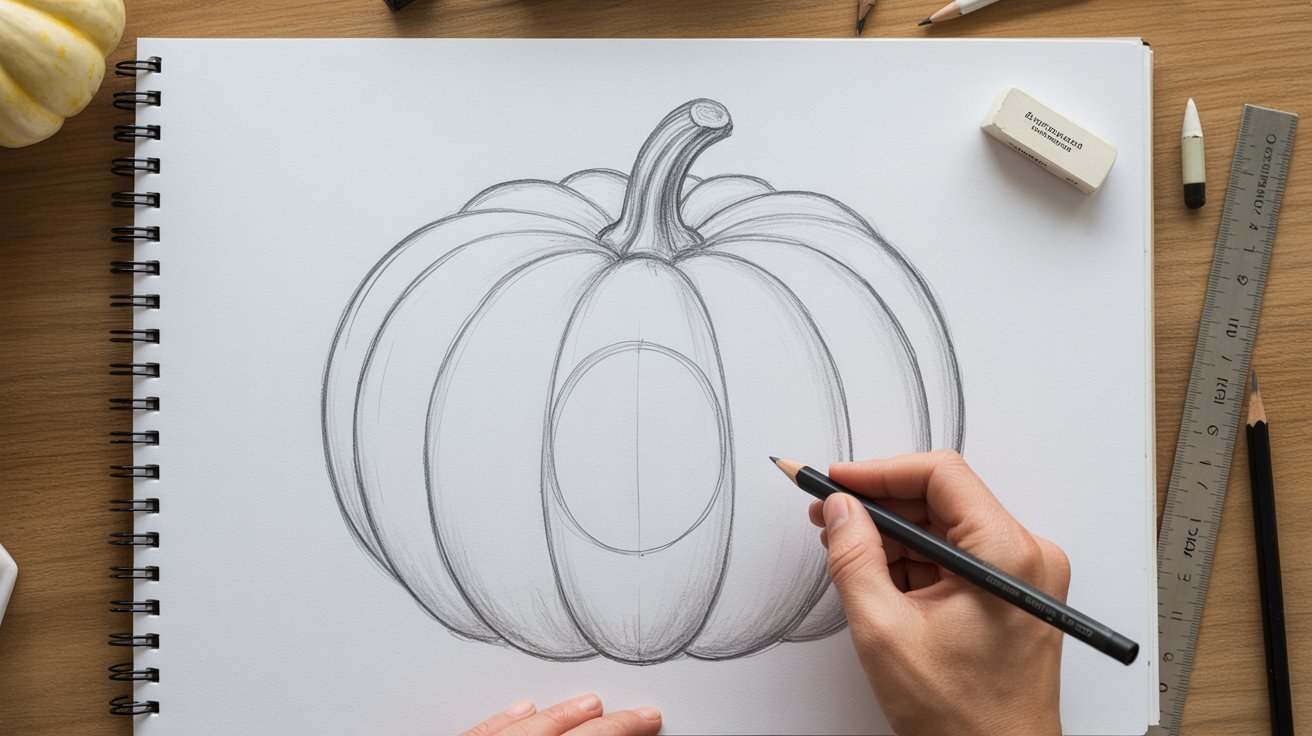
Inside your first oval, draw a slightly smaller oval in the middle. This helps define the pumpkin's center section. It gives the drawing more shape.
Step 4: Draw Curved Ribs for Texture
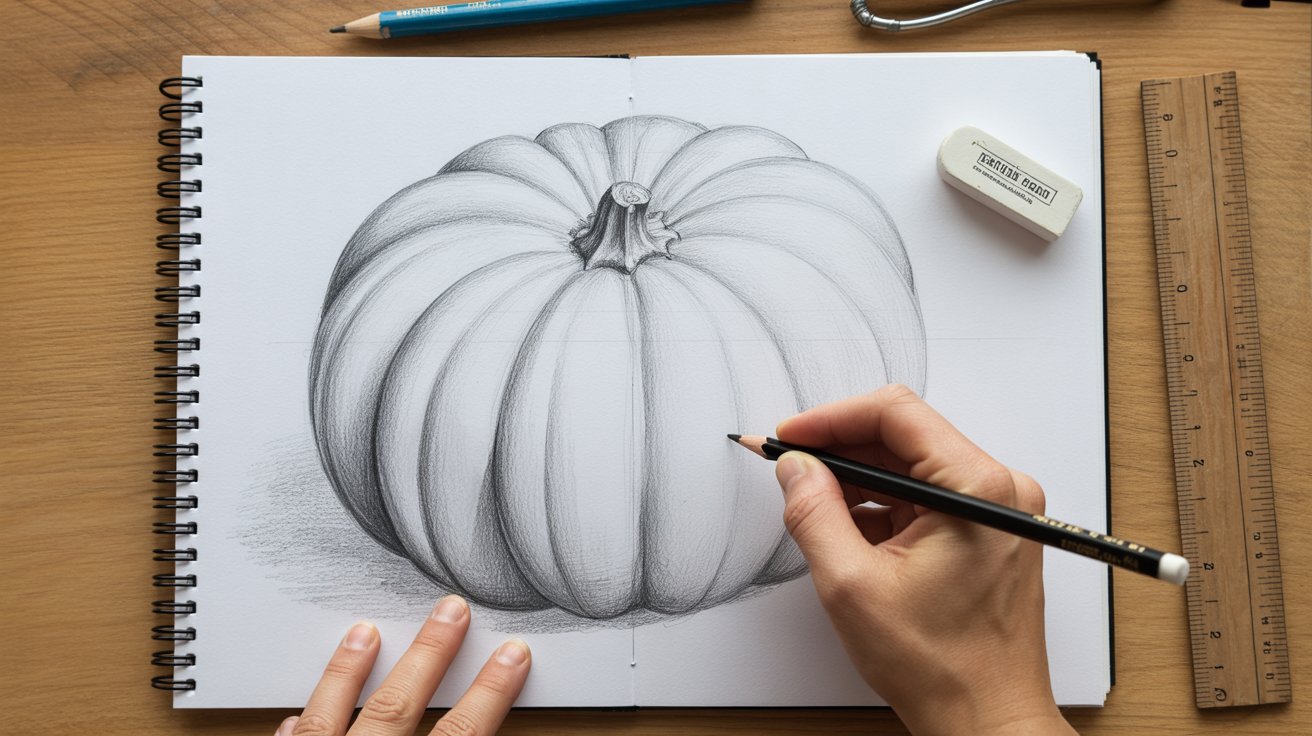
On each side of the center oval, draw two curved lines. These are the ribs of the pumpkin. Curve them so they follow the outer shape.
Step 5: Define the Outer Pumpkin Shape
Bright orange cartoon jack-o-lantern with carved smile and green stem for easy pumpkin drawing
Now connect all the ribs to complete the outer body. The shape should look bumpy and natural, not like a perfect circle.
Step 6: Erase Unnecessary Lines
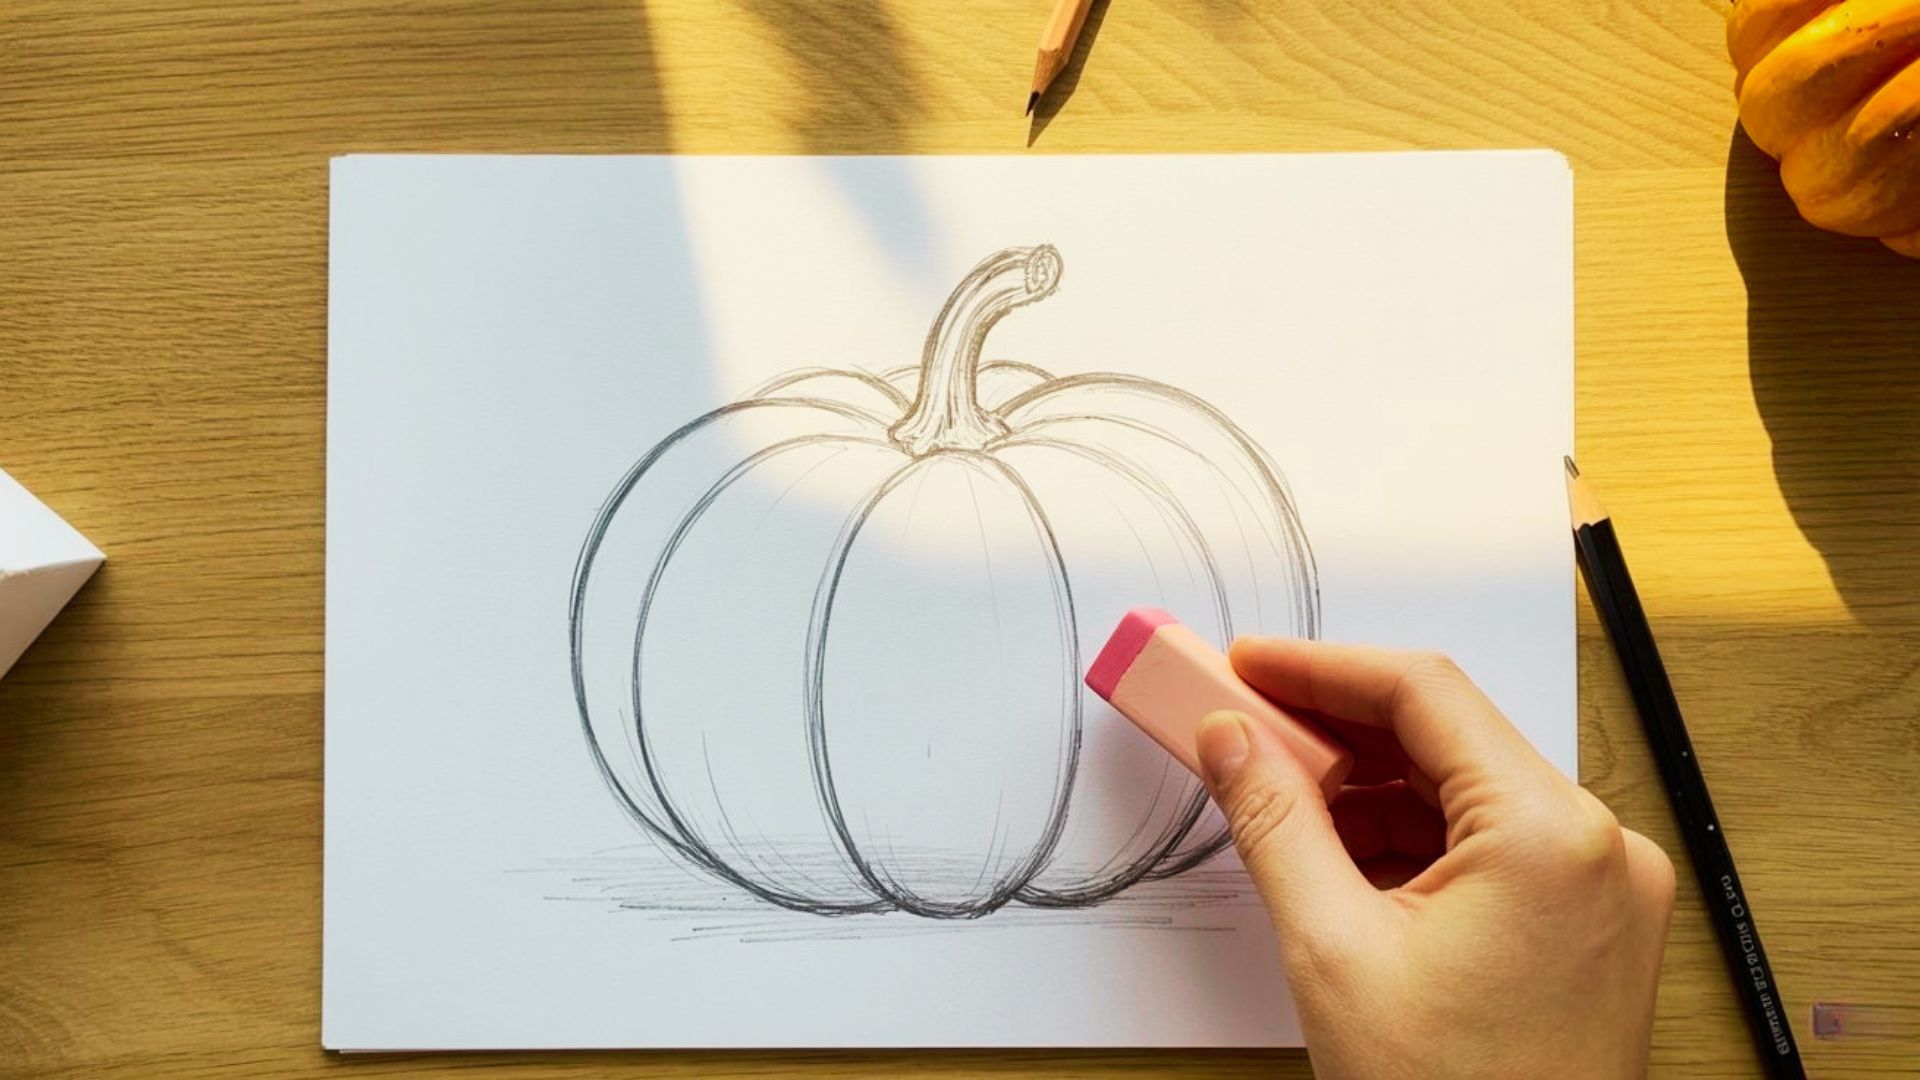
Clean up any extra lines from your base sketch. Use your eraser lightly. You want clean, clear outlines to work with.
Step 7: Add Color and Final Details
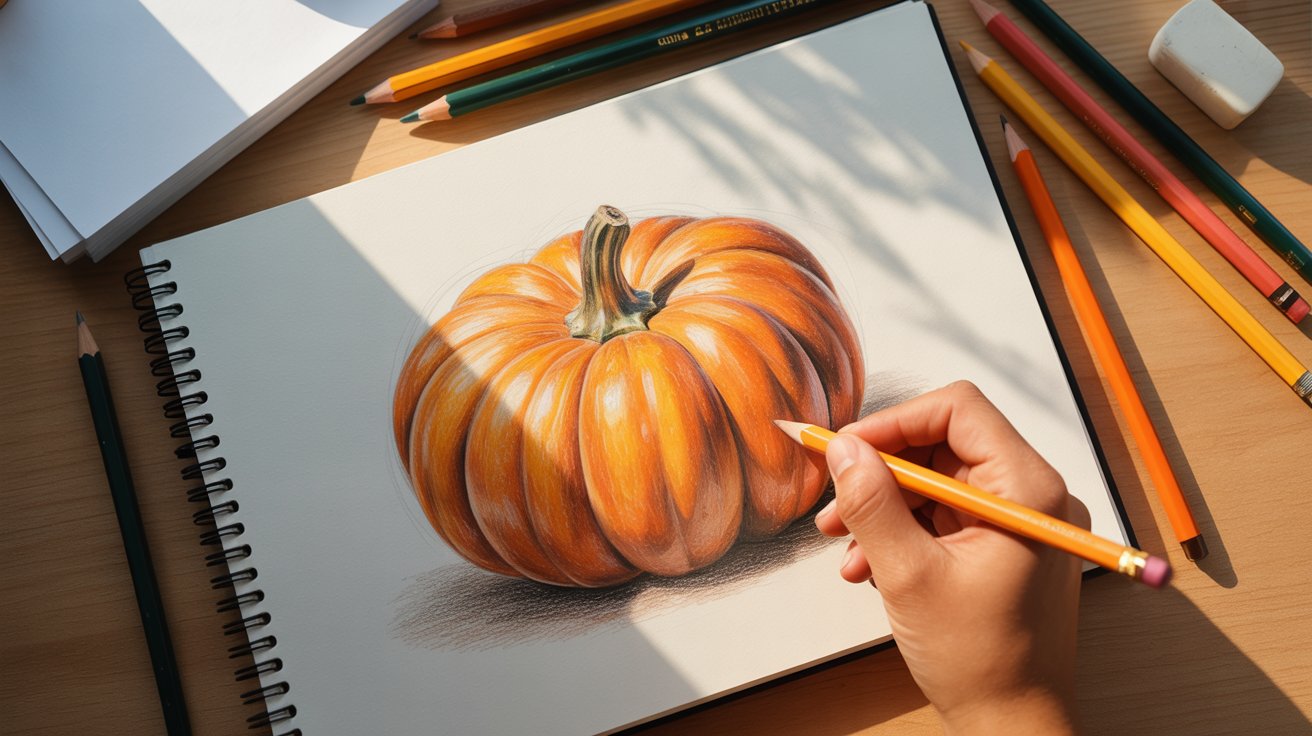
Now add your color of choice. Add shading on the sides and highlights in the center. Add small lines on the stem for texture. Your pumpkin is done.
Common Mistakes in Pumpkin Drawing Easy (And Fixes)
Even small errors can hold your drawing back. Knowing what to avoid saves you a lot of time.
- Drawing Too Symmetrical Let your lines be slightly uneven. Real pumpkins are never perfectly even on both sides.
- Skipping the Basic Sketch Always start light. Jumping to final lines too soon makes your drawing look stiff.
- Overdrawing Dark Lines Too Early Keep strokes light at first. Dark lines are hard to fix once they are on the paper.
- Ignoring Depth and Shading Add shadows between ribs and a small highlight in the center to make it look round.
- Making the Ribs Too Straight Ribs should curve with the body. Draw them as soft C-shapes from the stem to the base.
How to Color Your Pumpkin Drawing Easy

Color brings your pumpkin to life. Pick the style that suits you and go from there.
Using Colored Pencils for Soft Shading
Colored pencils give you great control. Layer orange lightly first, then go darker on the edges. Blend with a light yellow in the center for a soft glow.
Watercolor for a Realistic Look
Watercolor gives a natural, painterly feel. Wet the paper lightly first, then drop in orange. Let it dry before adding darker shades on the sides.
Markers for Bold and Bright Style
Markers give a strong, clean color. Use a lighter orange first and let it dry. Add a darker shade on the edges for depth. Work quickly so the colors do not bleed too much.
Adding Highlights and Shadows
Use white colored pencil or a white gel pen for highlights. Add a small bright dot or line down the center of each rib. For shadows, go dark on the outer edges and between ribs.
Helpful Tips for Pumpkin Drawing Easy
Small habits make a big difference. These tips will help you draw better every time.
- Start with light pencil strokes and refine later
- Keep your pumpkin shape natural, not perfectly symmetrical
- Look at real pumpkins for a better understanding of form
- Practice different shapes like tall, flat, or round pumpkins
- Do not rush take your time and enjoy the process
Conclusion
You now have everything you need to draw a pumpkin with confidence. From the basic oval to the final colored details, each step builds on the last.
I still remember the first time I drew a pumpkin and how good it felt to finish it. That small win pushed me to keep going.
Now it is your turn. Grab a pencil and give it a try. If you found this guide helpful, leave a comment or share it with a friend who loves to draw.
Frequently Asked Questions
How long does it take to learn pumpkin drawing easily for beginners?
Most beginners finish their first pumpkin drawing in 20 to 30 minutes. With a few practice sessions, you will notice real improvement quickly.
Do I need special pencils for easy pumpkin drawing?
No special pencils are needed. A basic HB pencil from any stationery store works well for beginners starting out.
Can kids do pumpkin drawing easily on their own?
Yes, kids aged 6 and above can follow these steps with little to no help. The shapes are simple and the process is straightforward.
What colors work best for pumpkin drawing?
Orange is the main color. Add dark brown or green for the stem, and use yellow or white for highlights to add depth.
Is pumpkin drawing easy without any art experience?
Absolutely. This guide is made for people with zero art background. The steps are simple, clear, and easy to follow from start to finish.