

I still remember the first time I made a penguin paper snow globe with my daughter.
We sat at the kitchen table, cut out tiny paper shapes, and by the end, we had something that looked straight out of a craft store. She still keeps it on her shelf.
I’ve been making paper crafts for over five years, and this one is honestly one of my favorites.
In this guide, I’ll show you every step, the materials you need, and tips to help yours come out just right.
What Is a Penguin Paper Snow Globe?
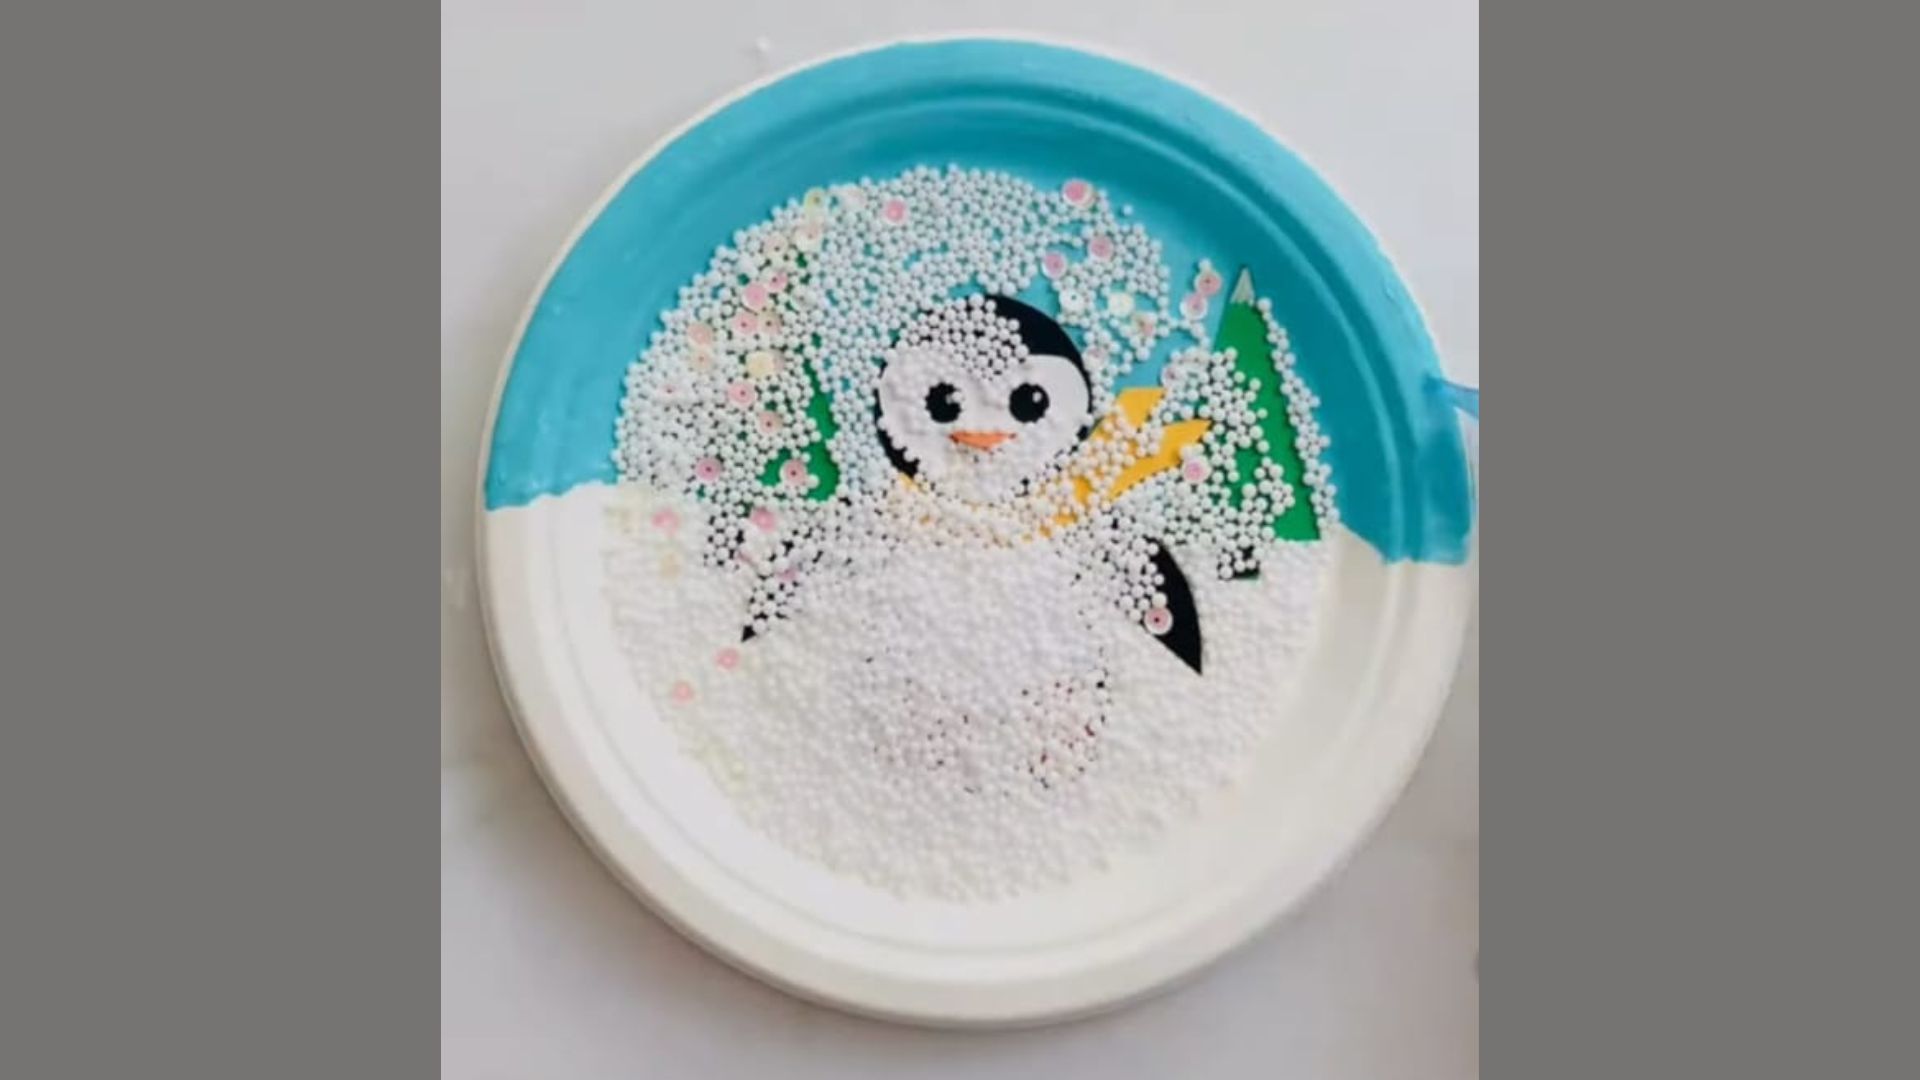
A penguin paper snow globe is a handmade craft built using paper plates, colored paper, and small foam balls.
It looks just like a real snow globe, but flat. A clear plastic sheet on top creates the globe effect, and tiny foam balls act like snow when you shake it.
No special skills needed here. If you can cut, paste, and paint, you can make this.
It’s low cost, quick to finish, and makes a really sweet gift. I’ve made this several times, and it comes out a little different every time.
Materials and Tools Required
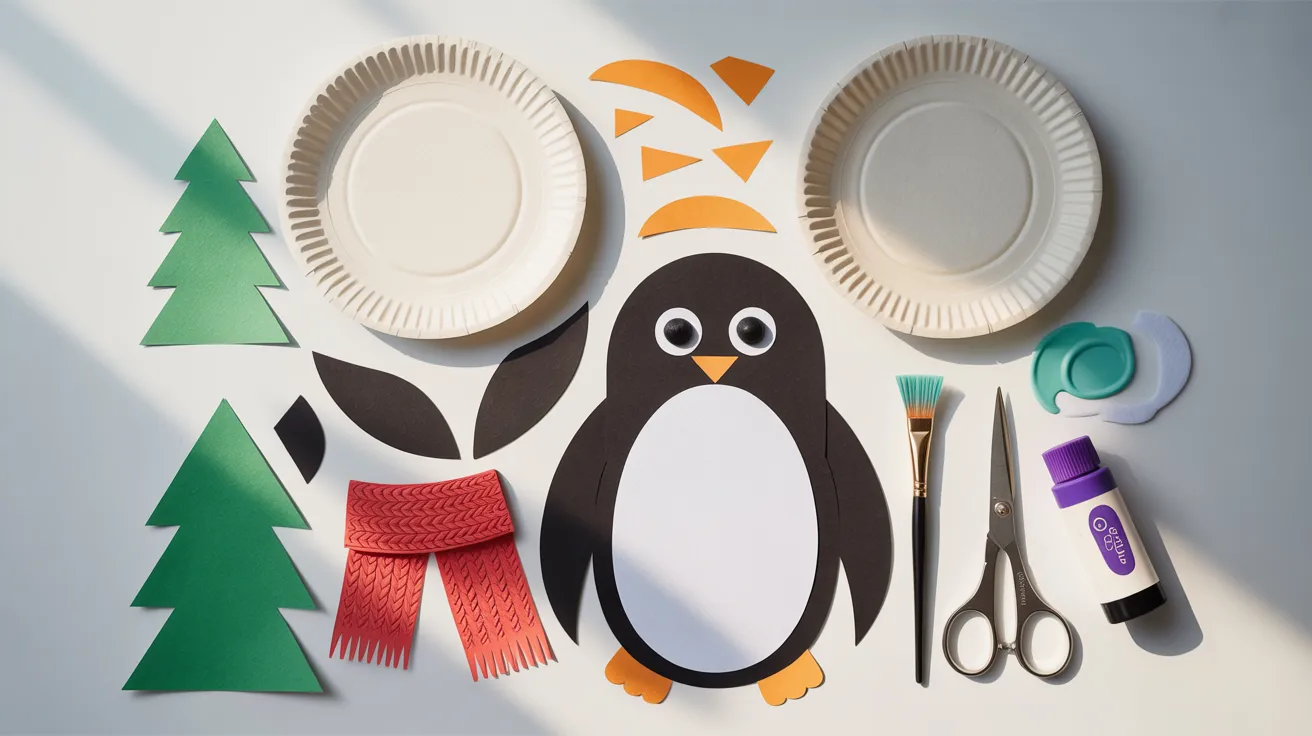
Here is everything you need to get started.
2 plain white paper plates: one for the base and one for the outer frame
Colored paper : for the penguin’s body, belly, beak, wings, scarf, and background trees
Light blue or teal paint, a small paintbrush, and a black marker: for painting the sky background and adding eye details
Scissors and glue or tape: for cutting all paper shapes cleanly and sticking everything firmly in place
A clear plastic sheet and small white foam balls to seal the globe and add the snow effect inside
A Cute Penguin Paper Snow Globe: Step-by-Step Guide
Making this craft is easier than it looks. Take it one step at a time and you’ll be done before you know it.
Step 1: Prepare the Base
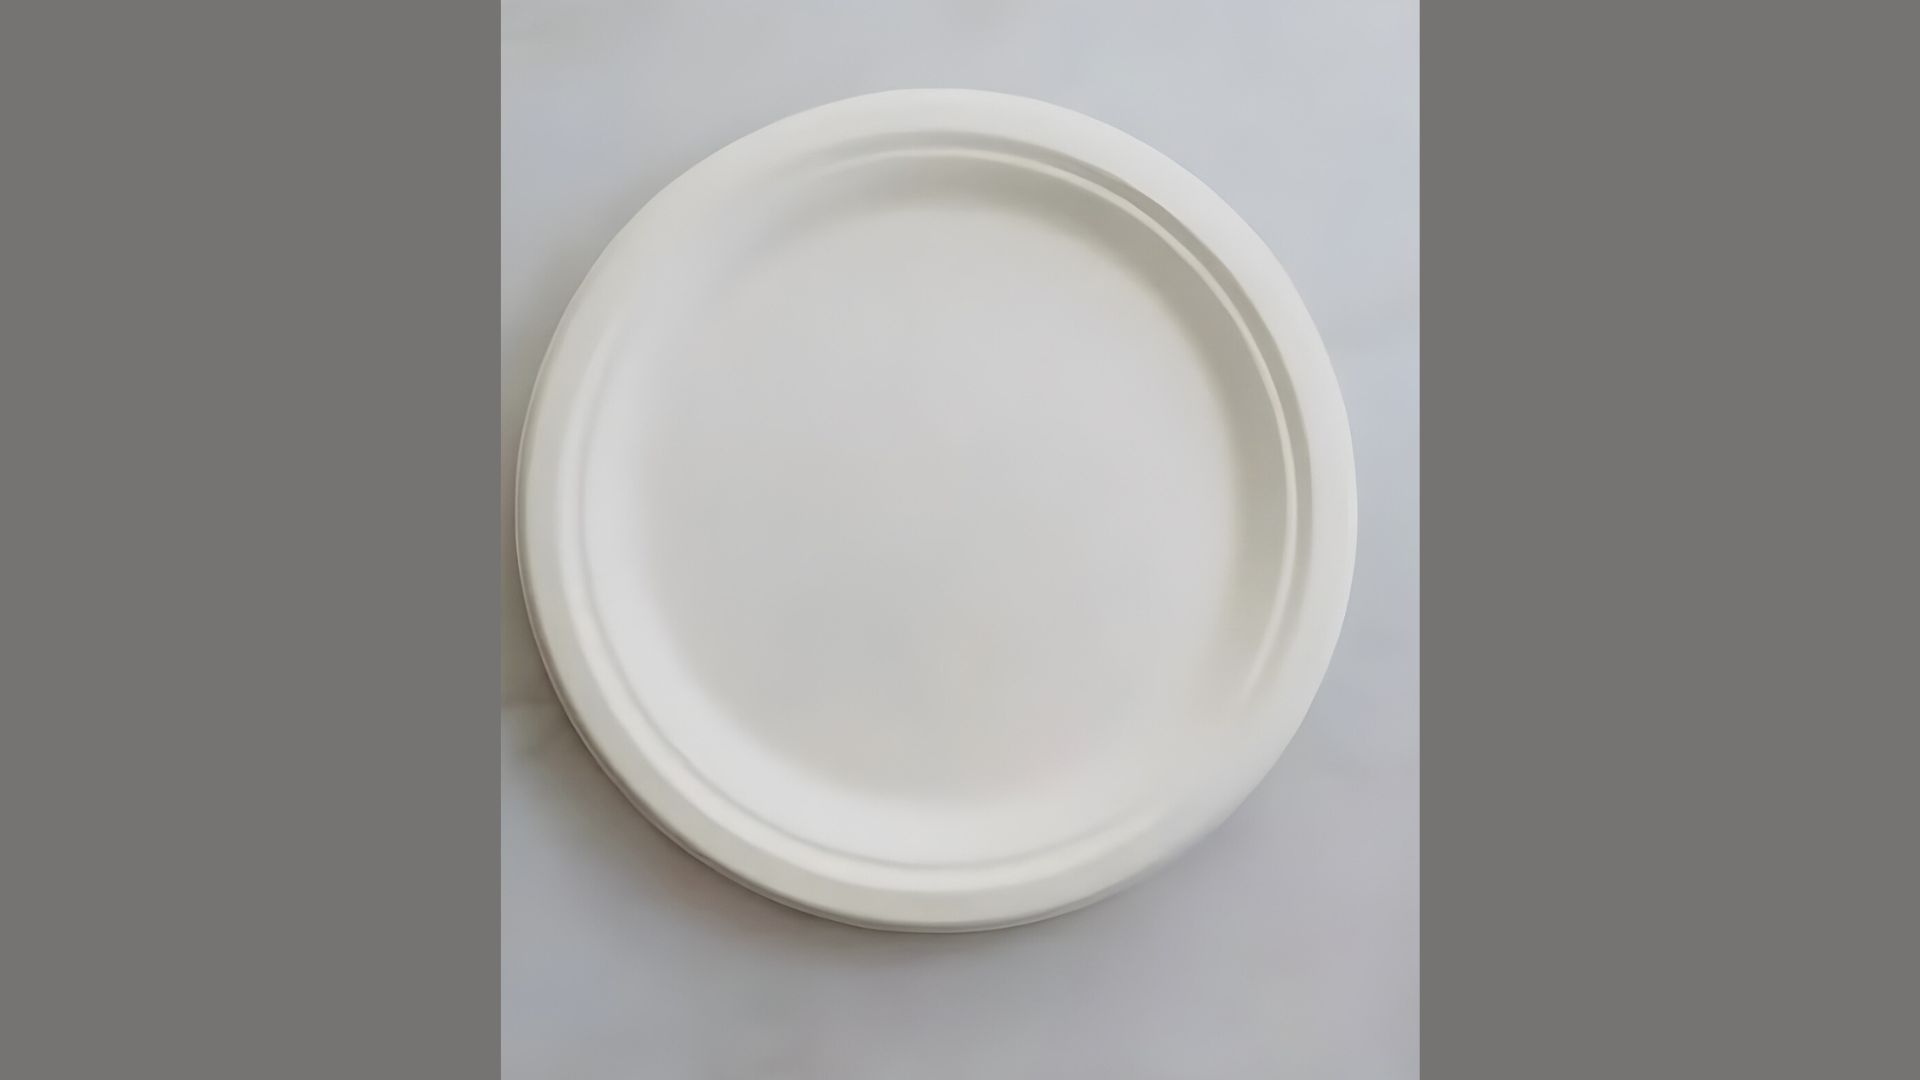
Start with a plain white paper plate. Make sure it’s clean and flat before you do anything else.
I always set it on a hard table so it doesn’t slide around while I work. Once it’s in place, you’re ready to move on.
Step 2: Paint the Sky
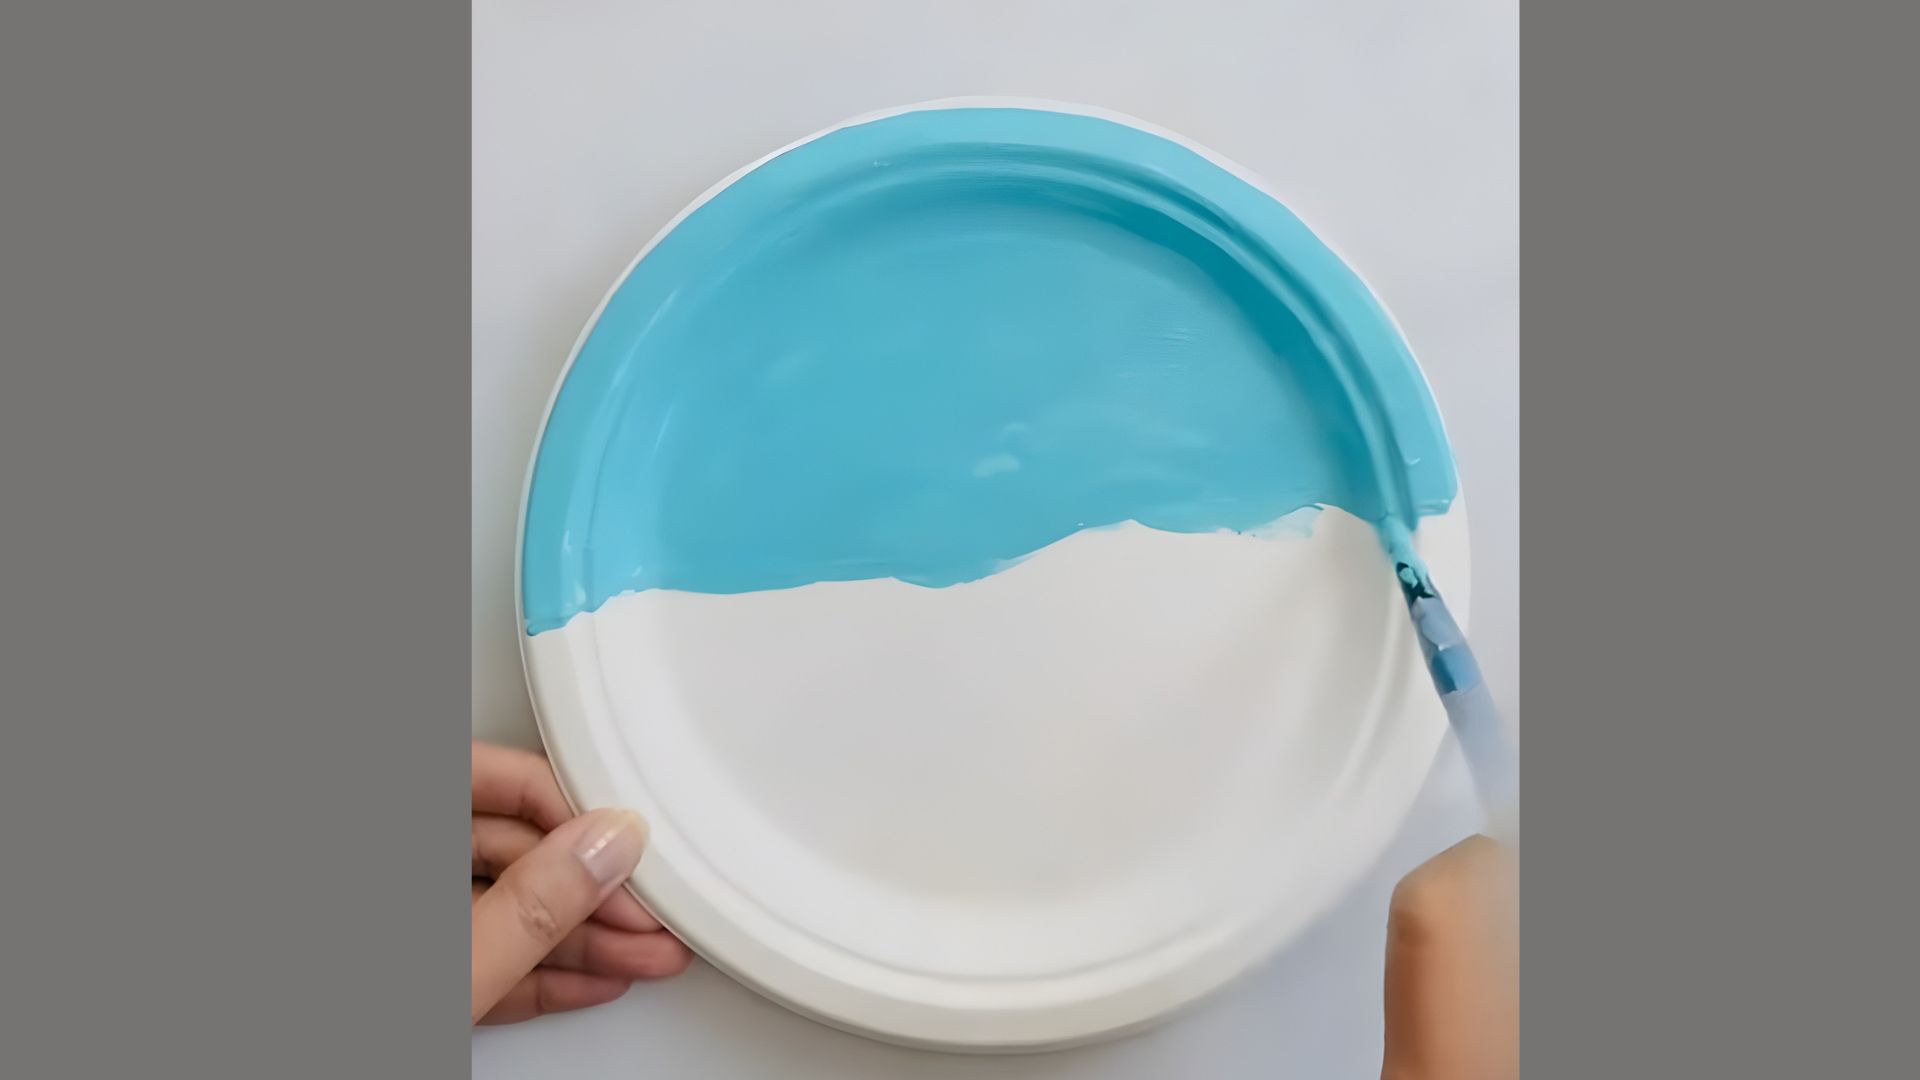
Dip your brush in light blue paint. Carefully paint the top half of the plate in a smooth, curved line.
Leave the bottom half white. That will be the snowy ground. Let the paint dry fully before you move on to the next step. Don’t rush this part.
Step 3: Create and Paste the Penguin Body
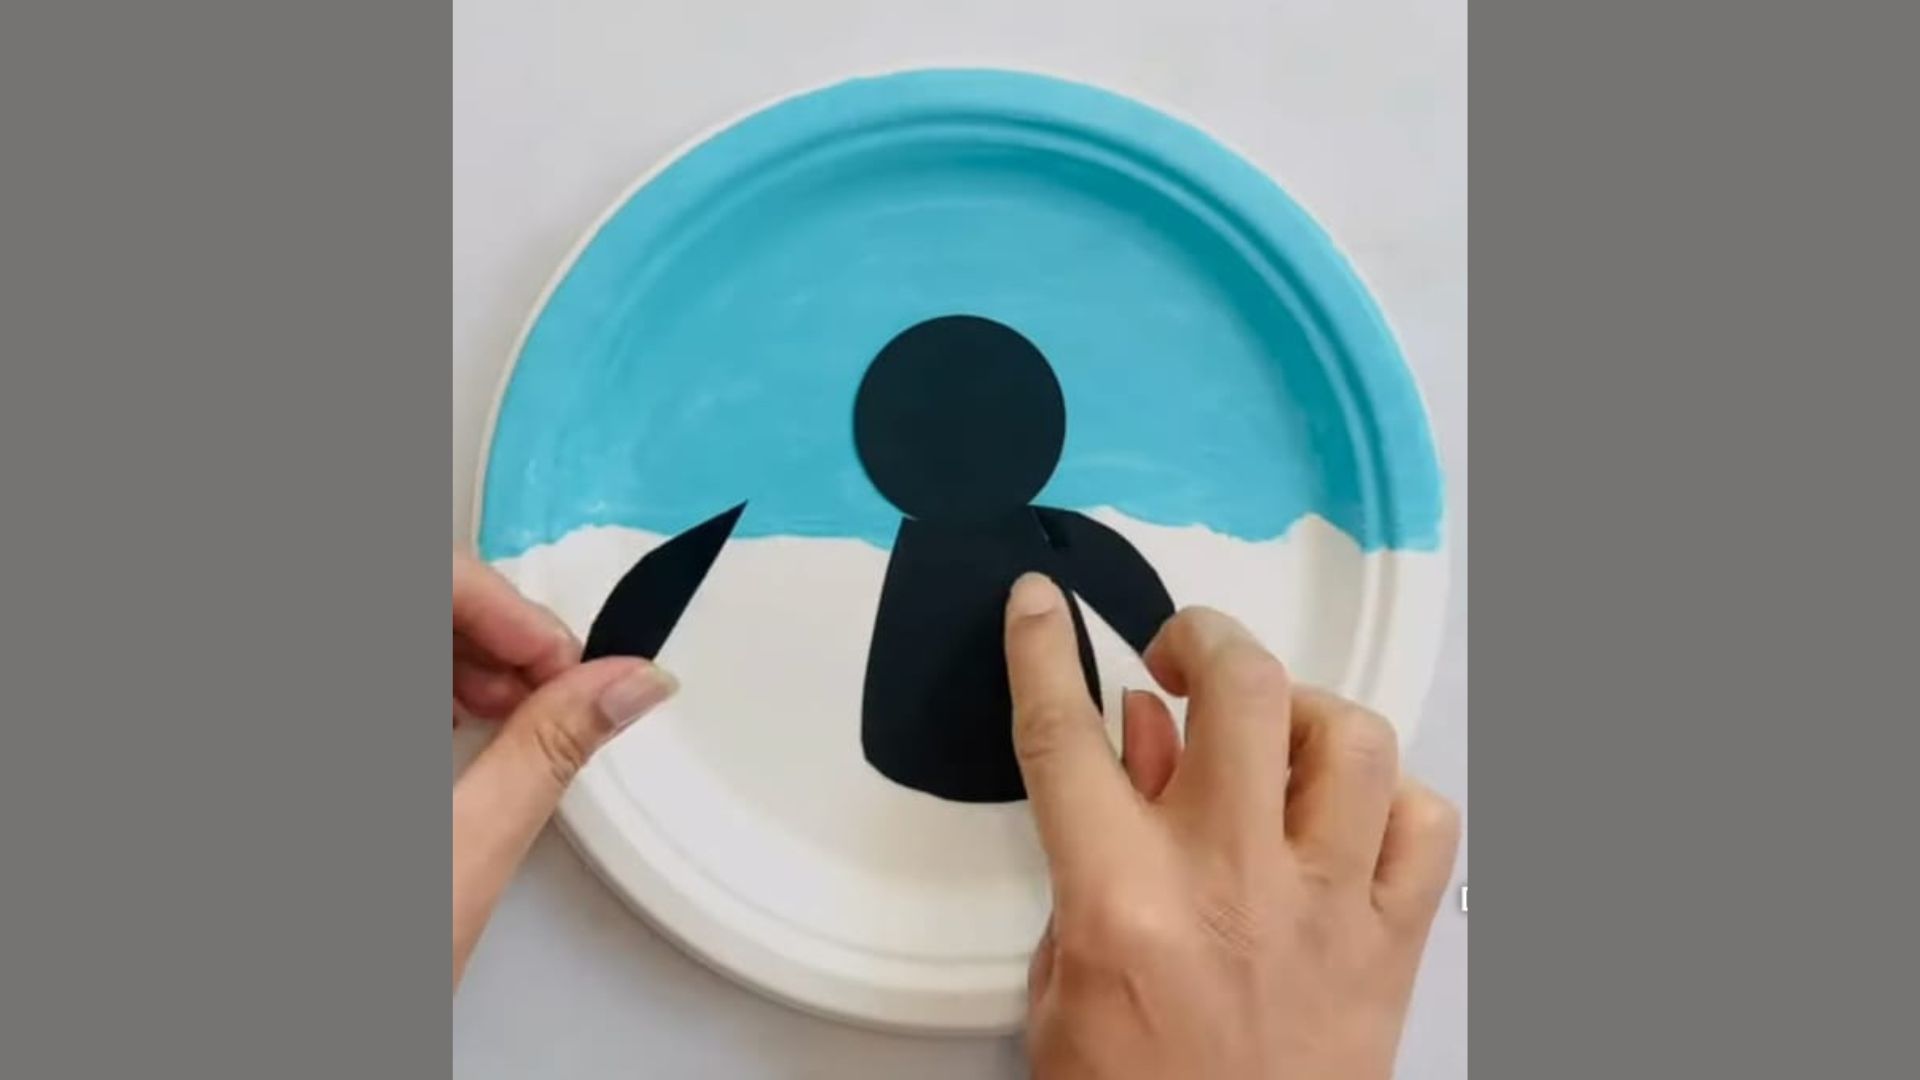
Cut a large black oval from black paper. This is the penguin’s body. Then cut a smaller black circle for the head.
Paste the body in the center of the plate, just above the white area at the bottom. Stick the head on top of the body. Press gently and let the glue set before moving on.
Step 4: Add the Penguin’s Details
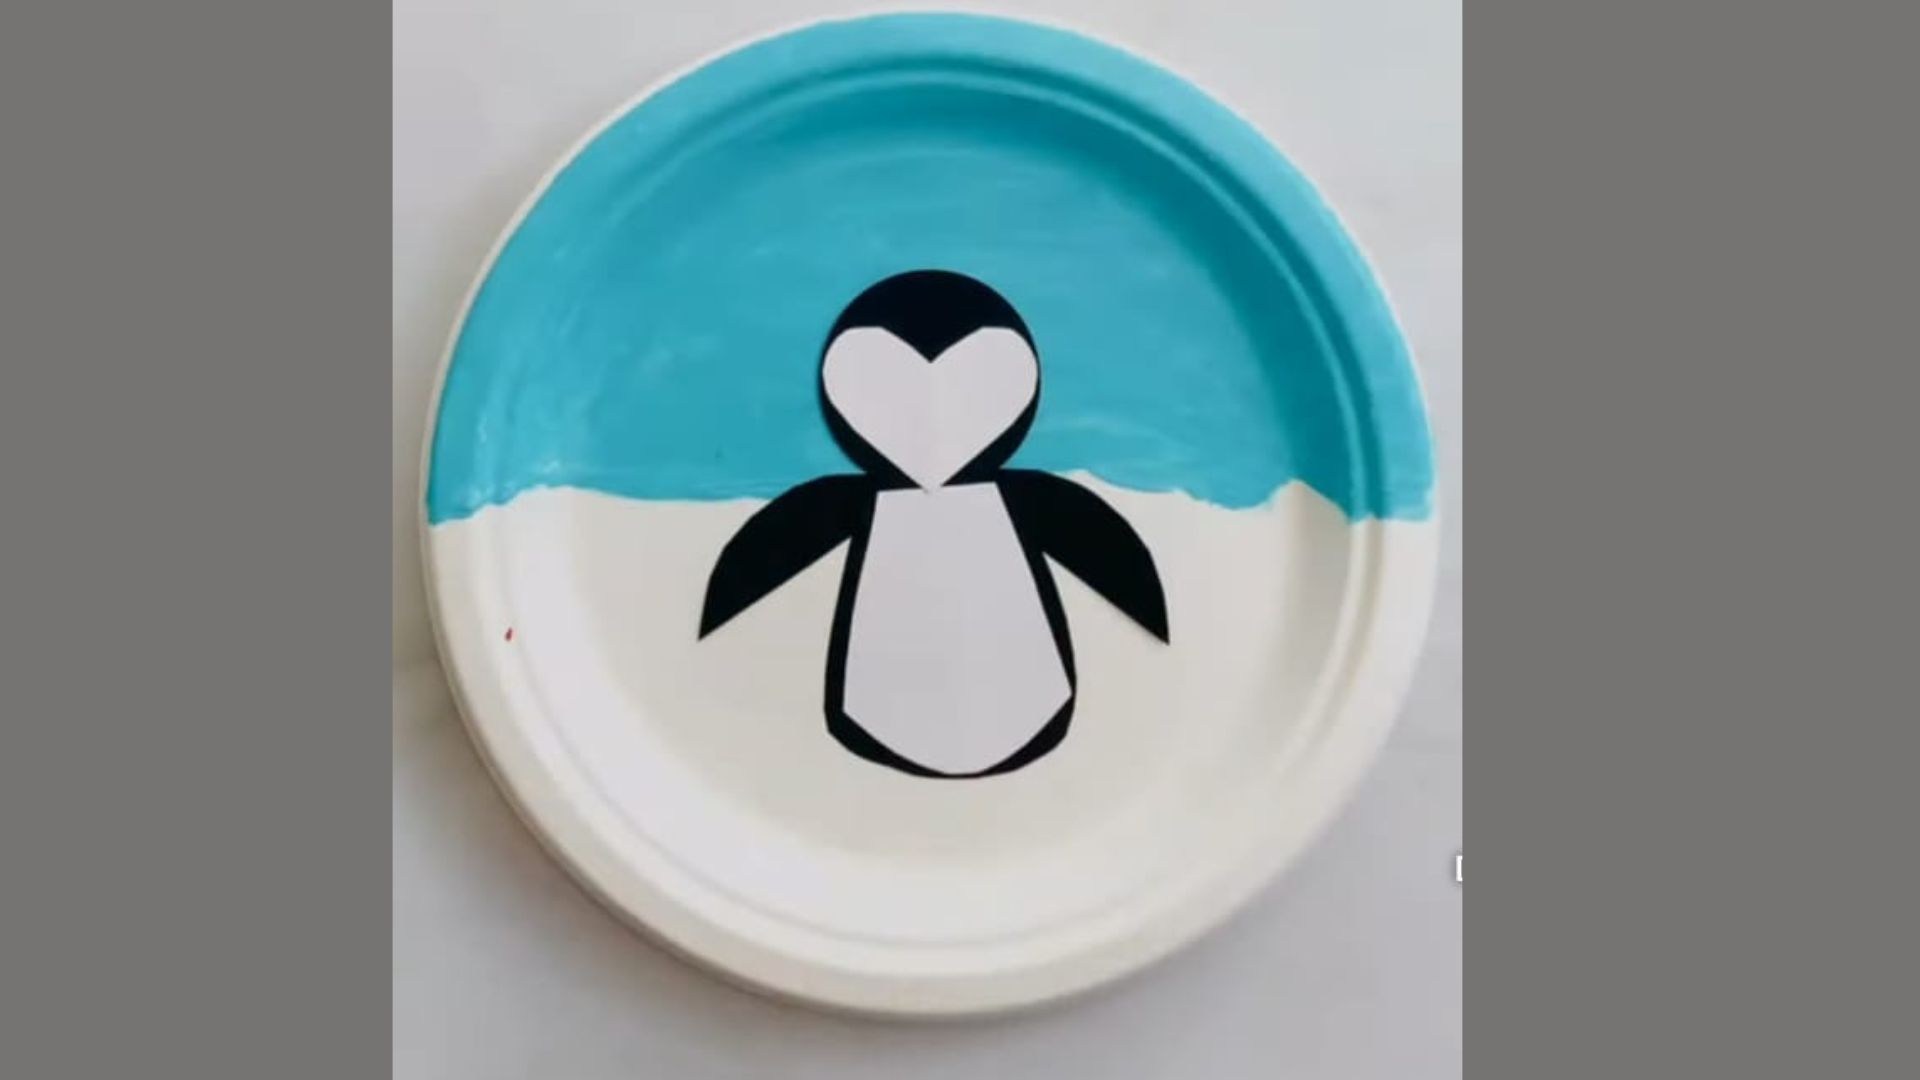
Cut a white oval and paste it onto the penguin’s body for the tummy. Add a small white circle for the face. Then stick a tiny black circle on it for the eye.
Press each piece down gently. Let everything dry before going to the next step. These small details make a big difference.
Step 5: Add the Final Features
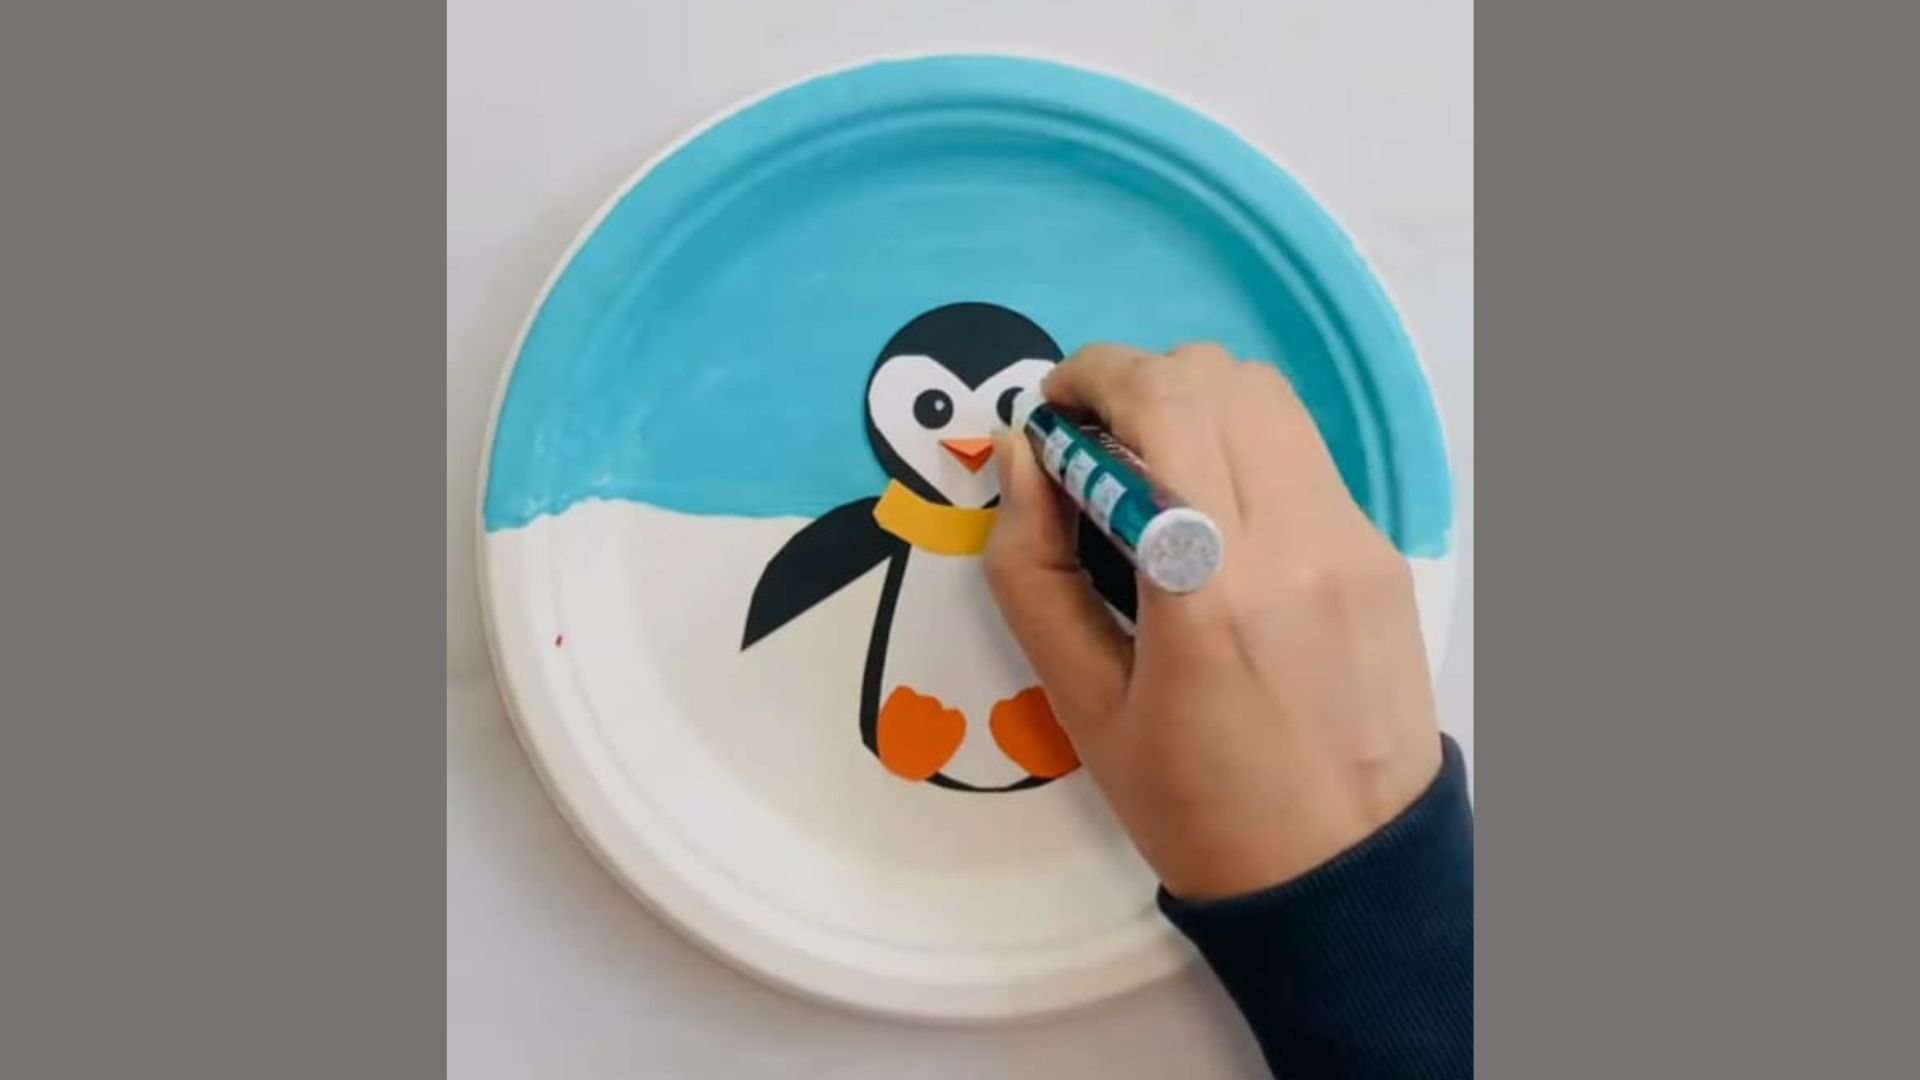
Cut a small orange triangle for the beak and two small orange shapes for the feet. Paste them in the right spots on the penguin.
Cut a thin yellow strip for the scarf and wrap it around the neck area. Use a marker to add any extra details like eye lines or outlines. Let it dry fully.
Step 6: Add the Background Trees
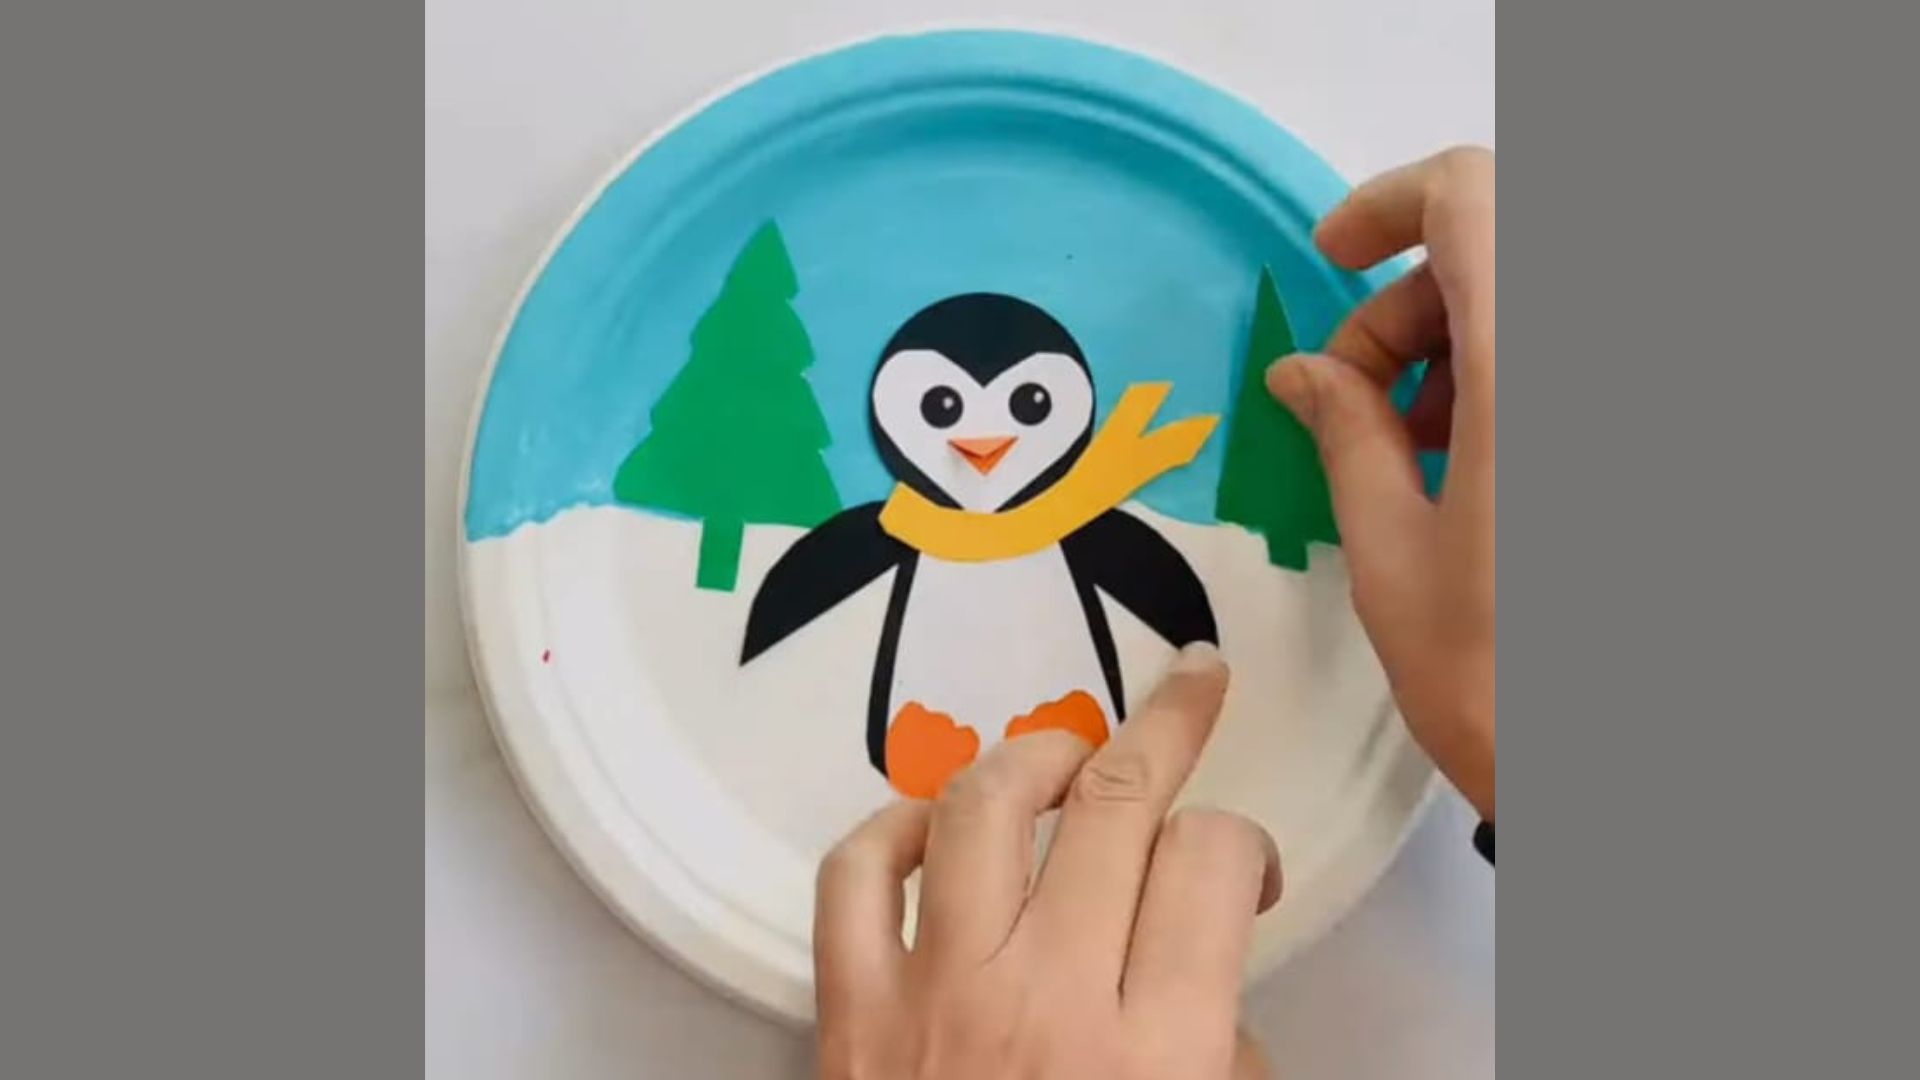
Cut two tree shapes from green paper. Paste one on the left side of the penguin and one on the right. Place them just above the white snowy area at the bottom.
Press gently to fix them in place. Let the glue dry before you move on.
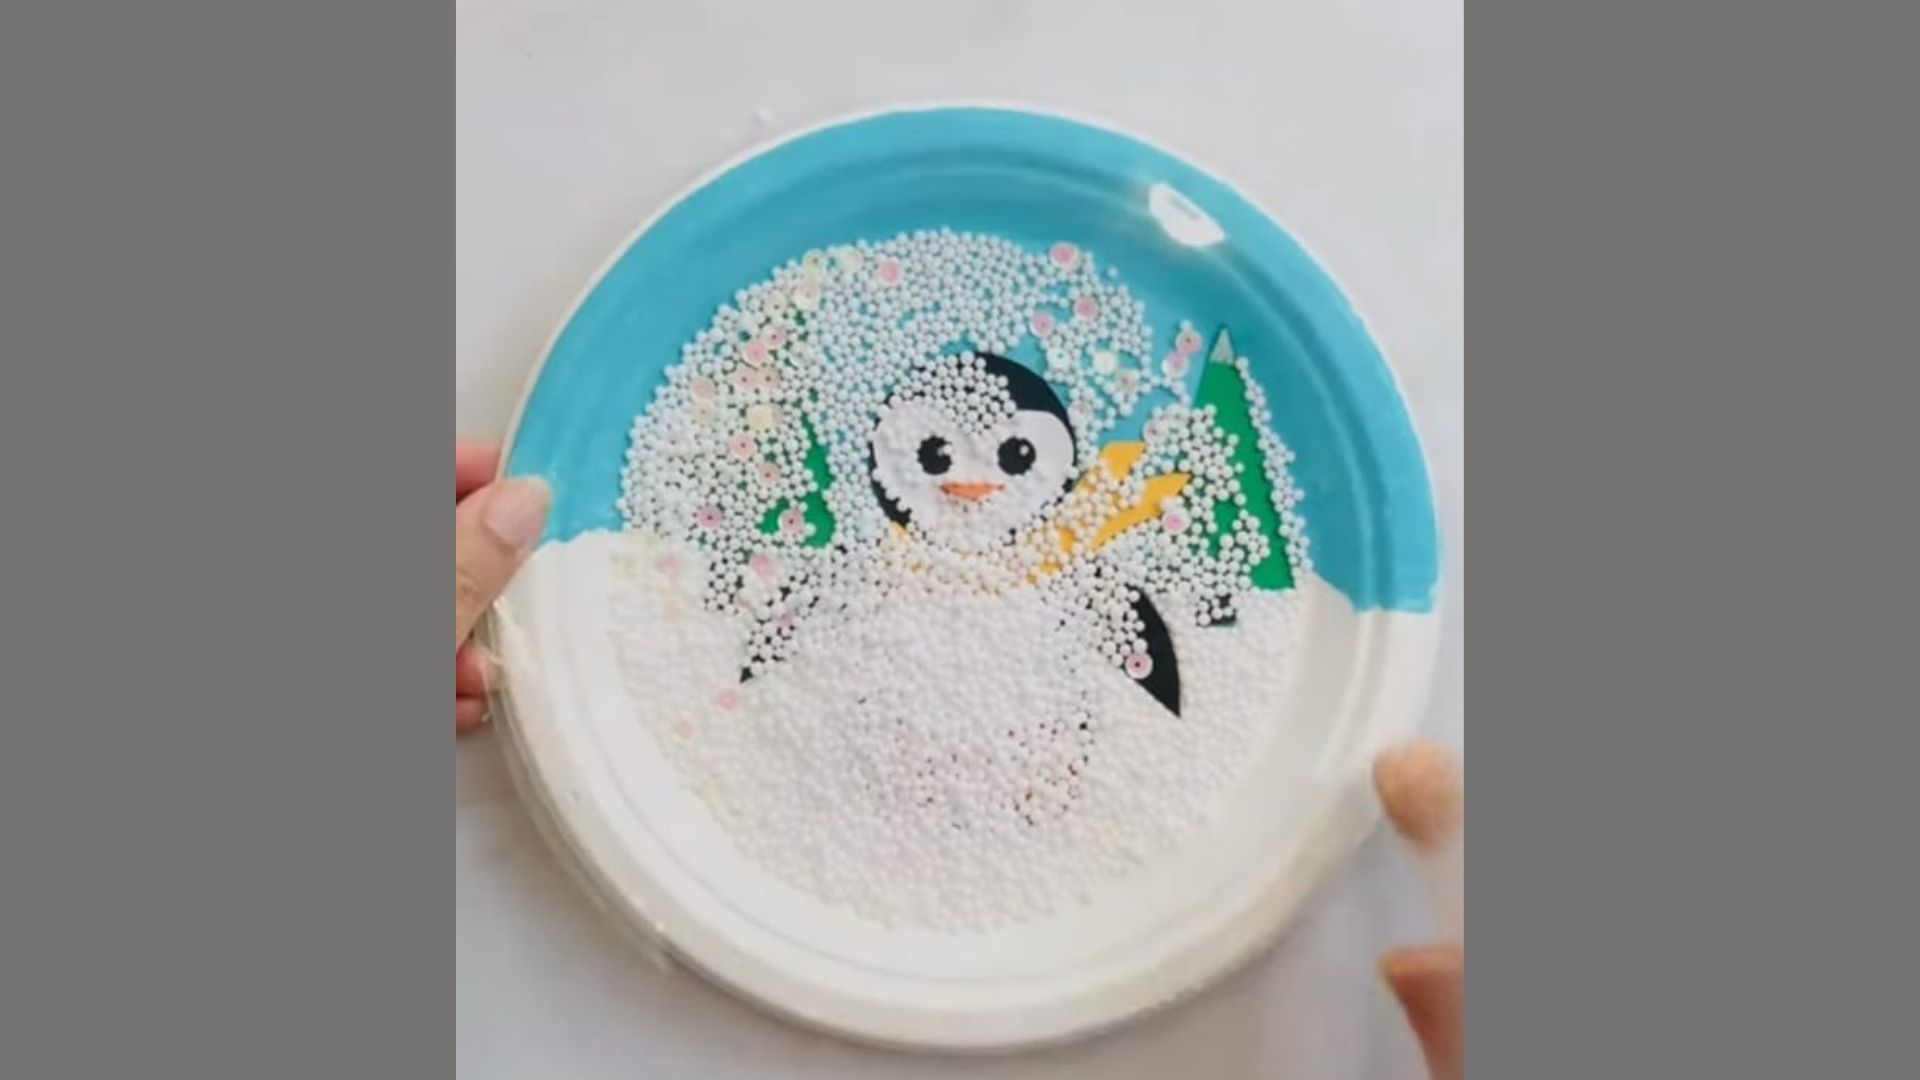
Step 7: Create the Snow Effect
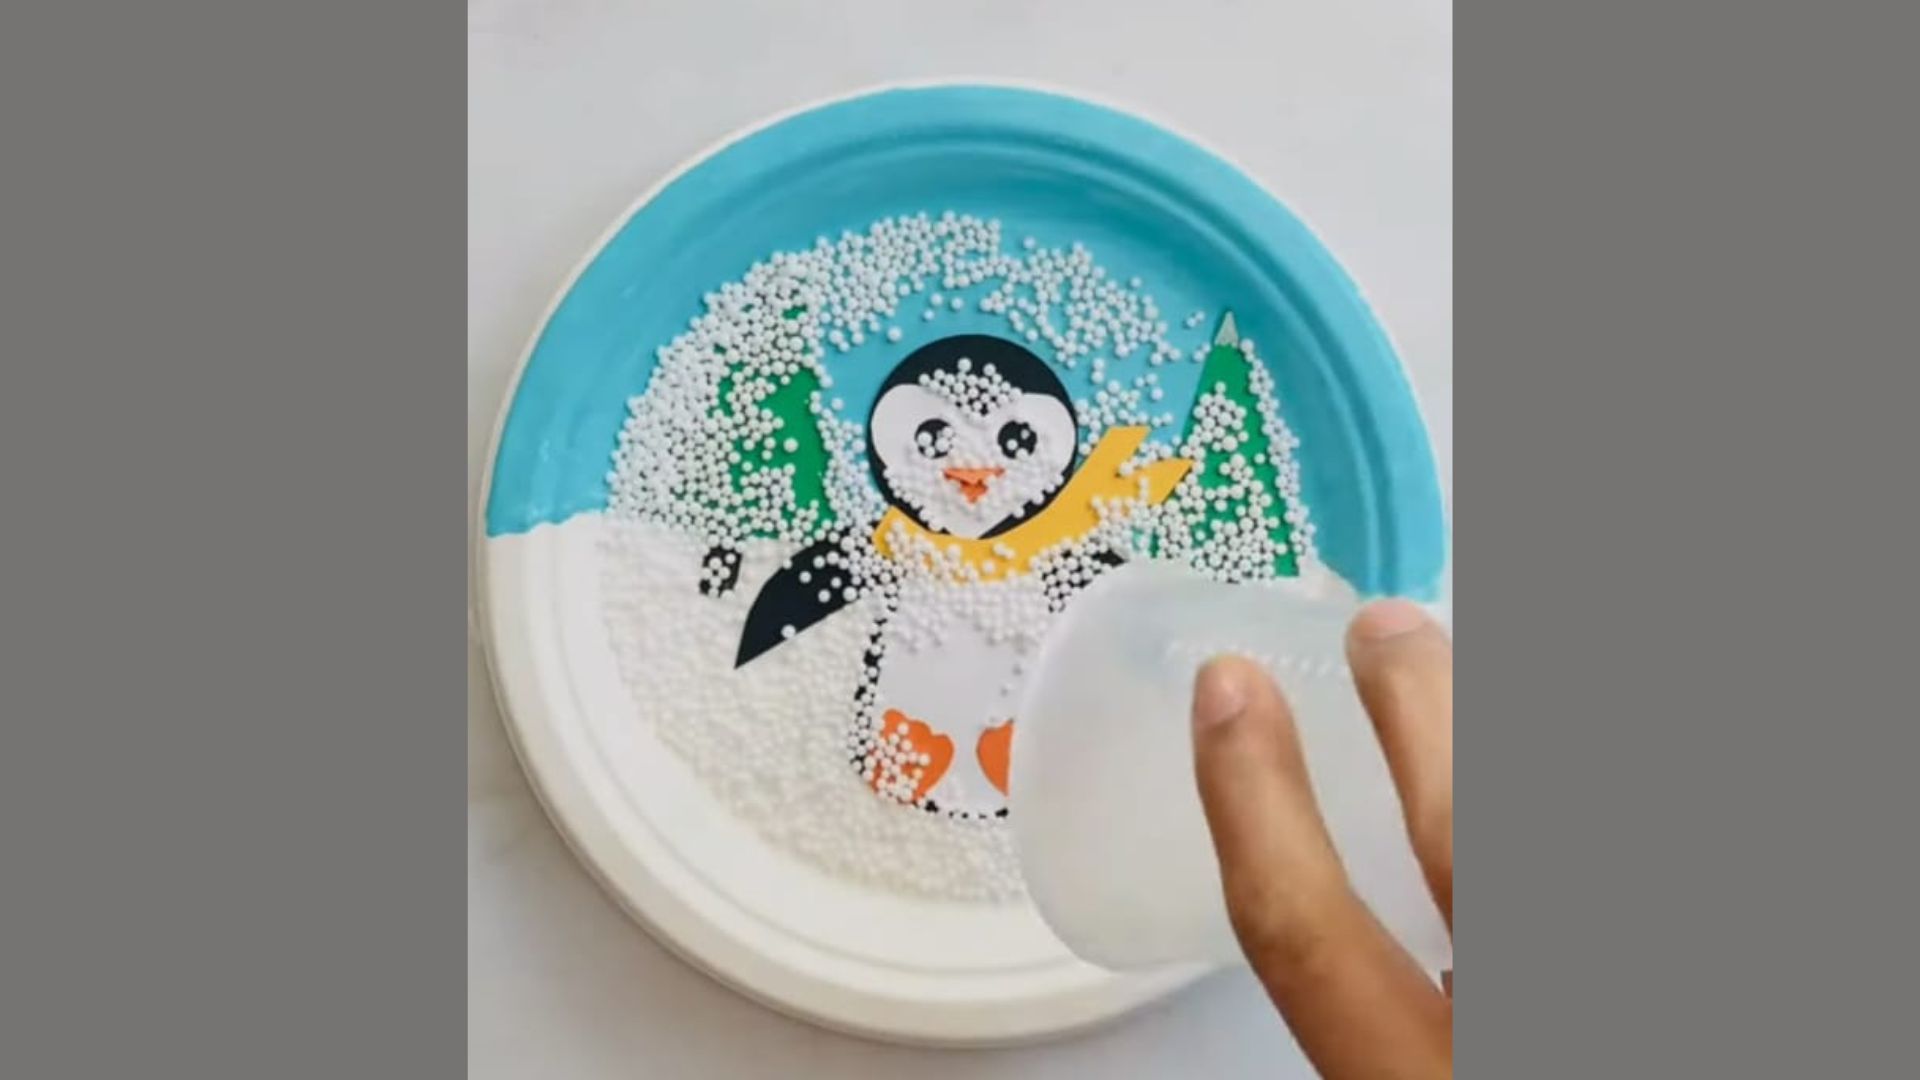
Apply glue over the sky and snowy ground area around the penguin. Sprinkle small white foam balls or thermocol beads on top. Press them gently so they stick. Shake off the extra beads.
Then let it dry completely. This is honestly my favorite step. It’s when the craft really starts to look like a real snow globe.
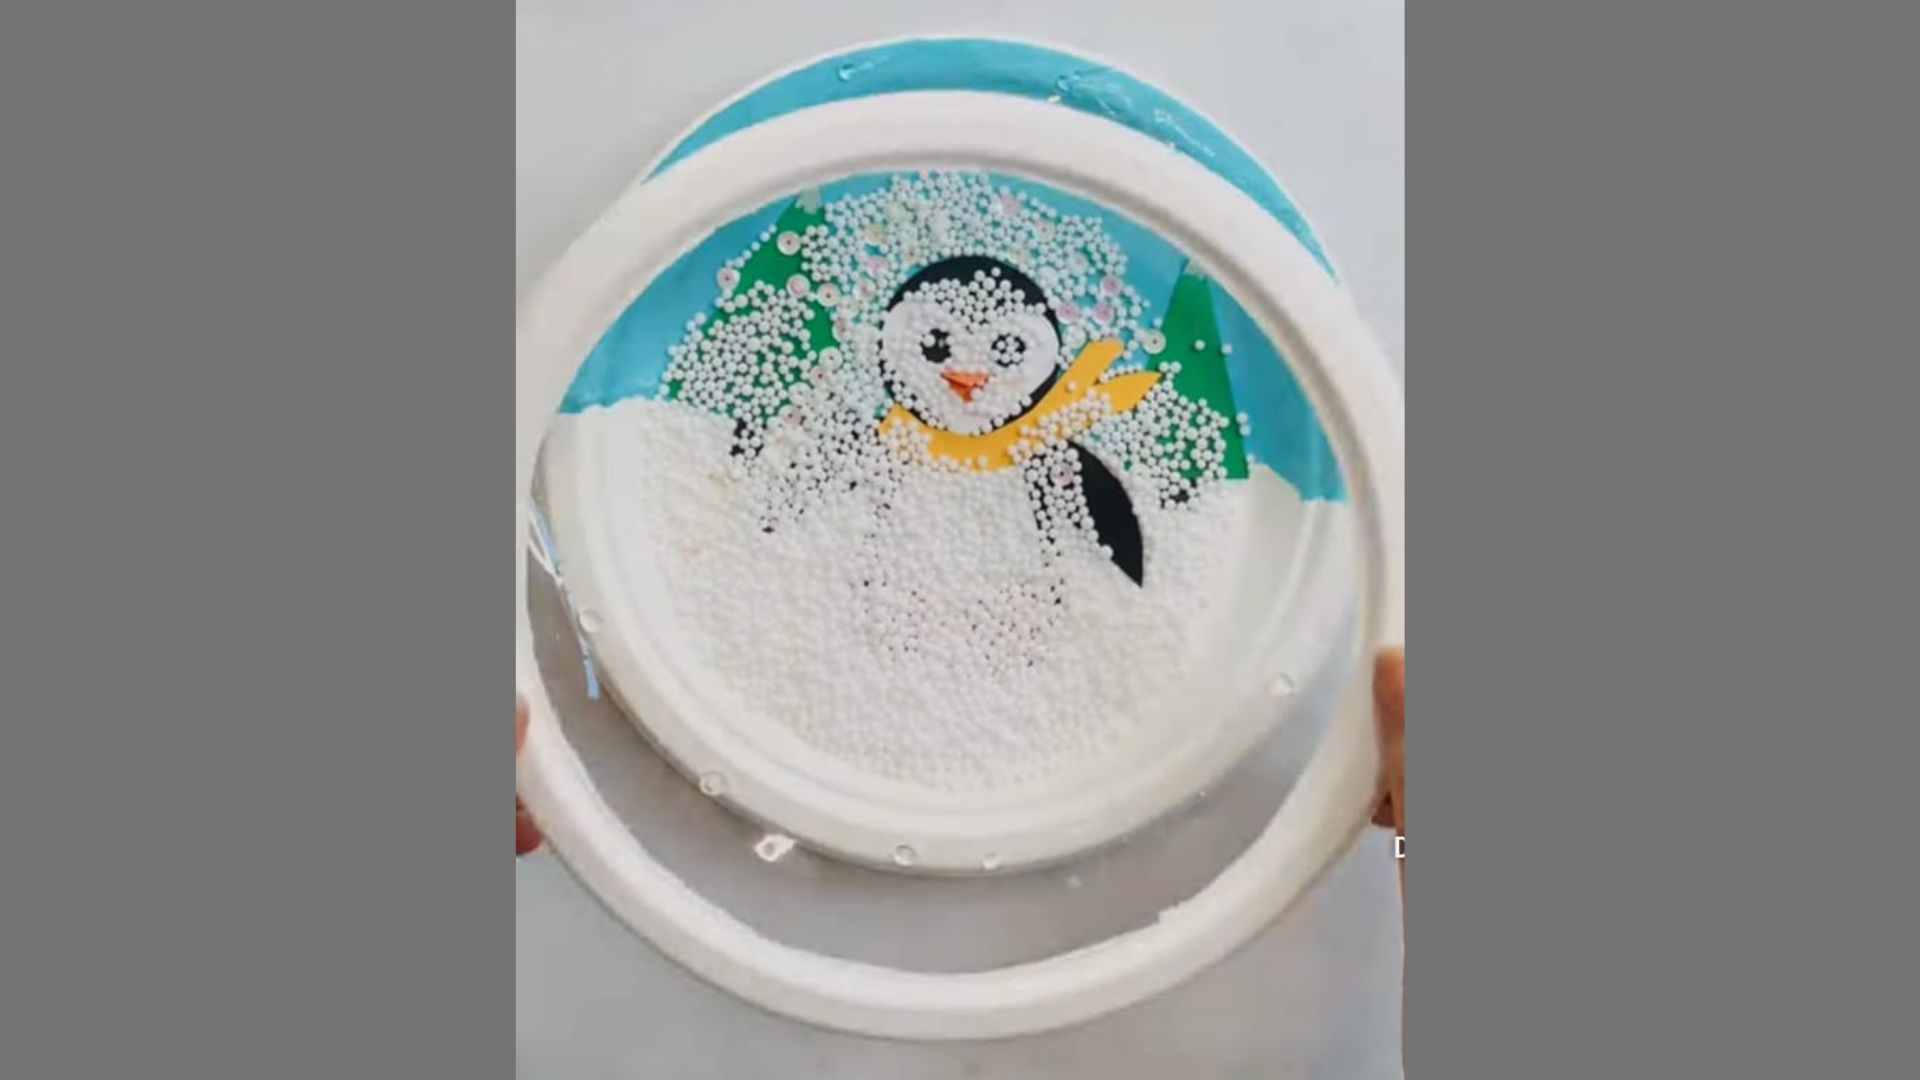
Step 8: Seal the Snow Globe
Place a clear plastic sheet over the entire plate. Make sure it covers the penguin and all the foam balls. Pull it flat so there are no wrinkles.
Secure the edges tightly with glue or tape all the way around. This step creates the snow globe effect and keeps everything safely inside.
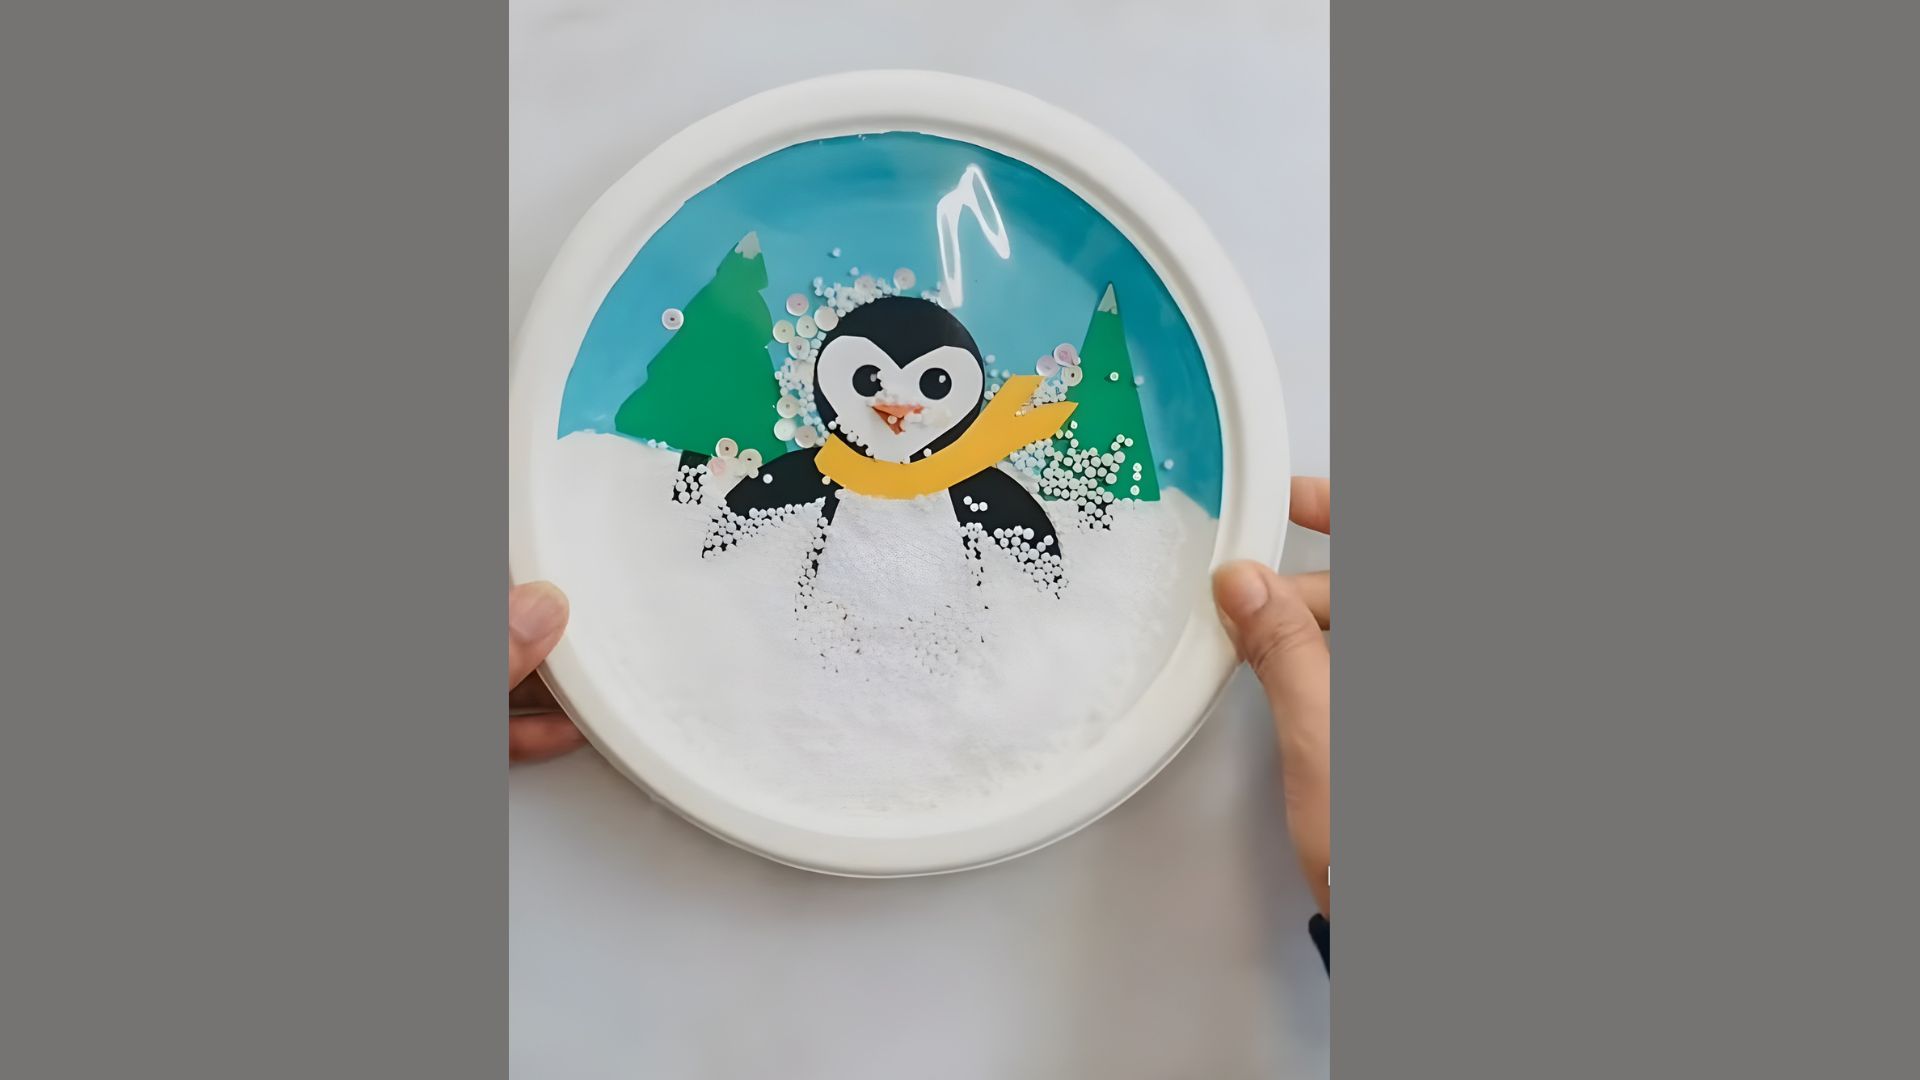
Step 9: Attach the Outer Frame
Take a second paper plate and cut out the center portion. Place it face-down over the plastic sheet.
Apply glue along the rim and press it firmly onto the first plate. This holds the plastic layer securely in place and gives your snow globe a neat, finished edge all around.
Step 10: Shake and Enjoy
Wait for the glue to dry completely. Then gently pick it up and give it a shake. Watch the tiny foam balls float around inside like real snow.
Hold it upright to see your penguin clearly. Your penguin paper snow globe is now ready to display or give away as a gift!
Tips for a Perfect Paper Snow Globe
Small details really do add up. Here are a few things I’ve learned from making this craft more than once.
- Use thick paper plates because thin ones bend easily once you add glue and foam balls.
- Let each step dry fully or rushing will make pieces slide or fall off later.
- Use the right glue, a glue stick for paper cutouts and craft glue for foam balls.
- Keep your cutouts neat because clean edges make the whole craft look much better.
- Flatten the plastic sheet before sealing since bubbles and folds will show once it’s done.
Take your time with each step, and your snow globe will come out looking really great.
Conclusion
Making a penguin paper snow globe at home is one of those crafts I keep coming back to.
The first time I made it, I wasn’t sure it would work. But it came together better than I expected, and my daughter still has hers on her shelf.
You don’t need much to make this. Just a little time and the steps I shared above.Give it a try and see what you come up with.
I’d love to hear how yours turned out. Drop a comment below and tell me about your experience!
Frequently Asked Questions
What age group is this penguin paper snow globe craft best for?
This craft works best for kids aged 6 and up, with adult help for cutting and sealing.
Can I use regular plastic wrap instead of a cellophane sheet?
Yes, regular plastic wrap works fine. Just seal the edges tightly before shaking.
What can I use instead of foam balls for the snow effect?
White tissue paper pieces or white confetti work just as well inside the globe.
How long does this craft take to finish?
About 45 minutes to an hour, including drying time between steps.
Can I add glitter to make it look more festive?
Yes, mix a little white or silver glitter with the foam balls and seal the sheet tightly.