

I have spent a lot of time making bubble wands with kids, and I can tell you, it never gets old.
Bubble wands are one of the simplest, most satisfying crafts you can make at home. No matter your age or skill level, there is a version that works for you.
In this guide, I will walk you through step-by-step projects, age-based ideas, material lists, and bubble solution recipes. You will find everything you need to get started today.
I have tested these projects myself, so what you read here actually works.
Let’s get started.
What You Can Make With a DIY Bubble Wand

Bubble wands come in more shapes and styles than most people expect.
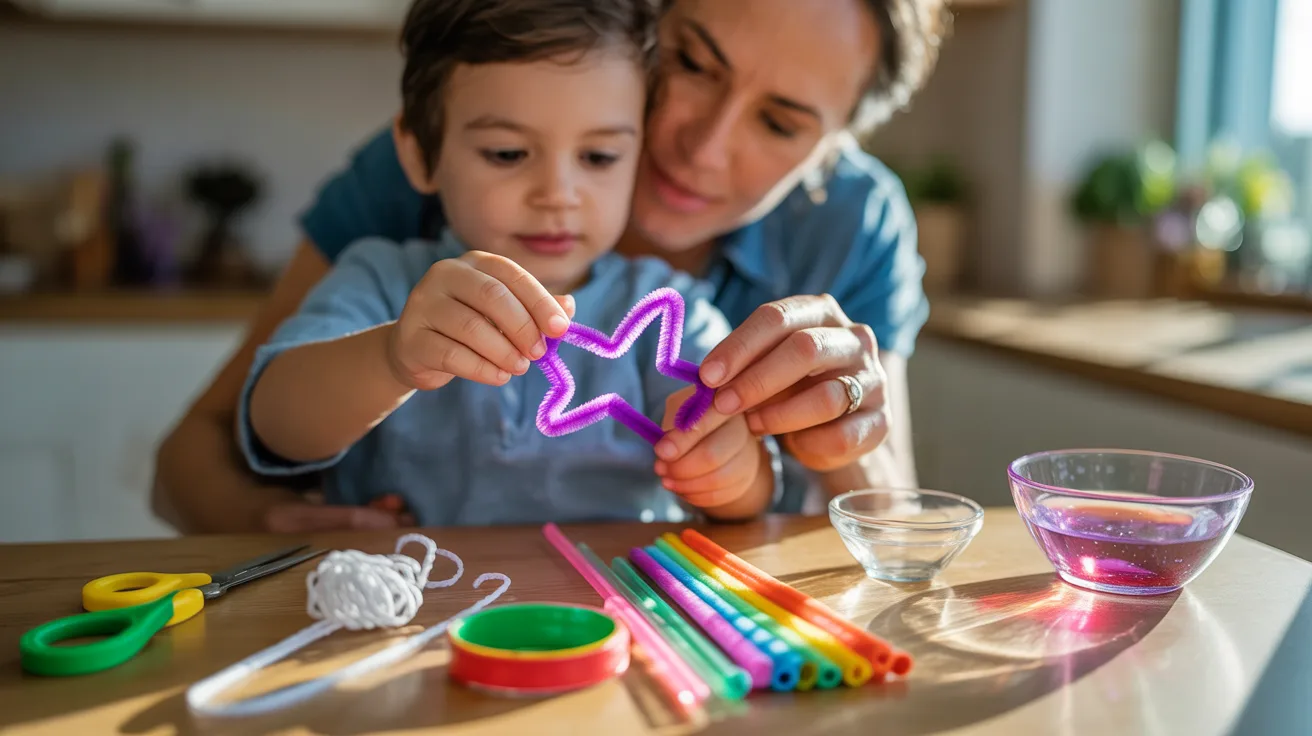
You can keep things simple with a basic round loop on a pipe cleaner, or go big with a two-dowel giant wand that sends massive bubbles floating across the yard.
This guide covers quick five-minute makes for toddlers all the way to more detailed builds tweens and teens will love. There is something here for everyone.
Tools and Materials Required

You do not need much to get started with DIY bubble wands. Most of these items are easy to find at any craft store and cost very little.
For the wand: pipe cleaners, floral wire, wooden dowels, cotton cord, eye hooks, tape, and beads.
For decorating: ribbons, stickers, and colorful beads.
For the solution: dish soap, water, glycerin or corn syrup, cornstarch, and food coloring.
Beginners can start with just pipe cleaners, beads, and basic dish soap. That is really all you need to make your first bubble wand and get blowing.
DIY Bubble Wand Projects: Step-by-Step
These projects work for any age group. You can adjust the materials and steps based on who is making them.
Step 1: Choose Your Materials
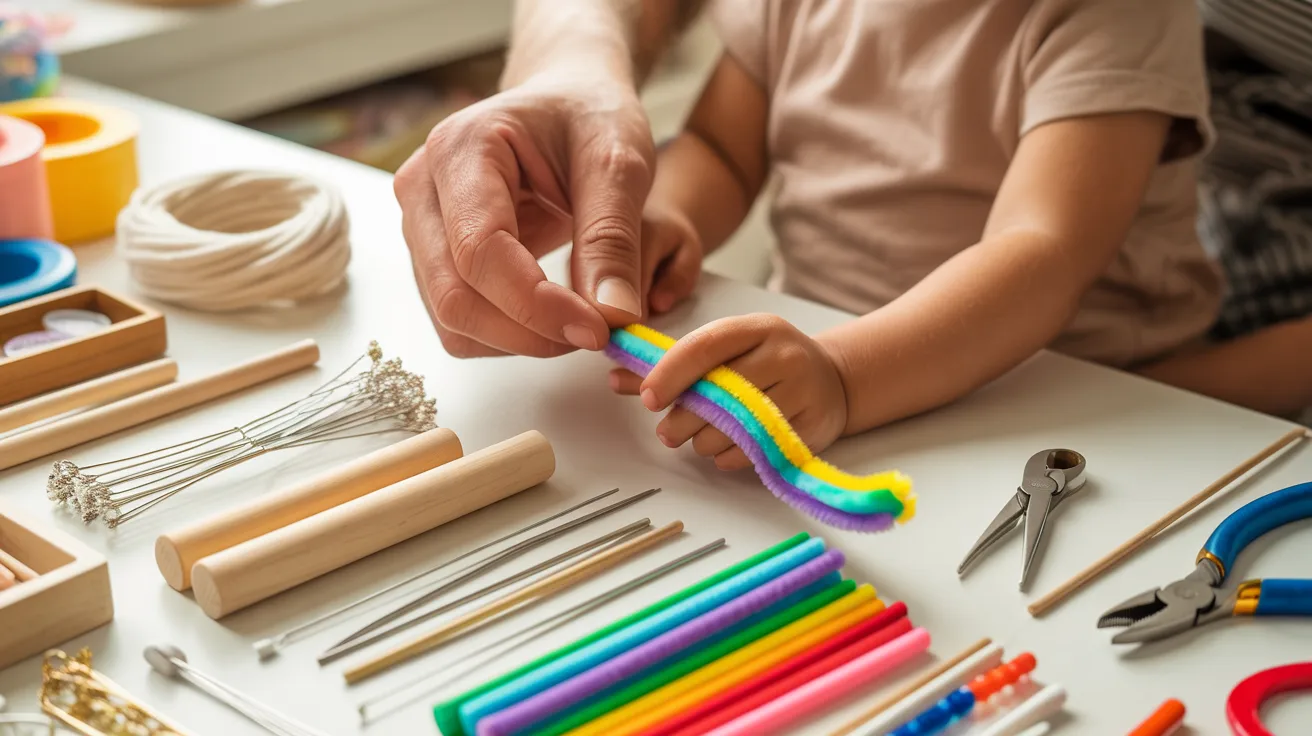
The right materials depend on the age and skill level of the maker. Young kids (ages 4–7) work best with soft pipe cleaners.
Older kids and teens can use floral wire or wooden dowels with cotton cord. Wire gives you more control over shape but needs adult supervision. Start simple and work up from there.
Step 2: Shape the Bubble Loop
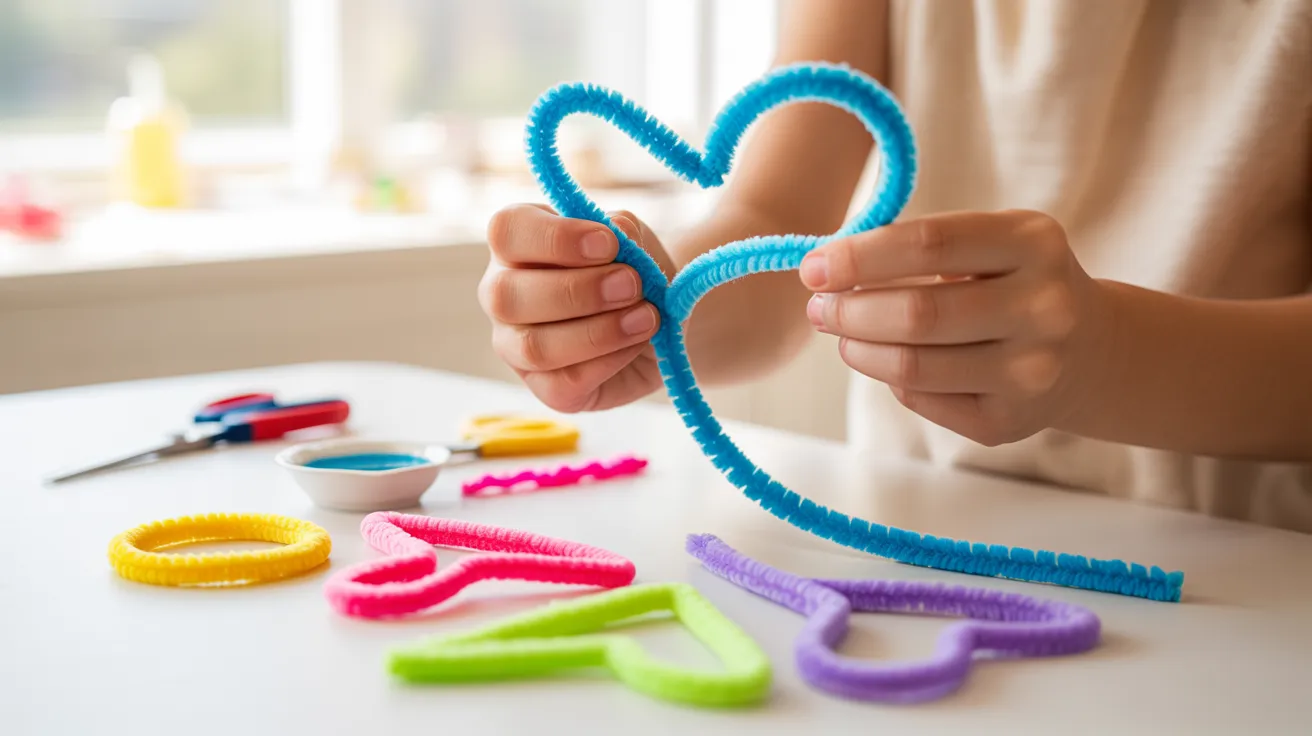
Bend your material into a closed loop at one end. This is the part that holds the bubble film. You can make different shapes depending on your skill level.
- Circle
- Star
- Heart
- Triangle
Twist the ends tightly so the loop stays closed. Younger kids can stick to simple circles. Older kids can try more complex shapes with a little patience.
Step 3: Create a Handle
Once your loop is shaped, extend the remaining material downward to form the handle. For pipe cleaners, twist two together for extra strength.
For wire, wrap the end around a wooden dowel and secure it with tape or a bead. The handle should feel comfortable to hold and long enough to dip into your bubble solution easily.
Step 4: Decorate the Wand

Now comes the fun part. Slide colorful beads onto the handle, tie on ribbon strips, or add stickers.
For themed wands, use colors that match a birthday party or holiday. Ribbons tied near the loop give a festive look. There is no wrong way to decorate, just make it yours.
Step 5: Test and Use
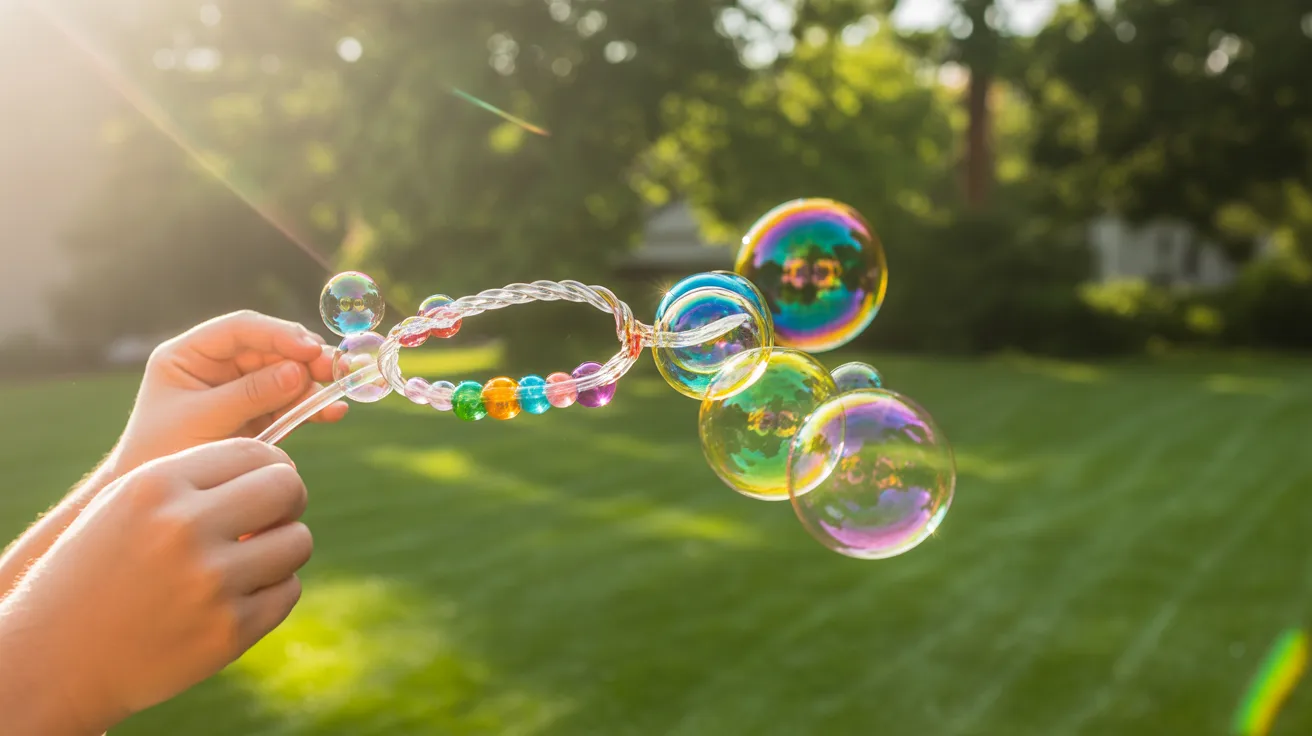
Dip the loop end into your bubble solution and pull it out slowly. Blow gently through the loop or wave the wand through the air.
Try different motions: a slow wave makes long bubbles, while a quick flick makes small round ones. Test different loop shapes to see which makes the most interesting bubbles.
DIY Bubble Wands Suitable for All Age Groups
Bubble wands can be shaped, sized, and styled to fit any age range .Here is how to match the project to the maker.
For Young Kids (Ages 4–7)
Pipe cleaners are the go-to material for this age. They are soft, easy to bend, and safe. Kids can make simple round loops and thread large beads onto the handle.
Try multi-loop designs by connecting two or three loops side by side. Rainbow bead patterns make the handle colorful and easy to grip.
For Elementary Kids (Ages 7–10)

This age group can handle floral wire or even mason jar lids as ready-made loops. They can shape hearts, stars, and double loops with a little guidance.
Handles can be wrapped with colorful tape or decorated with charms. Themed wands like a star wand for a space party are a big hit with this group.
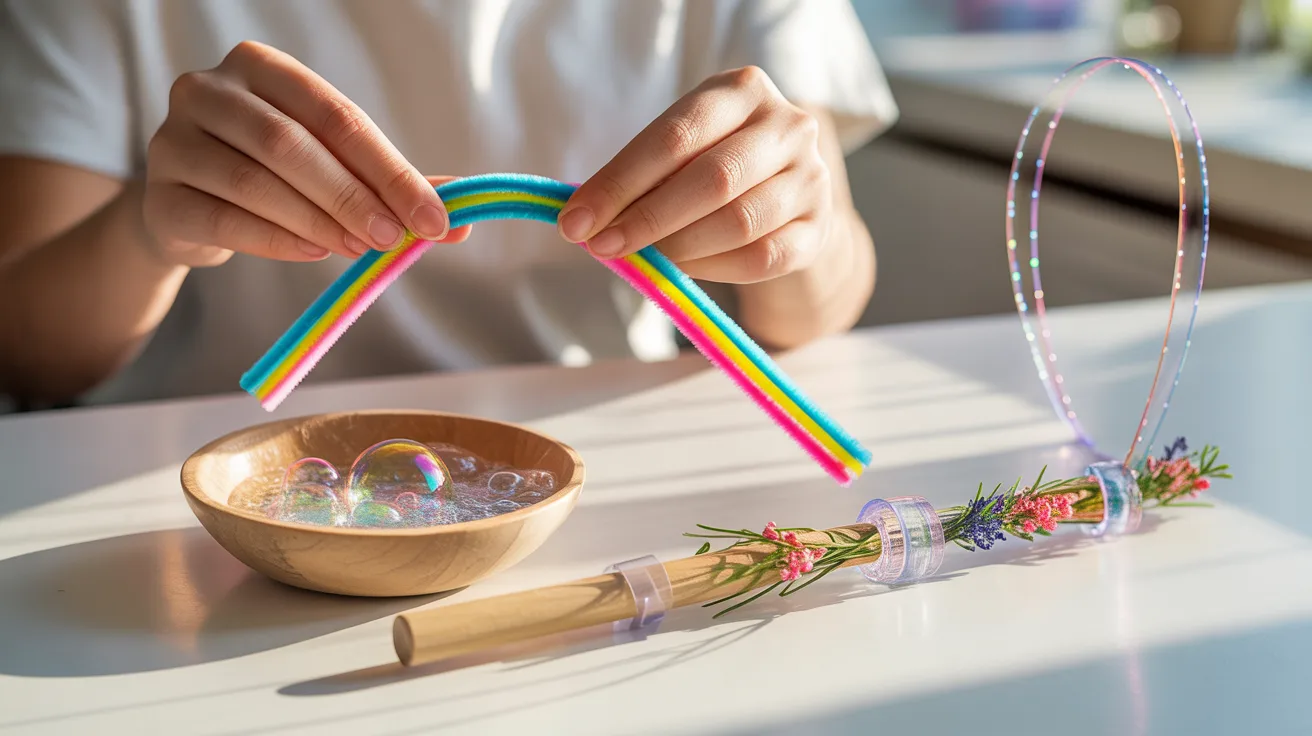
For Tweens & Teens (Ages 10+)

Teens can make giant outdoor bubble wands using wooden dowels and cotton cord. Tie the cord between two dowels to create a wide loop for massive bubbles.
They can add ribbon streamers or layer multiple loops for “super bubbles.” Outdoor bubble competitions with friends make this even more fun.
Creative Bubble Wand Ideas
There are so many ways to make each wand stand out from the last one.
- Shape your loops into flowers, spirals, or letters for a fun look
- Add ribbon strips just below the loop for a streamer effect
- Mix a drop of food coloring into your bubble solution for colored bubbles, kids go wild for this
- Layer two loops on top of each other to blow “super bubbles” that are bigger and last longer
- For holidays or birthdays, match your wand colors and shapes to the theme
No two wands ever look the same, and that is exactly what makes this craft so fun.
Tips & Tricks for Success
A few small habits make a big difference when working with bubble wands.
- Always supervise young children during the activity
- Outdoor spaces work best for giant bubble wands
- Try different loop shapes and sizes for fun results
- Let giant bubble solution rest overnight before using
- Add food coloring for tinted bubbles
- Dress accordingly as colored bubbles can stain clothing
- Stir gently every time to avoid foam
The right habits turn a simple craft into something kids will want to do again and again.
Conclusion
Making bubble wands is one of those crafts I always come back to. It is simple, inexpensive, and genuinely fun for everyone involved.
I love how a little wire and a few beads can keep kids busy for an entire afternoon.
Now it is your turn. Pick an age group, grab your materials, and give these DIY bubble wand projects a try.
Drop a comment below and tell me which wand style you loved most. If this helped, share it with a fellow craft-loving parent!
Frequently Asked Questions
What is the best material for a beginner bubble wand?
Pipe cleaners are perfect. They are soft, easy to bend, and need no tools.
Can I make a bubble wand without pipe cleaners?
Yes, floral wire, wooden dowels, or mason jar rings all work great.
How do I make bubbles last longer?
Add glycerin or corn syrup and let the solution rest for 24 hours.
Is this activity safe for very young children?
Yes, with supervision. Use pipe cleaners and large beads for kids under 5.
Can I use food coloring in my bubble solution?
Yes, but play outside since colored bubbles can stain clothing.