


After sketching wildflowers for over a decade, I can tell you the biggest mistake beginners make is overthinking it.
I still remember sitting outside with my sketchbook, staring at a wildflower and not knowing where to start.
Once I broke it down into simple steps, everything changed.
In this guide, I’ll walk you through how to draw wildflowers from scratch, covering tools, shapes, and texture. Everything here comes from real sketchbook time, not theory.
The part that makes the biggest difference? It has nothing to do with drawing skills.
What You Should Know Before You Start

Drawing wildflowers is more about observation than skill. The more closely you look at a flower, the easier it is to put it on paper.
Start with a single bloom, something simple with visible petals and a clear stem. Don’t worry about making it look perfect on your first try.
Real wildflowers have natural imperfections, and those small details are exactly what make a sketch feel alive. Give yourself time, work lightly, and trust the process.
Materials & Tools You’ll Need
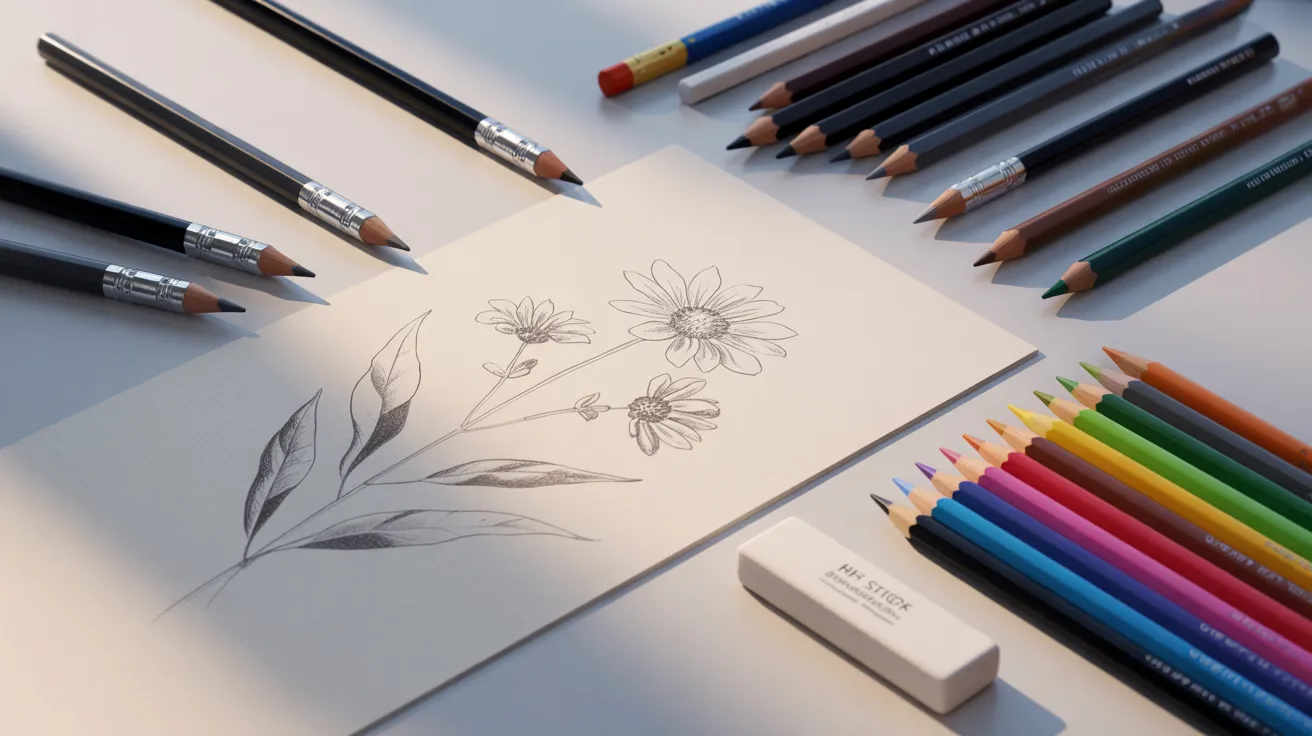
You don’t need much to get started with drawing wildflowers.
Here’s what to keep on hand:
- HB Pencil: great for general sketching and building your main lines.
- 2H Pencil: best for softer, lighter lines where you need more control.
- Medium Surface Drawing Pad: holds pencil marks well and works with both pencil types.
- Stick Eraser: keeps your guidelines clean without smudging the paper.
- Colored Pencils: optional, but useful if you want to add light shading at the end.
Step-by-Step Guide to Drawing Wildflowers
Follow these steps in order and you’ll have a real wildflower sketch by the end.
Step 1:Observe Your Flower

Pick and observe the two flowers in the reference image. The top flower is larger and open, while the bottom one is slightly smaller and tilted.
Lightly sketch two small circles to mark the centers, keeping your pencil strokes soft and adjustable
Step 2: Sketch the First Layer of Petals

Notice each flower has five wide, rounded petals. The edges are slightly uneven and soft, not perfectly smooth.
Petals spread evenly around the center, creating a natural, open look.
Step 3: Add Shading and Petal Details

Observe how the petals are darker near the center and softly fade toward the edges. Lightly shade around the center, then blend outward using gentle strokes.
Add subtle lines from the center to the tips to create natural texture and depth
Step 4: Paint the Flower Center

Observe the center’s warm blend of yellow and orange tones. The middle is bright yellow, softly blending into orange around it.
Carefully paint the center with yellow first, then add orange around the edges. Blend gently to create a smooth, glowing transition
Step 5: Paint the Second Flower
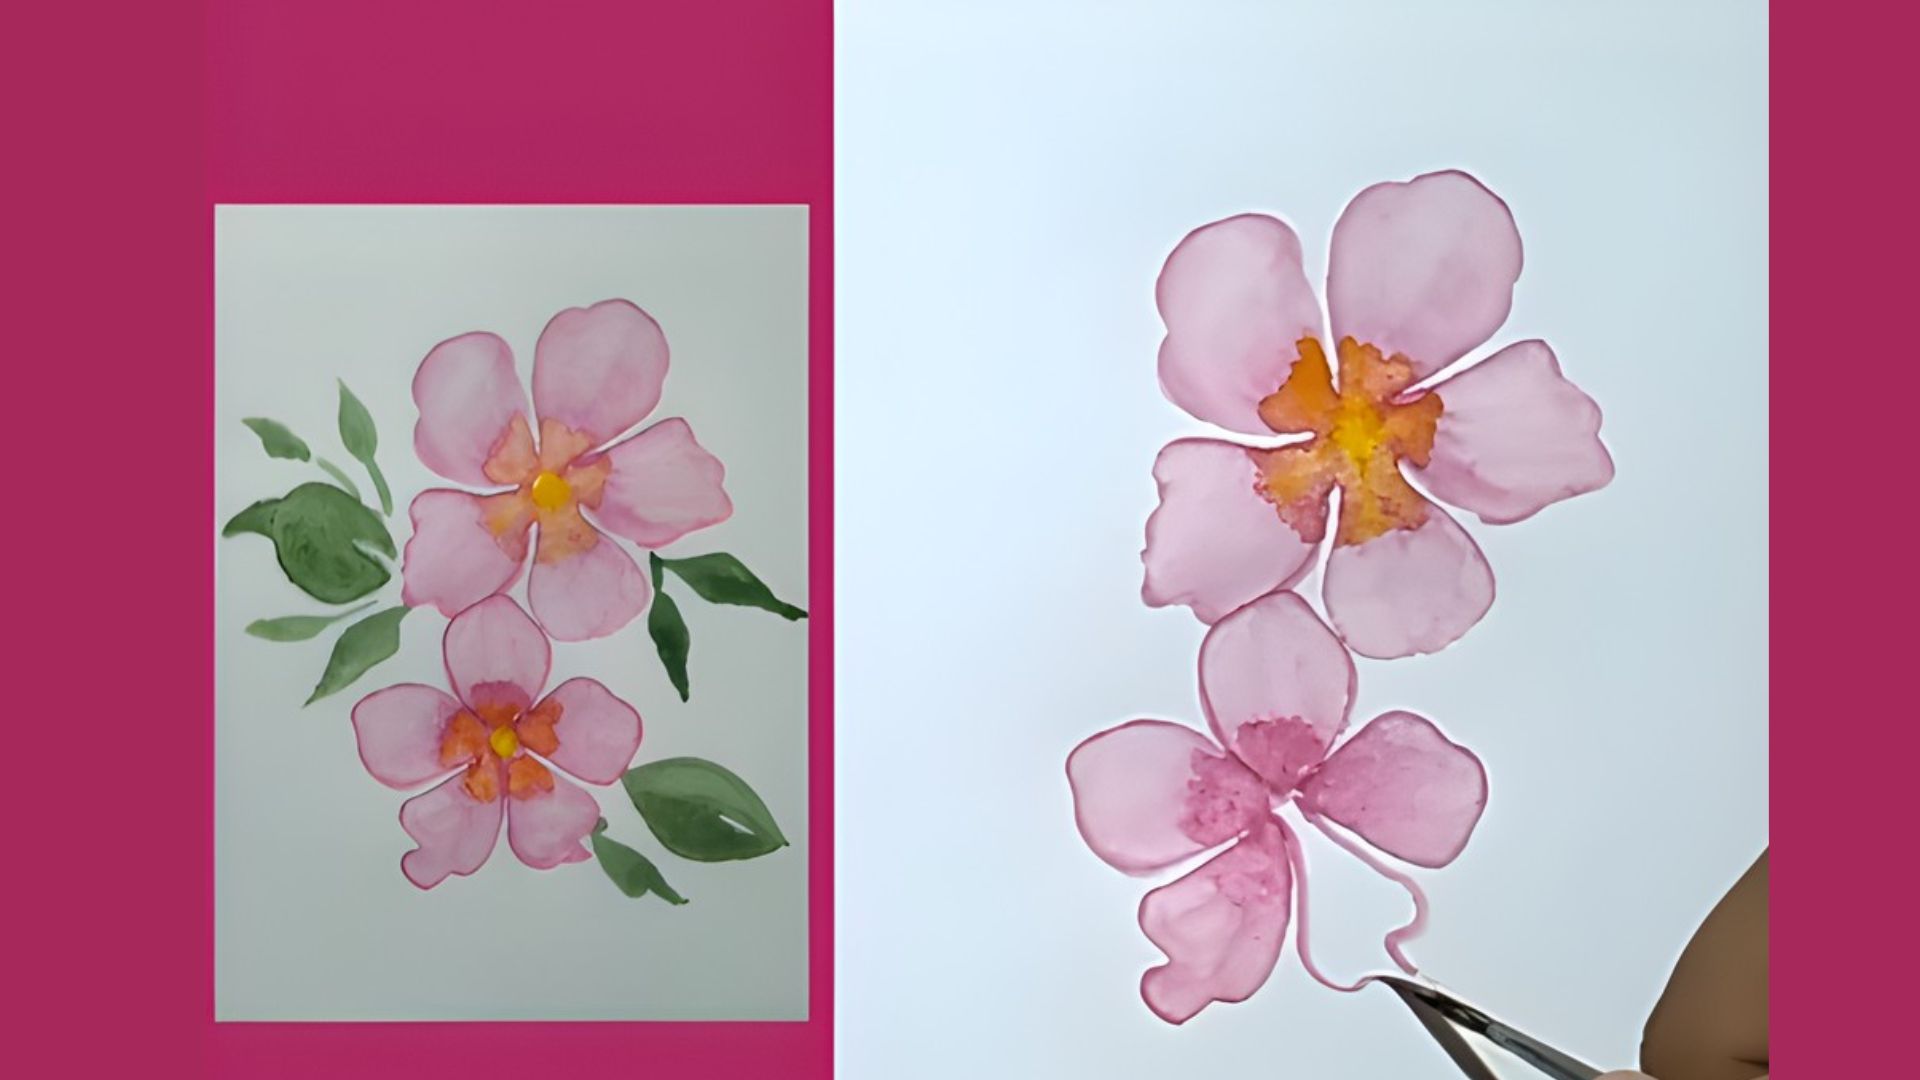
Observe the smaller flower below, slightly tilted and softer in tone. Lightly paint the petals with a pale pink wash, keeping the center lighter.
Add gentle shading near the middle for depth. Blend smoothly to maintain a soft, delicate wildflower look
Step 6: Add Leaves and Final Touches

Observe the green leaves placed around the flowers, some larger and some smaller. Paint the leaves using a soft green tone, adding darker shading along one side for depth.
Keep the edges smooth and slightly pointed, completing the natural wild rose composition.
Step 7: Review and Practice

Observe your complete painting and compare it with the reference image. Check the petal shapes, color blending, and leaf placement. Make small adjustments if needed.
Practice drawing the flowers again to improve smooth shading, soft edges, and overall balance in your composition.
Avoid Common Mistakes
Even small habits can get in the way of a good drawing.
Here are the most common ones to watch out for:
- Pressing too hard too early damages the paper and makes lines hard to erase.
- Overcomplicating petals too soon makes the drawing look messy.
- Ignoring proportions makes the flower look stiff and unnatural.
- Rushing the outline stage throws the whole drawing off balance.
- Skipping the review step means missing errors you could easily fix.
Conclusion
Drawing wildflowers is one of those things that surprises you. It looks hard until it isn’t.
I remember feeling stuck on petals for weeks, then one day it just clicked. Follow these steps, stay patient, and that moment will come for you too.
Start with one simple flower and build from there. When you do, drop a comment below and tell me which wildflower you tried first.
Share this post with a friend who loves to draw. I’d love to see where this takes you.
Frequently Asked Questions
Do I need art experience to draw wildflowers?
No, basic shapes and simple steps are all you need to start.
What pencil should beginners use?
An HB pencil for sketching and a 2H pencil for lighter, softer lines.
How long does one wildflower sketch take?
Around 15 to 30 minutes once you know the steps.
Can I draw from a photo instead of a real flower?
Yes, photos work fine but real flowers show more natural detail.
How do I make my drawing look more realistic?
Vary petal shapes slightly and add soft shading since real flowers are never perfectly even.
