


I still remember the first time I tried drawing a tree trunk. My lines were too straight, the bark looked like a brick wall, and the whole thing felt stiff.
If you’ve been there too, this guide is for you.
In this article, I’ll walk you through everything, from understanding trunk shapes to blending shadows with cotton. You’ll get a clear, step-by-step process that actually works.
I’ve drawn enough trees to know what trips beginners up, and I’ll help you skip the hard lessons I learned the slow way.
Understanding Trunk Shapes, Forms, and Bark Basics
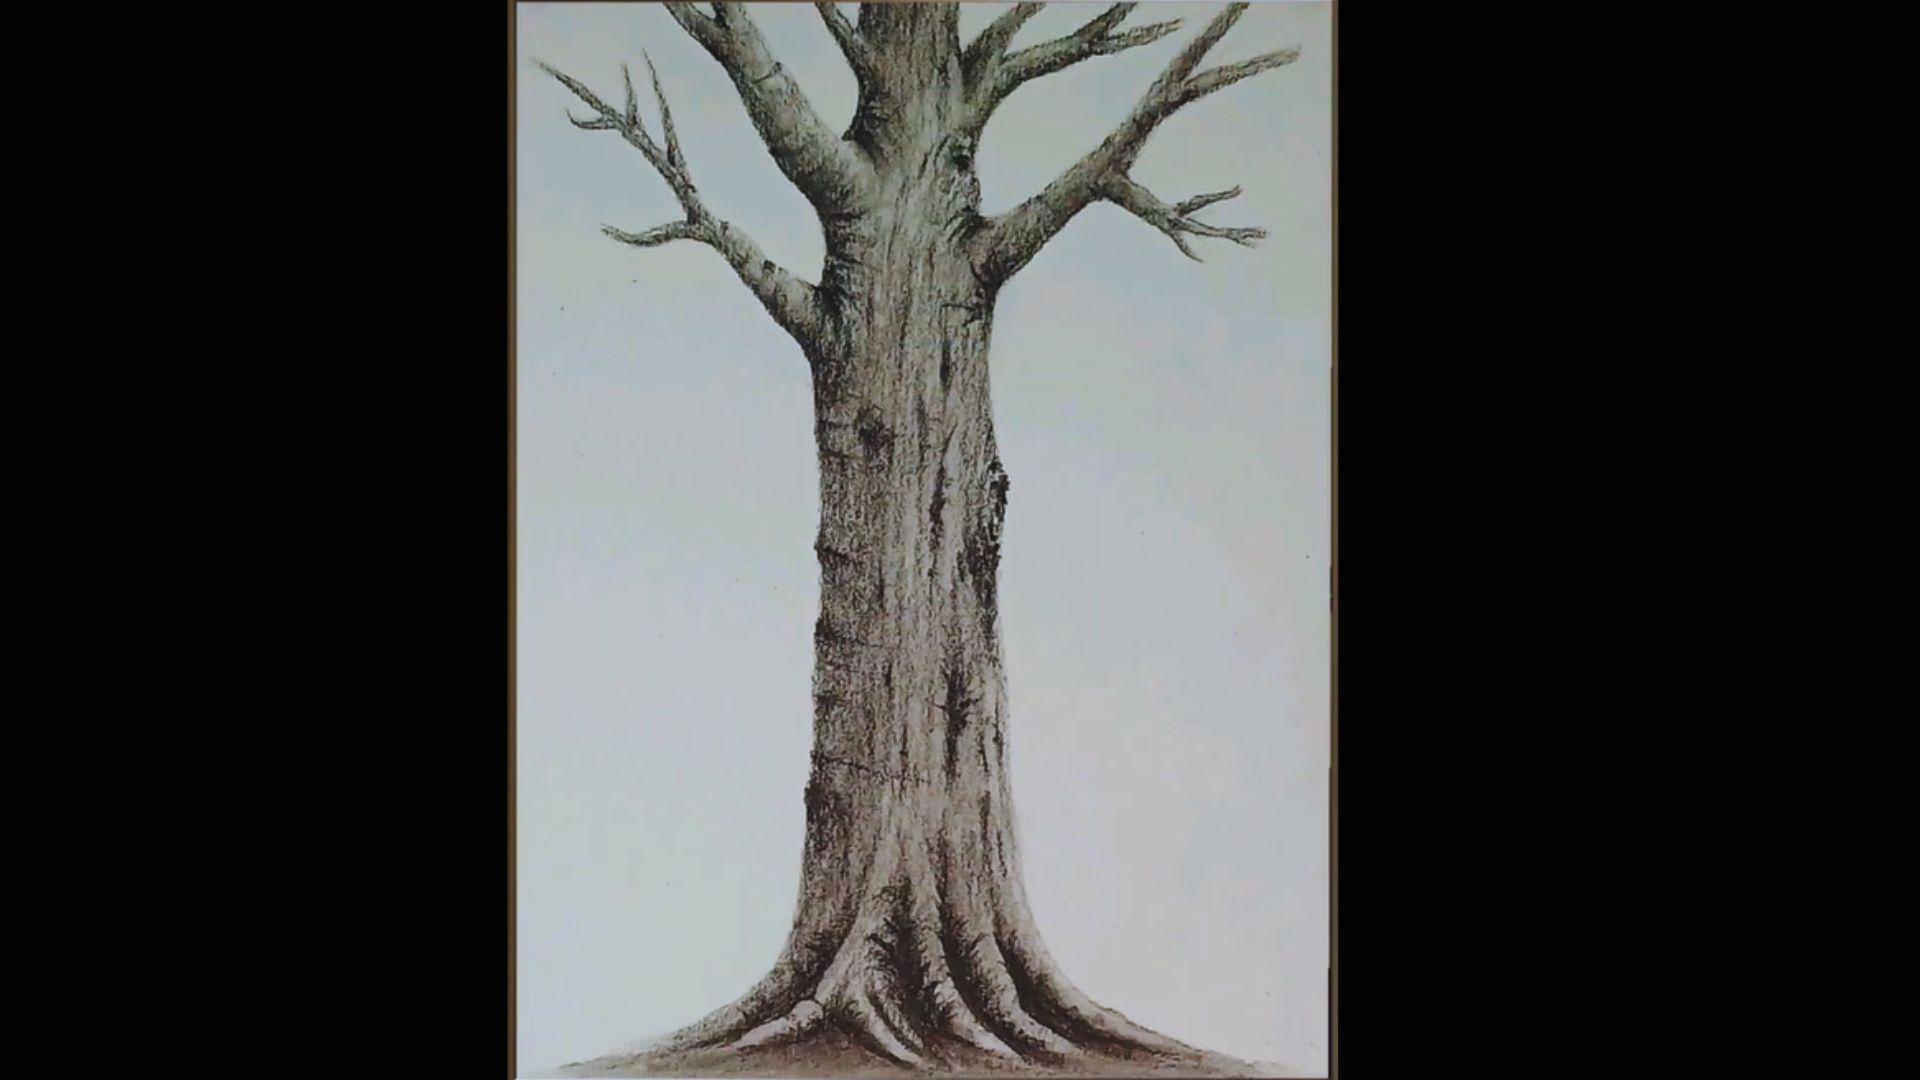
Tree trunks are not perfect cylinders. They widen at the base, taper toward the top, and carry grooves, knots, and rough edges that give them life.
Before you draw, spend a few minutes just looking at how trunks grow. Notice where the bark splits, where the surface dips inward, and how the roots spread at the base.
The slight curves and uneven surfaces are what make a drawing feel real. Once you train your eye to see these details, your hand will naturally follow.
Key Materials and Tools
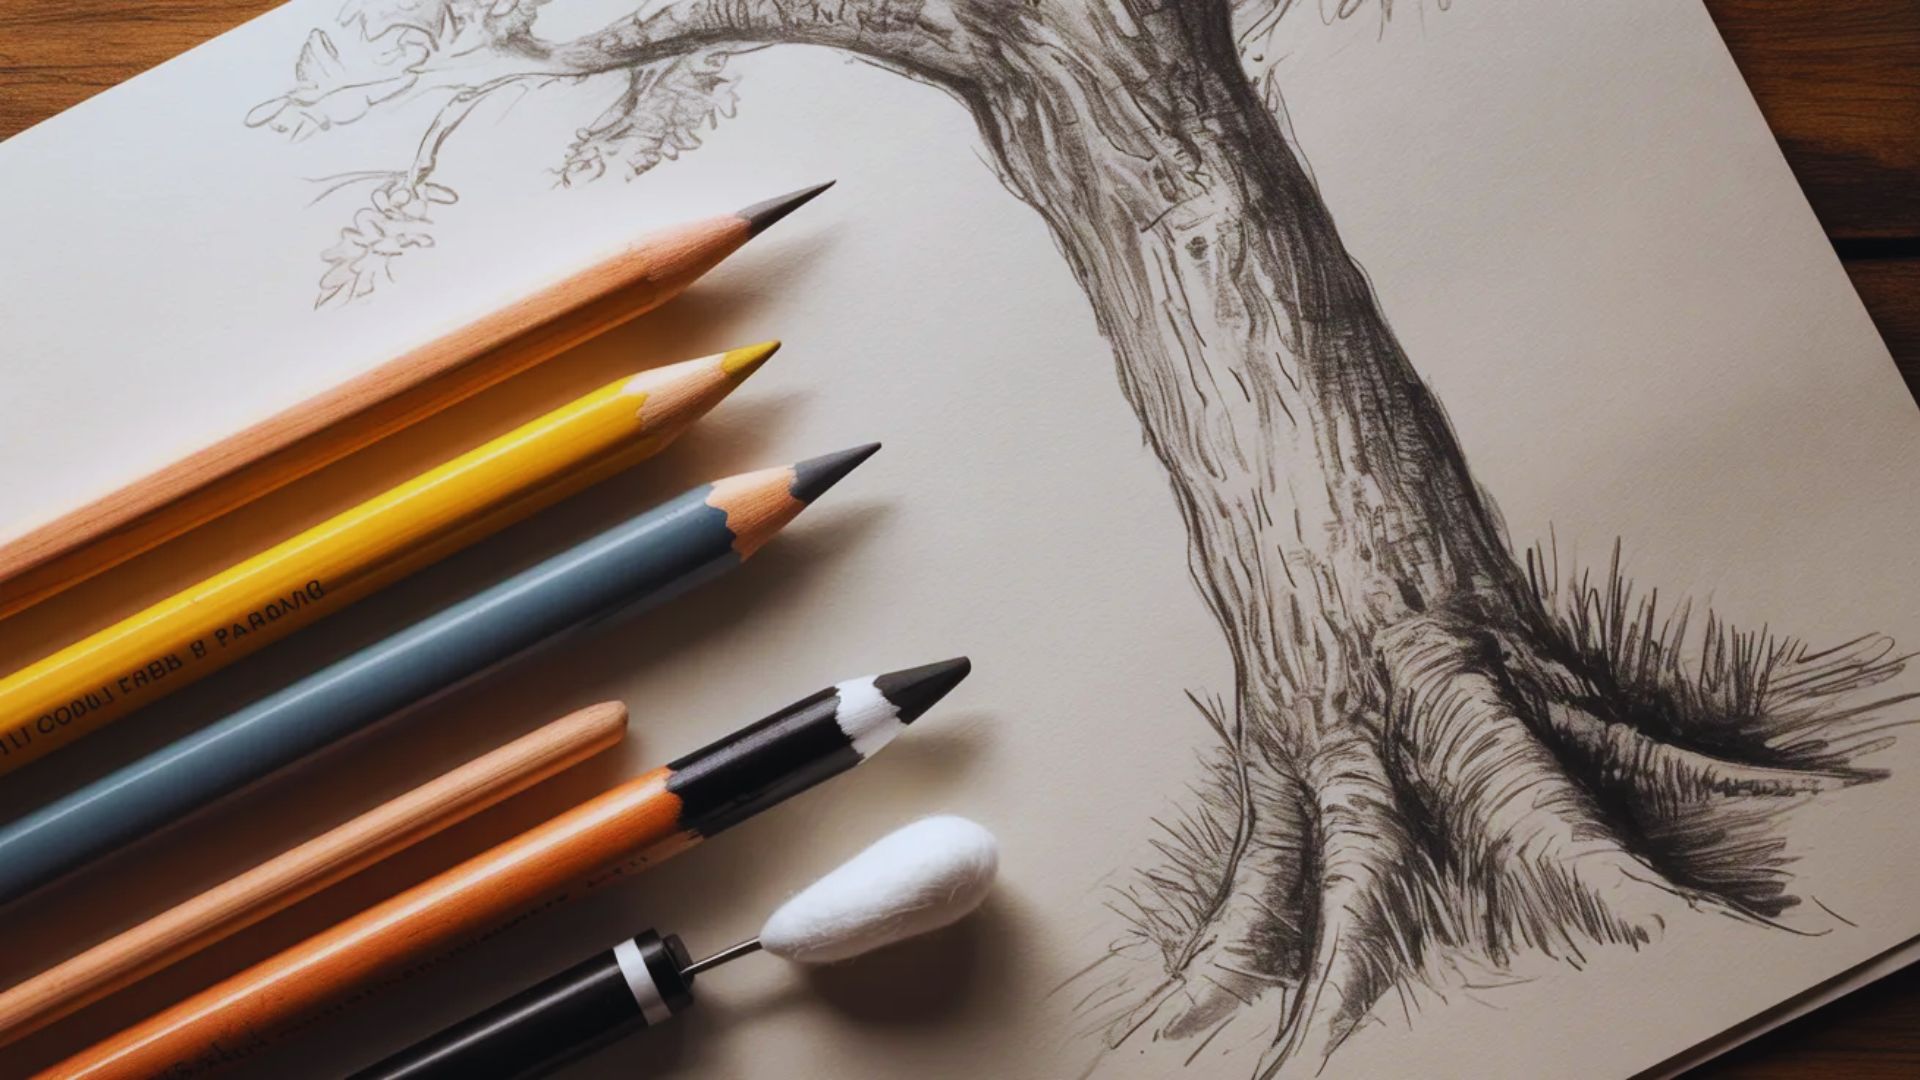
You don’t need much to get started, just the right tools.
HB Pencil: Use this for light outline work, it keeps your lines clean and easy to adjust.
2B/4B Pencil: These softer pencils build up mid-tones and deeper outlines once your sketch is in place.
Charcoal Pencil (Soft and Hard): The hard one lays down sharp lines, the soft one fills in dark, rich shadows.
Cotton Swab: Softens pencil strokes and creates smooth, natural transitions across bark texture.
Drawing Sheet: Use a slightly textured sheet so your pencil and charcoal grip the paper well.
Step-by-Step Techniques for Tree Trunk Drawing
Follow these steps one at a time and you’ll build a realistic tree trunk from scratch.
Step 1:Prepare the Paper
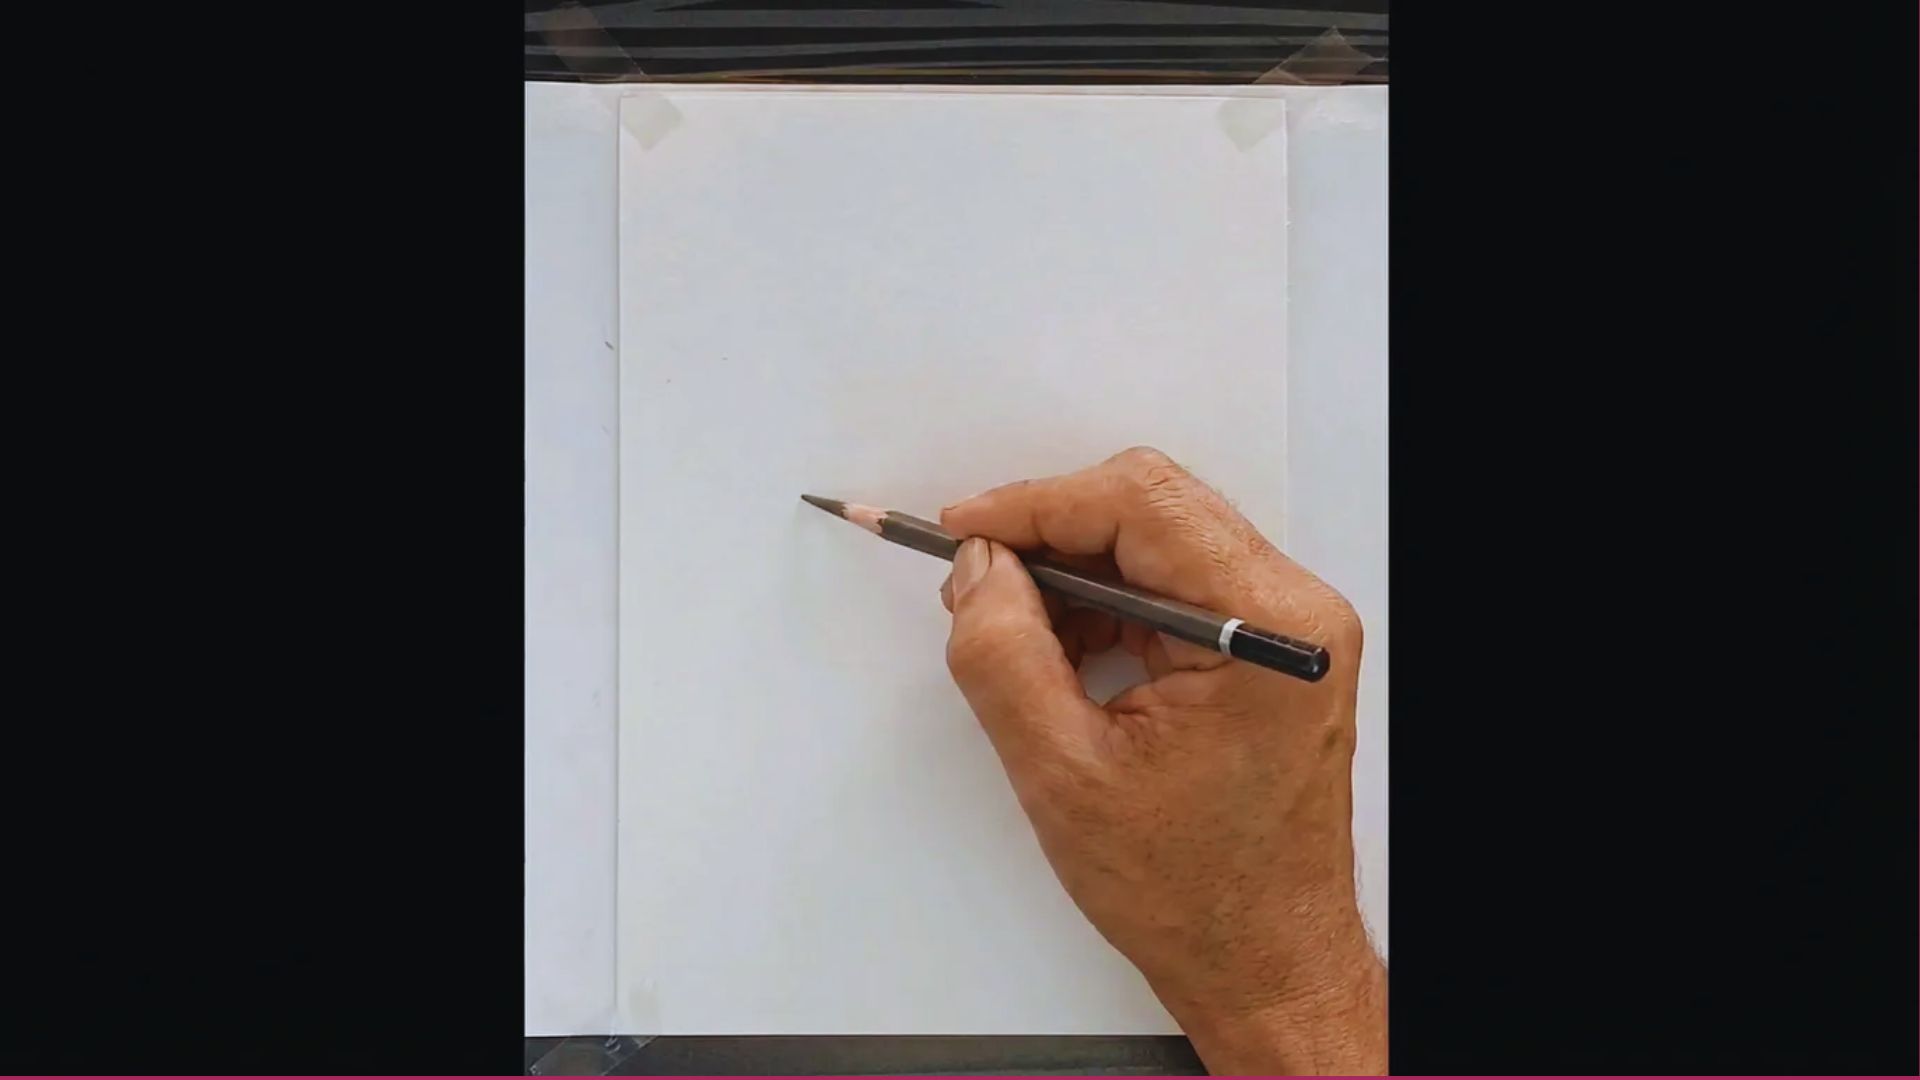
Place your drawing sheet on a flat surface and secure the corners with tape to prevent movement. Keep your hard charcoal pencil ready.
Make sure the paper is clean and smooth. Sit comfortably with good lighting before starting your tree trunk drawing.
Step 2: Draw the Trunk Outline
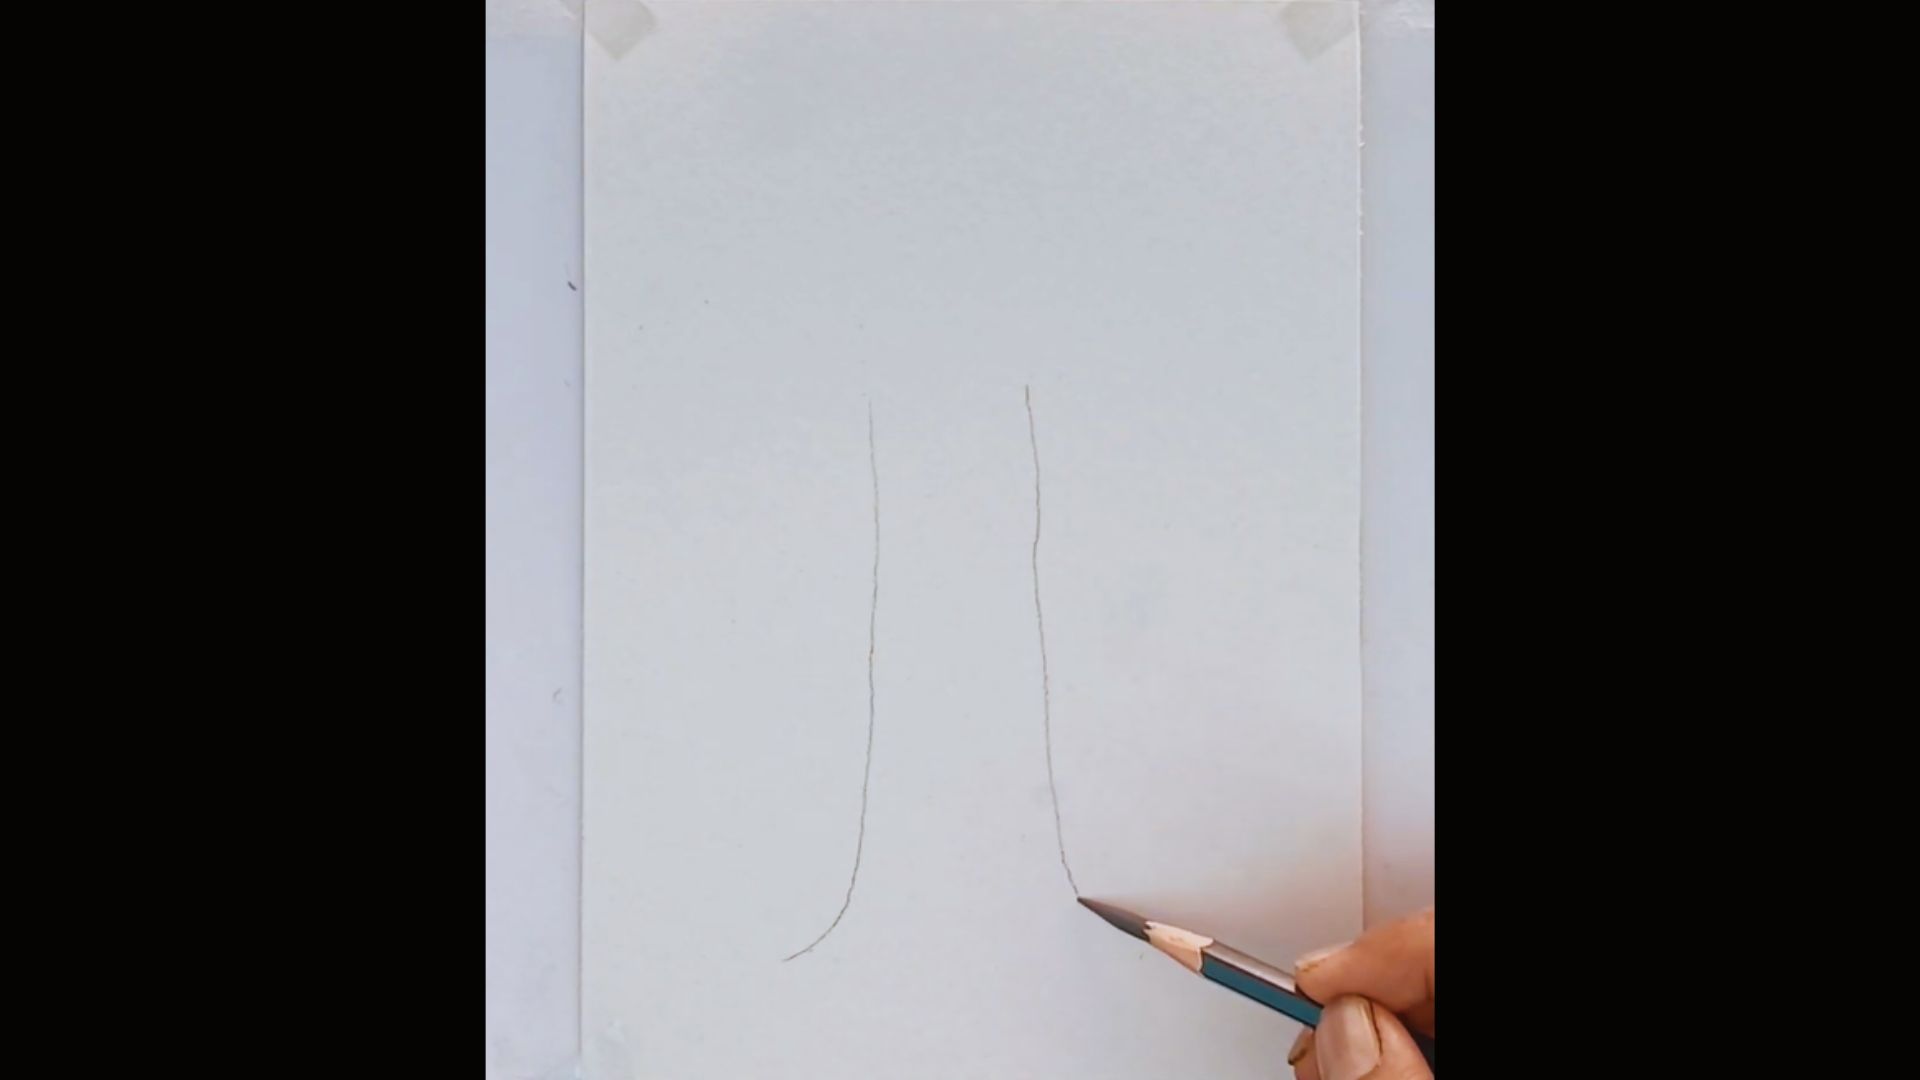
Lightly draw two long, slightly curved vertical lines to form the sides of the tree trunk. Keep the lines uneven to make it look natural.
Widen the bottom slightly and curve it outward to create a strong, grounded base. Use soft pencil pressure.
Step 3: Add Main Branches
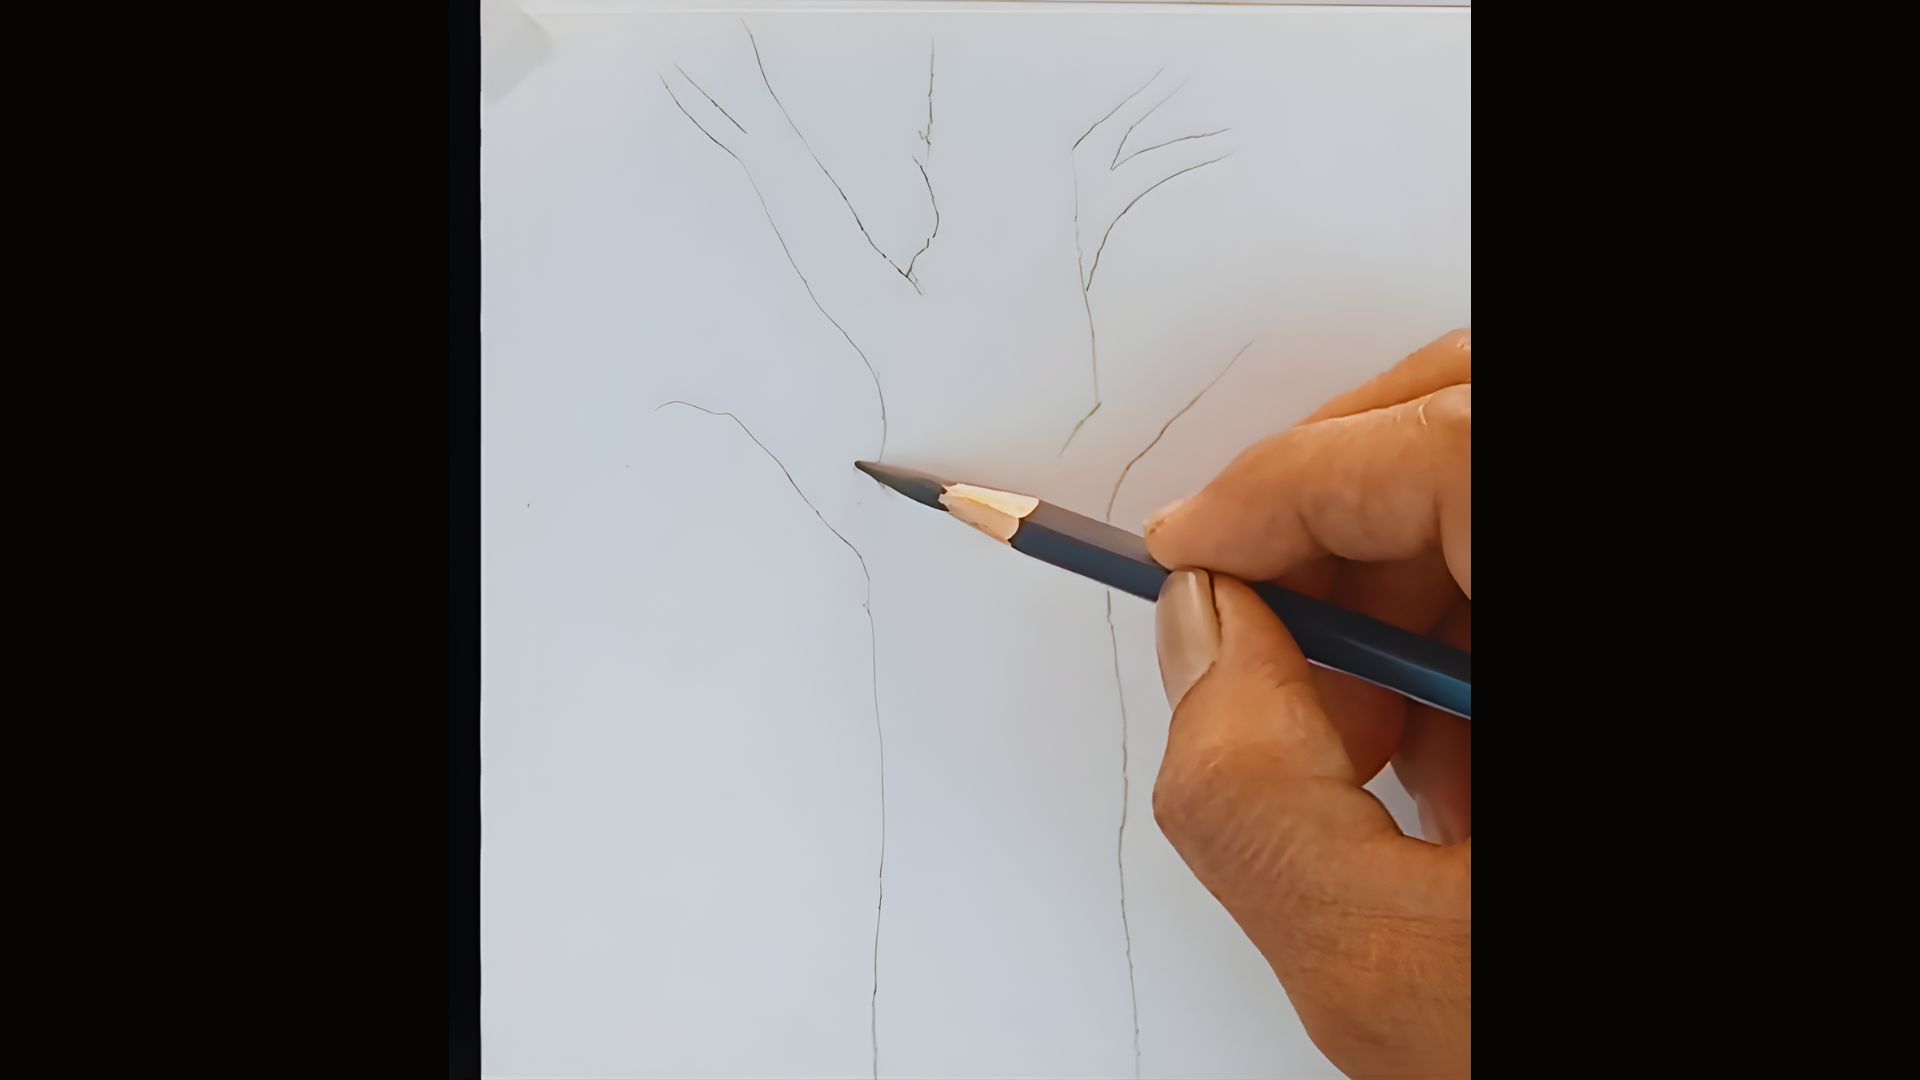
From the upper part of the trunk, draw two thick branches splitting outward. Let them curve naturally in different directions.
Keep the lines slightly uneven and organic. Add a few smaller branch lines extending upward to create a realistic tree structure.
Step 4: Add Bark Texture & Shading
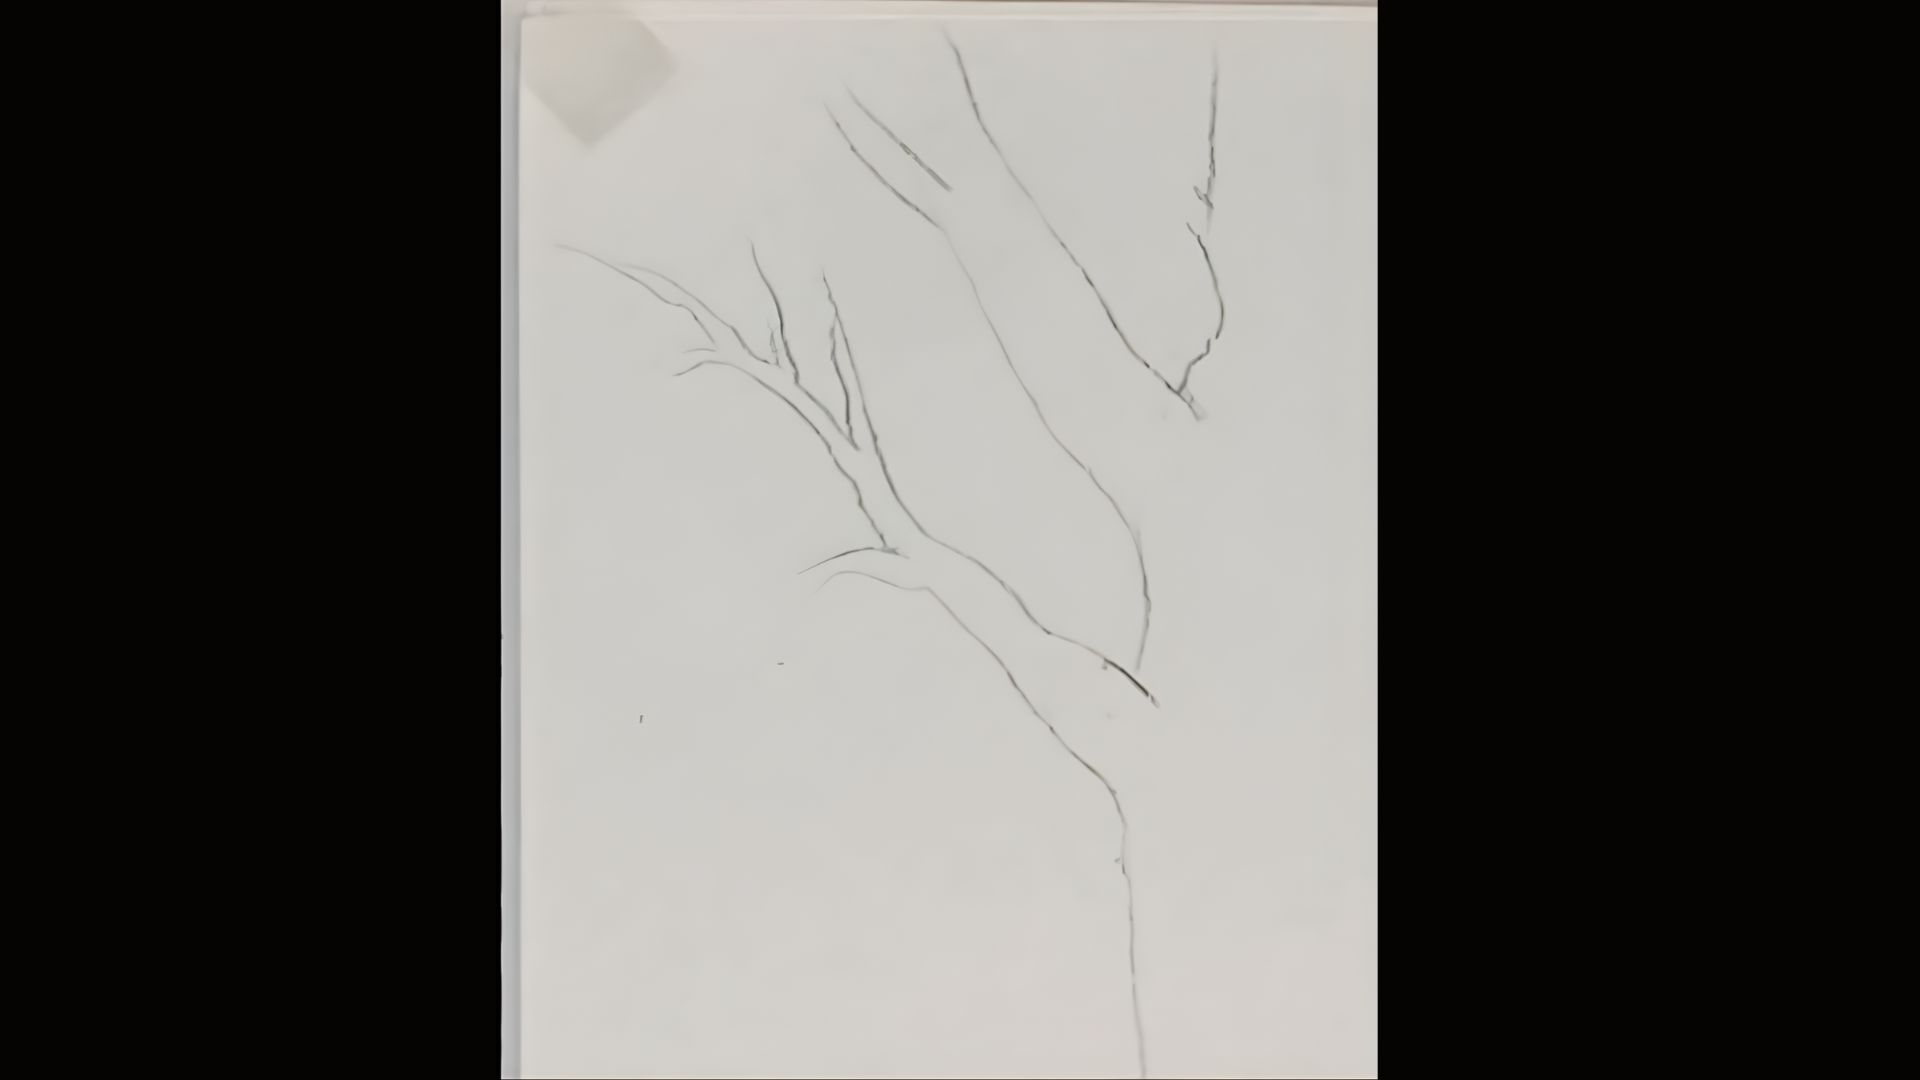
Draw uneven vertical lines along the trunk and branches to create bark texture. Add a few small cracks for detail.
Lightly shade one side of the trunk and branch joints to give depth and a natural 3D effect.
Step 5: Edge Shading & Depth
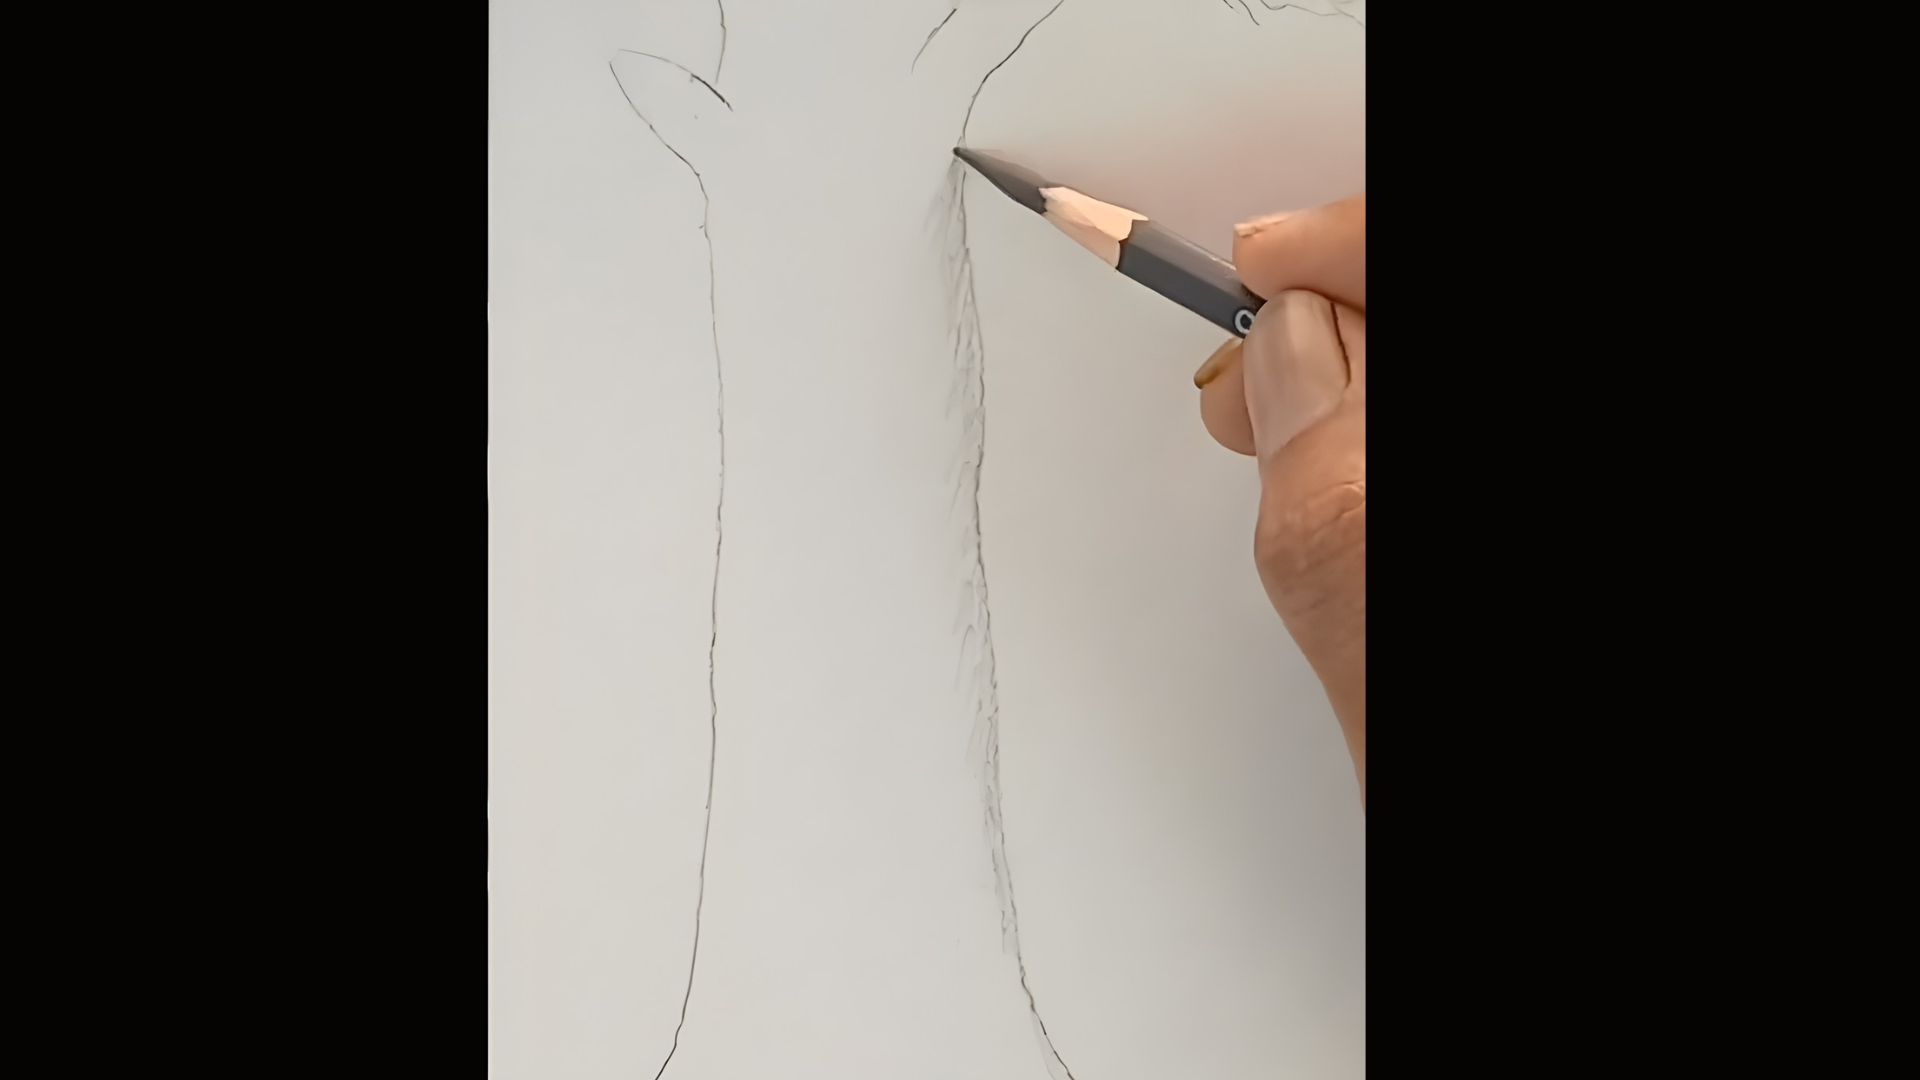
Start shading from the outer edge of the trunk and blend slightly inward. Keep the edge darker and fade it softly toward the center.
Add deeper shading near branch joints to increase depth and create a realistic 3D effect.
Step 6: Shade the Roots & Base
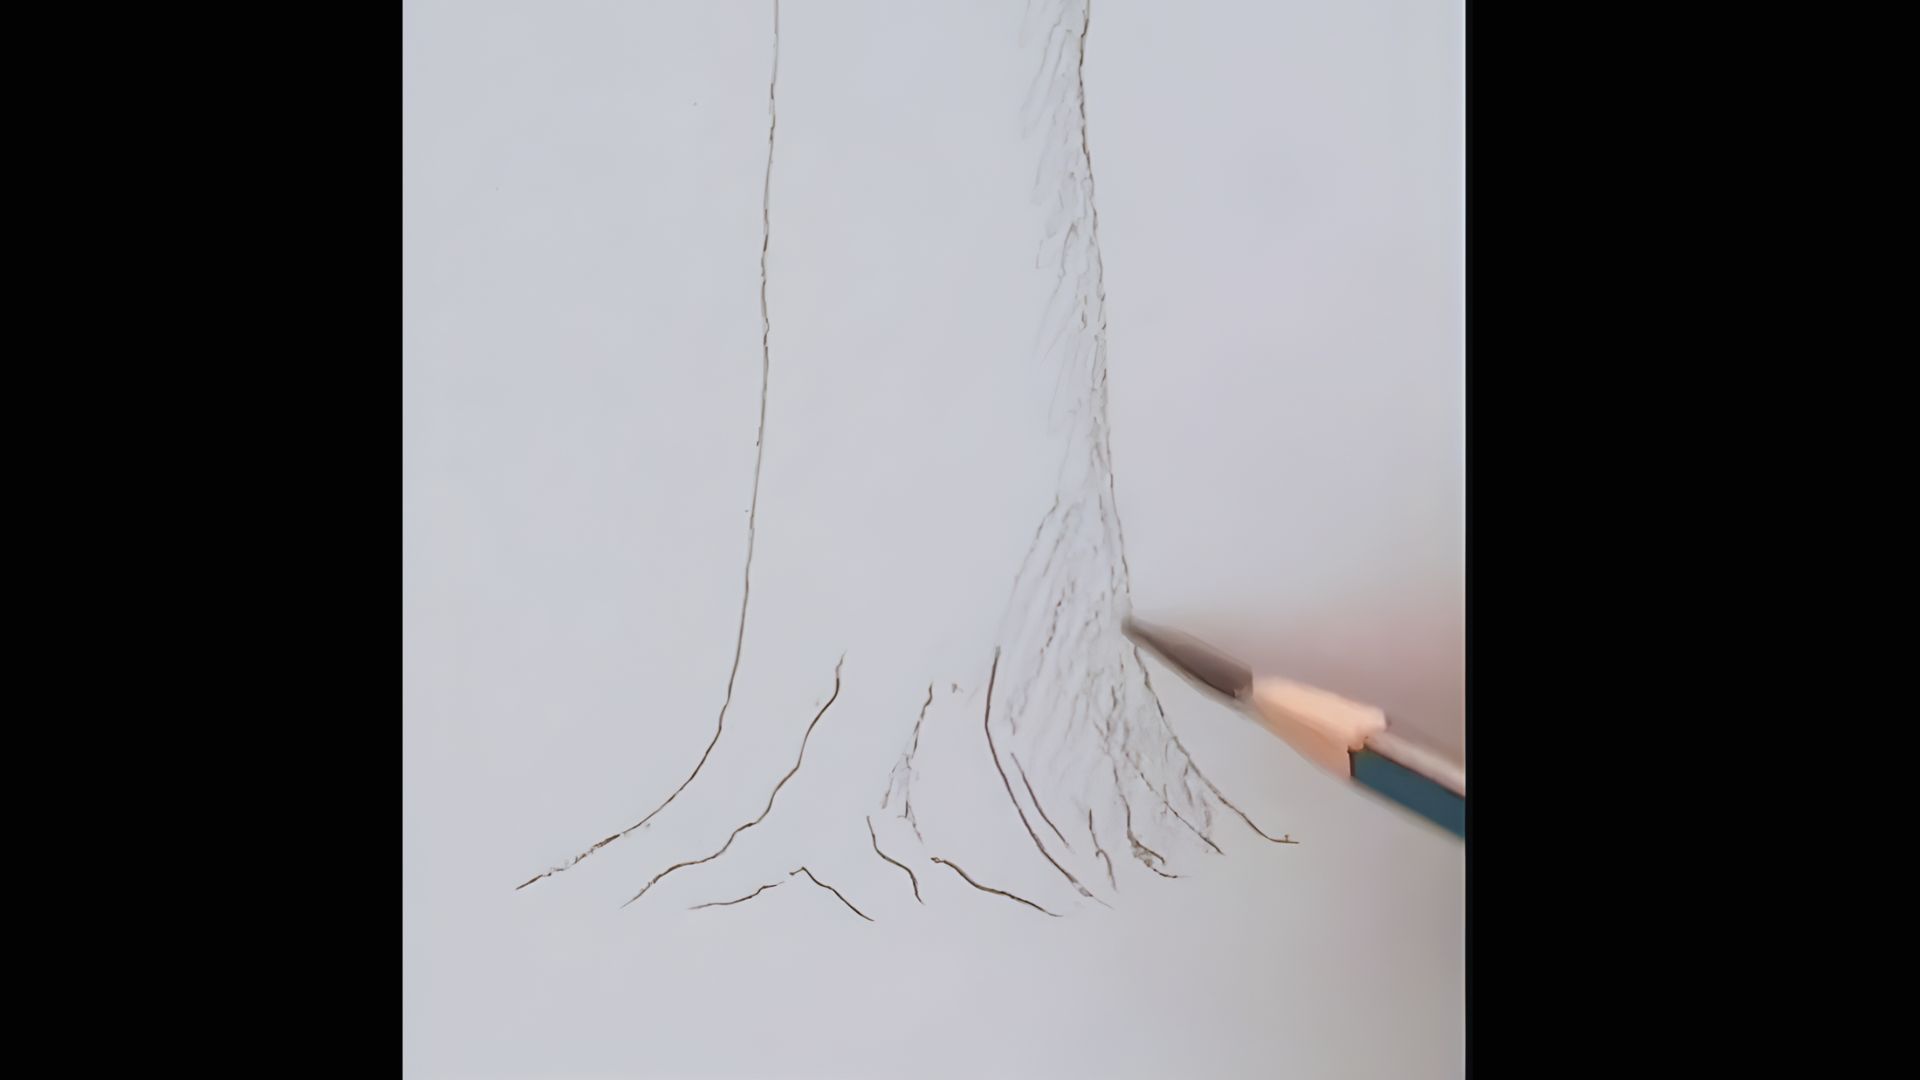
Begin shading from the outer edges of the roots and blend inward. Darken where the roots meet the trunk for depth.
Add light vertical strokes along the base to increase texture and create a strong, grounded 3D effect.
Step 7: Deepen Branch Texture & Shadows
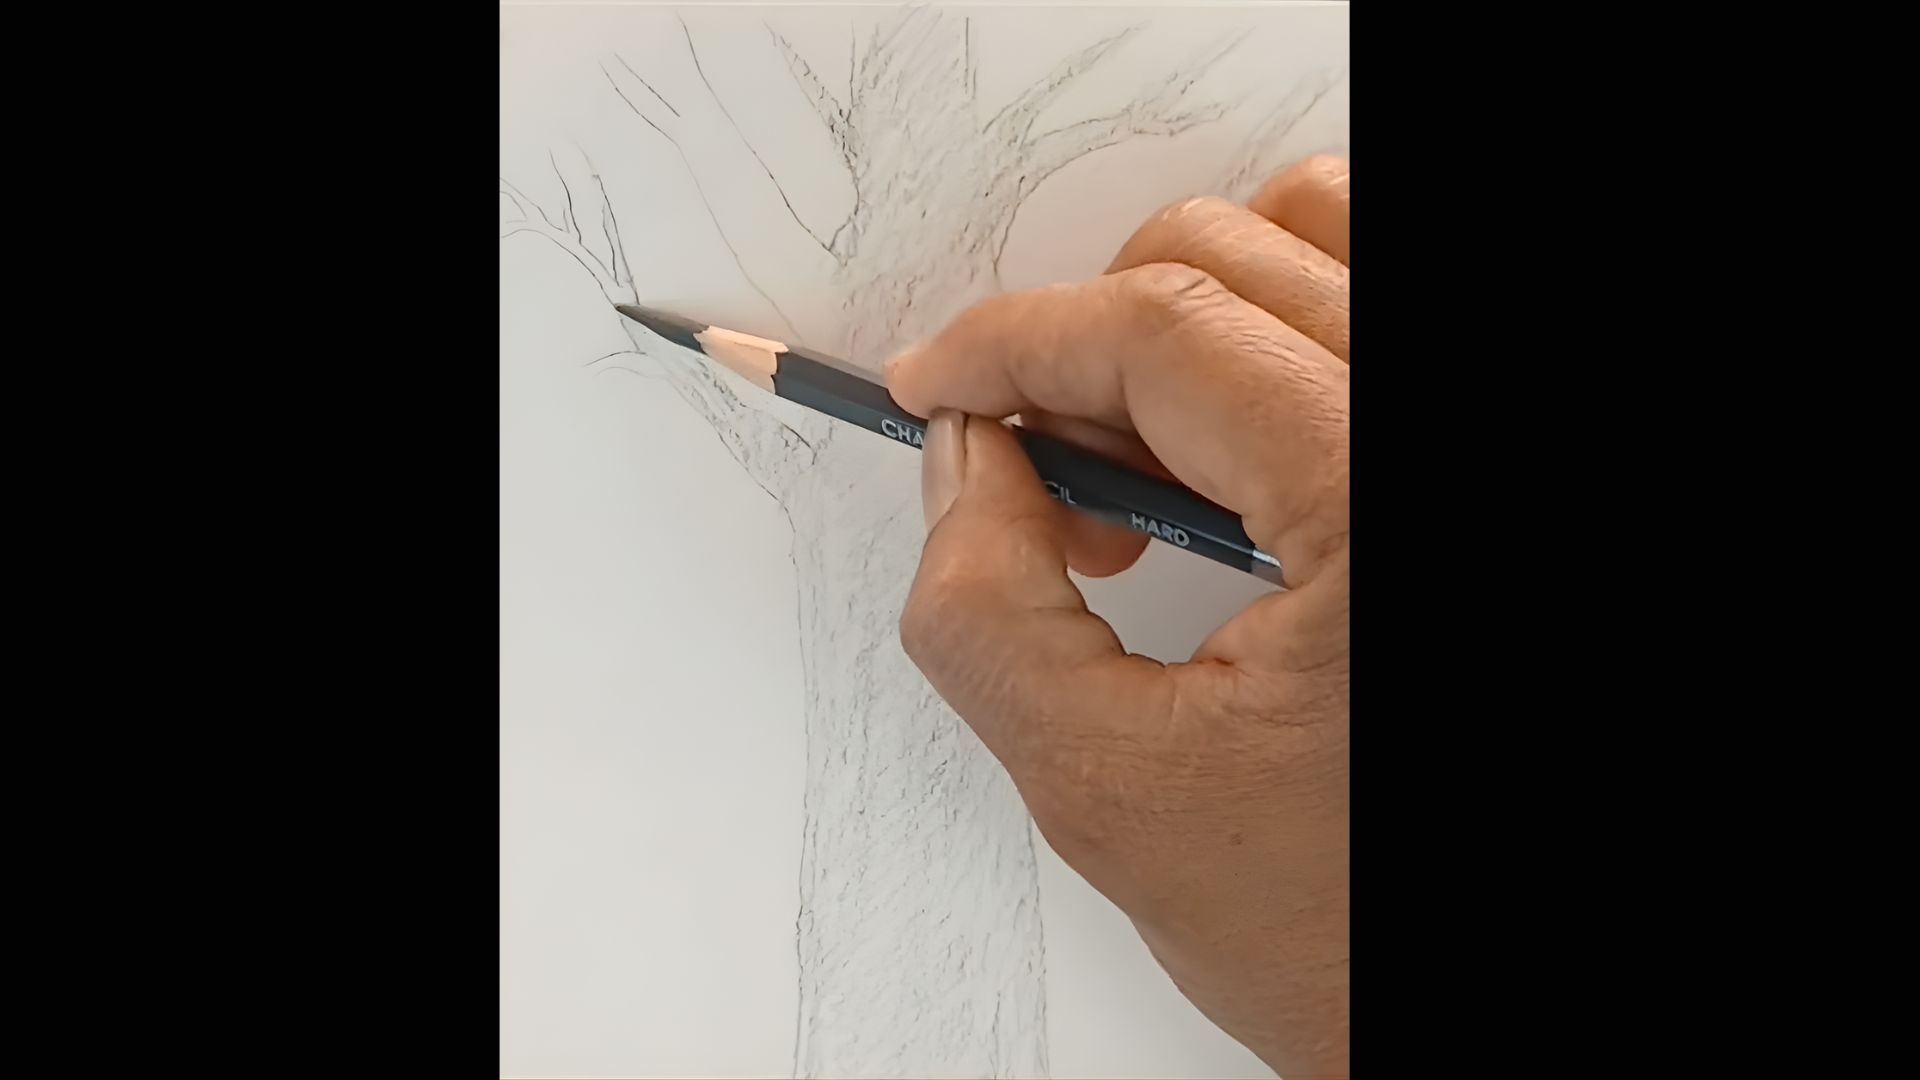
Add short, light strokes along the branches following their direction. Darken where branches connect to the trunk for depth.
Slightly shade the underside of branches to create dimension and make the tree look more realistic and natural.
Step 8: Blend with Cotton
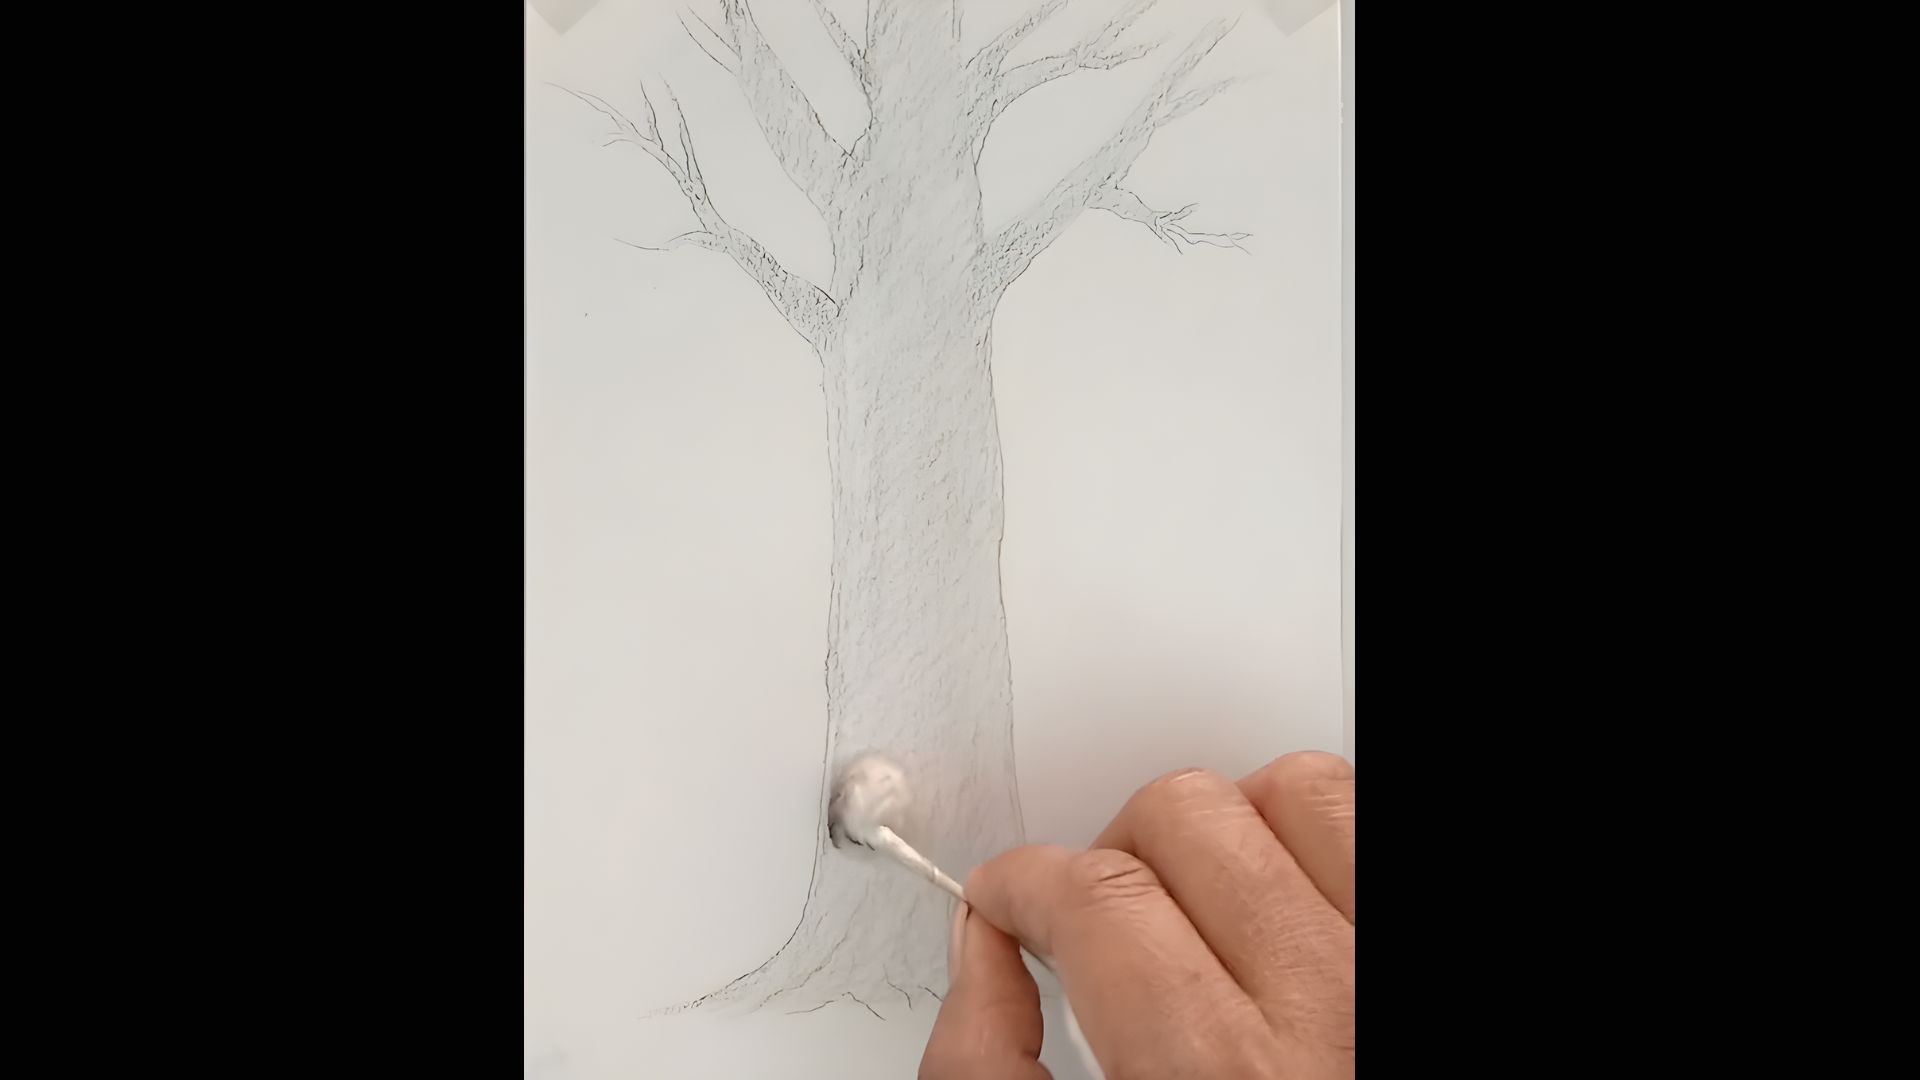
Use a cotton swab to gently blend the shaded areas of the trunk and roots. Rub softly in an upward direction to smooth pencil strokes.
Keep the edges slightly darker while blending the center lightly for a soft, realistic finish.
Step 9: Add Dark Details with Soft Charcoal
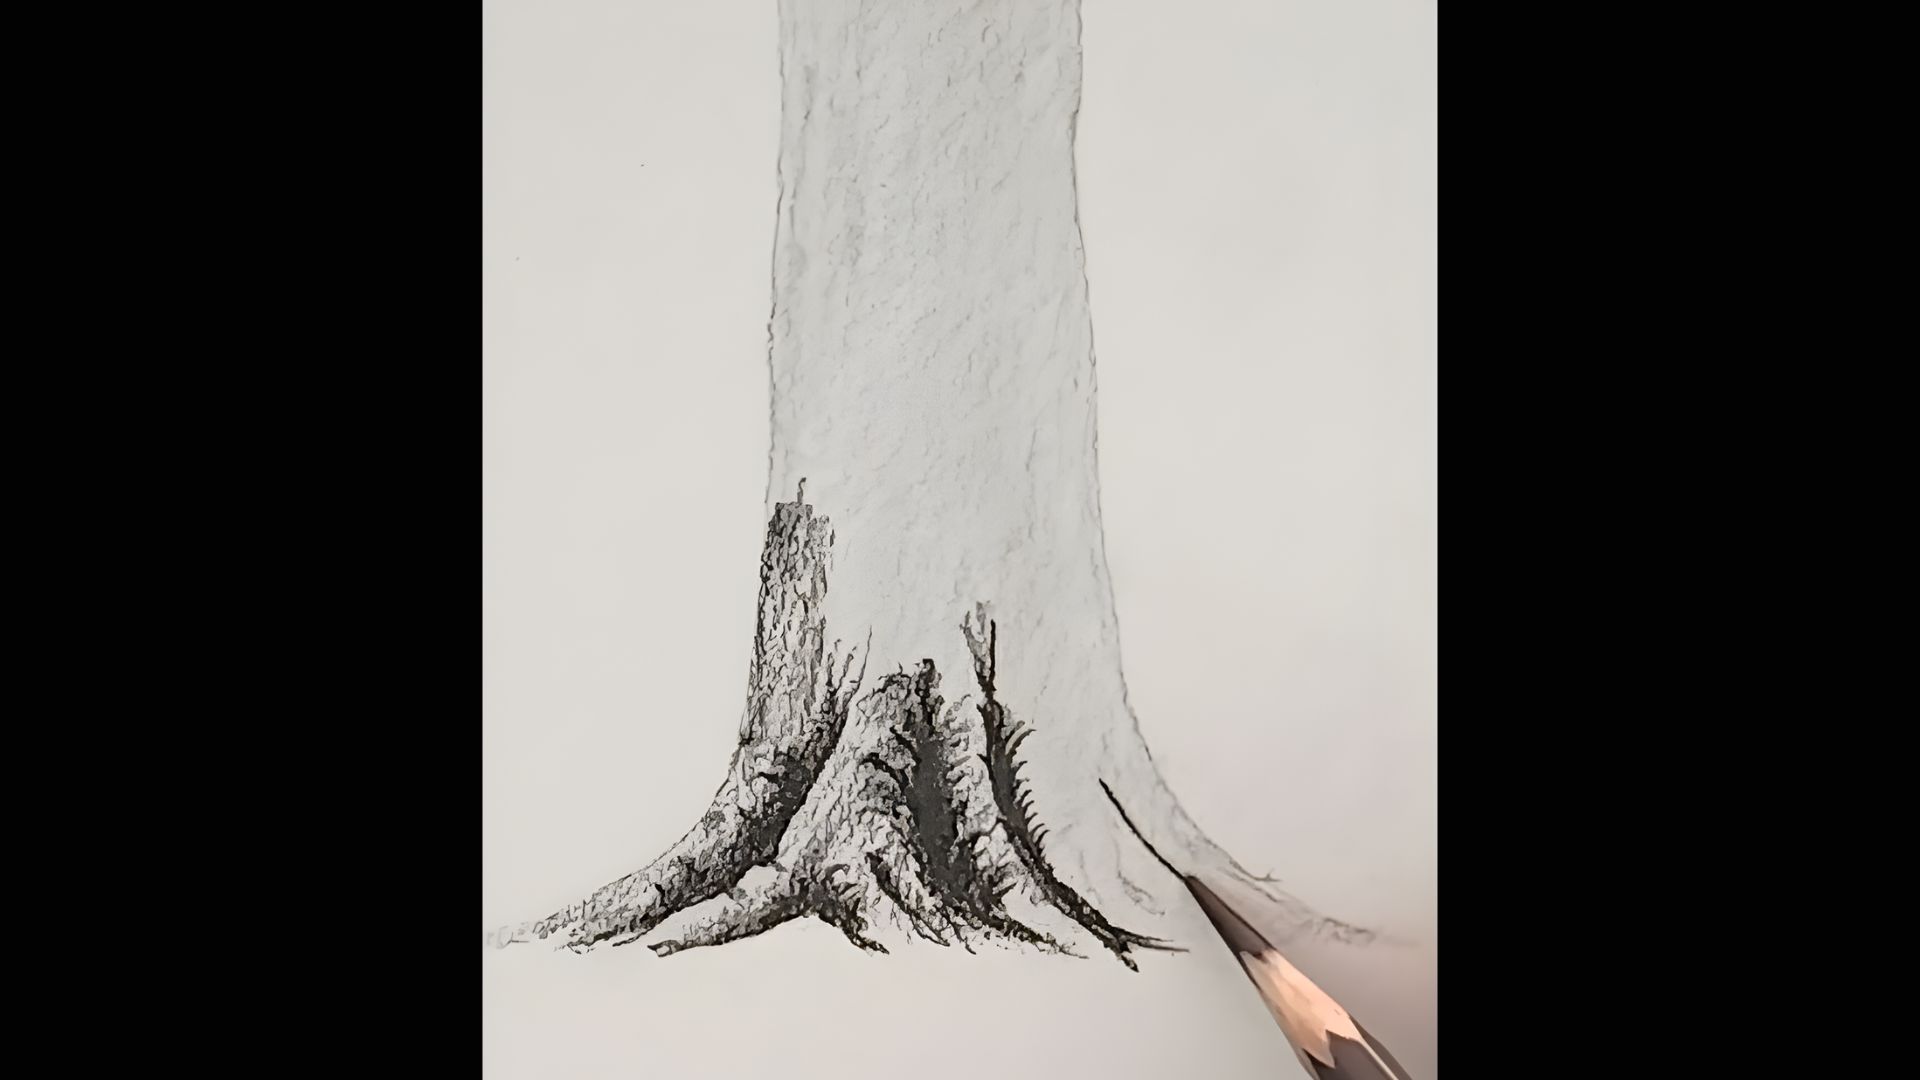
Use a soft charcoal pencil to darken the deepest shadow areas, especially between the roots and along the base.
Add small textured strokes for bark detail. Keep the pressure light and build layers gradually for a bold, realistic contrast.
Step 10: Refine Texture & Final Touches
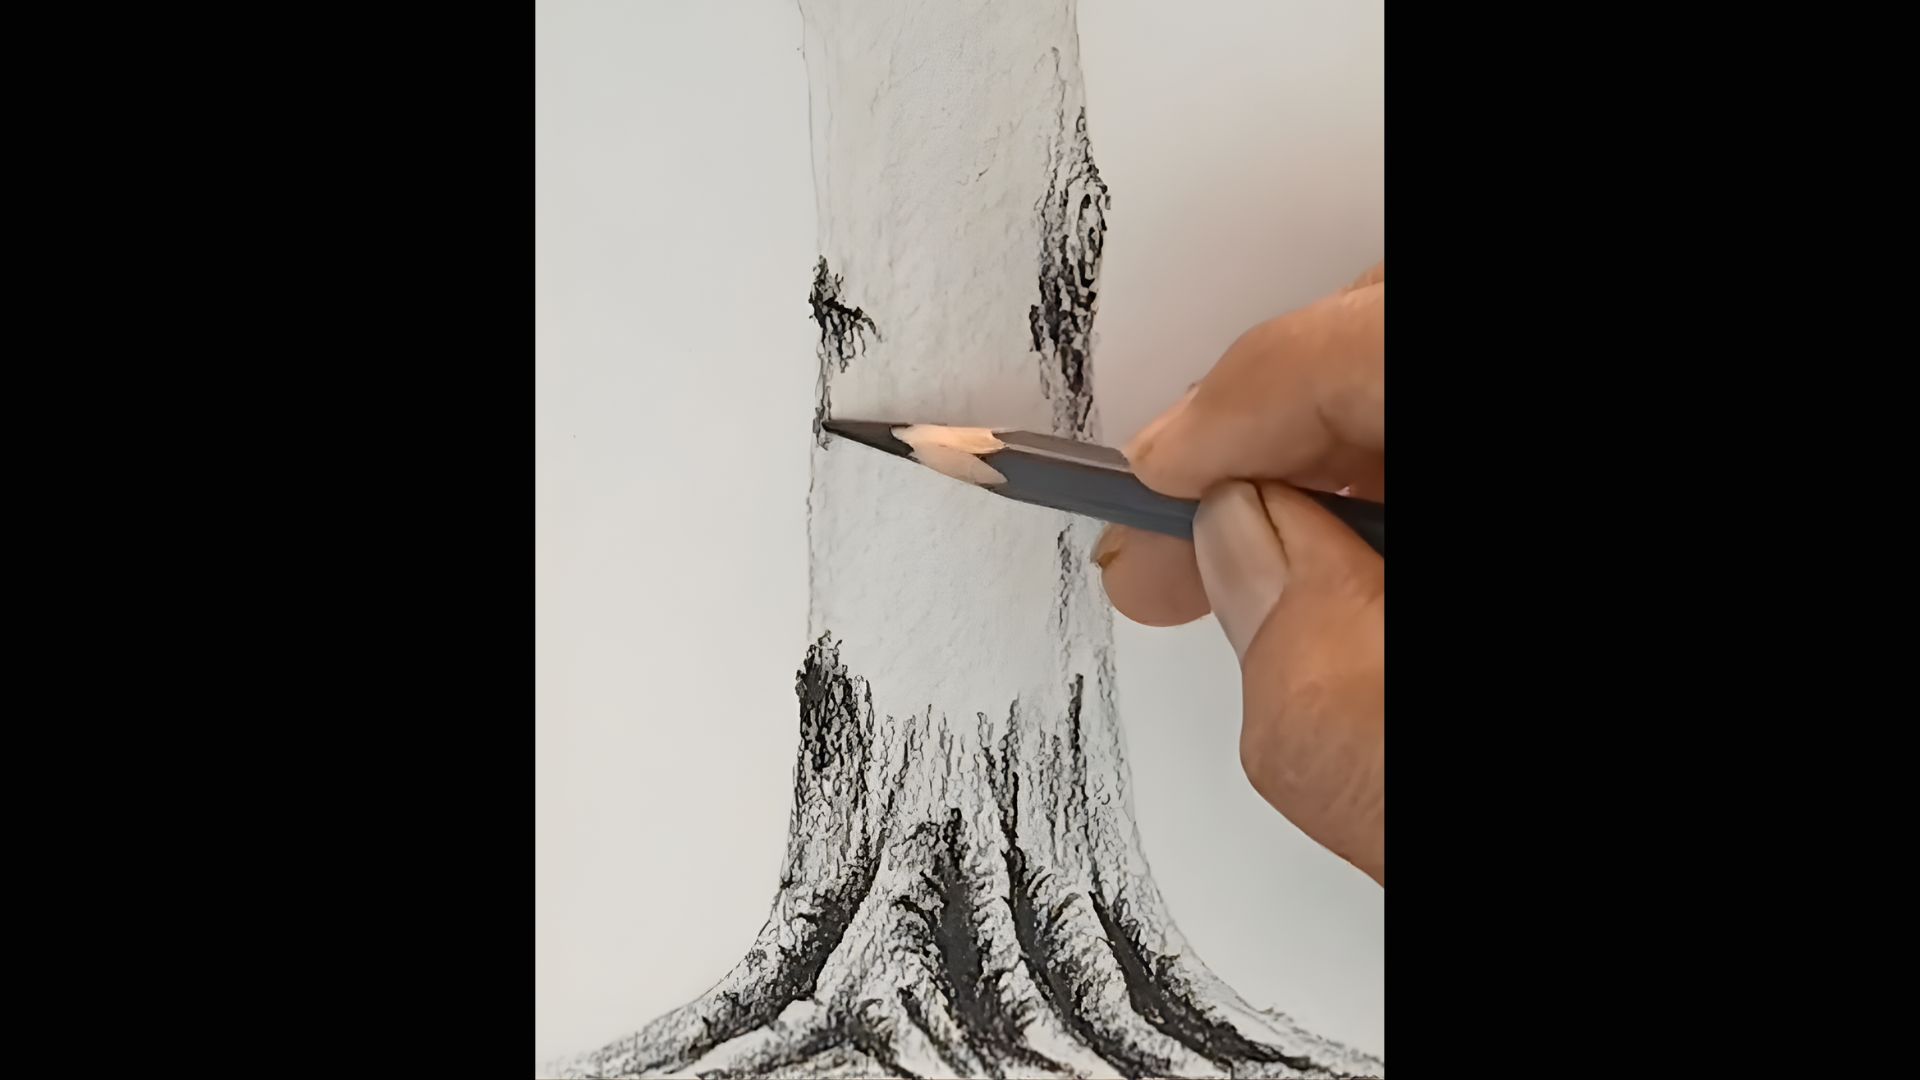
Add thin vertical lines to increase bark texture. Deepen selected cracks and knots for stronger contrast.
Lightly blend harsh areas if needed, keeping highlights visible. Adjust shadows around the roots and trunk to balance tones and complete the realistic tree trunk drawing.
Step 11: Darken Branch Connections
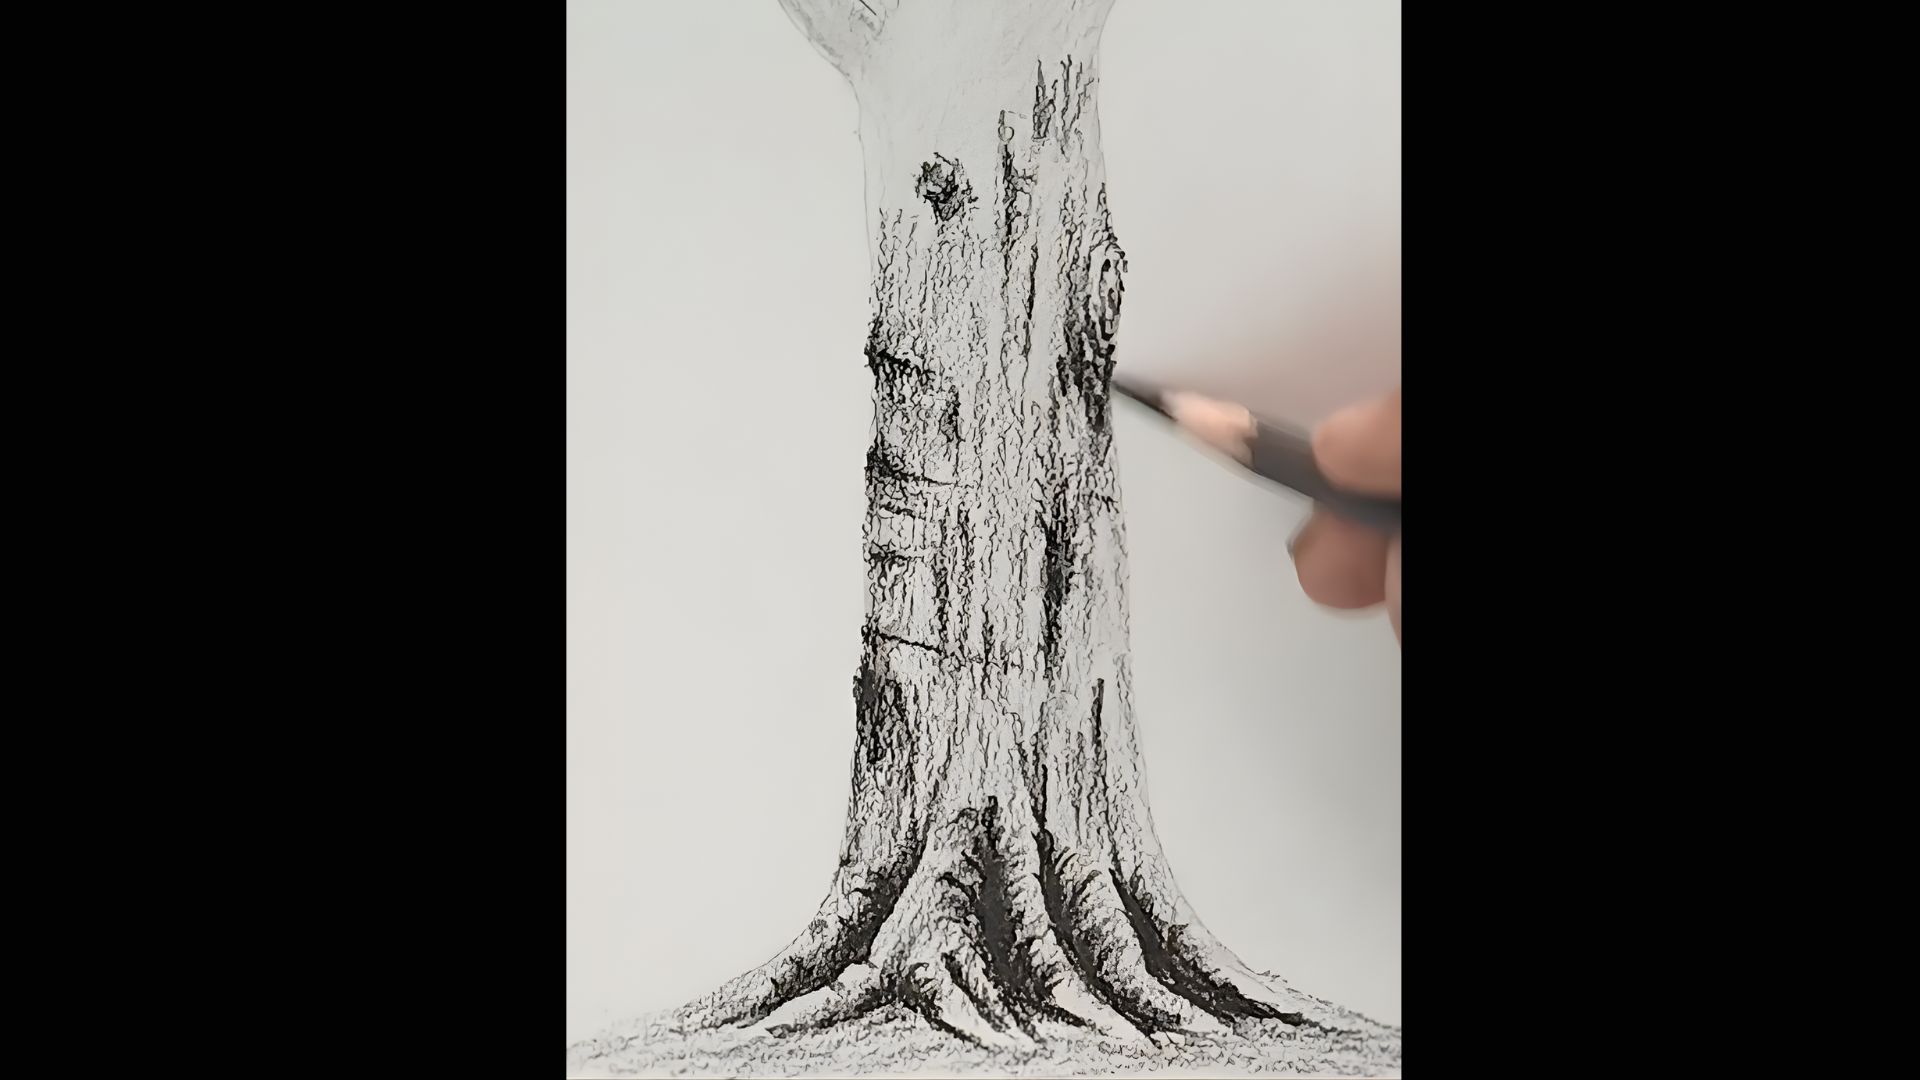
Use the charcoal pencil to deepen shadows where the branches meet the trunk. Add short, dark strokes underneath the branches to create depth.
Blend slightly outward while keeping the connection point bold for a strong, realistic finish.
Step 12: Add Final Texture & Shading
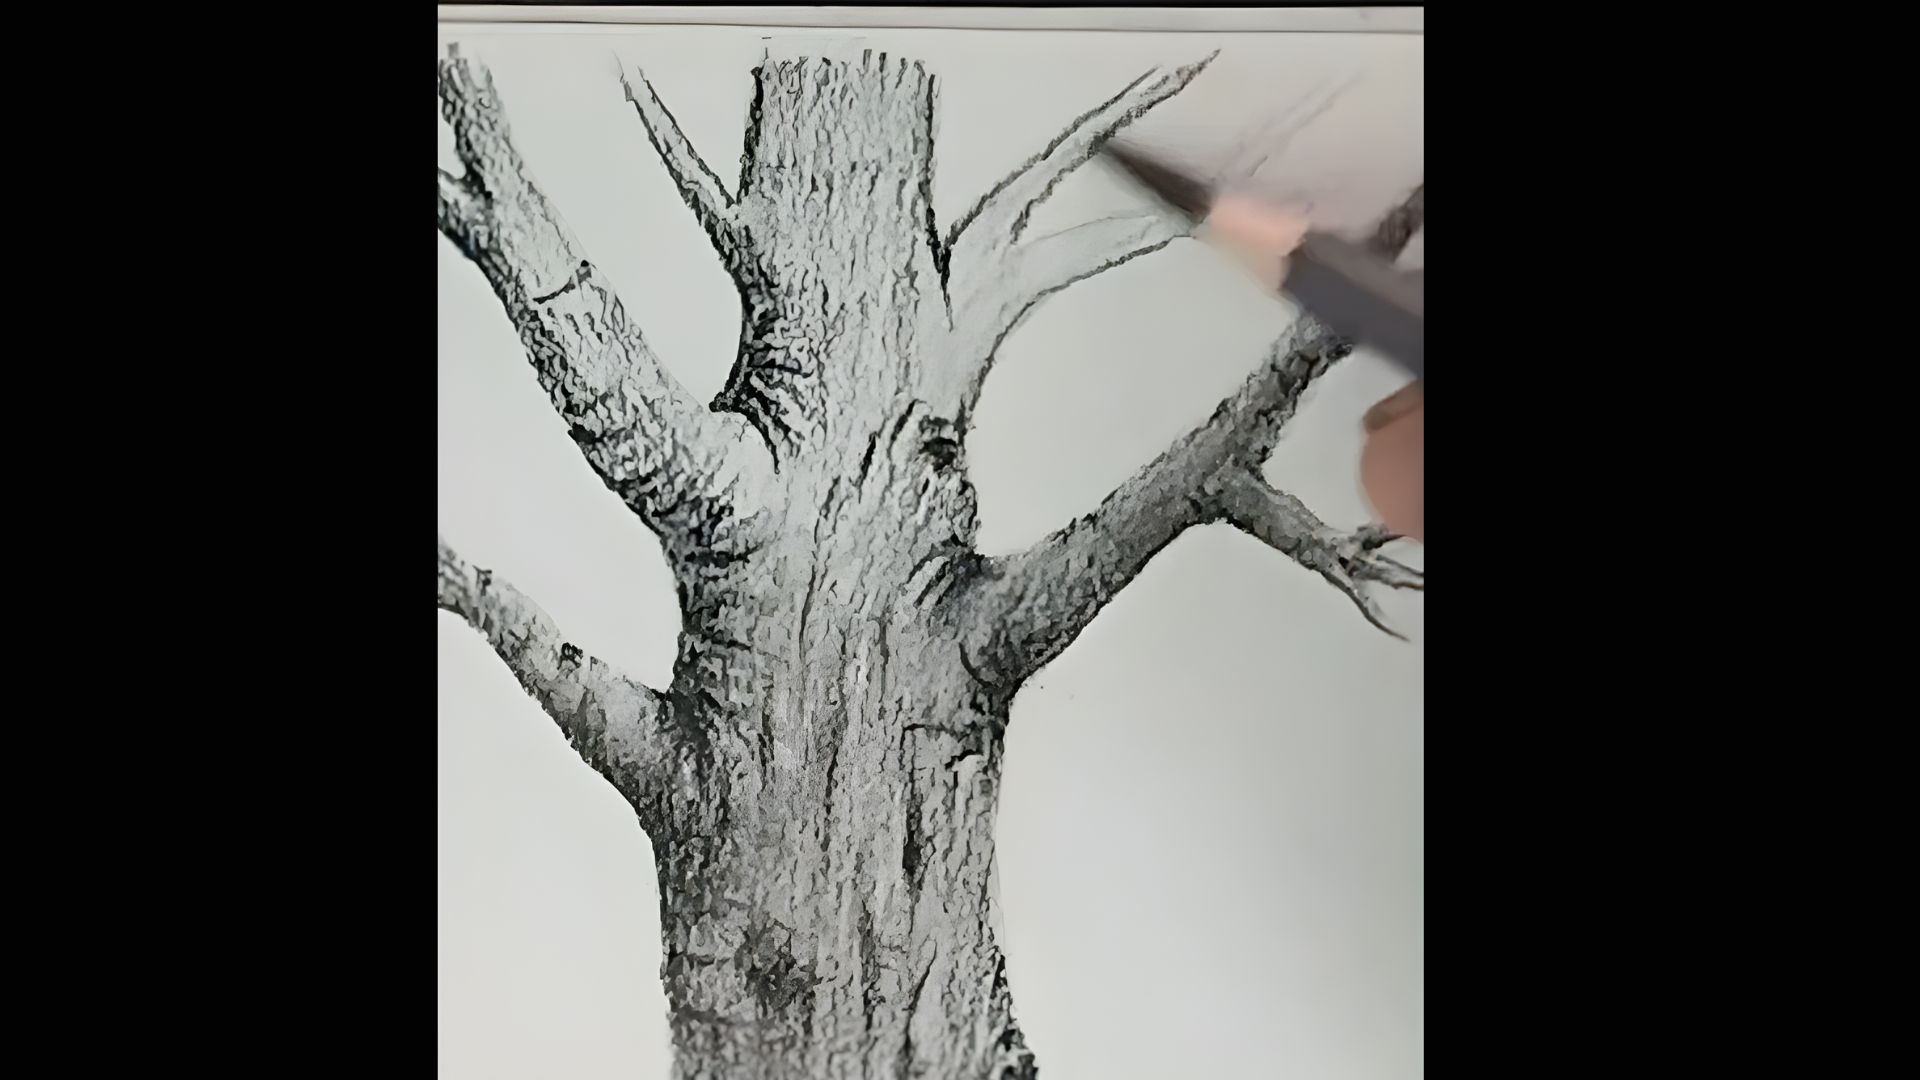
increase realism by deepening bark textures and adding final shading. Darken grooves, refine highlights, and blend strokes smoothly.
Focus on branch joints and natural cracks to create depth, contrast, and a more three-dimensional tree trunk appearance.
Step 13: Blend & Soften with Cotton Brush
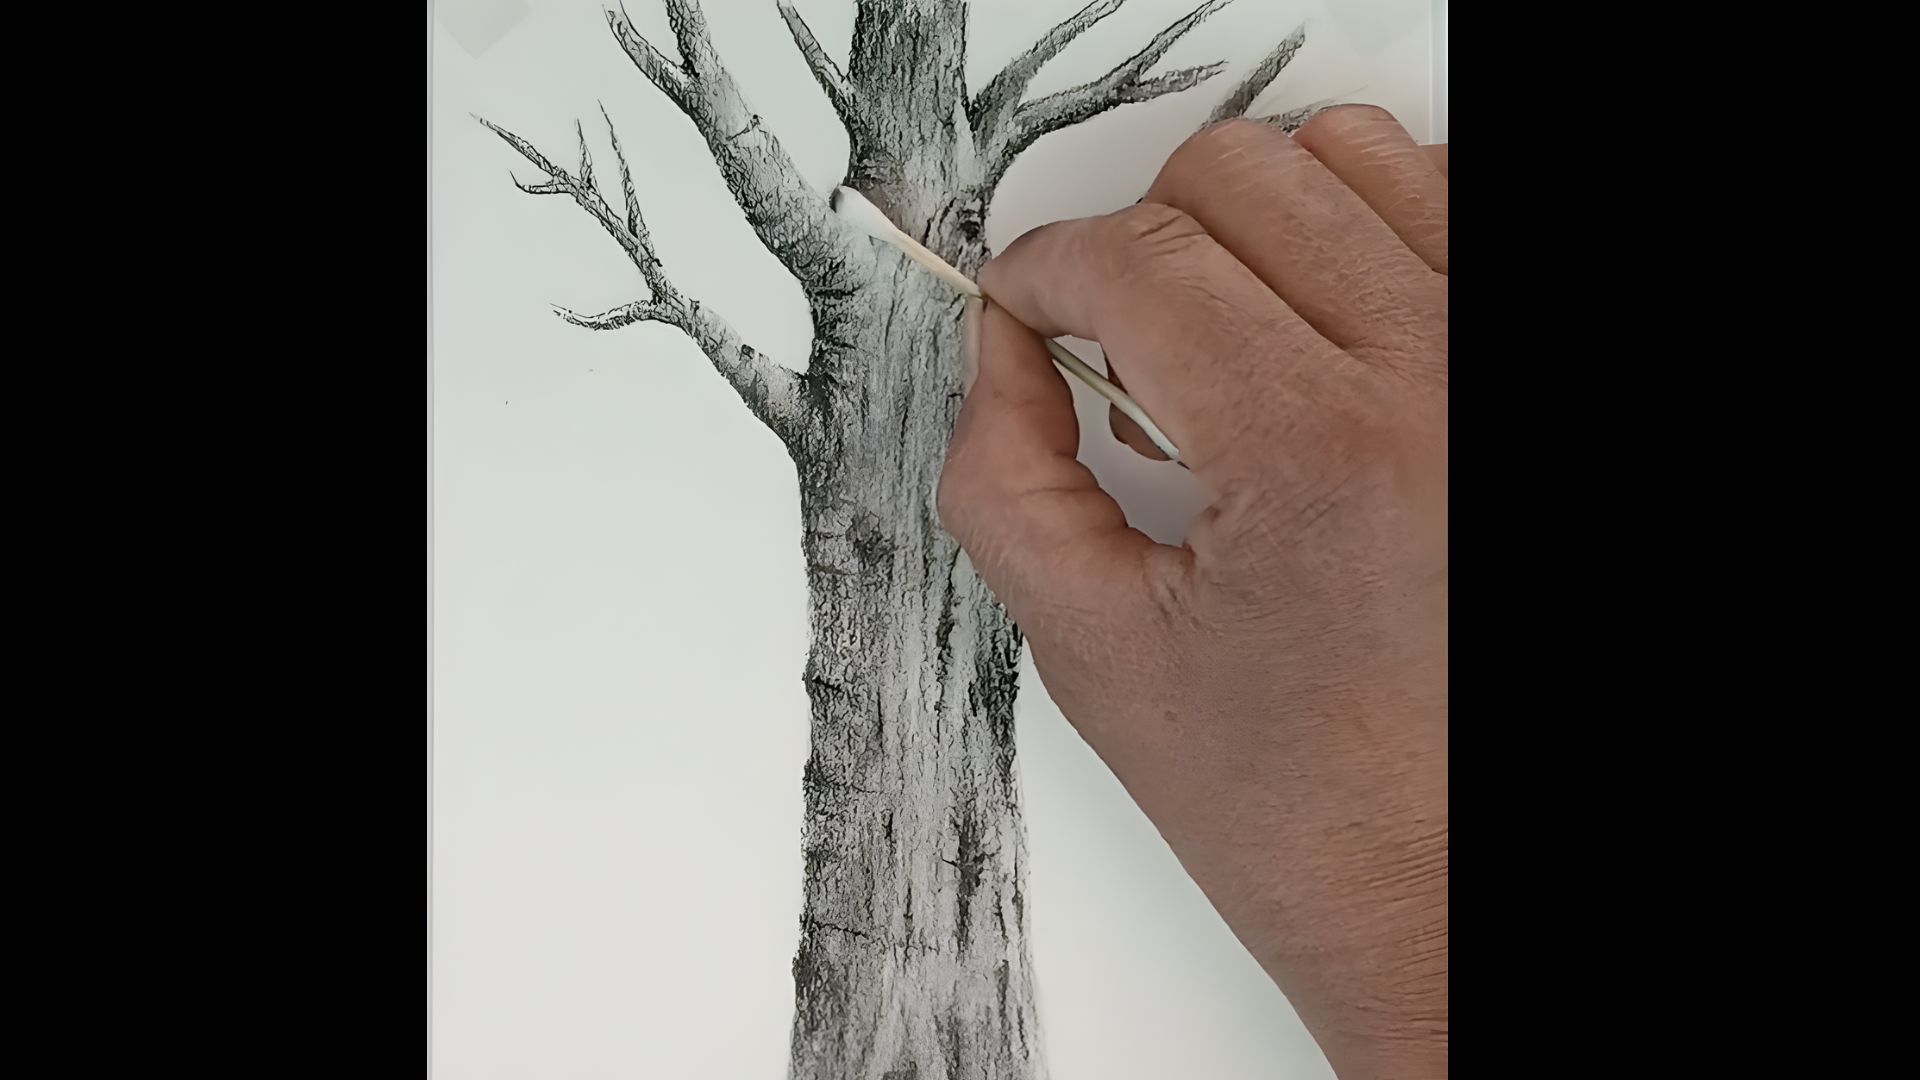
Use a cotton brush to gently blend the graphite and soften harsh lines. Lightly rub over the trunk to smooth textures, create natural highlights, and increase depth.
This final touch gives the tree a realistic and finished look.
Practice Tips to Improve Your Tree Trunk Drawing
The more you draw, the better your lines get. Keep these habits in mind:
- Draw a tree trunk at least once a week to build muscle memory.
- Study bark texture closely before you start drawing.
- Sketch the basic form first, then add detail later.
- Blend with varied pressure to see how tones shift on paper.
- Compare your old drawings with new ones to track progress.
Conclusion
I know the first tree trunk drawing feels uncertain. Mine did too.
But once you see it come together, the bark texture, the grounded roots, the shadowed branches, it’s worth every slow, careful stroke.
Give this process a real try and don’t rush the steps. Your drawing will surprise you. If you found this guide helpful, drop a comment below and tell me how it went.
Share it with a friend who draws, and check out our other step-by-step drawing guides while you’re here.
Frequently Asked Questions
What pencil is best for drawing a tree trunk?
Start with HB for outlines, then use 2B, 4B, or soft charcoal for shading and shadows.
How do I make bark texture look realistic?
Draw uneven vertical lines and vary your stroke pressure to keep the texture looking natural.
Can beginners try this tree trunk drawing technique?
Yes, each step is short and simple, so anyone can follow along without feeling stuck.
How long does it take to finish a tree trunk drawing?
Most beginners wrap it up in one to two hours.
Do I need charcoal, or can I use only pencils?
Pencils work fine, but soft charcoal gives you deeper, richer shadows.
