


I still remember the first time I drew a snowflake. It looked more like a stick figure than a snowflake. But once I learned the right steps, it got so much easier.
A simple snowflake drawing is just a few lines crossing at the center with small branches added around them. That’s really it.
Snowflakes are great for beginners because the shape is forgiving. No perfect curves needed. Just straight lines.
By the end of this guide, you’ll know exactly how to draw one from scratch, step by step.
What Makes a Snowflake Easy to Draw?
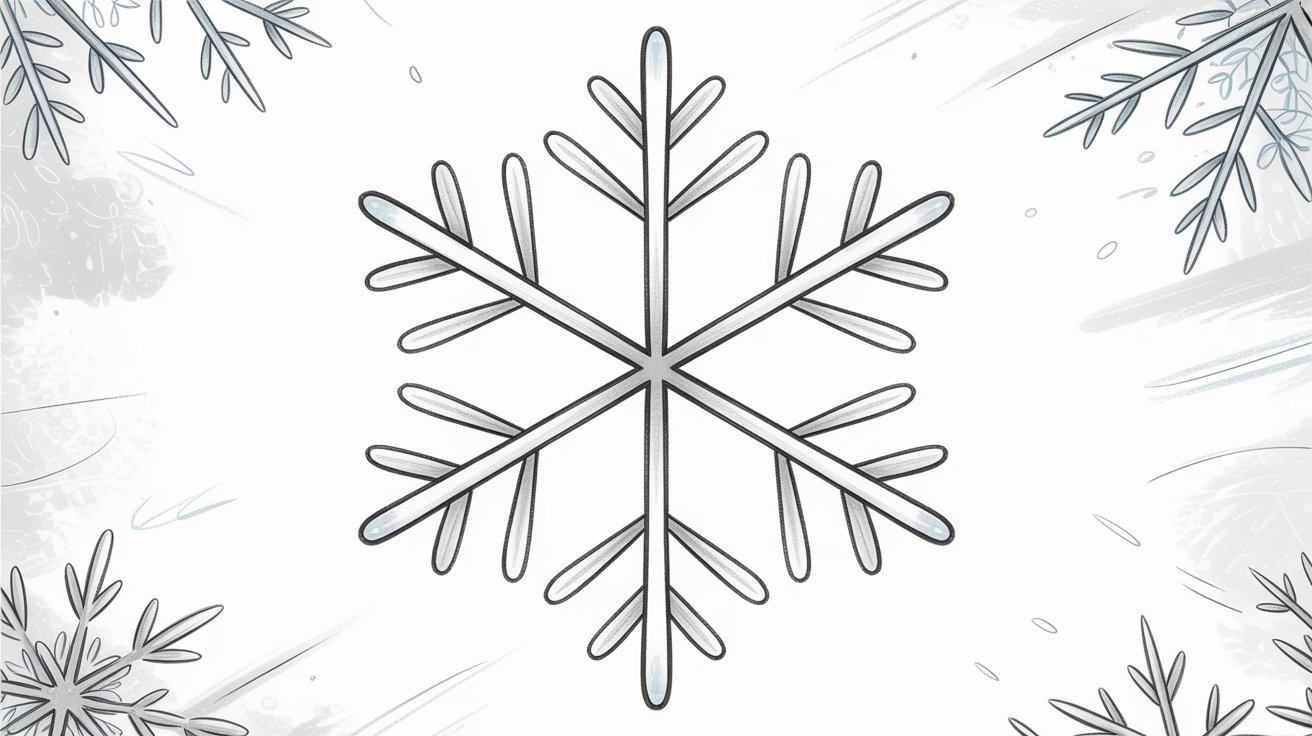
Snowflakes follow a six-sided structure. Every real snowflake has six arms, and that pattern is what makes them so simple to recreate on paper.
The key is symmetry. Each side should look like a mirror of the other. You don’t need it to be perfect, but keeping the arms roughly balanced makes it look clean.
Start with a basic shape first. Three lines crossing at the center. That’s your foundation. Add small details only after you’re happy with the base.
Supplies You Need for a Simple Snowflake Drawing
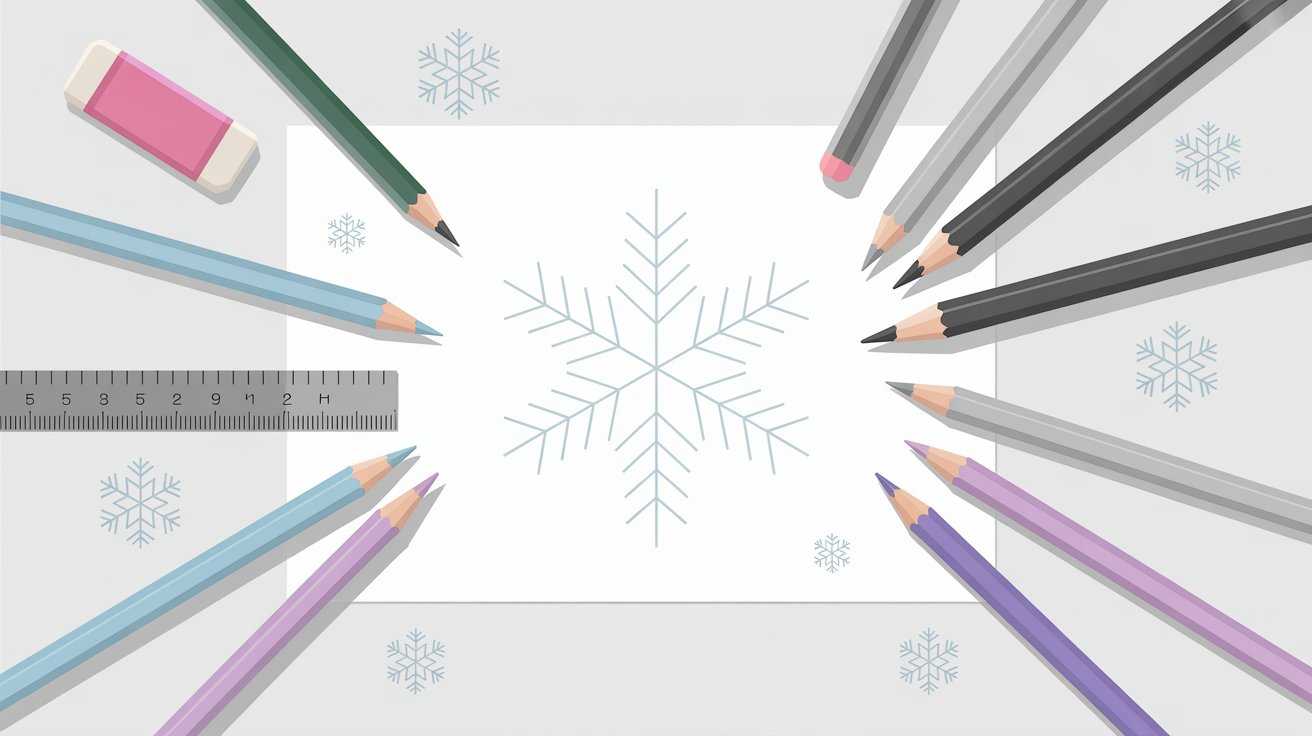
You don’t need much to get started. Here’s what works best:
Basic Materials
- Pencil
- Plain white paper
- Eraser
Optional Tools
- A ruler to keep your lines straight
- A black pen or marker to outline the final drawing
- Colored pencils if you want to add some color at the end
That’s it. Simple supplies, no stress.
Step-by-Step Simple Snowflake Drawing Tutorial
Follow these easy steps to draw a clean, balanced snowflake from scratch, starting with just three simple lines.
Step 1 – Draw a Basic Cross Shape
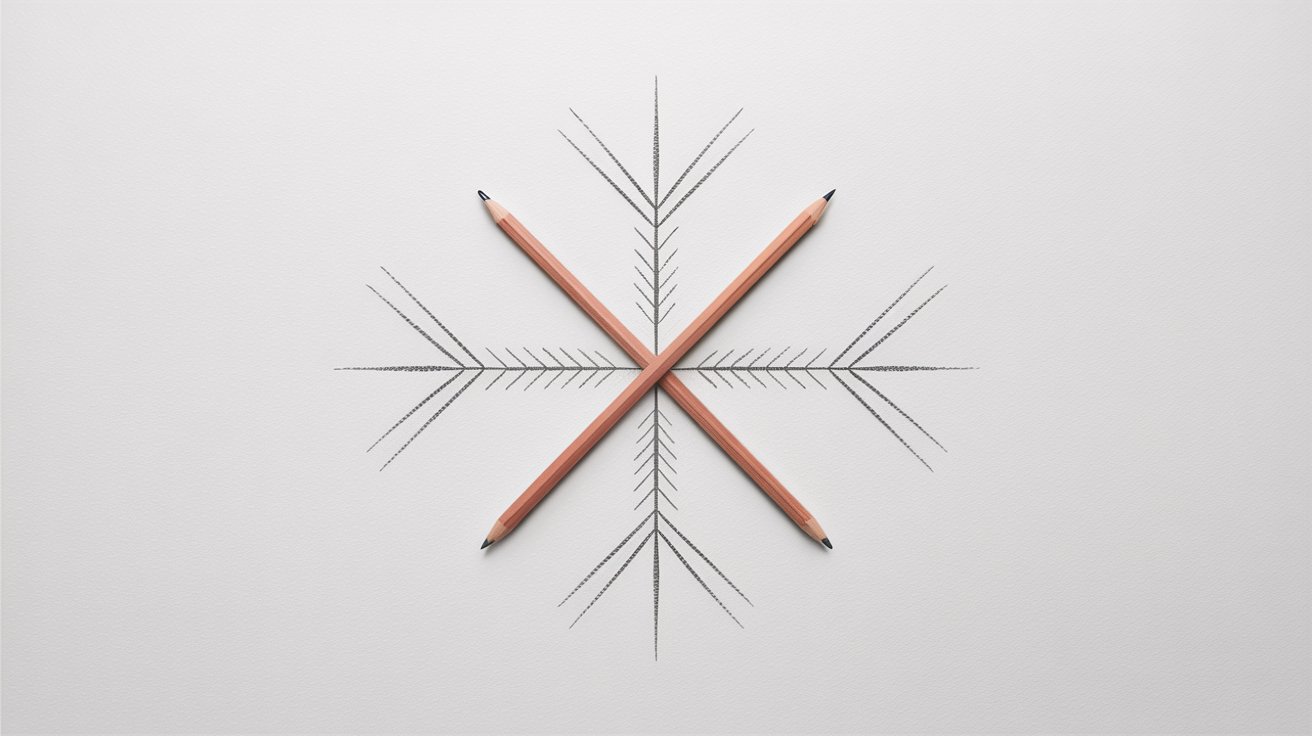
Start by drawing a simple “X” on your paper. Two diagonal lines crossing at the center. Keep them roughly the same length on both sides.
This is your starting point and everything builds from here. Don’t press too hard with your pencil yet. Light lines are easier to adjust later.
Step 2 – Add Vertical and Horizontal Lines
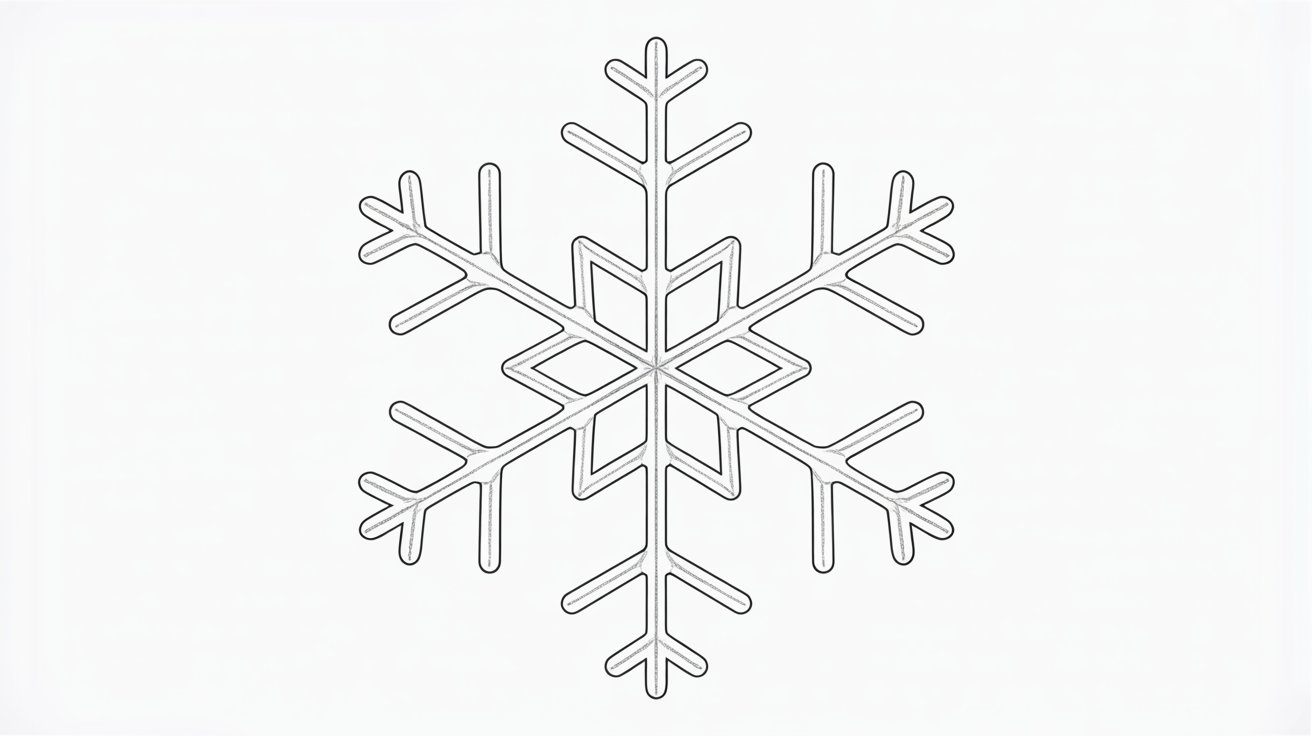
Now add one vertical line straight up and down through the center. Then add a horizontal line going left and right.
You should now have six arms spreading out from the middle, evenly spaced around the center point.
These six lines are the base of your snowflake. Take a second to check that they look balanced before moving on.
Step 3 – Keep the Lines Even
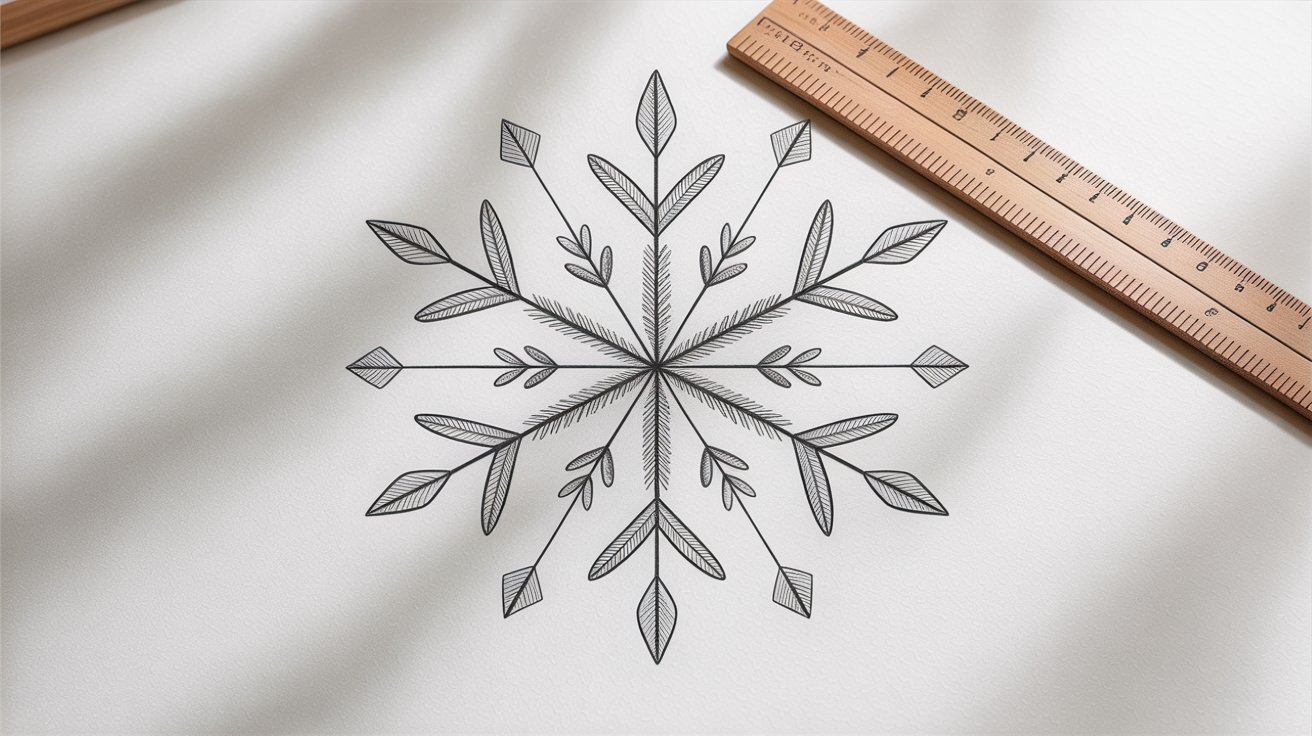
Even spacing is what makes the snowflake look right. Each arm should be the same length as the others. A ruler helps a lot here if you want clean results.
If you’re drawing freehand, just eyeball it and adjust as you go. Lightly erase any lines that look off and redraw them. Getting this step right makes every detail you add later look much better.
Step-by-Step Snowflake Design Ideas (Beginner-Friendly)
Five simple snowflake designs, each with easy steps. Pick one that suits you and start drawing right away.
1. Simple Line Snowflake
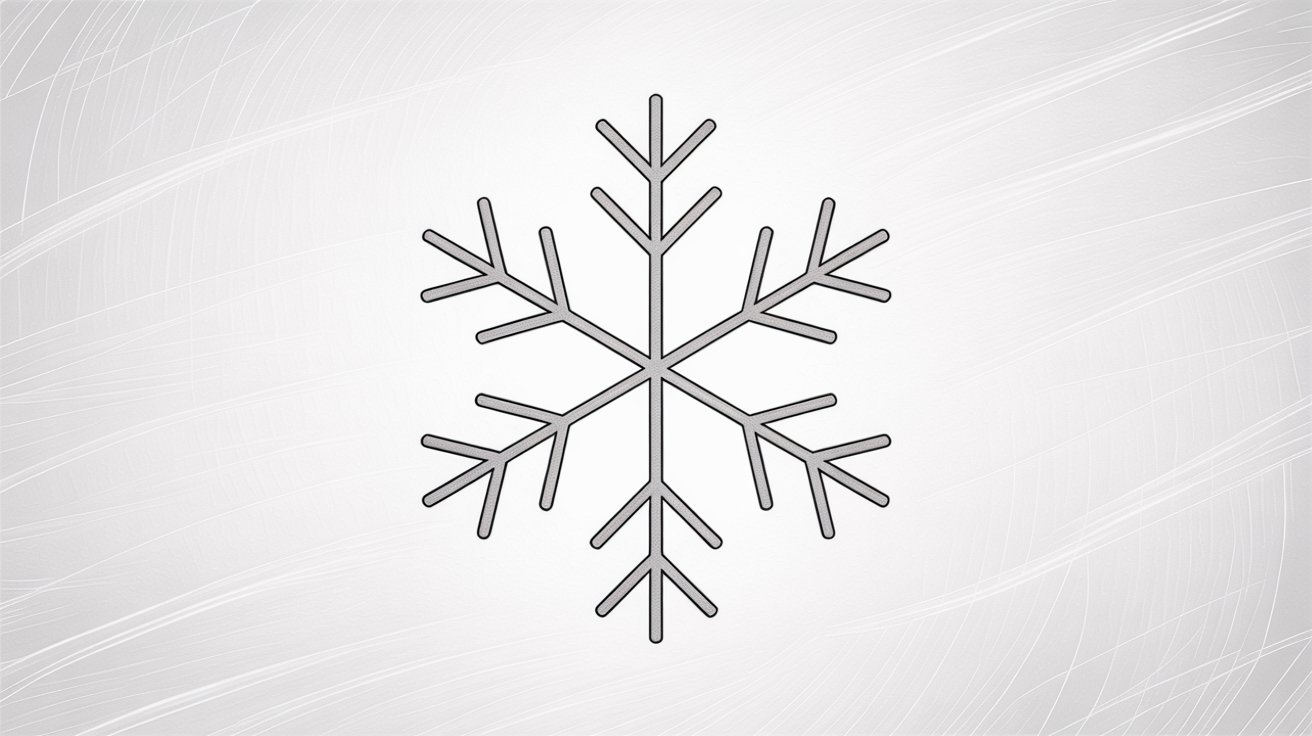
Draw three straight lines crossing at the center. Space them out evenly, then add small “V” shapes at the tip of each arm. Keep it clean and minimal. Even a rough version looks like a proper snowflake once you’re done.
2. Snowflake with Dots

Start with six arms, then add a small circle at the end of each one. Place a few dots along each arm moving outward from the center. Simple to do and looks more finished than the basic version.
3. Snowflake with Curves
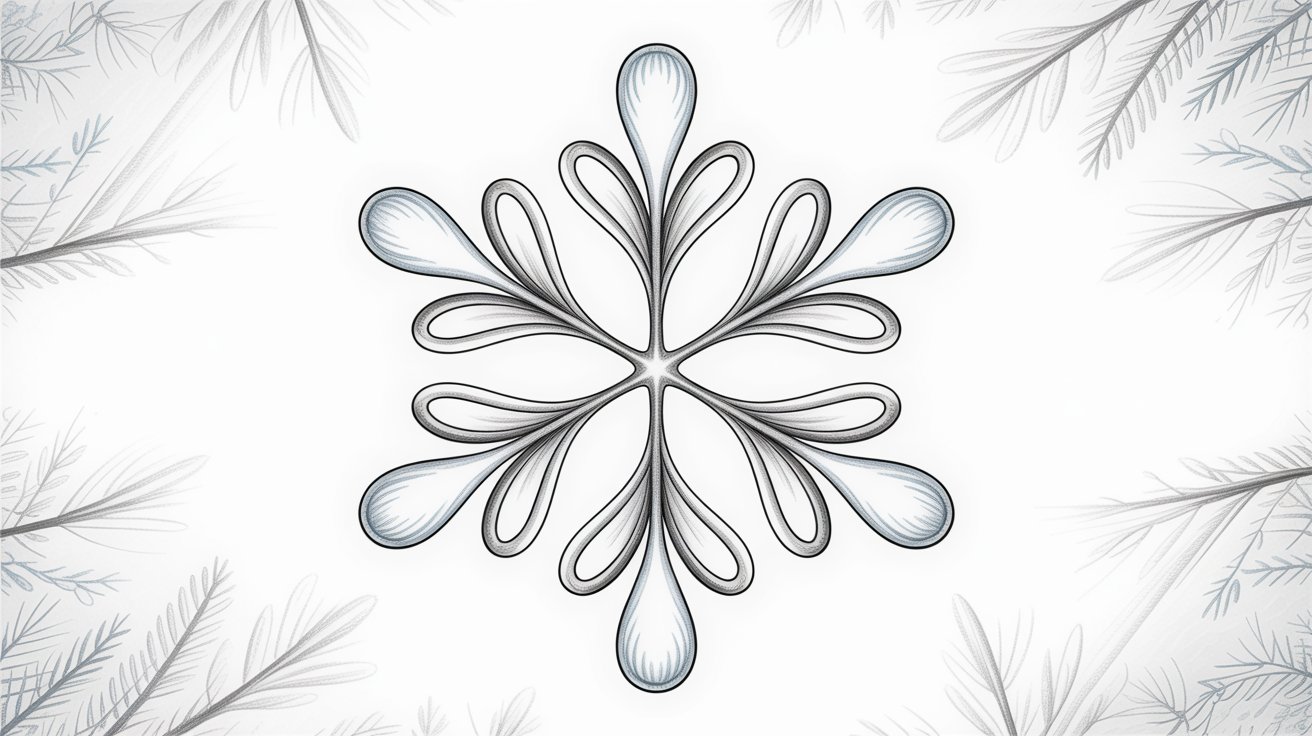
Draw small “U” shapes along each arm, pointing outward. These curved details give the snowflake a softer, more natural look. Add one or a few per arm depending on how detailed you want it.
4. Star-Centered Snowflake
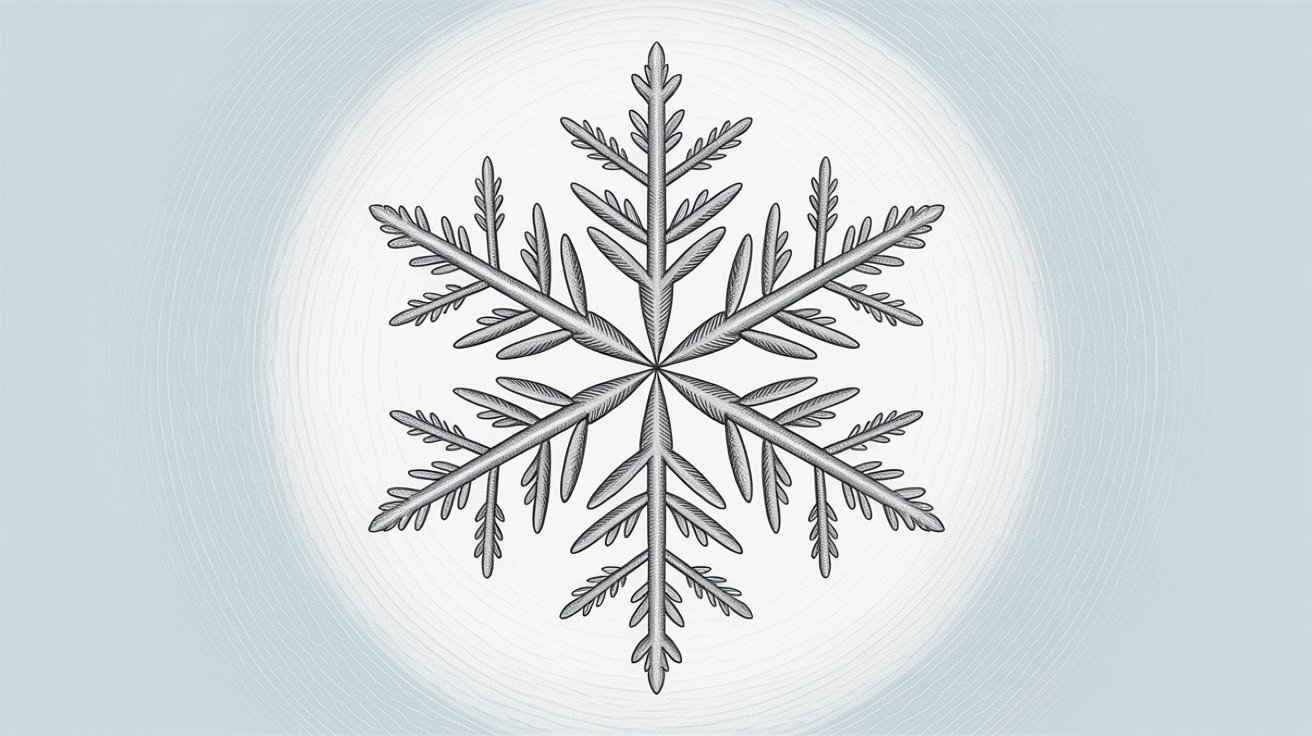
Draw six evenly spaced arms, then connect the inner lines to form a small star at the center. Add short branching lines near each tip. It looks more detailed but the steps are still very easy to follow.
5. Creative Simple Snowflake
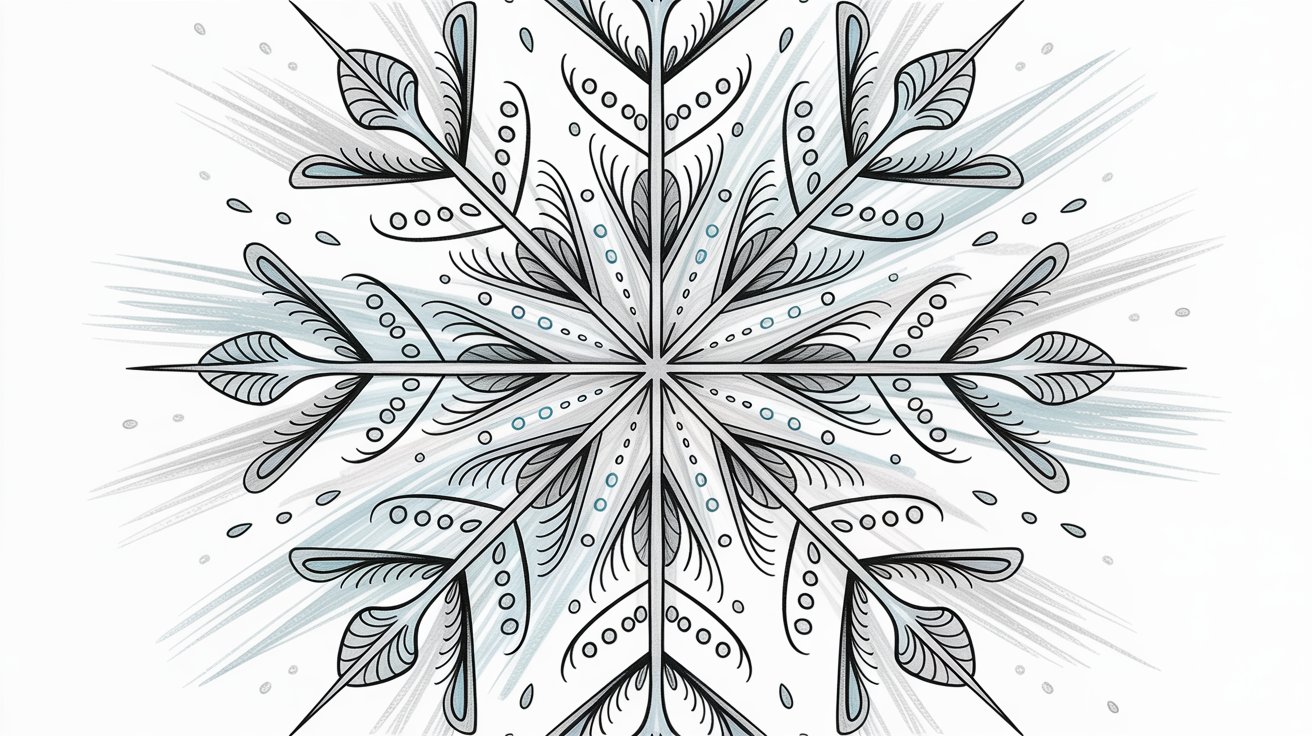
Mix lines, dots, and small shapes across the arms however you like. Borrow elements from any of the four designs above. Just keep both sides balanced and repeat whatever you add on one arm to the opposite side.
Tips to Make Your Snowflake Drawing Look Better
- Start with light pencil guidelines before adding final lines. This makes it easy to fix mistakes without ruining the whole drawing.
- Always repeat the same pattern on each arm. Keeping both sides balanced is what makes it look intentional and neat.
- Don’t add too many details at once. A clean, simple snowflake almost always looks better than an overcrowded one.
- Try a few different variations before settling on one style. The more you practice, the more confident your lines will get.
- Take your time with each step and don’t rush the process. Small improvements each time add up to a much better result.
Conclusion
Drawing a snowflake is simpler than it looks. Start with three lines, add some branches, and you already have something worth showing off.
I always tell beginners the same thing. Don’t aim for perfect. Aim for practice. Every snowflake you draw will look better than the last one.
Try the basic line design first. Then slowly move to the more detailed ones as your confidence grows.
Pick up that pencil and draw your first snowflake today. Share it with someone. You might surprise yourself.
Frequently Asked Questions
How do I draw a simple snowflake for beginners?
Start with three straight lines crossing at the center. Then add small branches or “V” shapes at each tip and you’re done.
What supplies do I need to draw a snowflake?
All you need is a pencil, plain paper, and an eraser. A ruler can help keep your lines straight but it’s not required.
How do I keep my snowflake symmetrical?
Repeat the same pattern on every arm as you go. Drawing light guidelines first makes it much easier to stay balanced.
Can kids draw a simple snowflake?
Yes, absolutely. The basic line snowflake uses only straight lines and simple shapes. Kids as young as five or six can follow the steps easily.
How long does it take to draw a snowflake?
A basic snowflake takes about five to ten minutes. More detailed designs may take a little longer depending on how much you add.
