


Seed stitch is one of my favorite embroidery techniques to teach beginners. It creates a textured surface that resembles tiny scattered seeds across fabric, just like strawberry seeds clustered together.
I love how forgiving this stitch is. New stitchers master the basic motion quickly, while experienced embroiderers use it to add texture and visual interest to complex designs.
The name originates from its visual similarity to seeds, and it’s known as “point de sable” in French or “punto semilla” in Spanish.
The universal appeal lies in its accessibility and impact. This simple yet effective method opens doors to countless creative possibilities.
Once you learn it, you’ll find yourself using it everywhere.
Understanding the Seed Stitch
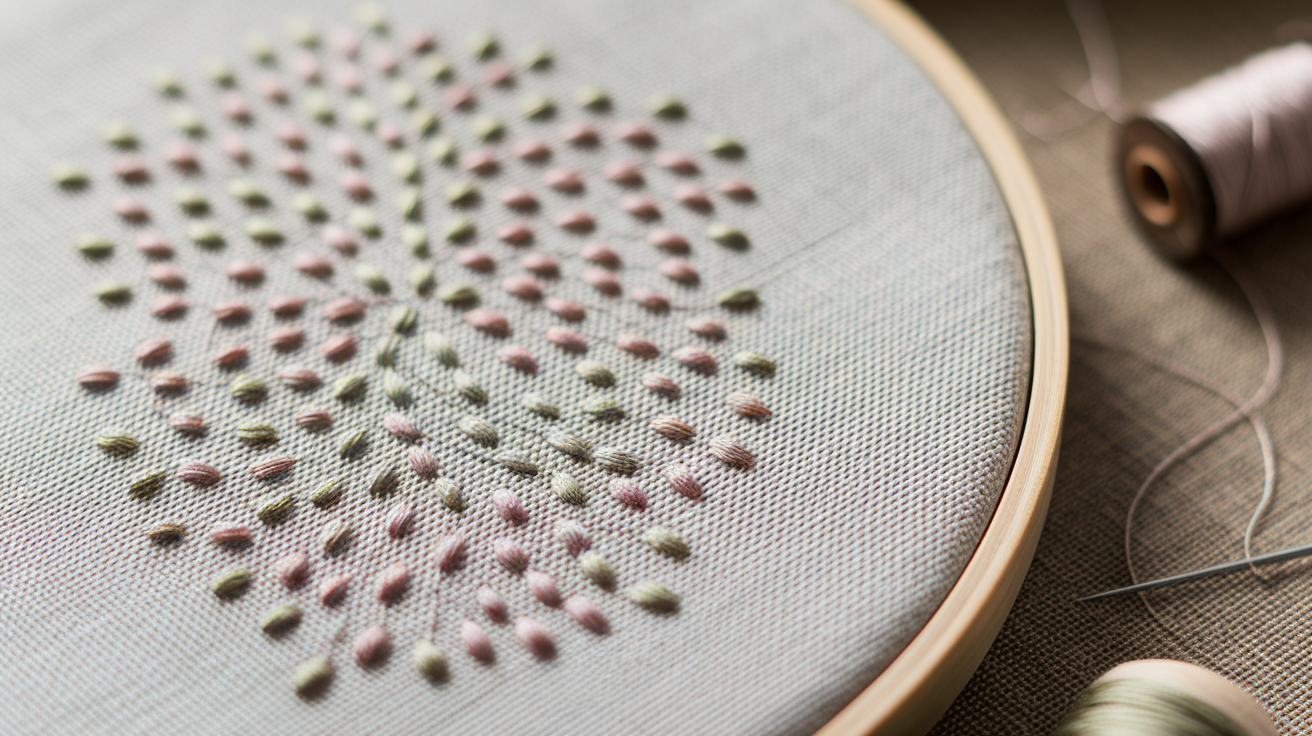
Seed stitch creates small, isolated dots across fabric through short, straight stitches placed at random angles. Each stitch measures approximately 2-3mm in length, forming tiny raised marks that catch light differently.
This randomness gives the technique its characteristic organic appearance, mimicking natural textures found in stone, bark, or scattered grain.
Many confuse seed stitch with darning stitch, but they’re different. Darning stitch involves parallel lines for mending or geometric patterns. Seed stitch focuses on scattered placement without alignment. Individual stitches stand alone rather than connecting.
Several variations expand this basic concept. Rice stitch combines seed stitch principles with cross-stitch foundations. Some regions call it “speckle stitch” or “dot filling.”
Tools & Materials Needed
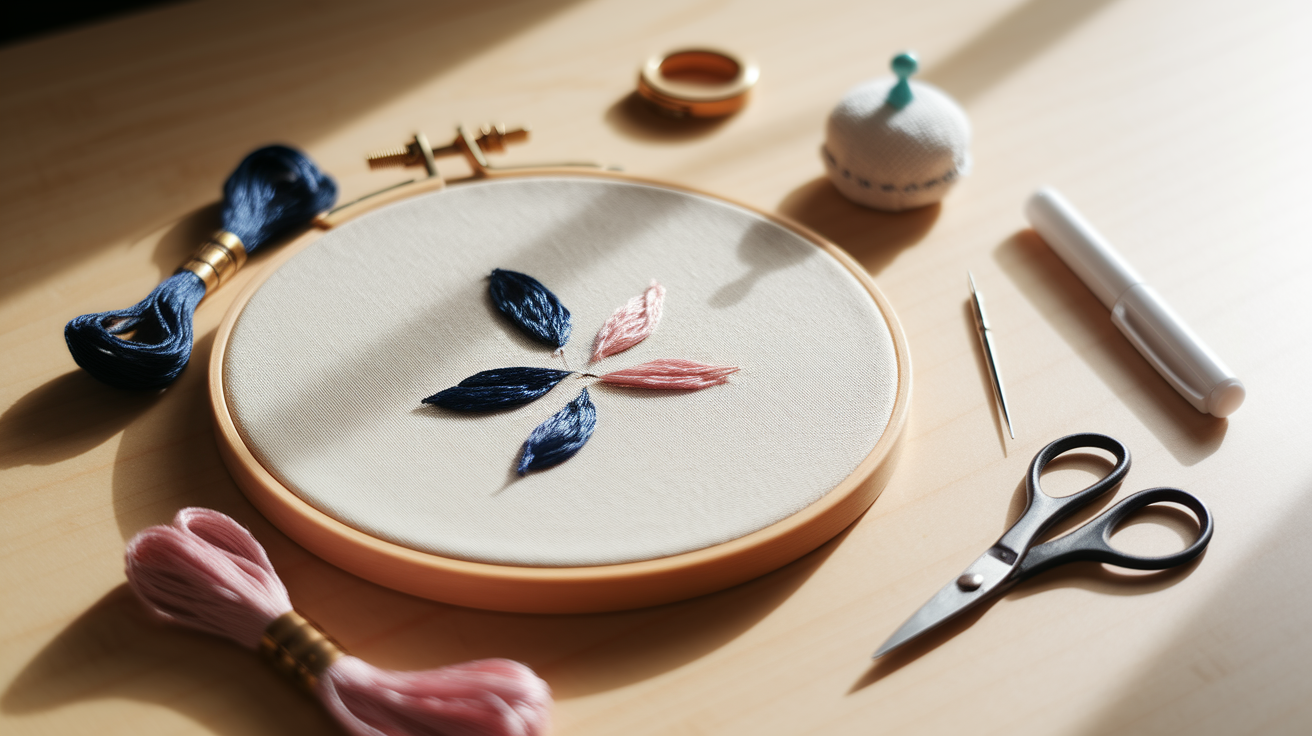
Before starting your seed stitch project, gather these essential supplies to ensure smooth progress and professional results.
Basic supplies:
- Embroidery hoop to keep fabric taut and prevent puckering while you work (choose a size that fits your design area)
- Sharp embroidery needle with an eye large enough for your thread
- Embroidery floss (standard six-strand cotton works well, though you can experiment with different weights)
- Fabric that complements your skill level (cotton or linen blends for beginners, silk or specialty weaves for experienced stitchers)
- Water-erasable fabric pen to mark guidelines or patterns (optional, many prefer working without predetermined placement)
Consider using two contrasting colors to create visual depth. A darker shade adds definition while a lighter tone provides highlights. These tools will set you up for successful seed stitch embroidery.
Step-by-Step Instructions for Seed Stitch Embroidery
Follow this simple process to master seed stitch. Each step builds your confidence and helps you create beautifully textured embroidery with scattered, organic patterns.
Step 1: Prepare Your Fabric
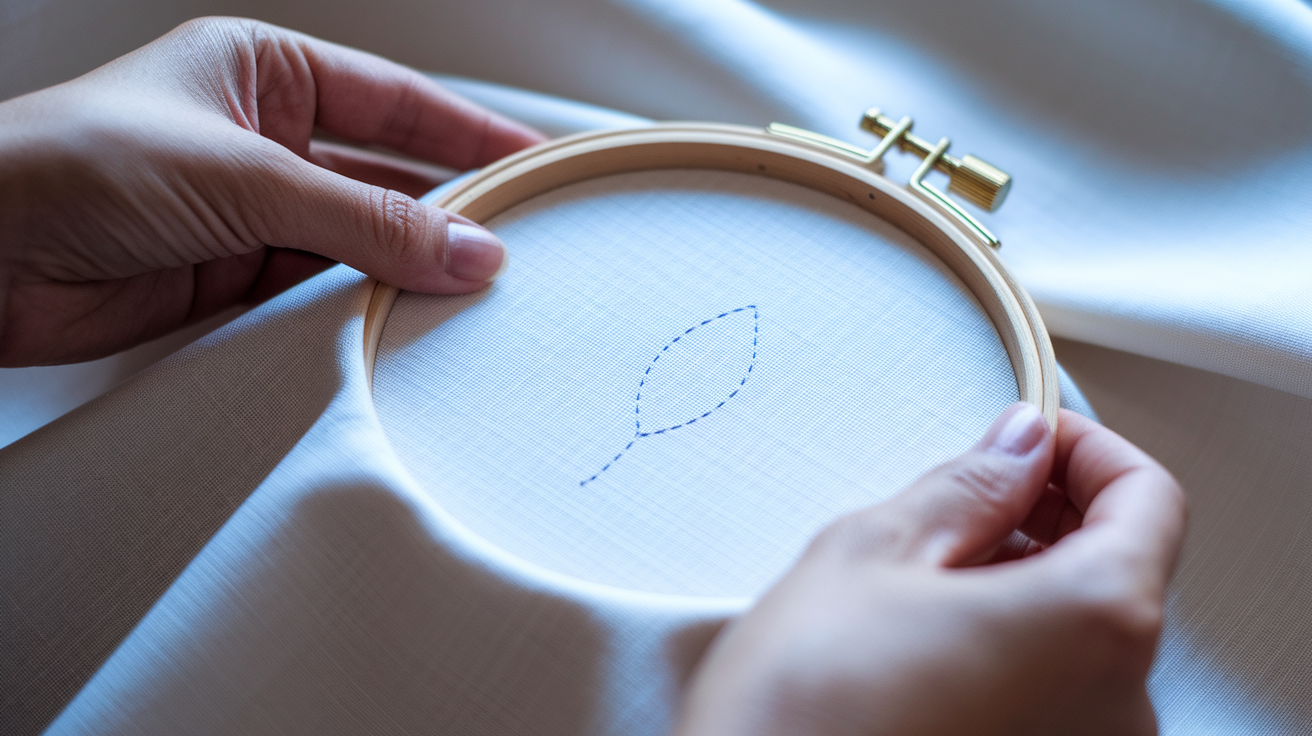
Secure your fabric firmly in the embroidery hoop, ensuring the surface remains smooth and taut.
The fabric should have enough tension to prevent sagging but not so tight that it distorts the weave.
If desired, lightly sketch your pattern using a water-erasable pen – a simple leaf shape works well for beginners.
Mark only the outer boundaries since seed stitch relies on spontaneous placement rather than precise guidelines.
Step 2: Begin Stitching
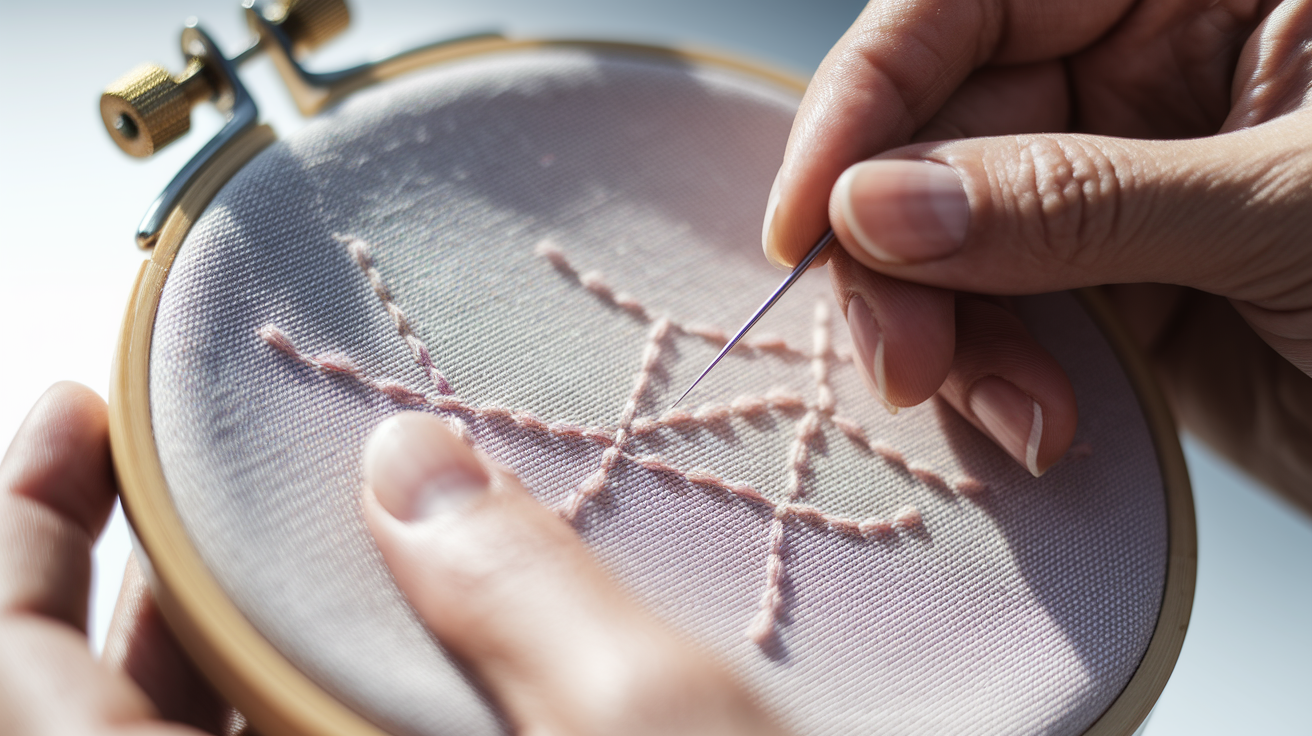
Create short running stitches measuring 2-3mm in length, working in one general direction initially.
Space these stitches randomly but maintain relatively even distribution across your marked area.
Bring your needle up through the fabric, insert it a short distance away, and pull through completely before moving to the next position.
Avoid creating obvious lines or patterns – the goal is controlled randomness.
Step 3: Maintain the Pattern
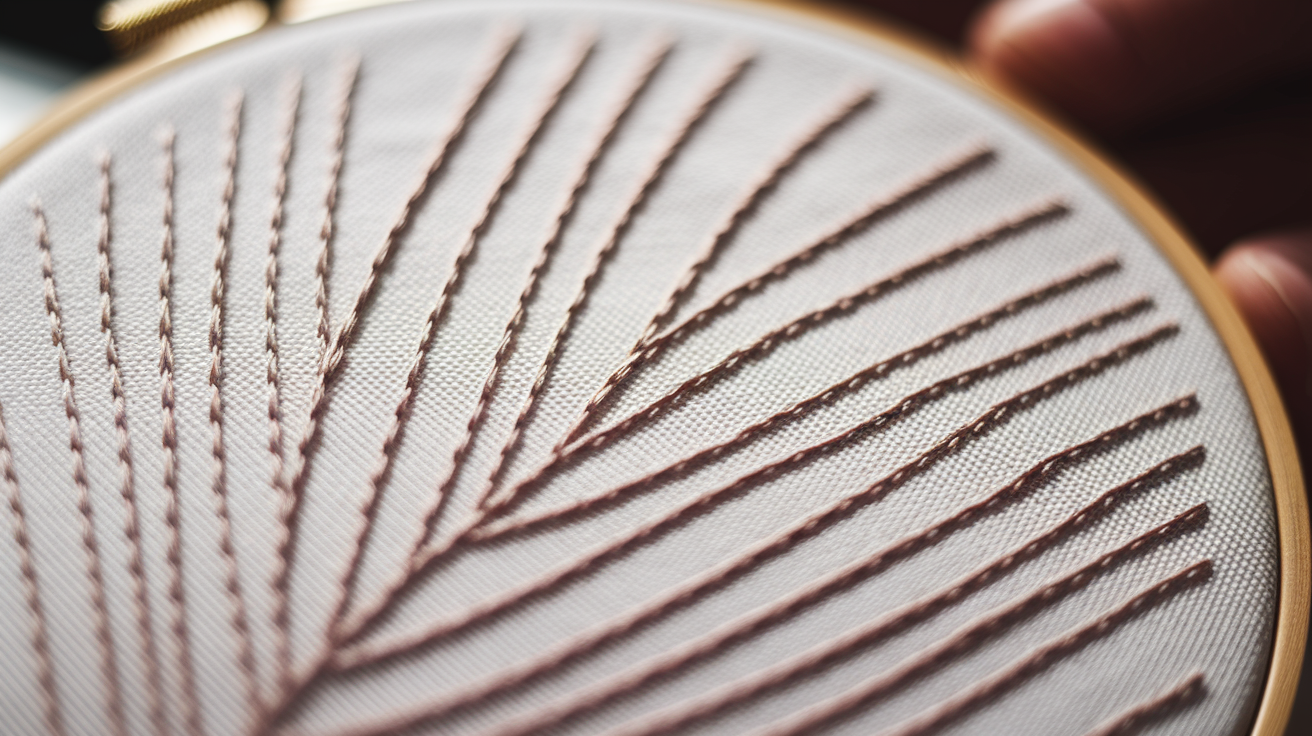
Keep your stitches straight rather than following any curved design elements.
Even when working within a leaf or circular shape, maintain linear stitch direction for authentic seed stitch appearance.
Focus on consistent spacing between individual marks while varying their exact positions and angles slightly.
Step 4: Optional – Add a Second Color
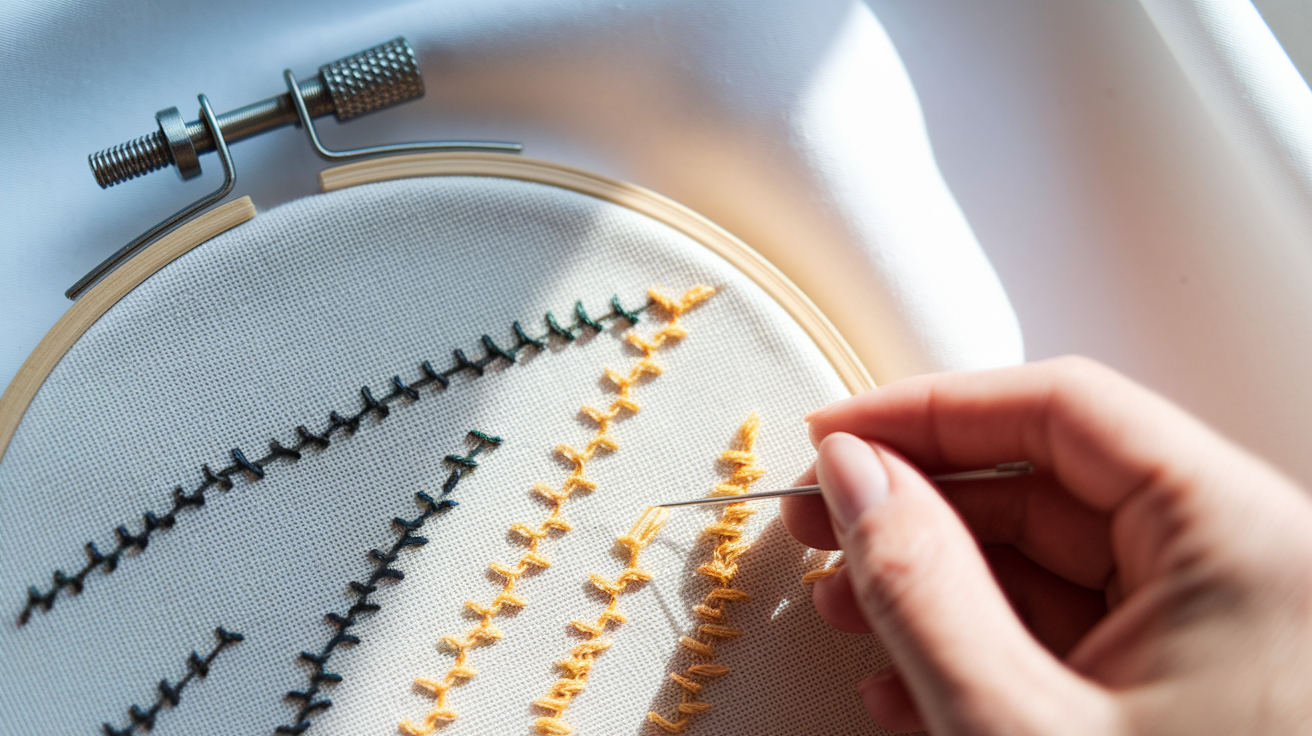
After completing roughly half your designated area with the first color, switch to contrasting thread.
Continue the same stitching method, filling remaining spaces and interspersing the new color among existing stitches.
This simple alternation creates visual depth without requiring advanced techniques.
Pro Tips for Beginners
- Master the running stitch before attempting seed stitch variations. Running stitch forms the foundation, so comfortable execution of basic forward stitches makes the transition smoother.
- Practice maintaining consistent stitch length and even tension on scrap fabric until the motion becomes automatic. This builds muscle memory before you work on actual projects.
- Create light guidelines or mark small dots across your practice area to help visualize proper spacing. While seed stitch should appear random, beginners often cluster stitches too closely or leave large empty gaps.
- These temporary markers serve as gentle reminders for balanced distribution without restricting creative placement. Remove or ignore the guides as your confidence grows.
- Develop a steady stitching rhythm rather than obsessing over perfect placement. Consistent tempo helps maintain even tension and prevents hand fatigue during longer sessions.
- Remember that slight irregularities add to the natural charm of seed stitch. Overly precise execution can make finished work appear mechanical rather than organic, so enjoy the meditative quality of repetitive stitching.
Conclusion
Seed stitch embroidery offers an accessible entry point into the world of textured needlework.
This versatile technique transforms simple running stitches into rich, organic surfaces that add depth and visual interest to any project.
From basic practice pieces to complex mixed-media designs, seed stitch adapts to countless creative applications.
The beauty of this method lies in its forgiving nature – small imperfections contribute to its natural charm rather than detracting from the overall effect.
As you develop your skills, experiment with color combinations, fabric choices, and stitch density to create unique textures.
Remember that consistent practice builds confidence and muscle memory.
Start with simple shapes and gradually progress to more ambitious projects. With patience and regular practice, you’ll soon master this fundamental embroidery technique and open new creative pathways in your stitching repertoire.
Frequently Asked Questions
What fabric works best for seed stitch embroidery?
Cotton and linen blends provide excellent stability for beginners, offering a smooth surface that’s easy to work with. More experienced stitchers can experiment with silk or specialty weaves for different textural effects.
How long should each seed stitch be?
Each individual stitch should measure approximately 2-3mm in length for optimal results. Keeping stitches within this range ensures they remain proportionate and create the characteristic dotted texture.
Can I use seed stitch to fill large areas?
Yes, seed stitch works well for filling both small details and larger spaces in your design. For extensive areas, consider alternating between two colors to add visual interest and prevent monotony.
What’s the difference between seed stitch and French knots?
Seed stitch uses straight running stitches placed randomly across the fabric surface. French knots involve wrapping thread around the needle to create raised, dimensional dots with a different texture.
How do I prevent my seed stitches from looking too uniform?
Vary the angles and exact placement of each stitch while maintaining consistent spacing overall. Avoid creating obvious rows or patterns – the goal is controlled randomness that mimics natural textures.
