


I still remember the first time I tried Op Art drawing and I thought it was only for professional artists.
It’s not. In this guide, I’ll walk you through Op Art drawing step by step, from picking up your pencil to finishing a 3D illusion. No experience needed.
You’ll find everything here: what Op Art is, materials you need, easy step-by-step instructions, practice ideas, and common mistakes to avoid.
I’ve taught this to beginners, and it works every time. Let’s get started.
What is Op Art Drawing?
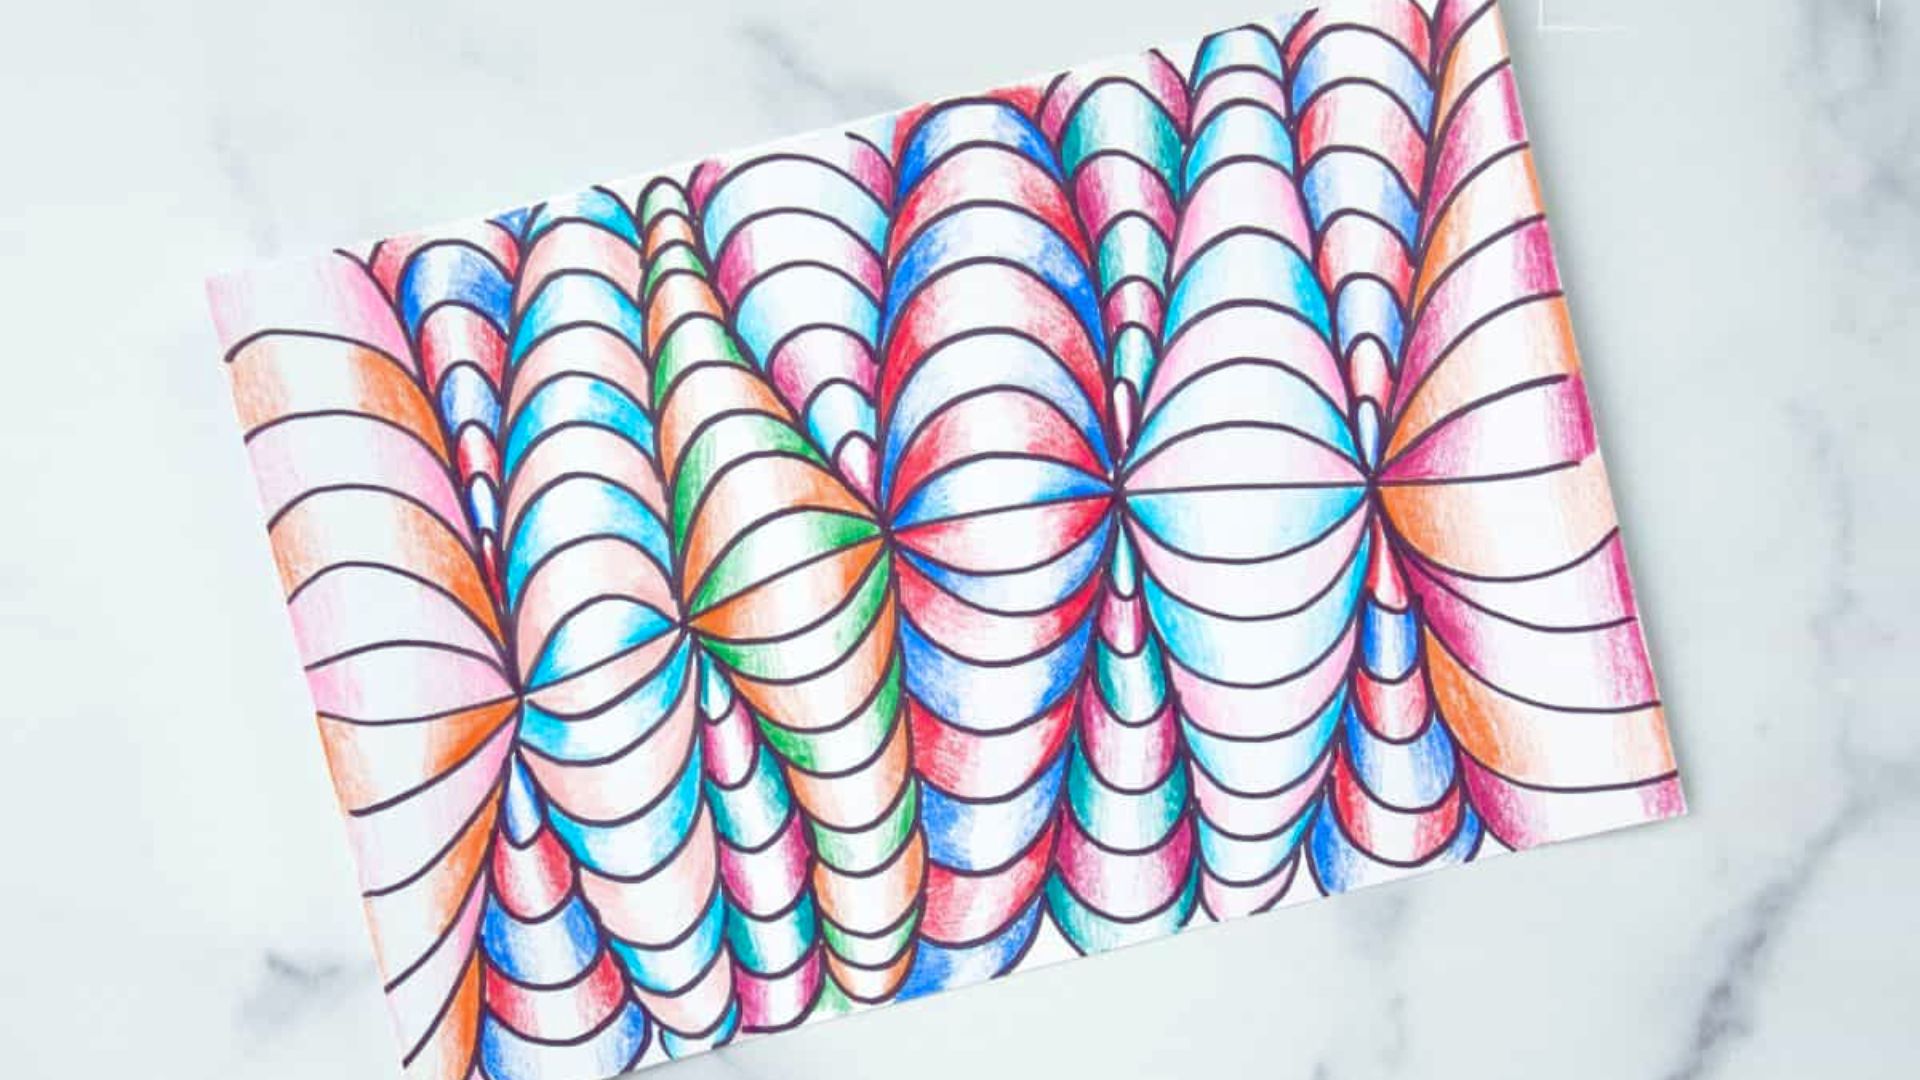
Op Art, short for Optical Art, uses lines, shapes, and patterns to trick your eyes into seeing movement or depth on a flat surface.
Artists like Bridget Riley made it popular in the 1960s, and today it is taught in schools everywhere because it is simple and fun.
Op Art follows rules, which makes it easier than regular drawing. You do not need to draw faces or objects.
You just follow a pattern of straight lines, curves, and alternating colors. The result always looks impressive, and that is why beginners love it.
Materials Needed for Op Art Drawing Easy Projects
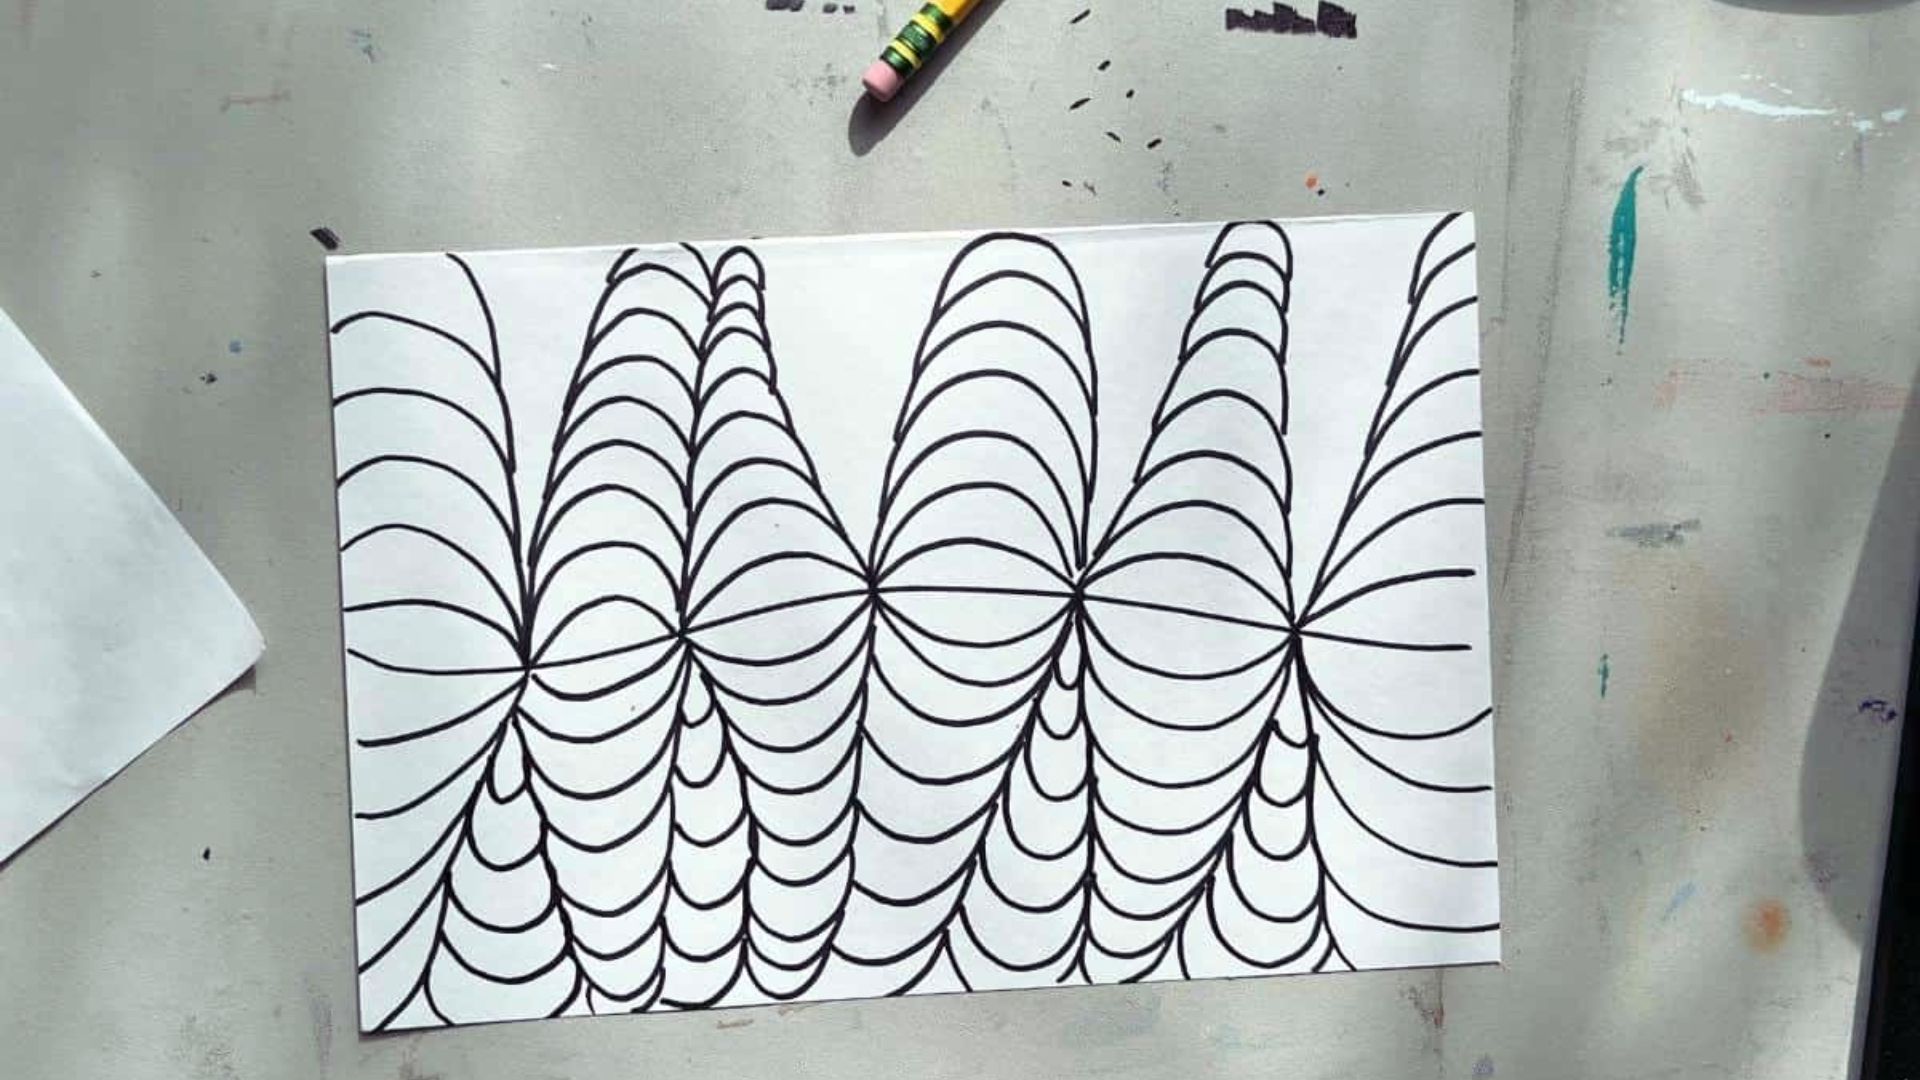
Get your supplies ready before you start. It makes the process smoother and more fun.
Basic Supplies to Get Started
You don’t need much. Here’s a simple list:
White paper or cardstock
Pencil
Ruler
Black fine-tip marker
Eraser
That’s it. These basics are enough for a great op art drawing easy enough for any beginner.
Optional Tools for Better Results
Want cleaner results? Try these:
Compass (for circles)
Colored markers or gel pens
Graph paper
Micron pens for outlining
These extras help with precision. But don’t worry a pencil and ruler will do just fine when you’re starting out.
Op Art Drawing Step by Step (Easy Instructions)
Follow each step carefully, and you’ll have a finished op art piece in under an hour.
Step 1: Draw the Vanishing Point
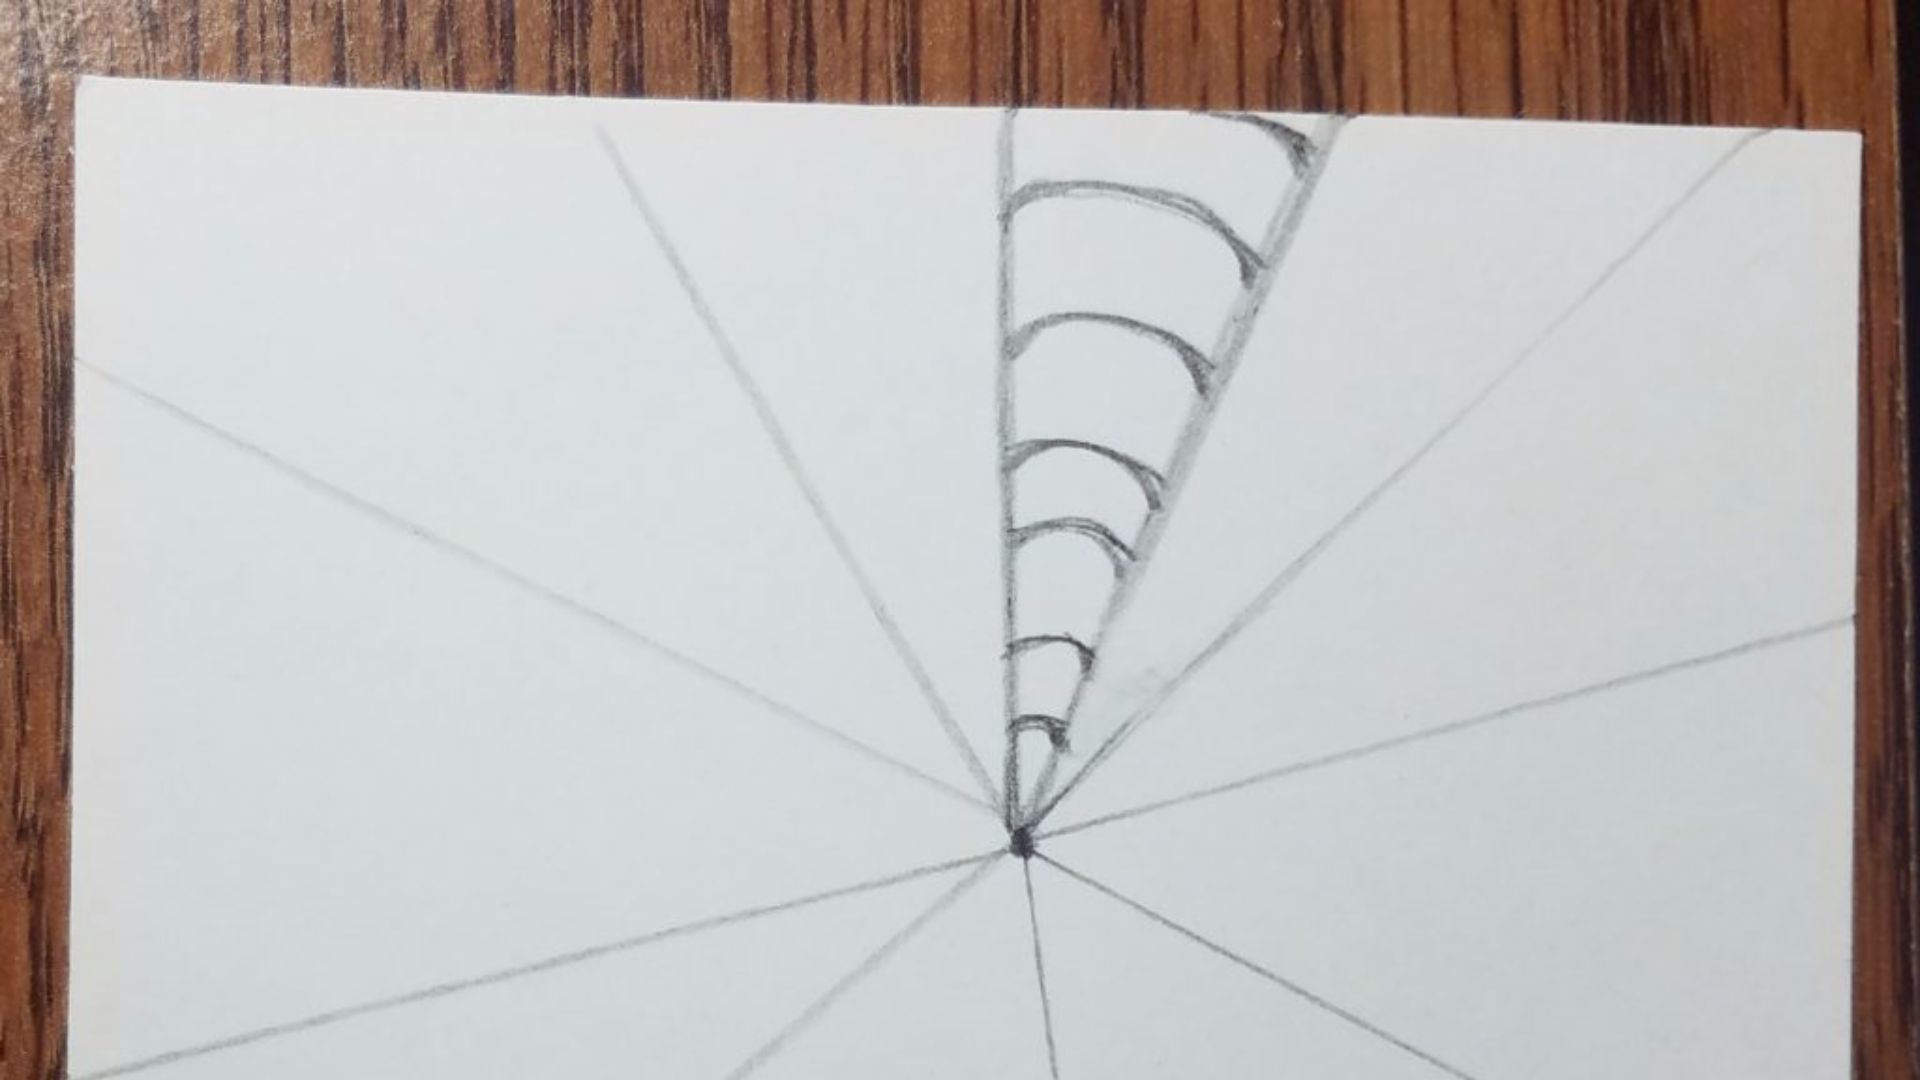
Start by placing a dot in the center of your paper. This is your vanishing point. All your lines will connect back to this dot.
Use a light pencil mark so you can erase it later if needed.
Step 2: Create Even Radiating Lines
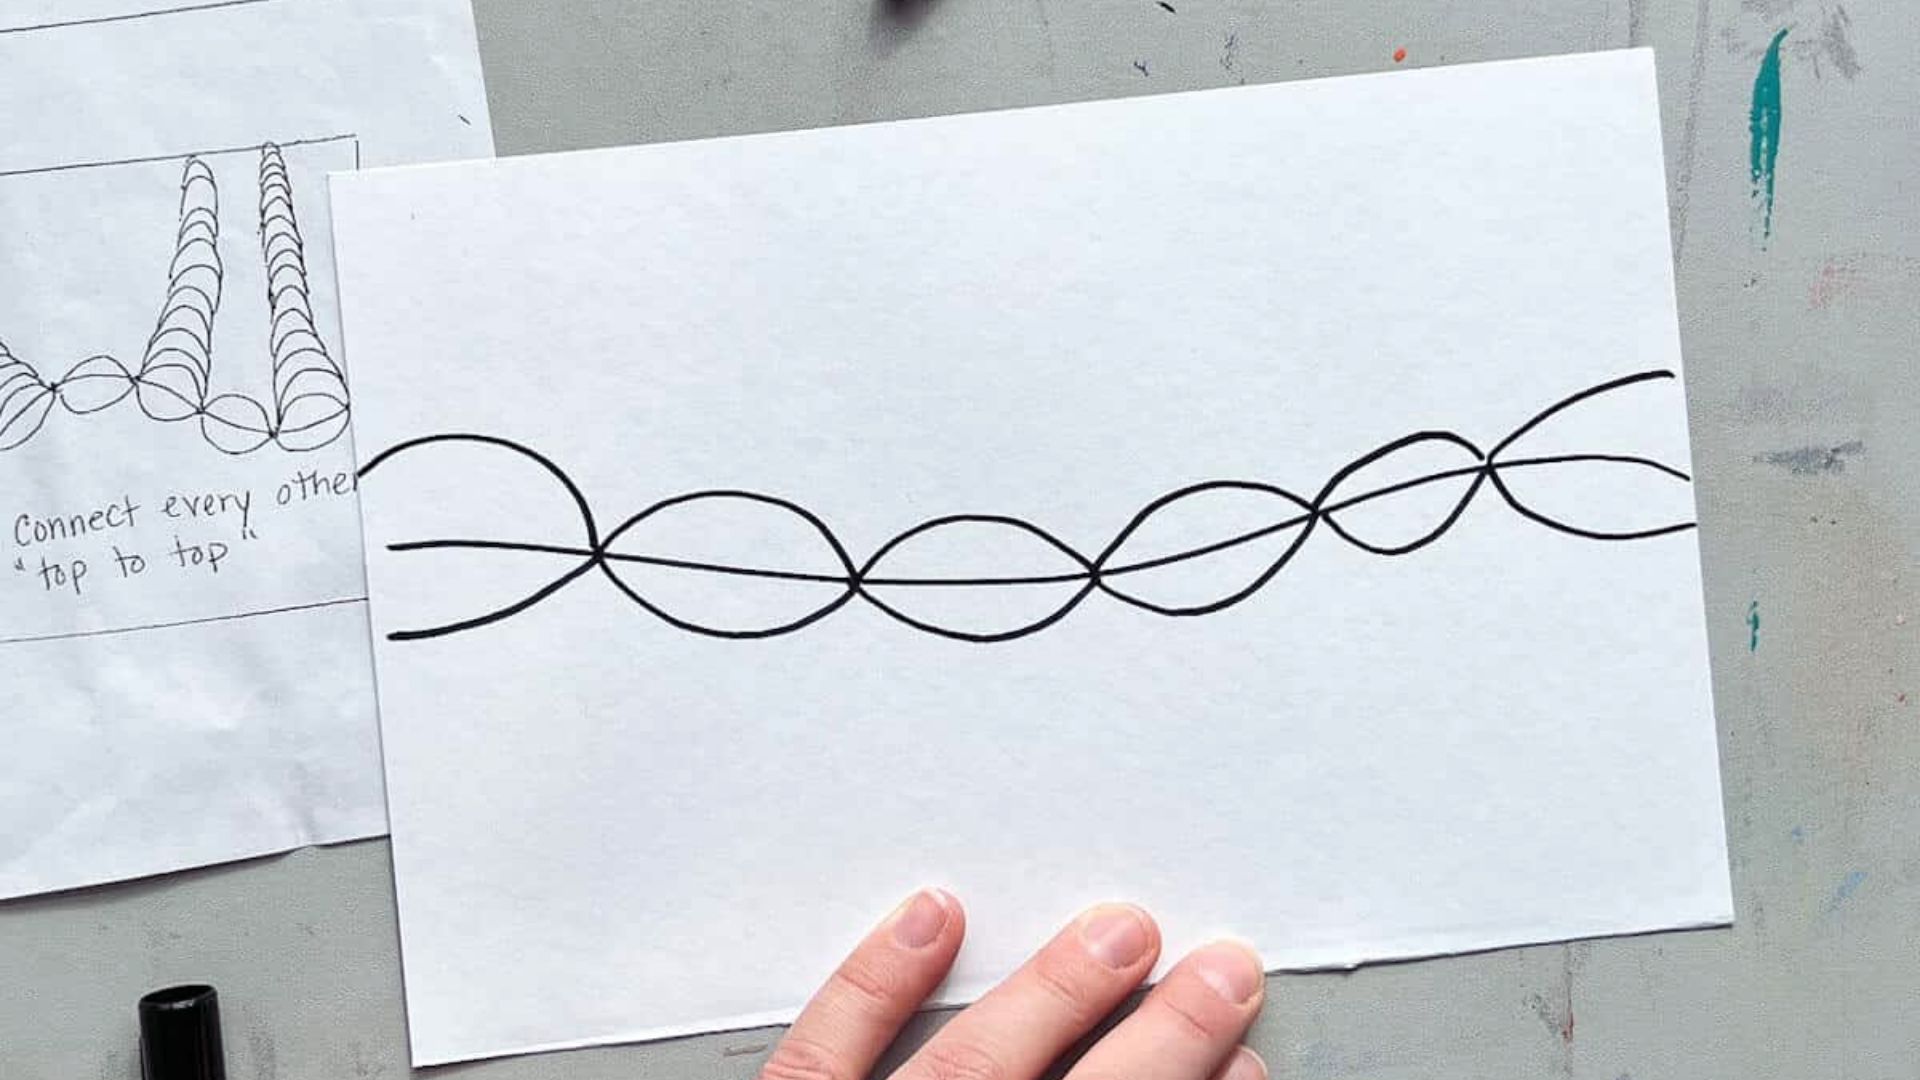
Using a ruler, draw straight lines from the vanishing point outward to the edges of the paper. Space them evenly.
Aim for at least 12 to 16 lines. The more lines, the more detailed your pattern will look.
Step 3: Add Alternating Curved Lines

Now draw curved lines across your radiating lines. These should curve gently, like soft waves. Make sure they alternate one curving up, the next curving down.
Keep the spacing as even as possible. This is what creates the 3D illusion.
Step 4: Complete All Pattern Sections
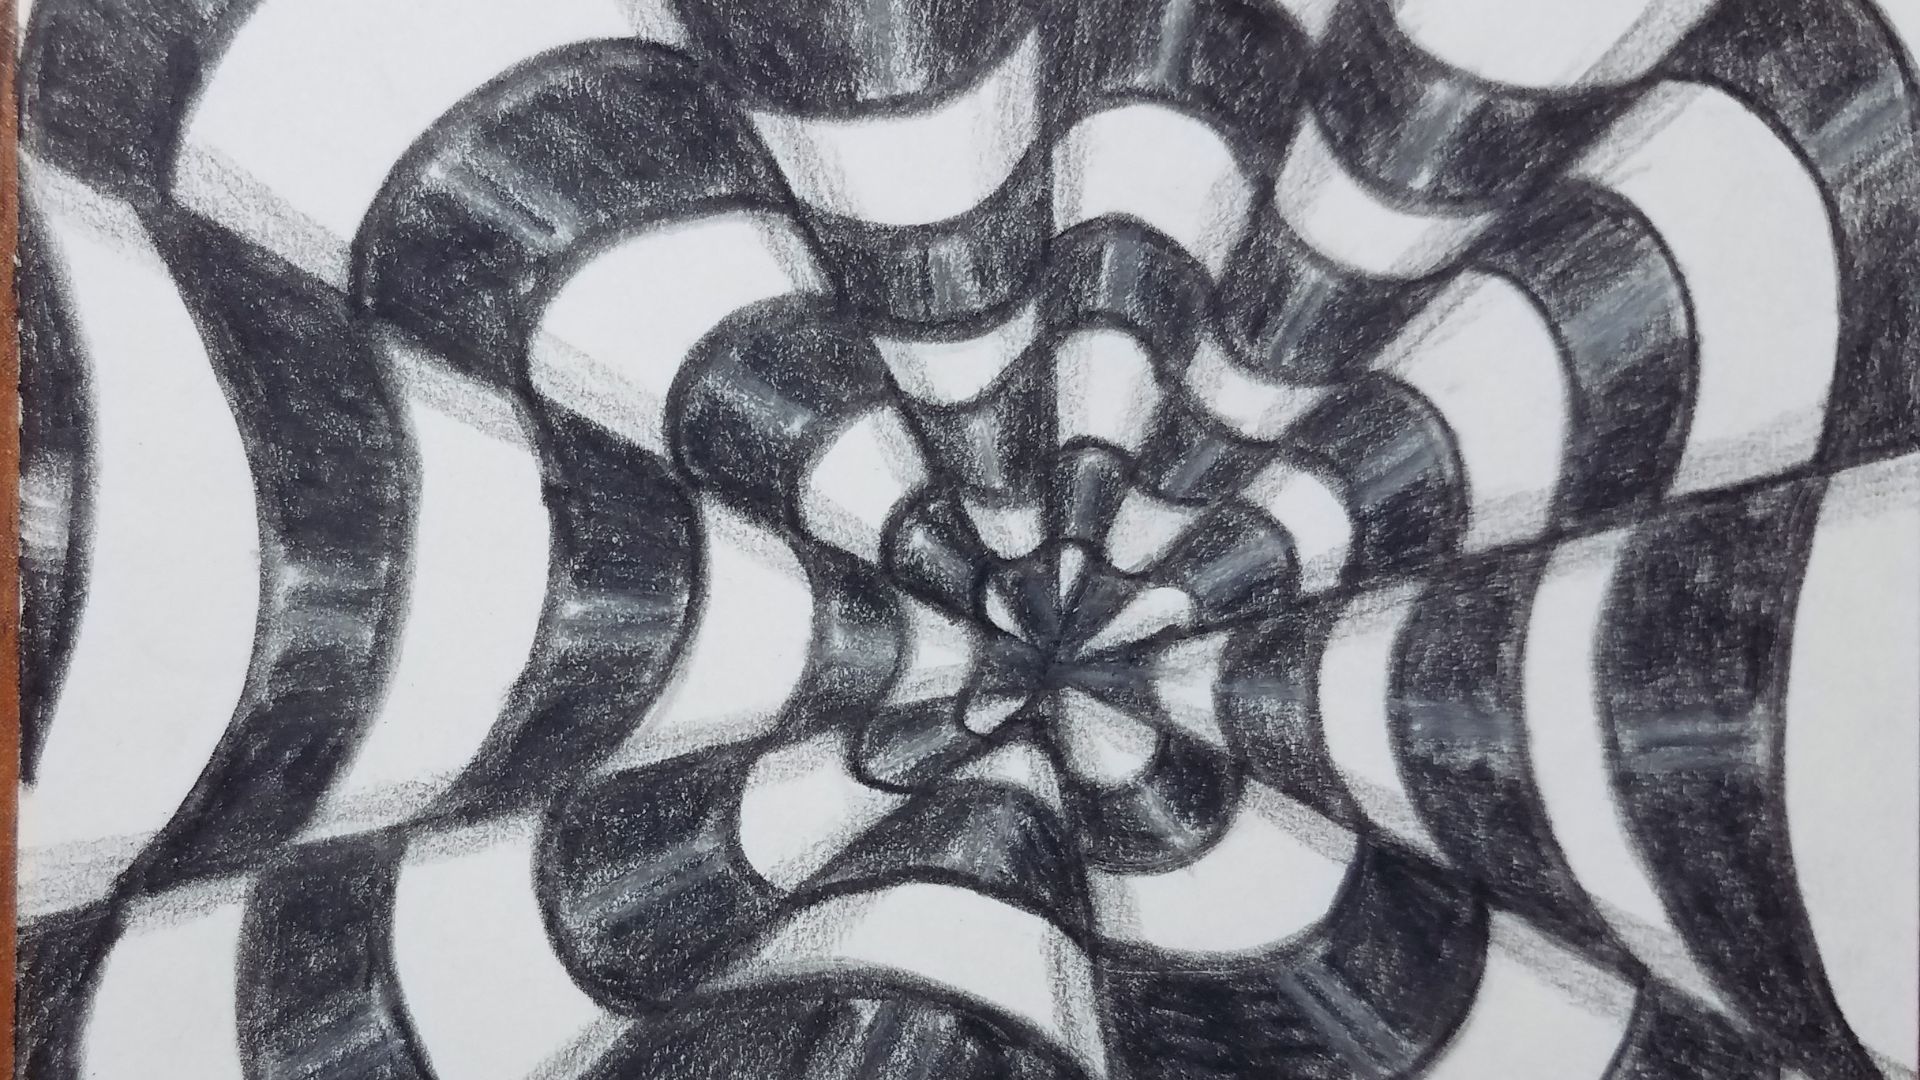
Work from the center outward. Fill in every section between your radiating lines with alternating curved lines.
Take your time here. Consistency is everything in op art drawing.
Step 5: Outline Your Op Art Drawing
]
Once your pencil lines look good, go over them with a black fine-tip marker. Press firmly for clean, bold lines.
Let the ink dry completely before moving on.
Step 6: Add Colors in a Pattern
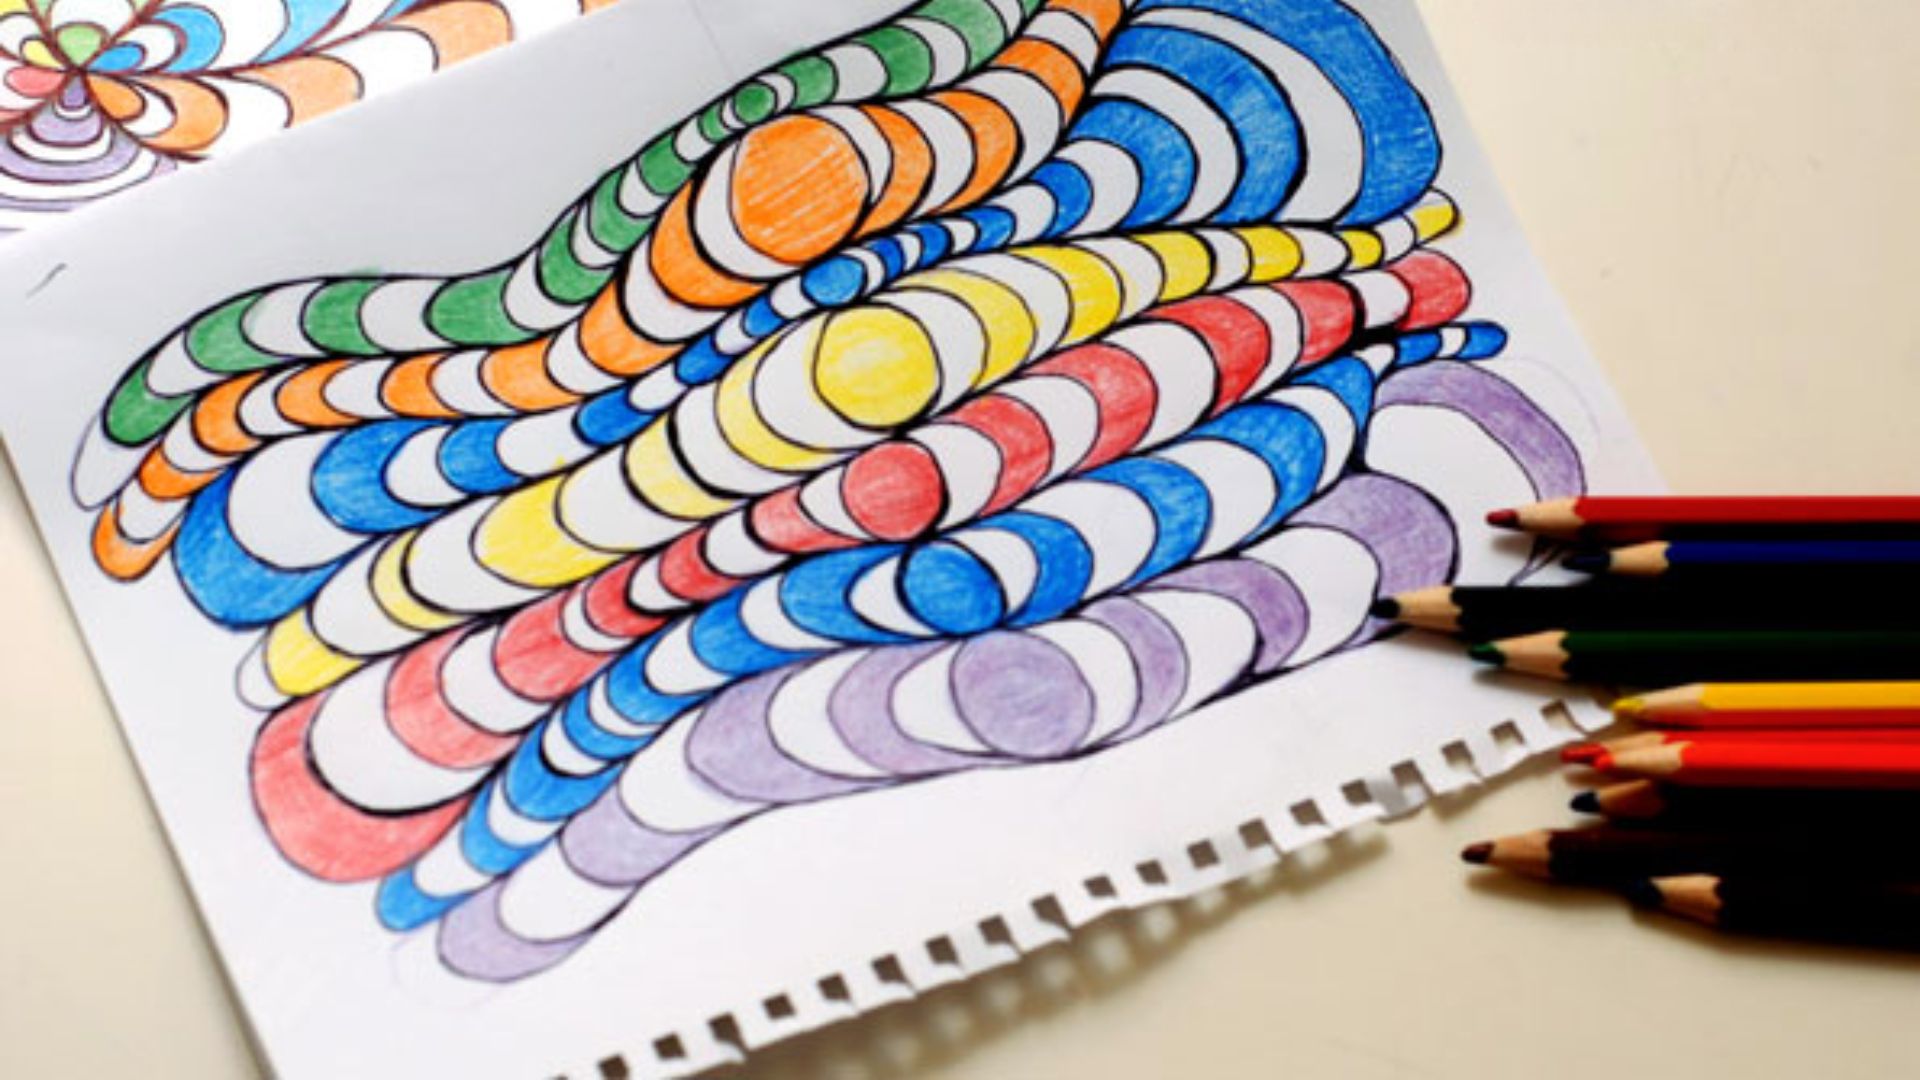
Choose two or three colors. Then fill in sections using a simple pattern, for example, color every other section the same way.
Black and white is the most classic op art look. But colors work great too.
Step 7: Create Highlights for 3D Effect
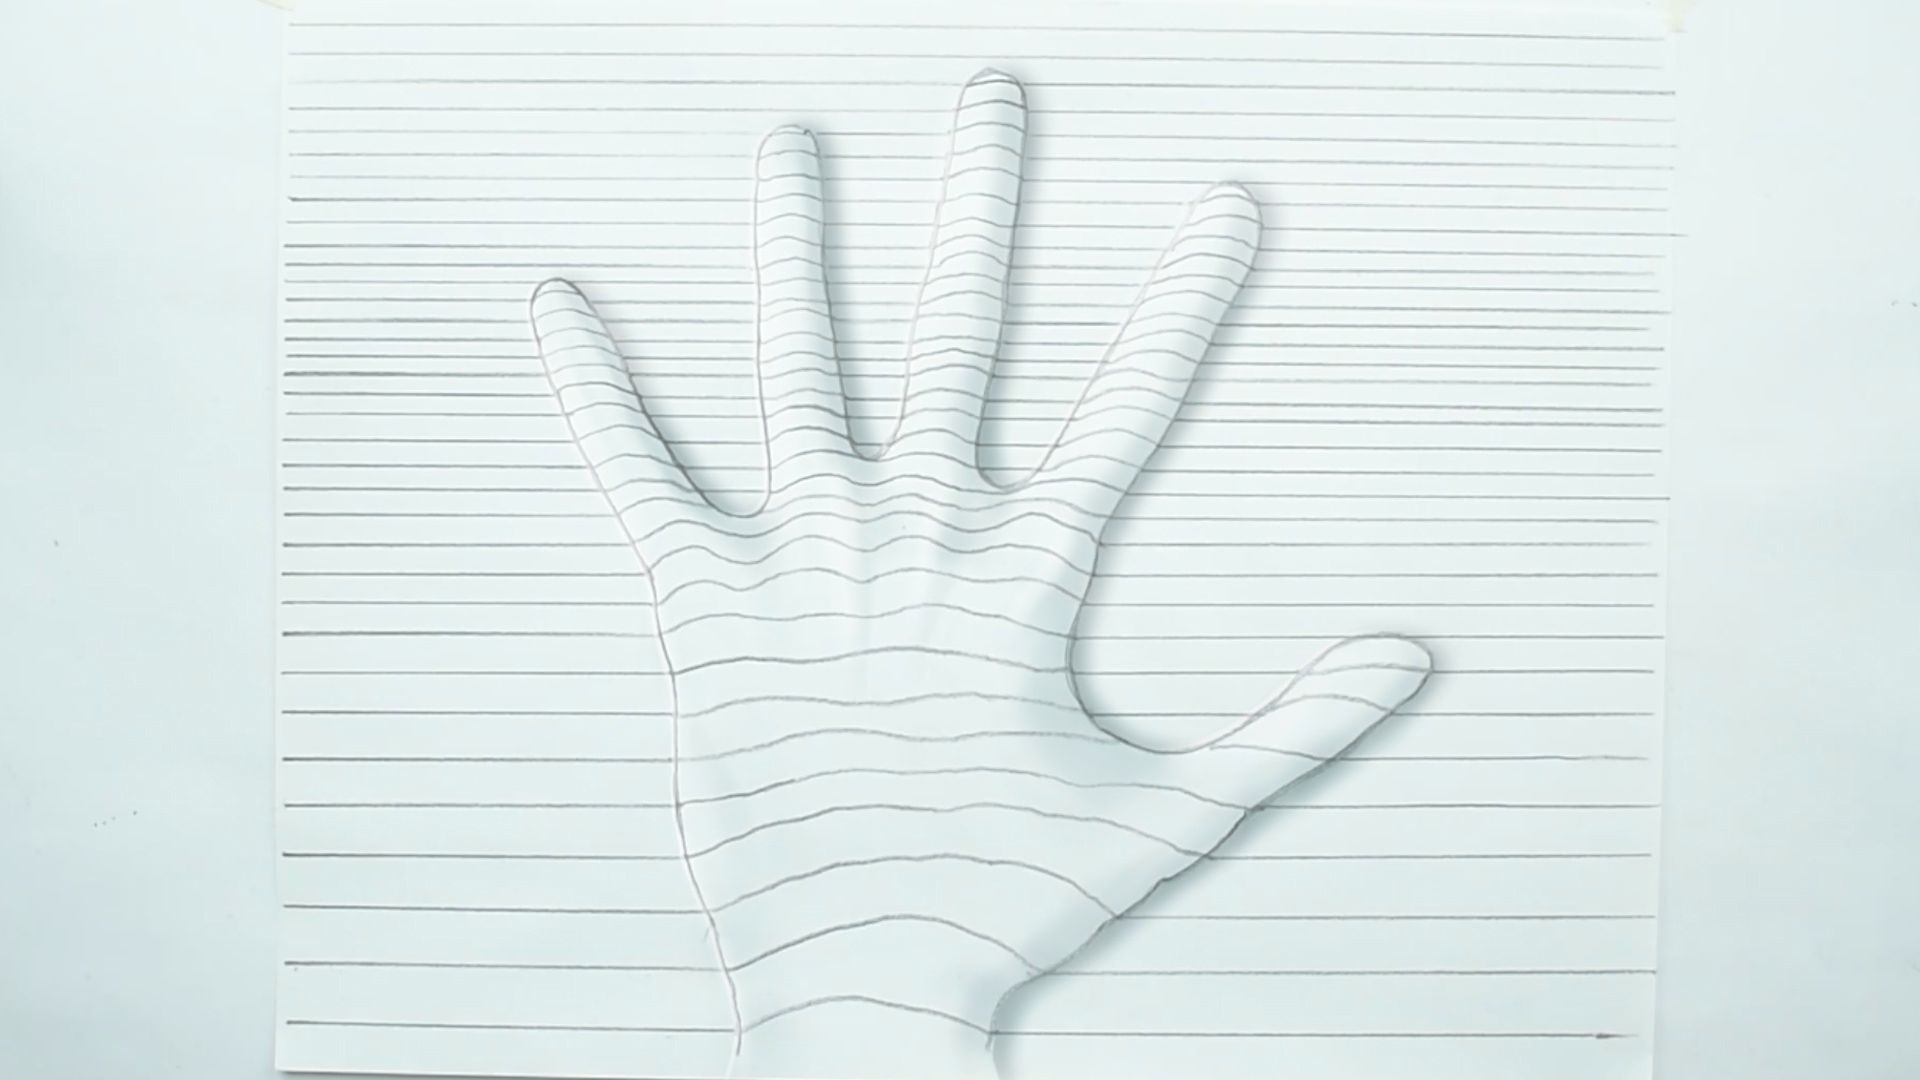
Add white or a lighter shade to one side of each curved section. This mimics how light falls on a 3D surface.
It makes your drawing pop off the page.
Step 8: Add Shadows for Depth
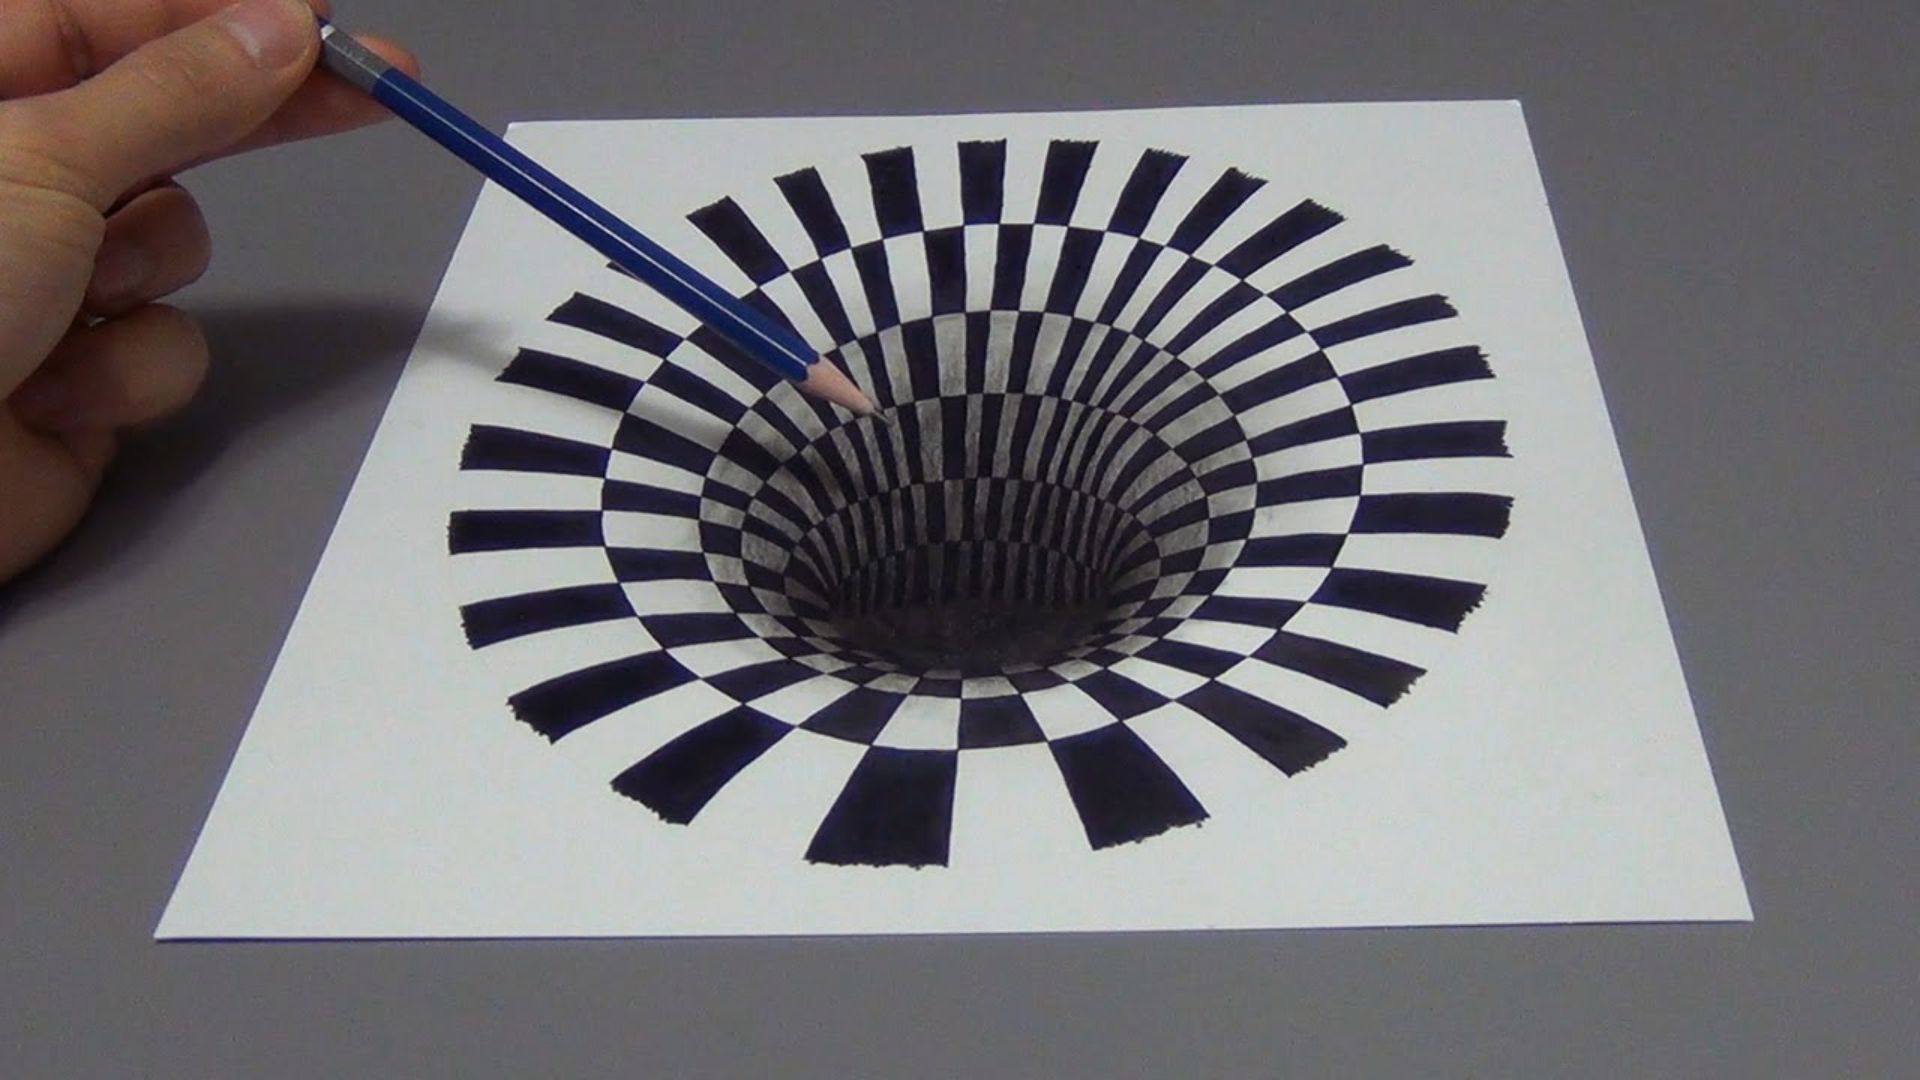
On the opposite side, add a darker tone or shadow. This contrast between light and dark is what makes the illusion work.
Step back and look at your piece. It should already look like it’s moving or bulging.
How Op Art Drawing Creates Optical Illusions (Quick Explanation)

Understanding the science behind op art helps you make better, more convincing designs.
How Lines and Curves Trick the Eye
Your brain tries to make sense of patterns. When it sees closely spaced curved lines, it assumes depth or movement.
That’s why op art “moves” even though it’s completely still. The lines are doing the work.
Role of Contrast and Repetition
High contrast like black next to white forces your eyes to adjust quickly. When patterns repeat across a surface, your brain can’t settle on a fixed image.
The result? An illusion that looks alive.
Easy Op Art Drawing Ideas for Practice
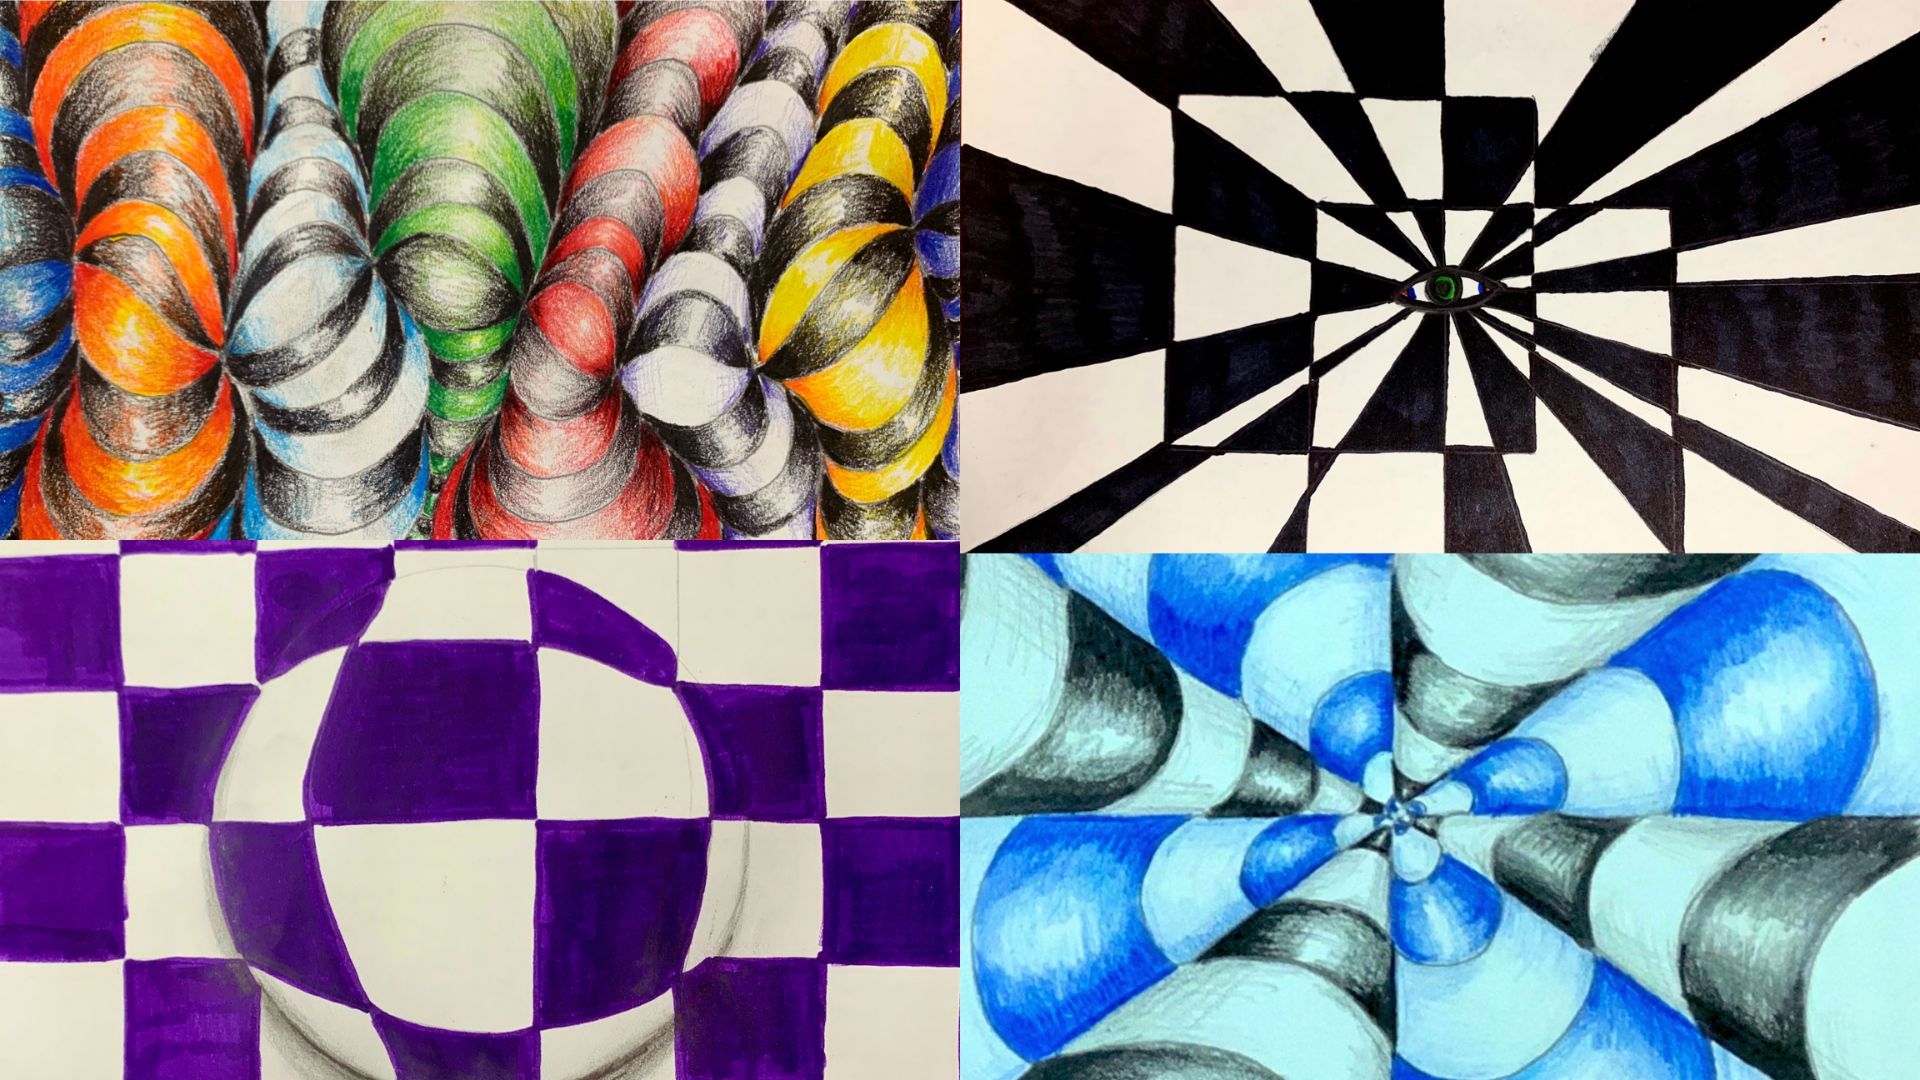
Try these beginner-friendly designs to build your confidence and speed.
Black and White Op Art Drawing Easy Designs
Start here. Black and white keeps things simple. Focus on clean lines and even spacing.
Try a checkerboard-style curve pattern or a simple concentric circle design. These are great for building your skills fast.
Colorful Op Art Drawing Patterns
Once you’re comfortable, add color. Pick two contrasting colors like red and blue or orange and purple.
Fill sections in an alternating pattern. The color contrast will add a whole new level to your design.
Freehand vs Ruler Techniques
Rulers give you clean, exact lines. Freehand gives you a looser, more organic look.
Try both. Many artists mix them using a ruler for radiating lines and freehand for curves. See what feels right for you.
Common Mistakes in Op Art Drawing
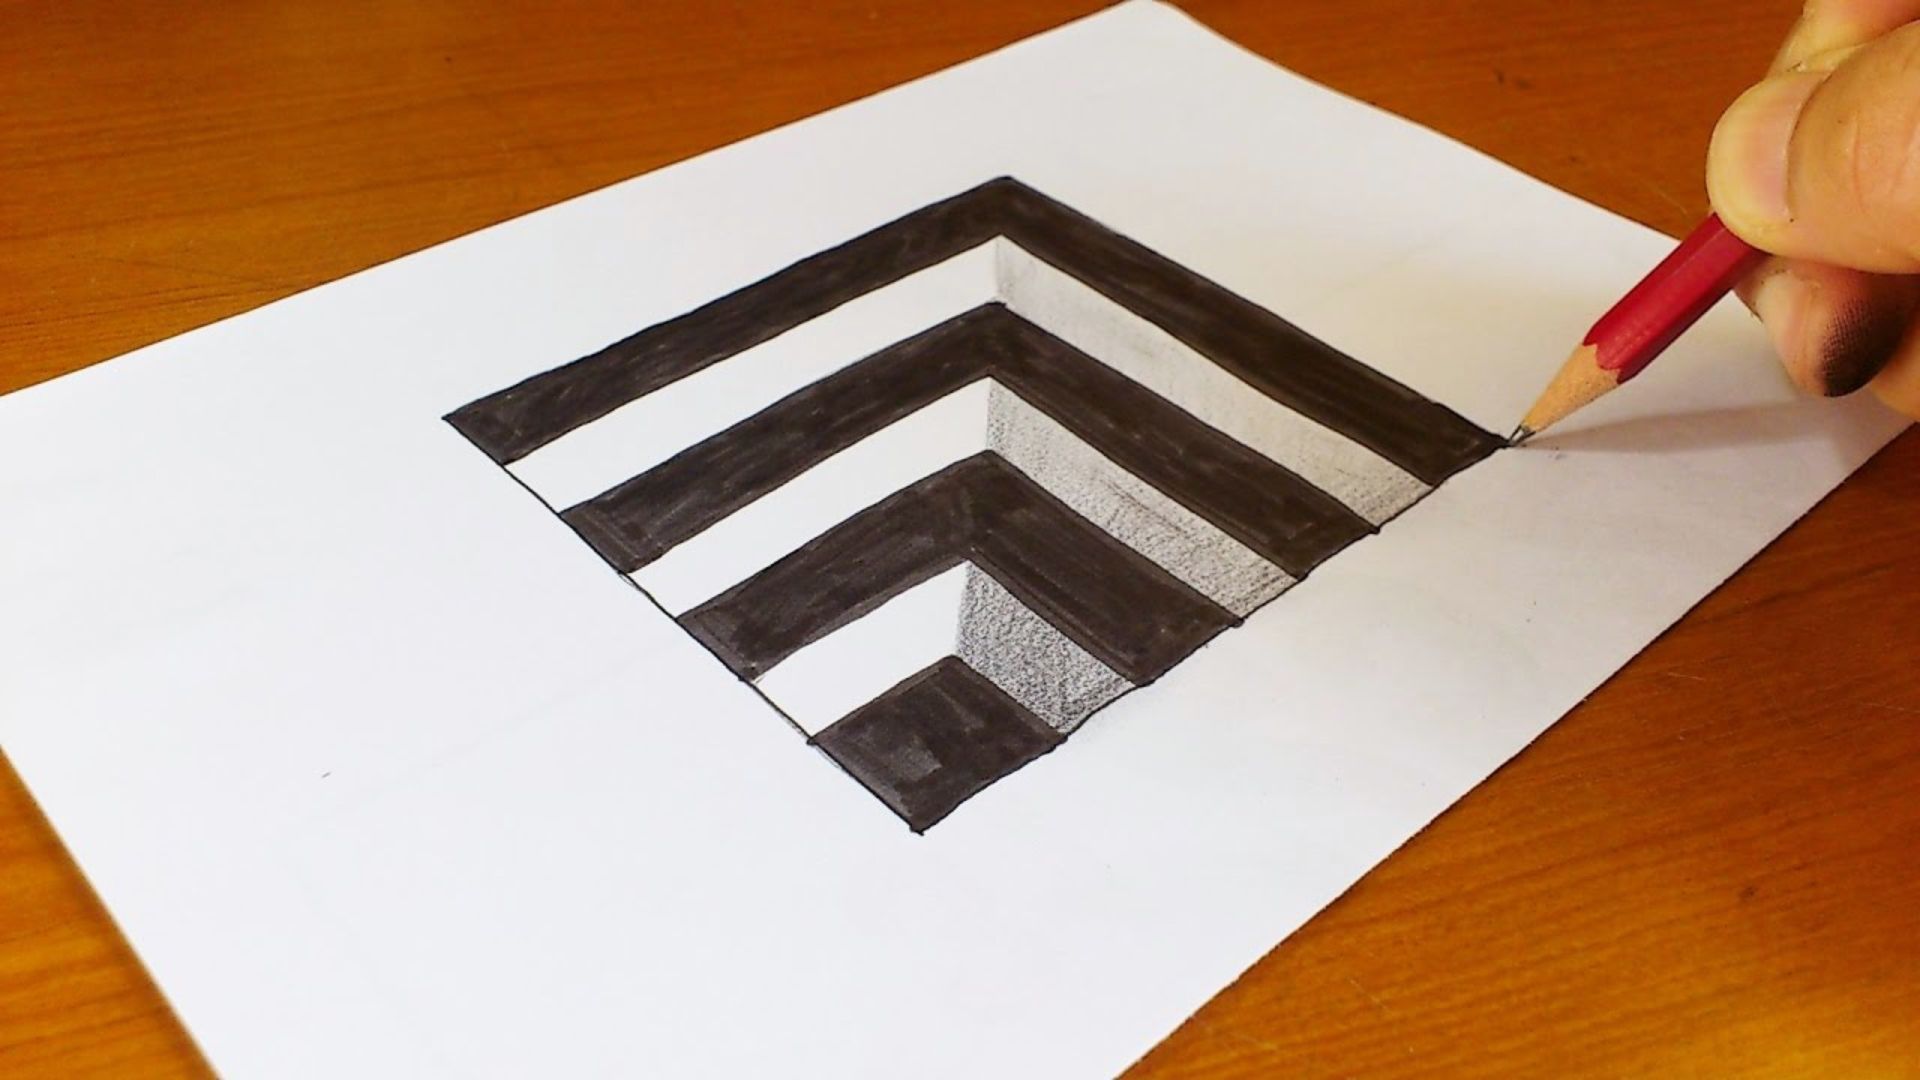
Knowing what to avoid saves you time and frustration from the start.
Uneven Line Spacing
If your lines are not evenly spaced, the illusion breaks. Use a ruler and measure before you draw.
Mark light pencil dots as guides before committing to full lines.
Incorrect Curve Direction
Each curve must alternate in direction. If two curves go the same way in a row, the pattern looks flat.
Double-check as you go it’s easier to fix early than after inking.
Not Following a Pattern
Op art only works when the pattern is consistent. Random sections break the visual flow.
Plan your color and curve layout before you start drawing. A small sketch helps a lot.
Op Art Drawing Easy Tips for Better Results
A few smart habits make a big difference in how your final piece looks.
- Go slow with your marker to keep lines clean and neat.
- Always practice on scrap paper before working on your final piece.
- Use an even number of radiating sections for a balanced pattern.
- Stick to two or three colors when you are starting out.
- Simple color schemes always look bolder and cleaner in op art.
Conclusion
Start simple, use black and white, and focus on even spacing. Once you get comfortable, try adding color or new shapes.
I remember finishing my first op art drawing step by step and honestly could not believe I made something that looked so complex with just lines and curves.
You will feel that too. The more you practice, the easier it gets. Try one design today, share it with someone, and come back for a harder one.
Drop your results in the comments. I would love to see what you create!
Frequently Asked Questions
What is the easiest op art drawing for beginners?
A simple vanishing point design with alternating curved lines is the easiest starting point. You only need a ruler, pencil, and marker to complete it.
Do I need special tools for op art drawing?
No special tools are required. A ruler, pencil, eraser, and black marker are enough to create a solid op art piece.
How long does an op art drawing take?
Most beginners finish a basic op art drawing in 30 to 60 minutes. With practice, you can complete more detailed designs at the same time.
Can kids do op art drawing step by step?
Yes. Op art drawing is great for kids aged 8 and above. The steps are simple to follow and the results are always satisfying.
Why does my op art drawing not look 3D?
The most common reason is uneven line spacing or incorrect curve direction. Make sure your curves alternate and your sections are evenly spaced for the best effect.
