


I’ve been there ready to tattoo, no transfer paper in sight. It’s frustrating, but you don’t always need it.
In this article, I’ll show you how to transfer a drawing onto skin without transfer paper using safe, simple methods.
You’ll learn the right tools, step-by-step techniques, and common mistakes to avoid. I’ve worked with both beginners and experienced artists, and these methods genuinely work.
If you’re practicing or just in a pinch, this guide will help you get clean, accurate results every time.
What You Need to Know Before Getting Started
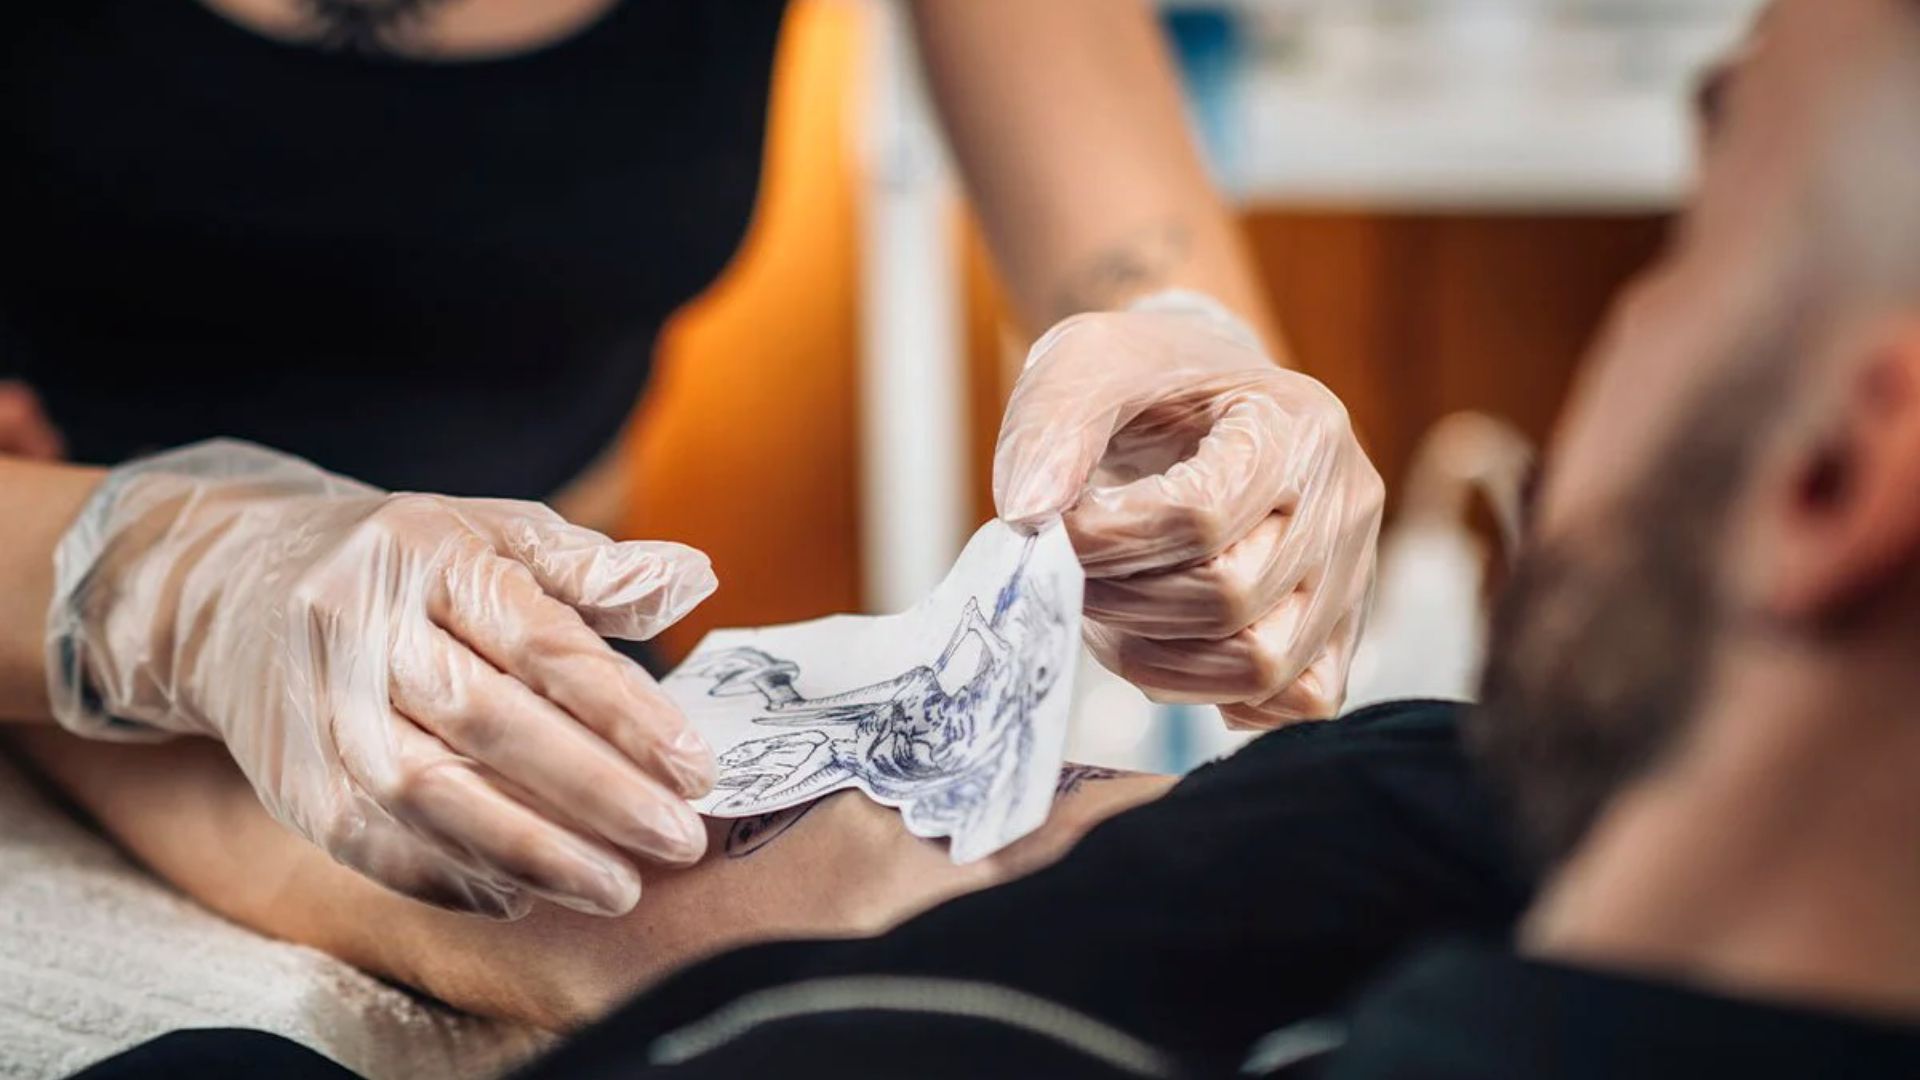
Transferring a drawing onto skin without transfer paper is more common than you think.
Many artists skip the paper when they’re practicing, running low on supplies, or working on a quick design.
It’s a handy skill that saves time and still gives clean results. You don’t need fancy tools to make it work.
A skin-safe marker, clean skin, and a steady hand are often enough. Once you learn the basics, this method becomes a natural part of your workflow.
Step-by-Step Guide: How to Transfer a Drawing Onto Skin Without Transfer Paper
Follow these six simple steps to get a clean, accurate stencil directly on skin.
Step 1: Prepare Your Drawing

Start with a clean, simple design. Use bold, dark lines so the outline is easy to follow. Avoid small details for now.
The clearer the drawing, the easier it is to trace. Keep the design flat and sized correctly for the body part you’re working on.
Step 2: Clean and Prepare the Skin
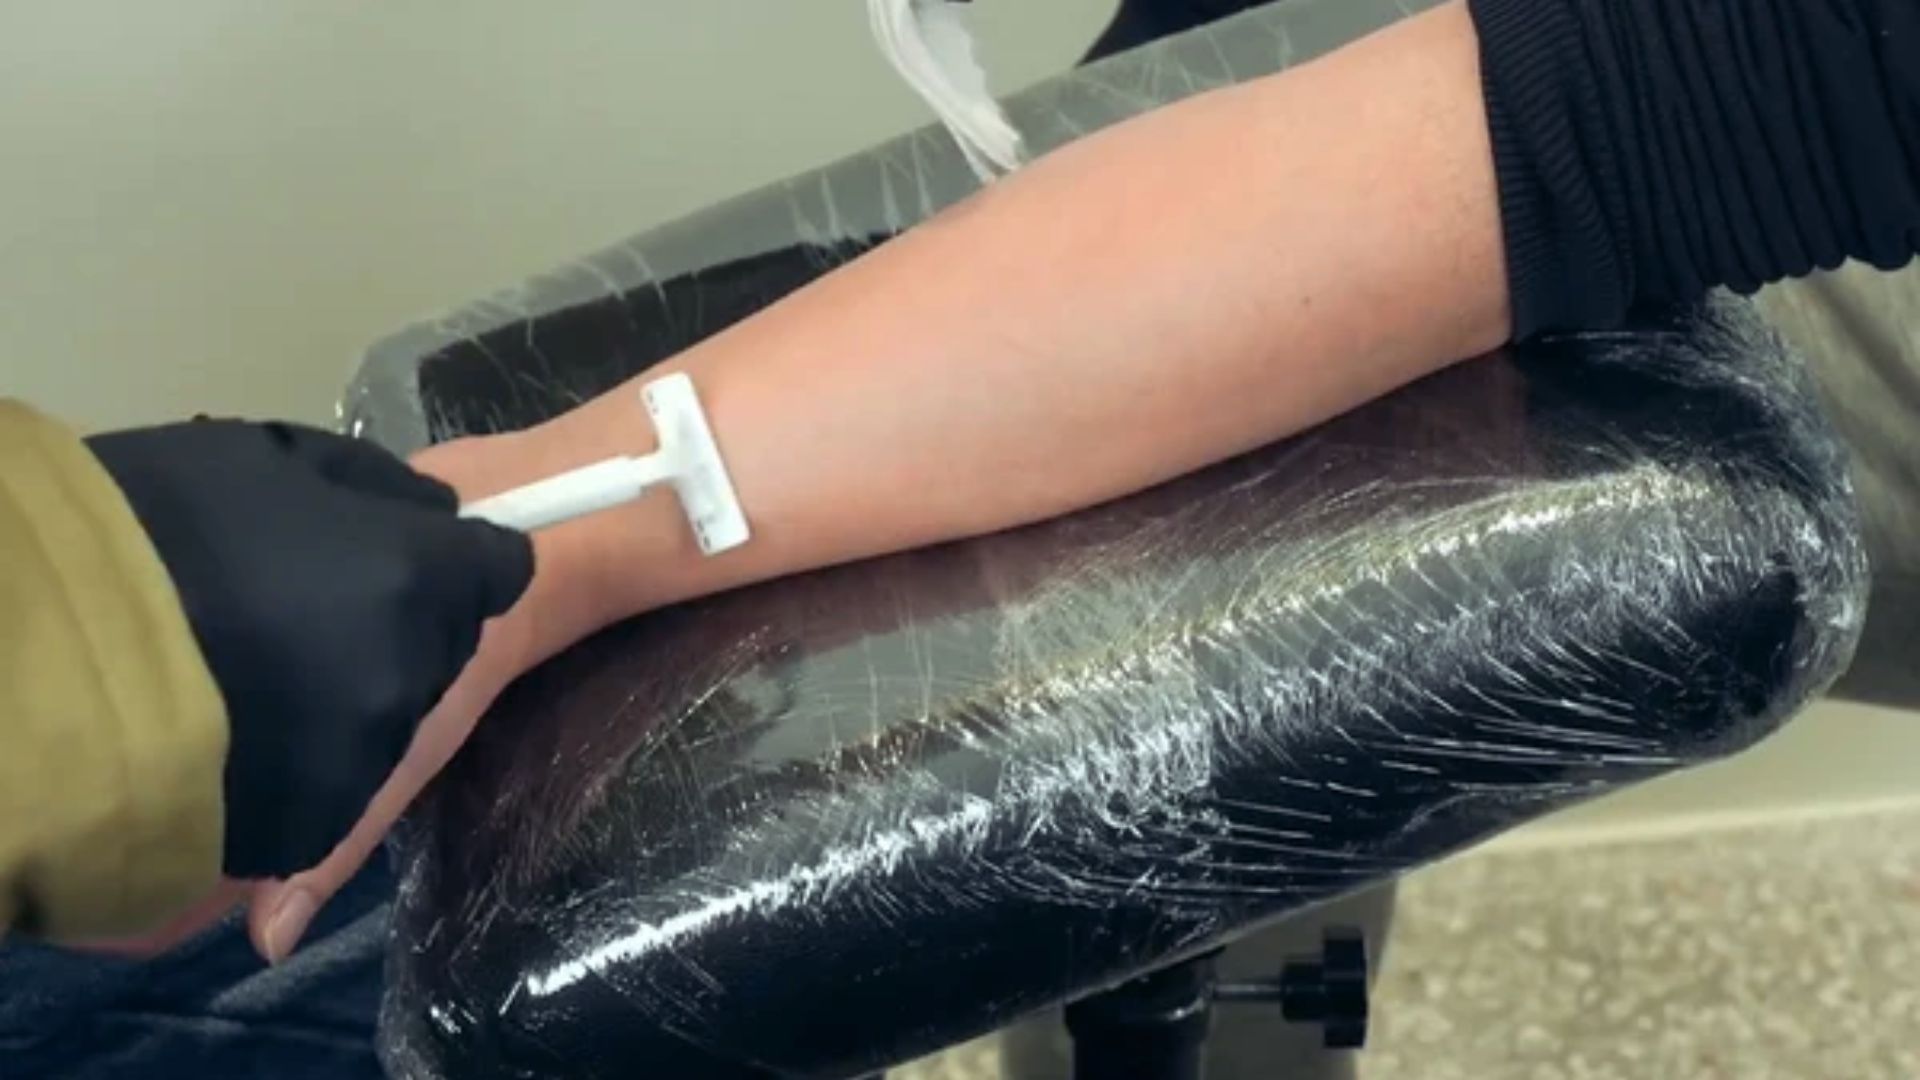
Clean skin gives better results. Wipe the area with an alcohol wipe or antiseptic. If there’s hair, shave it first.
Remove any oils or lotion from the skin. Dry the area fully before moving on. This helps the marker stick and the lines stay sharp.
Step 3: Position the Drawing on Skin
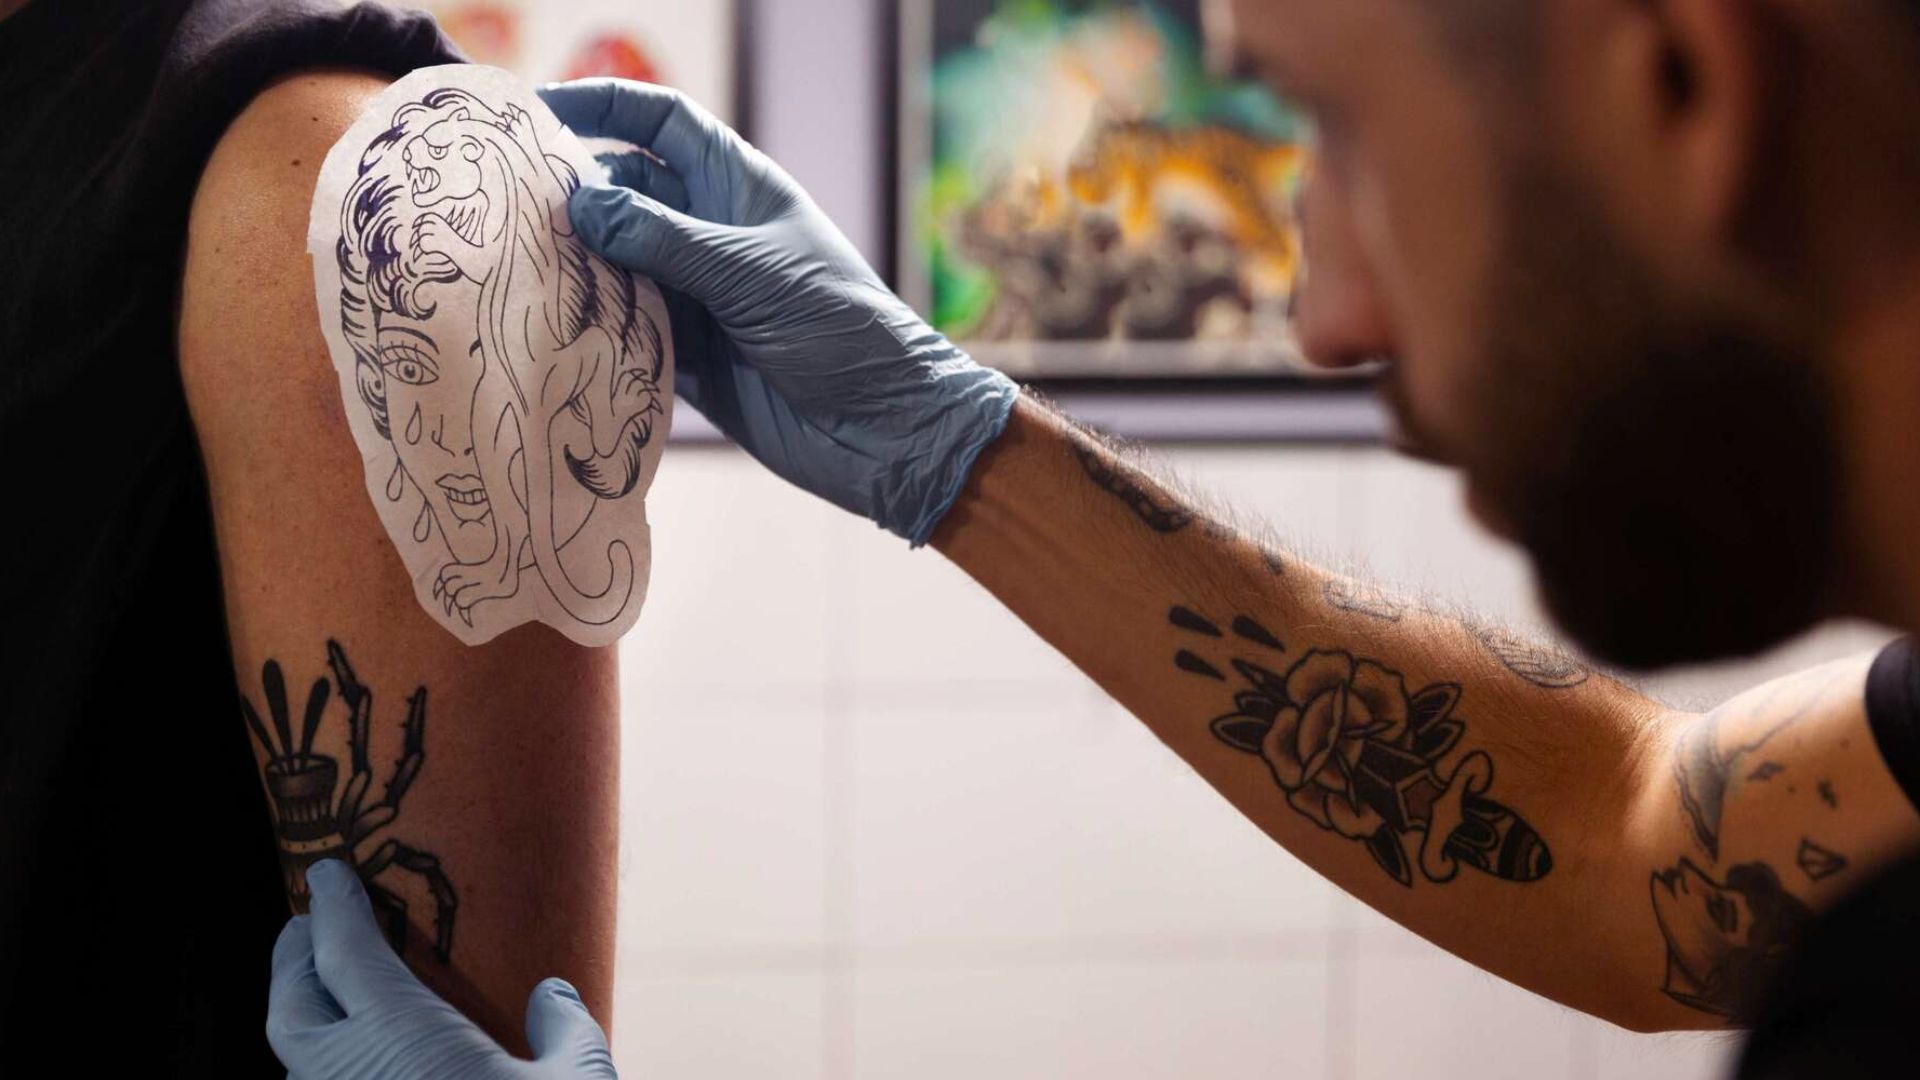
Place the drawing on the skin and check the placement. Take your time here. Adjust for body curves.
Make sure the design sits where you want it before you start tracing. Use tape or hold it firmly with one hand.
Step 4: Trace the Drawing Onto Skin
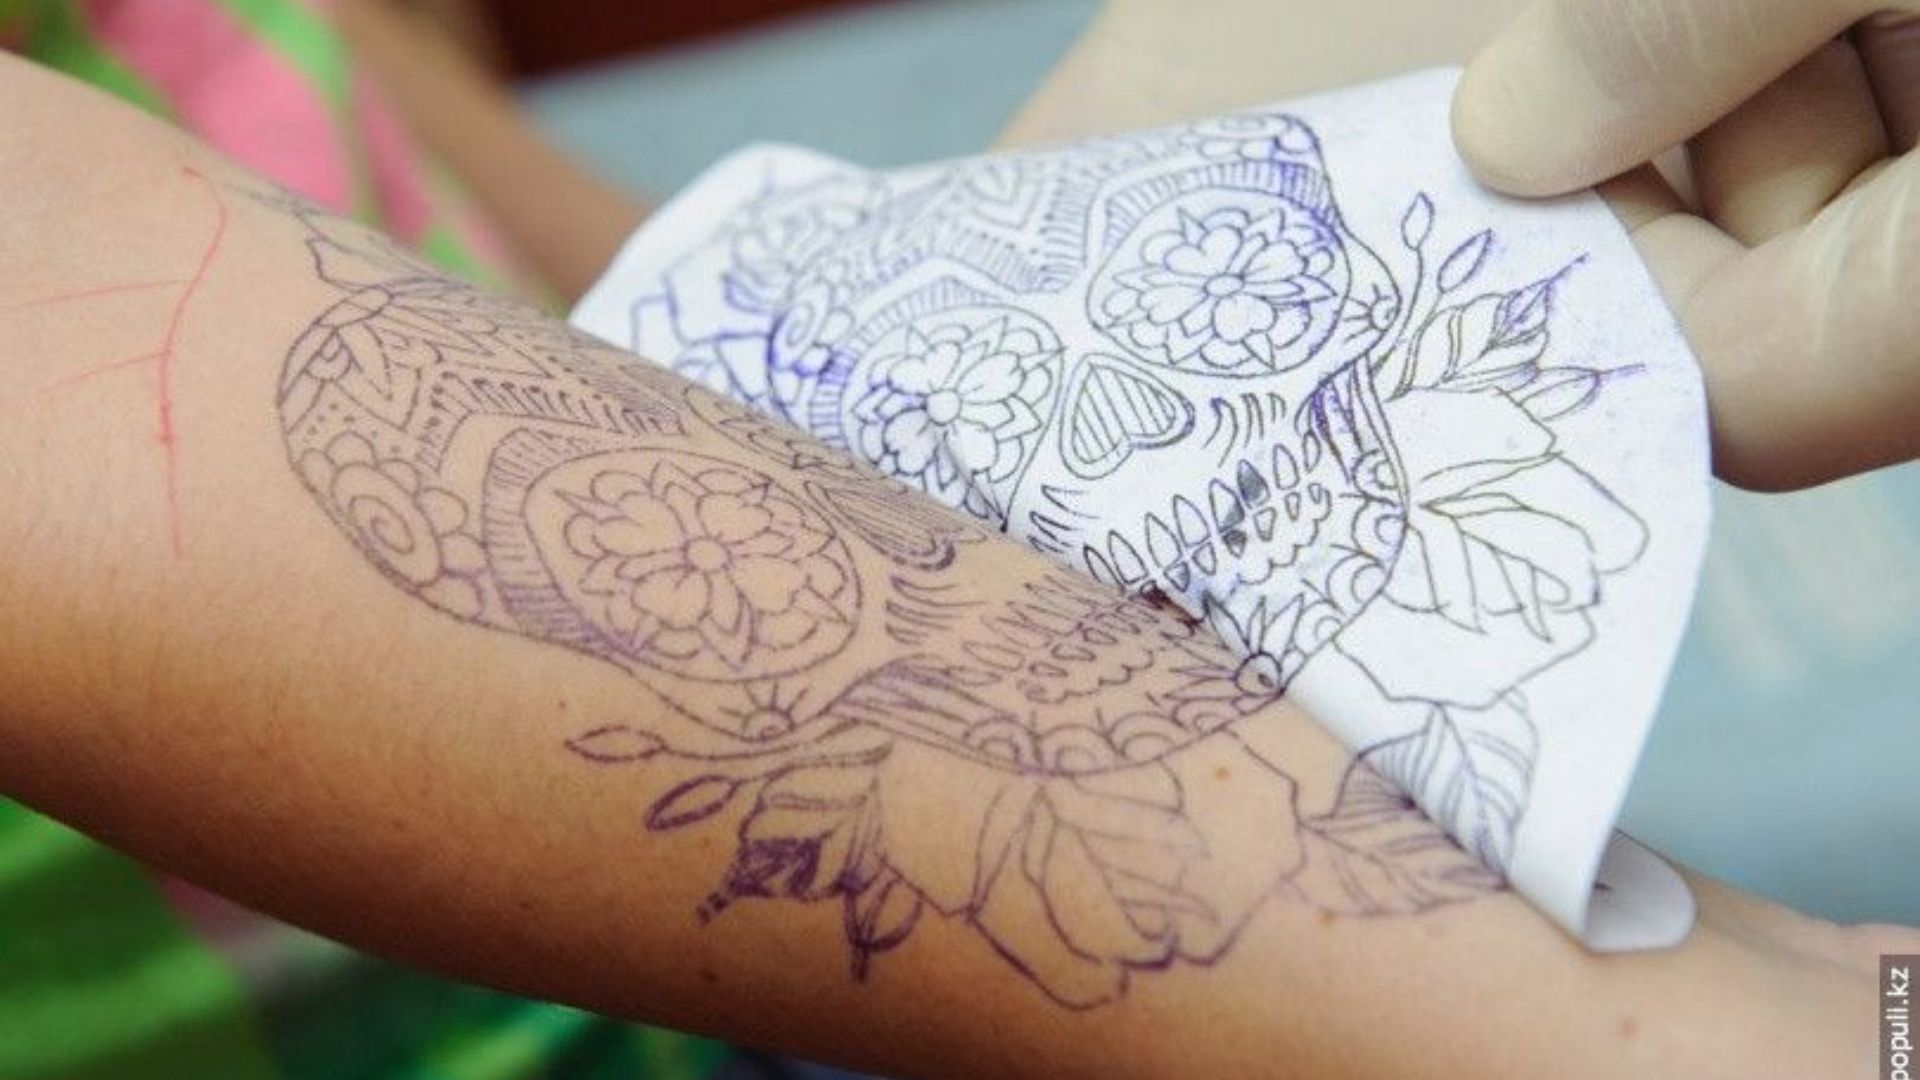
Use a skin-safe marker. Press down with steady, even pressure. Follow the outlines of your drawing carefully. Don’t rush.
Go slow around curves. If you’re freehand drawing, keep your hand relaxed and use short strokes to build the lines.
Step 5: Refine and Fix the Outline
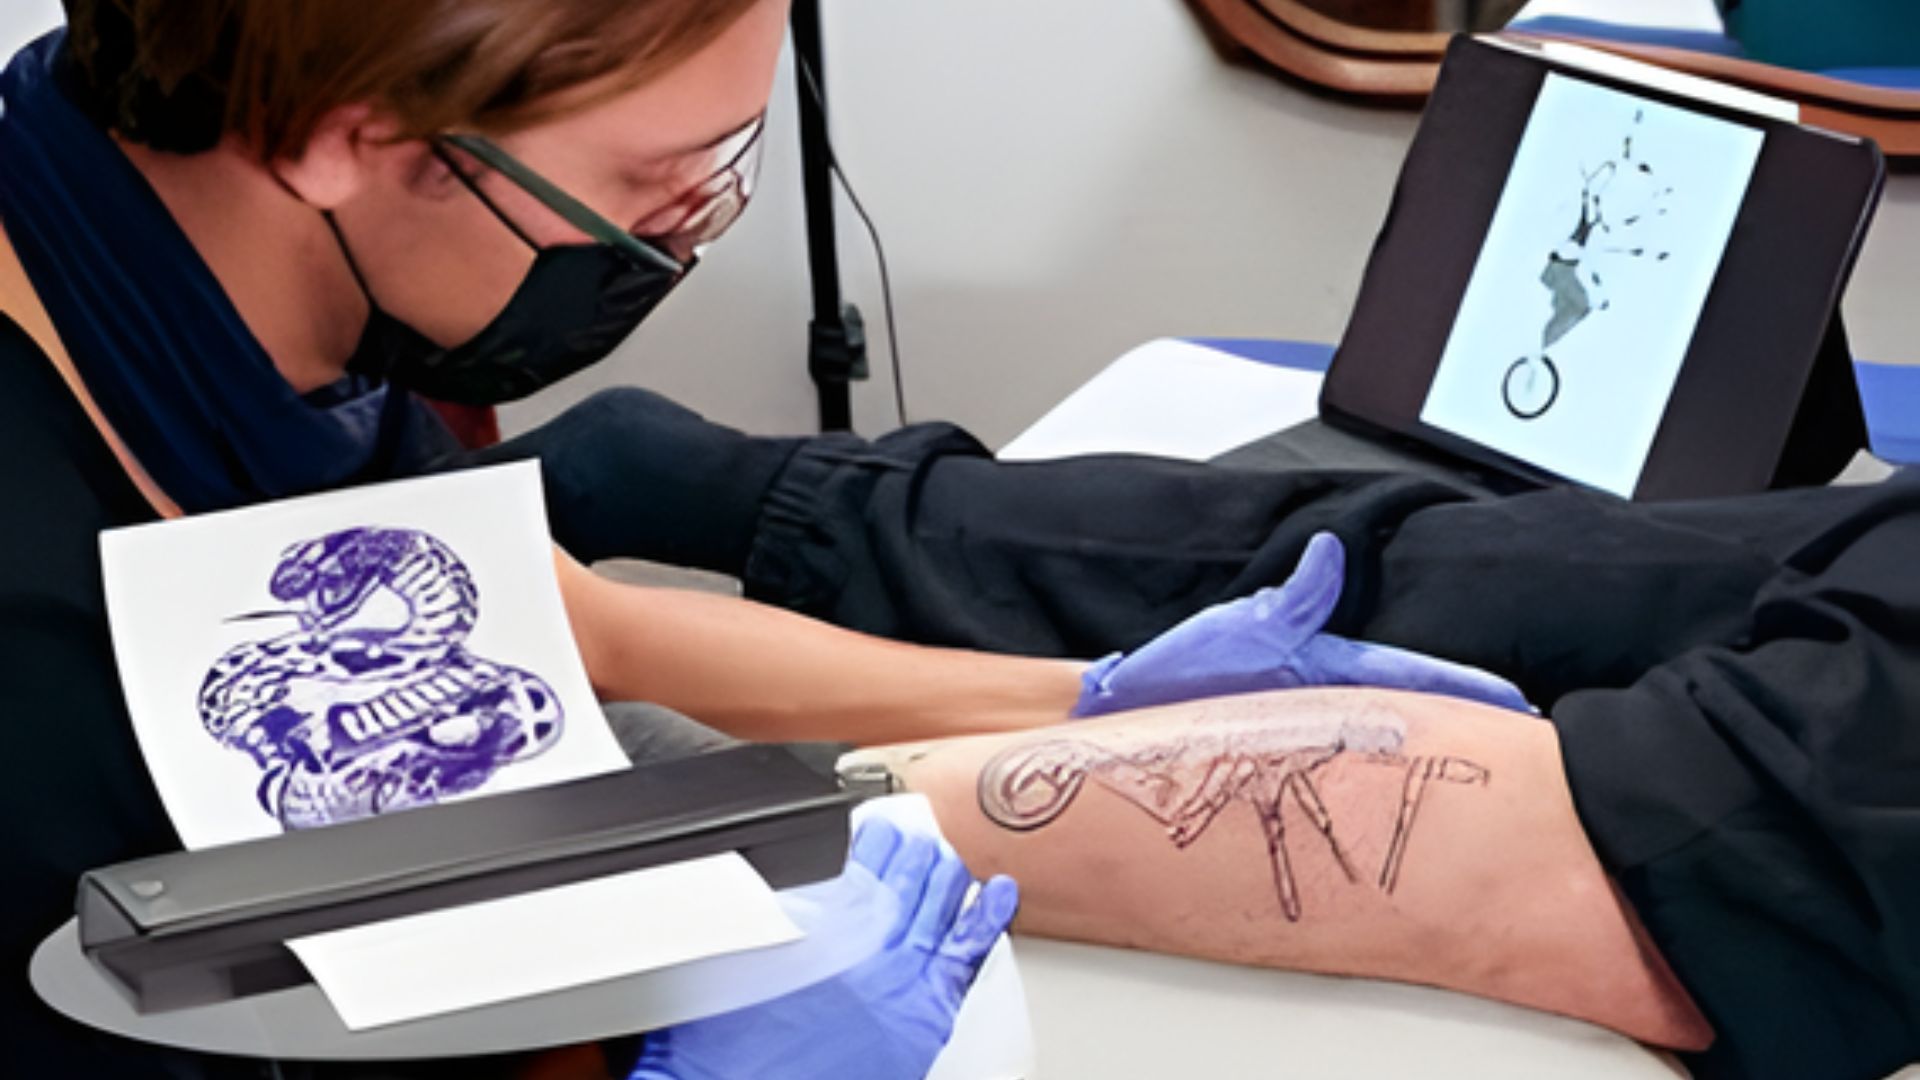
Once you’ve traced the full design, step back and look at it. Fix any uneven lines. Strengthen areas that look faint. Use a fine-tip marker for detail work.
Clean up any smudges with a cotton swab dipped lightly in alcohol.
Step 6: Let the Drawing Set
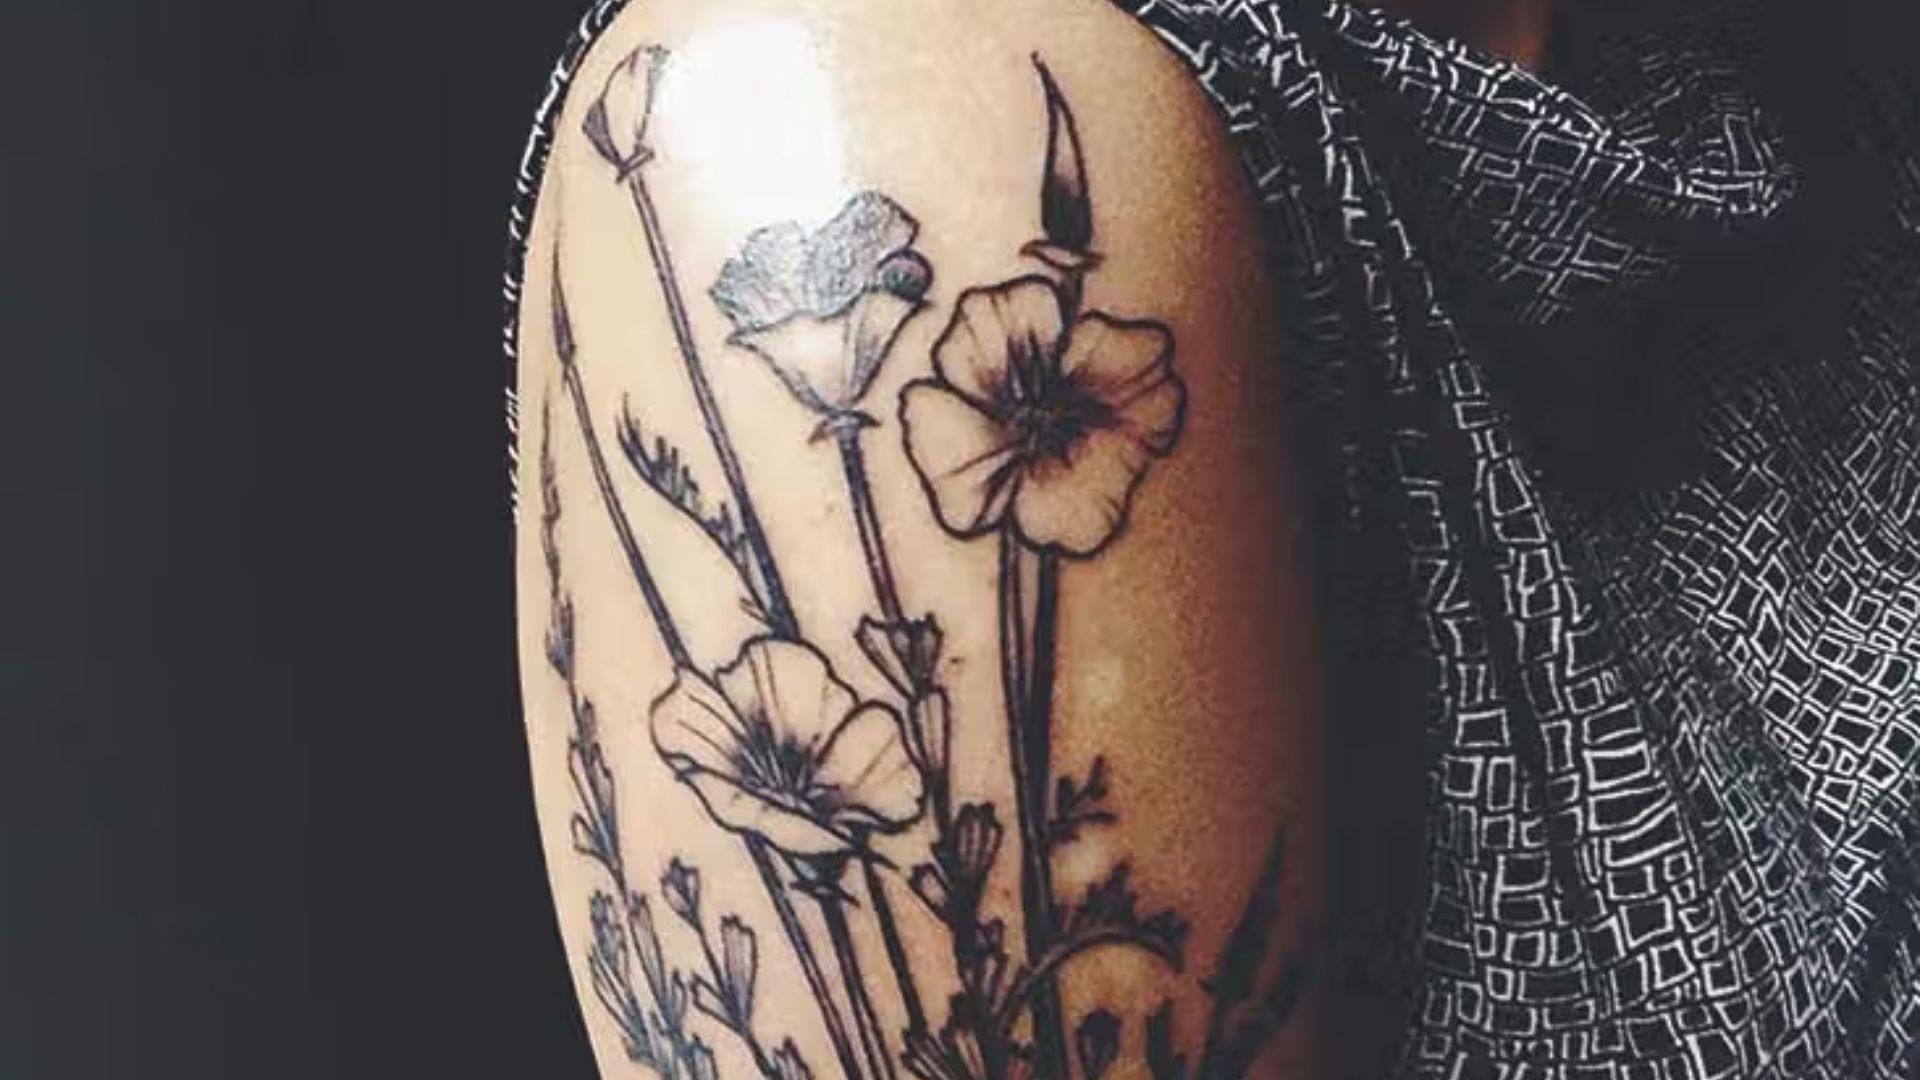
Give the ink a moment to dry. Don’t rub or touch the area right away. Once it’s set, the stencil should be clear and stable.
Now it’s ready for the next step in your tattooing process.
Tools Needed to Transfer a Drawing Onto Skin Without Transfer Paper

Having the right tools makes the whole process easier, cleaner, and more accurate.
Essential Materials
These are the basics you need:
- Regular paper for your drawing
- Skin-safe marker or pen
- Alcohol wipes or antiseptic for skin prep
- A razor for shaving (if needed)
- Cotton swabs for cleanup
Optional Tools for Better Accuracy
These aren’t required, but they help:
- A grid or reference points for alignment
- Practice or synthetic skin for rehearsal
- Fine-tip markers for detailed lines
- Medical tape to hold the paper in place
Best Methods to Transfer a Drawing Onto Skin Without Transfer Paper
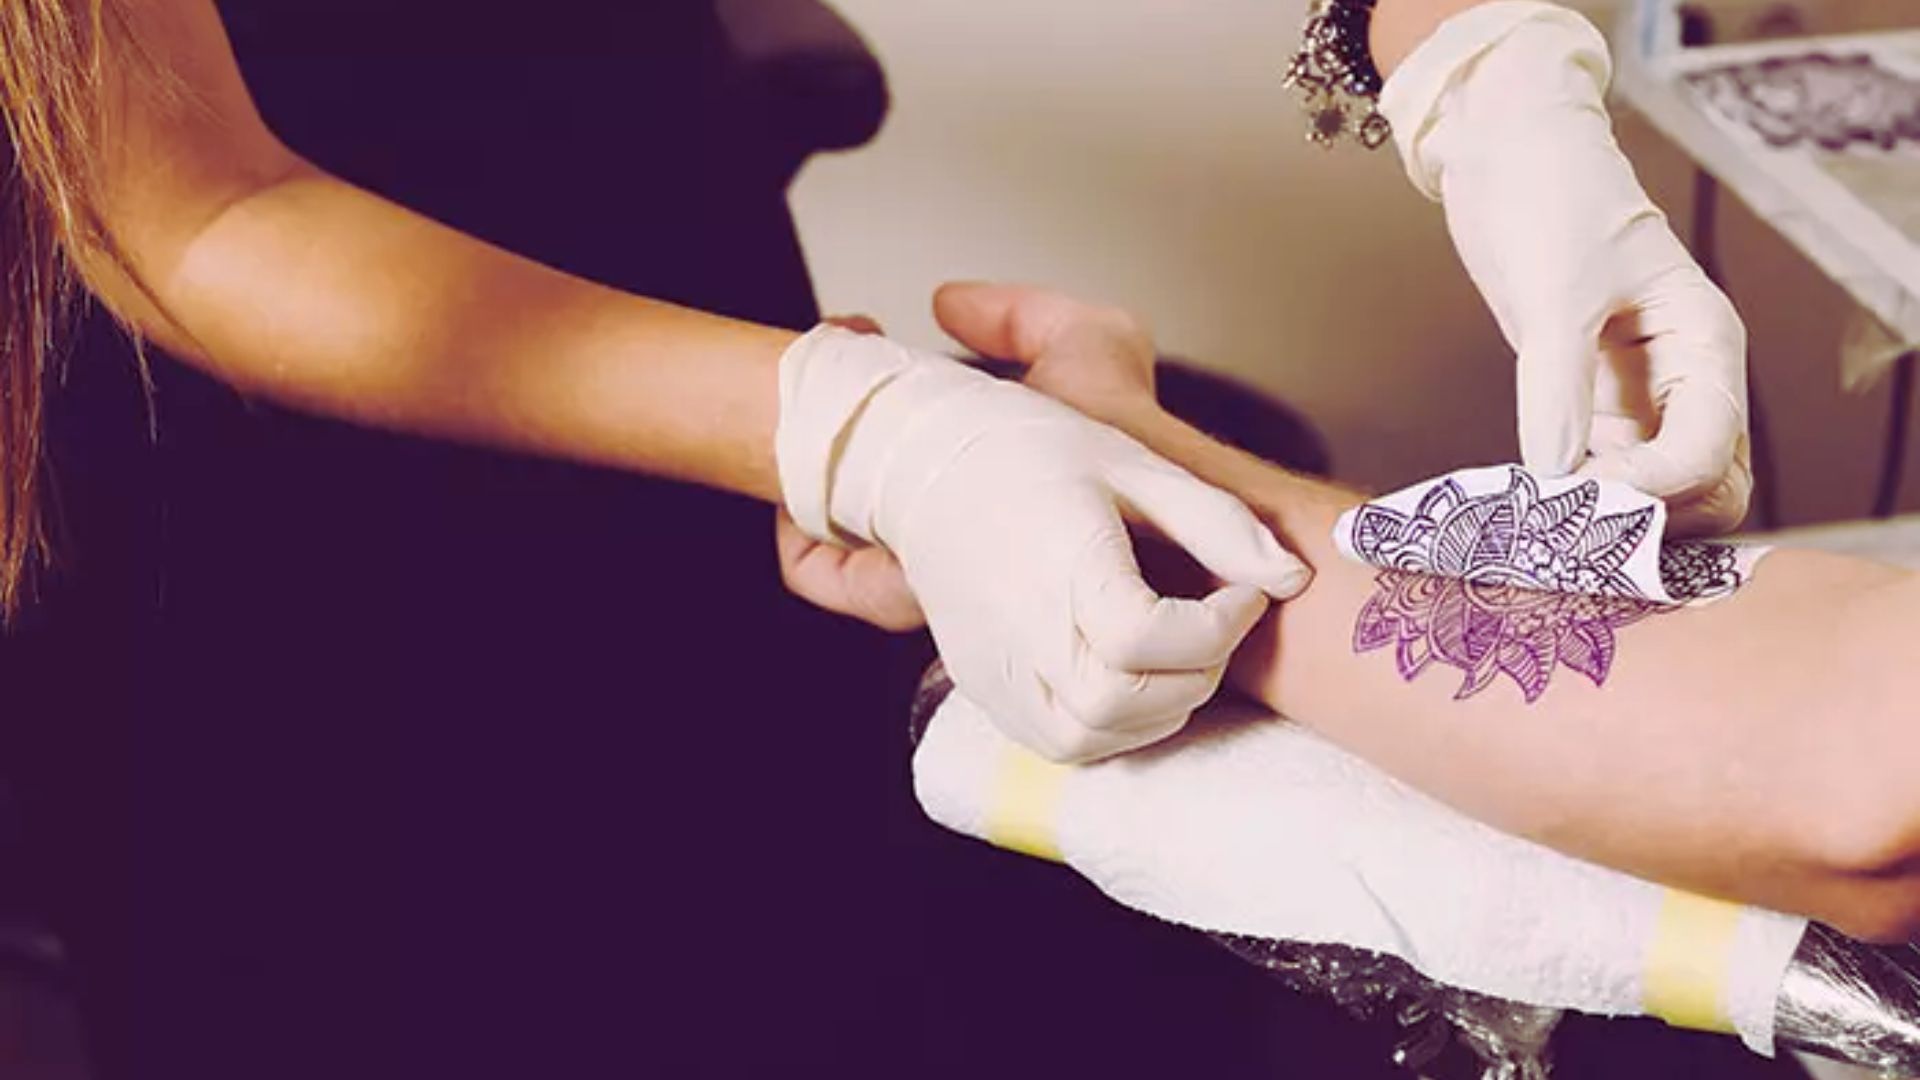
There are a few different ways to do this. Pick the one that works best for your skill level.
Freehand Drawing Method
This is the most direct approach. You draw straight onto the skin using a skin-safe marker. It works well if you’re confident with your lines.
Many experienced tattoo artists use this method for simple or custom designs. Start slow. Use light strokes first, then darken the lines once you’re happy with the placement.
Paper Tracing Method
Place your drawing against the skin and trace the outline through the paper using firm pressure. Some markers bleed slightly through thin paper, which helps transfer the design.
This method works best with lightweight paper. It gives you a rough guide to follow and is great for beginners.
Temporary Sketching Techniques
Draw a light outline first just the basic shape. This acts as a guide. Once you’re happy with the position and proportion, go over it with stronger lines.
It’s a low-pressure way to get started, especially on tricky body parts like elbows or wrists.
Common Mistakes to Avoid When Transferring a Drawing Onto Skin
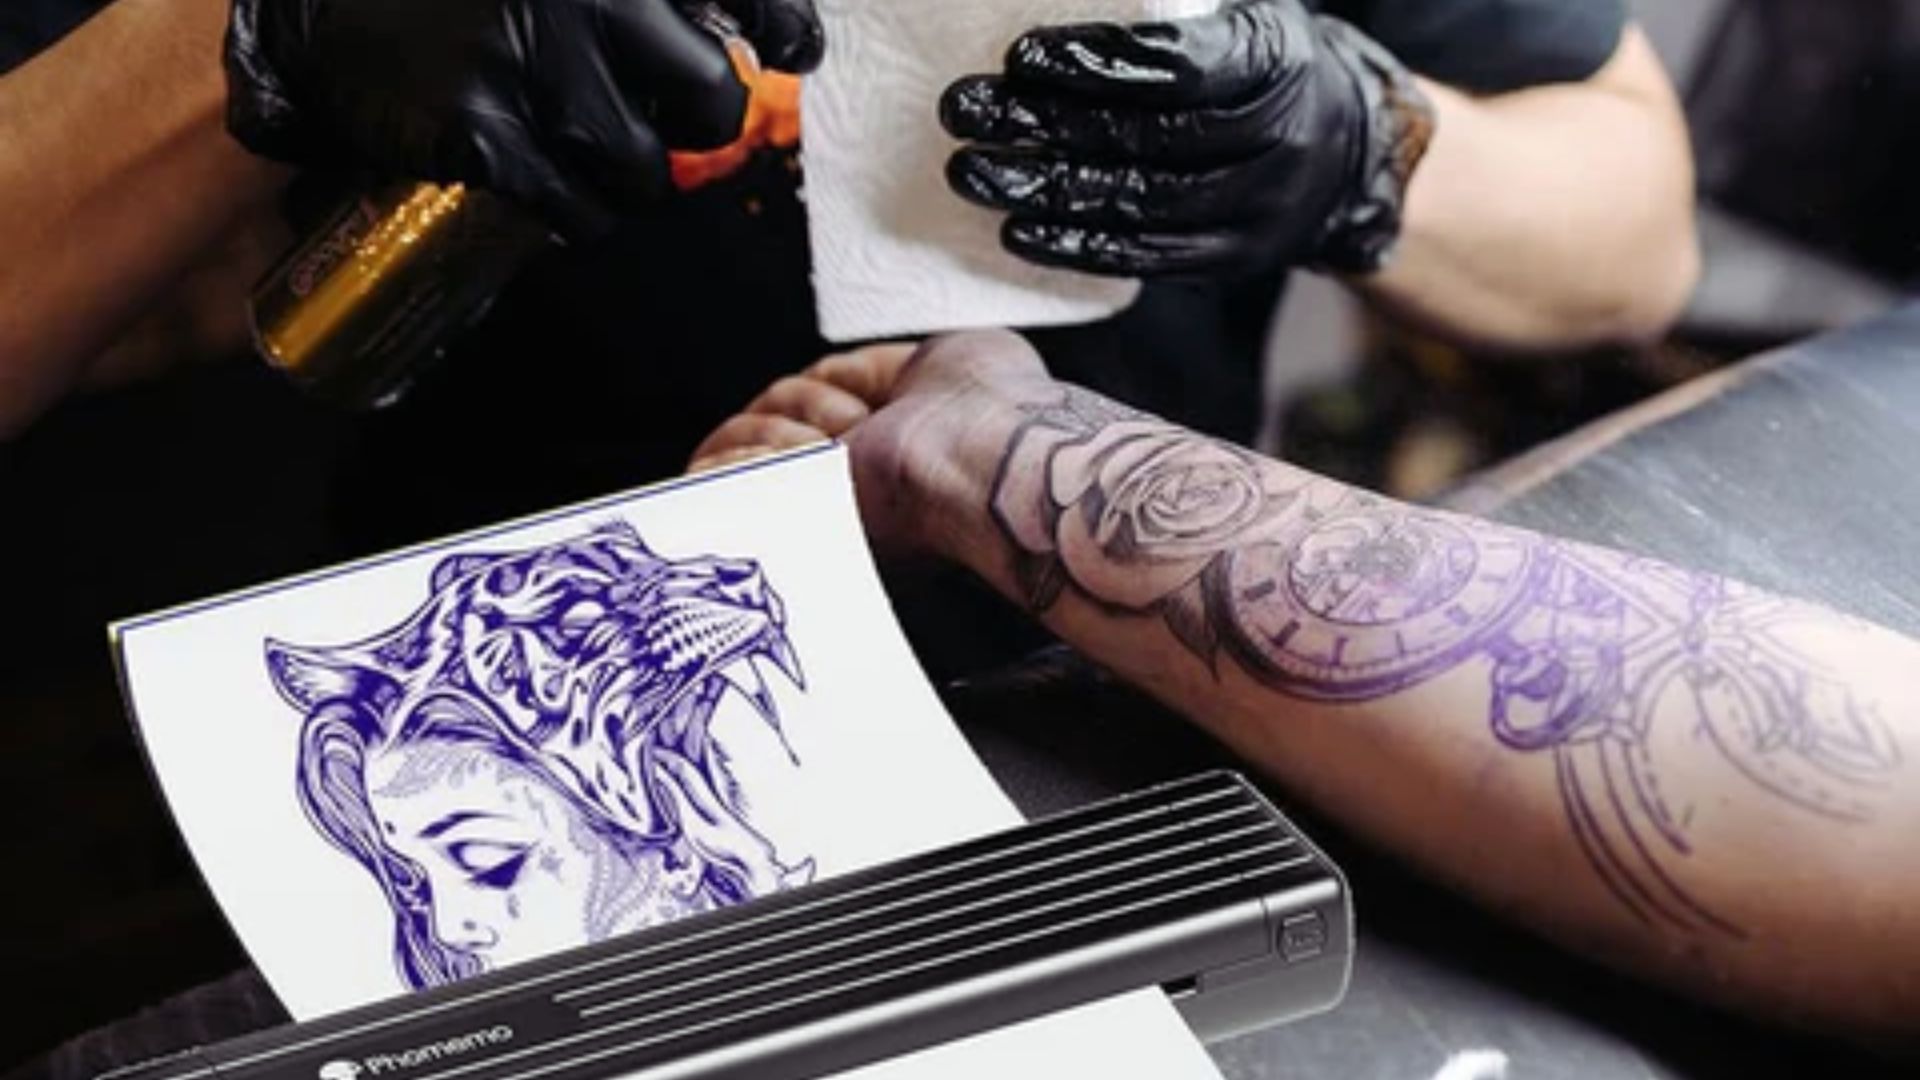
Small errors can mess up a good design. Here’s what to watch out for before you start.
Using Unsafe or Permanent Markers
Never use permanent markers directly on skin for tattooing prep. They can cause reactions and are hard to remove. Always use markers labeled as skin-safe or cosmetic-grade.
Skipping Skin Preparation
Oily or unclean skin makes it hard for markers to stick. The lines blur or fade quickly. Always clean and dry the skin first. It takes two minutes and makes a big difference.
Rushing the Tracing Process
Going too fast leads to shaky lines and uneven shapes. Slow down. Tattoo artists take time on their stencils because a bad stencil means a bad tattoo.
Choosing Complex Designs Too Early
If you’re new to this, start simple. Geometric shapes and basic outlines are great practice. Complex designs with lots of detail are much harder to trace accurately by hand.
Pro Tips for Better Results Without Transfer Paper
These small habits make a big difference in the quality of your final stencil.
- Start with simple outlines or shapes to build confidence before moving to detailed designs.
- Mark small reference dots on the skin first to keep your design centered and proportional.
- Practice on synthetic skin before working on a real client to avoid costly mistakes.
- Rest your wrist on a stable surface while tracing for steady, controlled lines.
- Go slow, breathe evenly, and use short strokes to keep your hand relaxed and accurate.
Conclusion
I remember the first time I had to skip the transfer paper I was nervous. But it turned out fine with a little patience and the right approach.
How to transfer a drawing onto skin without transfer paper is a skill worth building. It makes you more flexible and confident as an artist.
Start simple, prep your skin well, and practice often. You’ll get better every time. Got questions or a tip of your own? Drop it in the comments. I’d love to hear how it went for you.
Frequently Asked Questions
Can I use a regular pen to transfer a drawing onto skin?
No. Regular pens are not skin-safe. Always use a cosmetic-grade or skin-safe marker to avoid irritation or reactions.
How long does a hand-drawn skin stencil last?
It depends on the marker used and skin condition. Most skin-safe markers last a few hours if the skin is clean and oil-free.
Is it safe to transfer drawings onto skin without professional tools?
Yes, as long as you use skin-safe markers and clean the skin first. Avoid anything not labeled for skin contact.
Can beginners do this without experience?
Yes. Start with simple designs and practice on synthetic skin before working on real skin. Take your time with each step.
What removes a skin-safe marker after the tattoo is done?
Alcohol wipes or gentle soap and water remove most skin-safe markers easily without irritating the skin.
