


I have taught complete beginners to draw a gingerbread house in a single sitting.
Every single time, they were surprised by how good it looked when they finished.
The secret is not talent. It is knowing the right order of steps.
This guide shows you exactly how to draw a gingerbread house step by step, from the basic structure all the way to a fully decorated, colored finish.
I will also show you how to draw a gingerbread house in 3D and even how to draw a gingerbread house with a cute version.
Ready to start? Let’s go.
What Makes This Guide Different From Others
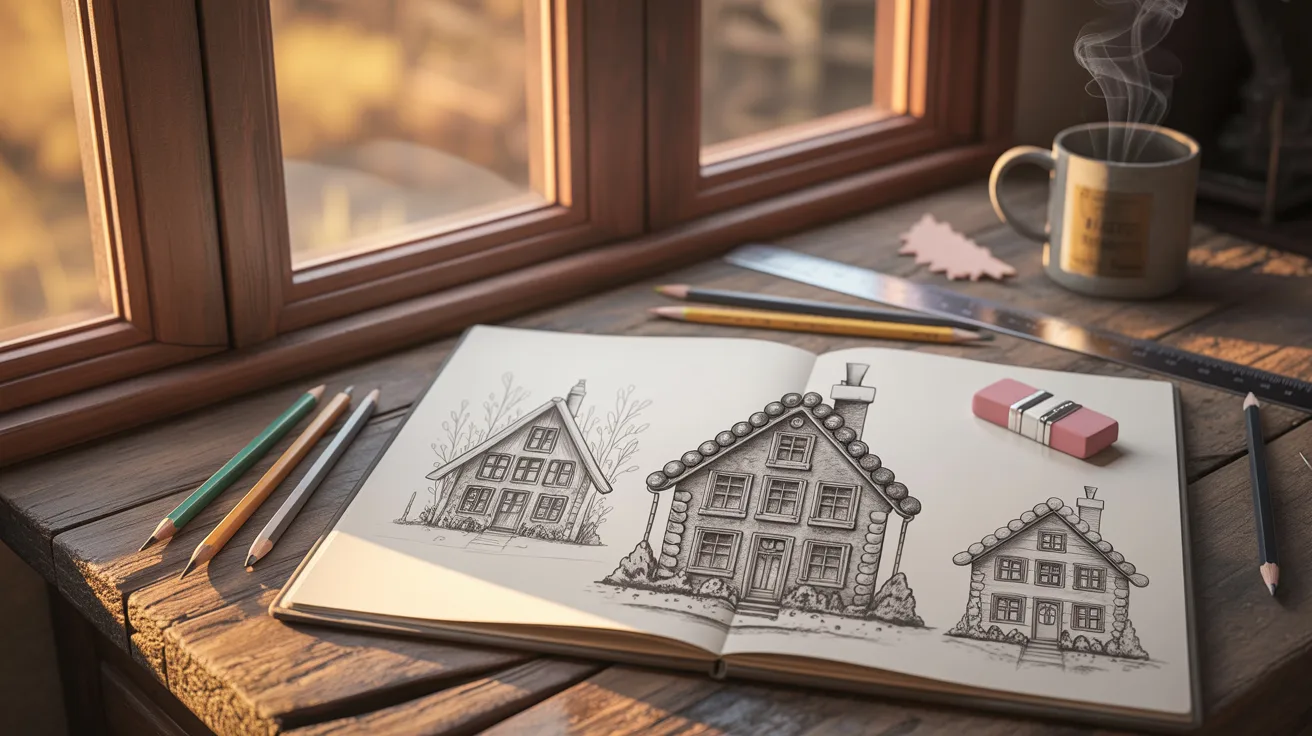
Most drawing tutorials show you the finished result and leave you guessing how to get there. This one does not.
Every step here is broken into a specific action with a clear reason behind it. You will know what to draw, where to draw it, and why it matters for the final result.
This guide also covers three versions in one place: a standard gingerbread house, a 3D version, and a cute cartoon-style approach. No need to search three separate tutorials.
Whether you are drawing alone or with a child, the steps stay simple without skipping anything important. That balance is what gets beginners to a result they are actually proud of.
What You Need Before You Start

You do not need expensive supplies to get started. A few basic tools are all it takes to follow this guide comfortably, whether you are an adult beginner or drawing alongside a child.
- HB pencil for light sketching and structure
- 2B pencil for darker lines and shading
- Eraser for clean corrections
- Ruler to keep walls and rooflines straight
- Black pen or marker for final outlines
- Colored pencils or markers for adding warmth and color
- Plain paper or a sketchbook
- Optional: a reference image of a real or illustrated gingerbread house
For kids, stick to pencil, marker, and a few bright colored pencils. For beginners wanting more detail, add a ruler and a blending tool. Start simple and build from there.
How to Draw a Gingerbread House Step by Step
These seven steps take you from a blank page to a fully decorated gingerbread house. Work lightly with your pencil at first.
You can always darken lines later, but erasing heavy marks leaves ghost lines that show through color.
Step 1: Draw the Base Shape of the House
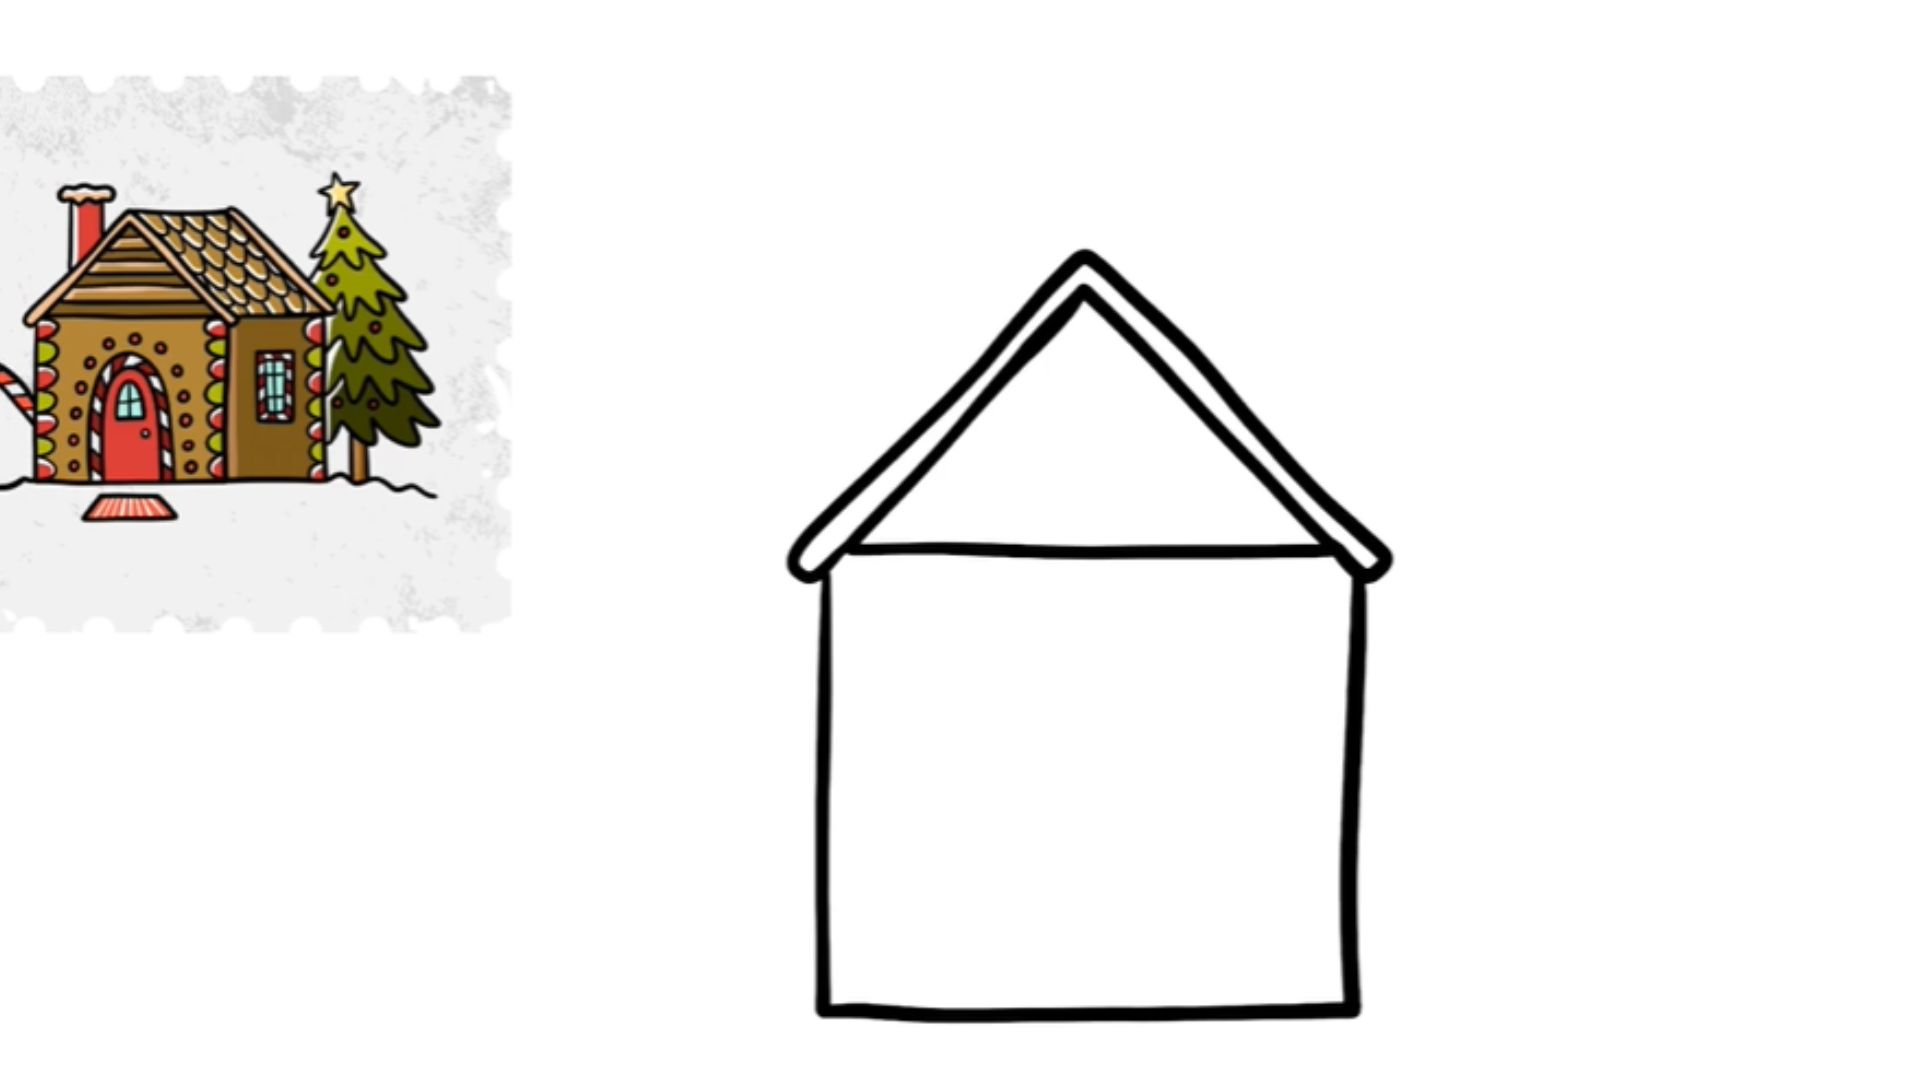
Start with a wide rectangle near the center of your page. This is the front wall of the house. Keep the width roughly twice the height for balanced proportions.
Use a ruler if you want clean, straight edges. Freehand works fine too, especially for a looser, more playful style.
Draw lightly. This is your foundation and some of these lines will be adjusted or erased as you build on top of them.
Step 2: Add the Roof Structure
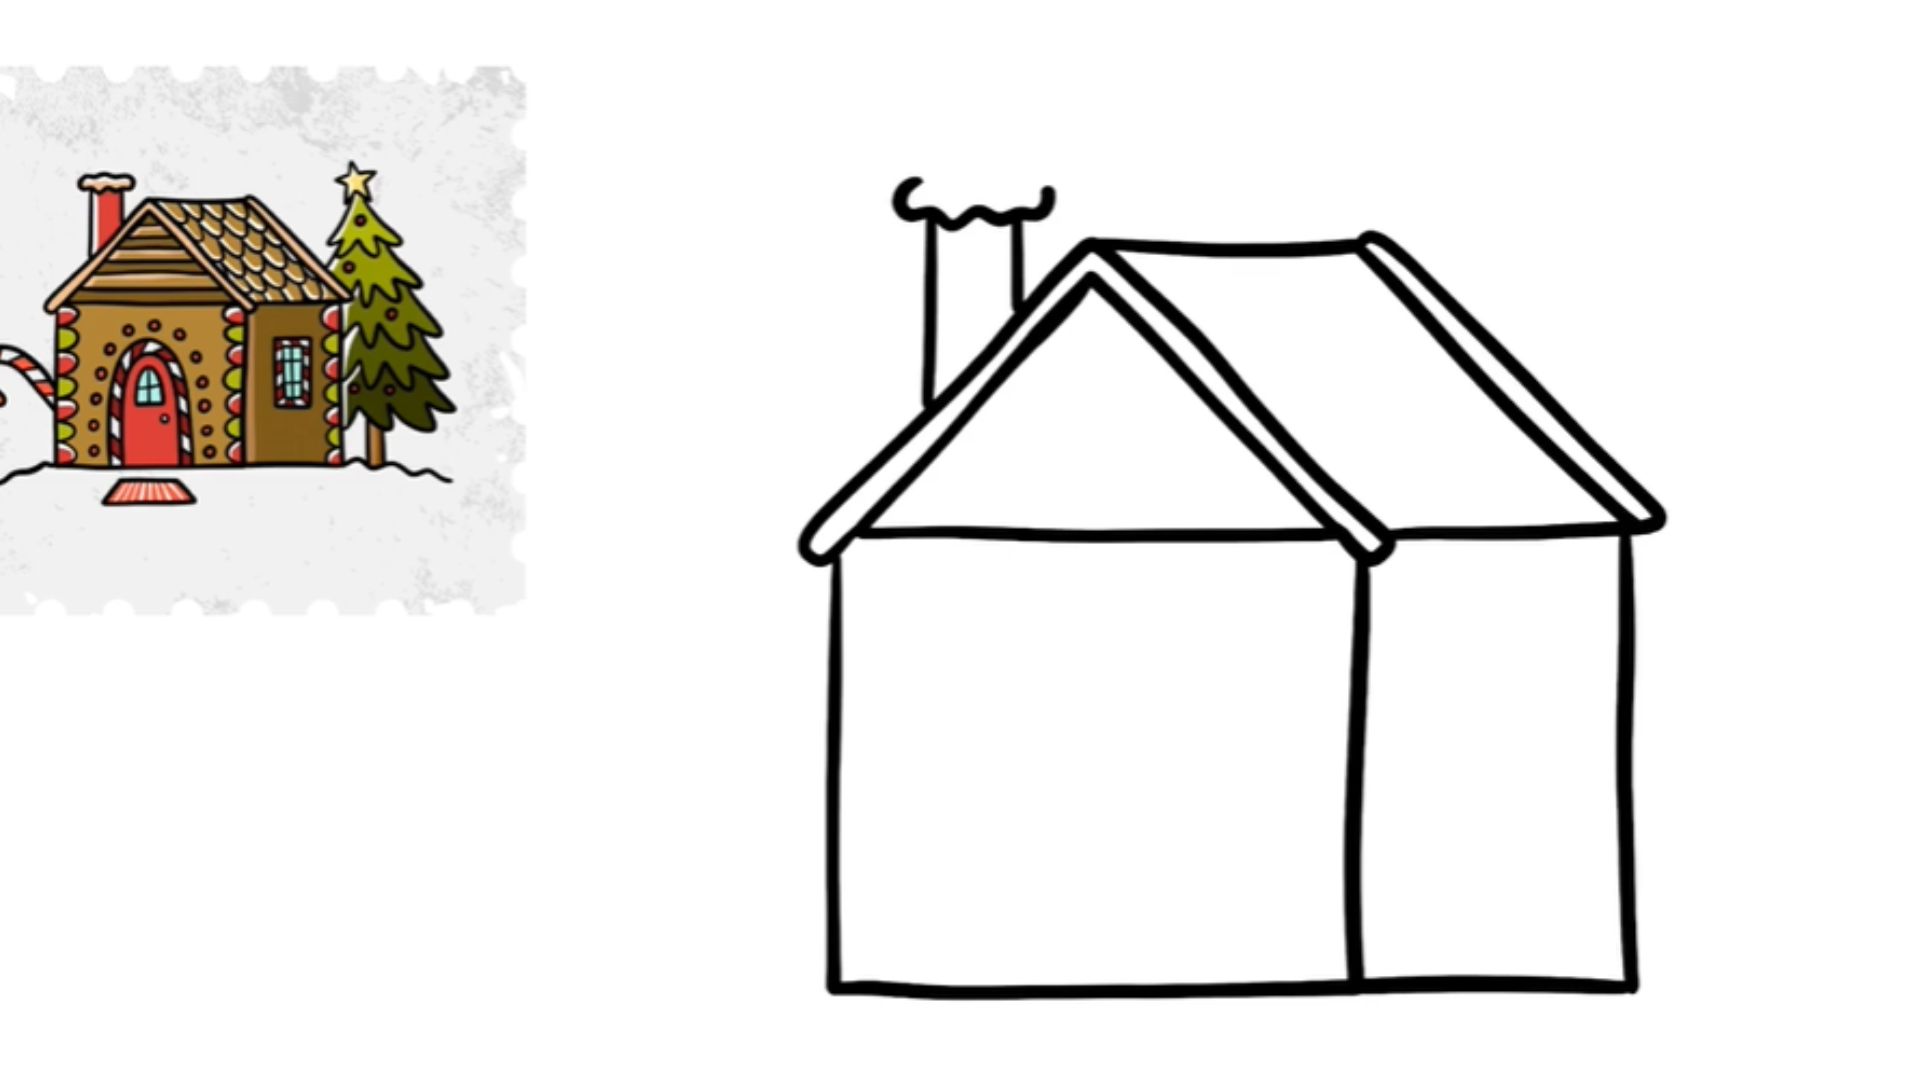
Place a triangle on top of your rectangle to form the roof. The peak should sit centered above the base, and the slanted sides should extend slightly beyond the walls on each side.
That small overhang is what gives the roof a realistic, three-dimensional feel. Without it, the house looks flat and unfinished.
For a basic perspective effect, add a short horizontal line at the peak and angle it slightly to suggest the roof has depth going backward.
Step 3: Outline the Door and Windows
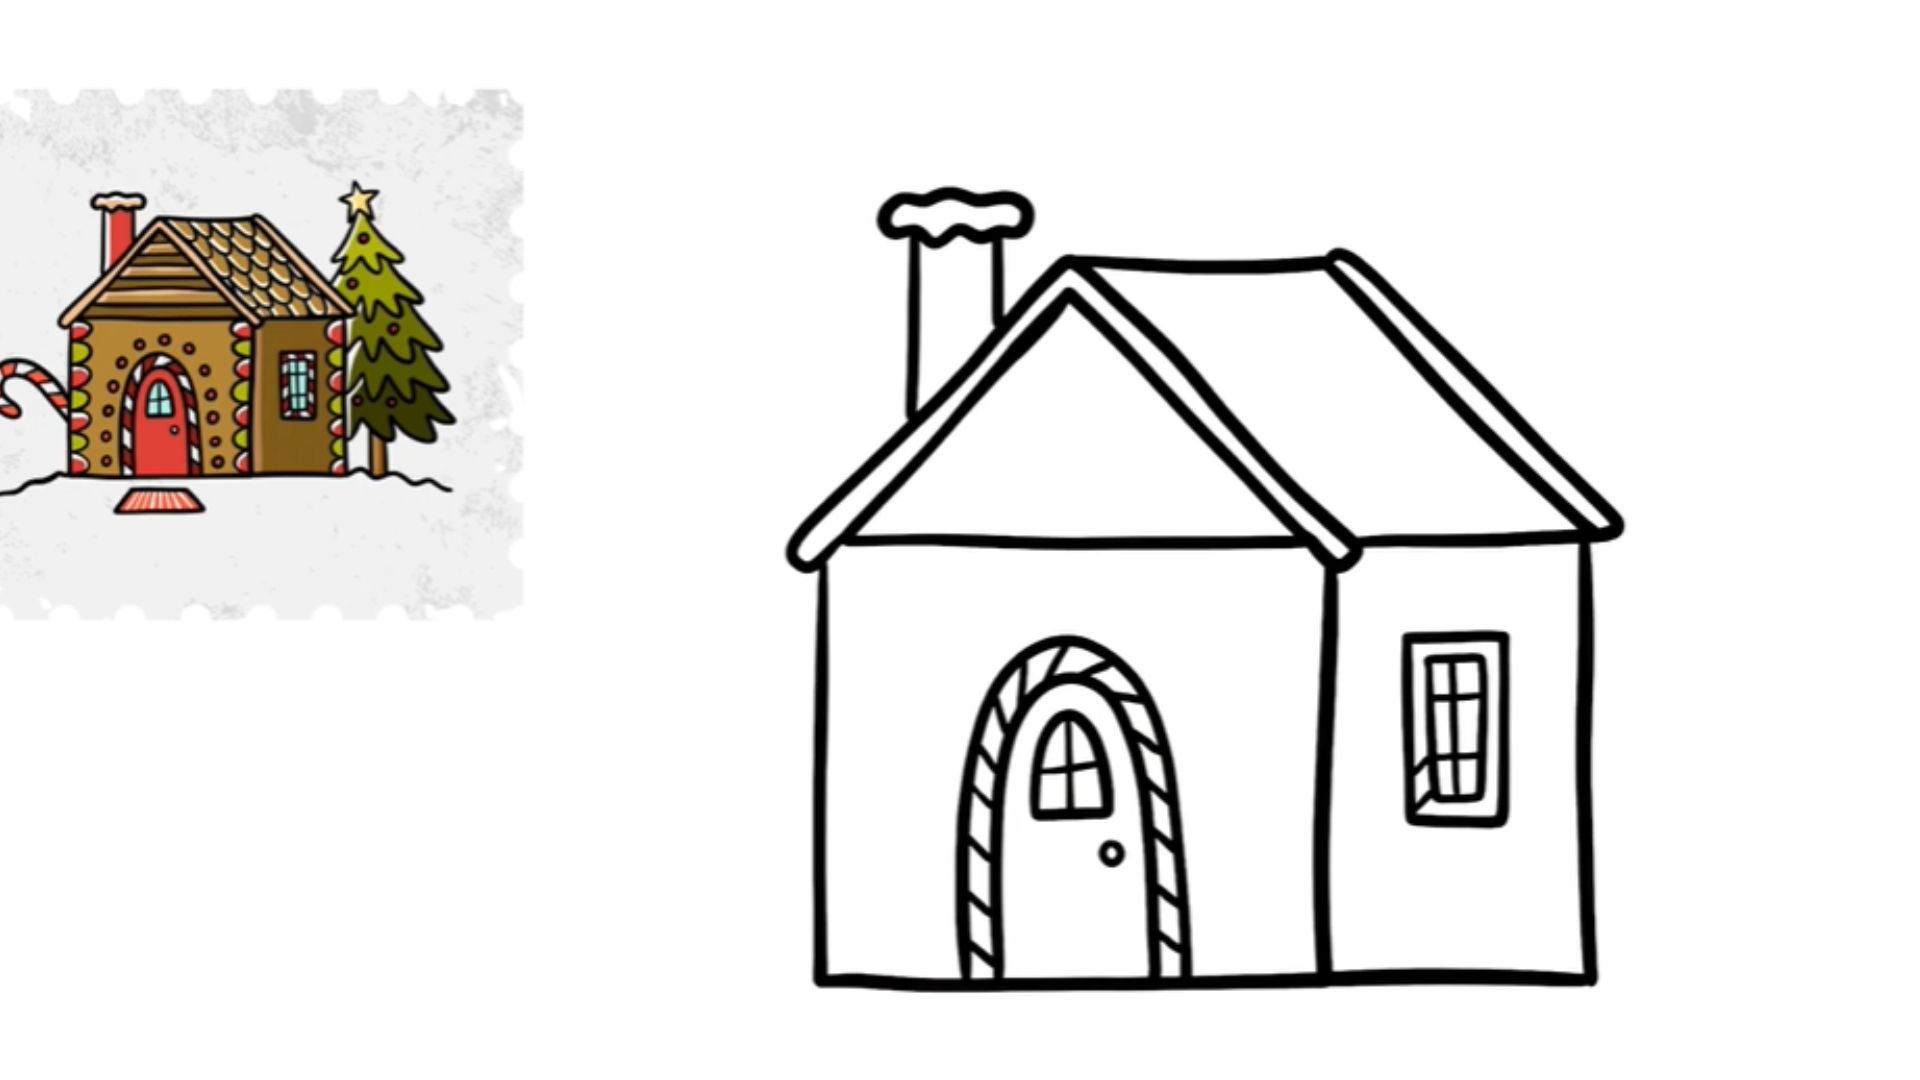
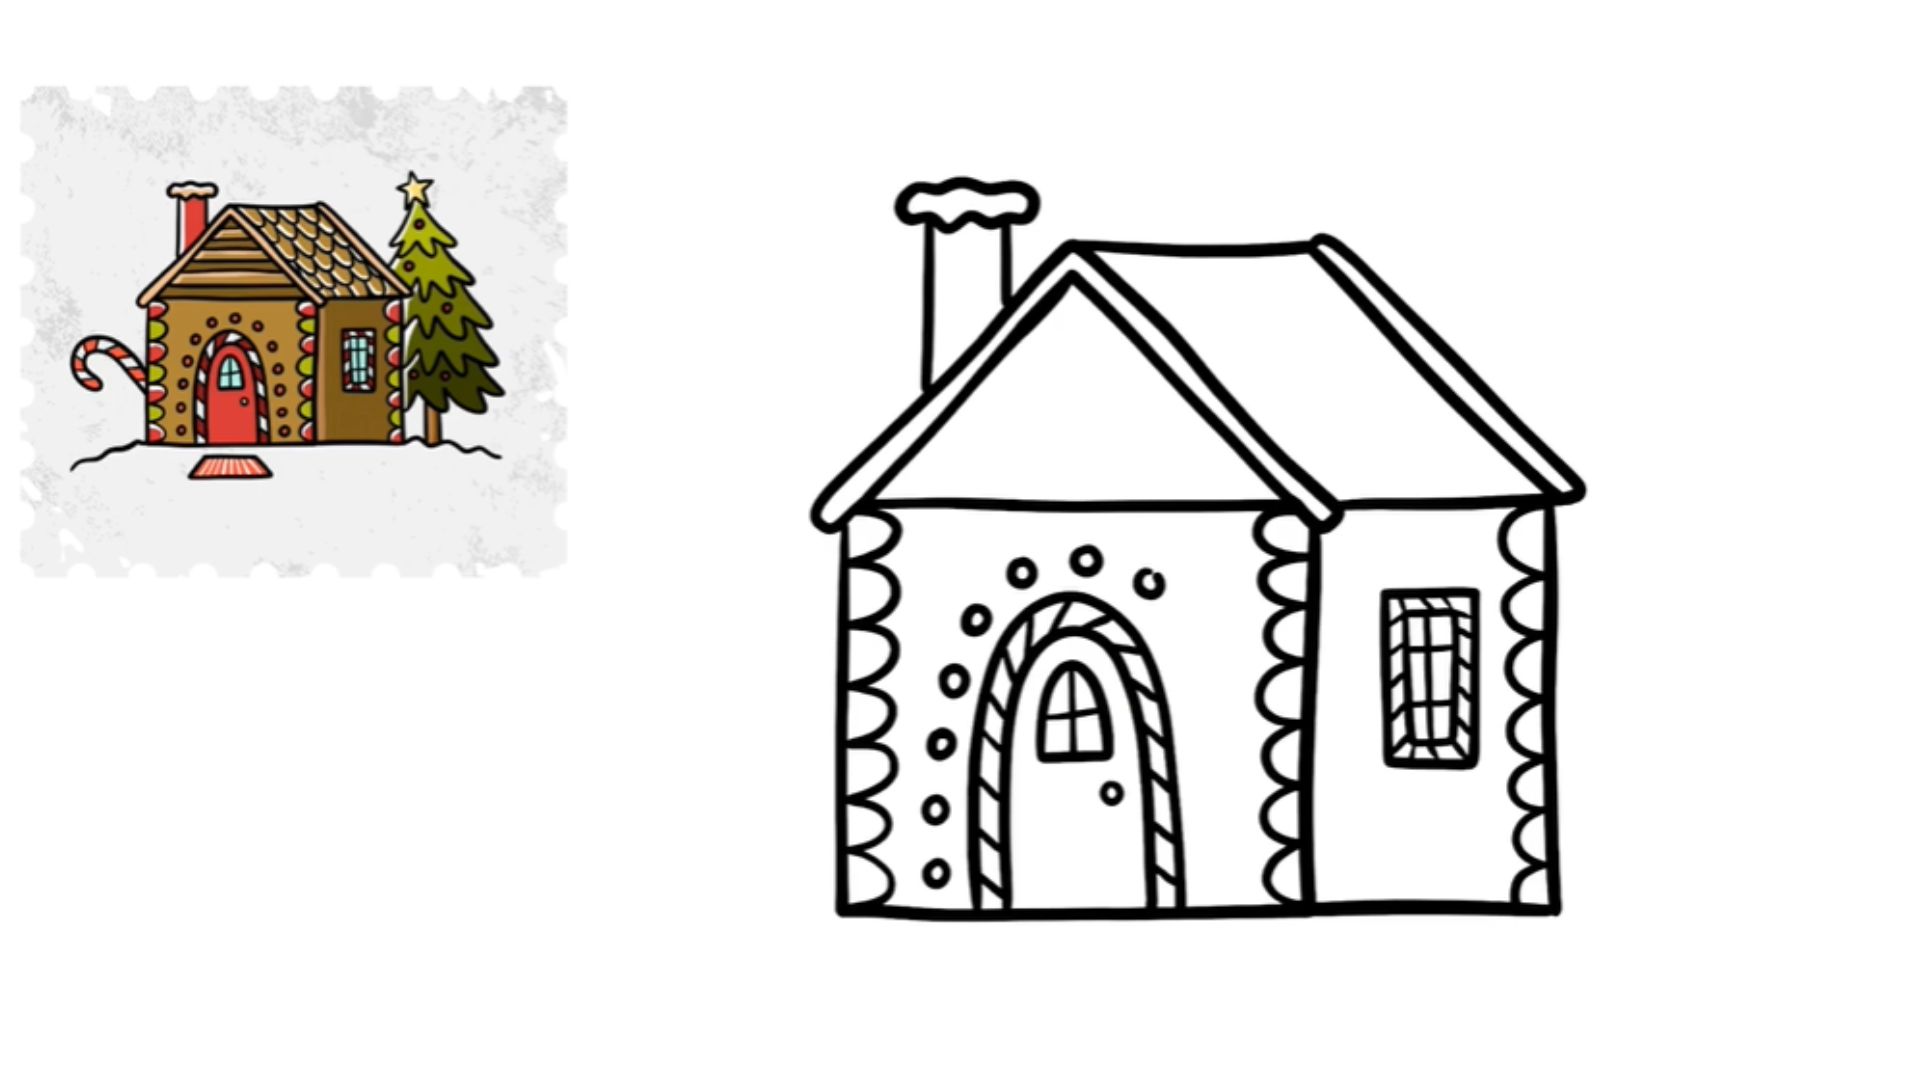
Draw an arched door near the center bottom of the front wall. A candy-style arch with a slightly rounded top looks more festive than a plain rectangle.
Add two windows, one on each side of the door. Keep them the same size and at the same height for a balanced, symmetrical look.
Give each window a simple frame by drawing a thin border around it. That small detail adds a lot of character to the drawing.
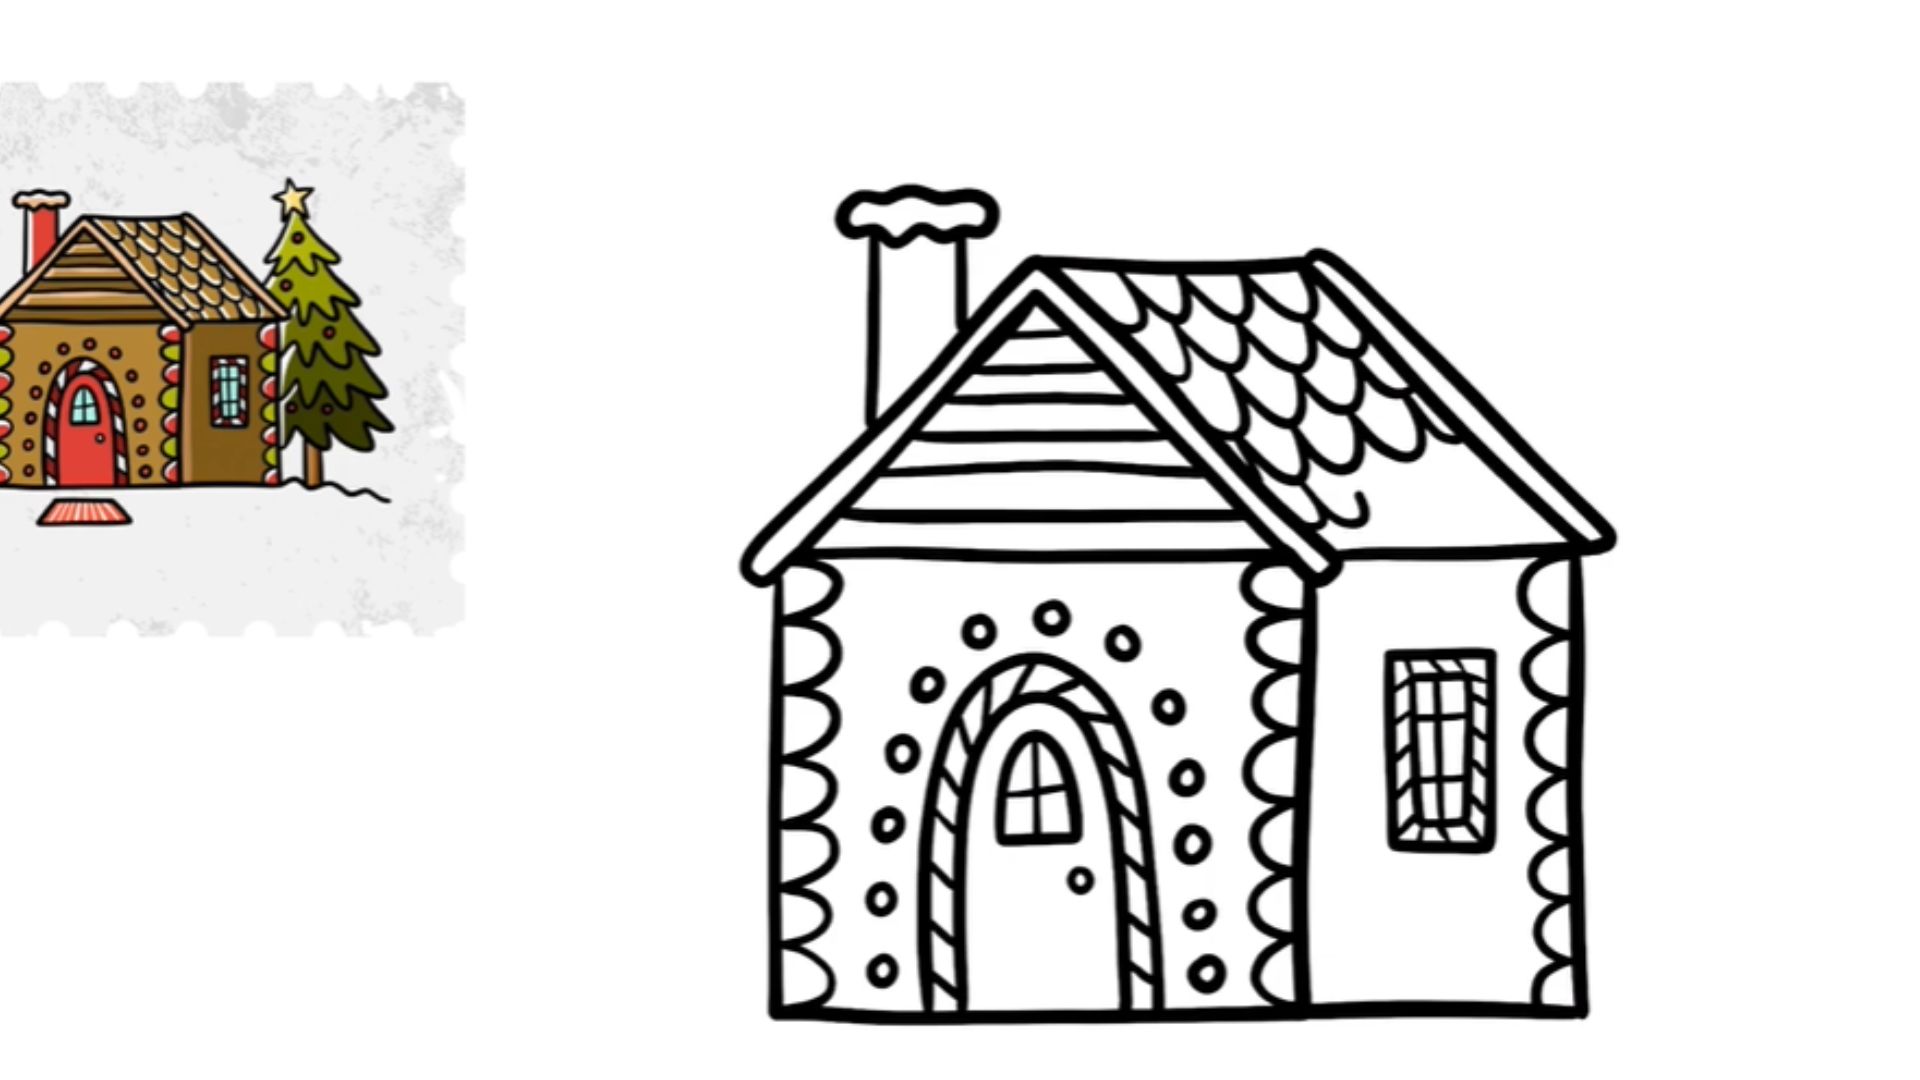
Step 4: Add Icing Details on the Roof
Draw wavy lines along the bottom edges of the roof to suggest thick icing dripping downward. The lines do not need to be perfectly even. Uneven drips actually look more natural and fun.
Add a few rounded drip shapes hanging below the roofline. These give the frosting a heavy, freshly-piped look.
Fill the upper roof area with small repeating shapes like dots, zigzags, or scallops to suggest candy patterns pressed into the icing.
Step 5: Decorate with Candy and Gumdrops
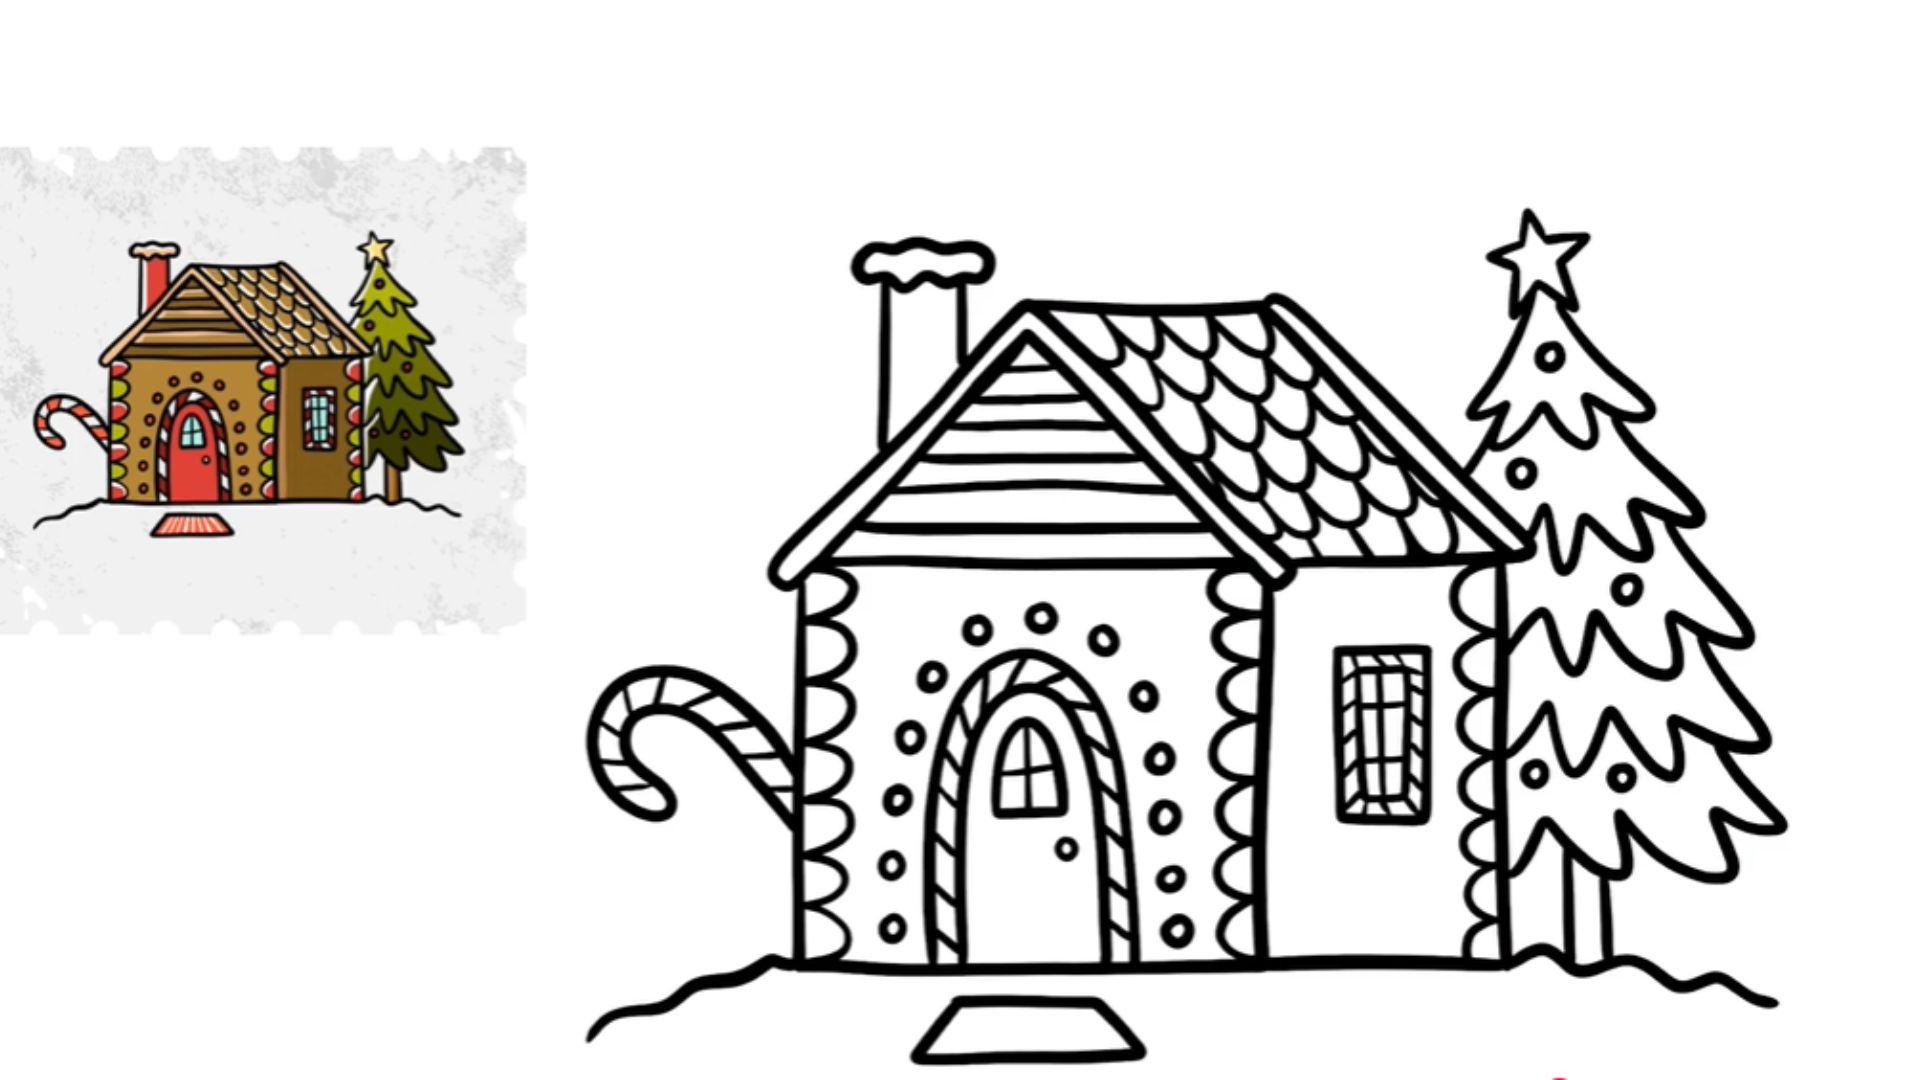
This is the most creative part of the whole drawing. Add peppermint circles along the walls by drawing small circles with spiral lines inside. Place gumdrops along the roofline as small rounded dome shapes.
Draw candy canes on either side of the door using a curved J shape with diagonal stripes across it.
This is also where you can push the style toward how to draw a gingerbread house draw so cute: make the candies oversized, round, and colorful. Bigger candy proportions give the drawing a playful, almost cartoon-like warmth that works beautifully for kids and hobby artists alike.
Step 6: Add Depth to Make It Look 3D
Pick one side of the house as the shadow side. Shade that wall slightly darker than the front face.
You do not need complex technique here: a few light pencil strokes in one direction are enough.
Add a thin strip along the top edge of the roof to suggest thickness. This small addition immediately makes the roof look solid rather than paper-thin.
Draw a soft shadow on the ground beneath the house. A simple oval or elongated shape works well. This grounds the house and is the key technique for how to draw a gingerbread house 3D without needing advanced perspective skills.
Step 7: Outline and Color Your Drawing
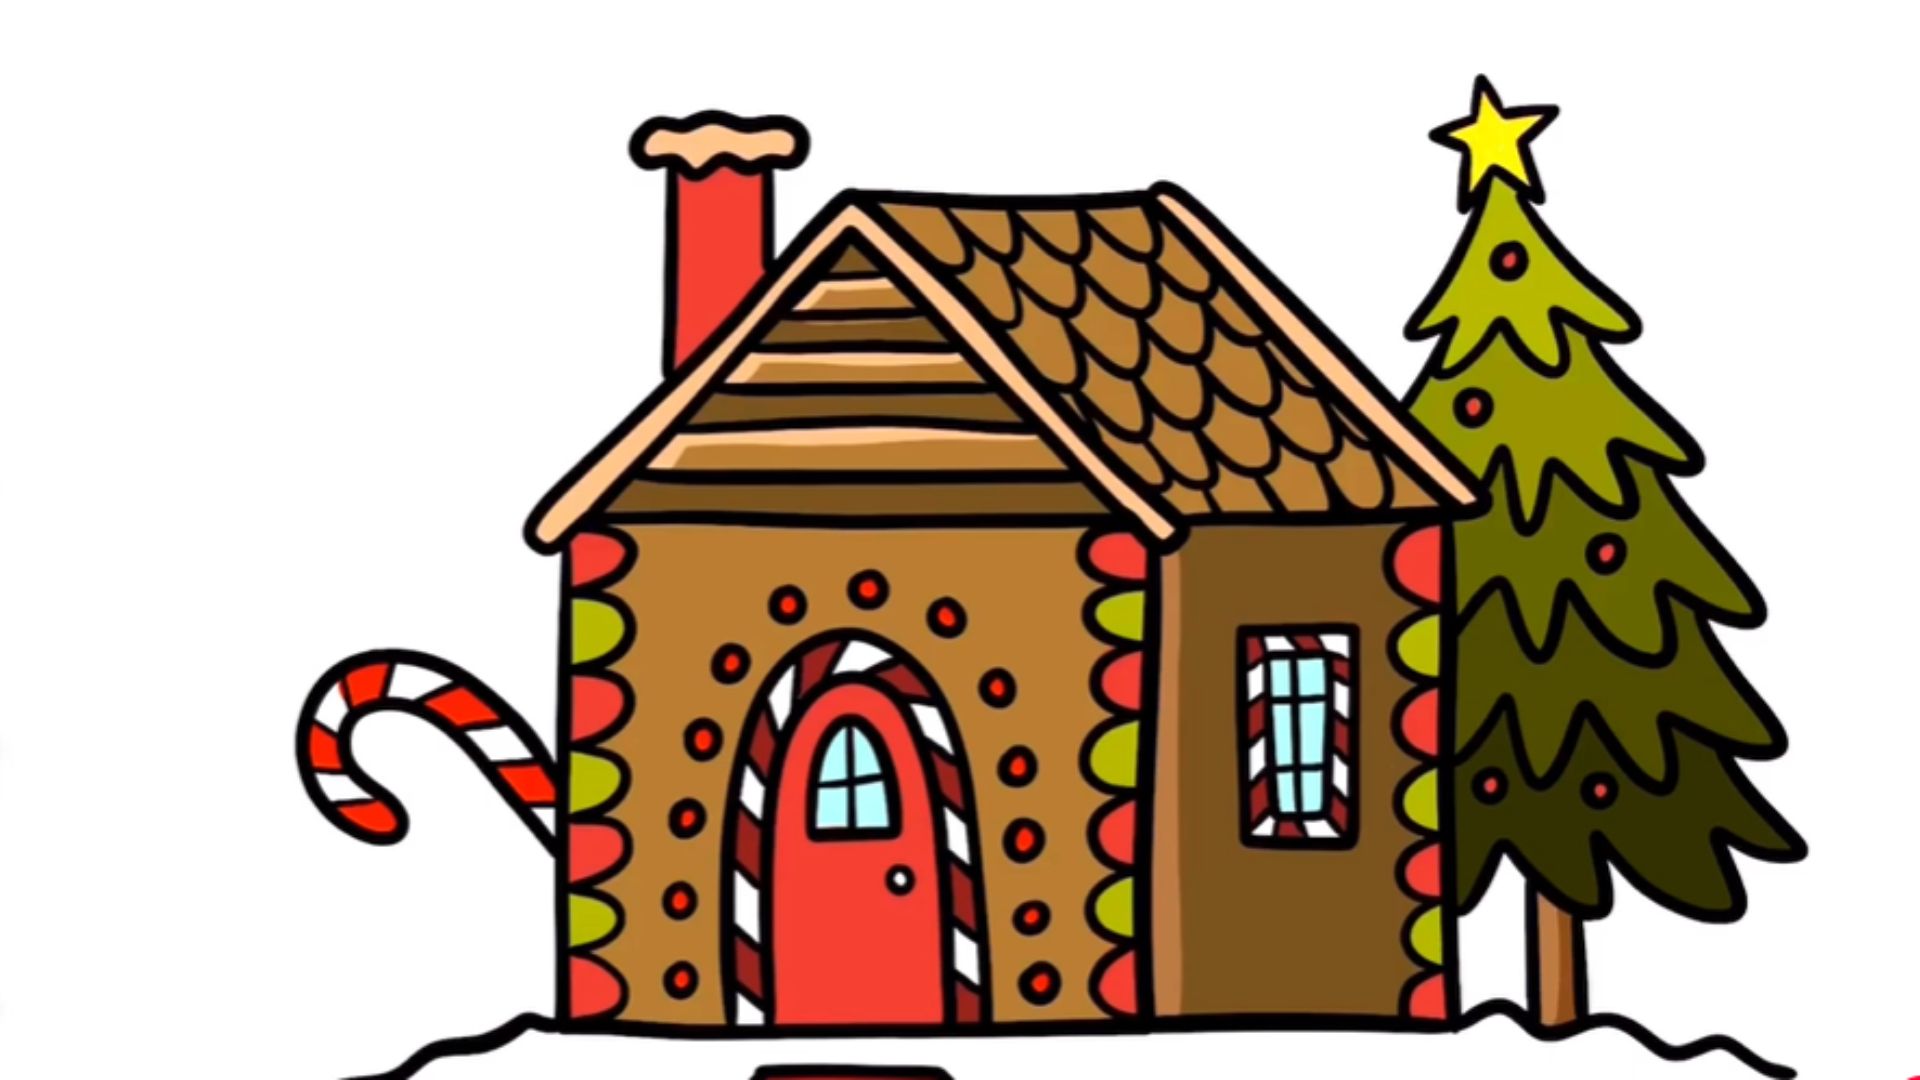
Go over your final lines with a black pen or marker. Use a slightly thicker line for the outer edges of the house and a thinner line for interior details like window frames and candy outlines.
For color, use warm golden browns for the cookie walls and roof base. Apply white or very light yellow for icing areas. Add red and green for candy canes and gumdrops.
Finish with soft shading on the shadow side of the house and small white highlights on the icing and candy surfaces. Those highlights are what make the drawing feel polished and complete.
How to Practice and Improve Faster
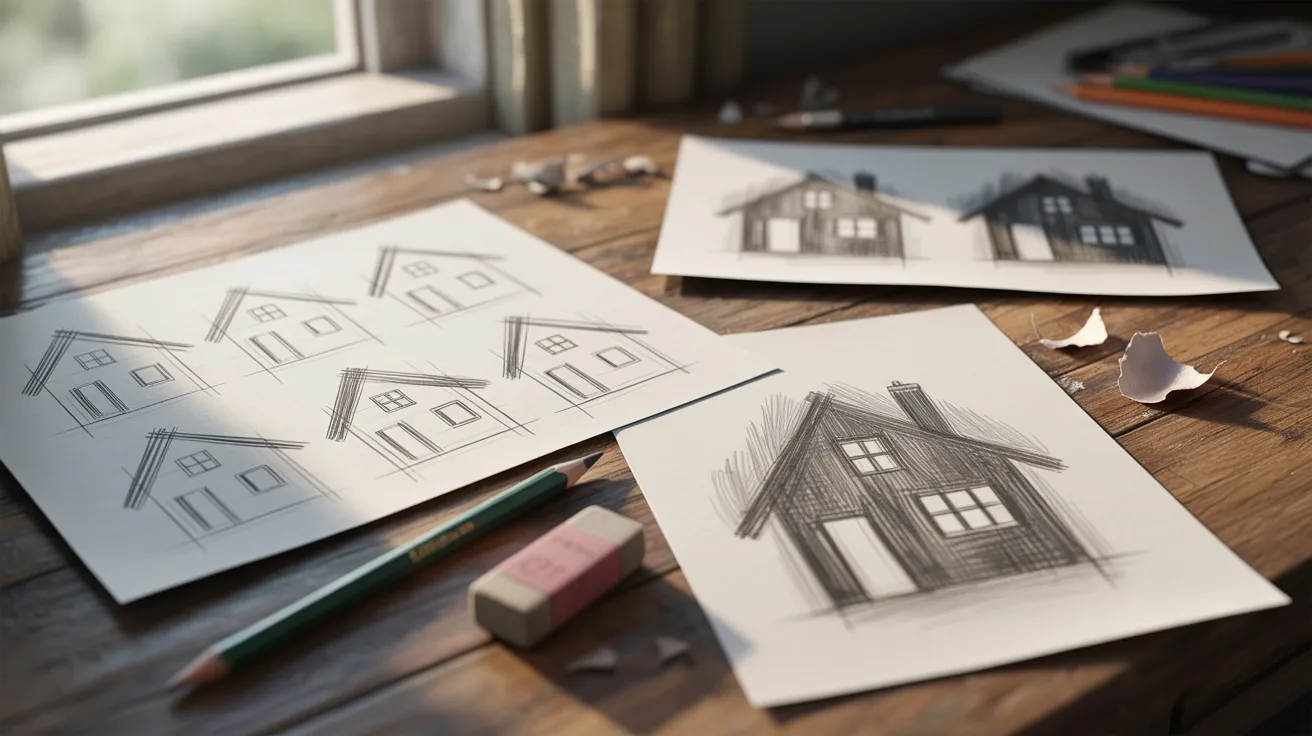
The fastest way to get better at drawing gingerbread houses is not to draw one big, detailed version and hope for the best. It is to draw many small, quick versions and focus on one element at a time.
Trace the basic shapes first if you are struggling with proportions. There is no shame in it. Tracing builds muscle memory that carries over into freehand work quickly.
Break the house down into its geometry: a rectangle, a triangle, a few circles. Once you can place those shapes confidently, the details layer on top naturally.
Practice shading separately on a scrap piece of paper before applying it to your main drawing. Getting comfortable with how pencil pressure creates dark and light values will improve every part of your drawing, not just this one.
Easy Tips to Make Your Gingerbread House Look Realistic
Small adjustments make a significant difference in how finished your drawing looks. I picked these up after drawing dozens of versions and noticing what consistently improved the result.
- Use light on one side and shadow on the other to create the illusion of a solid, three-dimensional structure
- Add subtle texture to the cookie walls using short, soft pencil strokes that follow the surface direction
- Place a small white highlight on each candy and icing drip to make them look shiny and freshly made
- Vary the sizes of candies and decorations rather than repeating the same shape at the same scale
- Keep perspective consistent: if the roofline angles one way, make sure window frames and door align with the same logic
Even one or two of these applied consistently will lift your drawing noticeably above a flat sketch.
Conclusion
Here is what I know after watching hundreds of beginners go through this process: the first attempt is never perfect, and that is completely fine.
What matters is that you actually drew something. And the second one will already be better.
So do not wait for the “right moment.” Open a sketchbook right now and give it a go.
Then drop your drawing in the comments. I genuinely want to see it, messy lines and all. Show me how to draw a gingerbread house your way.
Frequently Asked Questions
How long does it take to draw a gingerbread house?
A basic version takes around 10 to 15 minutes. A fully decorated and colored version with shading can take 25 to 30 minutes depending on how much detail you add.
Is this tutorial suitable for kids?
Yes, kids can follow along by focusing on the first five steps and skipping the shading. Using bold markers instead of pencil shading keeps it simple and fun for younger artists.
How do I make my gingerbread house look more 3D?
Shade one wall darker than the other and add a soft shadow on the ground beneath the house. Adding a visible thickness to the roof edge also creates an immediate sense of depth.
What colors should I use for a realistic gingerbread house?
Use warm golden browns for the cookie walls, bright white for icing, and a mix of red and green for candy decorations. A touch of cream or tan in the shaded areas keeps the color palette natural and warm.
Can beginners really learn how to draw a gingerbread house easily?
Yes, because the whole structure is built from basic shapes that anyone can draw. Consistent practice with the how to draw a gingerbread house step by step method in this guide will get you to a result you are proud of faster than you expect.
