

I still remember the first time I tried drawing a hibiscus I kept messing up the petals. But once I understood the basic shape, everything clicked.
Hibiscus flower drawing is something anyone can do with the right steps.
In this blog, I walk you through the full process, from sketching the first circle to adding the final color.
You will learn the basic structure, the tools you need, a clear step-by-step drawing guide, and simple outlining, shading, and coloring tips.
I have helped many beginners go from a blank paper to a finished flower they are happy to show. You can do it too.
Everything You Need Before Starting Your Hibiscus Flower Drawing
Before you start drawing, take a quick look at a hibiscus flower. It has five wide petals that spread out from a center point.
The center has a long tube called the pistil, with small round tips at the end. The petals often have slightly wavy edges.
Once you see the shape clearly, drawing becomes much easier.
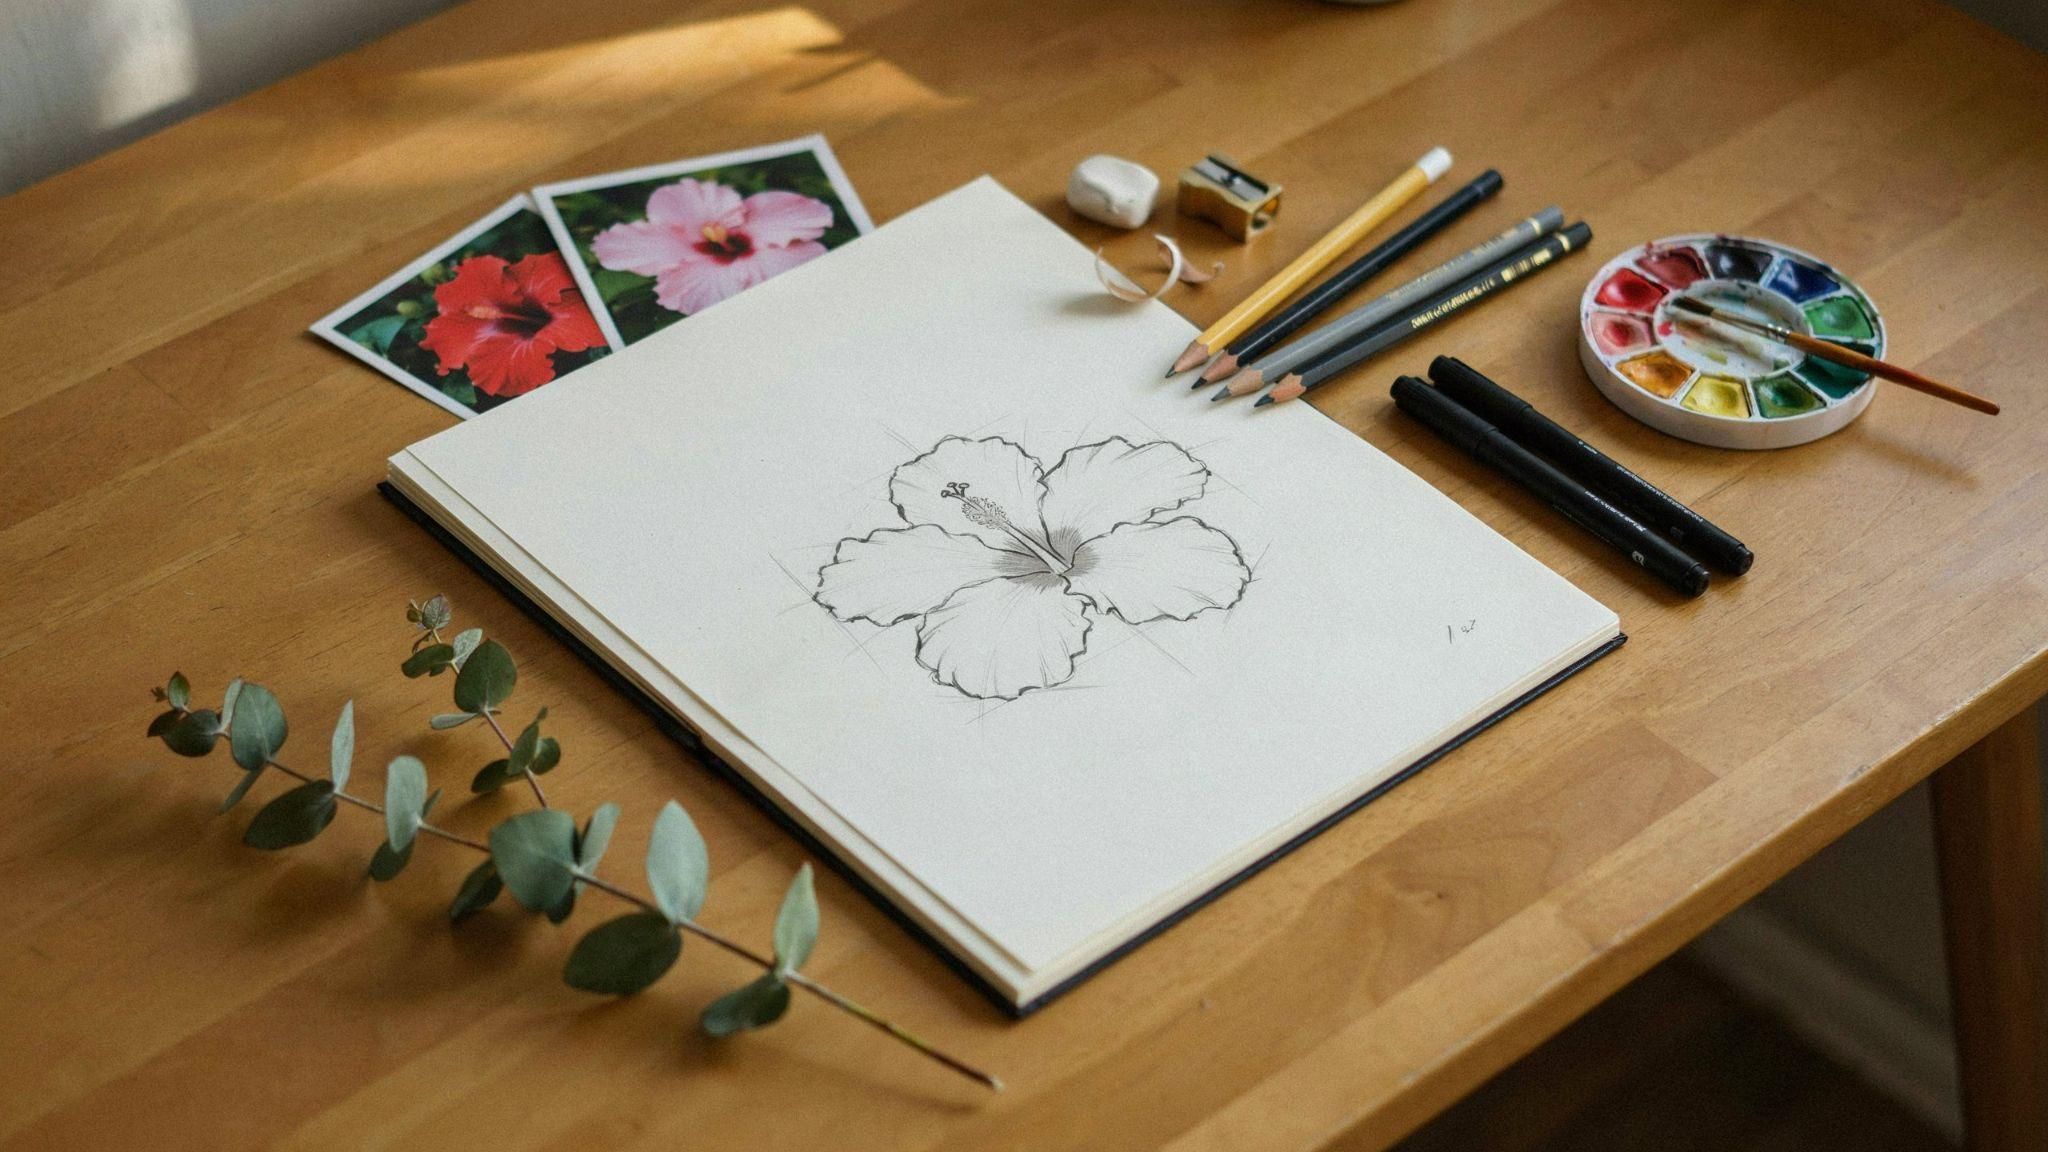
For tools, keep it simple, a pencil (HB or 2B), a black pen or fineliner, an eraser, plain white paper, and colored pencils if you want to add color.
Start with light pencil strokes, work in a well-lit space, and do not rush. Take your time with each step and enjoy the process.
Hibiscus Flower Drawing Easy Step by Step
Follow these clear steps to draw a hibiscus flower from scratch, even as a total beginner.
Step 1: Draw the Basic Circles and Petal Guidelines
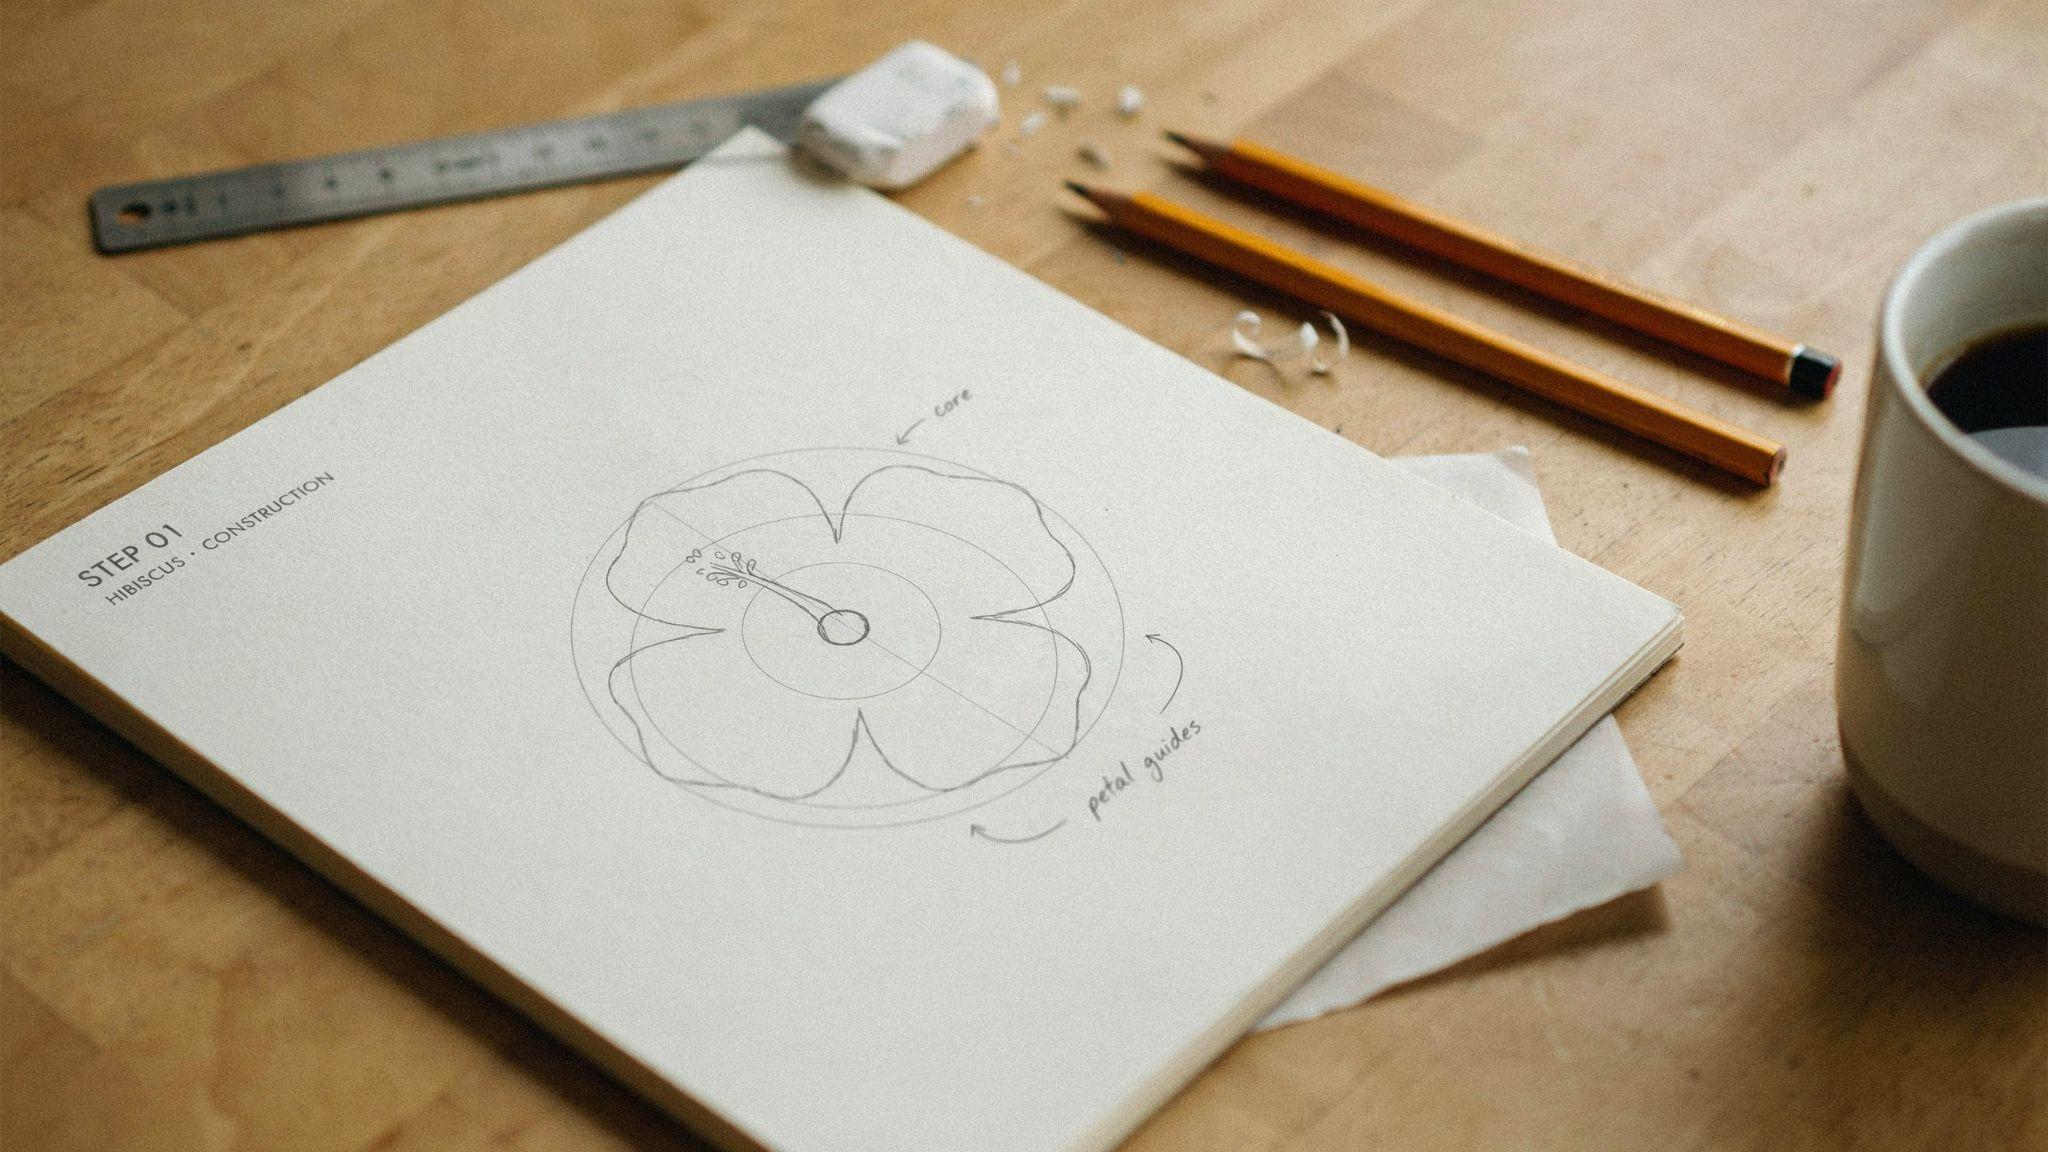
Start by drawing a small circle in the center of your paper. This will be the base of the pistil.
Around it, lightly draw a larger circle. This bigger circle acts as a guide for how far your petals will reach.
Then draw five light lines coming out from the center, spaced evenly like a star. These lines will guide you when placing each petal.
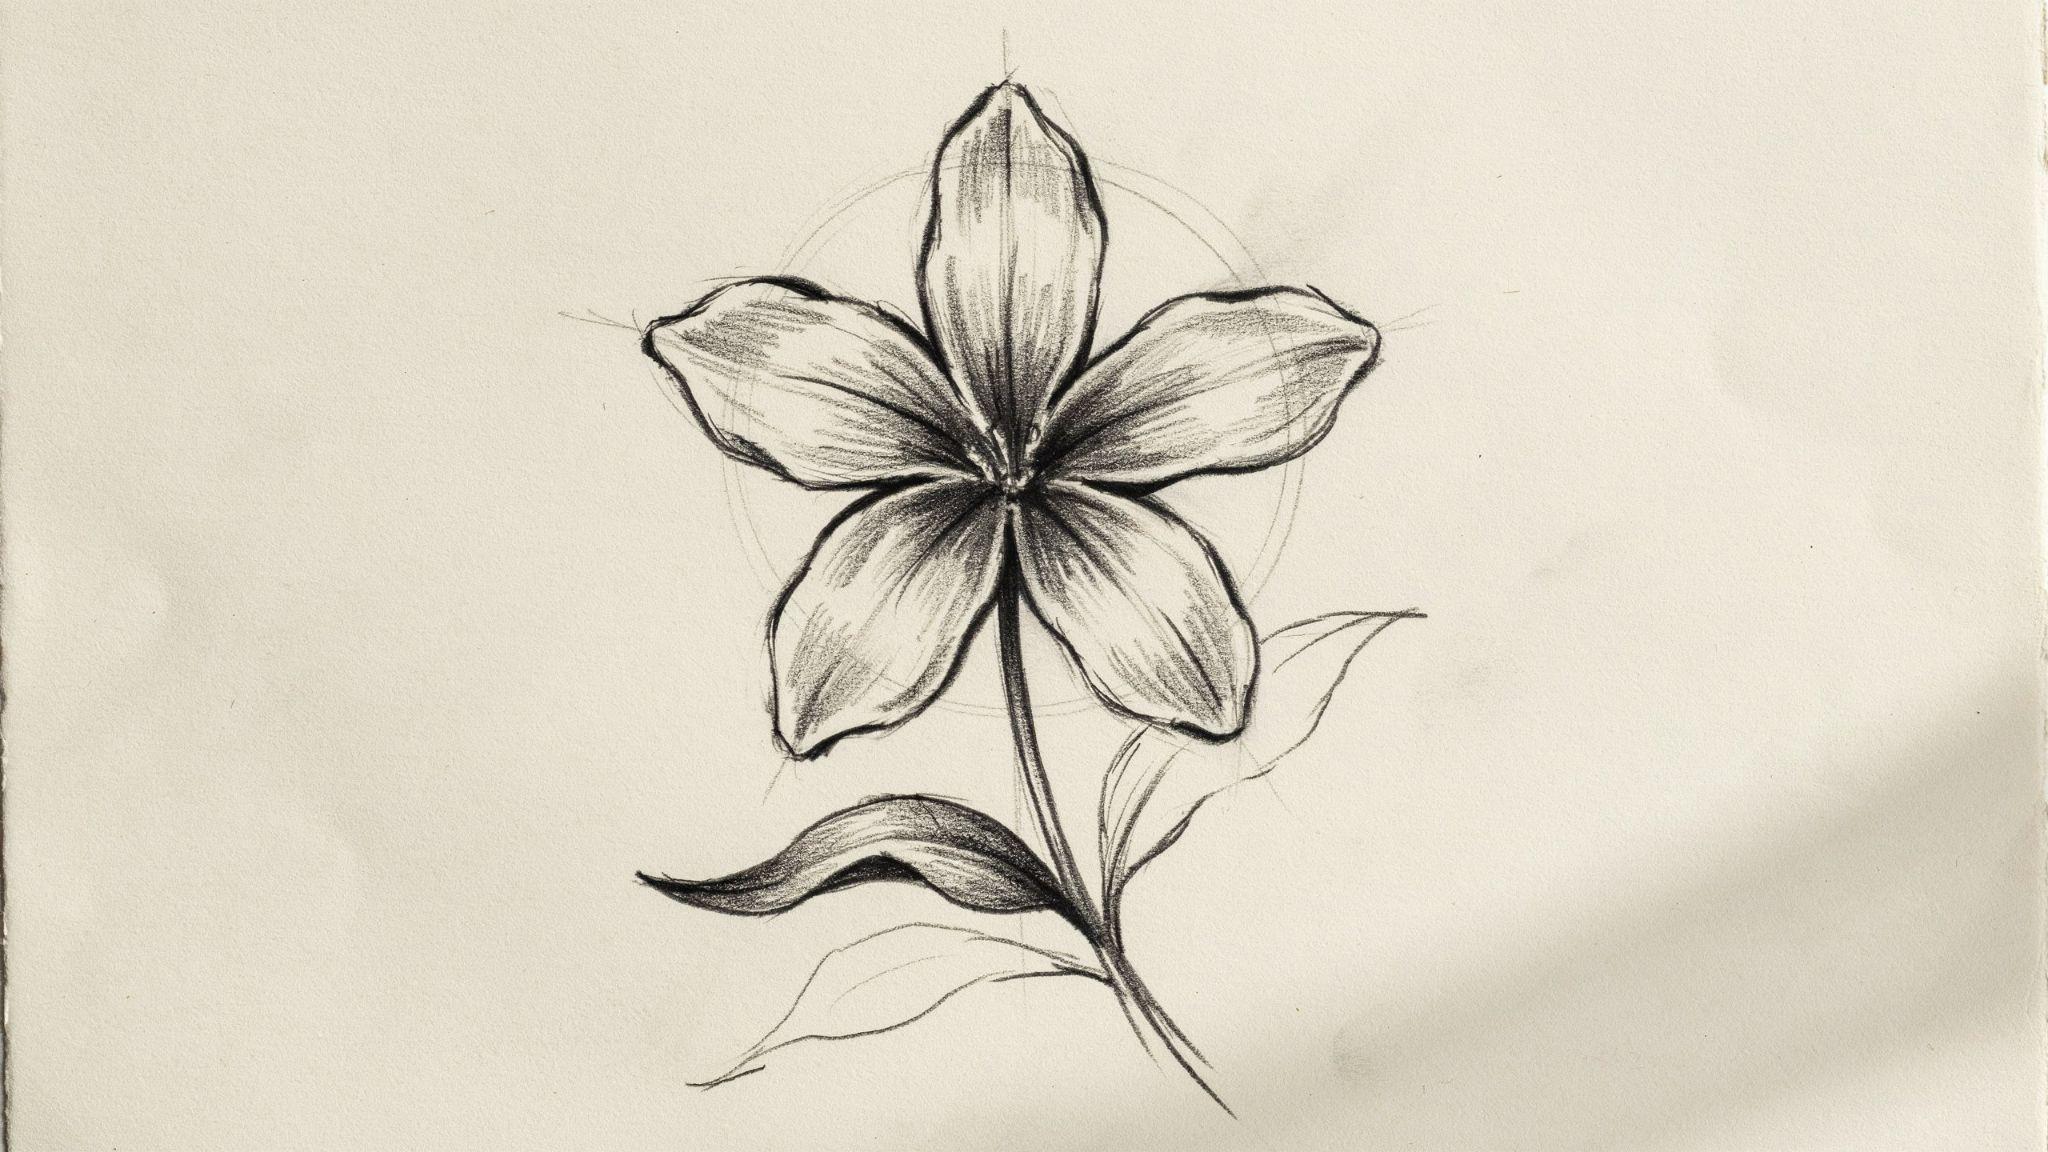
Step 2: Sketch the Five Hibiscus Petals

Using your guidelines, draw one petal at a time. Each petal is wide and slightly rounded at the top. The base of the petal connects near the center circle.
Hibiscus petals are not perfectly smooth. Add a few gentle curves or slight waves at the edges.
This gives the flower a natural look. Do not worry about making them identical. Real flowers are not perfect either.
Step 3: Add the Pistil and Leaves

Draw a long thin tube rising from the center of the flower. This is the pistil.
Add small oval or round shapes at the top of the tube. These are the stamens and give the hibiscus its recognizable look.
Next, add a few leaves around the base of the flower. Leaves are pointed and slightly oval. Add a simple center line down each leaf to show the vein. Your pencil sketch is now done.
Hibiscus Flower Drawing Easy Tutorial for Outlining and Details
Good outlining makes your hibiscus drawing look clean, sharp, and finished.
How to Outline Your Flower Neatly
Use a black fineliner or pen to trace over your pencil lines. Start from the petals and work your way inward. Take your time going around each petal edge.
Once the ink is fully dry, erase your pencil lines. Your drawing will look much cleaner right away.
Using Different Line Weights for Depth
Line weight means how thick or thin your lines are. Thicker lines on the outer edge of petals make them stand out. Thinner lines on the inner details like the pistil and veins make them look softer.
You do not need a special pen for this. Simply press a little harder for thick lines and lighter for thin ones.
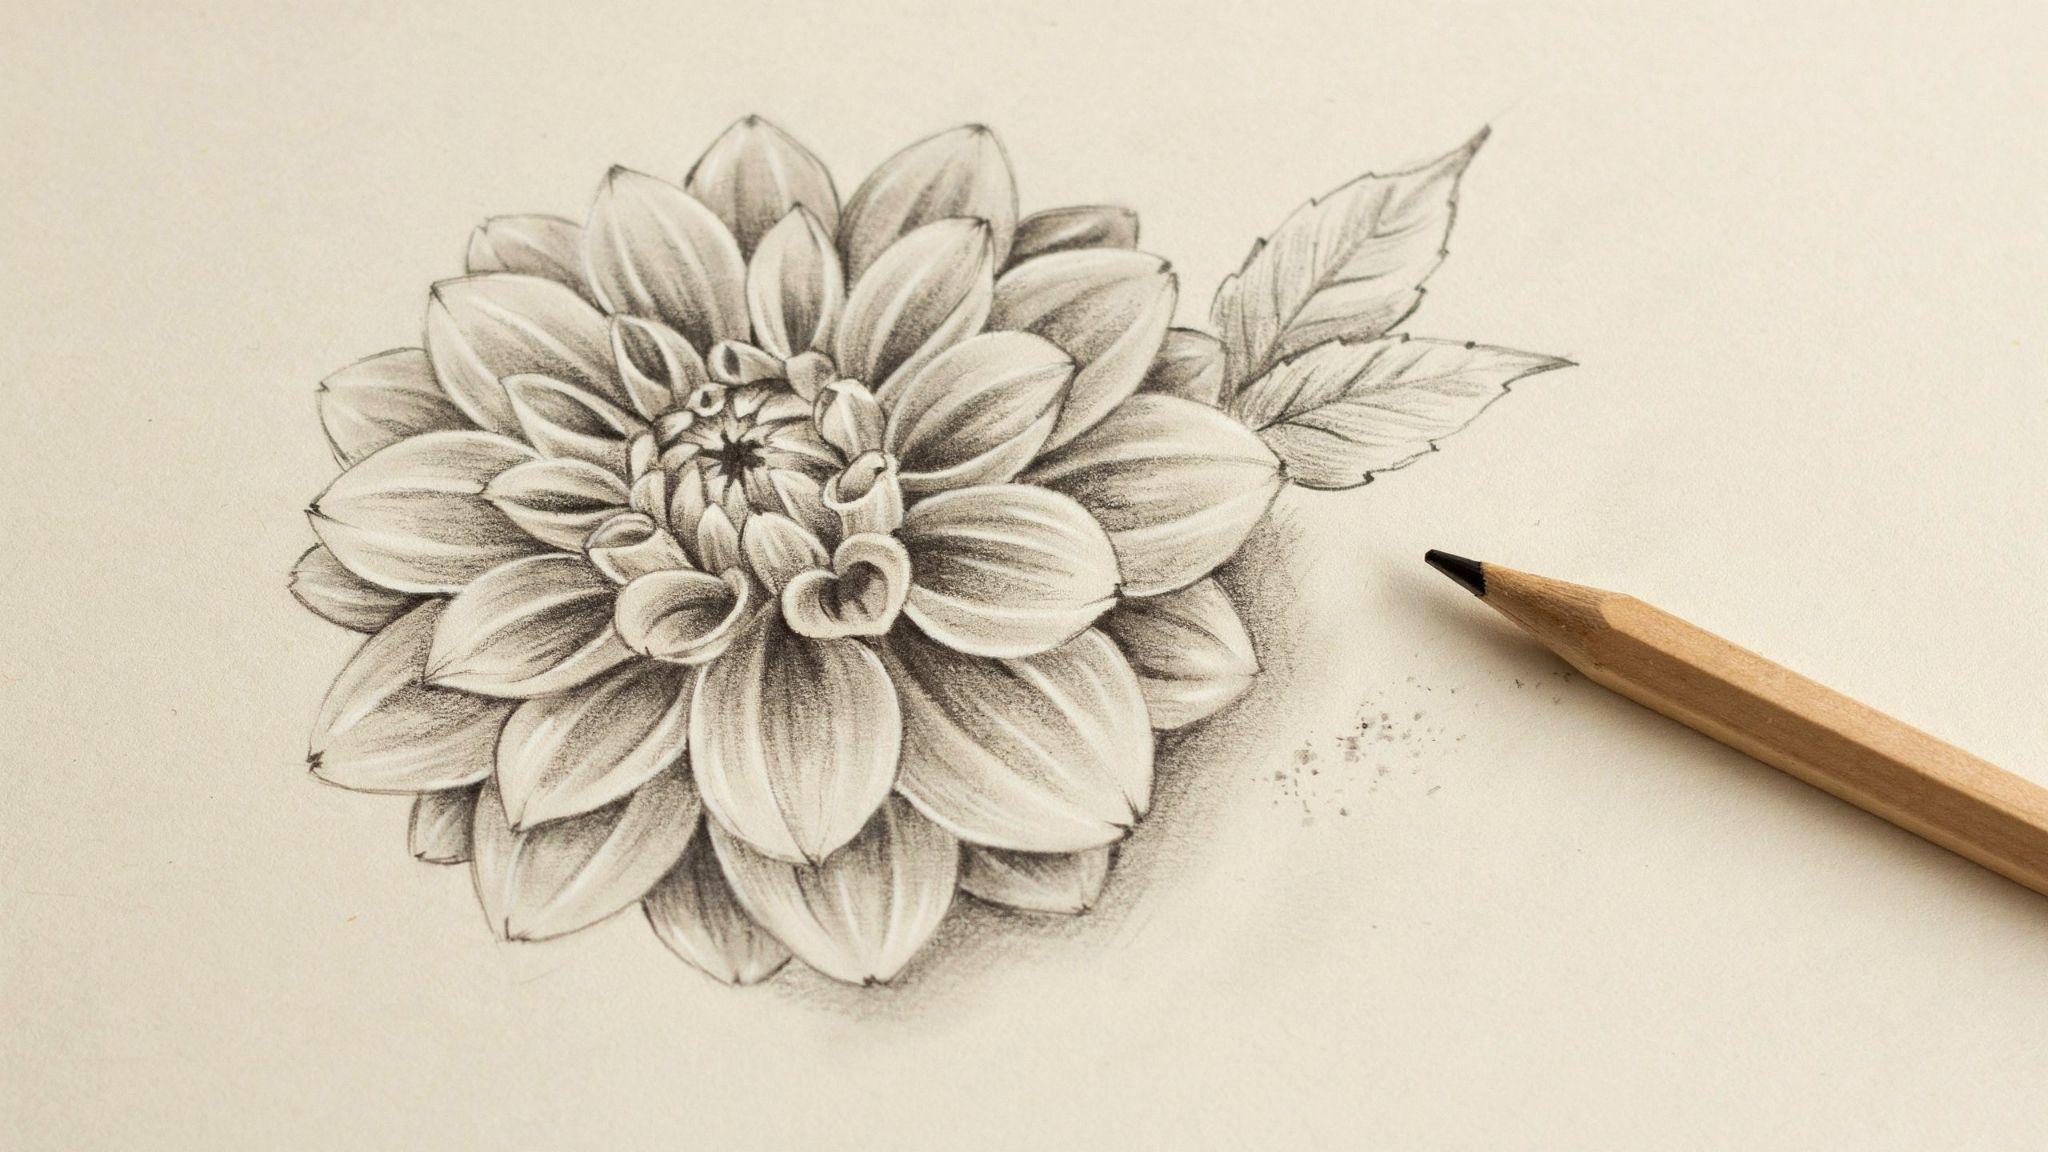
Adding Simple Shading and Texture

Shading adds a sense of depth to your drawing. Use short, light pencil strokes near the base of each petal. This makes the flower look like it has shadow near the center.
For texture, add a few thin lines across the petals going from the base outward. These lines mimic the natural veins found in hibiscus petals.
How to Color an Easy Hibiscus Flower Drawing

The right colors bring your hibiscus drawing to life and make it look vibrant on paper.
Choosing the Best Colors for Hibiscus Petals
Hibiscus flowers come in many shades. Red, pink, yellow, orange, and white are all common. For beginners, red or pink looks great and is easy to work with.
Pick two shades of the same color, one lighter and one darker. This helps you add depth without much effort.
Coloring Tips for a Smooth Finish
Color in the direction of the petal lines, going from the base outward. This gives a natural flow to the color. Start with the lighter shade first, then layer the darker shade near the base and edges.
Use light pressure at first. Build up the color slowly. This gives you more control.
Adding Highlights to Make Your Drawing Pop
Leave a small area near the center of each petal slightly lighter or uncolored. This acts as a natural highlight and makes the petals look rounded.
You can also use a white colored pencil or gel pen to add tiny highlight dots on the pistil tips. Small details like this make a big difference.
Tips to Improve Your Hibiscus Flower Drawing Skills
Small consistent habits build your drawing skills faster than you might think.
- Focus on one part at a time practice just the petal shape one day and the pistil the next
- Use real hibiscus photos as a guide to see how petals overlap and how the pistil sits
- Try new angles and colors once you are comfortable with the basic shape
- Compare your new drawing only to your last one that is how you see real growth
- Draw guidelines lightly, take breaks when needed, and save old drawings to track progress
Conclusion
I hope this guide made hibiscus flower drawing easy and fun for you. When I first started, I thought flowers were too hard to get right.
But breaking them into simple steps changed everything for me. Start with just the petals today.
Do not aim for perfection. Each drawing you complete builds your skill and your confidence. If this helped you, share it with someone who loves to draw.
Drop a comment below and let me know how your hibiscus turned out. I would love to see your work!
Frequently Asked Questions
Is Hibiscus Flower Drawing Easy for Beginners?
Yes, it is. The hibiscus has a simple five-petal structure that is easy to break down into small steps. With a little practice, beginners can draw a recognizable hibiscus in one sitting.
How Can I Follow a Hibiscus Flower Drawing Easy Step by Step Method?
Start with light circles and petal guidelines. Then sketch each petal one at a time, add the pistil and leaves, outline with a pen, and finish with color. Take it one step at a time.
What Tools Are Best for an Easy Hibiscus Flower Drawing?
A pencil, eraser, black fineliner, and a few colored pencils are all you need. These basic tools are enough to create a good-looking hibiscus drawing without spending much.
How Long Does It Take to Learn Hibiscus Flower Drawing?
Most beginners can draw a basic hibiscus in under an hour. With regular practice, you will feel confident drawing it in about fifteen to twenty minutes.
Can I Use Markers Instead of Colored Pencils for Coloring?
Yes, markers work well for bold and bright colors. Use alcohol-based markers for smoother blending. If you are new to markers, start with a light shade and layer darker colors on top slowly.