

Black and white drawing looks simple, but getting it right takes the correct approach.
I have spent time learning these techniques, and I want to share what actually works.
In this guide, you will find everything you need to get started. We cover tools, shading techniques, step-by-step methods, and common mistakes to avoid.
You will also find beginner-friendly drawing ideas and tips on using reference photos the right way.
Whether you are picking up a pencil for the first time or looking to sharpen your skills, this guide breaks it all down in a clear and practical way.
What Is Black and White Drawing?
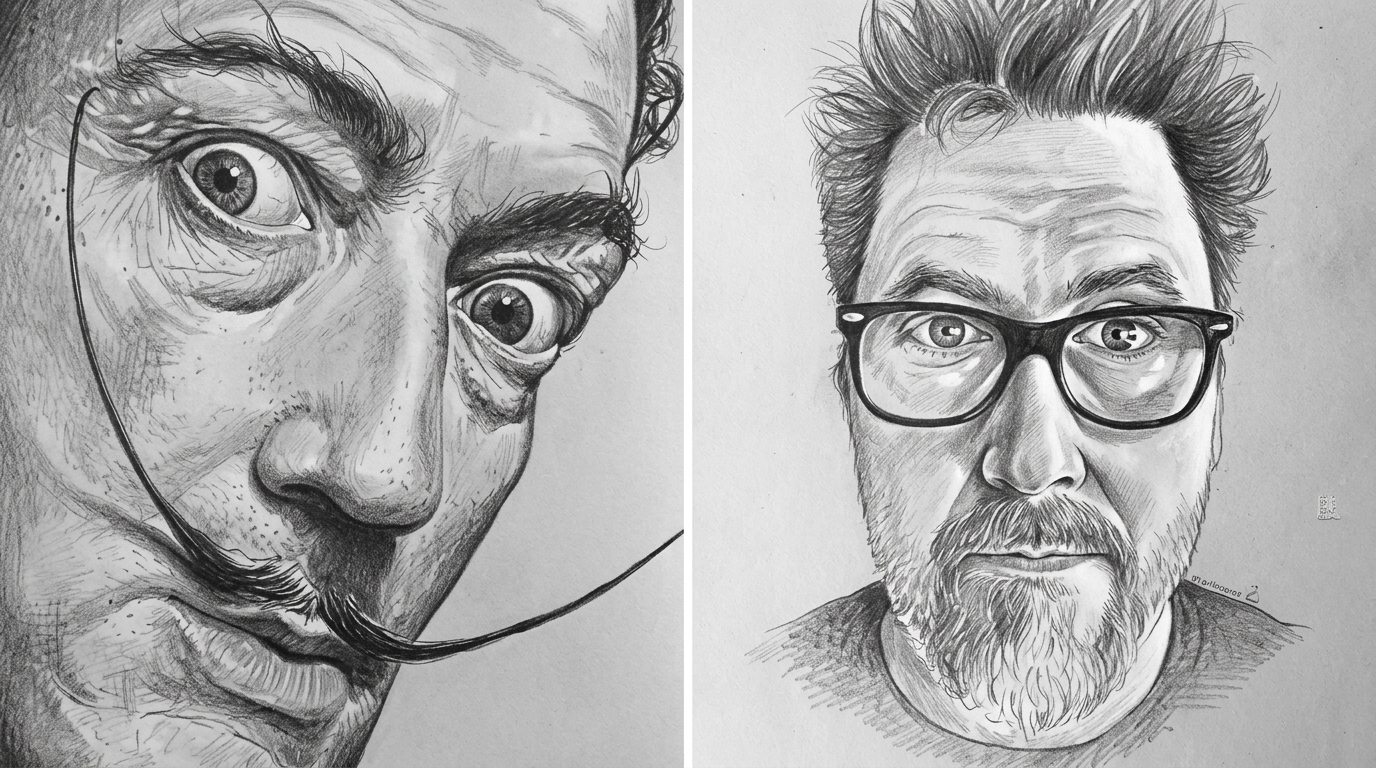
Black and white drawing is an art form that uses dark marks and light spaces to create images. Artists work without color and rely on line, shape, tone, and texture instead.
It can be done with pencils, charcoal, ink pens, or markers. Each tool gives a different feel to the work.
Without color, the focus shifts to contrast and form. Shadows, line quality, and negative space do all the heavy lifting.
This style has been around for centuries and remains one of the most direct ways to put an idea on paper. It is also beginner-friendly. A pencil and paper are all you need to start.
Tools for Black and White Drawing
Having the right tools makes a real difference in your black and white drawings.
Best Pencils and Paper
Graphite pencils come in grades from hard "H" to soft "B." A basic set with 2H, HB, 2B, 4B, and 6B covers a wide range of tones. For paper, a smooth Bristol board works well for detail, while medium-grain paper gives more texture. Avoid printer paper as it does not hold graphite well.
Erasers and Blending Tools
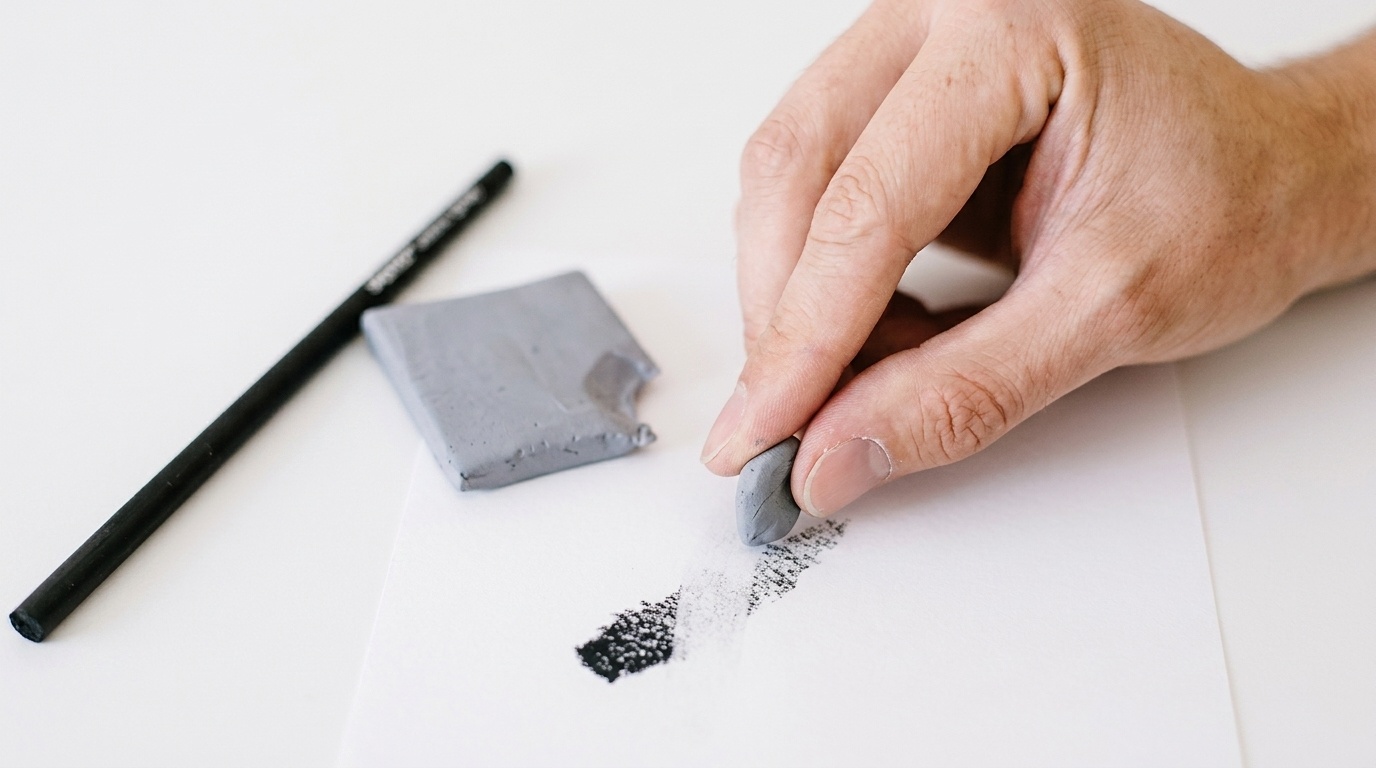
A kneaded eraser lifts graphite from small areas cleanly, while a vinyl eraser handles larger sections. For blending, tortillons and blending stumps are the go-to tools. A soft tissue or fingertip also works for wider areas.
Basic Black and White Drawing Techniques
A few core techniques help you create depth, texture, and contrast in any black and white drawing.
Light, Shadow, and Values
Value is how light or dark a tone is. Identify your light source first. Areas facing the light stay light, areas turned away go darker, and midtones fill the space between. Practicing a simple value scale helps train your eye before working on a full drawing.
Hatching and Cross-Hatching
Hatching uses parallel lines to build tone. The closer the lines, the darker the area. Cross-hatching adds a second layer at an angle for more depth and shadow. Keep your lines consistent in spacing and pressure for a cleaner result.
Shading and Blending
Apply graphite in layers, starting light and building up slowly. Use the side of your pencil for broad areas and the tip for fine details. Blend with a stump to soften transitions, but avoid over-blending as it can make your drawing look muddy.
Step-by-Step Black and White Drawing Tutorial
A step-by-step approach helps you stay organized and build your drawing from start to finish.
Step 1: Sketch the Basic Shapes

Map out basic shapes before adding any shading. Use light strokes and break complex subjects into simple forms.
An oval for a face, a cylinder for a trunk, a circle for an object. This helps you check proportions early and fix issues before shading begins.
Step 2: Shade From Light to Dark
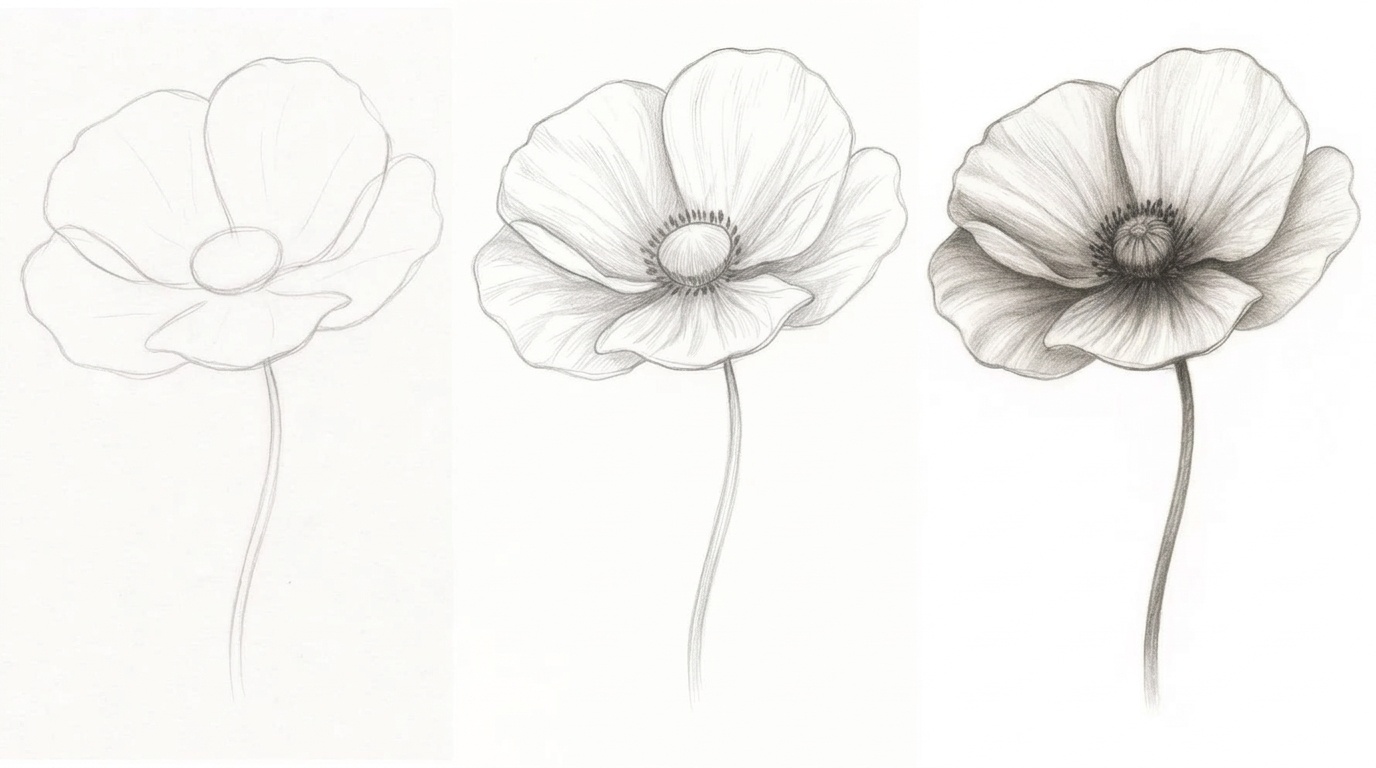
Start with the lightest areas and work toward the darker zones. Use a light grade like 2H or HB for mid-tones, then switch to 2B or 4B for deeper shadows.
Build tone in layers rather than pressing hard right away for smoother, more controlled results.
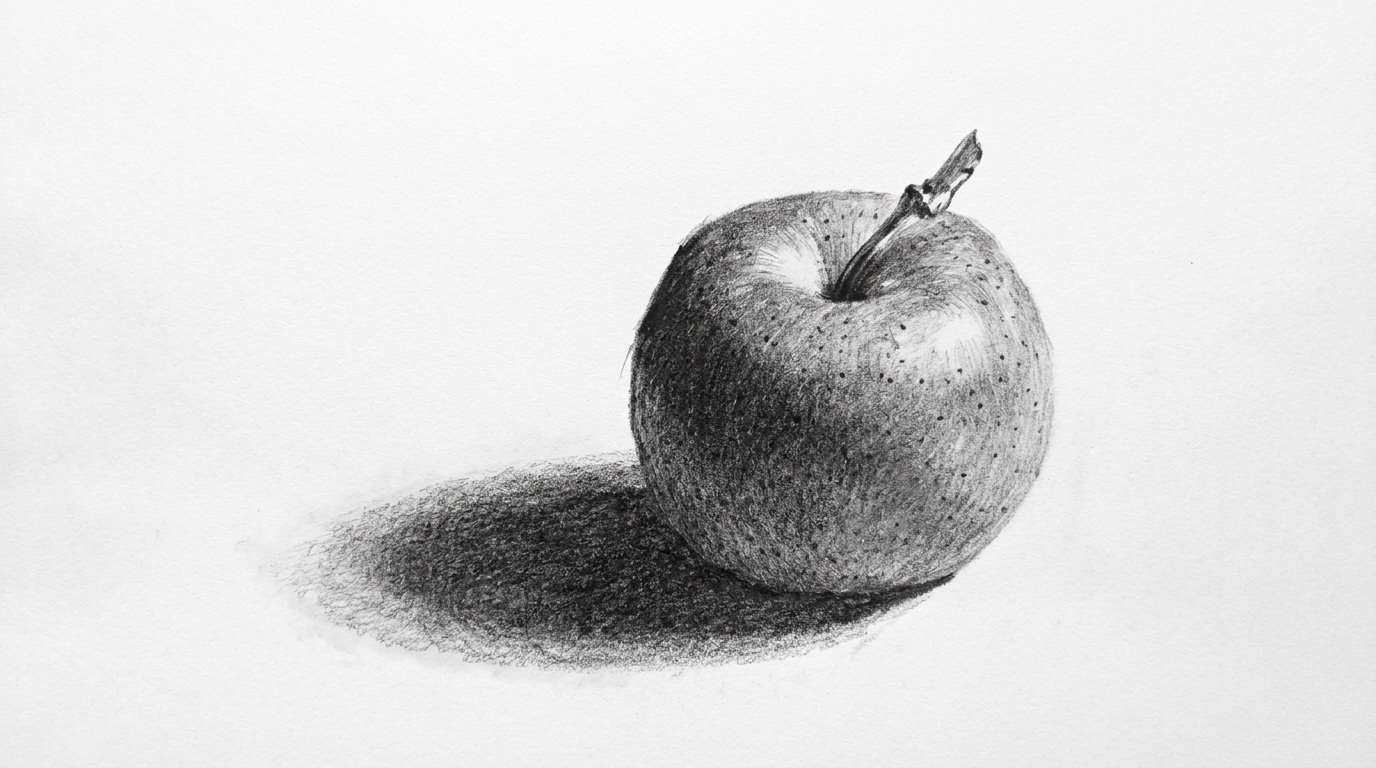
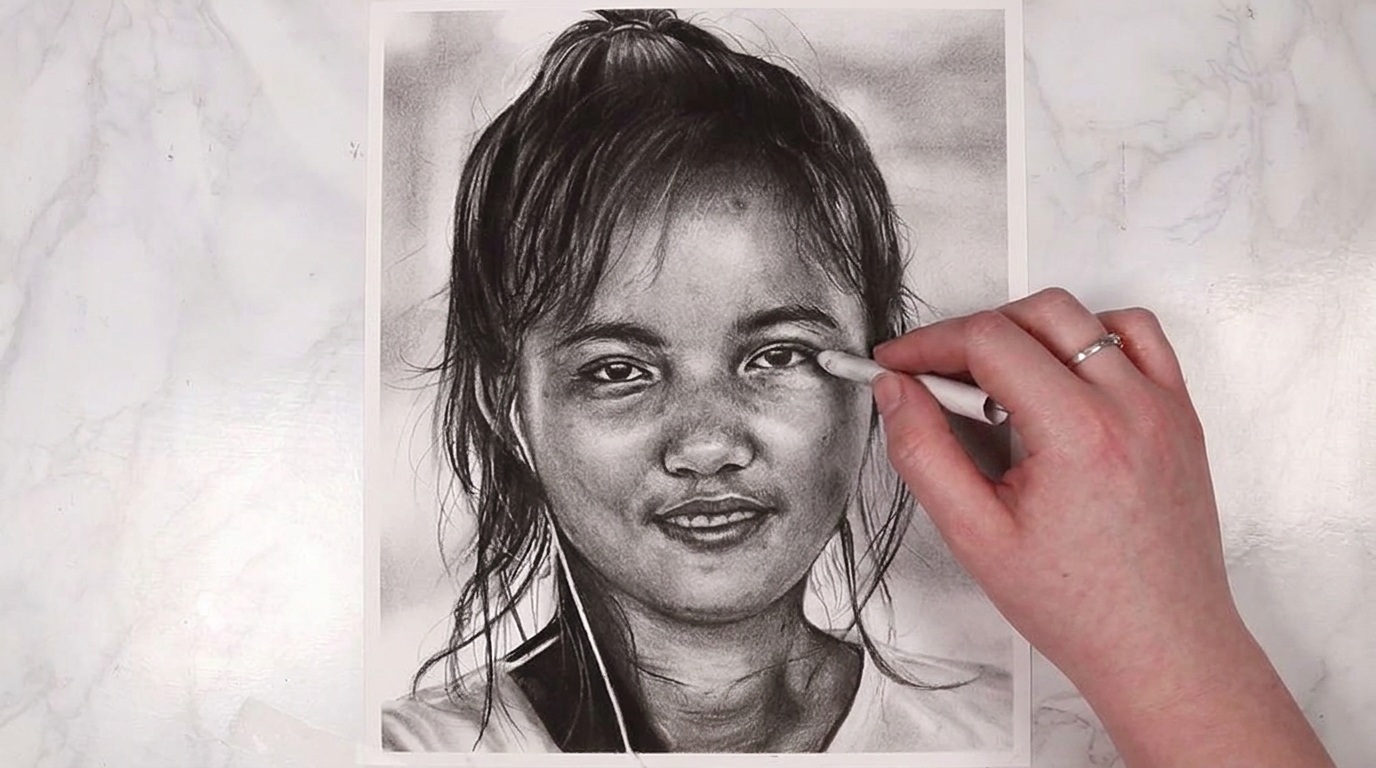
Step 3: Add Details and Highlights
Details come last. Use a sharp pencil point for crisp lines and fine textures. Use a kneaded eraser to lift graphite and create highlights.
These bright spots add contrast and make the drawing feel more three-dimensional.
How to Use Reference Photos
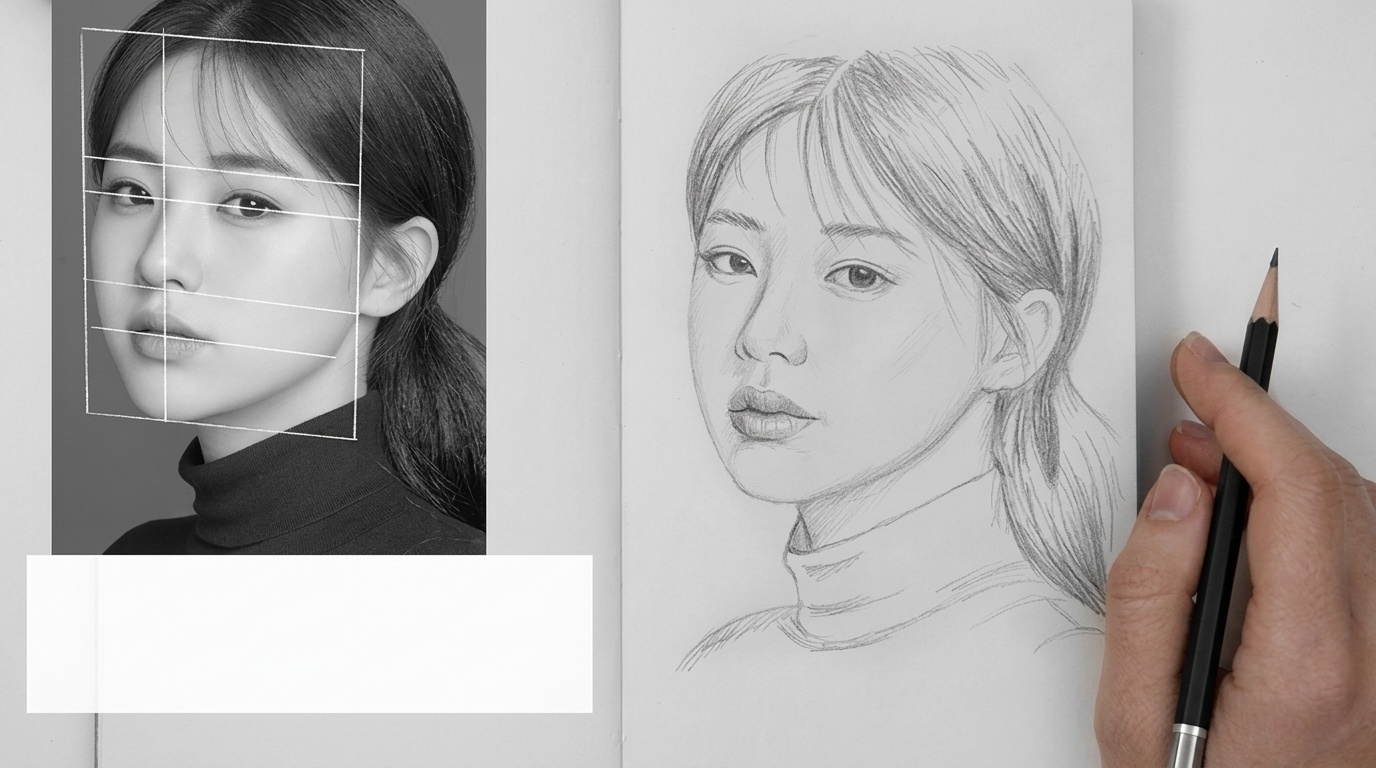
Reference photos help you draw more realistic proportions and values.
Why Grayscale References Help
Color reference photos can be confusing since two different colors can share the same value. A bright red and a mid-tone green might appear as nearly the same gray.
Converting your reference to grayscale lets you see exactly how light or dark each area is, making it much easier to match what you see to what you draw.
Converting Color Photos to Black and White
Most photo editing apps convert color images to grayscale in just a few steps. On a smartphone, apply a black and white filter in your photo editor.
On a computer, Photoshop or free tools like GIMP let you desaturate an image quickly. For more control, use adjustable color channel sliders to bring out contrast that simple desaturation might miss.
Black and White Drawing Ideas for Beginners
Starting with the right subjects makes learning more enjoyable and builds confidence faster.
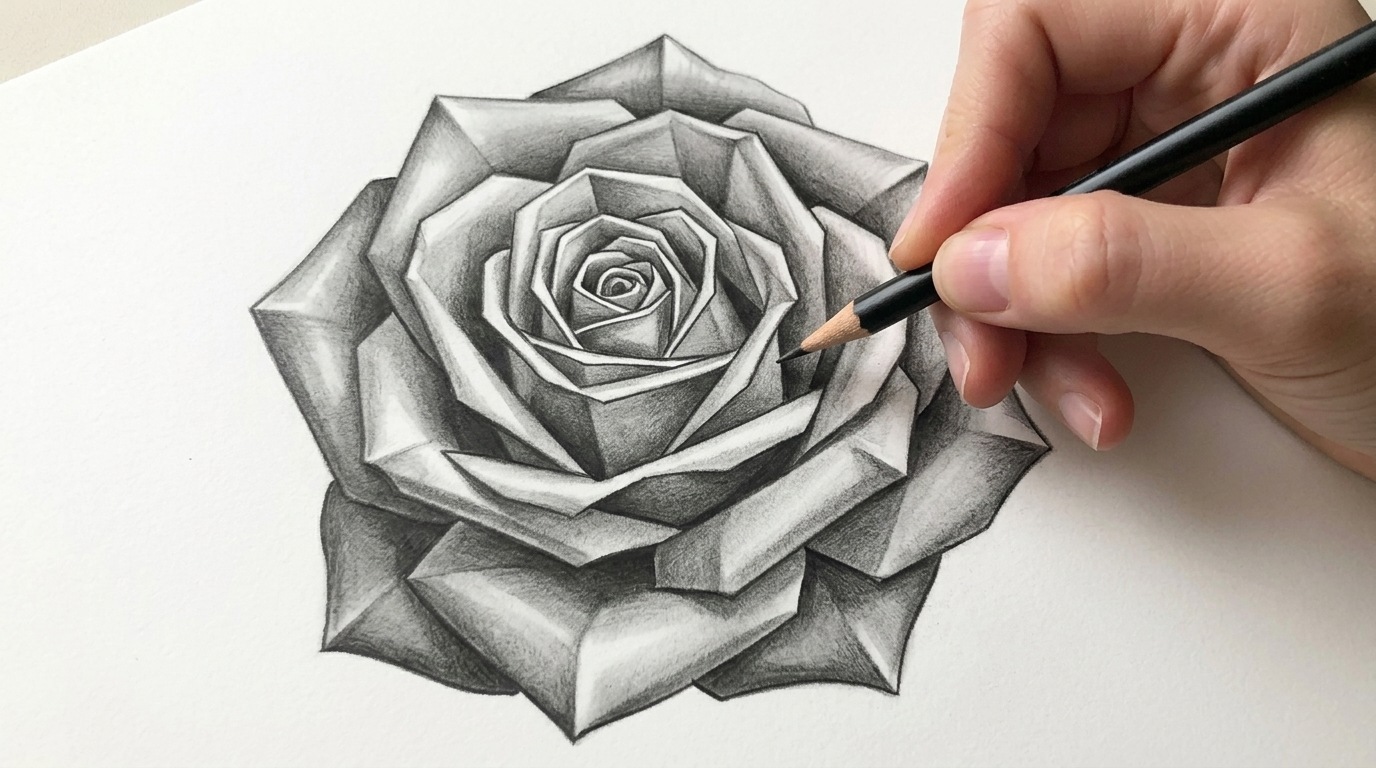
Flower and Butterfly Drawings
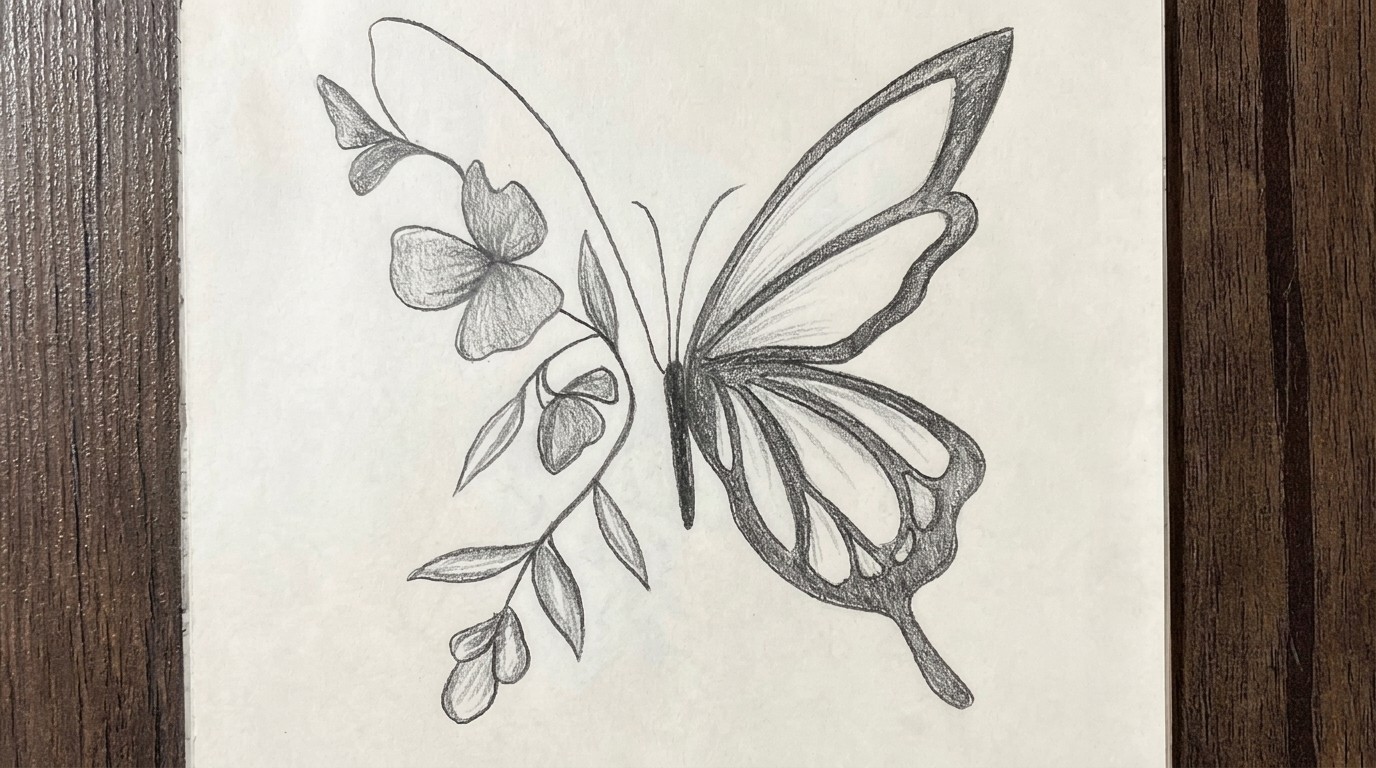
Flowers are great starting subjects. Their petals have clear edges and gradual curves that are good for practicing smooth shading.
Butterflies offer a mix of fine line work and soft shading, with symmetrical wings that give you a built-in guide.
Cat, Dog, Horse, and Deer Drawings
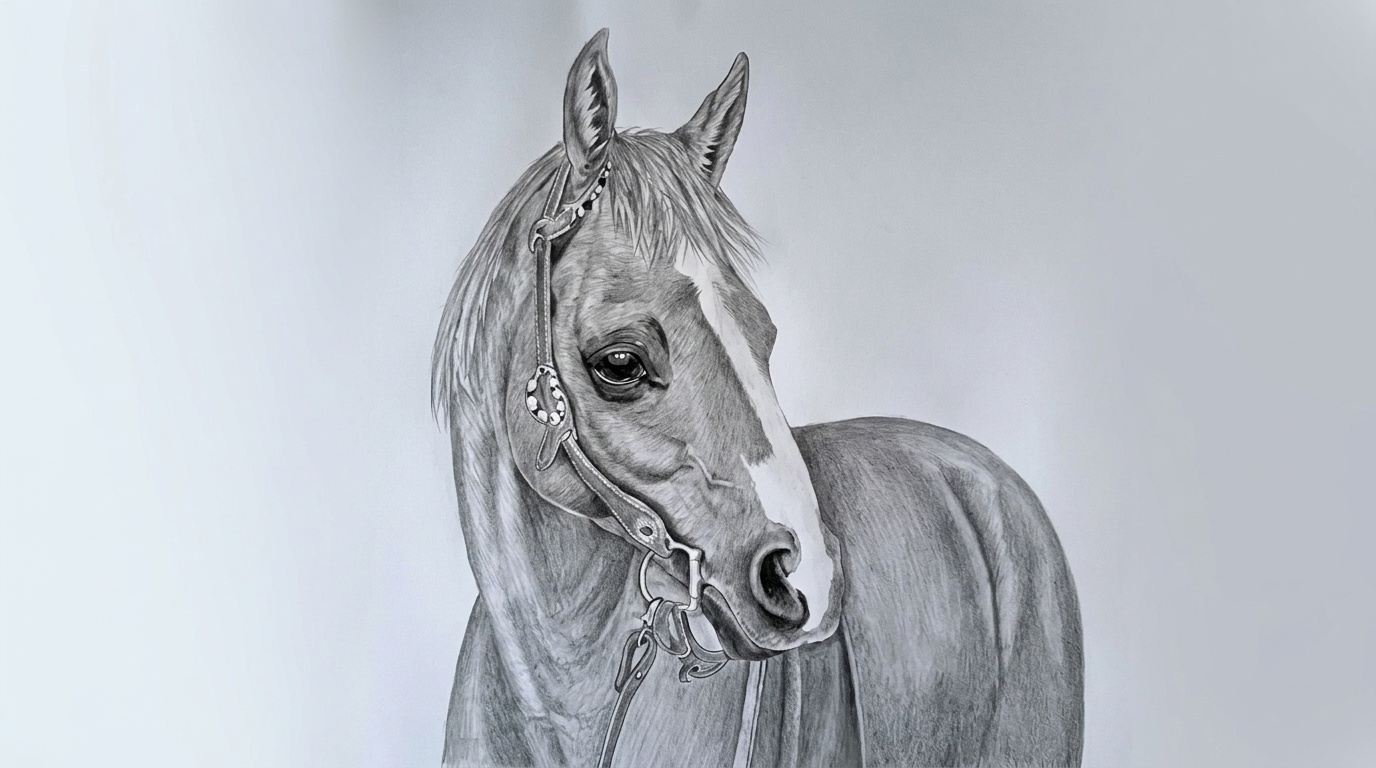
Each animal teaches something different. Cats are good for value transitions, dogs for fur texture, horses for form and flowing lines, and deer for soft, delicate tonal shifts.
Start with a simple head portrait before trying a full body pose.
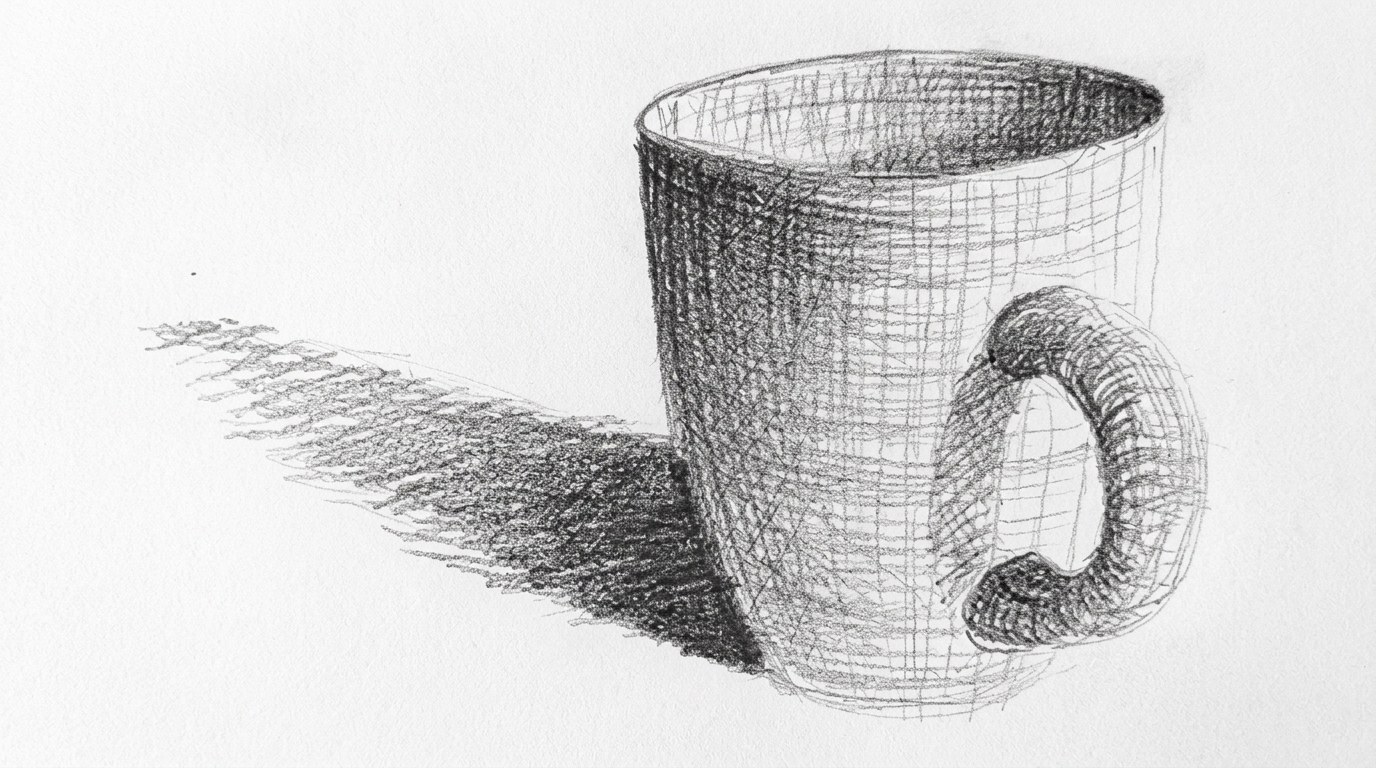
Simple Landscapes and Everyday Objects

Landscapes teach you to think in layers. The foreground is darker and more detailed, while the background is lighter and less defined.
Everyday objects like cups, books, or shoes are also great starting points since they sit still and have clear light and shadow.
Common Mistakes to Avoid
Knowing what to watch for helps you correct problems early and build better habits.
Pressing Too Hard
Pressing too hard too soon digs into the paper and makes it difficult to add more layers or blend smoothly. It also creates shiny graphite patches.
Start light and build up tone in multiple passes. You can always go darker, but heavy lines are hard to recover from.
Ignoring Values
Focusing only on outlines leaves a drawing looking flat. Values are what create the illusion of three dimensions.
Step back and squint your eyes regularly. If the drawing looks flat, your light and dark areas likely need more contrast.
Overblending
Too much blending removes paper texture and produces a flat, smudgy result. It can also make further shading difficult. Blend only when needed and use a light touch.
Careful layering often produces a better result than heavy blending. Leave some pencil marks visible to add energy to the drawing.
Tips to Improve Your Black and White Drawing
Drawing improves faster when you practice daily, try different pencil grades, and work from reference photos to train your eye.
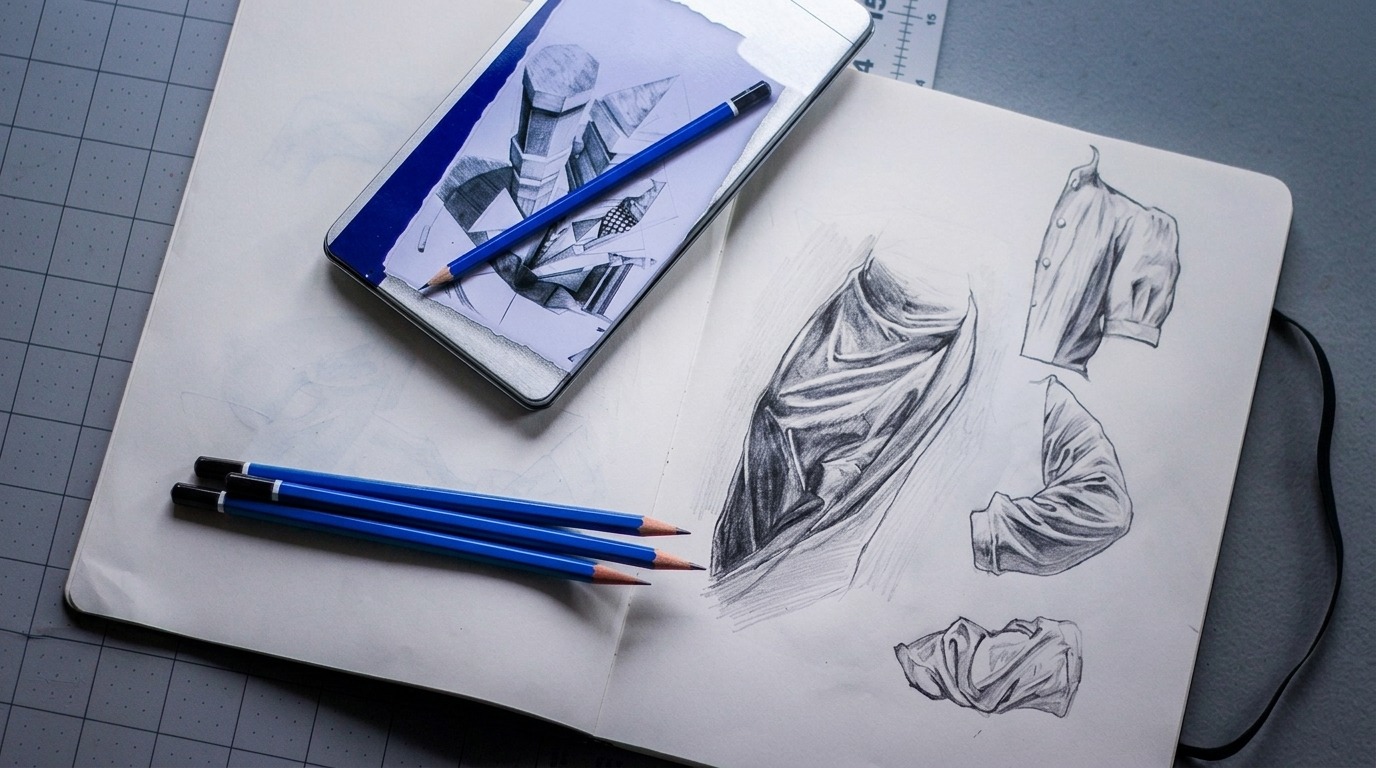
- Drawing a little every day keeps your hand loose and your eye sharp. Even five to ten minutes of sketching simple shapes adds up quickly over weeks and months.
- Keep a sketchbook nearby and use it without pressure. Quick studies, gesture sketches, and value exercises all count as practice and help you grow.
- Try pencil grades you do not normally reach for. Getting familiar with a wide range of grades gives you more flexibility when doing a finished drawing.
- Hard pencils work well for architectural or technical subjects where sharp lines matter. Soft pencils are better for portraits, animals, or anything that needs a smooth, tonal look.
- Draw from life or reference photos to improve your accuracy. Choose references that match the subject you want to get better at, and keep them visible while you work.
Conclusion
Black and white drawing taught me that you do not need color to create something meaningful. Simple pencil marks can say a lot when values and technique come together.
If you are just starting out, do not overthink it. Pick up a pencil, find a subject you like, and start with basic shapes. Progress comes with every sketch you make.
Have you tried black and white drawing before? Drop a comment below and share what subjects you love drawing most. I would love to hear from you!
Frequently Asked Questions
What pencils are best for black and white drawing?
A basic set with HB, 2B, 4B, and 6B pencils covers most needs. Harder grades like 2H work well for light tones and softer grades like 6B are good for deep shadows.
Can beginners learn black and white drawing without any experience?
Yes, black and white drawing is one of the most beginner-friendly art forms to start with. Beginning with simple subjects like everyday objects or basic shapes helps you build skills gradually.
How do I make my black and white drawings look more realistic?
Focus on getting your values right by showing a clear range from light to dark. Squint at your reference and your drawing to check if the contrast and depth look balanced.
How long does it take to get good at black and white drawing?
Progress depends on how often you practice, but even short daily sessions bring noticeable improvement over weeks. Consistency matters far more than the number of hours you put in at once.
Do I need expensive supplies to start black and white drawing?
No, a few basic pencils, a sketchbook, and a simple eraser are all you need to get started. Good results come from practice and observation, not costly materials.