

Remember the thrill of launching paper airplanes as a kid? Now imagine creating a fighter jet paper airplane that doesn’t just fly, it soars with military precision and style.
Whether you’re looking to impress friends, bond with your children, or simply explore the joy of hands-on creativity, mastering the art of fighter jet paper airplane construction is surprisingly rewarding.
This isn’t your basic paper dart. We’re talking about sleek, aerodynamic designs inspired by real military aircraft that can glide farther and fly straighter than traditional models.
In just a few simple folds, you’ll learn to craft paper planes that look incredible and perform even better.
Ready to upgrade your paper airplane game and create something truly spectacular? Let’s get folding.
Materials Needed
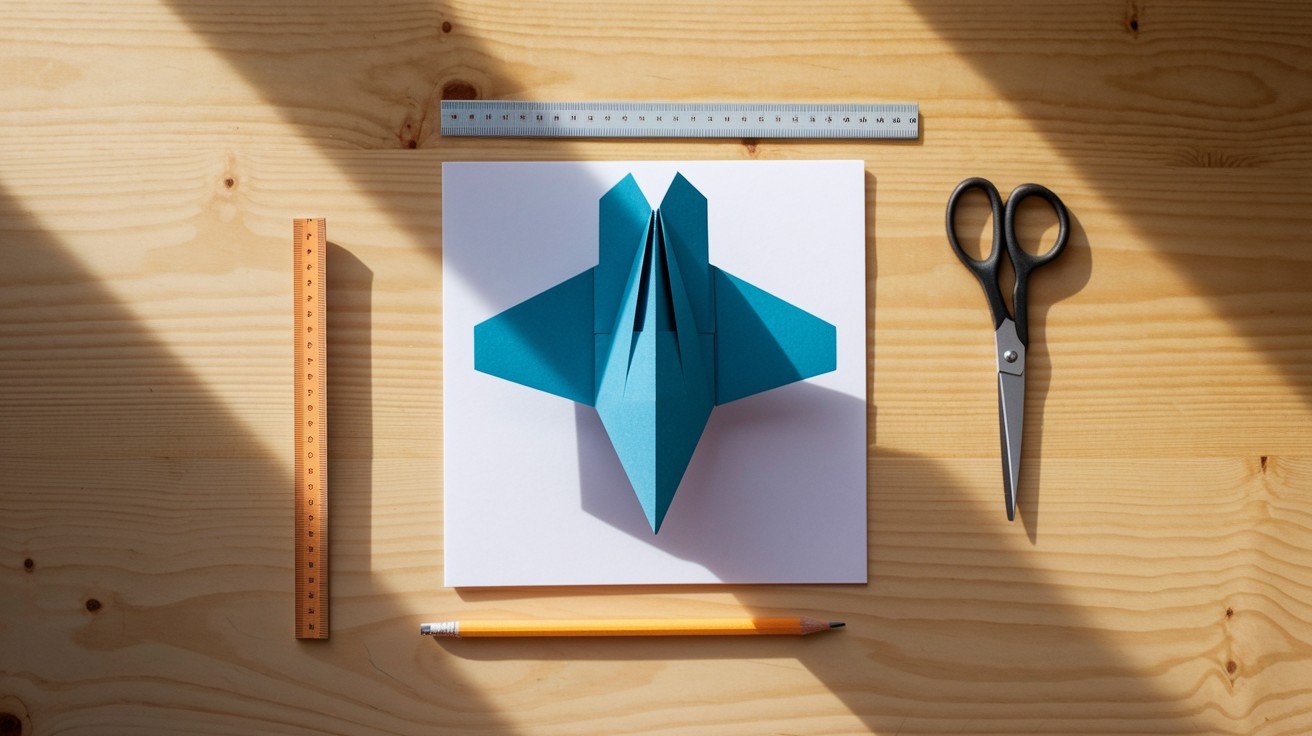
Creating your fighter jet paper airplane requires minimal supplies that you likely already have at home.
What You’ll Need:
- Standard 8.5 x 11 inch paper – Regular copy paper works perfectly
- Flat surface – Table or desk for precise folding
- Your hands – No tools required, just careful finger creases
- Optional: Ruler – For extra sharp, professional-looking edges
That’s it! Simple materials for impressive results.
Step-by-Step Folding Instructions
Follow these simple steps to transform your ordinary paper into an impressive fighter jet paper airplane. Each fold builds on the previous one, so take your time and make sharp, clean creases for the best results.
Step 1: Prepare Your Paper
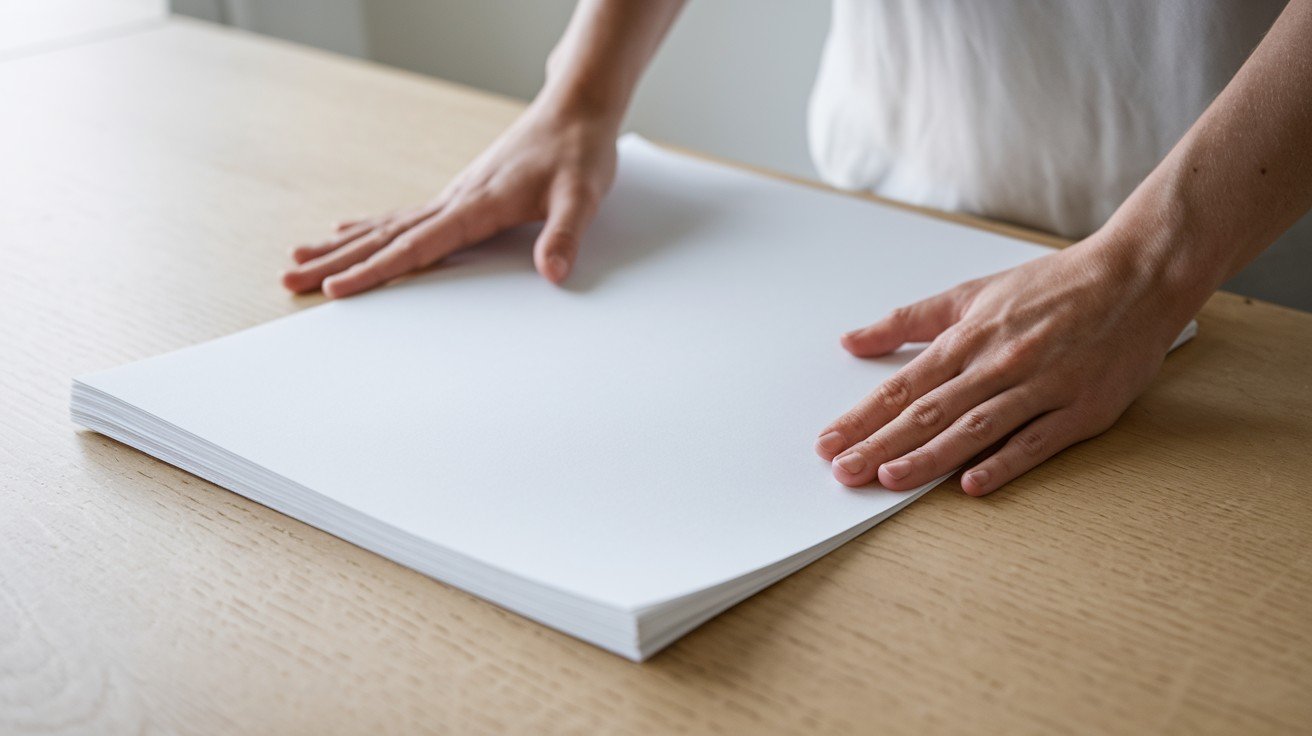
- Place paper on flat surface in portrait position (tall, not wide)
- Make sure edges are straight and corners align perfectly
- Smooth out any wrinkles or creases from the paper
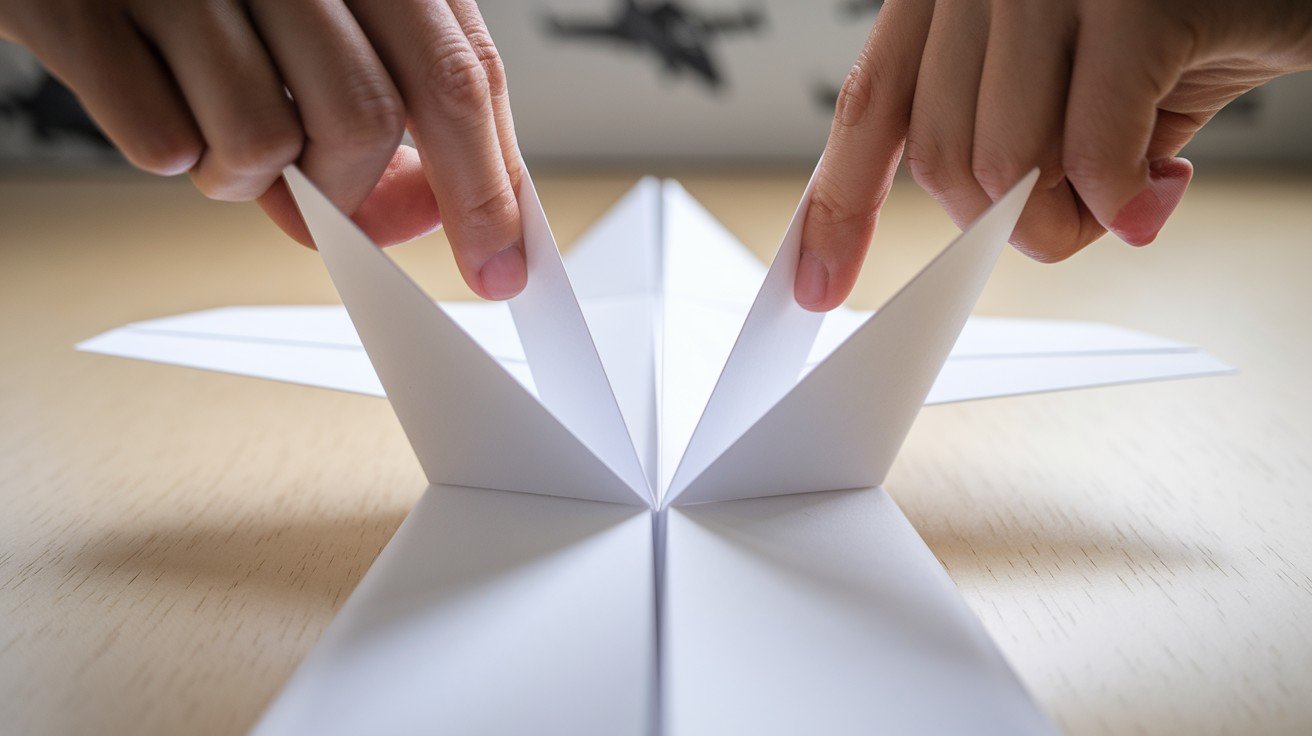
Step 2: Create the Center Fold
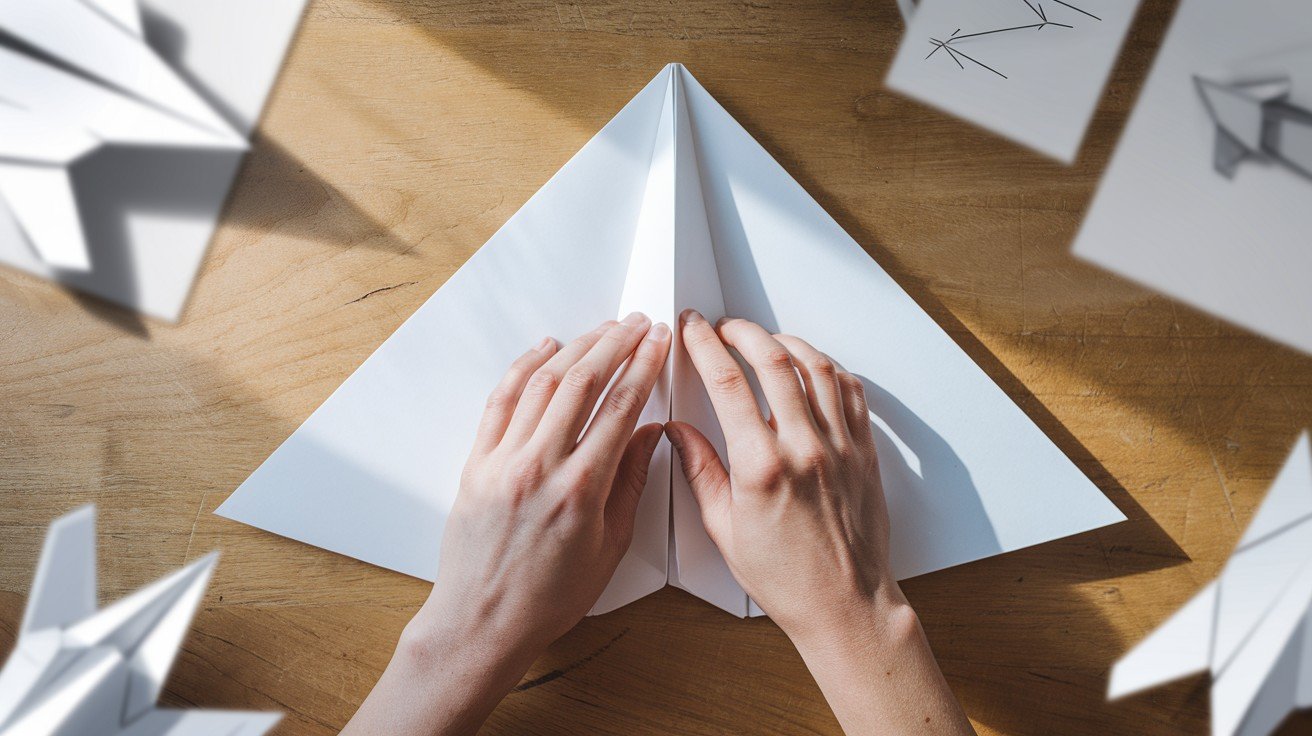
- Fold paper in half lengthwise (hot dog style)
- Press down firmly to make a sharp crease
- Unfold the paper – you’ll see a center line running down the middle
Step 3: Make the Nose Folds
- Fold top corners down to meet the center line
- Create two triangular flaps that form a house-like shape at the top
- Press edges firmly to keep folds secure and crisp
Step 4: Form the Fighter Wings
- Fold each side down along the center crease
- Align wing edges to create matching triangular wings
- Ensure both wings are identical for balanced flight performance
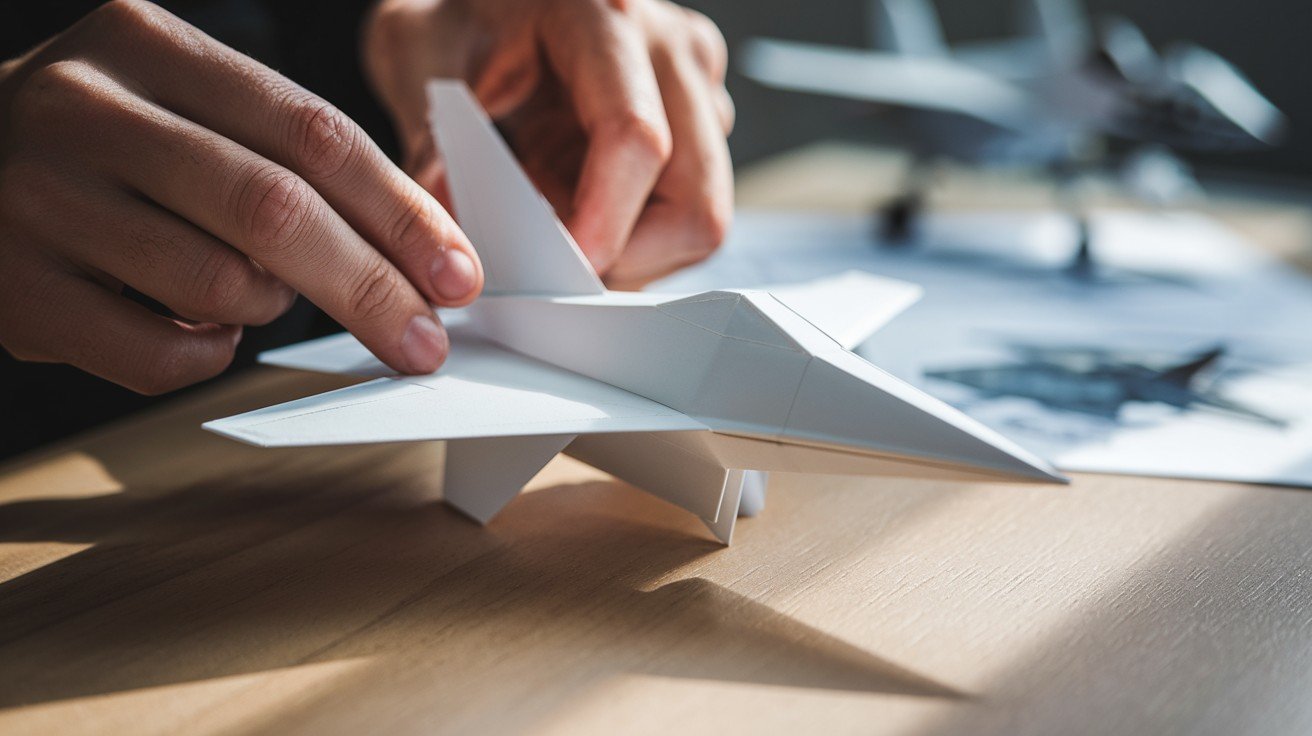
Step 5: Create the Final Shape
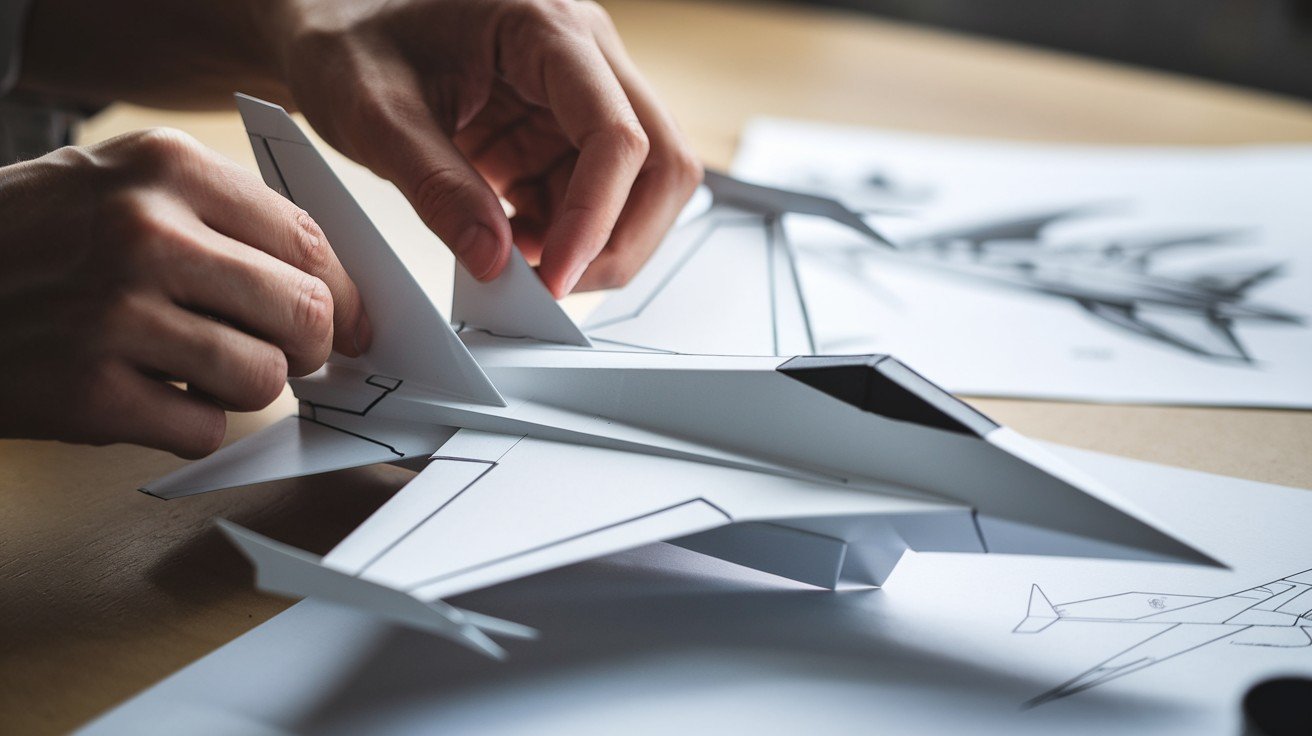
- Flip airplane over and fold wings down one more time
- Make small upward folds at wing tips for stability
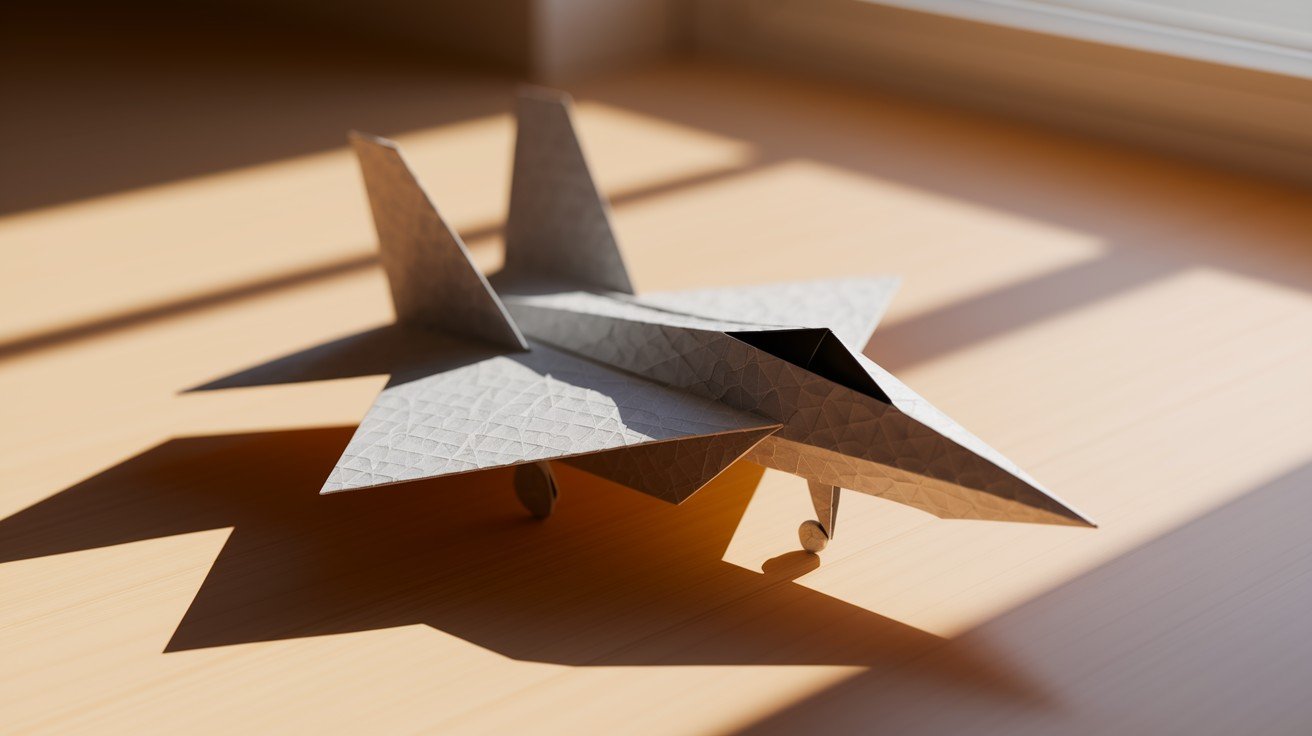
- Your fighter jet paper airplane is now ready for takeoff
Tips for Best Results
Master these simple techniques to make your fighter jet paper airplane fly farther and look more professional.
- Use crisp paper – Fresh copy paper folds better than wrinkled sheets
- Make sharp creases – Press hard with your fingernail for clean, lasting folds
- Keep folds symmetrical – Both wings must match exactly for straight flight
- Test different throws – Try gentle launches versus firm throws to find best technique
- Adjust wing angles – Slightly bend wings up or down to improve flight path
- Practice your aim – Launch at slight upward angle for maximum distance
- Store flat – Keep your fighter jet paper airplane pressed in a book when not flying
Customization Ideas
Make your fighter jet paper airplane unique with these simple modifications and decorations.
|
Customization Type |
Easy Ideas |
What It Does |
|
Colors & Patterns |
Use colored paper, markers, stickers |
Makes plane look cooler and easier to spot |
|
Wing Modifications |
Add small cuts, fold wing tips up/down |
Changes flight pattern and stability |
|
Weight Adjustments |
Tape paper clip to nose, add small stickers |
Helps plane fly farther and straighter |
|
Design Details |
Draw cockpit, engines, military symbols |
Creates realistic fighter jet appearance |
|
Size Variations |
Use legal size or smaller paper |
Different sizes fly at different speeds |
|
Performance Tweaks |
Adjust wing angles, trim edges slightly |
Fine-tune flight distance and accuracy |
Conclusion
Creating the perfect fighter jet paper airplane is easier than you might think!
We’ve covered everything from basic materials like standard paper and a flat surface to step-by-step folding instructions that transform ordinary sheets into high-flying aircraft.
Remember the key tips: make sharp creases, keep wings symmetrical, and practice different throwing techniques for best results.
Your fighter jet paper airplane can be customized with colors, weight adjustments, and design details to make it uniquely yours. Whether you’re entertaining kids, impressing friends, or just having fun, these paper planes deliver serious flying performance.
Ready to take flight? Grab some paper and start folding your first fighter jet today! Share your creations in the comments below and let us know how far your plane flew.
Frequently Asked Questions
What Type of Paper Works Best for Fighter Jet Paper Airplanes?
Regular 8.5×11 copy paper is perfect. It’s sturdy enough to hold sharp creases but light enough for great flight performance and distance.
How Far Can a Fighter Jet Paper Airplane Fly?
With proper folding and throwing technique, your fighter jet paper airplane can fly 30-50 feet indoors and even farther in outdoor conditions.
Why does My Fighter Jet Paper Airplane Keep Crashing?
Uneven wings are usually the problem. Make sure both sides match perfectly and check that your nose isn’t too heavy or damaged.
Can Kids Make Fighter Jet Paper Airplanes Safely?
Absolutely! This is a safe, fun activity for kids aged 6 and up. Adult help with precise folding creates better results.